
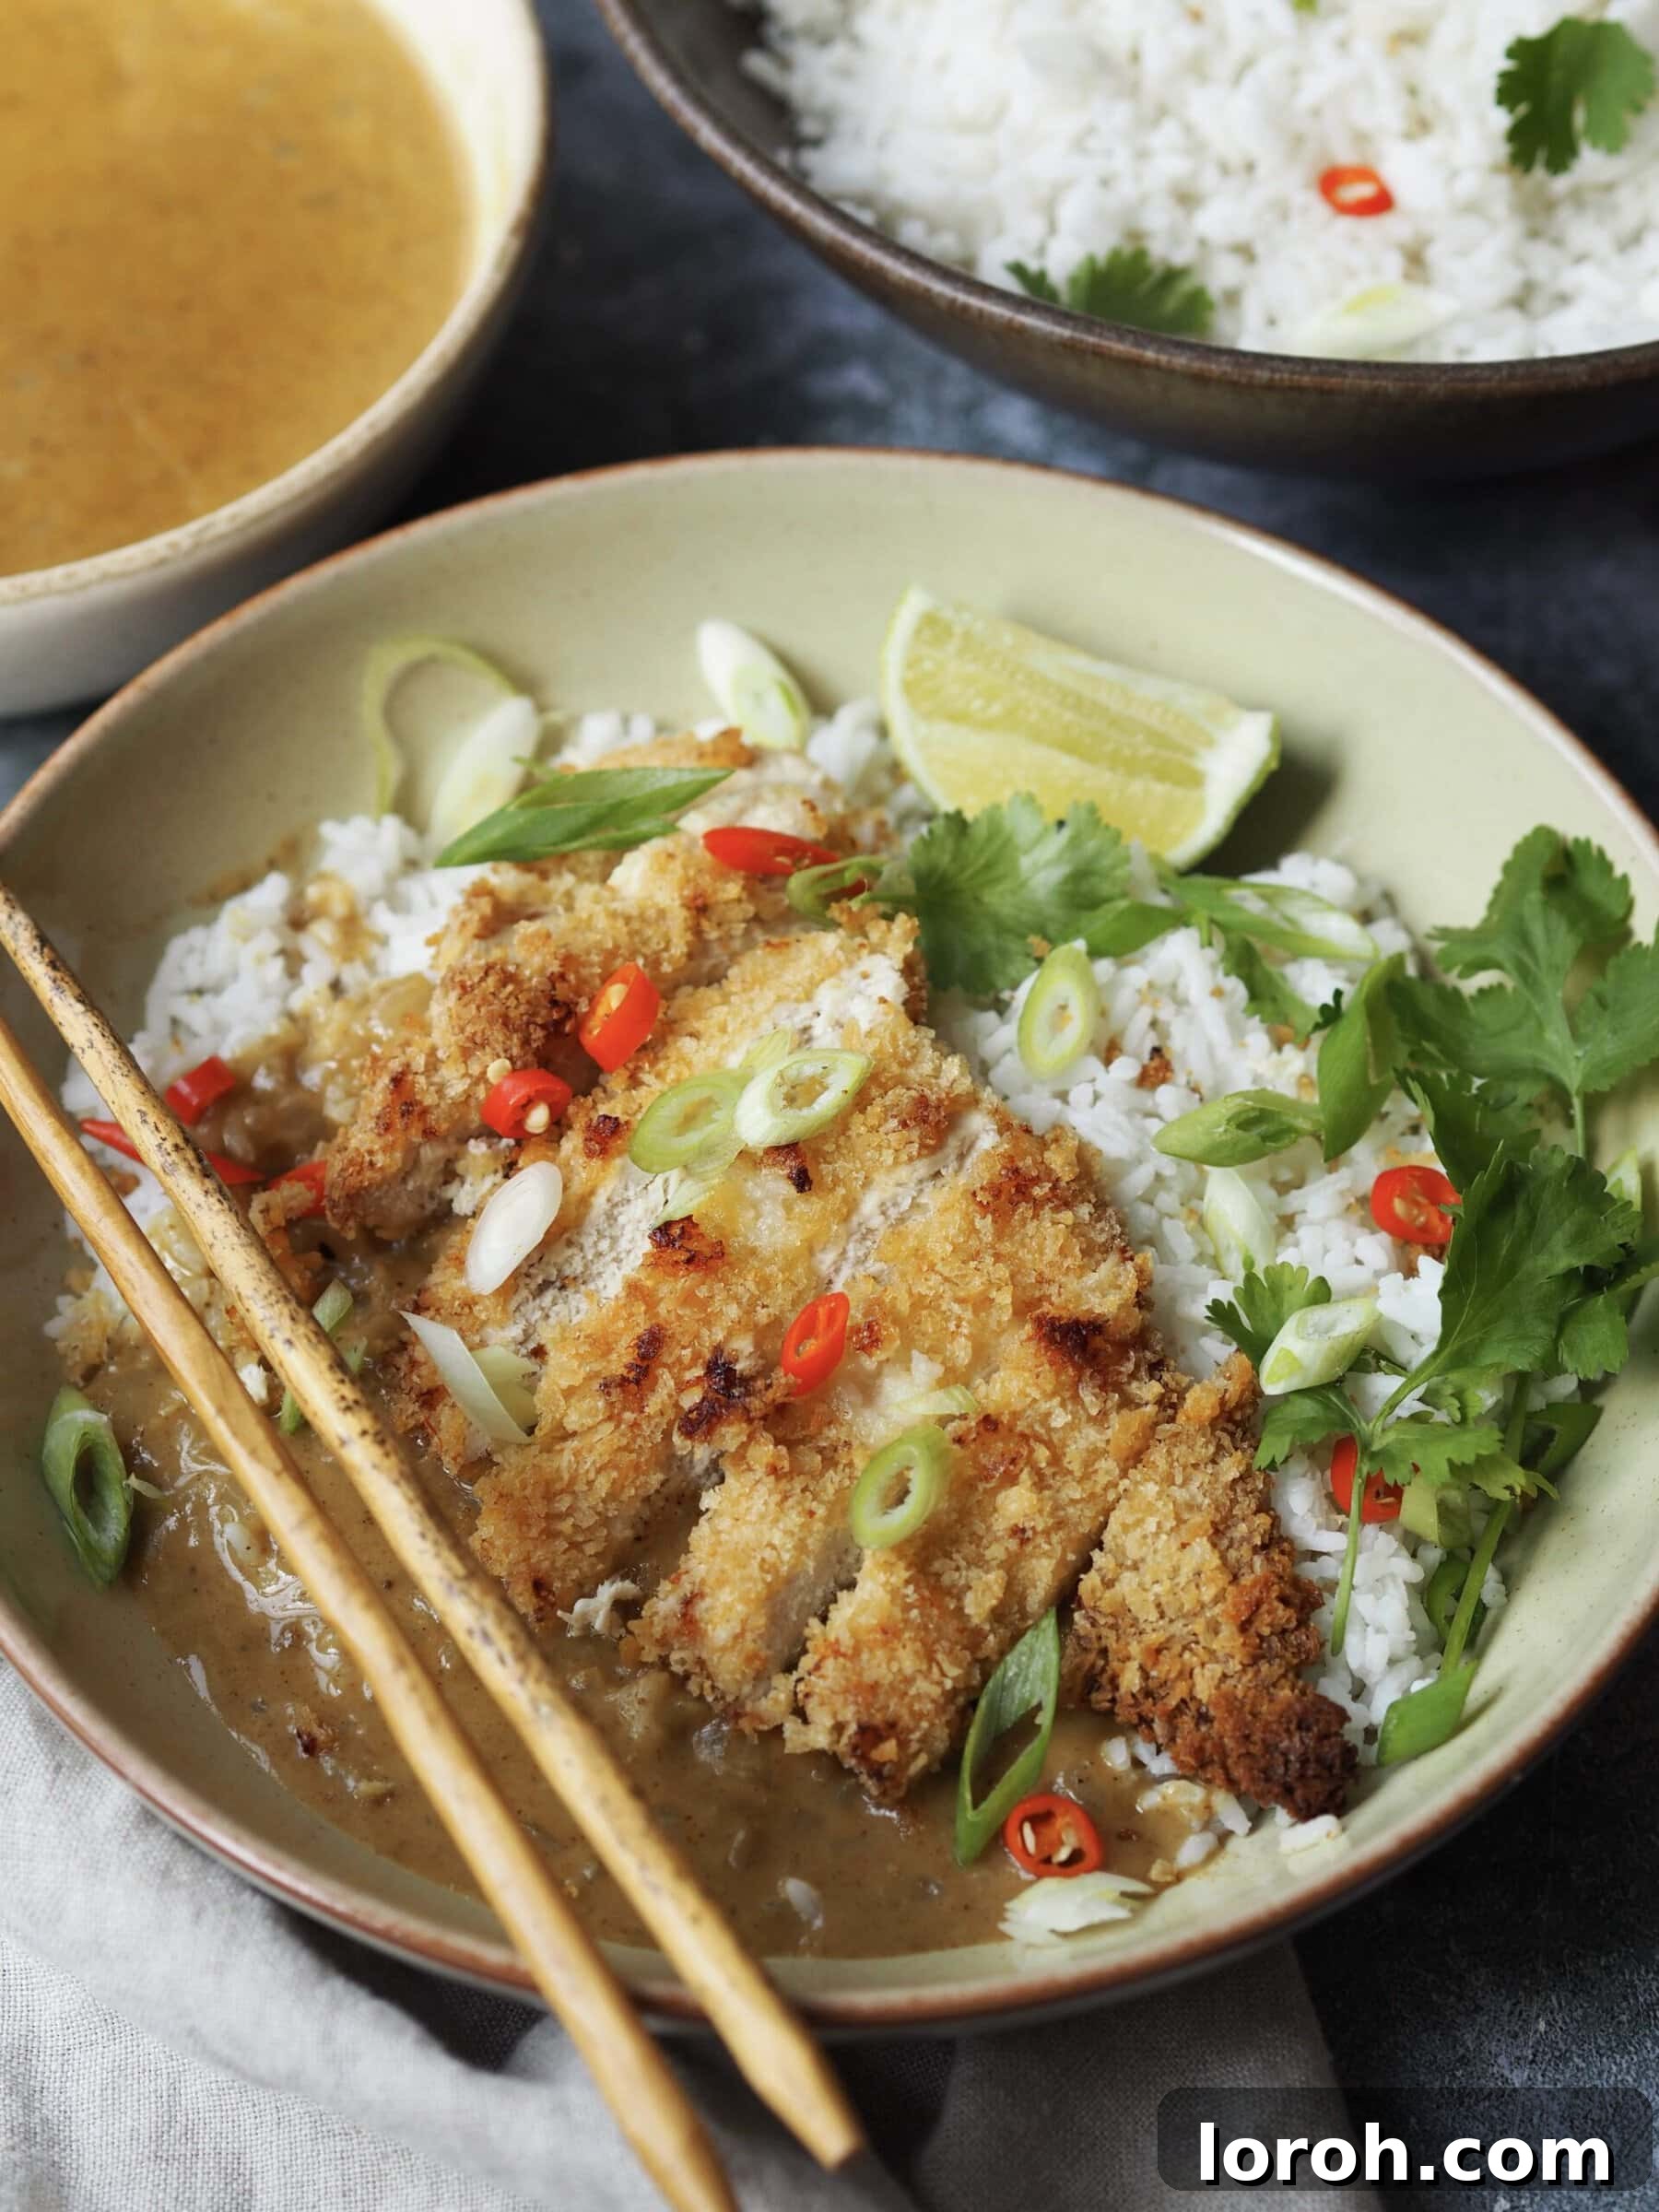
Delight in the irresistible taste and satisfying crunch of a homemade Chicken Katsu Curry, a dish famously brought to the UK by establishments like Wagamama and now a beloved British-Japanese classic. This culinary masterpiece features tender chicken cutlets, perfectly crispy thanks to a clever baking technique, served alongside fluffy, aromatic rice and generously coated in a rich, flavorful Japanese-style coconut curry sauce. What makes this recipe truly exceptional is its weeknight-friendly approach: our chicken katsu is baked, not fried, cutting down on mess and making it a healthier option without compromising on that signature golden crispness. Get ready to transform your dinner table with a dish that promises comfort, flavour, and ease.
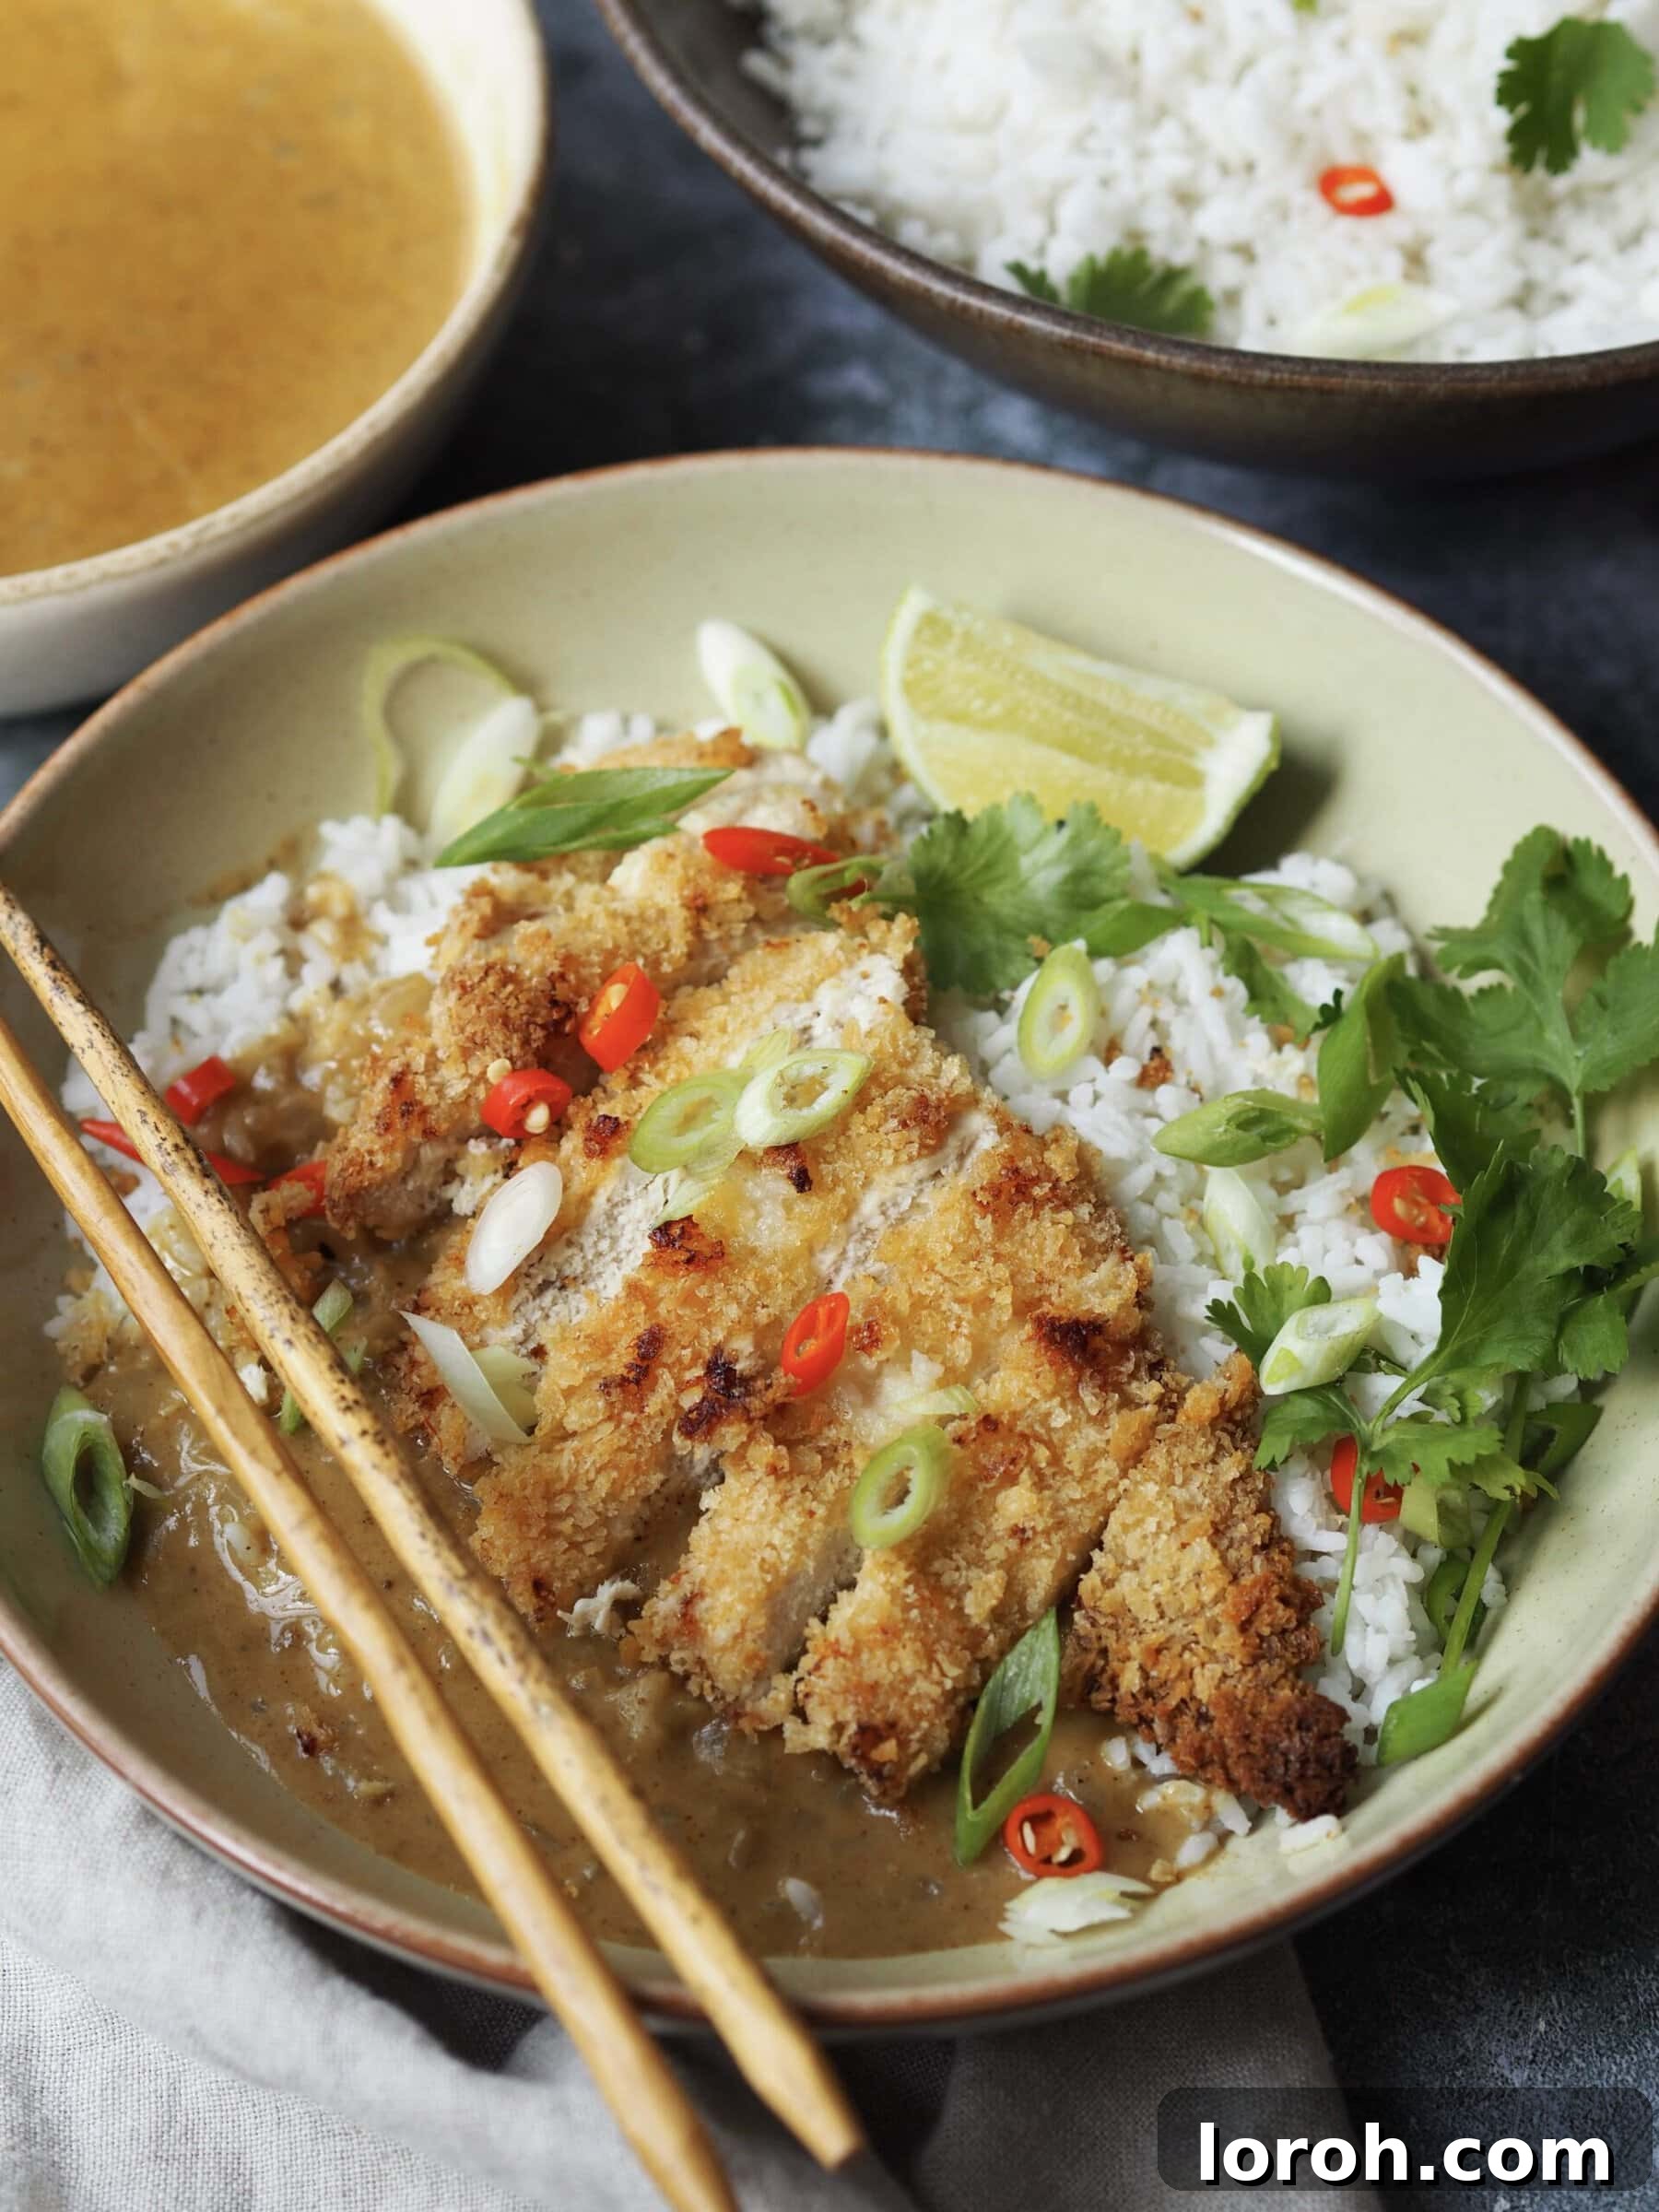
While countless recipes for Chicken Katsu Curry exist, our rendition focuses on making this iconic dish as straightforward and incredibly delicious as possible. We’ve meticulously crafted each step to ensure maximum flavor with minimal effort, allowing you to enjoy an authentic taste experience right in your own kitchen.
Our journey begins with preparing the chicken cutlets. Instead of traditional deep-frying, which can be messy and oil-intensive, we opt for a baking method. Each chicken breast is carefully butterflied, lightly coated in flour, dipped in egg, and then generously crusted with authentic Japanese panko breadcrumbs. Baked to a perfect golden crisp, these cutlets achieve an enviable crunch and succulence, offering a healthier twist that’s perfect for a wholesome family meal.
Concurrently, as the chicken bakes to perfection, a luscious, coconut-infused curry sauce comes to life on the stovetop. This deeply aromatic sauce is a harmonious blend of fragrant spices, creamy coconut milk, and savory chicken stock, simmering gently to develop its full, complex flavour profile. Its velvety texture and rich taste perfectly complement the crispy chicken, creating an unforgettable balance of textures and aromas.
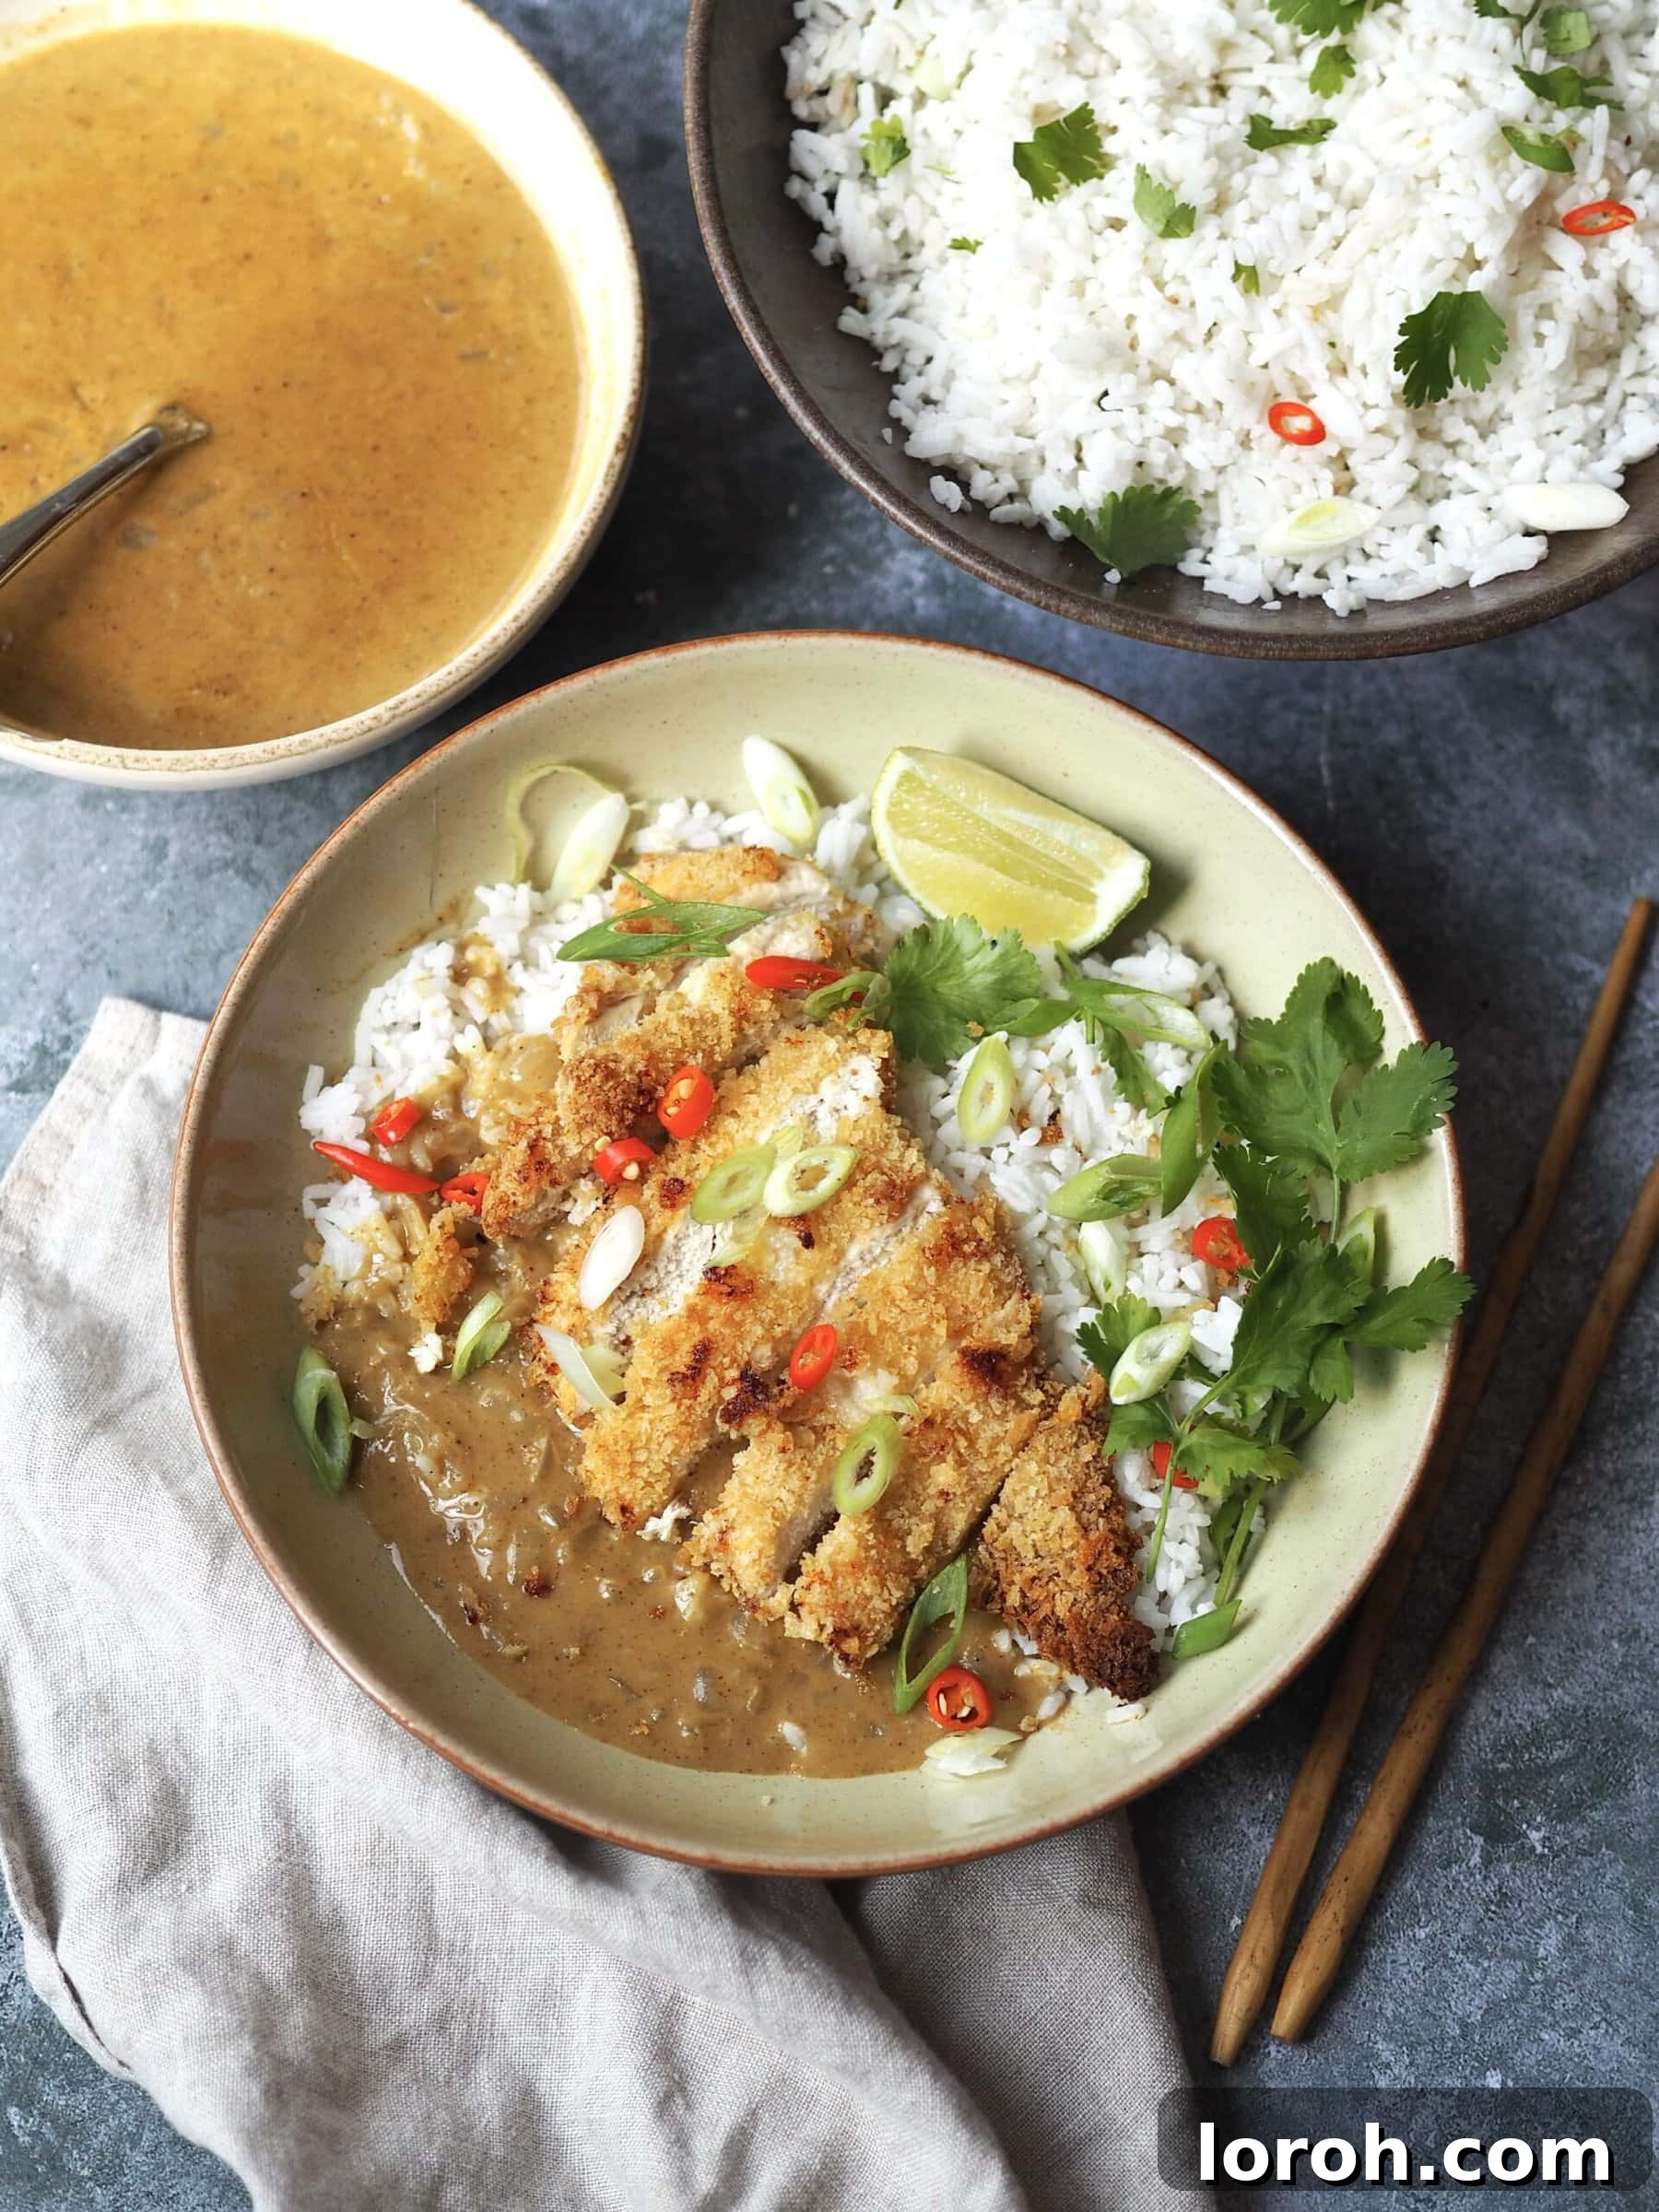
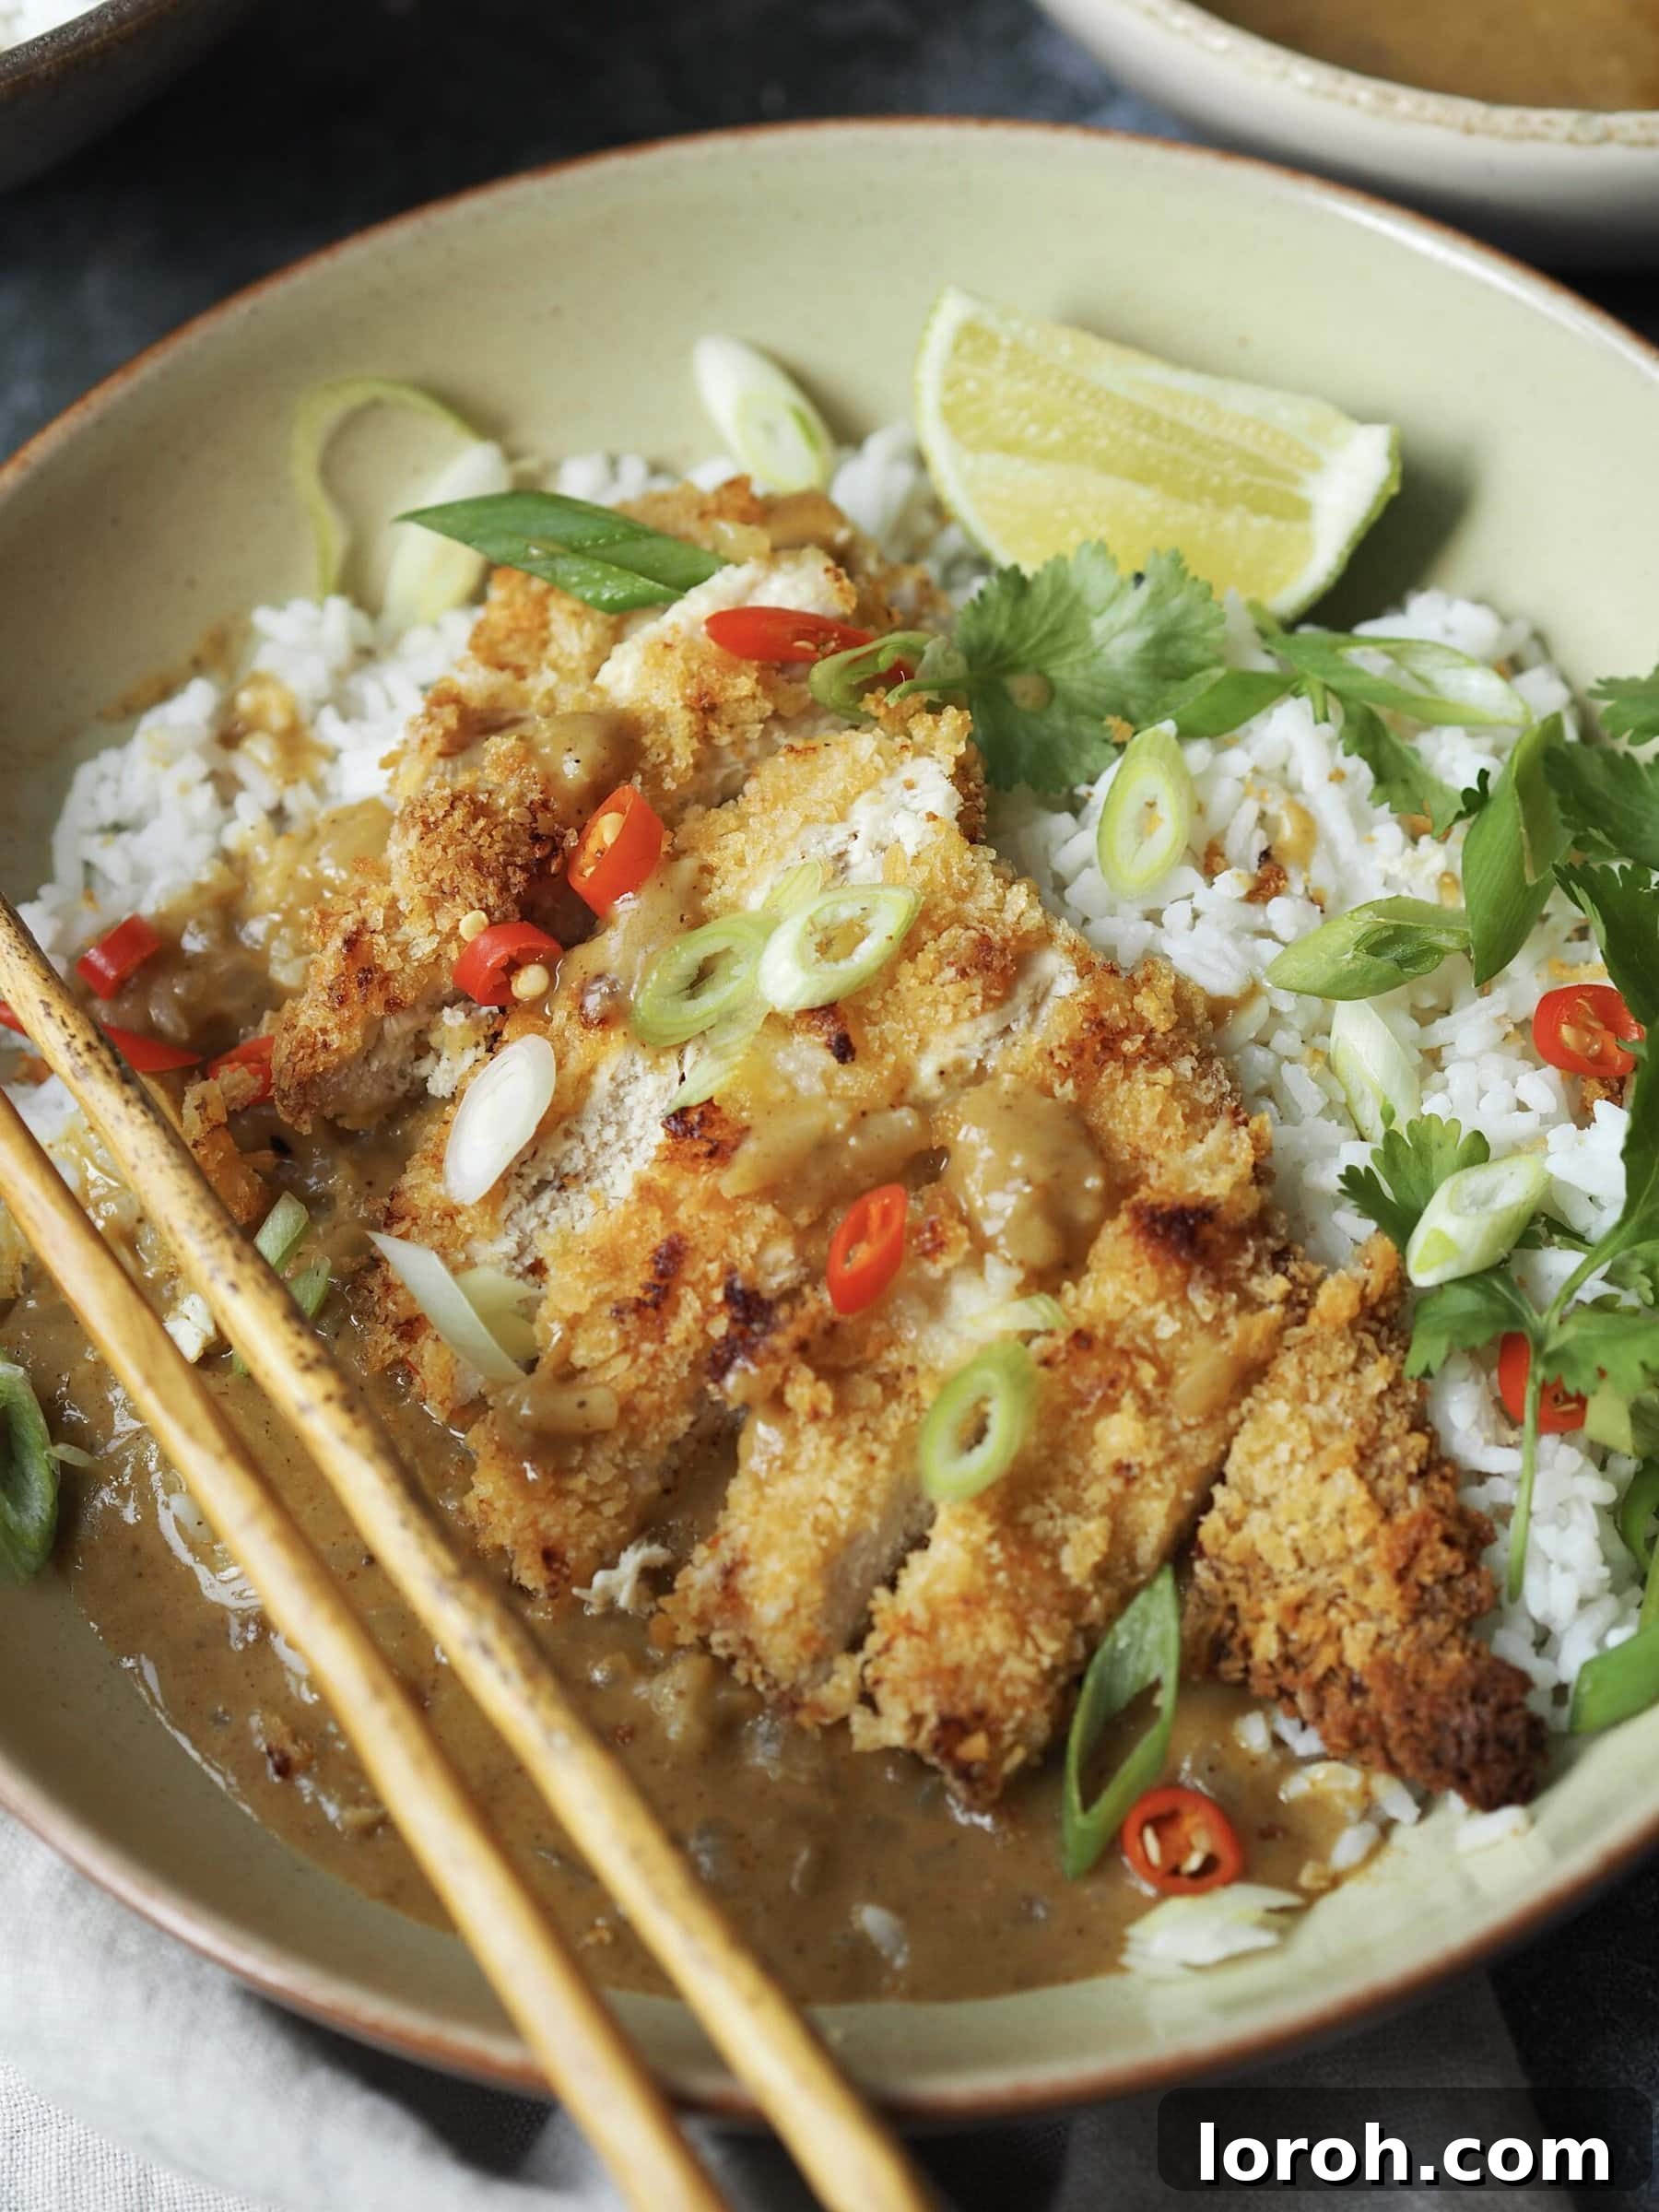
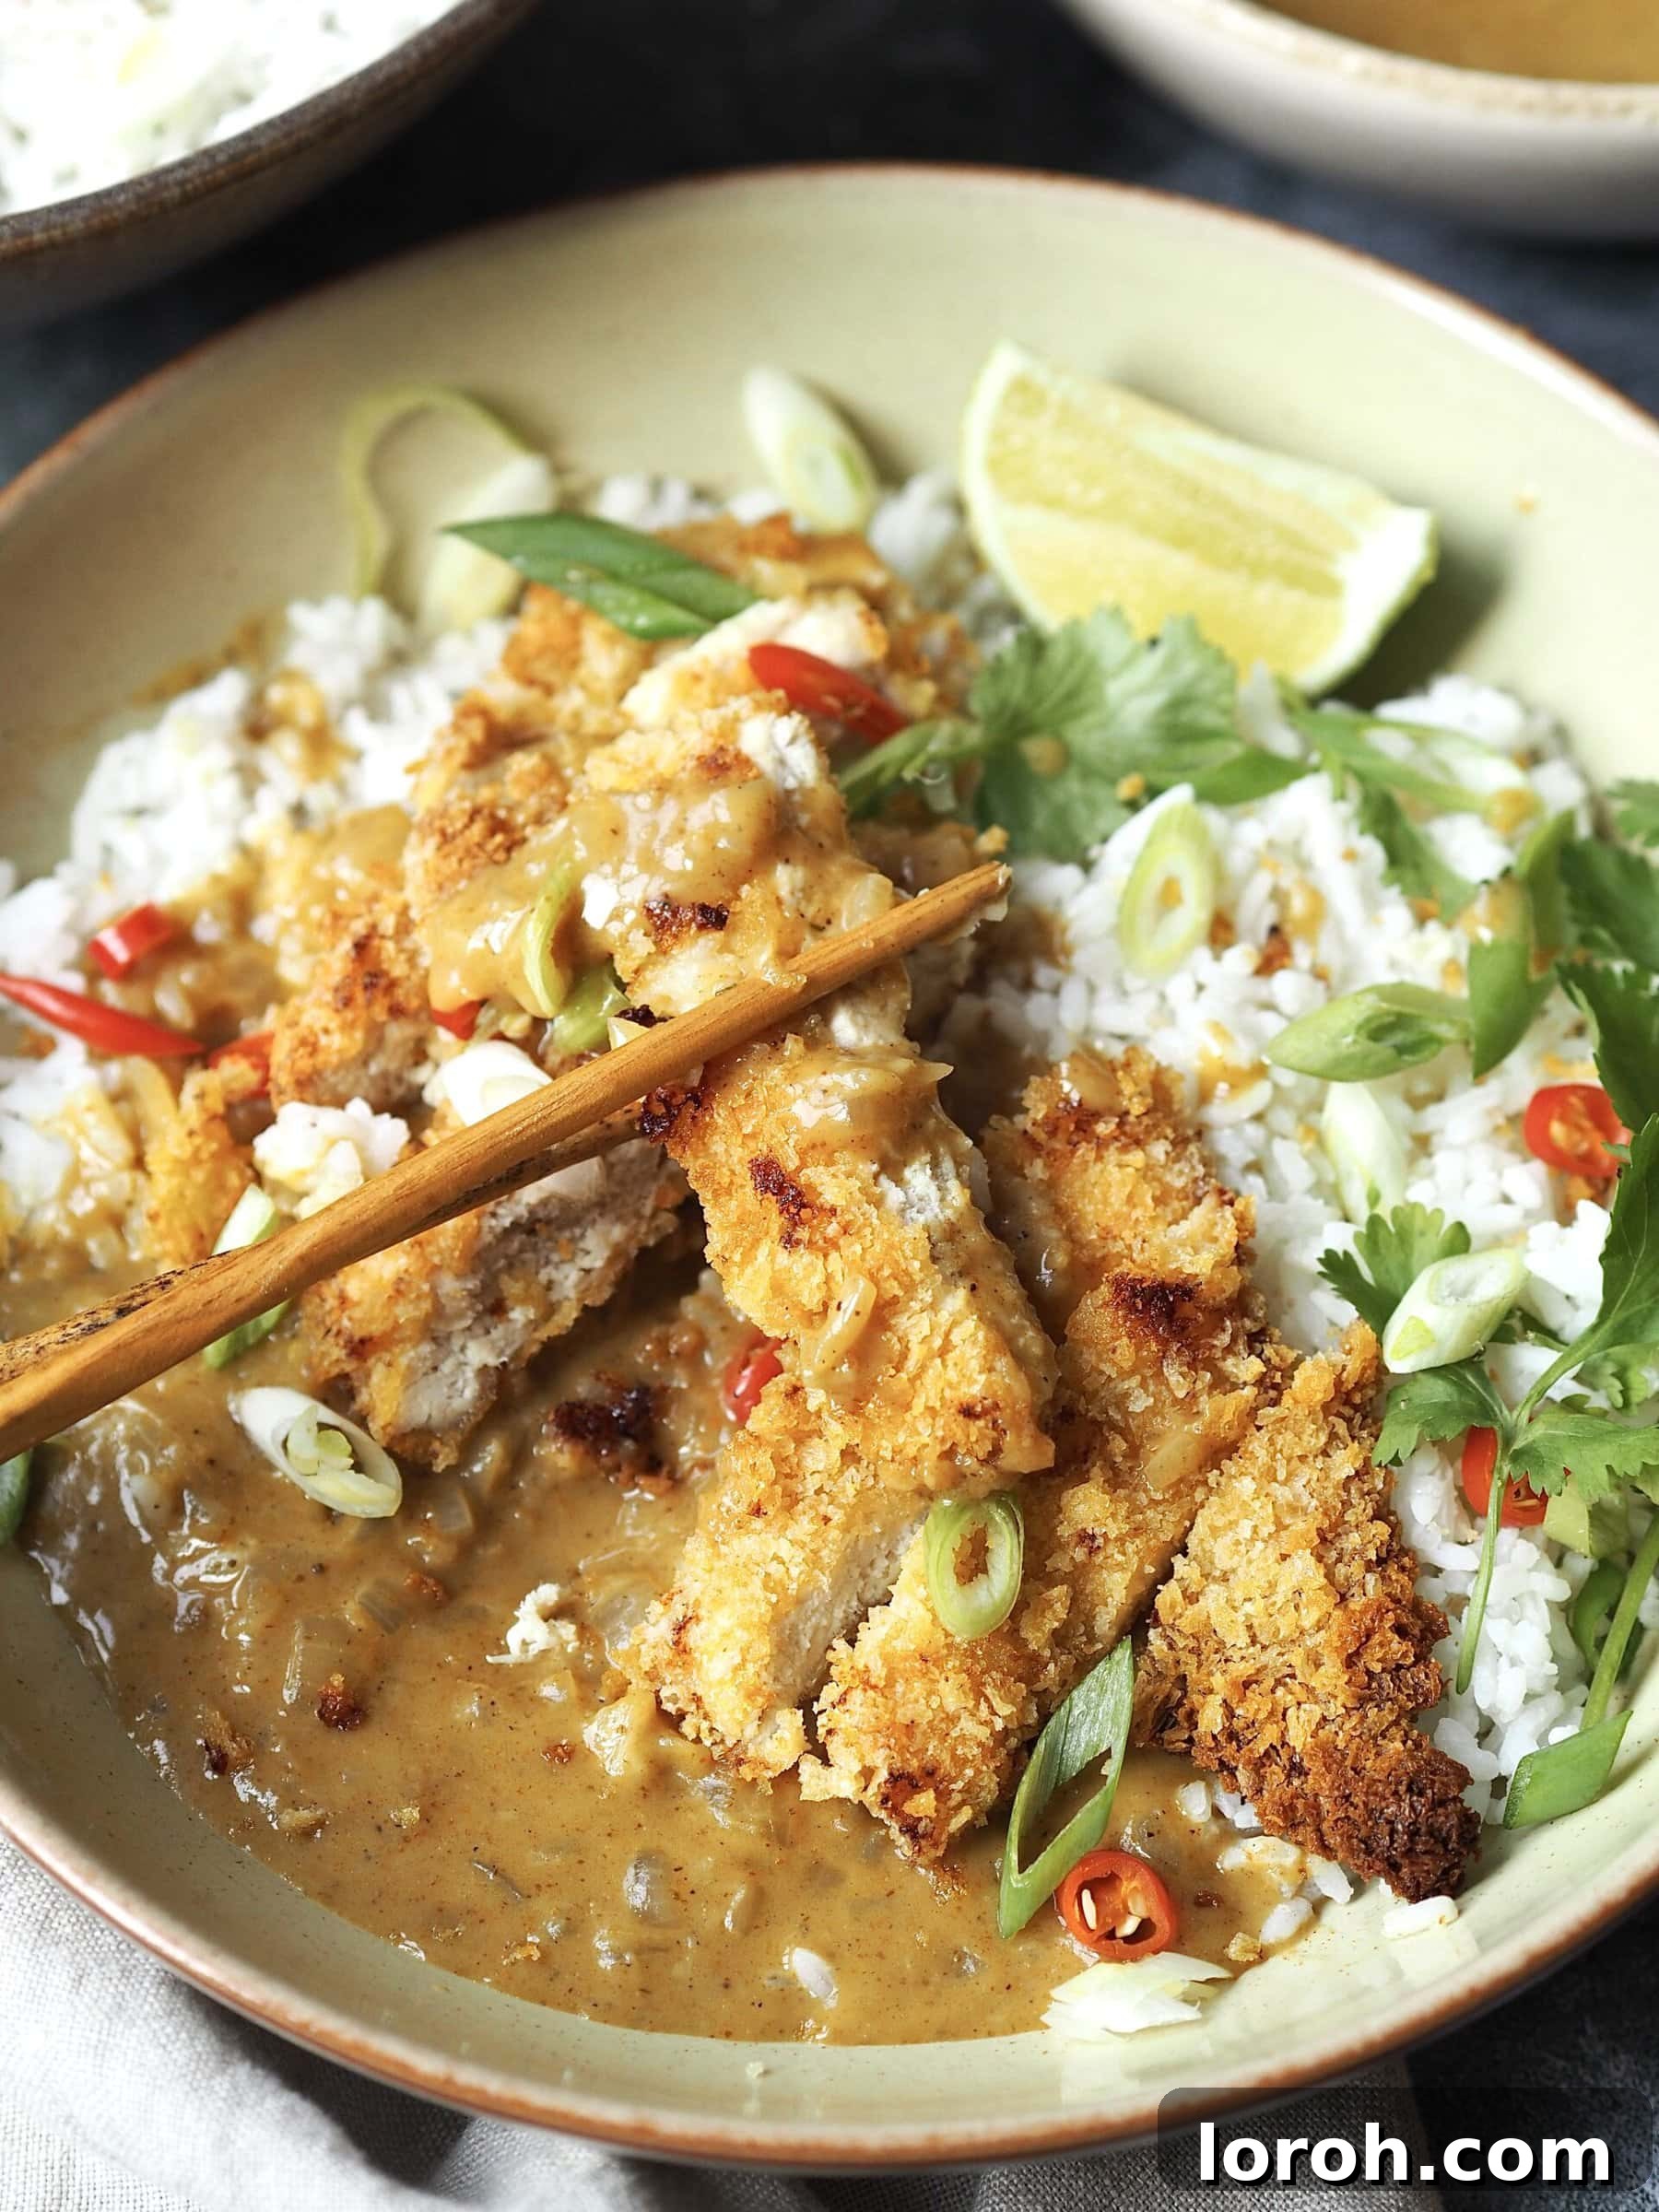
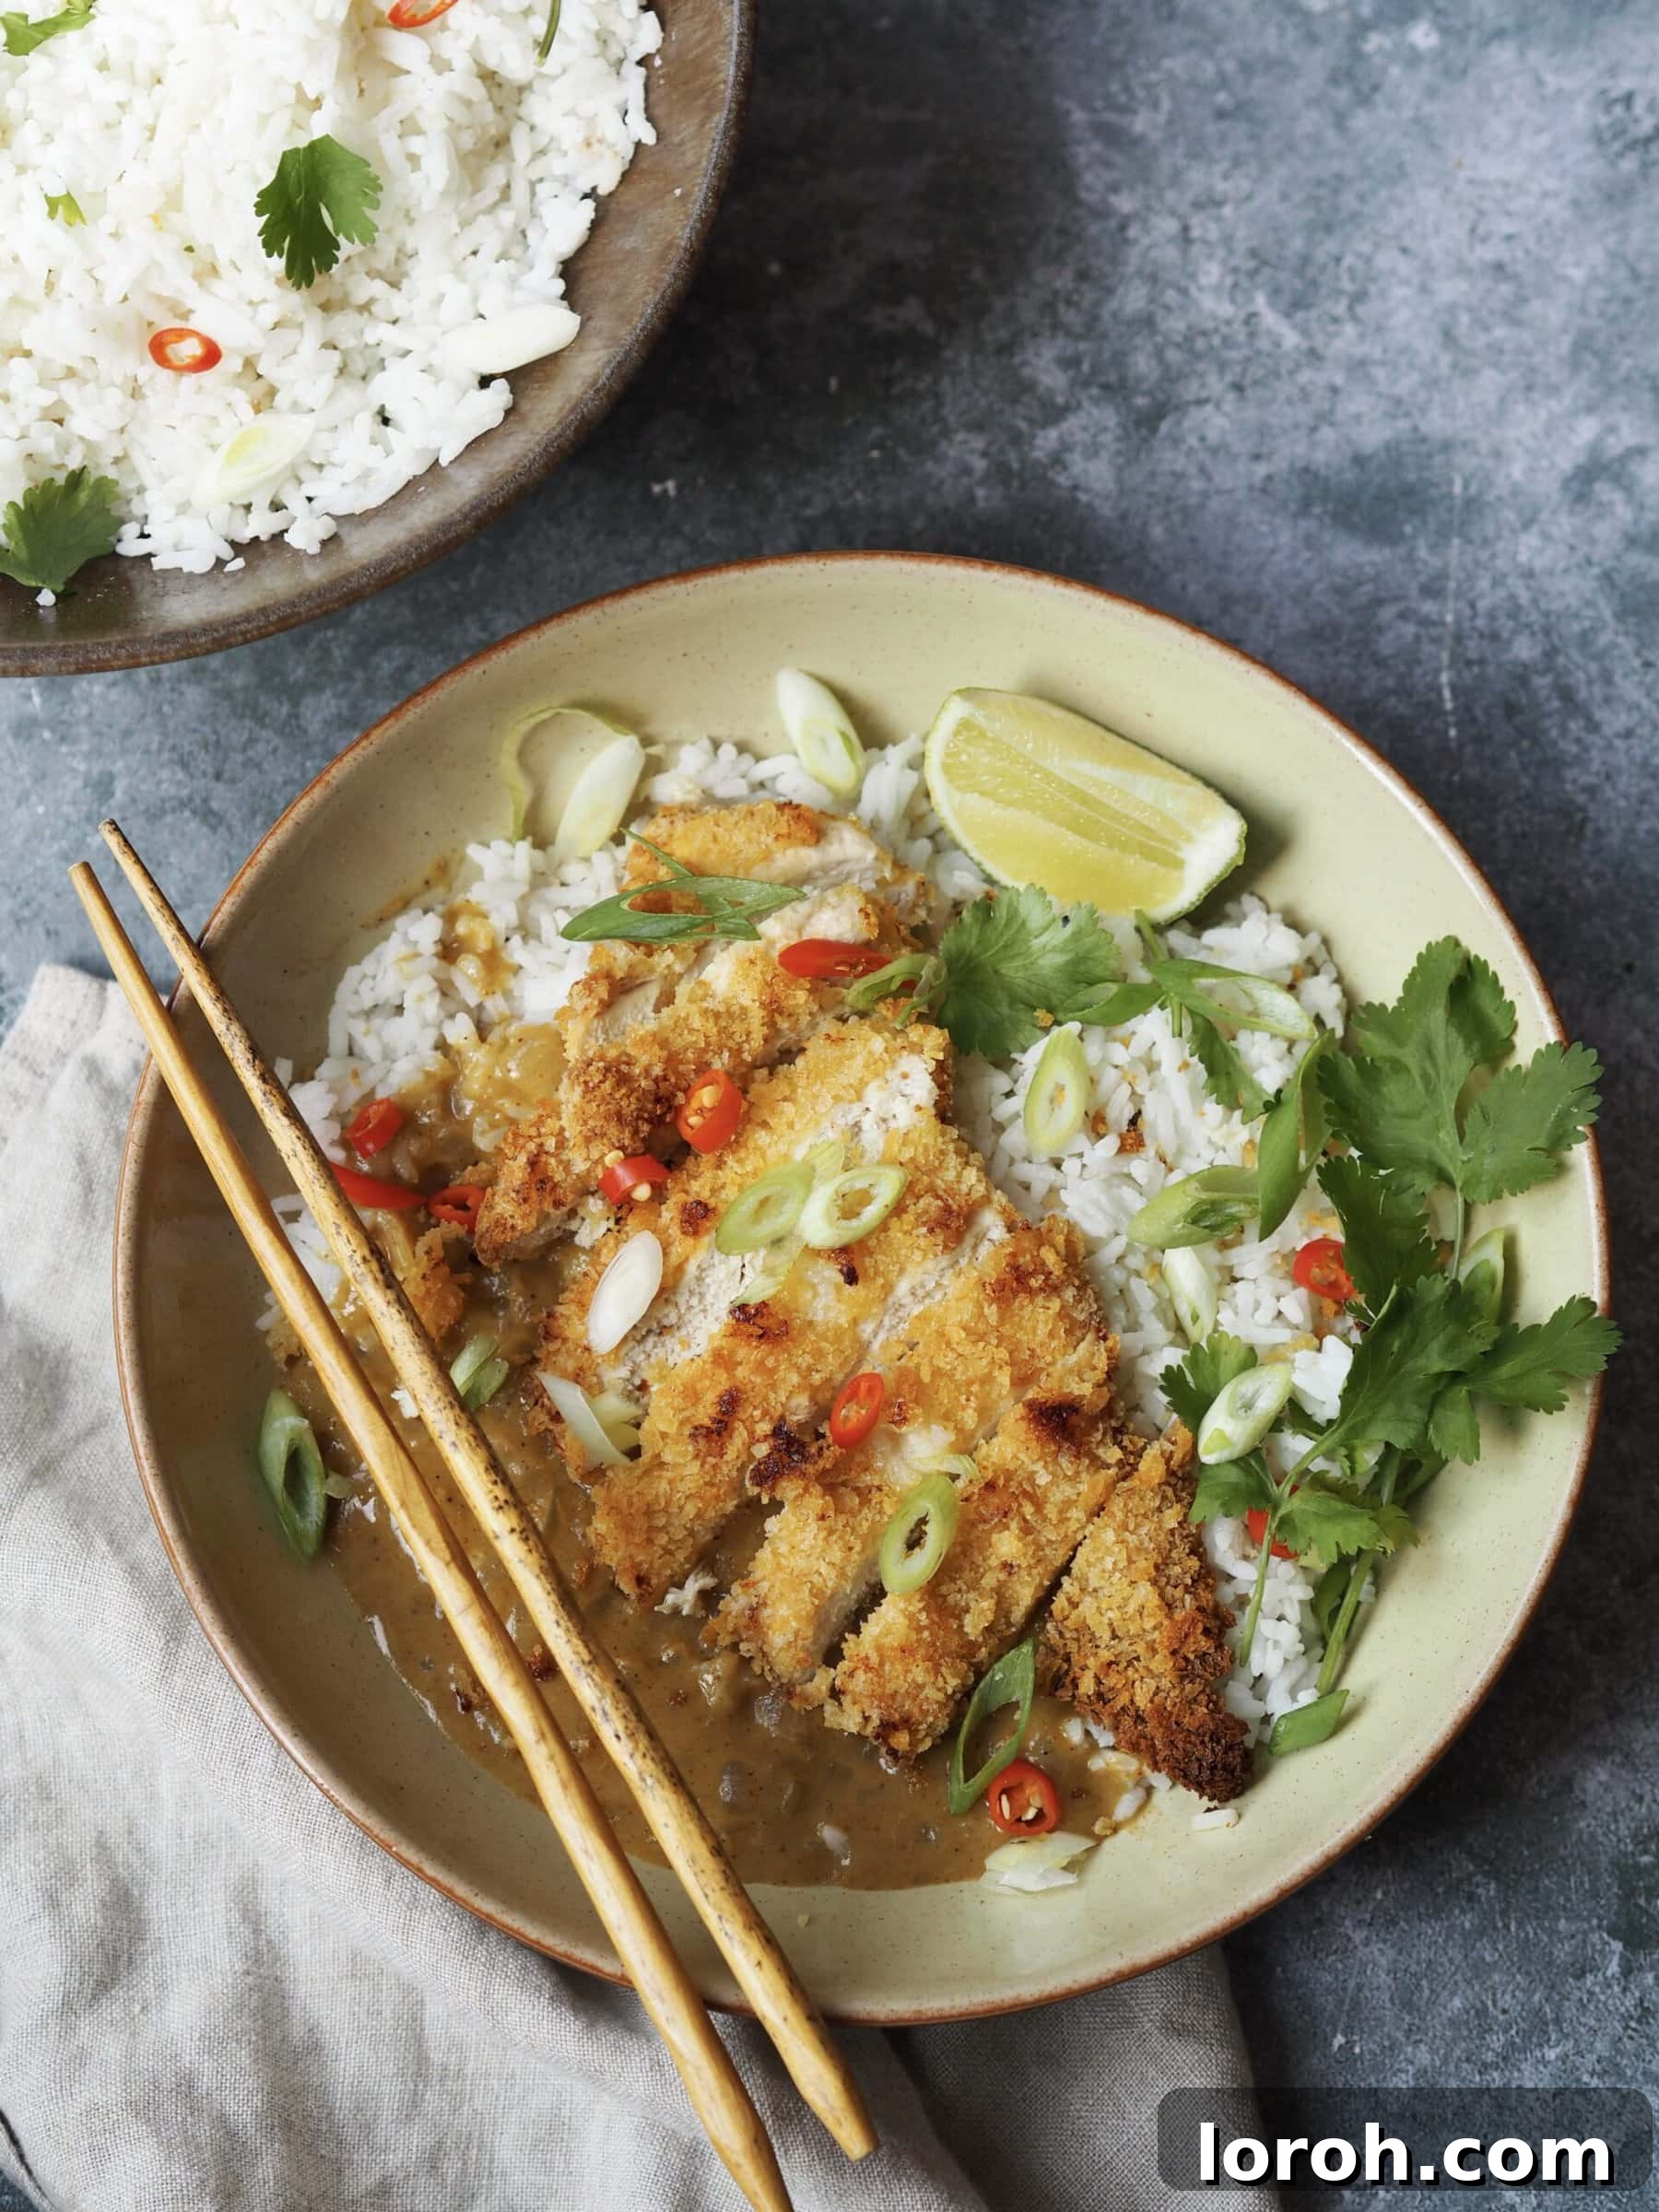
Finally, everything comes together to create a stunning and satisfying meal. The golden-brown katsu and creamy curry sauce are elegantly served over a mound of steaming, fluffy rice. A scattering of vibrant fresh chili and thinly sliced spring onion not only adds a burst of colour but also introduces a delightful crunch and a hint of fresh piquancy, elevating the entire dish. This isn’t just a meal; it’s a sensory experience, designed to become your go-to recipe for effortless weeknight dinners that feel truly special.
Why This Baked Chicken Katsu Curry Recipe Will Become Your New Favourite:
- Healthier & Mess-Free Baking: Unlike traditional fried versions, our chicken katsu is baked, not fried. This significantly reduces the fat content, making it a healthier choice for you and your family. Moreover, it eliminates the splattering oil and laborious clean-up associated with shallow or deep-frying, ensuring a stress-free cooking experience, especially on busy weeknights.
- Lightning Fast – Ready in 35 Minutes: Efficiency is key, and this recipe delivers! By expertly layering the cooking process – preparing the curry sauce and cooking the rice while the chicken bakes in the oven – you can have a complete, restaurant-quality meal on the table in just 35 minutes. It’s the ultimate solution for those evenings when you crave something delicious but are short on time.
- Perfectly Portioned & Easily Scalable: This recipe is designed to comfortably serve two, making it ideal for couples or a cozy dinner. However, its straightforward nature means it can be effortlessly scaled up to feed a larger family or to prepare extra chicken katsu cutlets. These extra cutlets are incredibly versatile and can be enjoyed in salads, wraps, or sandwiches the next day, offering fantastic meal prep opportunities.
- Authentic Japanese Flavors at Home: We guide you through creating a genuinely aromatic and rich Japanese-style coconut curry sauce that captures the essence of this beloved dish. Paired with the crispy chicken and perfectly cooked rice, every bite transports you to the vibrant culinary scene of Japan, all from the comfort of your kitchen.
- Simple & Accessible Ingredients: You won’t need to hunt for obscure ingredients. This recipe utilizes readily available components found in most supermarkets, ensuring that delicious Katsu Curry is always within reach.
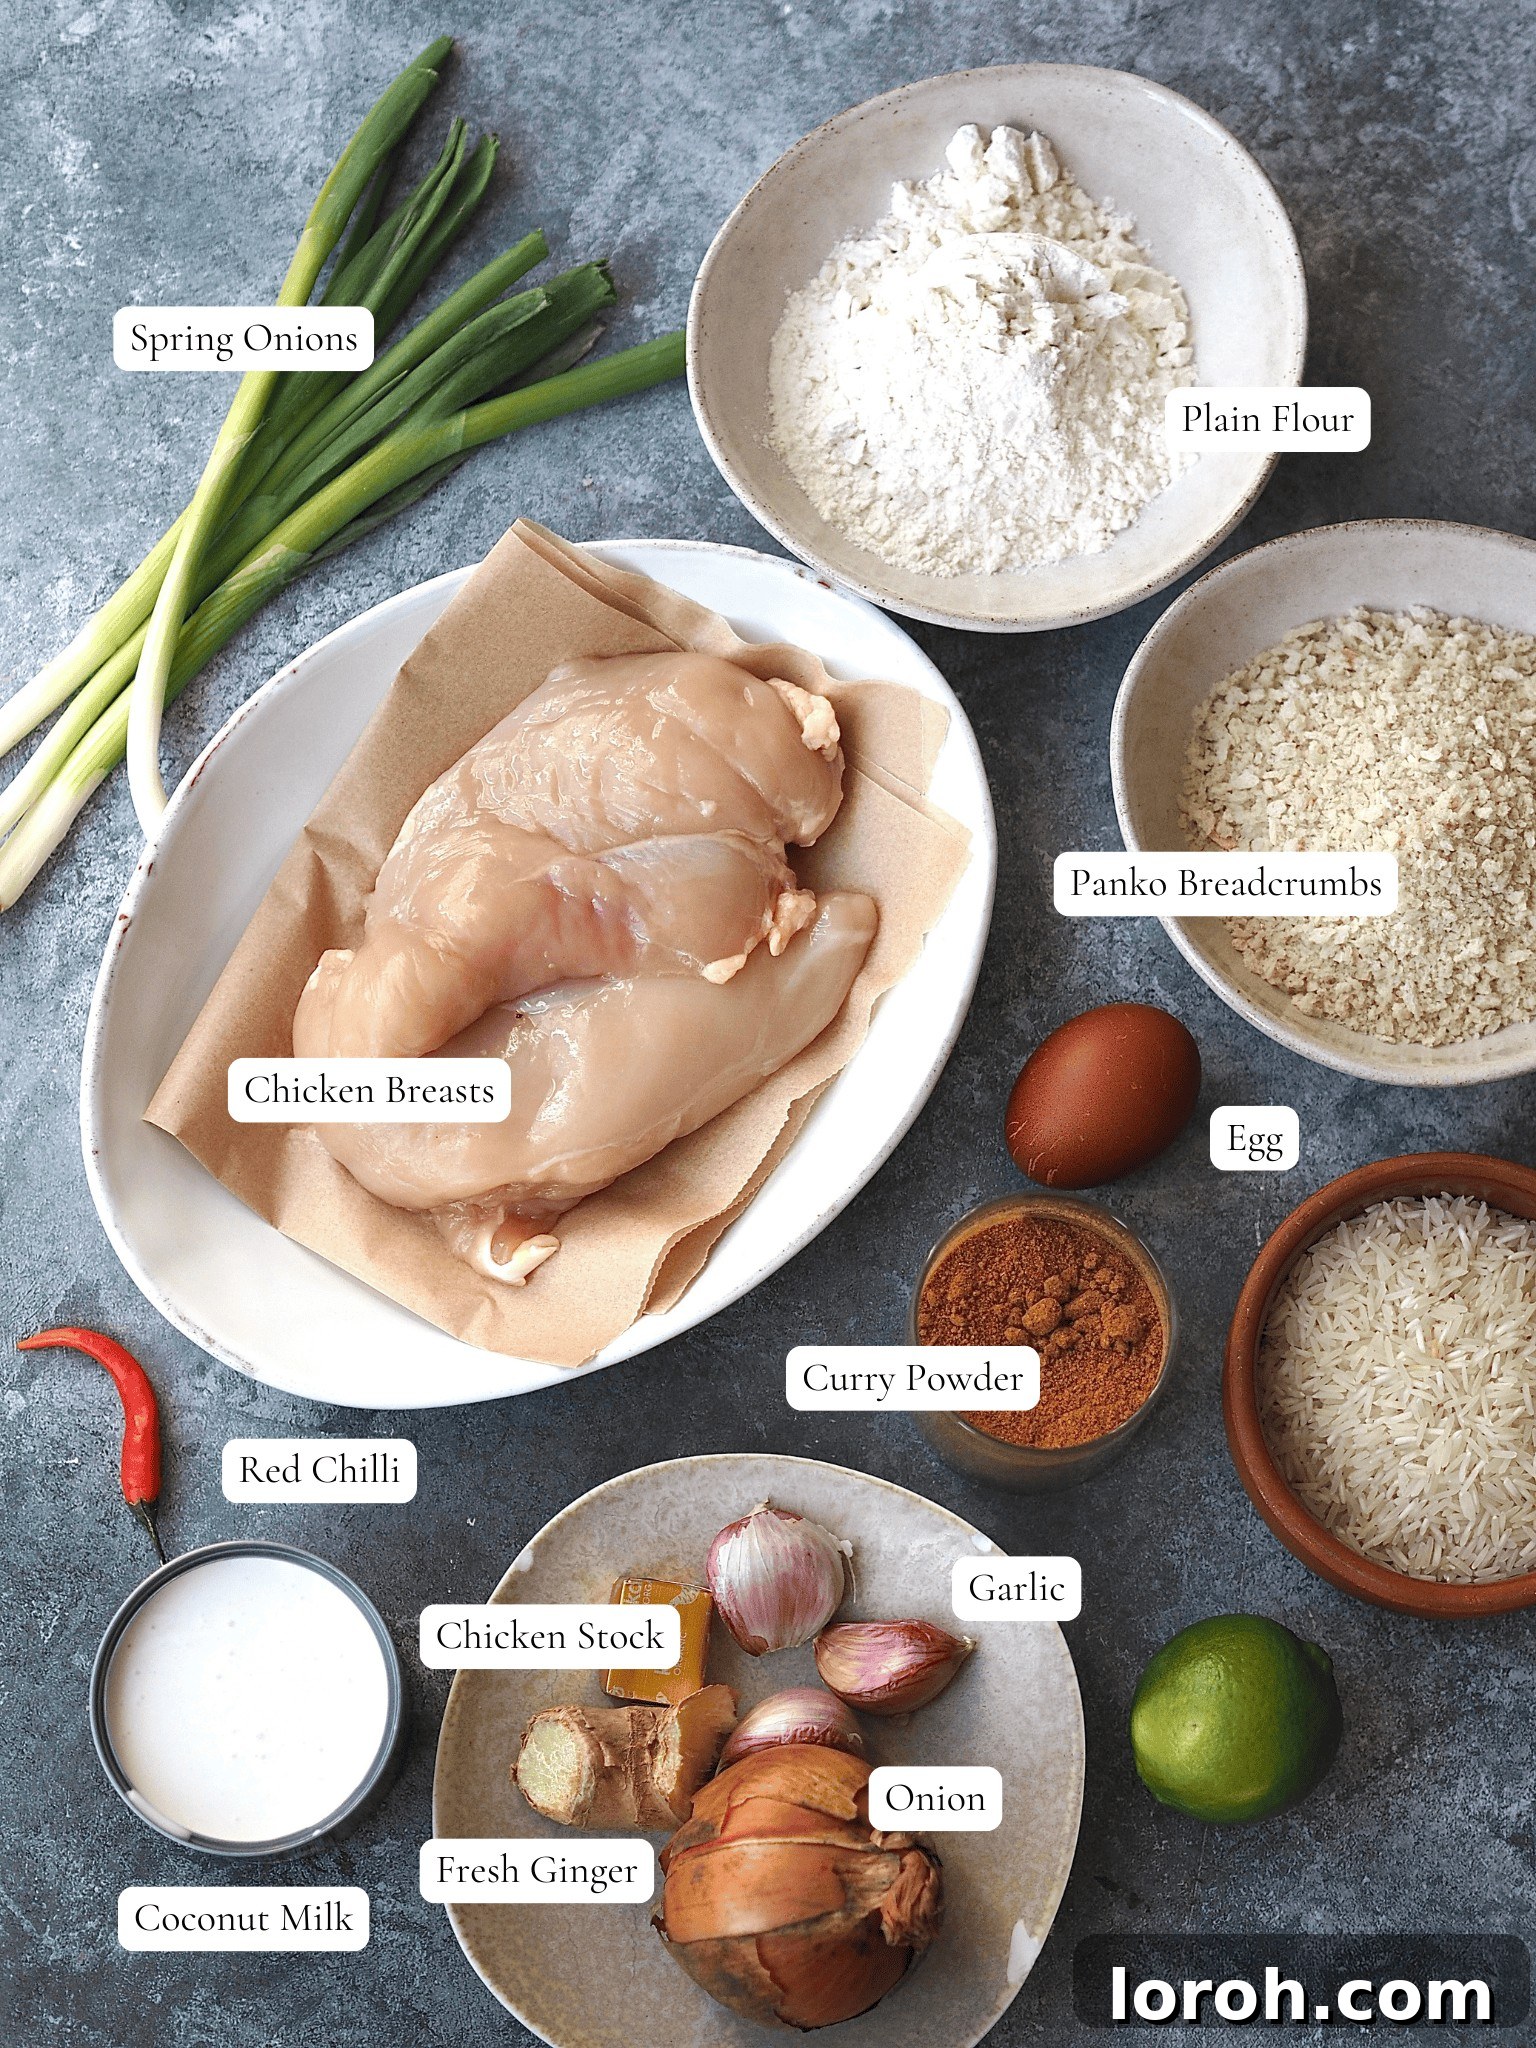
Essential Ingredients for Your Chicken Katsu Curry:
Crafting the perfect Chicken Katsu Curry starts with selecting the right ingredients. Here’s a detailed look at what you’ll need and why each component is vital:
- Chicken Breasts: We recommend using large chicken breasts for this recipe. Butterflying them lengthwise allows you to create thin, even cutlets. This is crucial for consistent cooking, ensuring the chicken bakes through perfectly and remains incredibly tender without drying out, while also providing a larger surface area for that delicious panko crust.
- Panko Breadcrumbs: These are non-negotiable for authentic katsu! Panko, a Japanese-style breadcrumb, is distinctly different from regular breadcrumbs. Its larger, flakier, and airier texture absorbs less oil (even when baked) and yields an exceptionally light, incredibly crispy, and perfectly golden exterior that is the hallmark of a great katsu. You can find panko in most major supermarkets, often in the international foods aisle, or at Asian grocery stores. If you’re feeling adventurous and can’t find them, you can also make your own at home.
- Plain Flour: Also known as all-purpose flour in the US, this provides the initial coating for the chicken. It helps the egg adhere properly, which in turn creates a strong bond for the panko breadcrumbs, ensuring a robust and even crust.
- Egg: A single egg, lightly beaten, acts as the binding agent between the flour and the panko. It’s essential for creating a uniform, adhesive layer that allows the breadcrumbs to stick firmly to the chicken.
- Sunflower Oil: Or any other neutral-flavored oil with a high smoking point, such as canola or vegetable oil. A small amount is used to lightly brush the panko-coated chicken cutlets before baking, which helps achieve that beautiful golden-brown color and extra crispiness in the oven.
- Onion: A single white or brown onion forms the aromatic base of our curry sauce. When finely diced and softened, it releases its natural sweetness, contributing depth and complexity to the overall flavor profile of the curry.
- Fresh Ginger: For the most vibrant and aromatic curry sauce, fresh ginger is paramount. Grated, it infuses the sauce with a warm, slightly spicy, and wonderfully fragrant note. While fresh is always best, you can substitute a heaped 1/4 teaspoon of ground ginger in a pinch, though the flavour won’t be as bright.
- Garlic Cloves: Two cloves of garlic, minced or grated, add a pungent and savory depth to the sauce. Just one large garlic clove is generally equivalent to 1 teaspoon of pre-chopped garlic, for reference.
- Curry Powder: This is where the magic happens! For an authentic Japanese Katsu Curry flavour, a Japanese curry powder is the best choice. It often contains a unique blend of spices that gives the sauce its distinctive mild yet rich profile. If you can’t find Japanese specific curry powder, a good quality mild or medium British-style curry powder will also yield delicious results.
- Chicken Stock: Approximately 300ml (or 1 1/4 cups) of chicken stock forms the liquid base of the curry sauce, enriching its flavour. You can use fresh homemade stock for the best taste, or a good quality stock cube dissolved in hot water. We particularly like the Kallo organic chicken stock cubes for their natural flavour.
- Coconut Milk: Half a can (about 200ml) of full-fat coconut milk adds incredible creaminess and a subtle sweetness to the curry sauce, balancing the spices beautifully. Look for a can that lists only coconut and water in the ingredients, avoiding those with unnecessary additives or stabilizers for the purest flavour and best texture.
- Soy Sauce: A dash of dark soy sauce contributes umami, a rich savory depth, and a touch of color to the curry sauce. Dark soy sauce is generally preferred when recipes simply call for ‘soy sauce’ due to its more robust flavour profile.
- Basmati Rice: To serve alongside, basmati rice is an excellent choice due to its long, separate grains and delicate aroma. However, Jasmine rice or even traditional sushi rice also make fantastic accompaniments, offering different textures and subtle flavours to complement the katsu.
- Fresh Red Chilli: (Optional, to serve) Thinly sliced red chili provides a fresh kick and vibrant colour for those who enjoy a bit of heat.
- Spring Onion: (Optional, to serve) Finely sliced spring onion (scallions) adds a crisp texture, a mild oniony bite, and a pop of green freshness that brightens the entire dish.
Creative Substitutions and Delicious Variations:
This Chicken Katsu Curry recipe is wonderfully versatile, allowing for easy adjustments to suit dietary needs or simply to explore new flavour combinations:
- Curry Powder Options: While a Japanese curry powder is recommended for an authentic taste profile, don’t hesitate to experiment. A good quality regular British-style curry powder will also create a wonderfully aromatic and delicious curry sauce, albeit with a slightly different spice blend. For an even quicker sauce, Japanese roux cubes (often found in blocks) are an excellent option. If using roux cubes, remember to omit the extra tablespoon of plain flour from the sauce recipe, as the roux itself acts as the thickening agent, and follow the package instructions for liquid ratios to ensure the perfect consistency.
- Gluten-Free Alternative: Adapting this dish for a gluten-free diet is simple. Replace standard panko breadcrumbs with gluten-free panko breadcrumbs, which are widely available and maintain that signature crisp texture. For the flour coatings, use cornstarch (cornflour in the UK) or a gluten-free all-purpose flour blend in place of plain flour. In the curry sauce, substitute the soy sauce with coconut aminos, which offer a similar umami flavour without the gluten, ensuring your katsu curry is completely gluten-free without sacrificing taste.
- Pork Katsu (Tonkatsu): For a traditional Japanese twist, transform this into Pork Katsu, or “Tonkatsu.” Boneless pork steaks, such as loin or tenderloin, work beautifully. Simply bash them out with a rolling pin or meat mallet to an even thickness (about 1/2 inch). This ensures they cook uniformly and remain incredibly tender. Follow the same breading and baking instructions as for the chicken, and you’ll have a hearty and equally delicious alternative.
- Vegetarian Katsu: For a delightful vegetarian version, swap the chicken for thick slices of firm tofu, halloumi, or even aubergine (eggplant). Prepare them by breading and baking as described for the chicken. For the sauce, use vegetable stock instead of chicken stock, creating a rich and satisfying plant-based curry that doesn’t compromise on flavour.
- Spice Level Adjustment: If you prefer a spicier curry, consider adding a pinch of cayenne pepper or a small amount of finely minced fresh red chili directly into the sauce while it simmers. For a milder flavour, reduce the amount of curry powder or choose a mild blend.
Step-by-Step Guide to Your Perfect Chicken Katsu Curry:
Follow these detailed steps to create a truly delicious and satisfying Chicken Katsu Curry. While we provide a comprehensive recipe card below, this visual guide offers a clear progression through the cooking process:
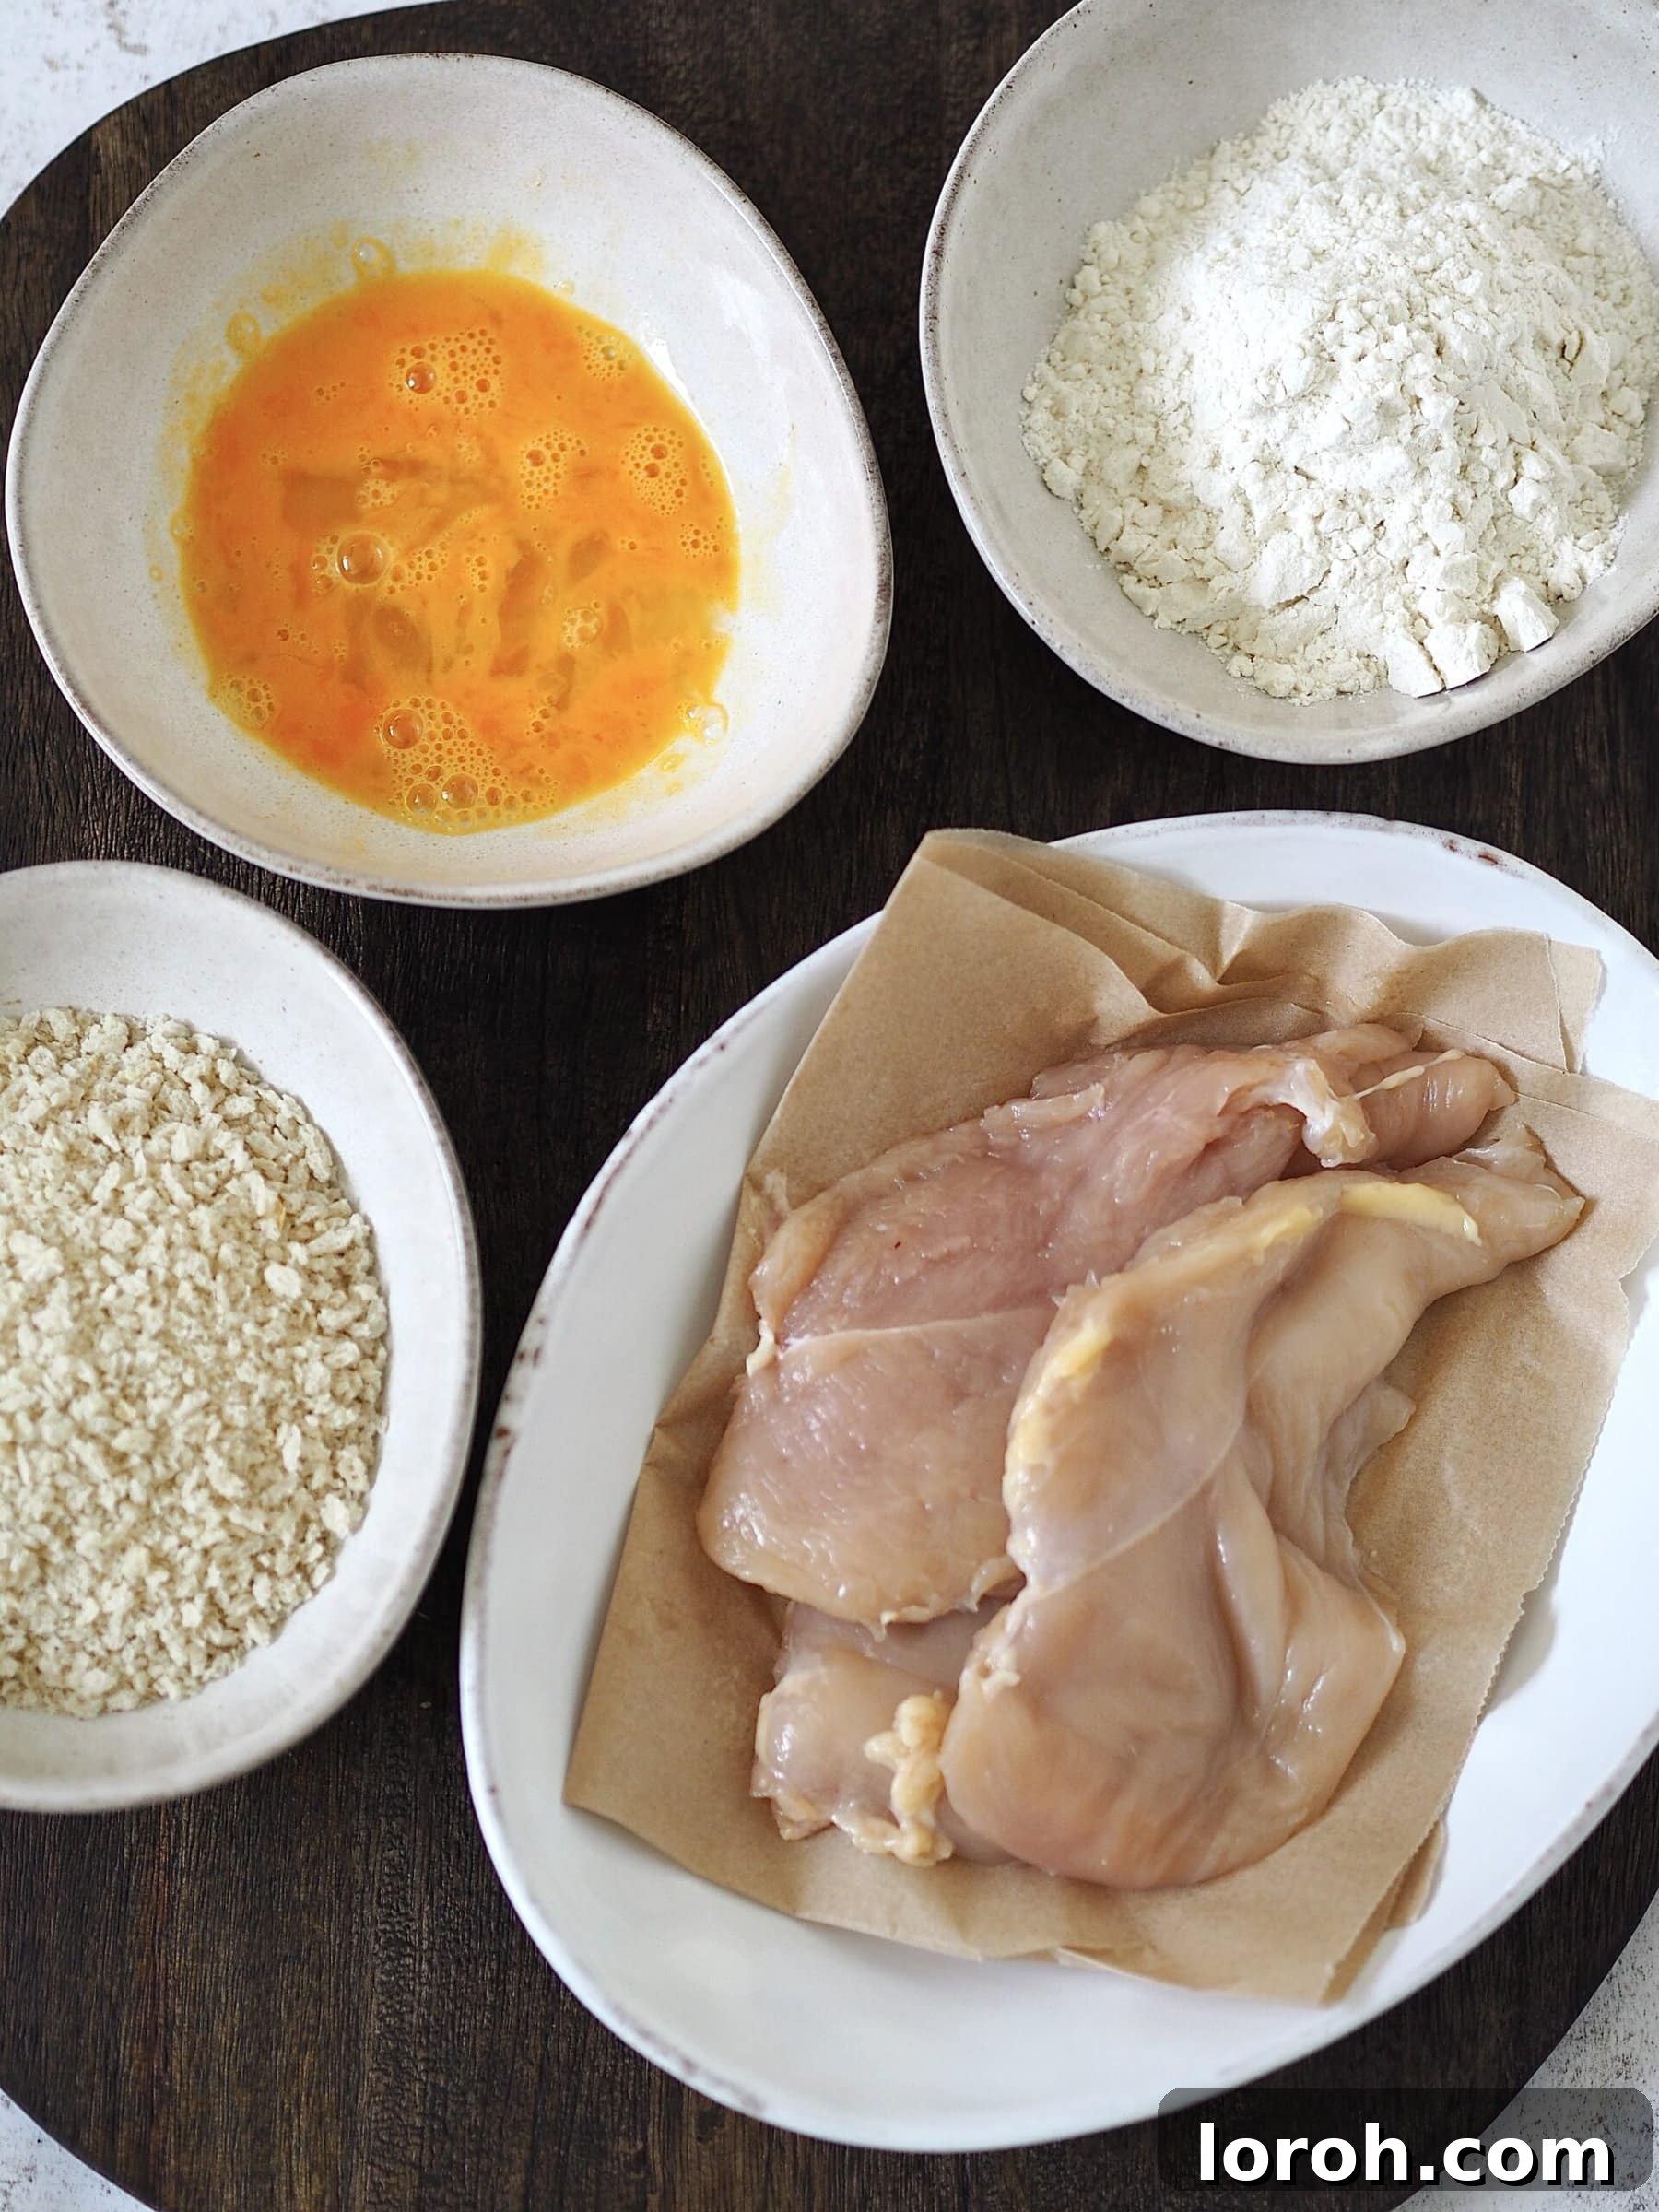
Step ONE: Prepare the Chicken Breast. Begin by placing one large chicken breast on a clean cutting board. Using a sharp knife, carefully butterfly the chicken breast lengthwise, cutting horizontally through the middle almost all the way to the other side, then opening it up like a book. This creates two thinner, more uniform pieces of chicken, which ensures even cooking and a tender result.
Step TWO: Set Up Breading Stations. Prepare your breading assembly line. Arrange three separate shallow bowls or dishes: one for the plain flour, one for the lightly beaten egg, and one for the panko breadcrumbs. This organized setup will make the coating process smooth and efficient.
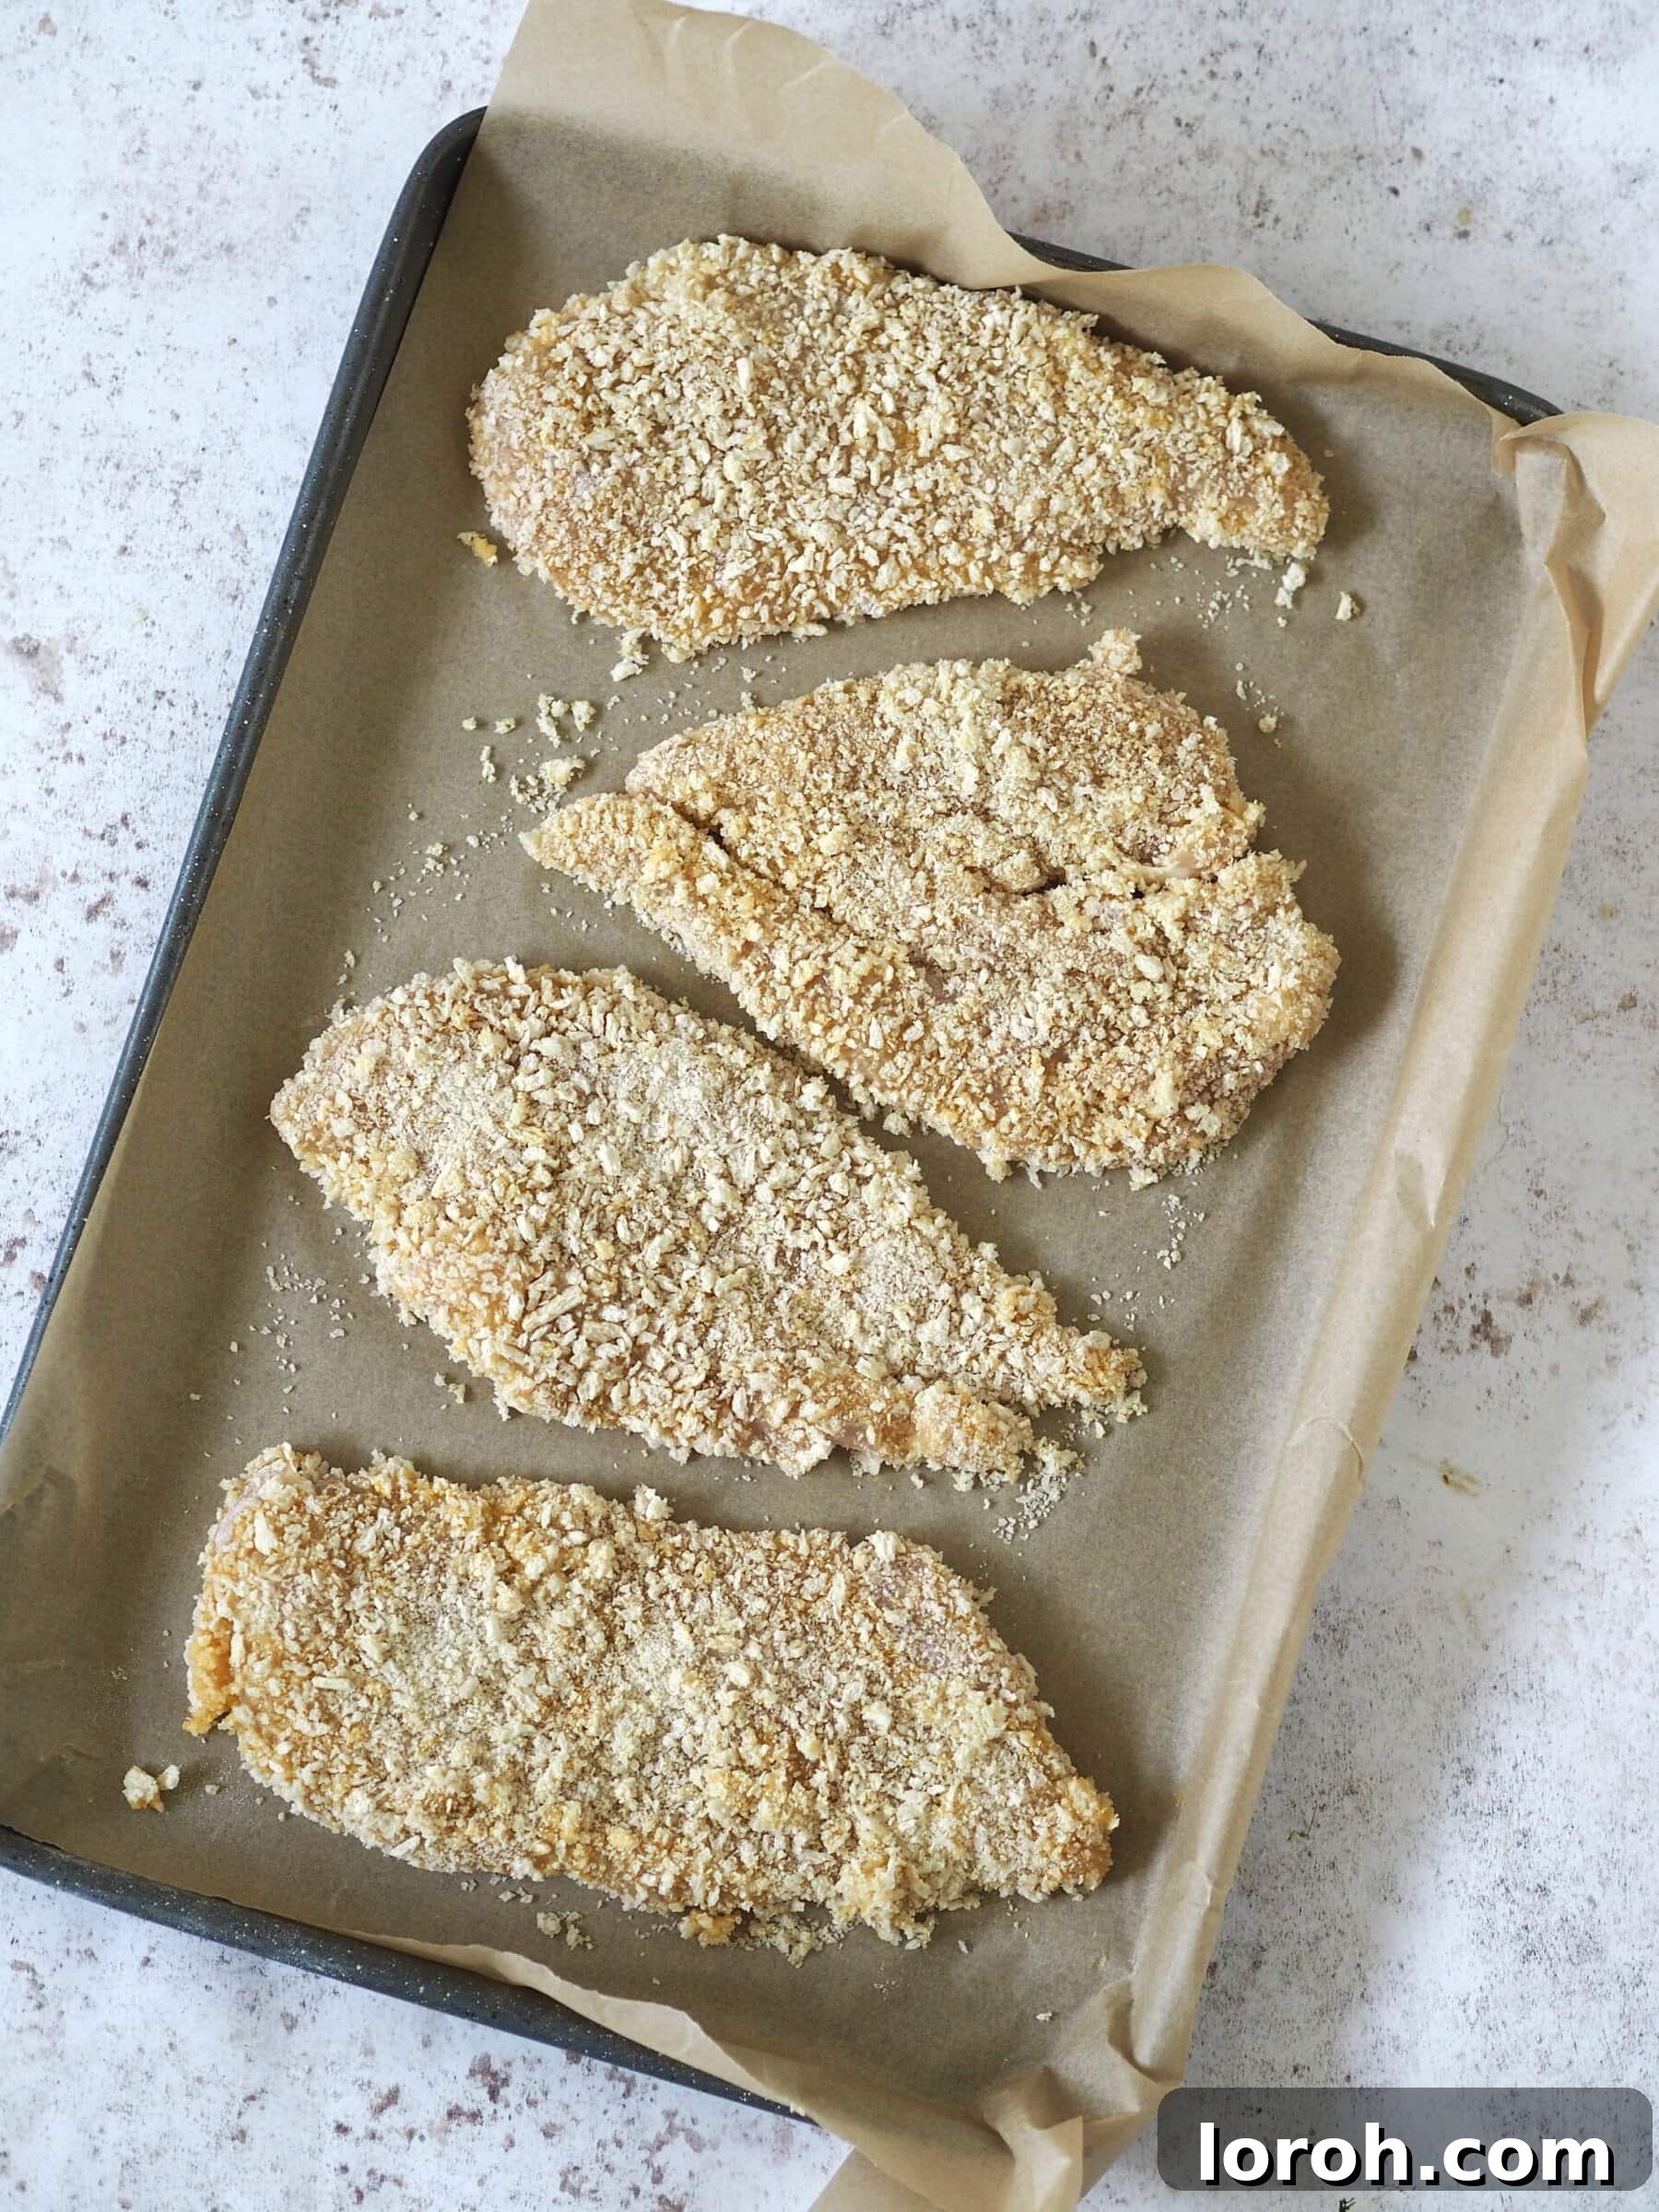
Step THREE: Coat and Bake the Chicken. Take each butterflied chicken piece and first dredge it thoroughly in the flour, shaking off any excess. Next, dip it into the beaten egg, ensuring it’s fully coated, allowing any excess egg to drip off. Finally, press the chicken firmly into the panko breadcrumbs, coating both sides generously and patting them gently to ensure the crumbs adhere well. Once coated, place the cutlets on a baking tray lined with parchment paper. Lightly brush each side of the breaded chicken with a little sunflower oil. Bake in a preheated oven at 220°C (425°F) for approximately 15 minutes, flipping the cutlets halfway through. Continue baking until they are beautifully golden brown, crisp, and the chicken is cooked through to an internal temperature of 74°C (165°F).
Step FOUR: Prepare Sauce Aromatics. While the chicken bakes, start on your curry sauce. Finely dice the onion, then grate both the fresh ginger and garlic cloves. Having these aromatics ready ensures a smooth cooking process.
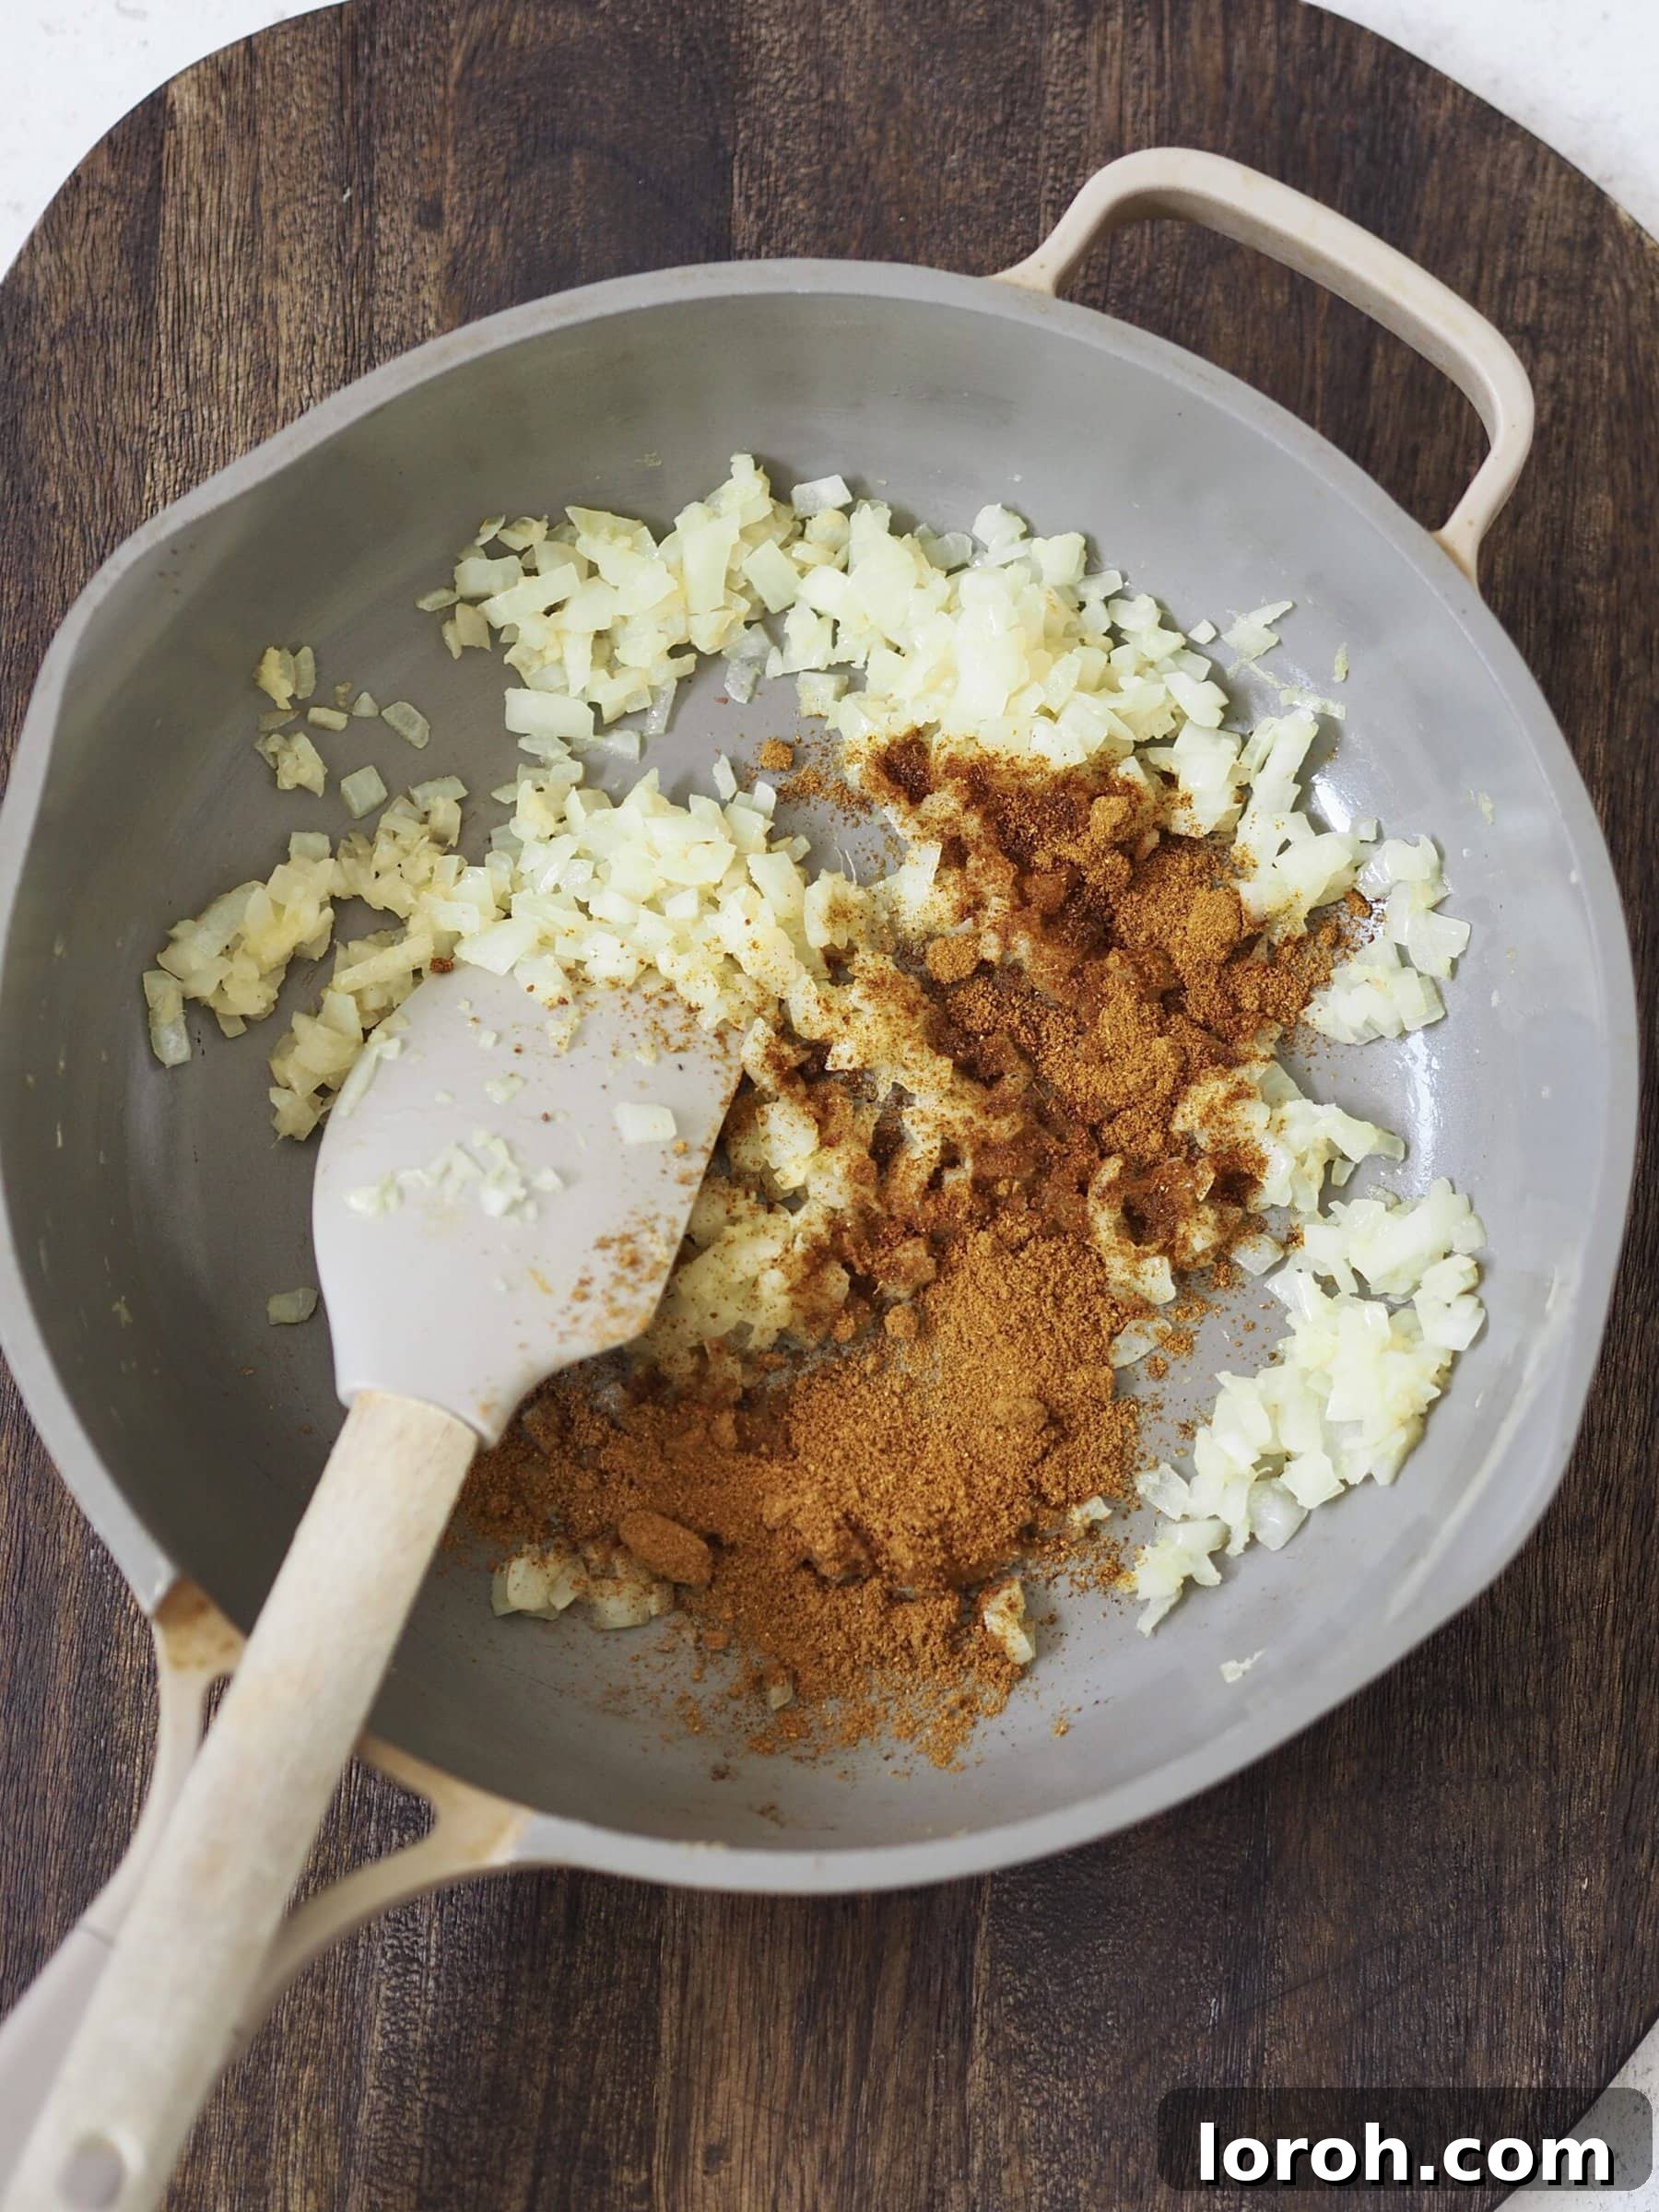
Step FIVE: Build the Sauce Base. Heat a little sunflower oil in a medium saucepan over medium heat. Add the finely diced onion and cook, stirring occasionally, until it has softened and become translucent, about 5-7 minutes. Stir in the grated ginger and garlic, cooking for another minute until fragrant. Immediately follow by stirring in the curry powder and the plain flour. Cook this mixture for about a minute, stirring constantly, to toast the spices and cook out the raw flour taste.
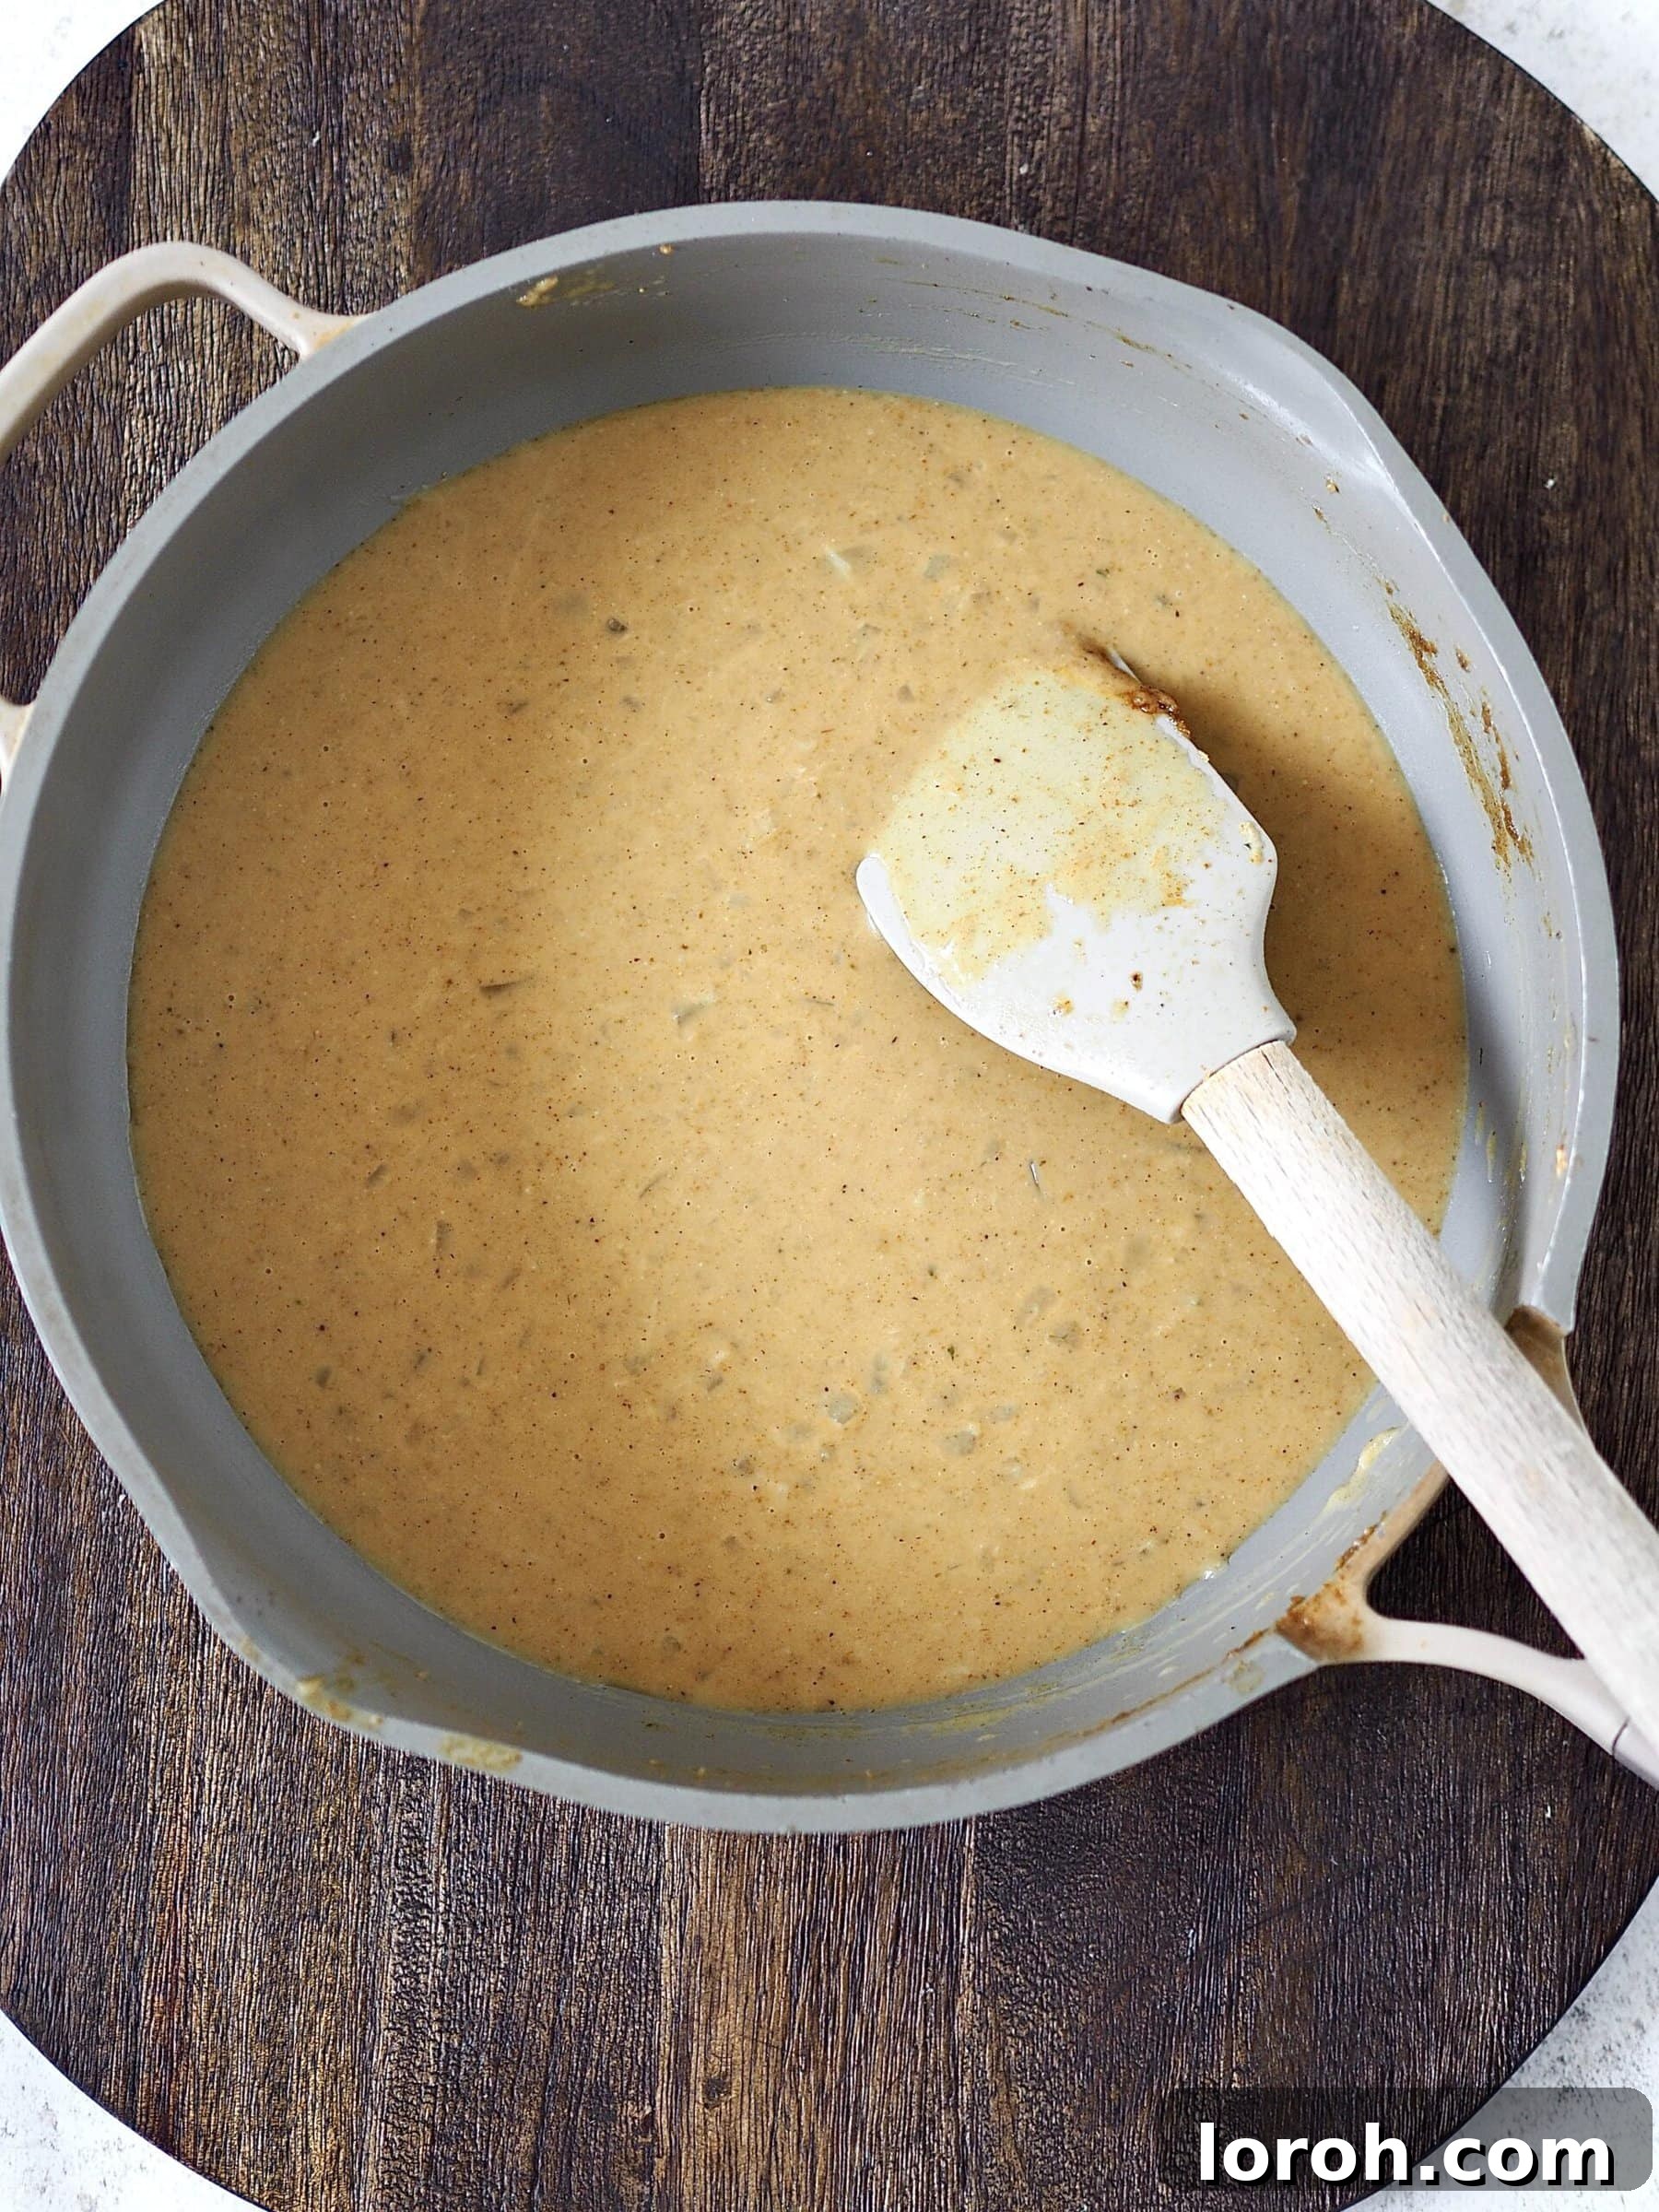
Step SIX: Simmer and Thicken the Sauce. Gradually pour in the chicken stock, stirring continuously to prevent lumps from forming and to create a smooth sauce. Once incorporated, stir in the coconut milk and a dash of soy sauce. Bring the sauce to a gentle simmer over medium-low heat. Allow it to cook, stirring occasionally, for about 10 minutes. During this time, the sauce will thicken and its flavors will meld beautifully, creating a rich and comforting consistency.
Step SEVEN: Prepare the Rice. While the sauce simmers, turn your attention to the rice. Add 1 cup of basmati rice to a saucepan. Cover it with cold water and stir gently to release any excess starch. Carefully tip out the cloudy, starchy water. Repeat this rinsing process once or twice until the water runs mostly clear. Then, cover the rinsed rice with fresh cold water, ensuring the water level is about one inch above the surface of the rice. This precise water level is key for perfectly cooked, fluffy grains.
Step EIGHT: Cook and Fluff the Rice. Place the saucepan over high heat and bring the water to a rolling boil. As soon as the water begins to be absorbed and small craters appear on the surface of the rice, immediately reduce the heat to its lowest setting. Cover the saucepan tightly with a tea towel placed under the lid (to absorb steam and prevent it from dripping back onto the rice) and leave it undisturbed for 5 to 10 minutes. After this time, remove from heat and let it stand for another 5 minutes, still covered. Finally, remove the lid and tea towel, and gently fluff the rice with a fork to separate the grains.
Step NINE: Assemble and Serve. Once the chicken is baked, carefully remove it from the oven and let it rest for a minute or two. Then, slice the crispy chicken cutlets into even strips. Ladle a generous spoonful of the fluffy, aromatic rice into individual serving bowls. Arrange the sliced chicken katsu over the rice, then pour plenty of the lovely, rich curry sauce over and around the chicken. For a final flourish, scatter with finely diced fresh chili and thinly sliced spring onion. Serve immediately and enjoy your perfectly crafted homemade Chicken Katsu Curry!
Expert Cooking Tips for the Best Katsu Curry:
Achieve Katsu Curry perfection with these practical tips and tricks:
- The “Dry Hand, Wet Hand” Breading Technique: To avoid getting your fingers caked in breadcrumbs, employ the “dry hand, wet hand” method. Designate one hand (your “wet” hand) solely for touching the chicken and the egg mixture. Use your other hand (your “dry” hand) only for handling the flour and panko breadcrumbs. This simple separation keeps your hands clean and ensures an even coating on your chicken without the frustration of breadcrumb-coated fingertips!
- Reviving Separated Coconut Milk: It’s common for canned coconut milk to separate, with the thick cream rising to the top. Before opening, give the can a vigorous shake. If it still appears separated upon opening, don’t worry! Gently warm the coconut milk in a small saucepan over a low heat, stirring continuously, until it comes back together into a smooth, homogenous liquid. This separation is actually more common in higher quality coconut milks with fewer additives.
- Pounding for Even Thickness: After butterflying your chicken breasts, if you find the pieces are still uneven, place them between two sheets of parchment paper or plastic wrap. Use a meat mallet or a rolling pin to gently pound them to an even thickness (around 1/2 to 3/4 inch). This ensures that the chicken cooks uniformly and remains incredibly tender.
- Don’t Overcrowd the Pan/Tray: When baking the chicken, ensure there’s enough space between each cutlet on the baking tray. Overcrowding can lead to steaming rather than crisping, preventing that desirable golden crunch. If necessary, use two baking trays. Similarly, when sautéing the onions for the sauce, ensure your pan is large enough to allow the onions to soften properly without steaming.
- Taste and Adjust the Sauce: Before serving, always taste your curry sauce. This is your chance to adjust seasonings. You might want to add a touch more soy sauce for umami, a pinch of sugar to balance the acidity, or even a tiny splash of rice vinegar for brightness.
Frequently Asked Questions About Chicken Katsu Curry:
While the katsu curry and rice are a complete meal, adding some fresh vegetables can elevate the dish further. Tenderstem broccoli, lightly steamed or stir-fried with a dash of soy sauce, makes an excellent green accompaniment. Stir-fried pak choi (bok choy) or spinach also complement the curry beautifully. For a subtle addition of sweetness and extra nutrition, you could stir some defrosted frozen peas or petit pois through the rice just before serving. A simple crisp green salad with a ginger-sesame dressing would also be a refreshing contrast.
For optimal crispiness and flavour, the chicken katsu is best served immediately after baking. However, if you’re looking to cut down on cooking time, you can certainly prepare the breaded chicken cutlets up to a day in advance and store them uncovered in the refrigerator. For a halfway-homemade shortcut, many supermarkets offer katsu-style breaded chicken that you can simply pop into the oven or air fryer. The curry sauce, however, is a fantastic make-ahead component! It can be prepared up to a day in advance and stored in the refrigerator. To prevent a skin from forming on the surface, place a piece of food wrap directly onto the surface of the sauce before covering the container. When ready to serve, gently reheat the sauce in a saucepan over low heat, stirring occasionally, until warmed through.
Absolutely! Boneless, skinless chicken thighs make an excellent alternative to chicken breasts for katsu. They tend to be more forgiving and retain more moisture, resulting in an even juicier katsu. Simply flatten them slightly with a meat mallet to ensure even thickness, then proceed with the breading and baking steps as outlined in the recipe. The cooking time might need a slight adjustment, but they will still bake to a beautiful golden crisp.
Store any leftover chicken katsu and curry sauce separately in airtight containers in the refrigerator for up to 2-3 days. The rice should also be stored separately. To reheat the chicken katsu, for best results, place it on a baking tray in a preheated oven at 180°C (350°F) for about 10-15 minutes, or until heated through and crisp again. Avoid microwaving the chicken, as it will lose its crispness. The curry sauce can be gently reheated in a saucepan over low heat, stirring frequently. Reheat rice in the microwave or by steaming until piping hot.
Explore More Delicious Recipes:
If you’ve enjoyed crafting this satisfying Chicken Katsu Curry, you’re in for a treat with our other Asian-inspired and comfort food dinners. Expand your culinary repertoire with more fantastic recipes designed for flavour and ease:
- Recreate the vibrant flavours of a restaurant favourite with our detailed Wagamama Pad Thai recipe – a perfect balance of sweet, sour, and savory.
- Indulge in the tender, rich experience of these Sticky Japanese Pork Belly Noodles, inspired by Milli Taylor, perfect for a cozy night in.
- For a delightful appetizer or light meal, try our crispy Sesame-coated Thai Fish Cakes, bursting with authentic Thai flavours.
- If you’re craving another comforting curry, my hearty Chicken and Chickpea Curry is packed with warming spices and wholesome ingredients.
- And if you’ve got a bag of those fantastic panko breadcrumbs leftover, our Panko Prawn Tacos with Avocado Cream, Crunchy Slaw, and Sriracha Drizzle recipe offers a quick, fresh, and incredibly tasty option that’s perfect for busy weeknights!
Sandwiches
The Best Coronation Chicken Sandwiches
Christmas Recipes
The Best Chocolate Salami
Easy Dessert Recipes
Chocolate Budino (Creamy Italian Pudding)
Drinks and Cocktails
Homemade Hot Chocolate Bombs
Made This Recipe and Loved It? Your Feedback Matters!
We absolutely adore hearing about your cooking adventures! If you tried this Baked Chicken Katsu Curry recipe and enjoyed it, we would be incredibly grateful if you could take a moment to leave a review in the comments section below. Share your thoughts, any creative changes you made, or the stories behind what inspired you to try our recipe. Your feedback not only brightens our day but also helps other home cooks discover and enjoy this delicious dish. Additionally, if you share a photo of your culinary creation on Instagram, please tag us @desertislanddishes – it truly makes our day to see you bringing our recipes to life in your kitchen!
Baked Chicken Katsu Curry
Rate Recipe
Print Recipe
Ingredients
- 1 large chicken breast
- 75 g 2.5 oz panko breadcrumbs
- 50 g 1/3 cup + 1 tbsp plain flour
- 1 egg
- 2 tbsp sunflower oil
- 1 onion
- 1 inch piece fresh ginger
- 2 garlic cloves
- 1 tbsp curry powder
- 1 tbsp plain flour
- 300 ml 1 1/4 cups chicken stock
- 200 ml 1/2 can coconut milk
- dash of soy sauce
- 1 cup basmati rice, to serve
- 1 red chilli, to serve
- 1 spring onion, to serve
Instructions
-
For the chicken katsu, butterfly the chicken breast lengthways to create two thin, even pieces.
-
Set up three shallow bowls: one with plain flour, one with beaten egg, and one with panko breadcrumbs. Coat the chicken first in flour (shake off excess), then dip in egg, and finally press into the panko breadcrumbs to coat generously.
-
Lightly brush both sides of the breaded chicken with sunflower oil. Bake in a preheated oven at 220C (425F) for about 15 minutes, turning halfway, until golden, crisp, and cooked through.
-
For the curry sauce, finely dice the onion and grate the ginger and garlic. Soften the onions in a pan with a little sunflower oil. Add the ginger, garlic, curry powder, and 1 tbsp plain flour, cooking for 1 minute until fragrant. Gradually stir in the chicken stock, followed by the coconut milk and a dash of soy sauce. Allow the sauce to gently simmer and thicken for around 10 minutes.
-
For the rice, add 1 cup of basmati rice to a saucepan, cover with water, and stir to remove excess starch; tip away the cloudy water. Cover with fresh cold water an inch above the surface. Bring to a boil, then as the rice absorbs the water, cover with a tea towel and lid. Reduce heat to low and leave for 5 to 10 minutes. Remove from heat and let stand for 5 minutes, then fluff with a fork.
-
Slice the cooked chicken katsu into strips. Serve with a generous spoonful of rice, plenty of the lovely curry sauce, and top with diced fresh chilli and thinly sliced spring onion.