
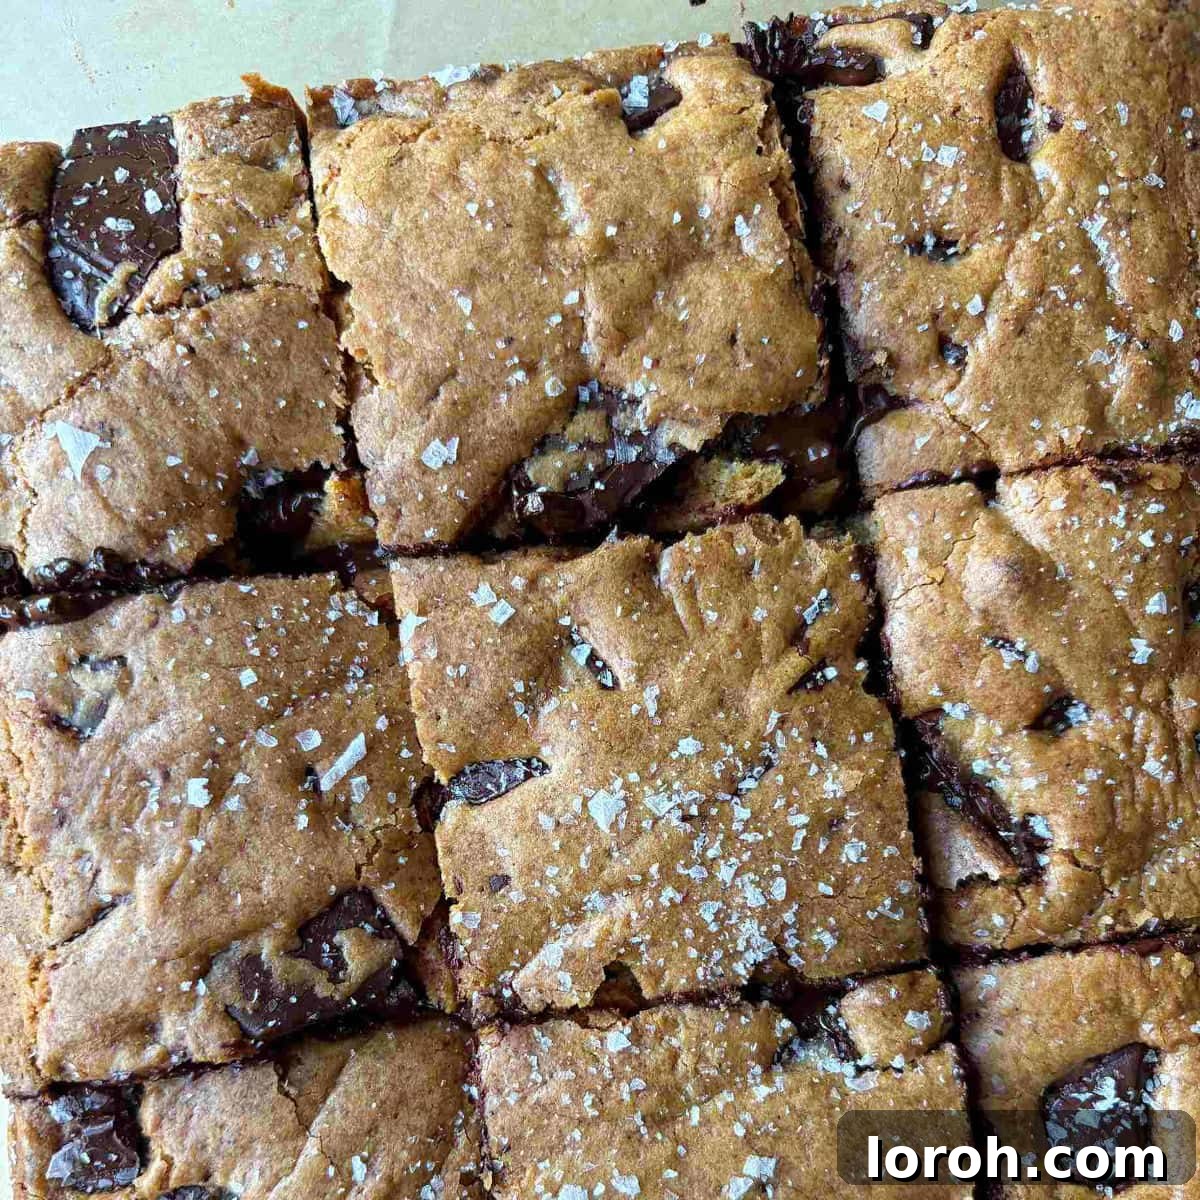
Ultimate Chocolate Chip Cookie Bars: A Brown Butter Revelation
Craving the comforting taste of homemade cookies but short on time? Look no further than these incredible chocolate chip cookie bars. Imagine sinking your teeth into sweet, soft, and delightfully chewy cookie bars, crafted with a rich, nutty brown butter cookie dough, generously studded with luscious, melted dark chocolate chunks. This recipe delivers all the joy of classic chocolate chip cookies without the fuss of individual shaping or chilling, making it a perfect treat for bakers of all skill levels.
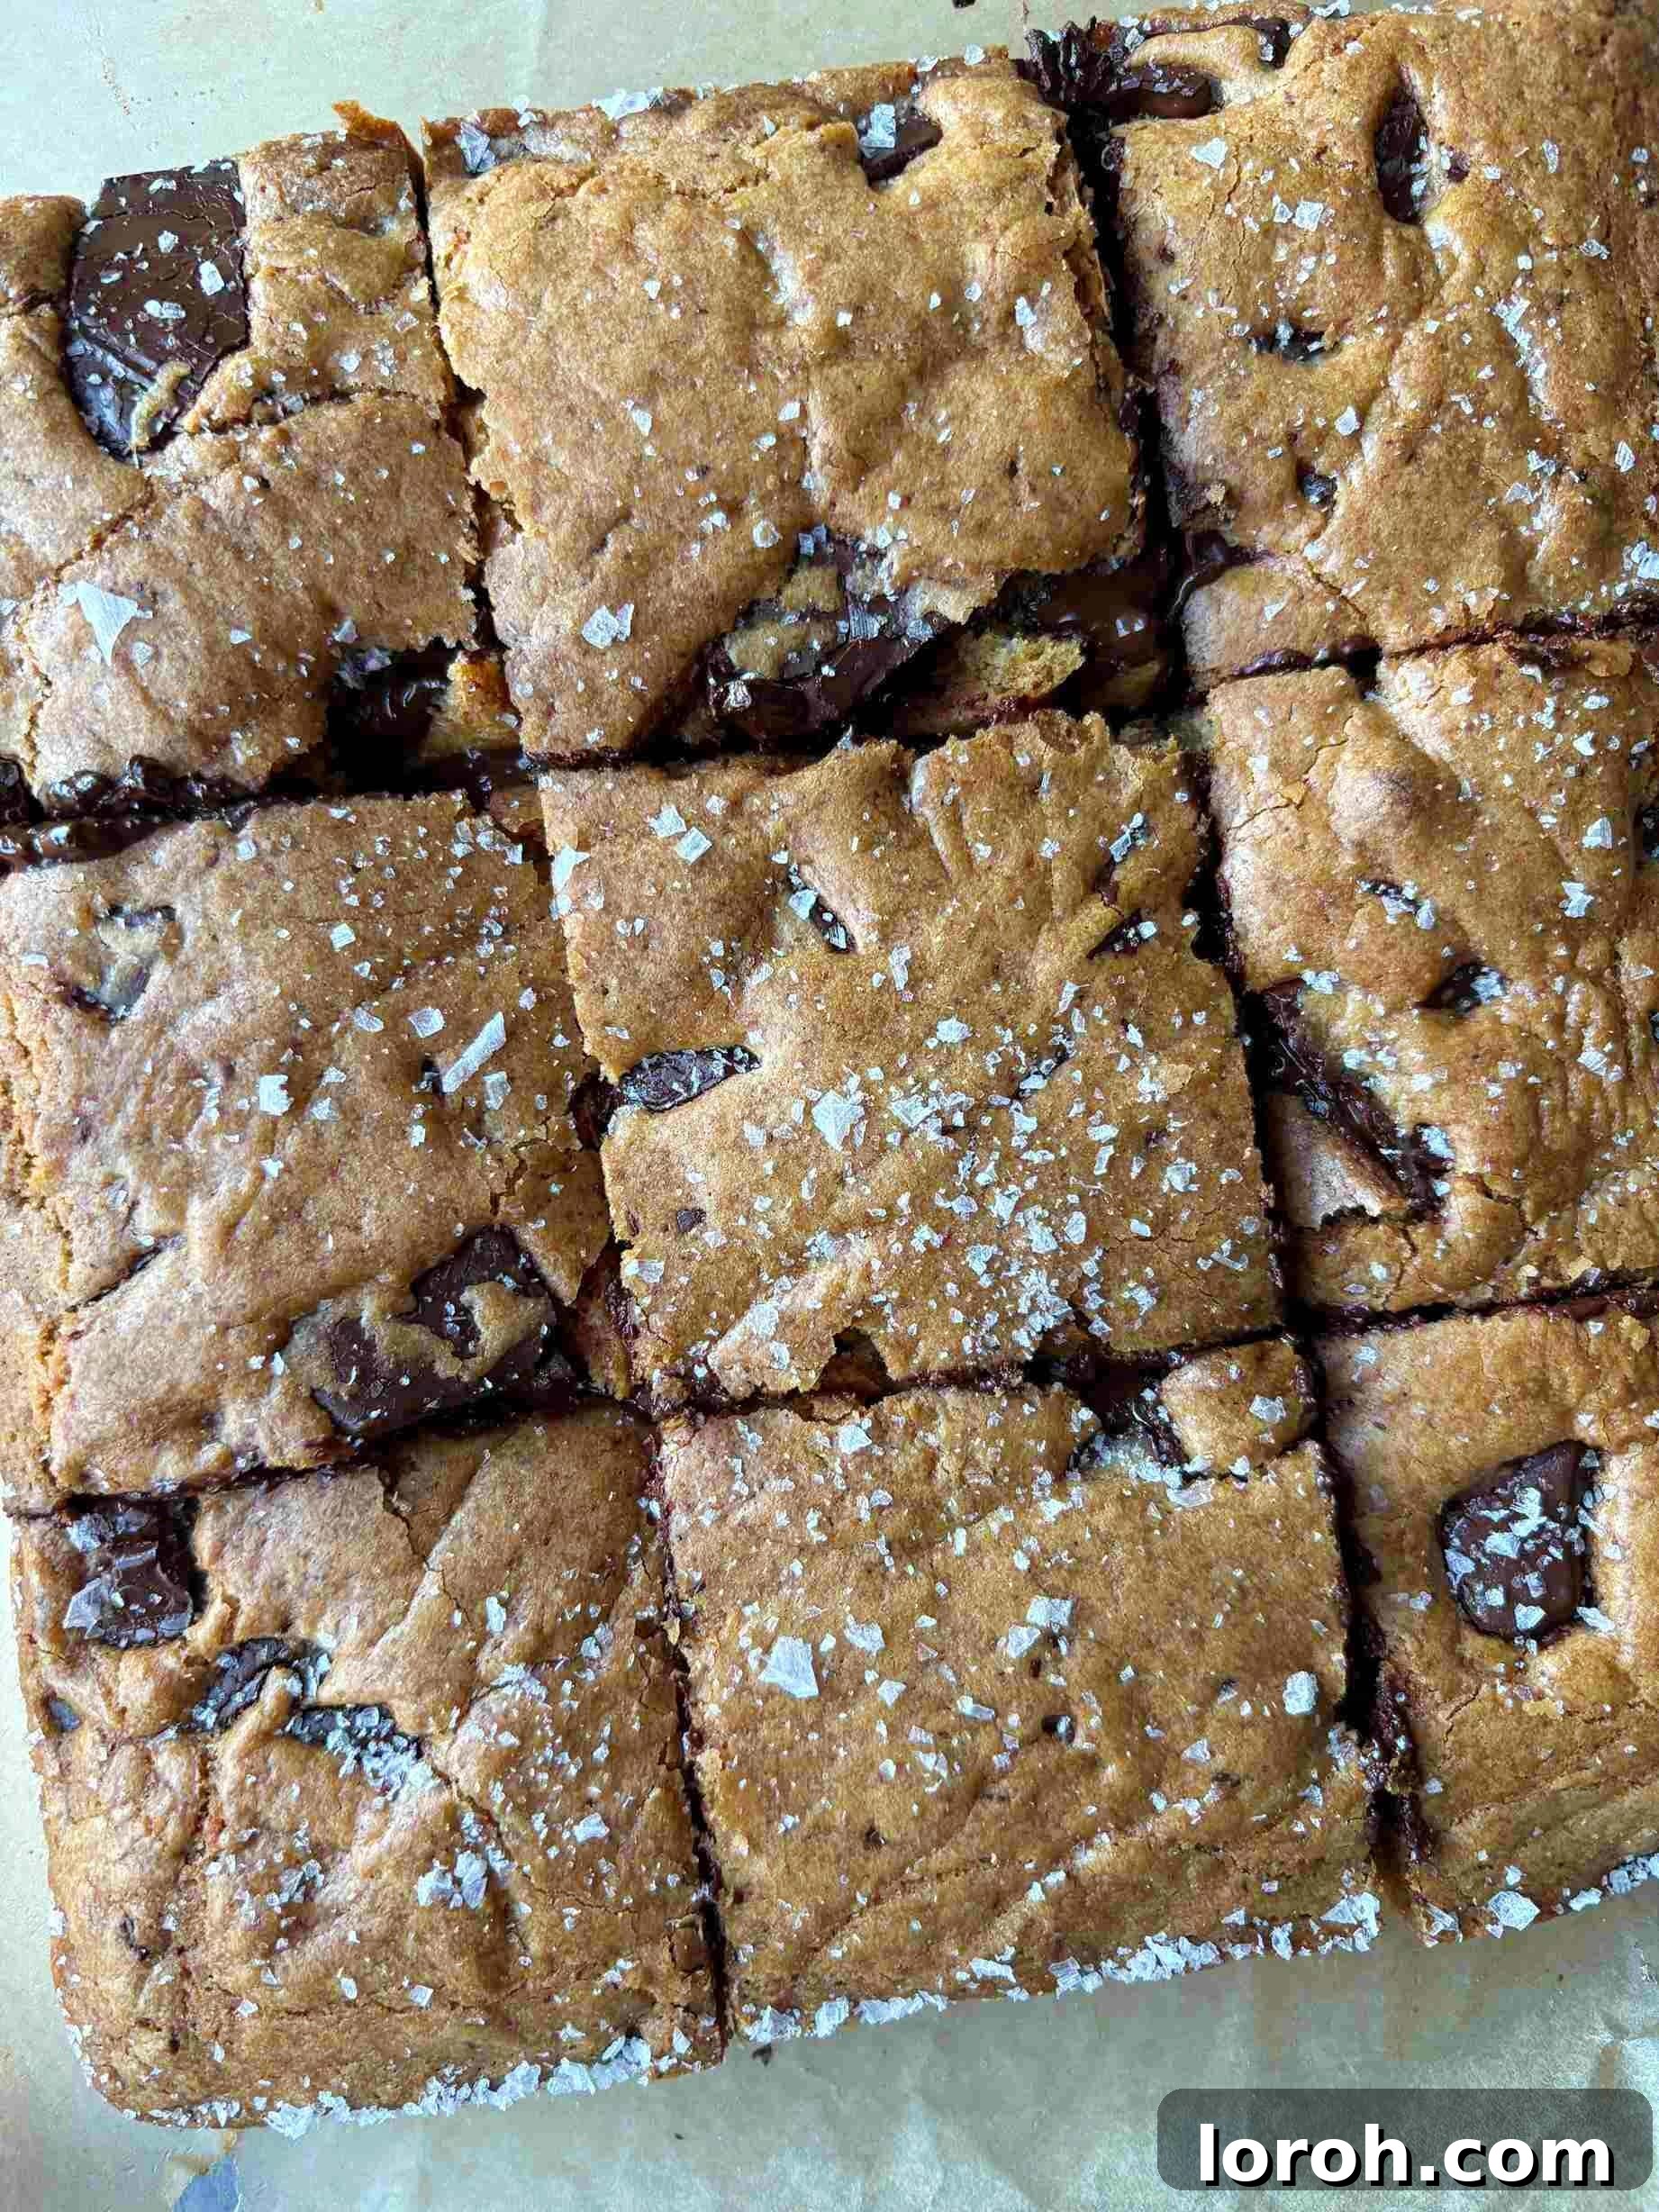
There’s nothing quite like freshly baked goods, warm from the oven, to bring a sense of comfort and happiness. Right up there with a classic apple and blackberry crumble or a nostalgic school cake sponge with custard, the simple chocolate chip cookie holds a special place in our hearts. Its aroma alone can brighten any day.
However, achieving those perfectly chewy, crispy-edged cookies often requires patience – specifically, shaping and chilling time. For those moments when you simply can’t wait to indulge, these chocolate chip cookie bars are an absolute game-changer. Baked conveniently in a single pan, they eliminate the need for individual portions or extensive chilling. In fact, their simplicity rivals that of my popular dark chocolate and white chocolate brownies and my irresistible Biscoff blondies.
Table of Contents
- Why You’ll Adore This Recipe
- Key Ingredients for Perfection
- Substitutions and Variations
- The Secret to Flavorful Brown Butter
- Baking Your Chocolate Chip Cookie Bars
- Expert Baking Tips
- Frequently Asked Questions
- Other Recipes You Might Enjoy
- Complete Chocolate Chip Cookie Bars Recipe
Why You’ll Adore This Recipe
- Effortlessly Easy to Make: This recipe is designed for maximum deliciousness with minimum fuss. Whether you’re a seasoned baker or just starting out, you’ll find these chocolate chip cookie bars simple to master, making them perfect for any baking ability.
- Quicker Than Traditional Cookies: Say goodbye to the endless scooping, shaping, and chilling required for regular cookies. These bars come together in a single pan, significantly cutting down on prep time so you can enjoy warm, gooey cookies much faster.
- Bursting with Flavor and Texture: Each bite offers a delightful symphony of tastes and textures. Experience the rich, soft, and nutty notes of brown butter permeating through the chewy cookie base, perfectly complemented by swirls of decadent, melted dark chocolate chunks and a delicate hint of salty sea salt.
- Incredibly Versatile: Don’t limit yourself! This recipe is a fantastic canvas for your creativity. Easily switch up the type of chocolate, incorporate various nuts for an added crunch and depth of flavor, or even mix and match to create your own signature cookie bar combination.
Key Ingredients for Perfection
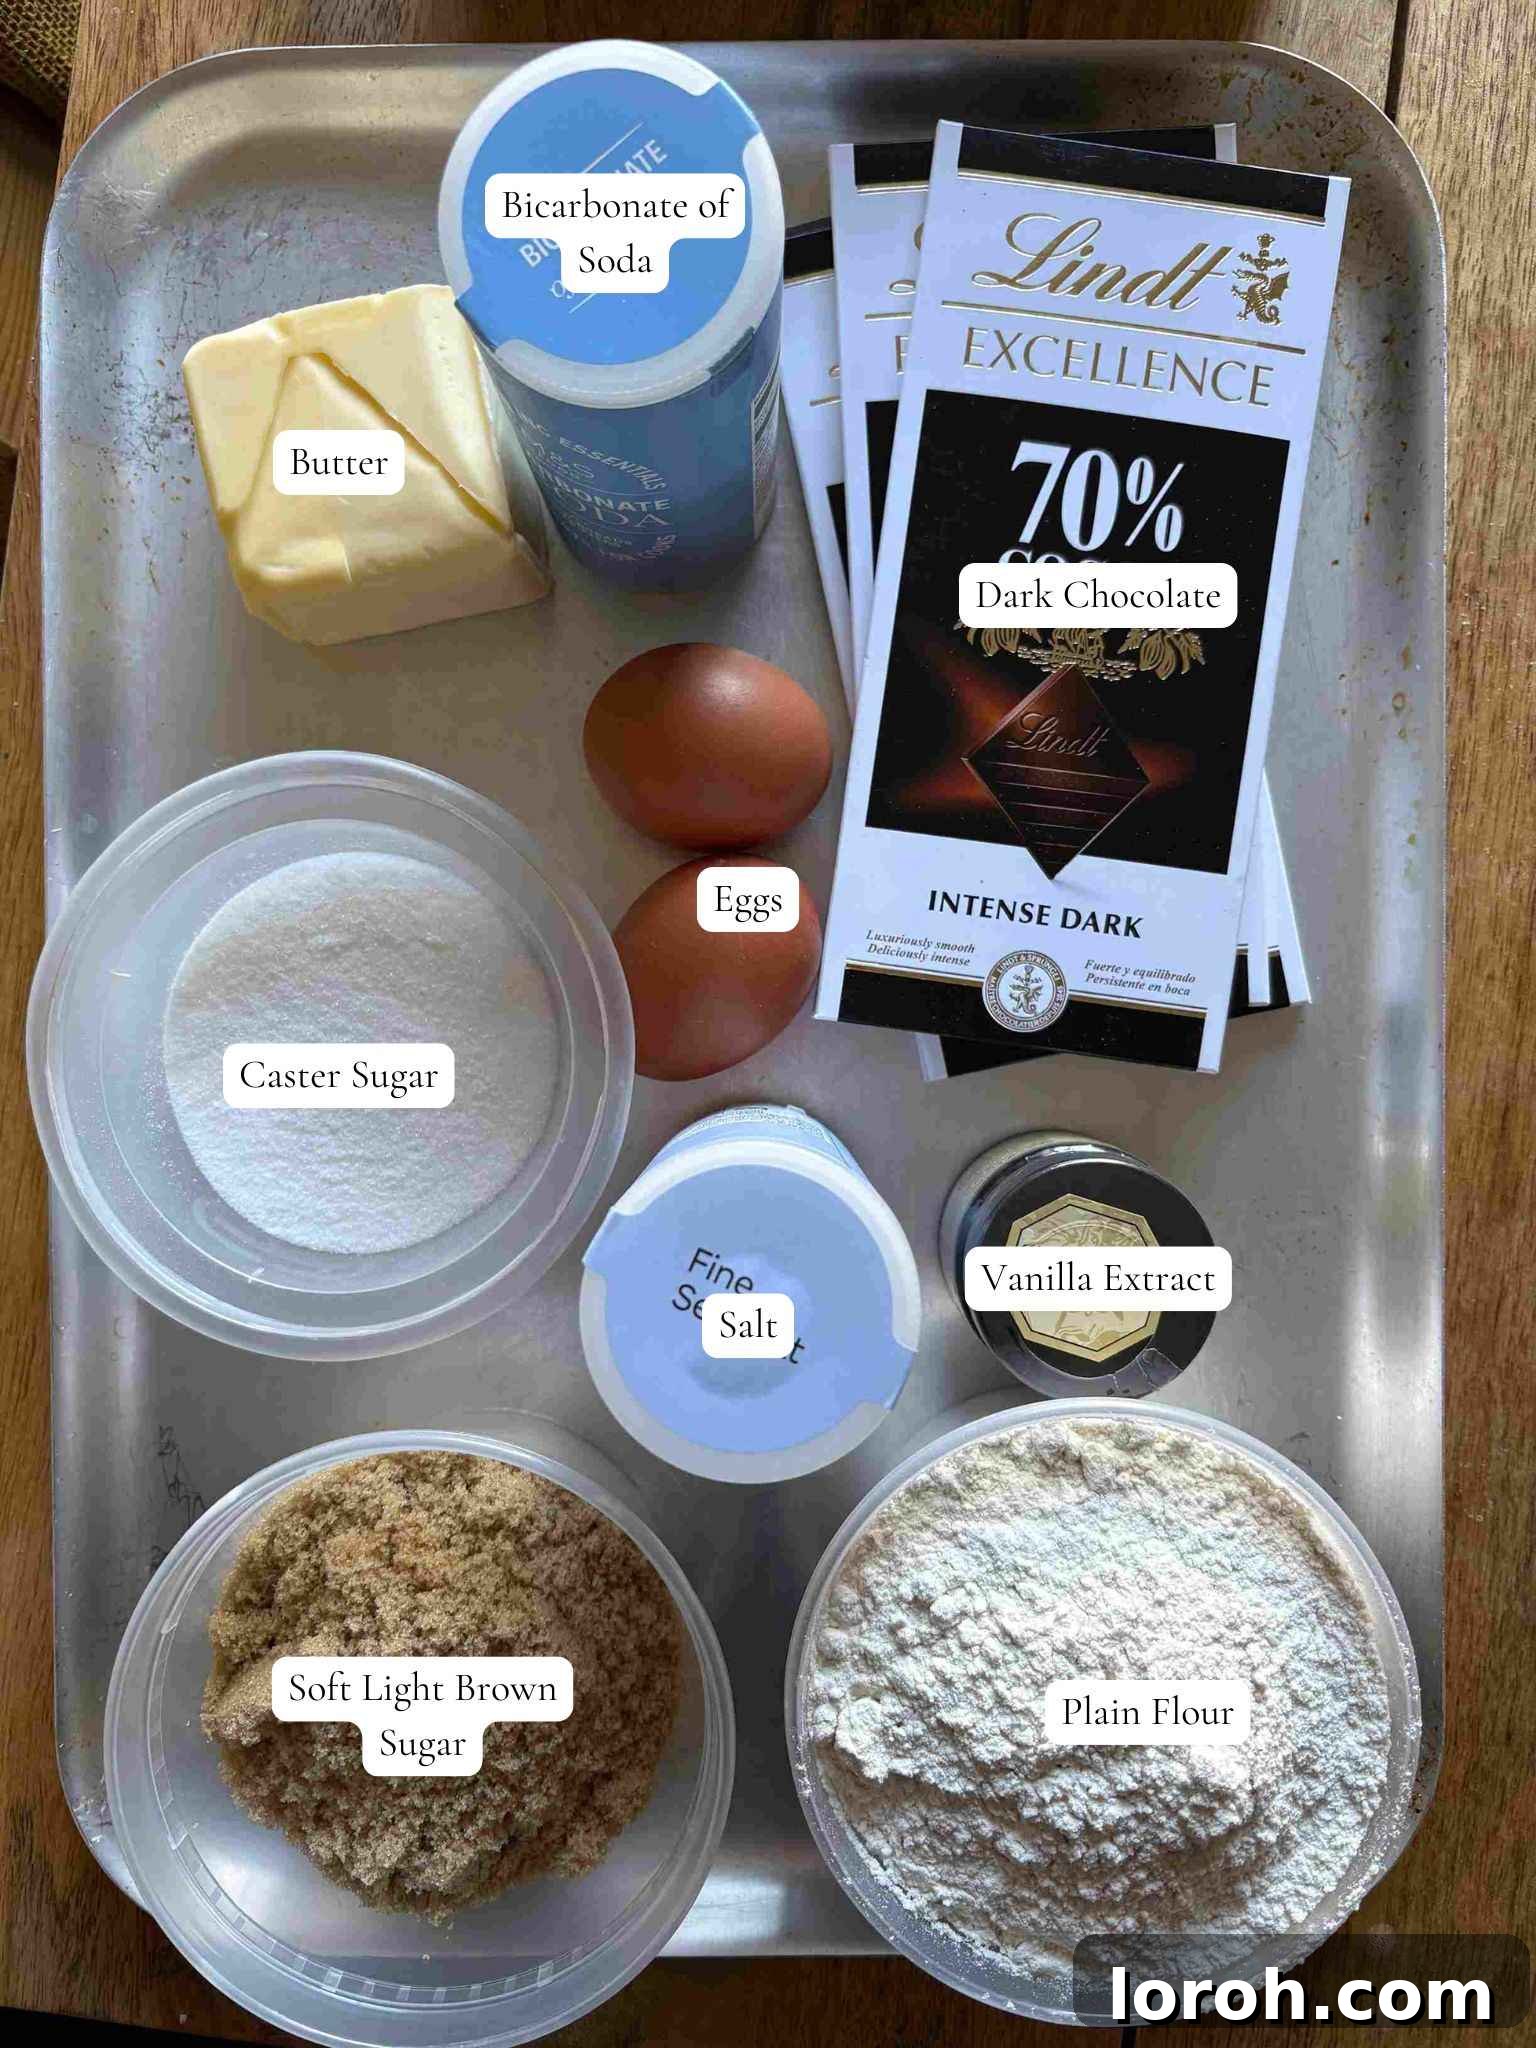
For the complete list of ingredients with precise measurements, please scroll down to the printable recipe card at the bottom of this post!
Crafting the perfect chocolate chip cookie bar relies on a few essential ingredients, each playing a crucial role in achieving that irresistible flavor and texture:
- Unsalted Butter (Browned): While regular softened butter works, browning it is the secret weapon here. It transforms simple butter into a fragrant, nutty “beurre noisette” that adds incredible depth and complexity, making these cookie bars truly stand out. It provides the essential fat and flavor base for our chewy bars.
- Soft Light Brown Sugar: This isn’t just for sweetness; soft light brown sugar is key for moisture and a wonderfully rich, caramel-like, molasses flavor. It contributes significantly to the soft, chewy texture we all love in a good cookie bar. You can use soft dark brown sugar for a more intense molasses flavor and a slightly darker bar.
- Caster Sugar (Superfine Sugar): Also known as superfine sugar, caster sugar works in tandem with brown sugar to achieve the perfect balance of sweetness and texture. It helps create those slightly crispy edges and that desirable crackly top while keeping the interior tender. If you don’t have caster sugar, granulated sugar or golden caster sugar can be used as alternatives.
- Large Eggs: Eggs act as a binder, providing structure and moisture to the dough. They also contribute to the richness and help create that signature chewy texture.
- Vanilla Extract: A splash of good quality vanilla extract enhances all the other flavors, particularly the sweet and nutty notes of the brown butter and chocolate. Don’t skip it!
- Fine Sea Salt: A touch of salt is crucial for balancing the sweetness and intensifying the chocolate flavor. It also prevents the cookie bars from tasting one-dimensional.
- Plain Flour: All-purpose flour provides the primary structure for the cookie bars. Make sure to measure it correctly, ideally by weight, to avoid a dry or cakey texture.
- Bicarbonate of Soda (Baking Soda): This leavening agent helps the cookie bars spread slightly and contributes to their soft, tender crumb, ensuring they aren’t overly dense.
- Dark Chocolate Chunks: This is where the magic truly happens! Opt for a high-quality dark chocolate (I personally love 70% cocoa solids) and chop it into varying sized chunks. Unlike standard chocolate chips, chunks melt into luxurious, gooey pools throughout the bars, creating an intensely satisfying experience.
- Flaky Sea Salt (for sprinkling): A final sprinkle of flaky sea salt before baking is a game-changer. It not only adds a beautiful visual appeal but also provides a delightful textural contrast and a pop of salty flavor that perfectly complements the sweet chocolate.
Substitutions and Variations: Personalize Your Cookie Bars
One of the best things about these chocolate chip cookie bars is their adaptability. Feel free to experiment with different ingredients to create a treat perfectly tailored to your taste:
Embracing or Skipping Brown Butter
Brown butter: Browning the butter is an extra step that undeniably elevates these cookie bars with its unparalleled nutty, toasted flavor. It adds a depth that simple melted butter can’t replicate. However, if you’re truly pressed for time, or if you prefer a more traditional cookie flavor, you can certainly use regular softened unsalted butter. Just make sure it’s at room temperature for the best results.
Chocolate Choices
Chocolate: While I highly recommend using dark chocolate for its intense flavor that perfectly balances the sweet cookie dough, don’t feel limited. The beauty of this recipe is its flexibility:
- Milk chocolate: For a sweeter, creamier bar, milk chocolate chunks work wonderfully.
- White chocolate: White chocolate adds a lovely sweetness and a different texture. It’s particularly good when paired with a hint of tartness, perhaps from dried cranberries.
- Mix and Match: Why choose just one? You can use a combination of dark and milk chocolate, or even all three – dark, milk, and white – to create truly decadent triple chocolate chip cookie bars. Simply adjust the total quantity of chocolate to 200g.
- Beyond Chips: Consider flavored chocolate bars, like those with sea salt, caramel, or espresso, chopped into chunks for an extra layer of gourmet flavor.
Adding Nuts for Crunch and Flavor
Nuts: For an additional layer of texture and a sophisticated, praline-like flavor, consider swapping out 100g of the chocolate for roughly chopped nuts. Almost any nut will work beautifully, offering a different flavor profile:
- Chopped almonds: Provide a delicate crunch and a mild, buttery flavor.
- Macadamia nuts: Offer a rich, buttery taste and a satisfyingly creamy crunch.
- Pecans: Bring an earthy, slightly sweet flavor that pairs exceptionally well with brown butter.
- Pistachios: Add a unique vibrant color and a distinct, subtly sweet taste.
- Hazelnuts: Complement the brown butter perfectly, enhancing its nutty aroma.
- Walnuts: Introduce a more robust, slightly bitter note that can be a great contrast to the sweet chocolate.
Just remember to chop them coarsely to ensure they distribute evenly throughout the dough and provide a good bite.
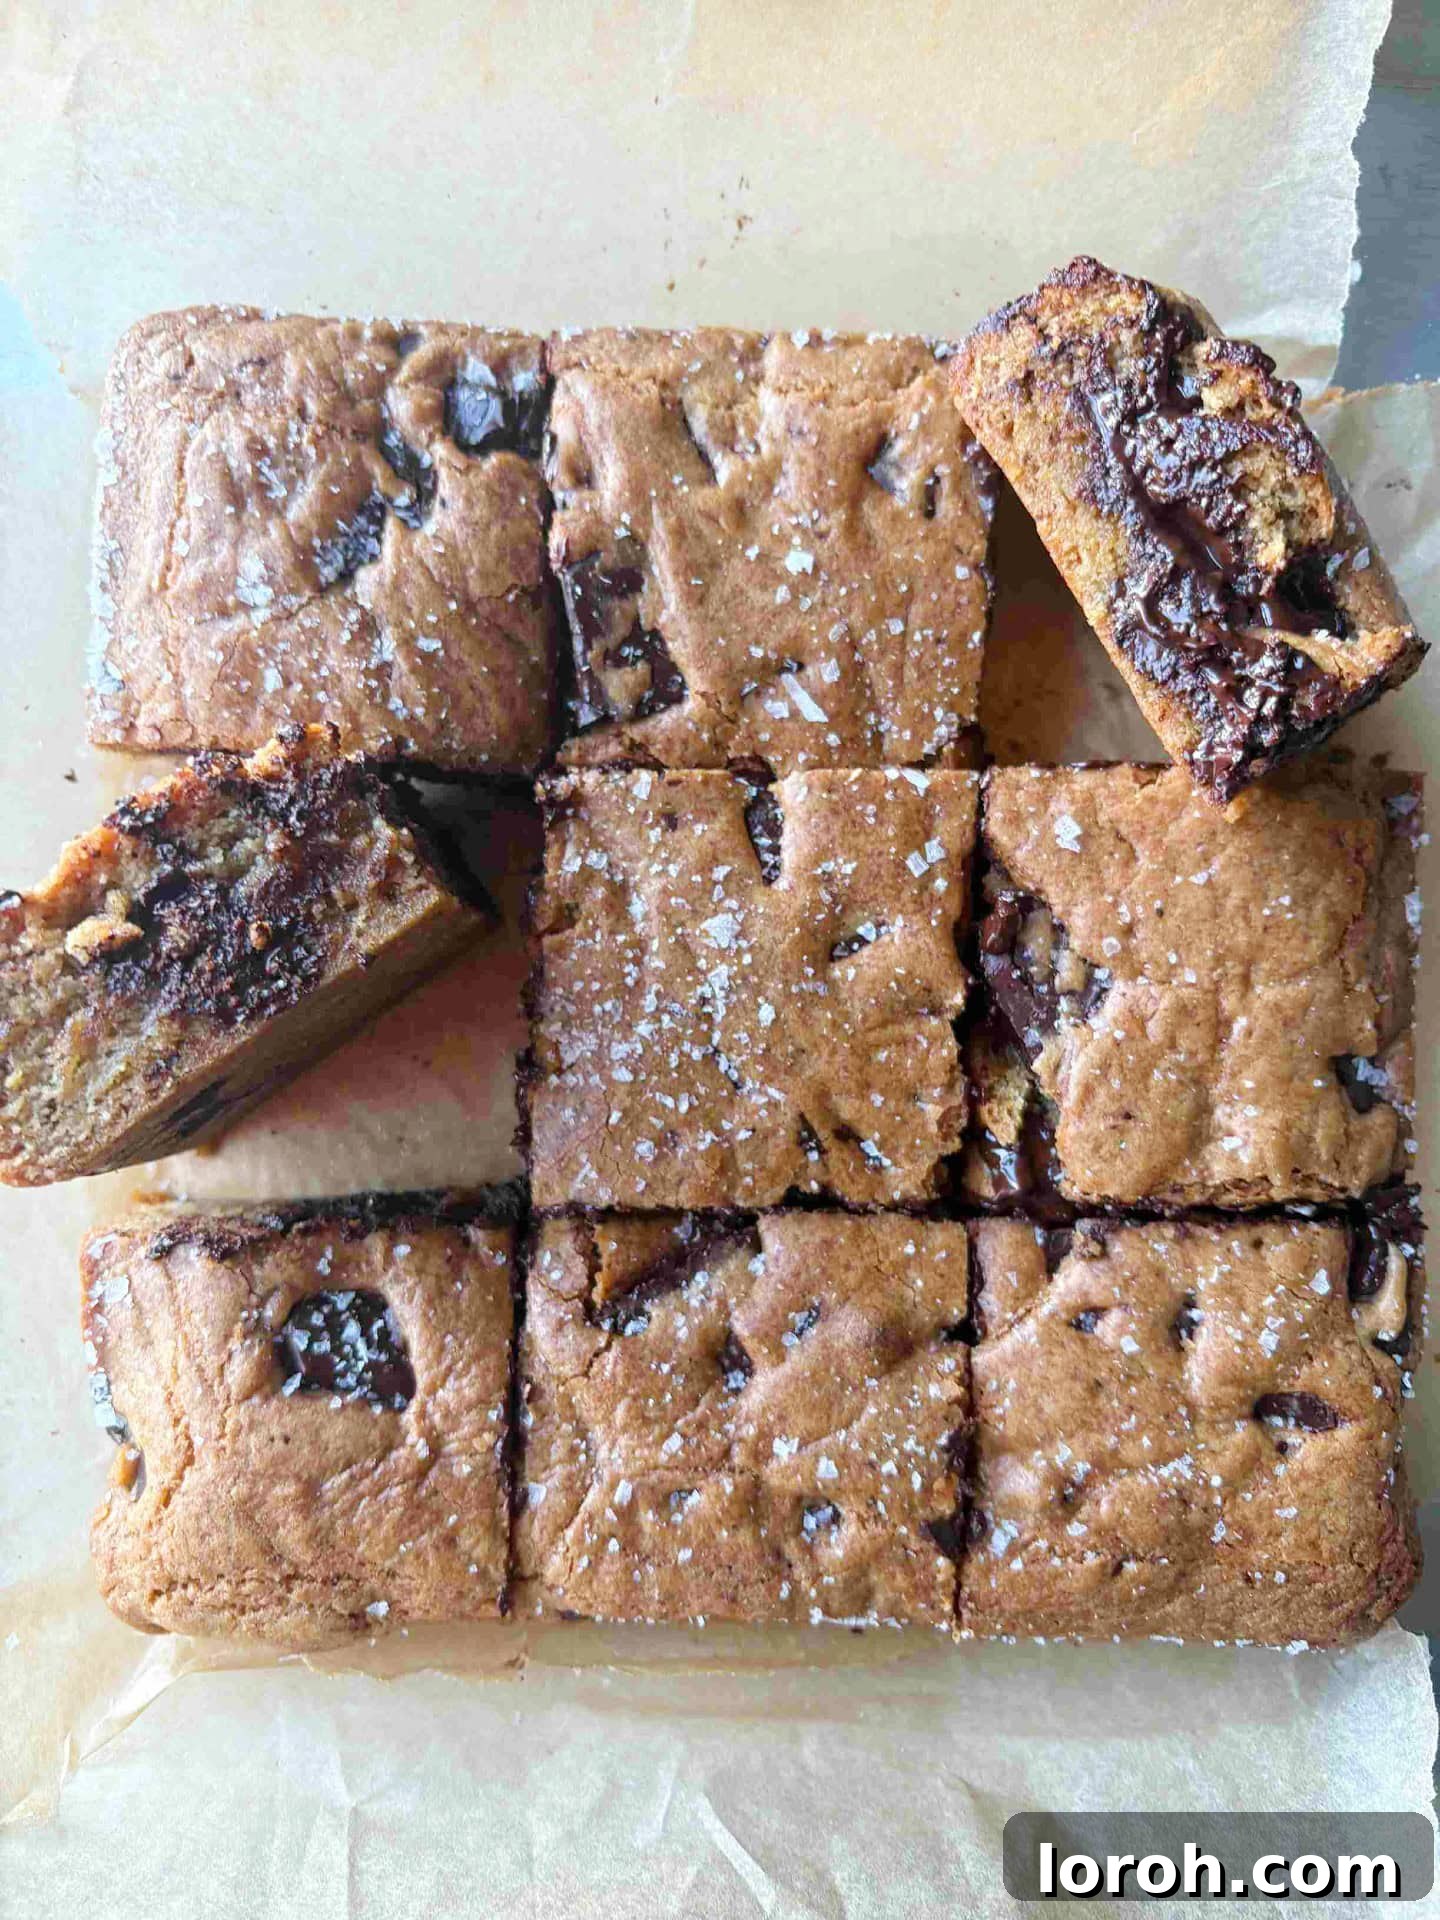
The Secret to Flavorful Brown Butter (Beurre Noisette)
Brown butter, also known as beurre noisette (which charmingly translates to ‘hazelnut butter’), is a culinary marvel that infuses dishes with a deep, nutty, and toasted flavor. It’s essentially butter that has been gently cooked until its milk solids caramelize, producing a distinctive aroma and color. Despite its fancy name, it’s surprisingly simple to make and adds an extraordinary dimension to both sweet and savory recipes.
This step-by-step guide will walk you through the process of making perfect brown butter. Remember, the full recipe with precise measurements is located in the recipe card at the very bottom of this page.
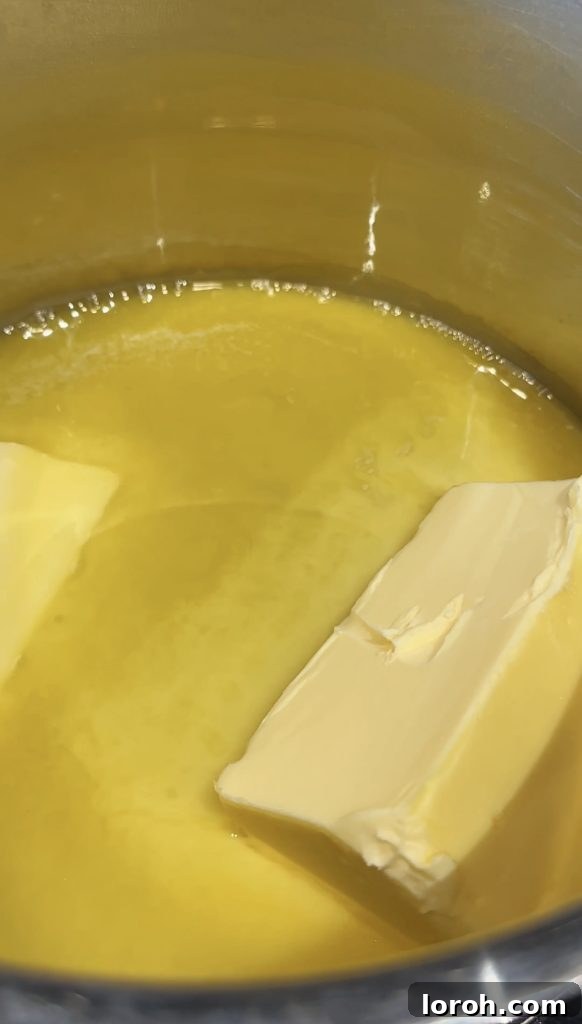
Step One: Start Melting
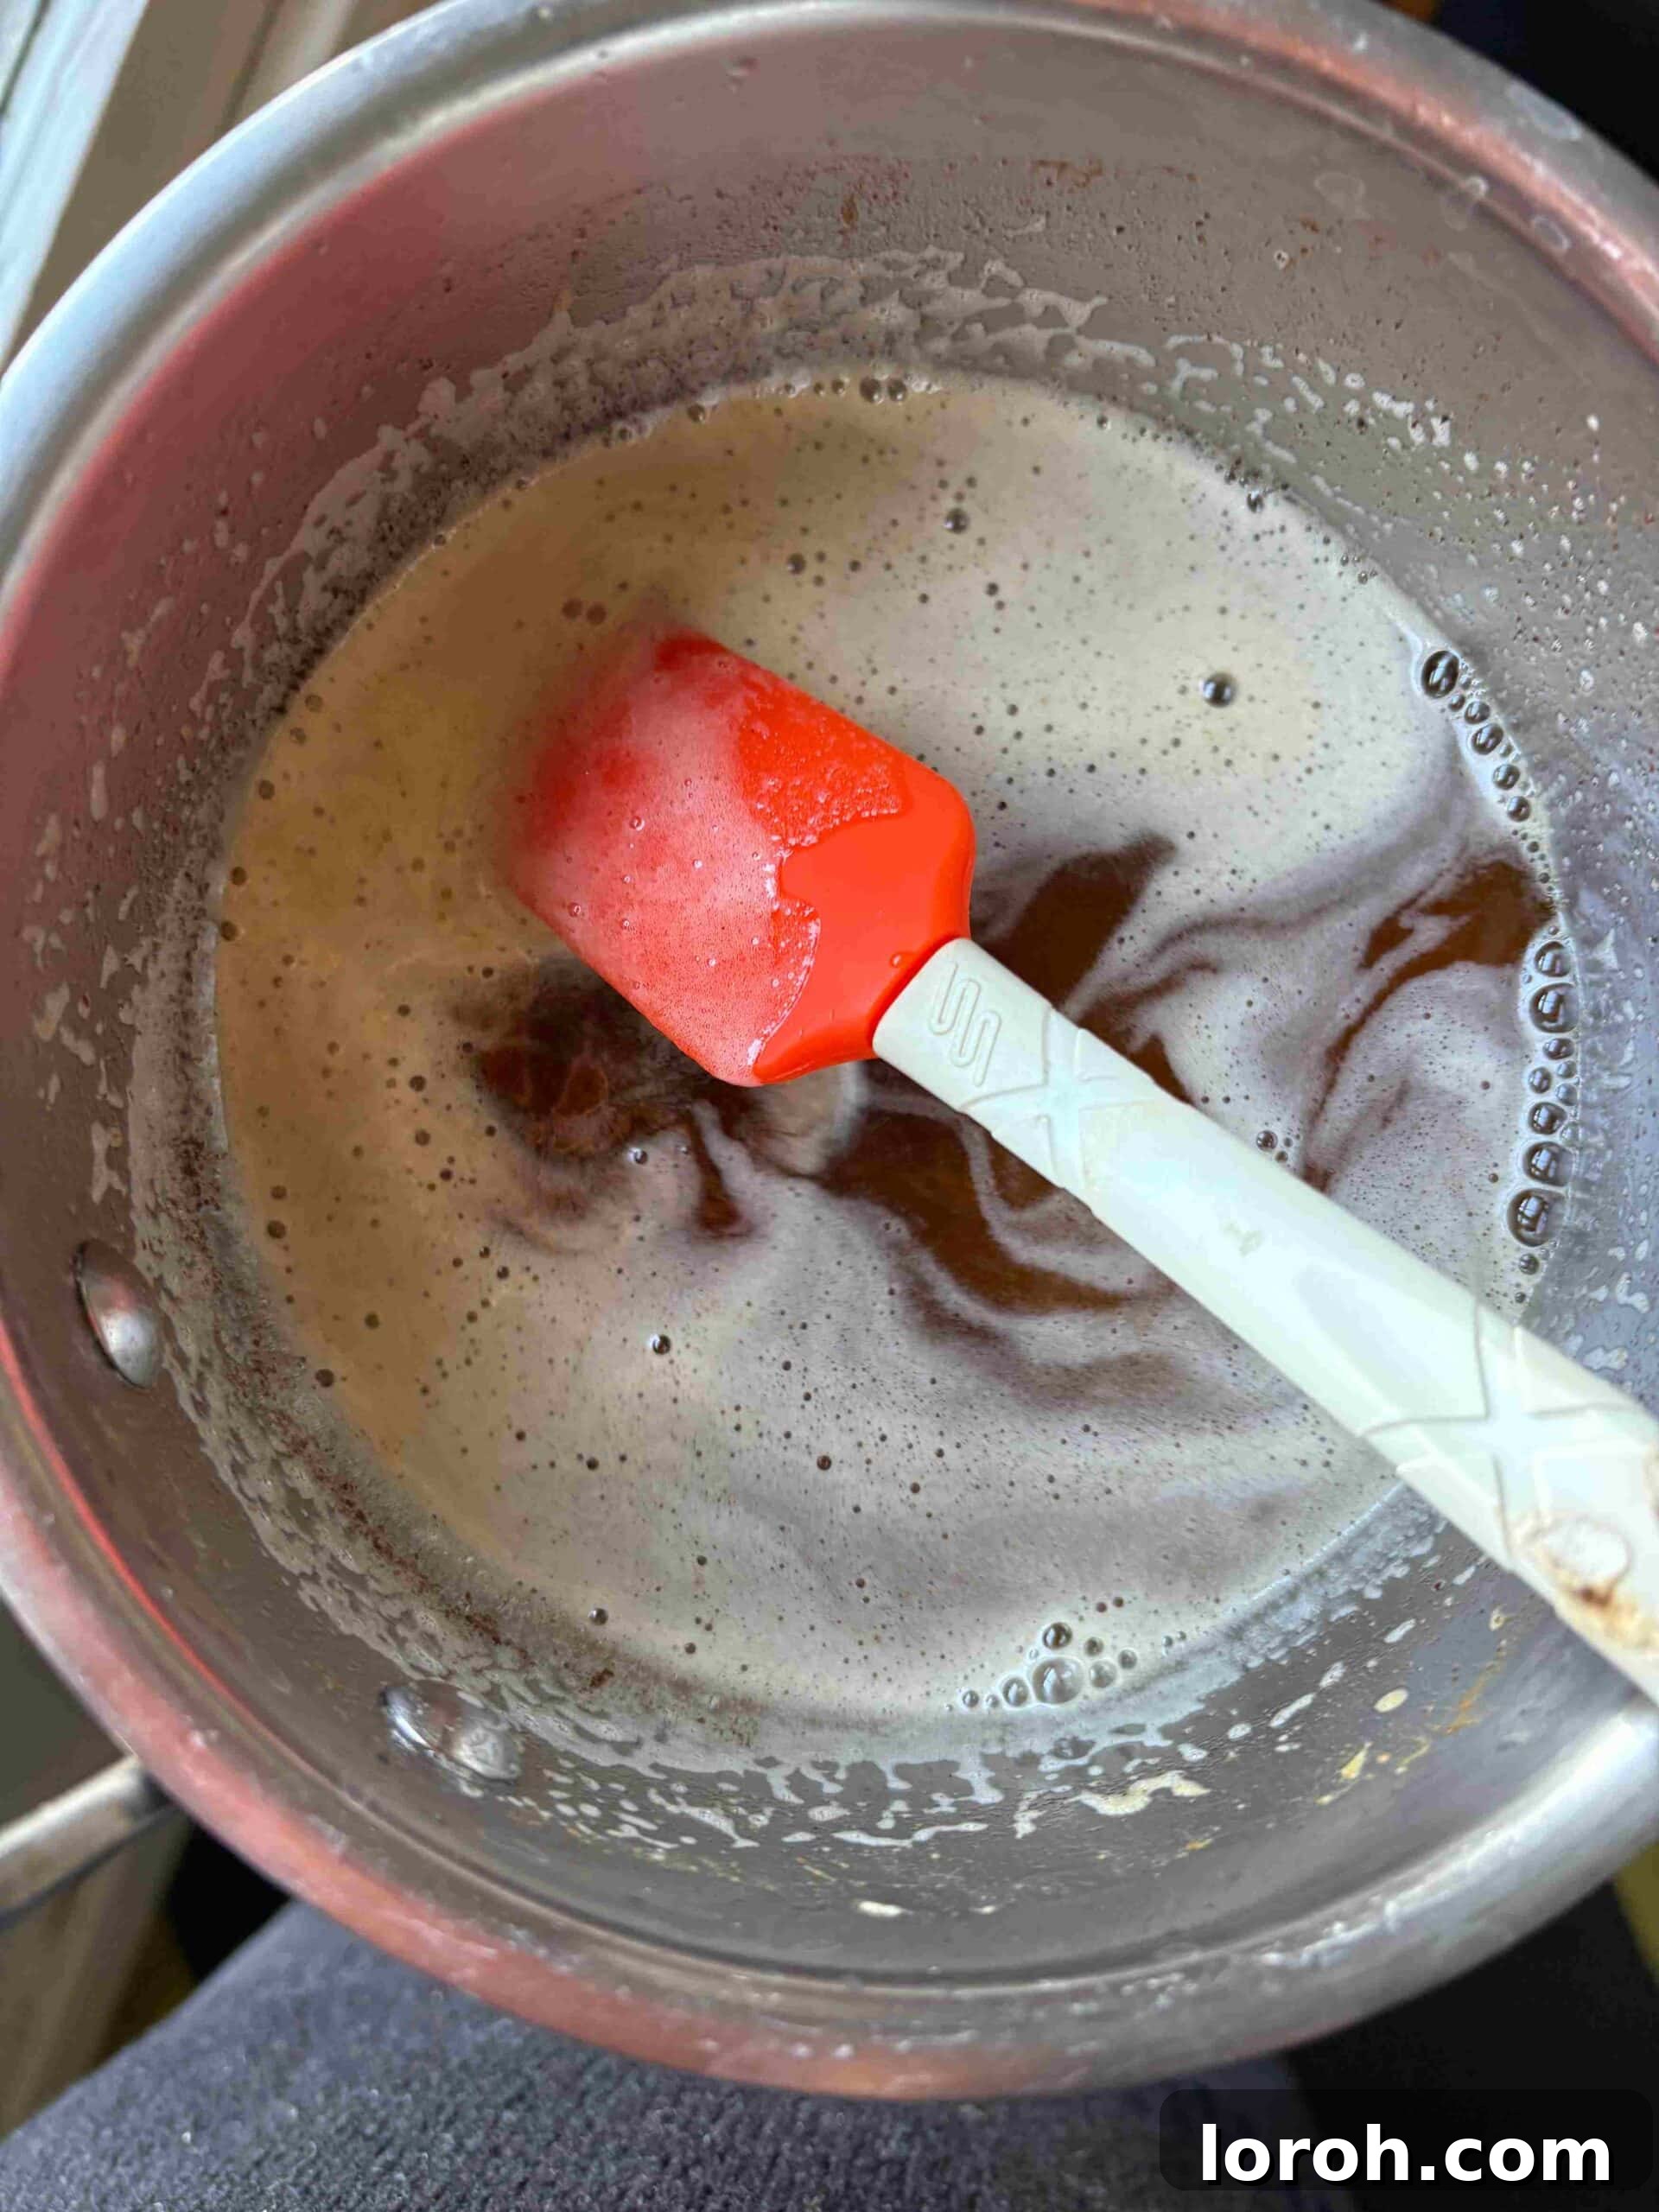
Place the diced unsalted butter into a medium-sized, non-stick saucepan. It’s helpful to choose a pan with a light-colored interior, as this will allow you to easily monitor the butter’s color change, which is crucial for perfect browning. Place the pan over a steady medium heat.
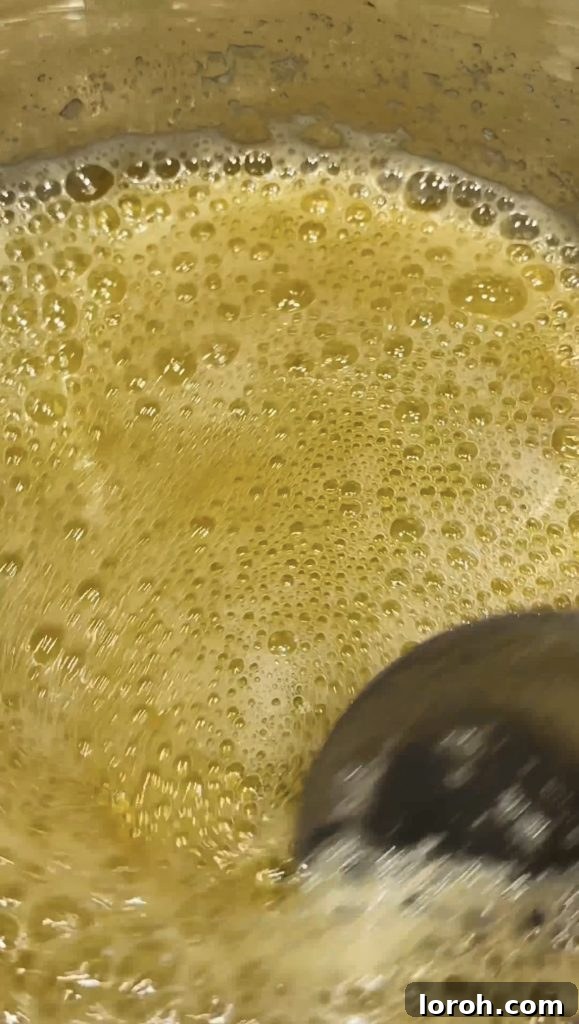
Step Two: Cook and Observe
As the butter melts, continue to cook it, stirring occasionally to ensure even heating. Once fully melted, slowly bring it to a boil while continuing to stir. You’ll begin to notice the milk solids separating from the clear butterfat and settling at the bottom of the pan. Keep cooking the butter, stirring or swirling gently. The key is to continue this process until these milk solids transform into a beautiful golden amber-brown. Don’t be alarmed if the butter crackles, spits, or foams up – this is a normal part of the process. If you find your butter browning too quickly or unevenly, simply reduce the heat slightly to maintain control.
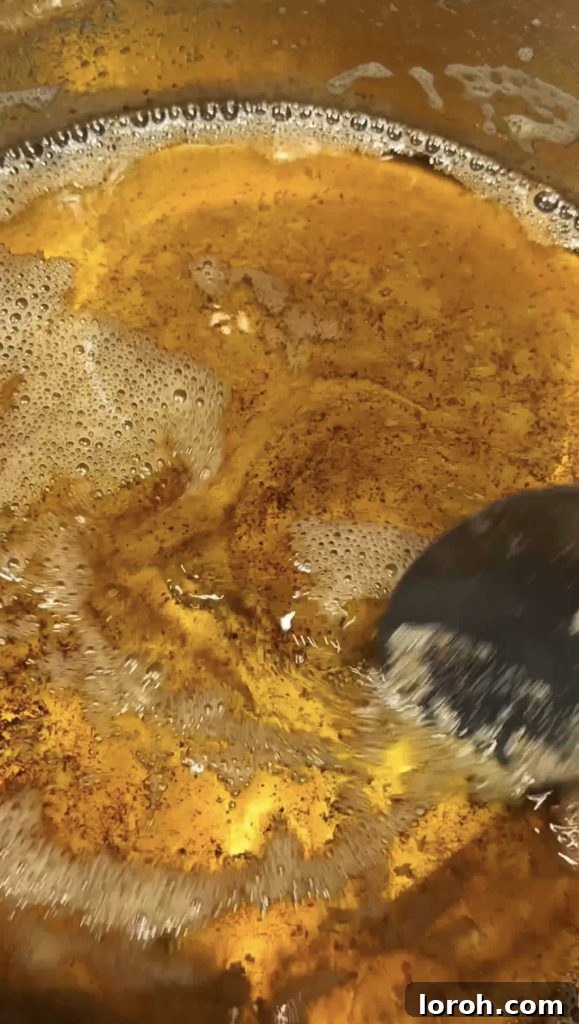
Step Three: Remove from Heat
As the butter approaches its ideal brown butter stage, the crackling and foaming should start to lessen. At this critical moment, you’ll see those delightful golden-brown flecks at the bottom of the pan and begin to smell a wonderfully rich, nutty aroma. Immediately remove the pan from the heat. The residual heat in the pan can quickly turn brown butter into burnt butter, so prompt action is important. Quickly pour the hot brown butter, including the delicious browned milk solids, into a heat-proof bowl.
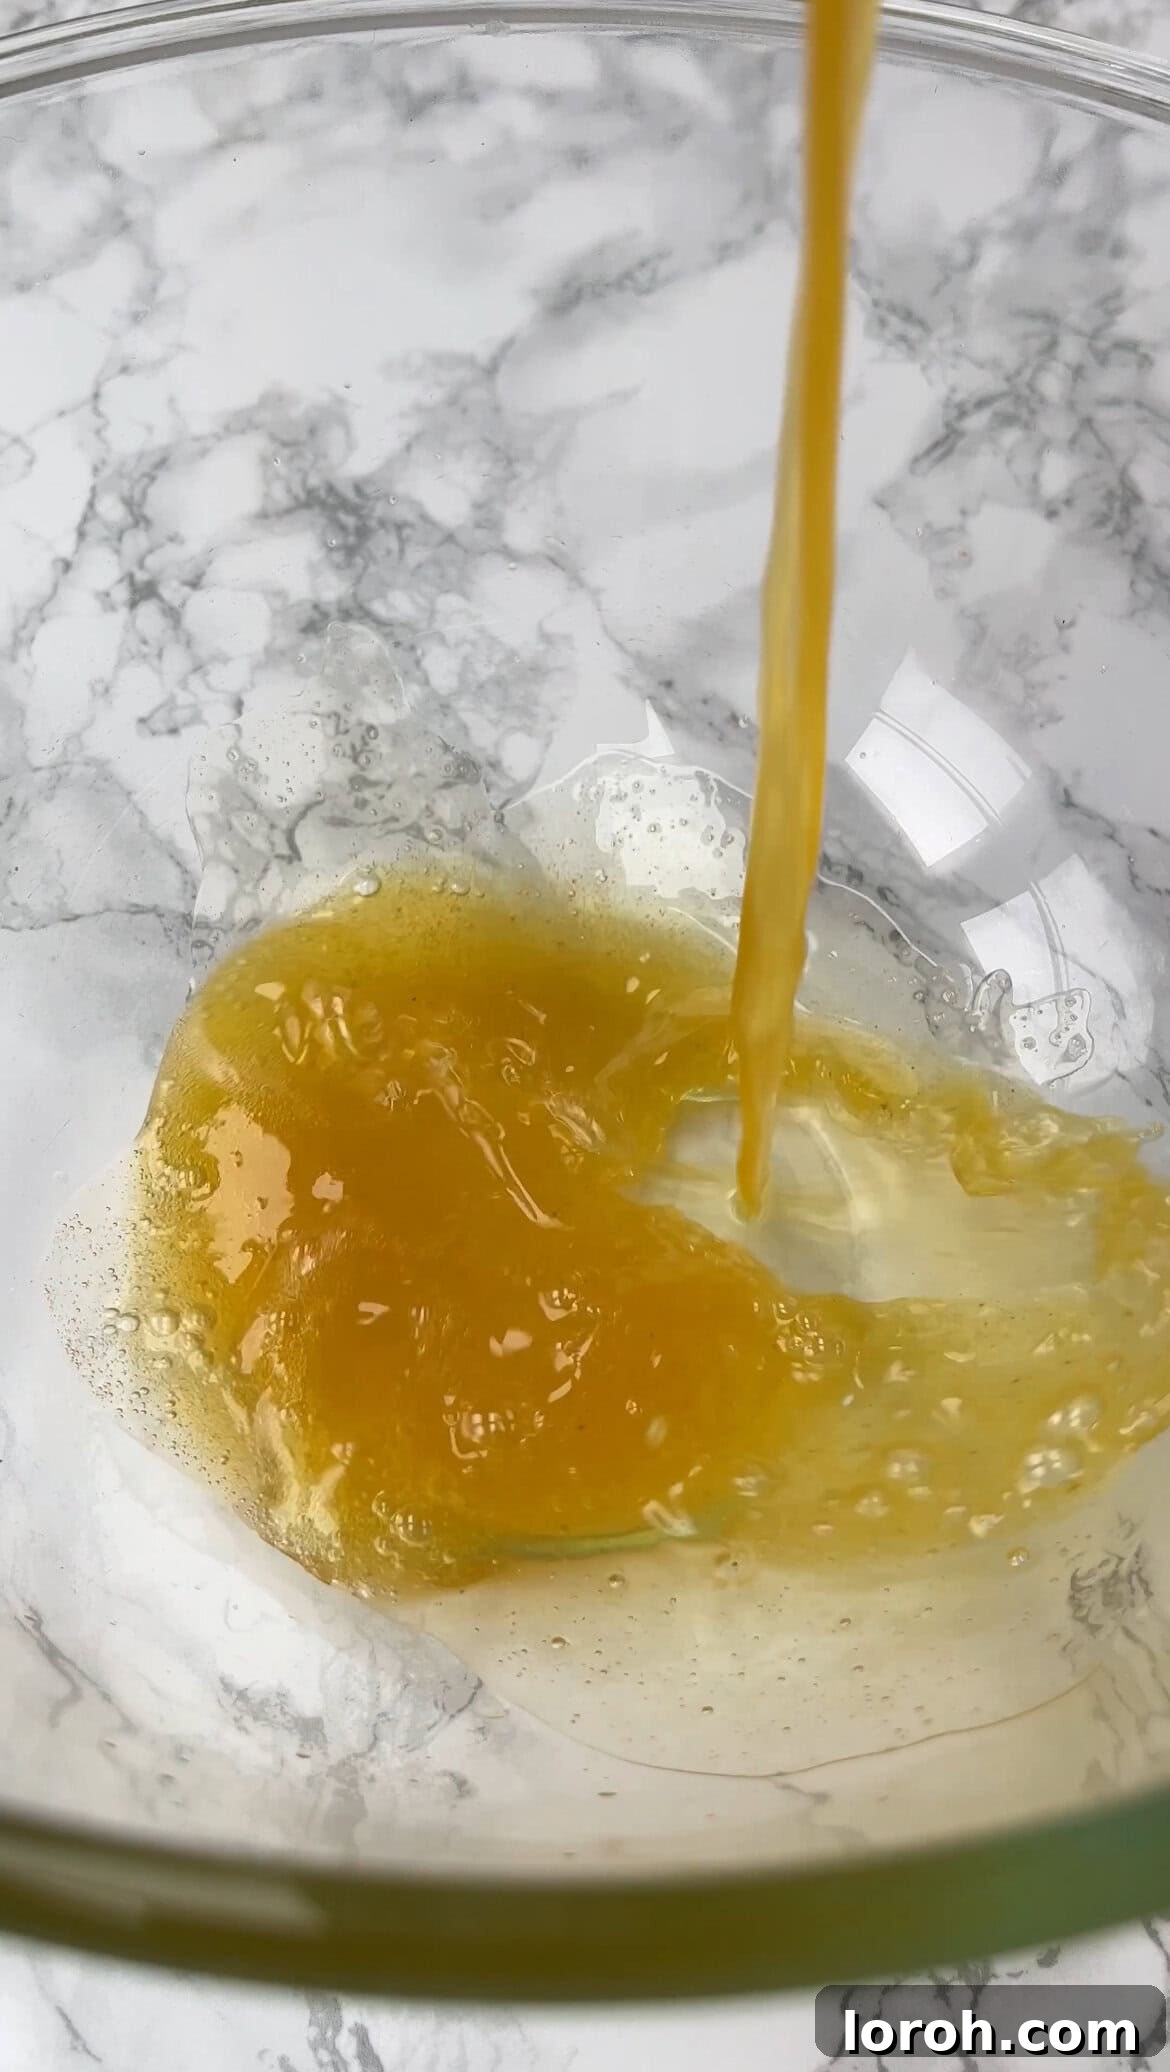
Step Four: Cool and Prepare
Allow the brown butter to cool slightly in the heat-proof bowl before incorporating it into your cookie bar dough. It doesn’t need to reach room temperature, but it shouldn’t be scorching hot, as this could inadvertently cook your eggs. If you accidentally browned it a little too much and see a few truly burnt (black) bits, don’t despair! You can carefully pour the butter through a fine-mesh sieve to strain out any unwelcome burnt particles, ensuring your cookie bars maintain a pure, nutty flavor without bitterness.
Baking Your Chocolate Chip Cookie Bars
With your aromatic brown butter ready, it’s time to assemble and bake these irresistible chocolate chip cookie bars. As always, refer to the full recipe with precise measurements in the recipe card at the bottom of the page.
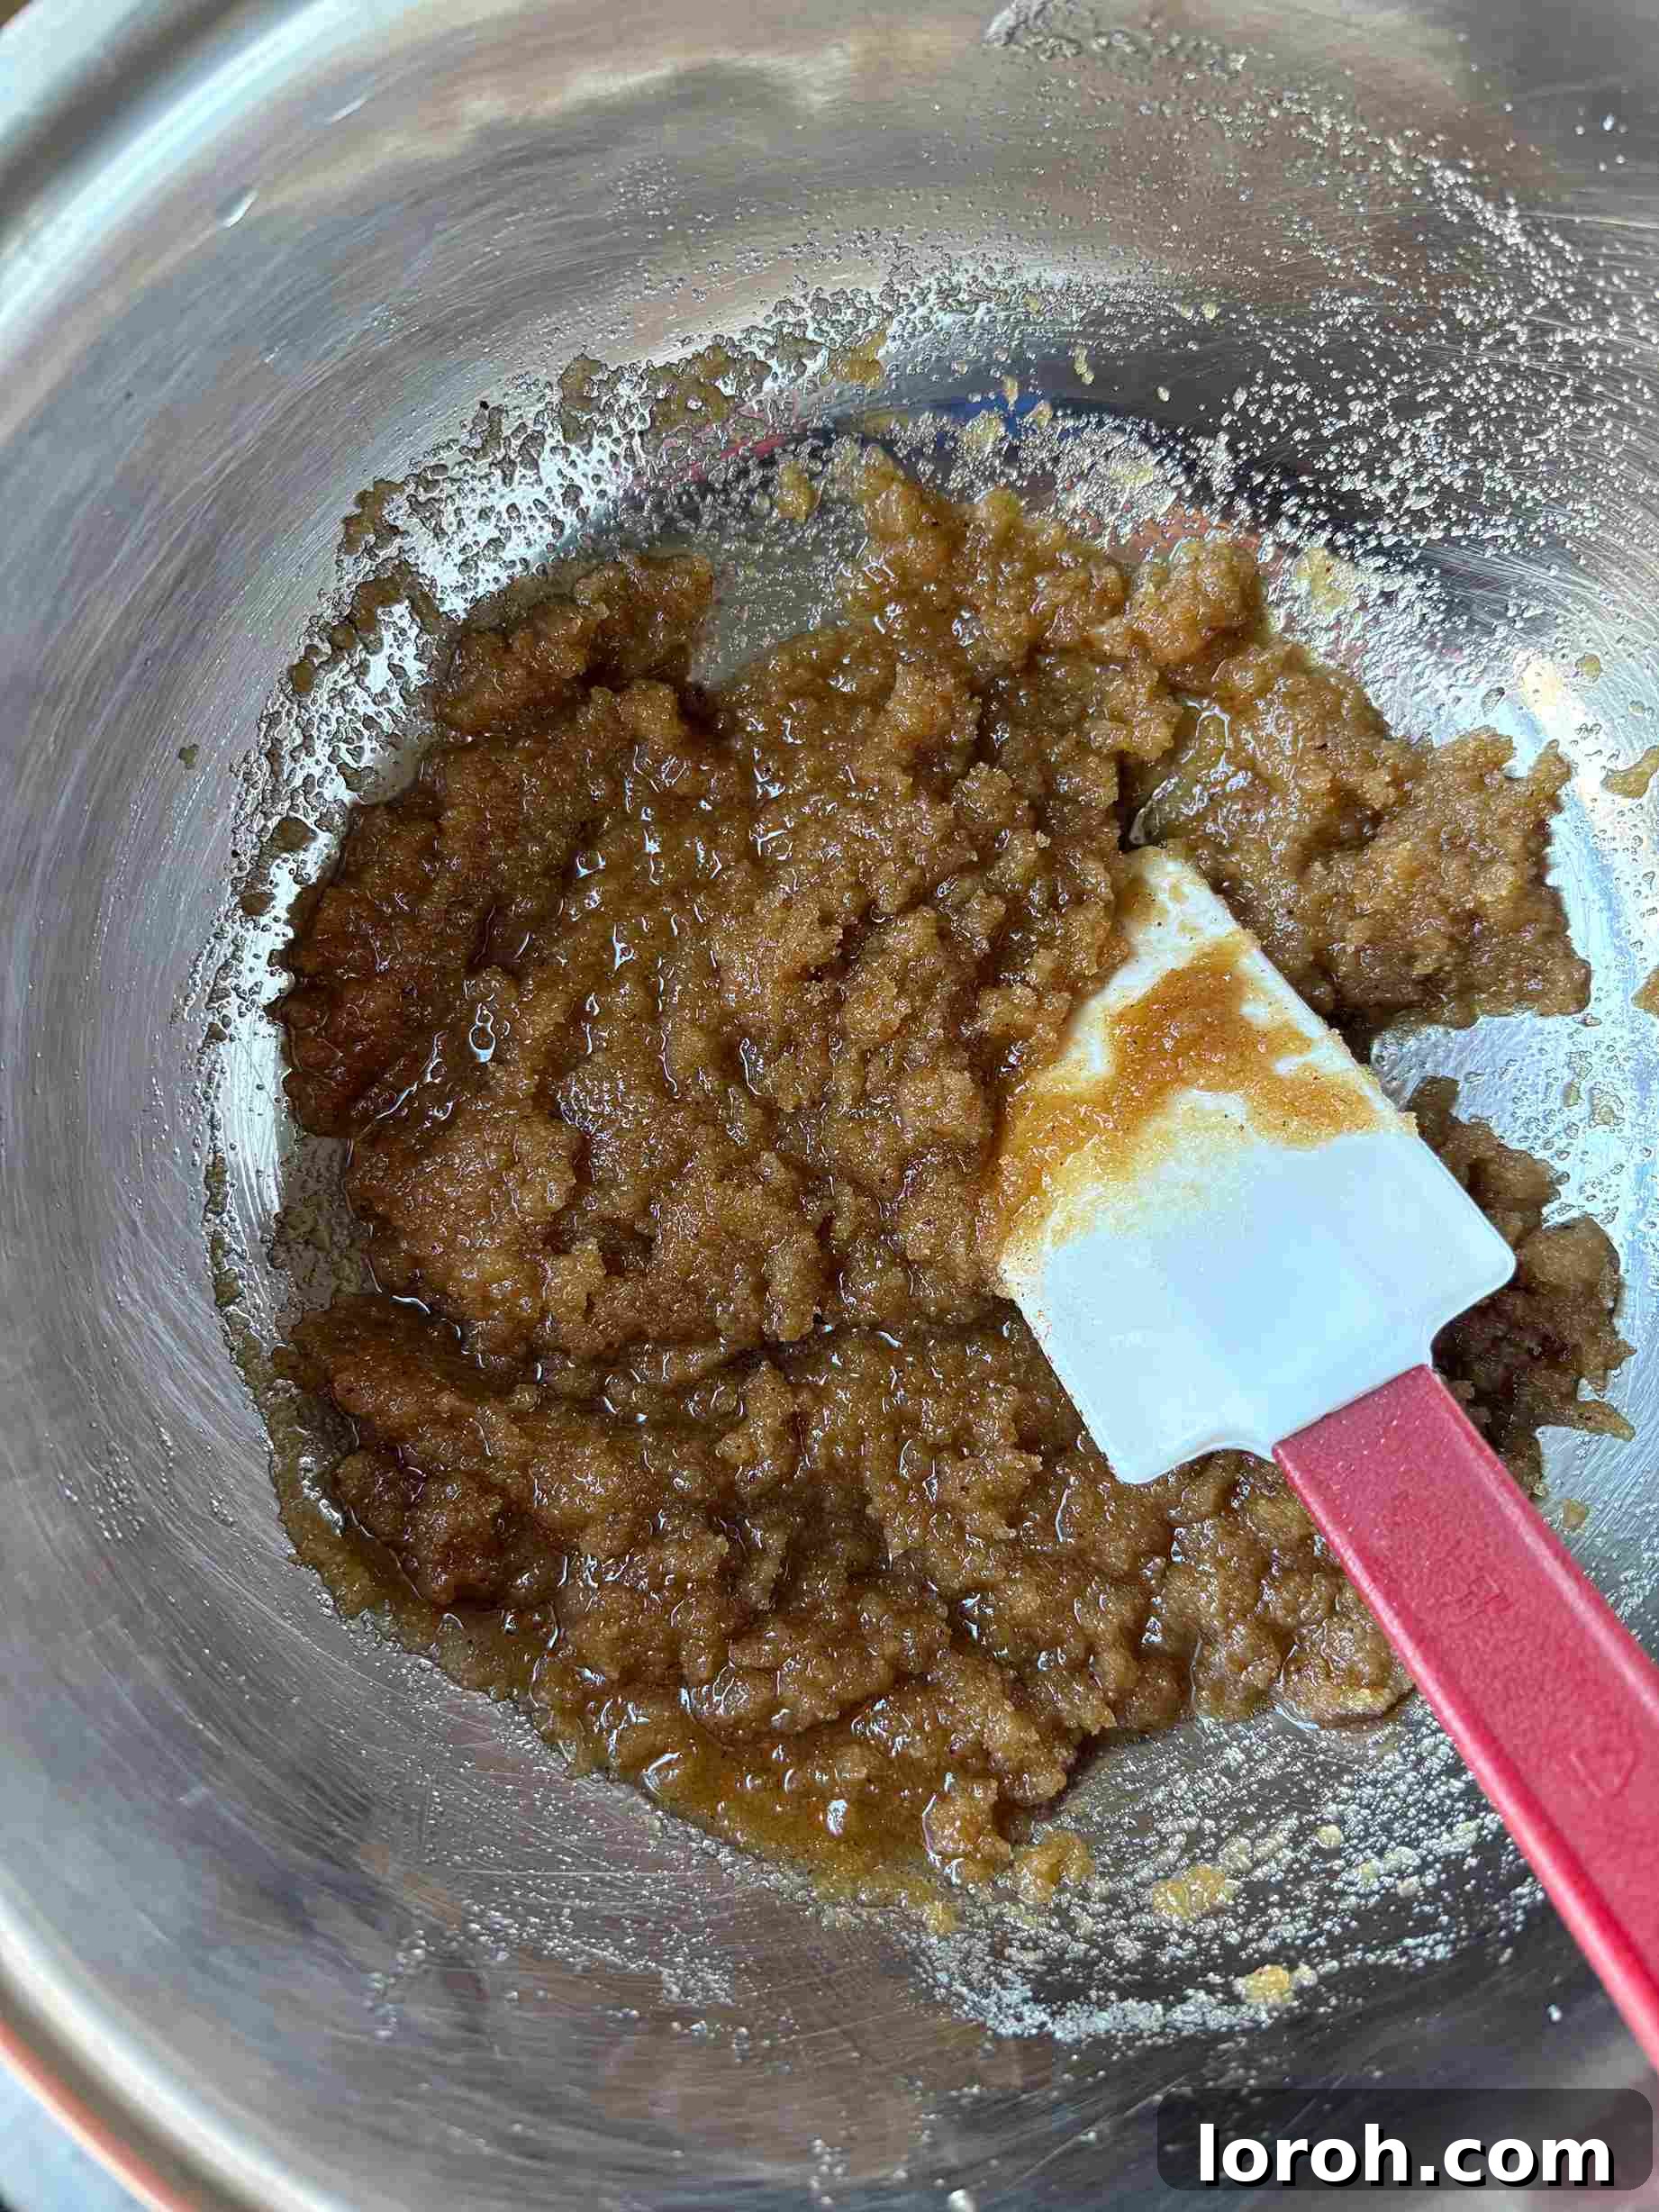
Step Five: Butter and Sugars
Ensure your brown butter has cooled slightly from its initial hot state. It should still be warm enough to be liquid but not so hot that it would scramble eggs. Add both the soft light brown sugar and the caster sugar to the bowl with the cooled brown butter. Mix these ingredients thoroughly until they are well combined and the mixture is smooth and creamy. This step is crucial for dissolving the sugars and incorporating them evenly into the fat.
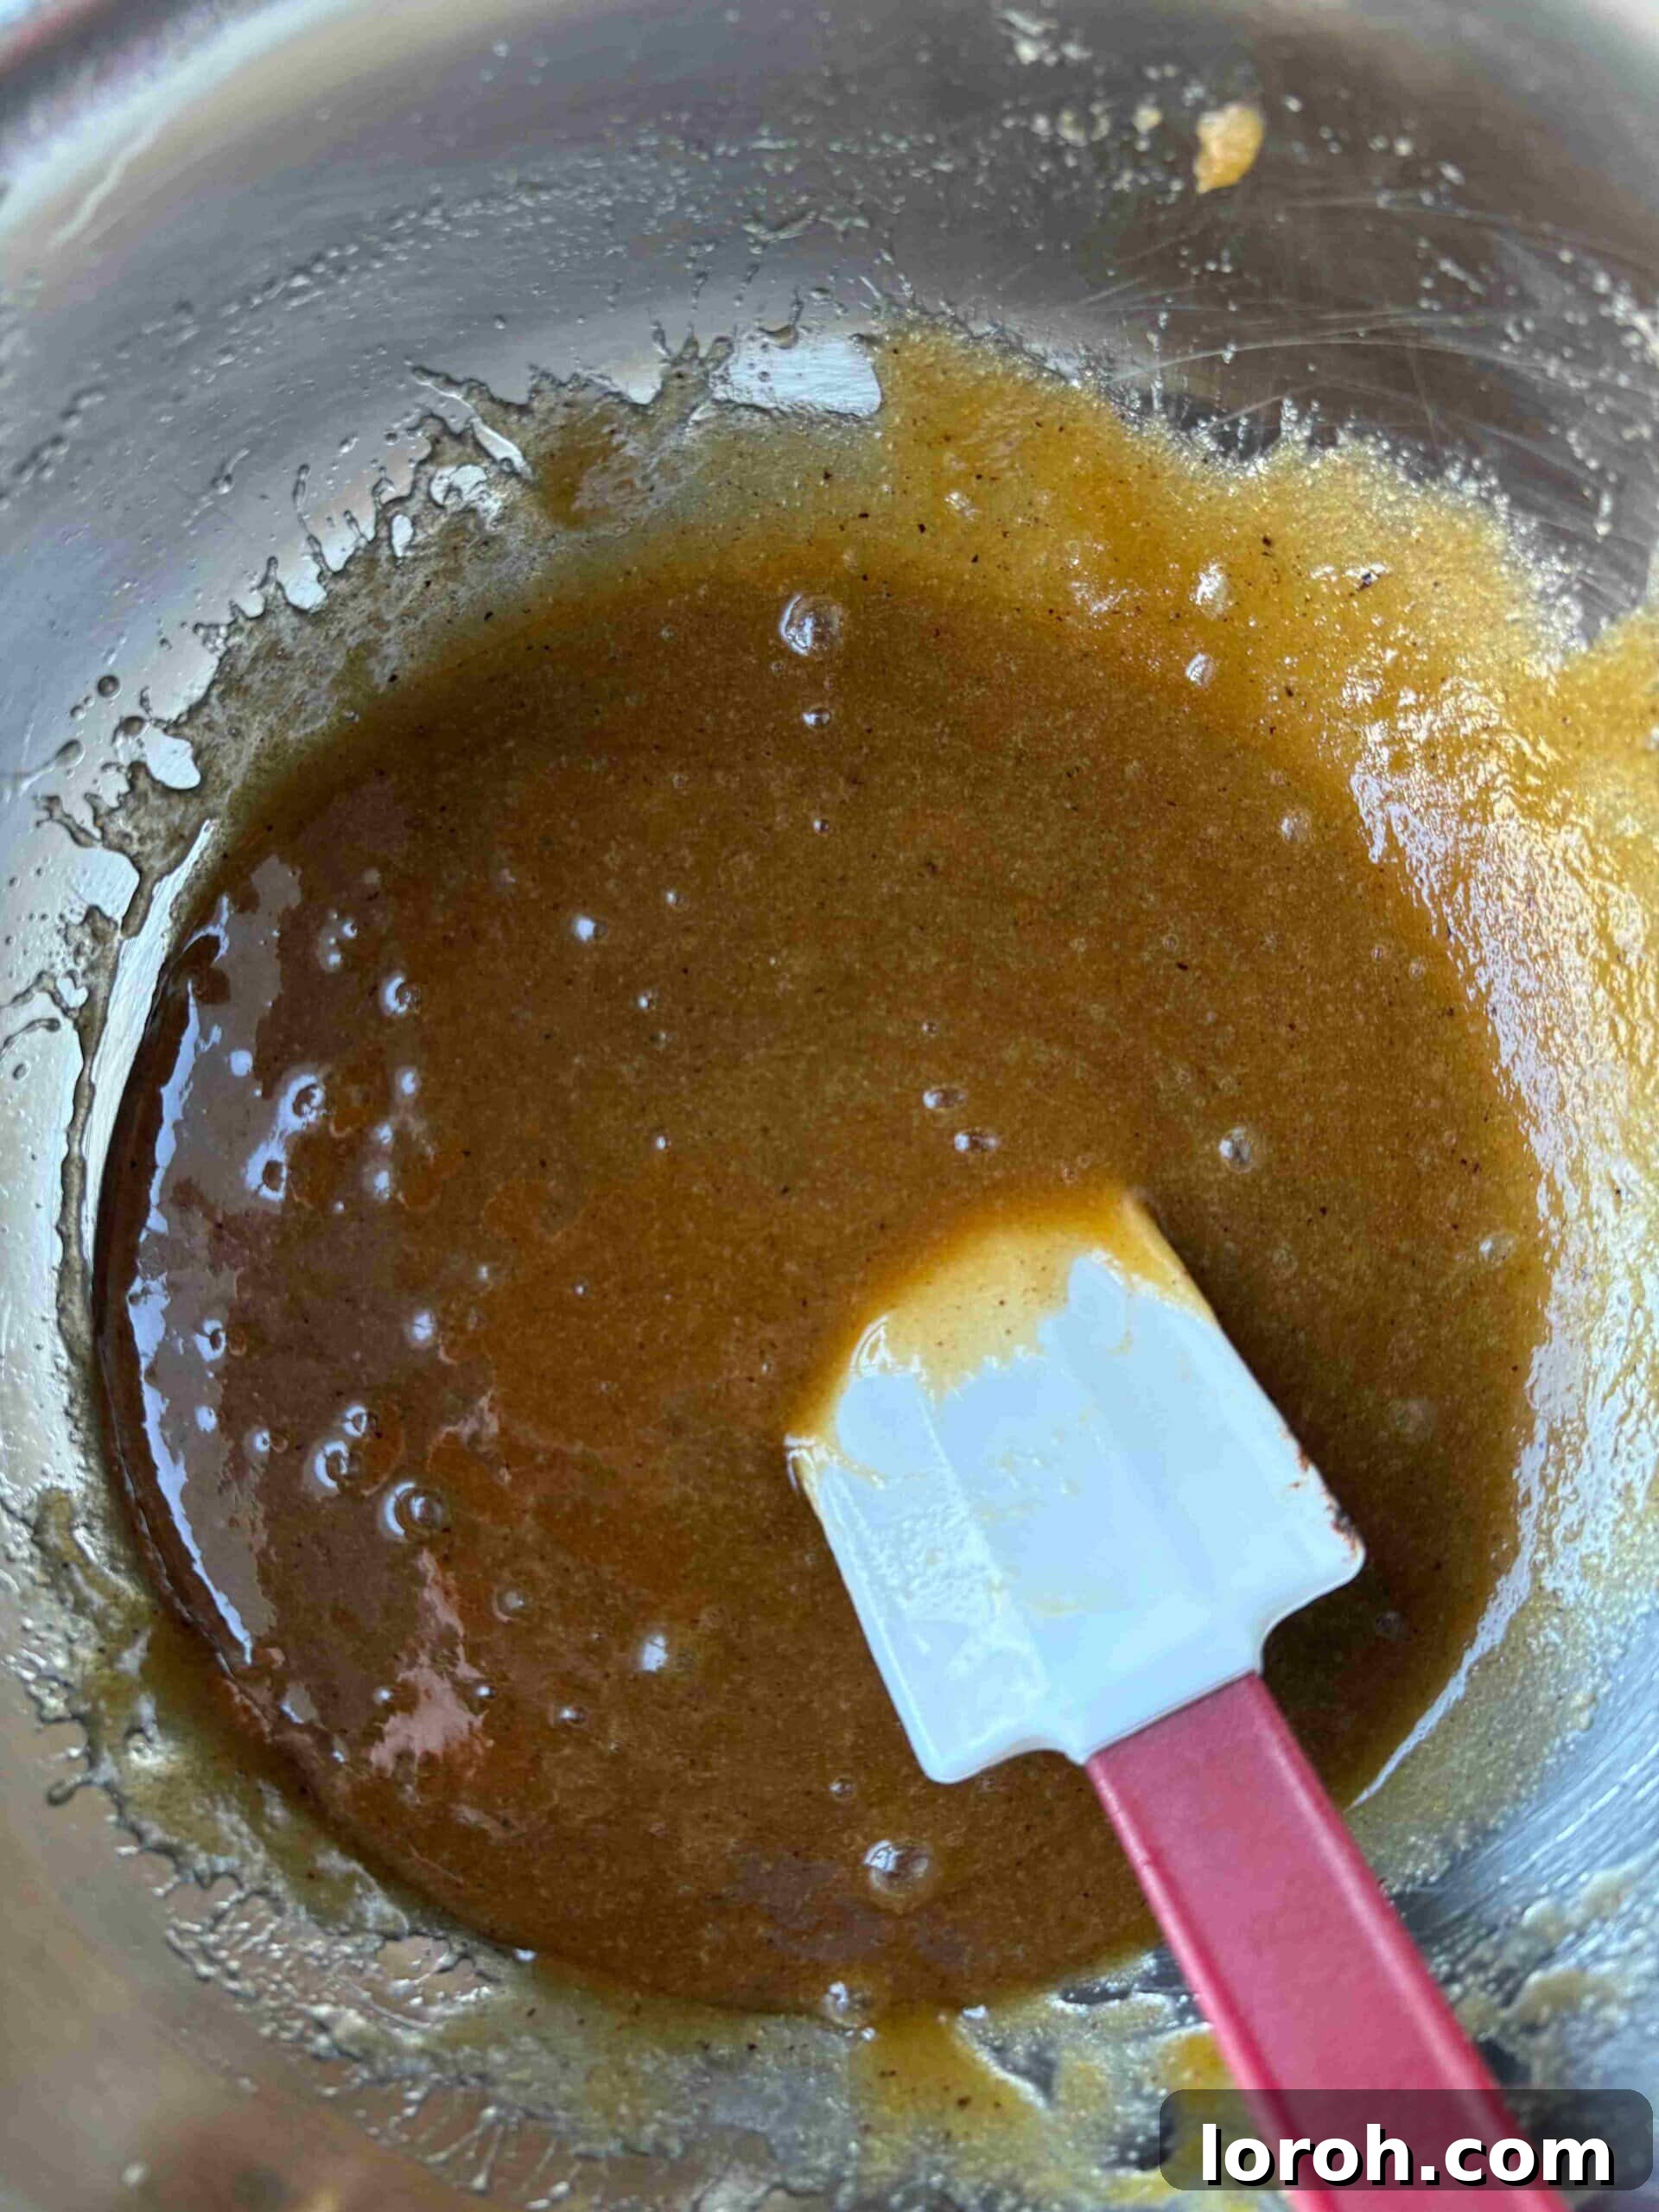
Step Six: Wet Ingredients
Next, crack in the two large eggs, one at a time, followed by the vanilla extract. Stir these ingredients into the butter and sugar mixture until everything is fully incorporated and the mixture is smooth and glossy. Avoid over-mixing at this stage; just combine until uniform.
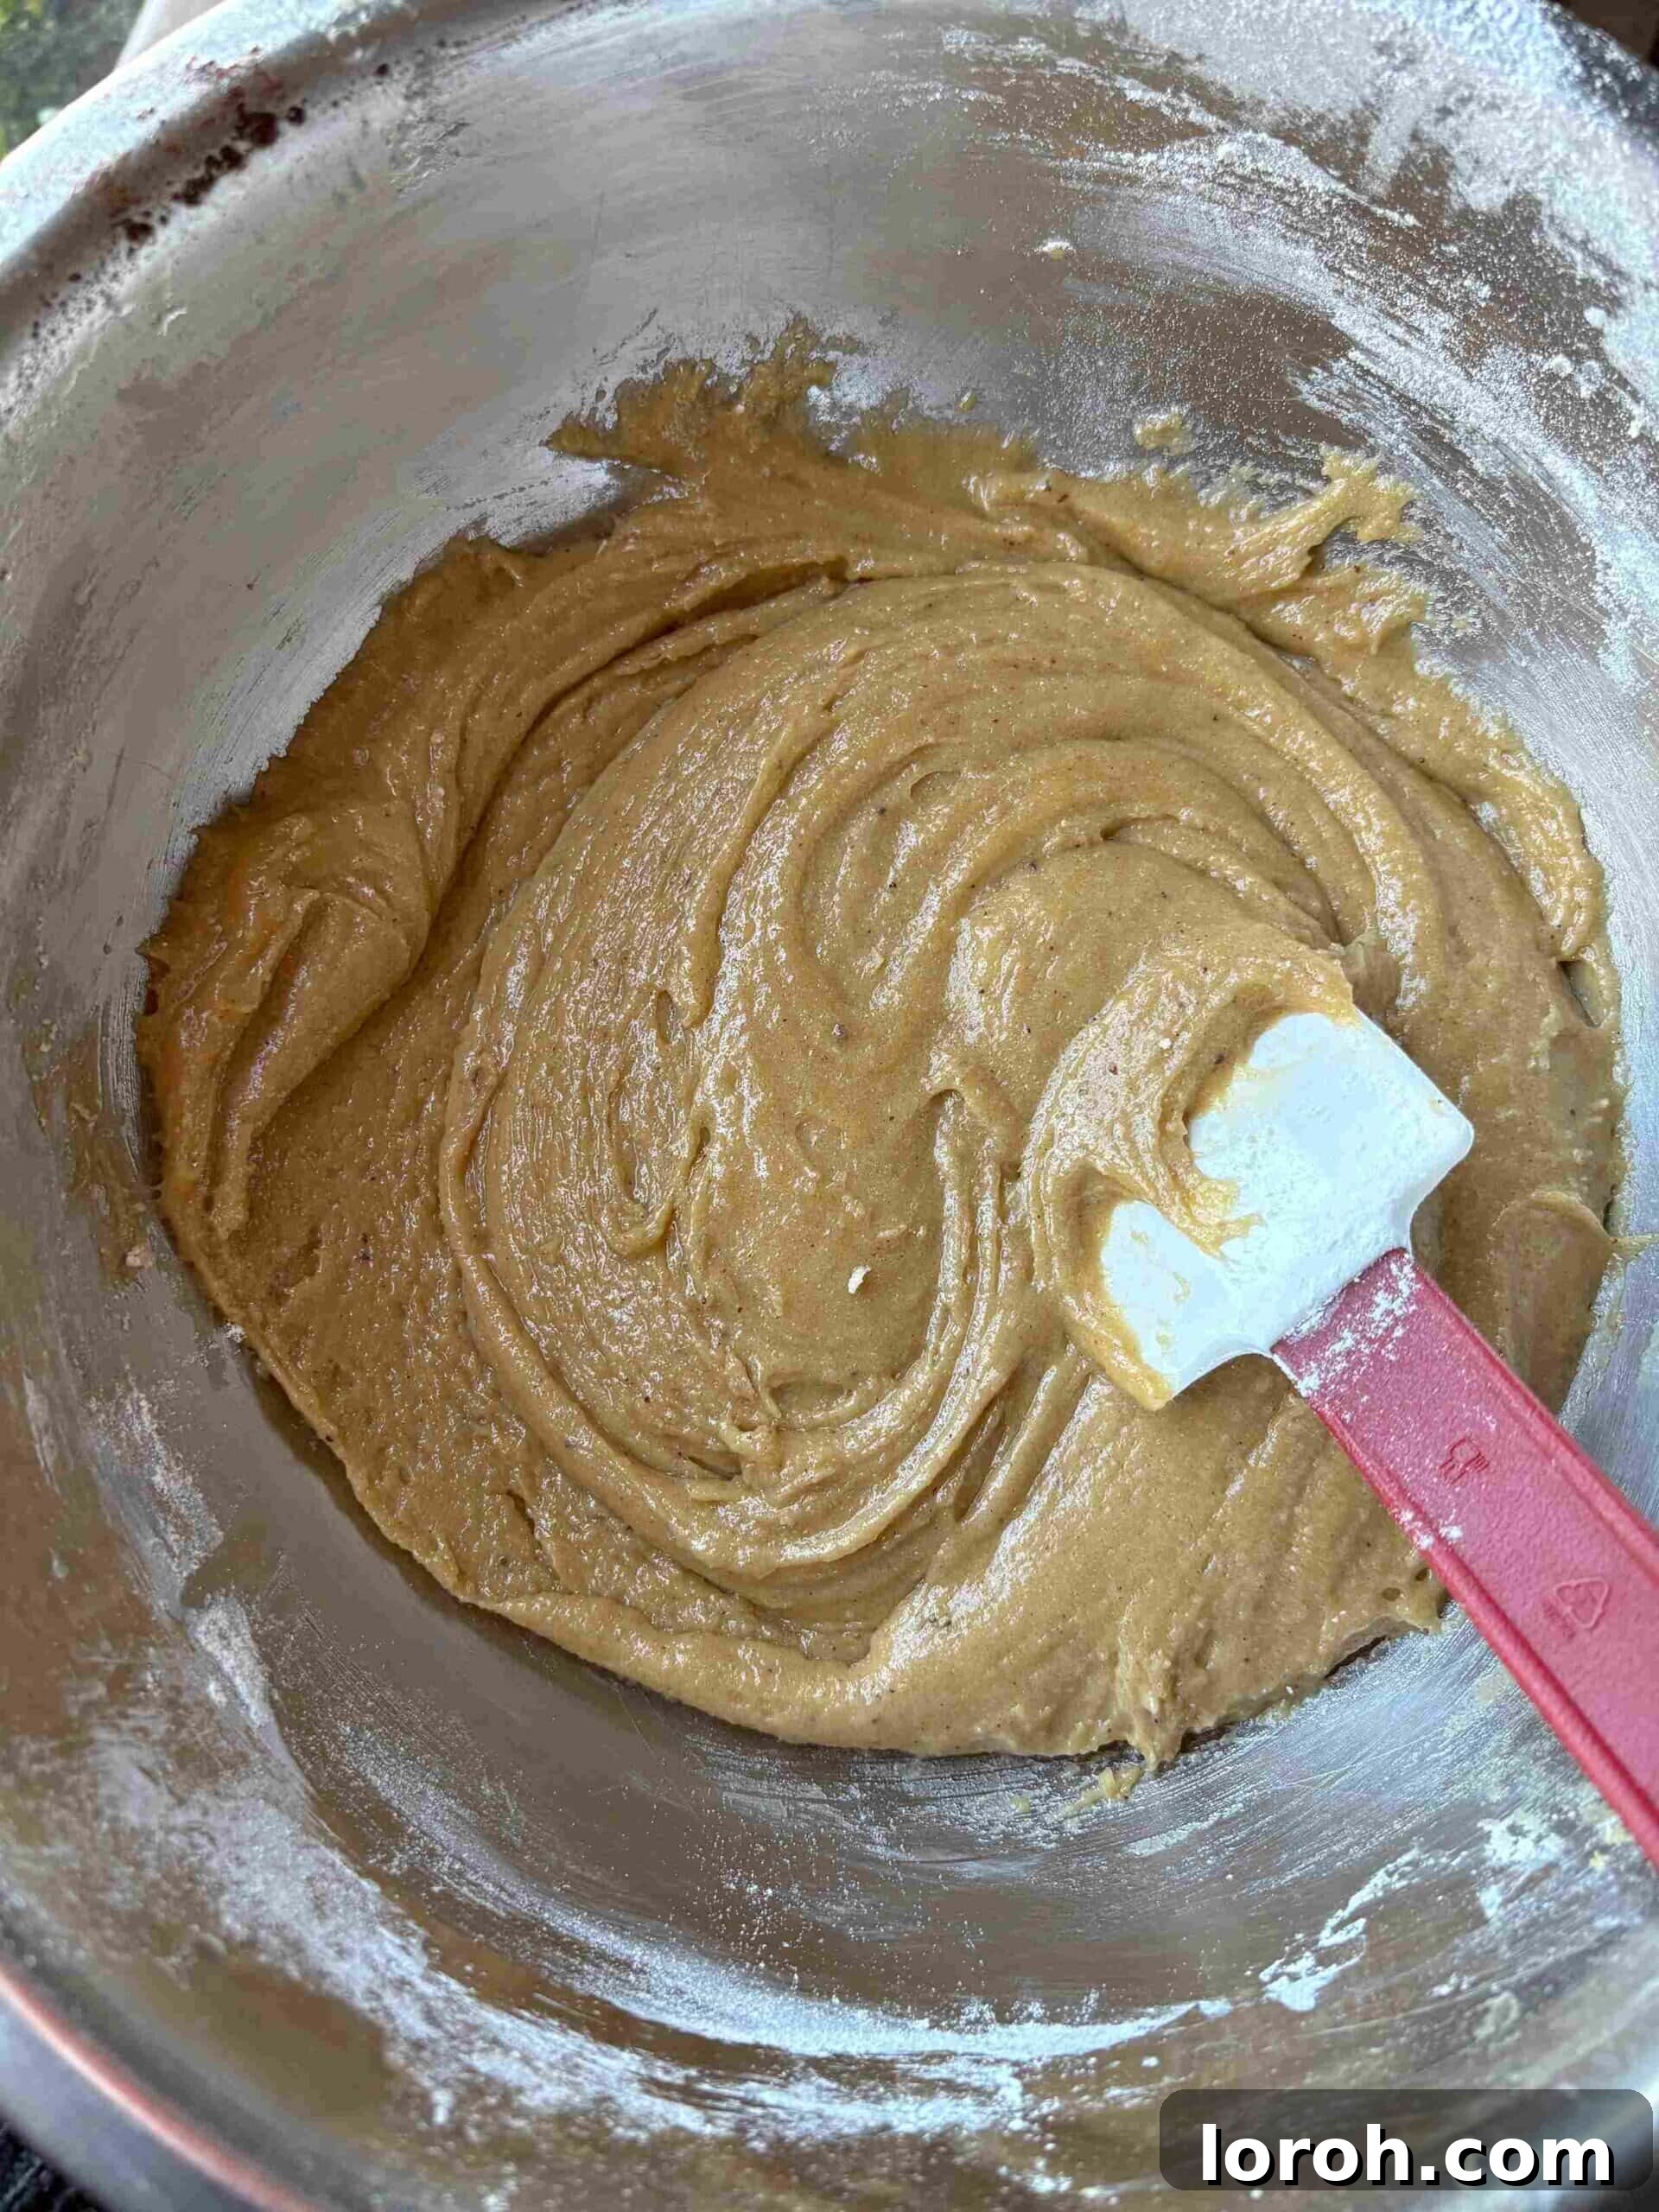
Step Seven: Dry Ingredients
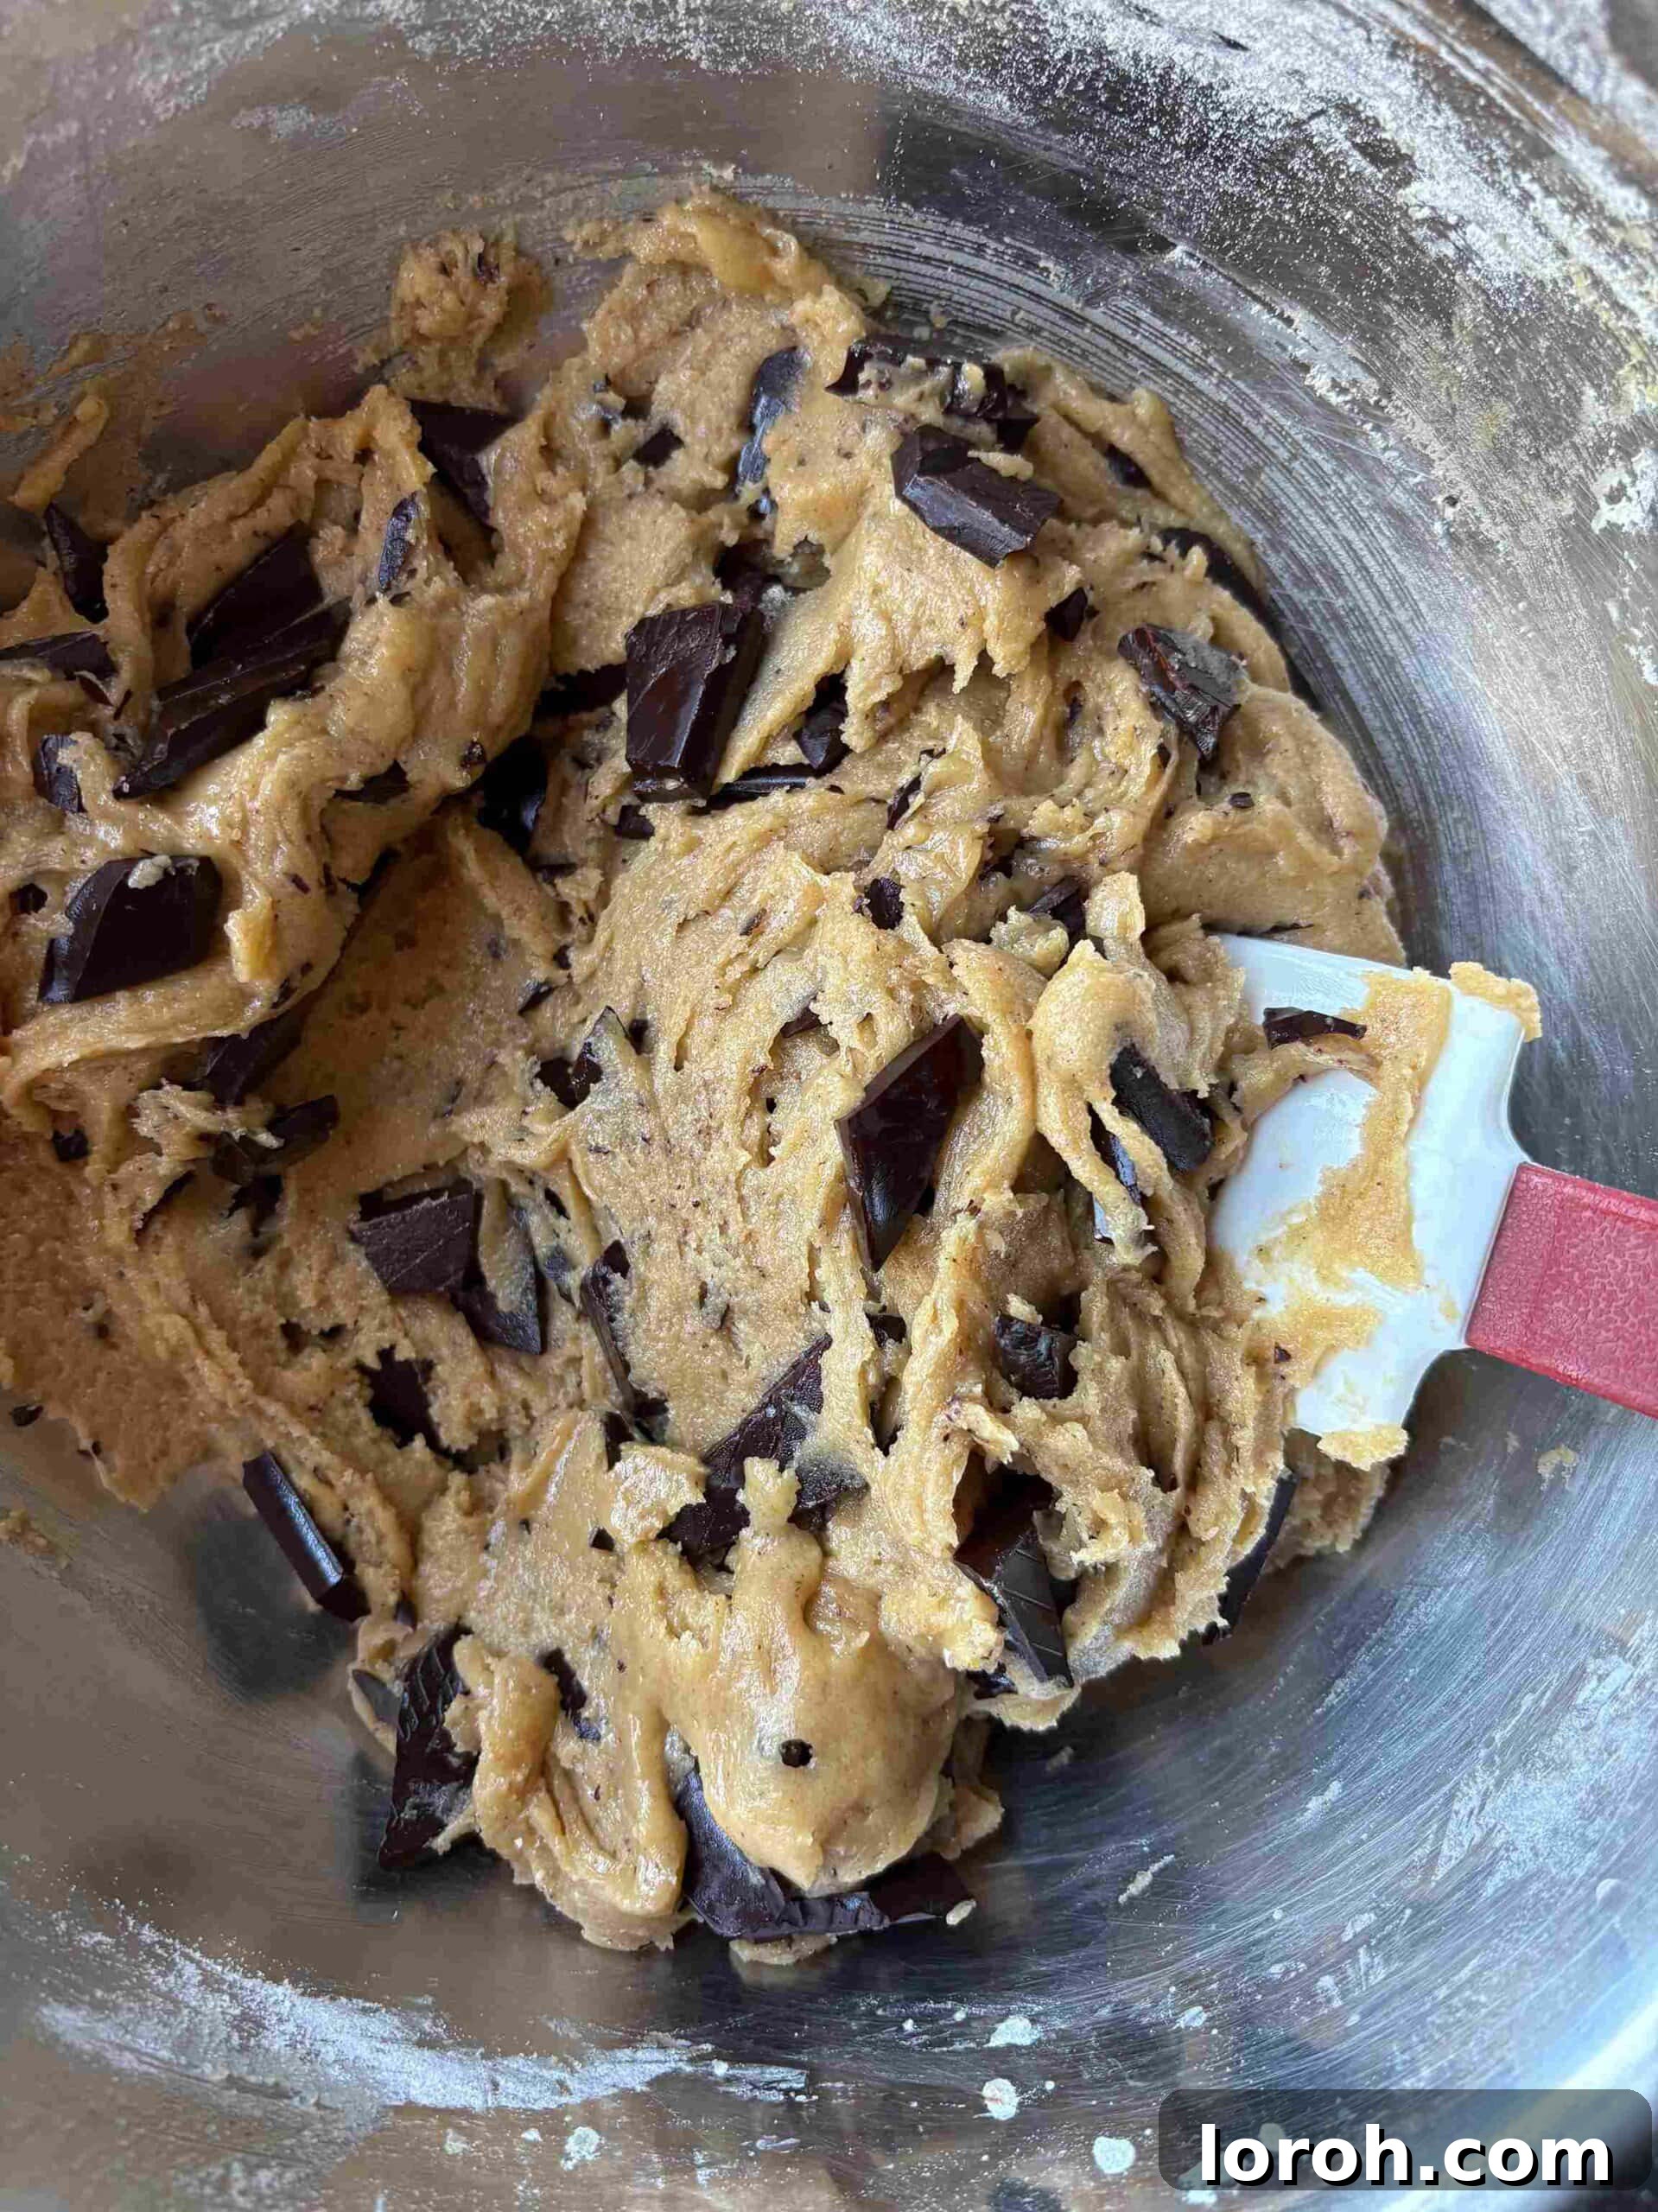
Carefully sift the plain flour, fine sea salt, and bicarbonate of soda into the wet ingredients. Gently mix these dry components into the mixture until just combined and a smooth, cohesive cookie dough forms. Be careful not to overmix the dough, as this can lead to a tougher, less tender cookie bar.
Step Eight: Fold in Chocolate
Add the majority of your chopped dark chocolate chunks to the dough. Reserve a handful of chocolate chunks for sprinkling on top later. Gently fold the chocolate into the dough using a spatula until it’s evenly distributed throughout. This ensures every bite of your cookie bar is packed with chocolatey goodness.
Step Nine: Press and Bake
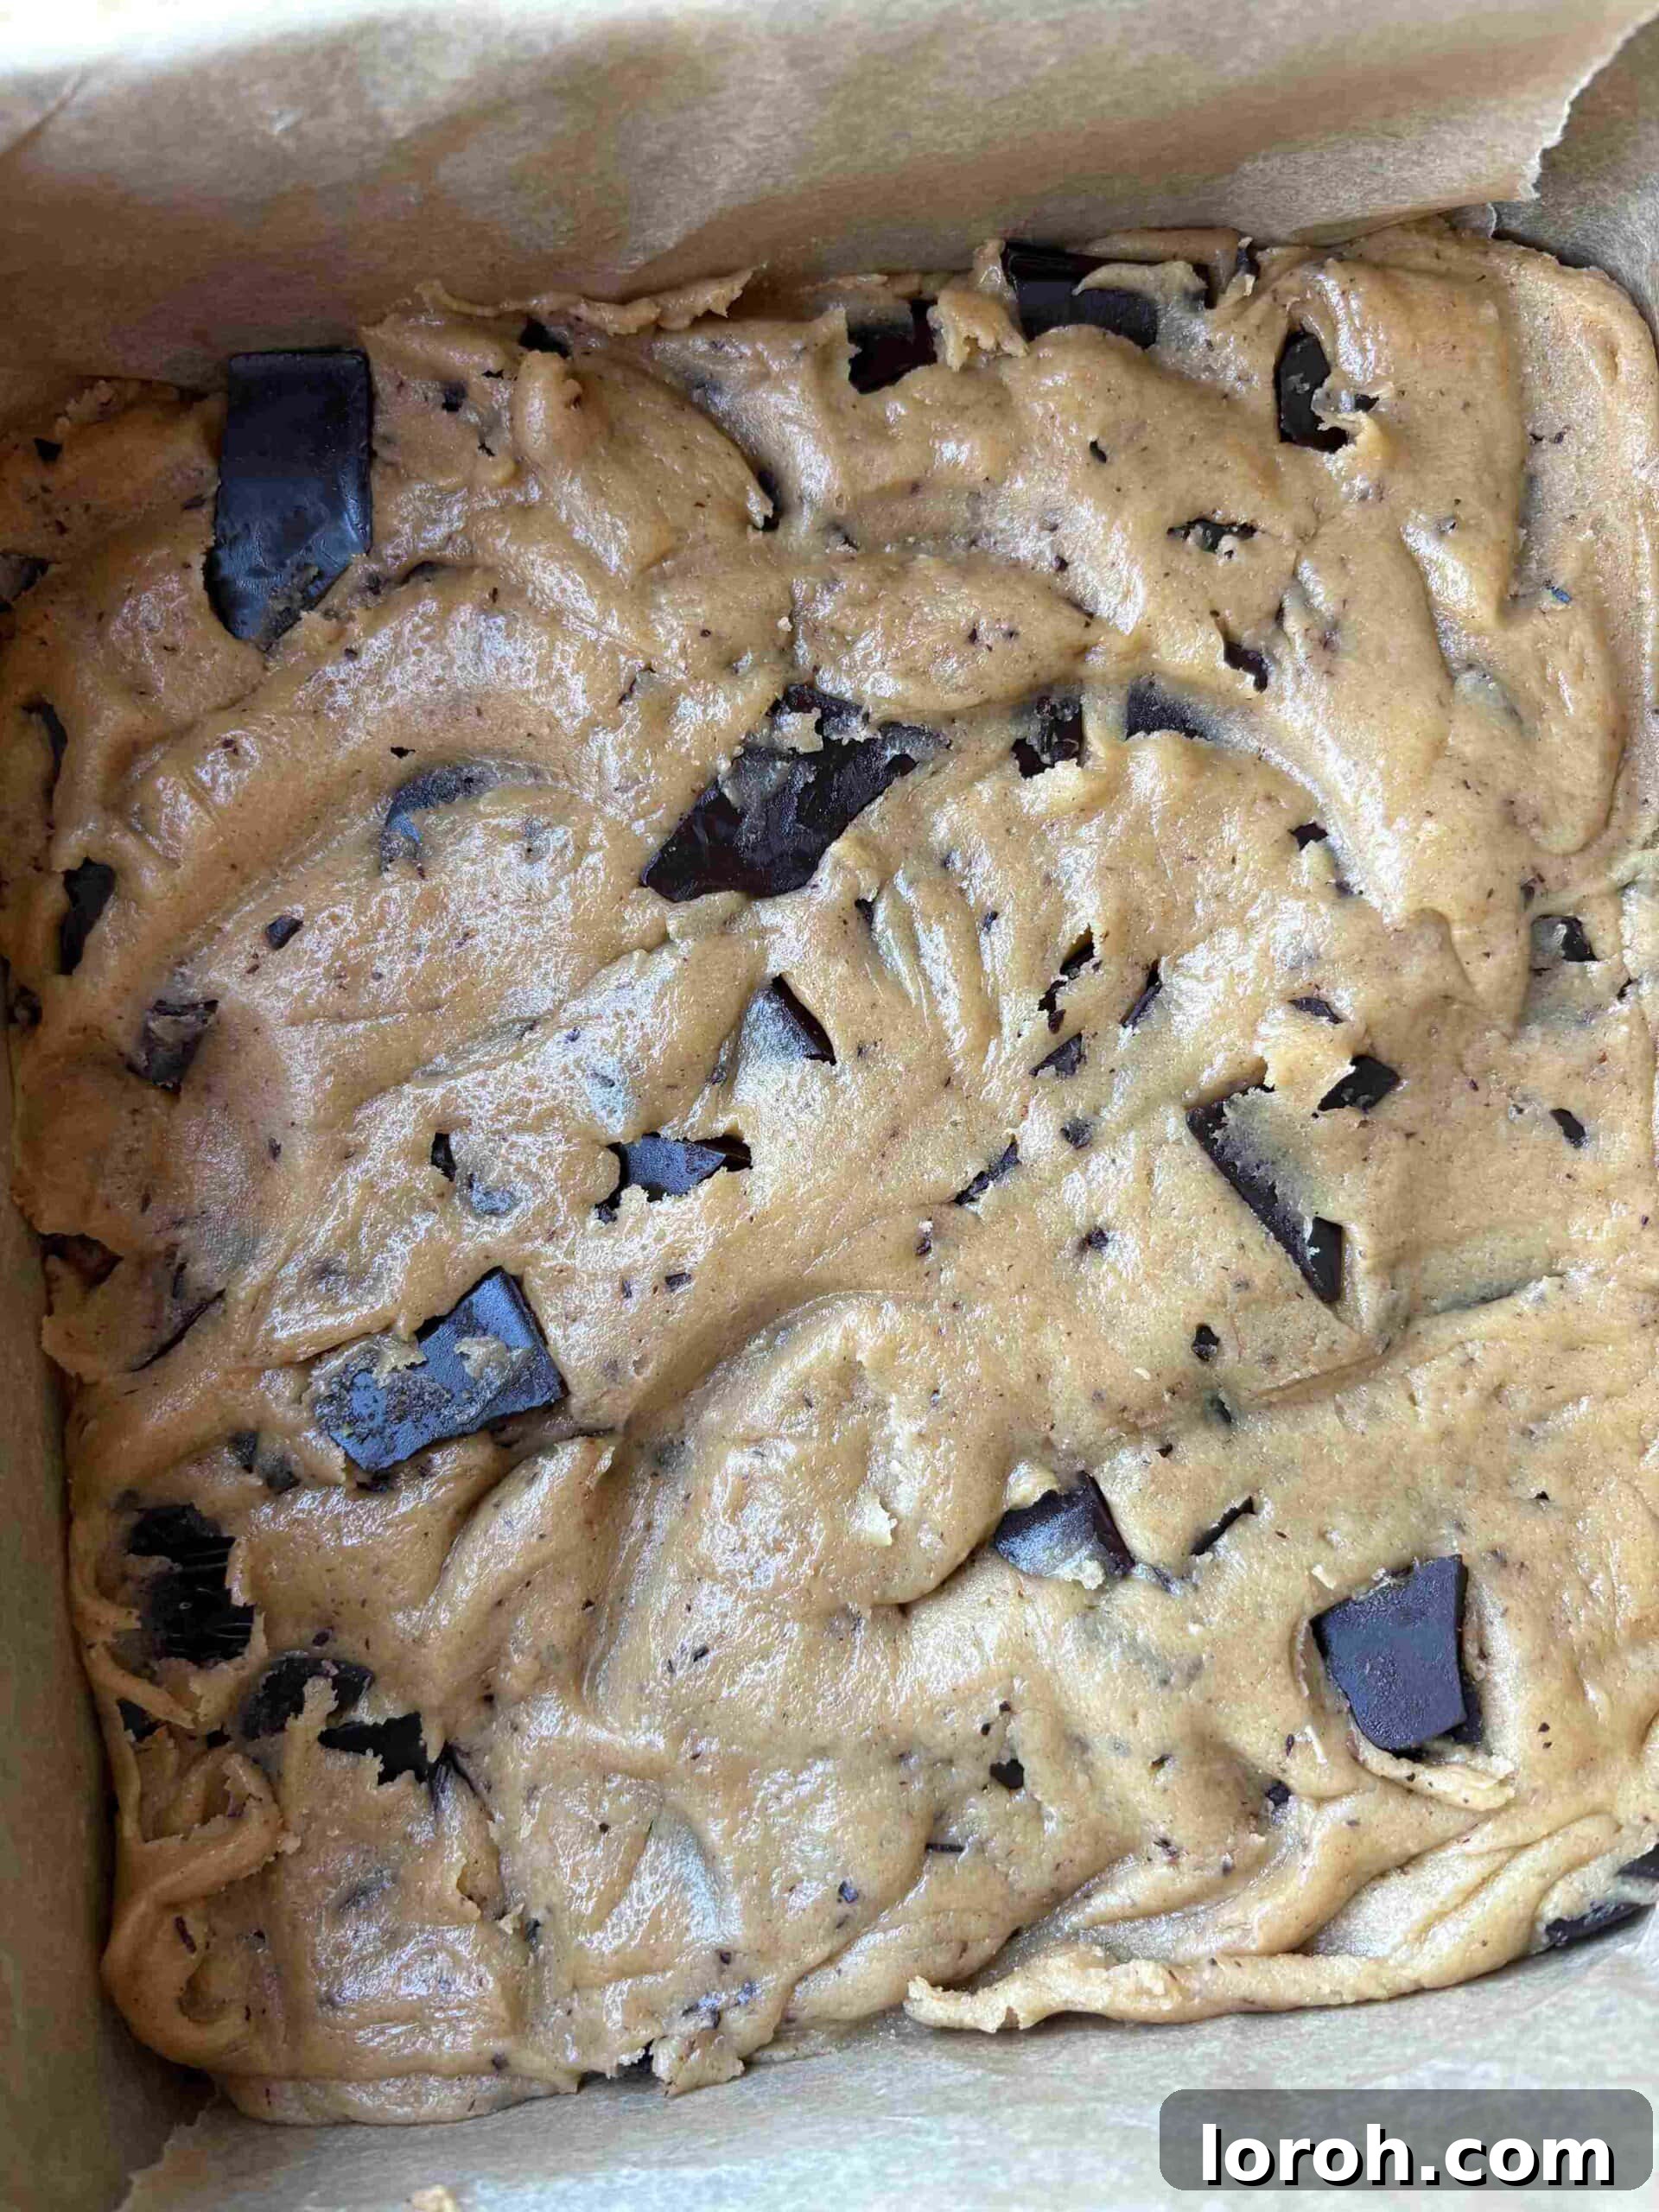
Press the prepared cookie dough evenly into your lined 20 cm (8-inch) square tin. Once the dough is smoothed into the pan, scatter the reserved chocolate chunks over the top surface, gently pressing them down slightly so they embed into the dough. For that extra gourmet touch, sprinkle generously with flaky sea salt. Transfer the tin to your preheated oven and bake for 25-35 minutes, or until the edges are golden brown and the center looks set but still slightly soft and gooey. The exact baking time will depend on your oven and your preference for gooiness. Allow the cookie bars to cool in the tin for at least 20 minutes before attempting to remove or slice them.
Step Ten: Cool and Slice
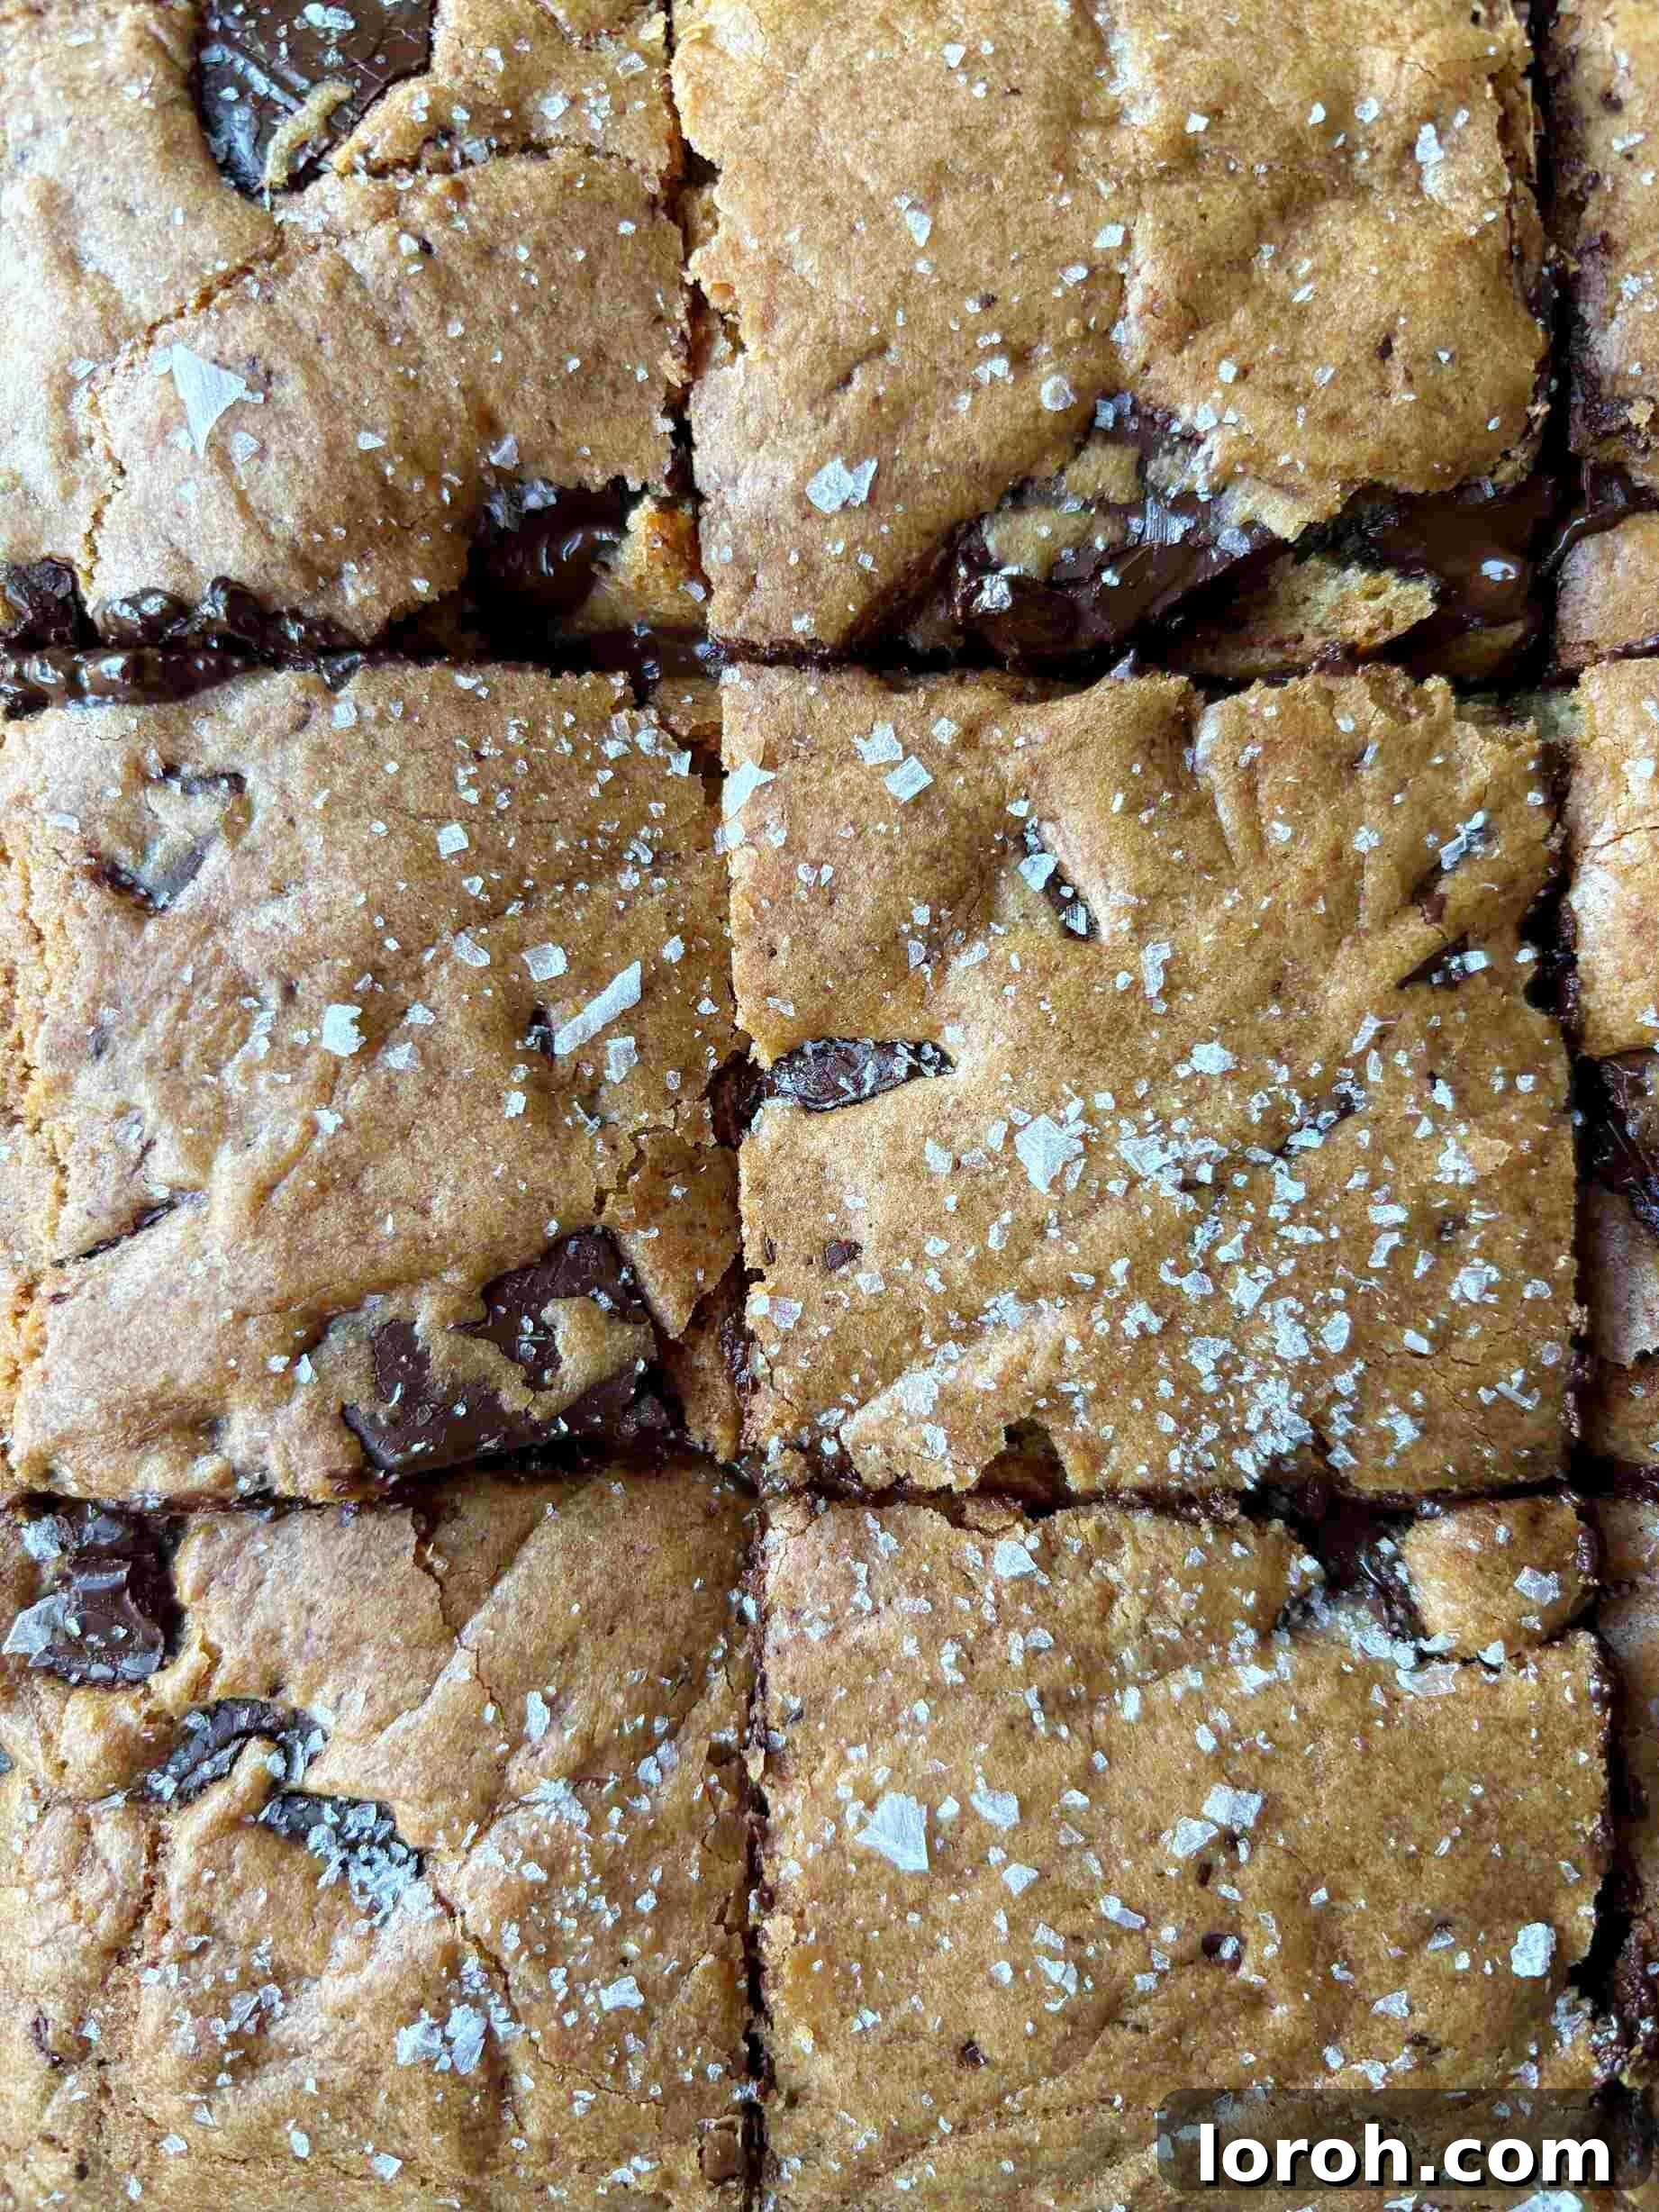
After the essential cooling time in the tin, carefully remove the entire slab of cookie bars using the baking paper overhang. Transfer it to a wire rack to cool completely, or to a comfortable temperature for slicing. Once cooled enough to handle without falling apart, use a sharp knife to cut the large cookie slab into individual squares or bars of your desired size. Serve them slightly warm for maximum gooeyness, or at room temperature for a firmer, chewier bite.
Expert Baking Tips for Perfect Cookie Bars
Achieving bakery-quality chocolate chip cookie bars at home is easier than you think with these simple tips:
- Embrace Chocolate Chunks, Not Just Chips: While chocolate chips are convenient, they are typically engineered to hold their shape during baking. For truly decadent, gooey pools of melted chocolate throughout your bars, I highly recommend chopping up a good quality bar of chocolate into various sized chunks. This creates an unparalleled melty texture that elevates the entire experience. If you haven’t tried this method before, you’re in for a treat!
- The Importance of Cooling: I know the temptation to dive into warm, gooey cookie bars is almost unbearable, but patience is truly a virtue here. Allowing the cookie bars to cool in the tin for at least 20 minutes is crucial. This cooling period allows them to firm up slightly, ensuring they maintain their shape when sliced and develop that perfect chewy-yet-fudgy texture. If you try to cut them too soon, they might crumble or be too soft to handle.
- Don’t Overbake: For the ultimate chewy and slightly gooey cookie bar, it’s better to slightly underbake than overbake. The edges should be golden, but the center should still look a little soft and underdone when you pull them from the oven. They will continue to set as they cool, leading to that perfect fudgy texture.
- Even Pressure for Even Bars: When pressing the dough into the tin, ensure you apply even pressure across the entire surface. This helps create bars of consistent thickness, leading to uniform baking and a satisfying texture in every piece.
- Quality Ingredients Matter: Especially for a simple recipe like this, the quality of your main ingredients – particularly the butter and chocolate – will significantly impact the final flavor. Invest in good quality products for the best possible results.
Frequently Asked Questions About Chocolate Chip Cookie Bars
While I wholeheartedly recommend browning the butter for the incredible depth of nutty, toasted flavor it adds, it’s not strictly mandatory. If you are significantly short on time, or if you prefer a classic, straightforward cookie flavor, you can certainly use regular softened unsalted butter instead. Just ensure it’s at room temperature for optimal mixing.
One of the greatest advantages of this chocolate chip cookie bar recipe is that it does not require chilling the dough! Unlike many traditional cookie recipes, where chilling is essential for preventing spread and developing flavor (like my triple chocolate chunk cookies), these bars are designed for immediate baking. Because they’re baked in a single tin and then sliced, the chilling time isn’t necessary to achieve a perfect texture.
Yes, both types of sugar play distinct and important roles in this recipe. Soft light brown sugar is vital for providing moisture, contributing to the chewy texture, and imparting a delicious, deep toffee-molasses flavor. Meanwhile, caster sugar (superfine sugar) is essential for creating that desirable slightly crisp, crackly top that is characteristic of perfect cookie bars. Using both ensures a balanced flavor profile and a superior texture.
Absolutely! This recipe doubles beautifully without any issues. If you choose to double it, you’ll need a larger baking tin, ideally around 35x25cm (13×9 inches). The bars will be slightly thicker, but just as delicious. Alternatively, you can divide the doubled dough across two 20cm (8-inch) square tins and bake them simultaneously.
Yes, these cookie bars are great for making ahead! You have a couple of excellent options. You can prepare the unbaked dough, press it into your lined tin, cover it tightly with cling film, and refrigerate overnight (up to 2 days) until you’re ready to bake the next day. Alternatively, you can bake the bars completely, allow them to cool, then cover them tightly or transfer them to an airtight container. While they are undeniably best within the first 24 hours, they will remain delicious for about 5 days. For the brown butter itself, you can prepare it up to 2 weeks in advance and store it, covered, in the fridge. Just remember to bring it back to a softened, room temperature consistency before incorporating it into your dough.
Yes, freezing is a fantastic way to preserve these delightful treats! Once your chocolate chip cookie bars are completely baked and cooled, slice them into individual portions. Wrap each bar tightly in cling film, then place them in an airtight freezer-safe container or freezer bag. They can be frozen for up to 3 months. When you’re ready to enjoy, simply defrost them at room temperature for a few hours, or warm gently in the microwave for a quick, gooey indulgence.
Several factors can contribute to a cakey texture. Too much flour or over-mixing the dough can incorporate too much air, leading to an airy, cake-like result instead of a dense, fudgy bar. Creaming butter and sugar (beating them until light and fluffy) traps a lot of air, which is why this recipe specifically calls for melted or browned butter, which helps keep the texture denser and fudgier. Another common culprit is overbaking. For that desirable fudgy bite, make sure to take your cookie bars out of the oven when the center still looks slightly underdone and somewhat soft. They will continue to set and firm up as they cool, achieving the perfect bar texture.
Other Decadent Recipes You Might Enjoy:
If you’re captivated by the rich flavors and effortless baking of these chocolate chip cookie bars, you’ll love exploring some of my other popular recipes. Satisfy your chocolate cravings with my double chocolate chunk muffins or these unique chocolate chipless cookies. Don’t miss out on my intensely fudgy triple chocolate brownies or the innovative chocolate brownie cookies that combine two favorites. For a more celebratory dessert that still keeps things simple, try my irresistible No-Bake Chocolate Cheesecake.
Easy Baking Recipes
Brown Butter Chocolate Chip Banana Bread
Easy Dessert Recipes
Homemade Honeycomb Ice Cream
Easy Baking Recipes
Banana Chocolate Chunk Muffins
Easy Baking Recipes
Brownie Bites
If you tried these Chocolate Chip Cookie Bars or any other recipe on the site, please do leave a rating or comment below and let us know how your baking adventure went! Your feedback is always appreciated.
★★★★★
Chocolate Chip Cookie Bars
Margie Nomura
25 mins
30 mins
55 mins
9 cookie bars
Rate Recipe
Print Recipe
Ingredients
- 170 g unsalted butter, diced
- 200 g soft light brown sugar
- 80 g caster sugar
- 2 large eggs
- 1 tsp vanilla extract
- 1 tsp fine sea salt
- 300 g plain flour
- ½ tsp bicarbonate of soda
- 200 g good-quality dark chocolate, chopped into chunks
- Flaky sea salt
Instructions
-
Preheat your oven to 180ºC (160ºC Fan/350°F). Prepare a 20 cm (8-inch) square baking tin by greasing it and lining it with non-stick baking paper, leaving an overhang on two sides for easy removal. Set aside.
-
First, prepare the brown butter: Place the diced unsalted butter into a medium-sized, light-colored non-stick saucepan. Place it over a low-medium heat and stir gently until the butter is completely melted. Increase the heat to medium and allow the butter to come to a gentle boil, stirring frequently. It will begin to bubble, crackle, and spit – this is perfectly normal, but do exercise caution! Continue cooking the butter, stirring to ensure even browning, until the crackling noises subside and the bubbles diminish. At this stage, you’ll observe a foam appearing on the surface, and the butter’s color will gradually transition from golden-yellow to a light brown, then to a rich, deep amber-brown. This process typically takes between 7-10 minutes, depending on your pan size and heat intensity. Watch the pan closely, as butter can go from perfectly brown to burnt in mere seconds.
-
As soon as small brown flecks begin to appear at the bottom of the pan and you detect a beautiful, nutty aroma reminiscent of hazelnuts, immediately remove the pan from the heat. Promptly and carefully pour the brown butter, including all the browned milk solids, into a medium-sized heat-proof bowl. This action is essential to halt the cooking process. Allow the brown butter to cool slightly in the bowl; it doesn’t need to reach room temperature, but it should no longer be scorching hot. You can prepare brown butter up to 2 weeks in advance and store it, covered, in the fridge. Before using it for the cookie bars, ensure it has softened to room temperature.
-
Once the brown butter has cooled to a warm, pourable state, add both the soft light brown sugar and the caster sugar to the bowl. Mix thoroughly until the sugars are well combined with the butter. Next, add the large eggs, one at a time, followed by the vanilla extract. Stir until all these wet ingredients are fully incorporated. Finally, sift in the plain flour, fine sea salt, and bicarbonate of soda. Mix gently until a smooth cookie dough forms, being careful not to overmix.
-
Fold in the majority of your chopped good-quality chocolate chunks until they are evenly distributed throughout the dough. Reserve a small handful of chocolate chunks for sprinkling over the top later.
-
Press the prepared cookie dough firmly and evenly into the lined baking tin. Sprinkle the reserved chocolate chunks over the top surface of the dough, gently pressing them down slightly to embed them. Generously sprinkle the entire surface with flaky sea salt. Transfer the tin to your preheated oven and bake for 25-35 minutes. The bars are ready when the edges are golden brown and the center still appears slightly soft and gooey (the exact baking time depends on how fudgy you prefer your cookie bars). It’s crucial to leave the cookie bars to cool in the tin for at least 20 minutes before handling.
-
After the essential cooling period, use the baking paper overhang to carefully lift the entire slab of cookie bars out of the tin and transfer it to a wire rack. Once fully cooled (or cooled to your desired temperature for cutting), use a sharp knife to slice them into squares or bars. Enjoy!
Notes
To Store: The brown butter can be prepared up to 2 weeks in advance and kept covered and chilled in the fridge. The unbaked cookie dough can also be made up to 3 days in advance, covered, and refrigerated. Once baked, these chocolate chip cookie bars are undeniably best enjoyed on the day they are made. However, they will remain fresh and delicious when stored in a sealed airtight container at room temperature for up to 5 days.
To Reheat: For a wonderfully warm and gooey treat, place a cookie bar onto a microwave-safe plate and heat in 10-second intervals until warmed through and the chocolate is melty.
To Freeze: Baked chocolate chip cookie bars are excellent for freezing. Once completely cooled, slice them into individual portions. Wrap each bar tightly in cling film, then place them in an airtight freezer-safe container or bag. They can be frozen for up to 3 months. To enjoy, simply defrost them at room temperature.
Brown Butter Tip: Browning the butter is an additional step that imparts an incredible amount of nutty, complex flavor to these chocolate chip cookie bars, truly elevating them. However, if you’re very short on time, you can certainly use regular softened unsalted butter instead. If, during the browning process, you notice a few black flecks (indicating burnt milk solids) rather than the desirable golden-brown ones, don’t discard your butter! Simply pour it through a fine-mesh sieve to strain out any burnt bits. Skipping this straining step could impart a bitter flavor to your finished cookie bars.
Chocolate Chunks vs. Chips: This recipe calls for good-quality dark chocolate chopped into chunks, as this creates luscious, melted pools of chocolate in the finished bars. While standard chocolate chips will work, they are designed to hold their shape when baked, so you won’t get the same delightful gooeyness. Feel free to use any flavor or combination of chocolates you like – dark, milk, or white chocolate all work well. You could even create triple chocolate chip cookie bars!
Adding Nuts: For an added layer of crunch and a wonderful praline-like flavor, consider swapping 100g of the chocolate for roughly chopped nuts. Excellent choices include chopped almonds, macadamia nuts, pecans, pistachios, or hazelnuts.
Nutrition
Carbohydrates: 66g,
Protein: 7g,
Fat: 26g,
Saturated Fat: 16g,
Polyunsaturated Fat: 1g,
Monounsaturated Fat: 7g,
Trans Fat: 1g,
Cholesterol: 78mg,
Sodium: 347mg,
Potassium: 243mg,
Fiber: 3g,
Sugar: 36g,
Vitamin A: 534IU,
Calcium: 50mg,
Iron: 5mg
Nutrition information is automatically calculated, so should only be used as an approximation.
Like this? Leave a comment below!