
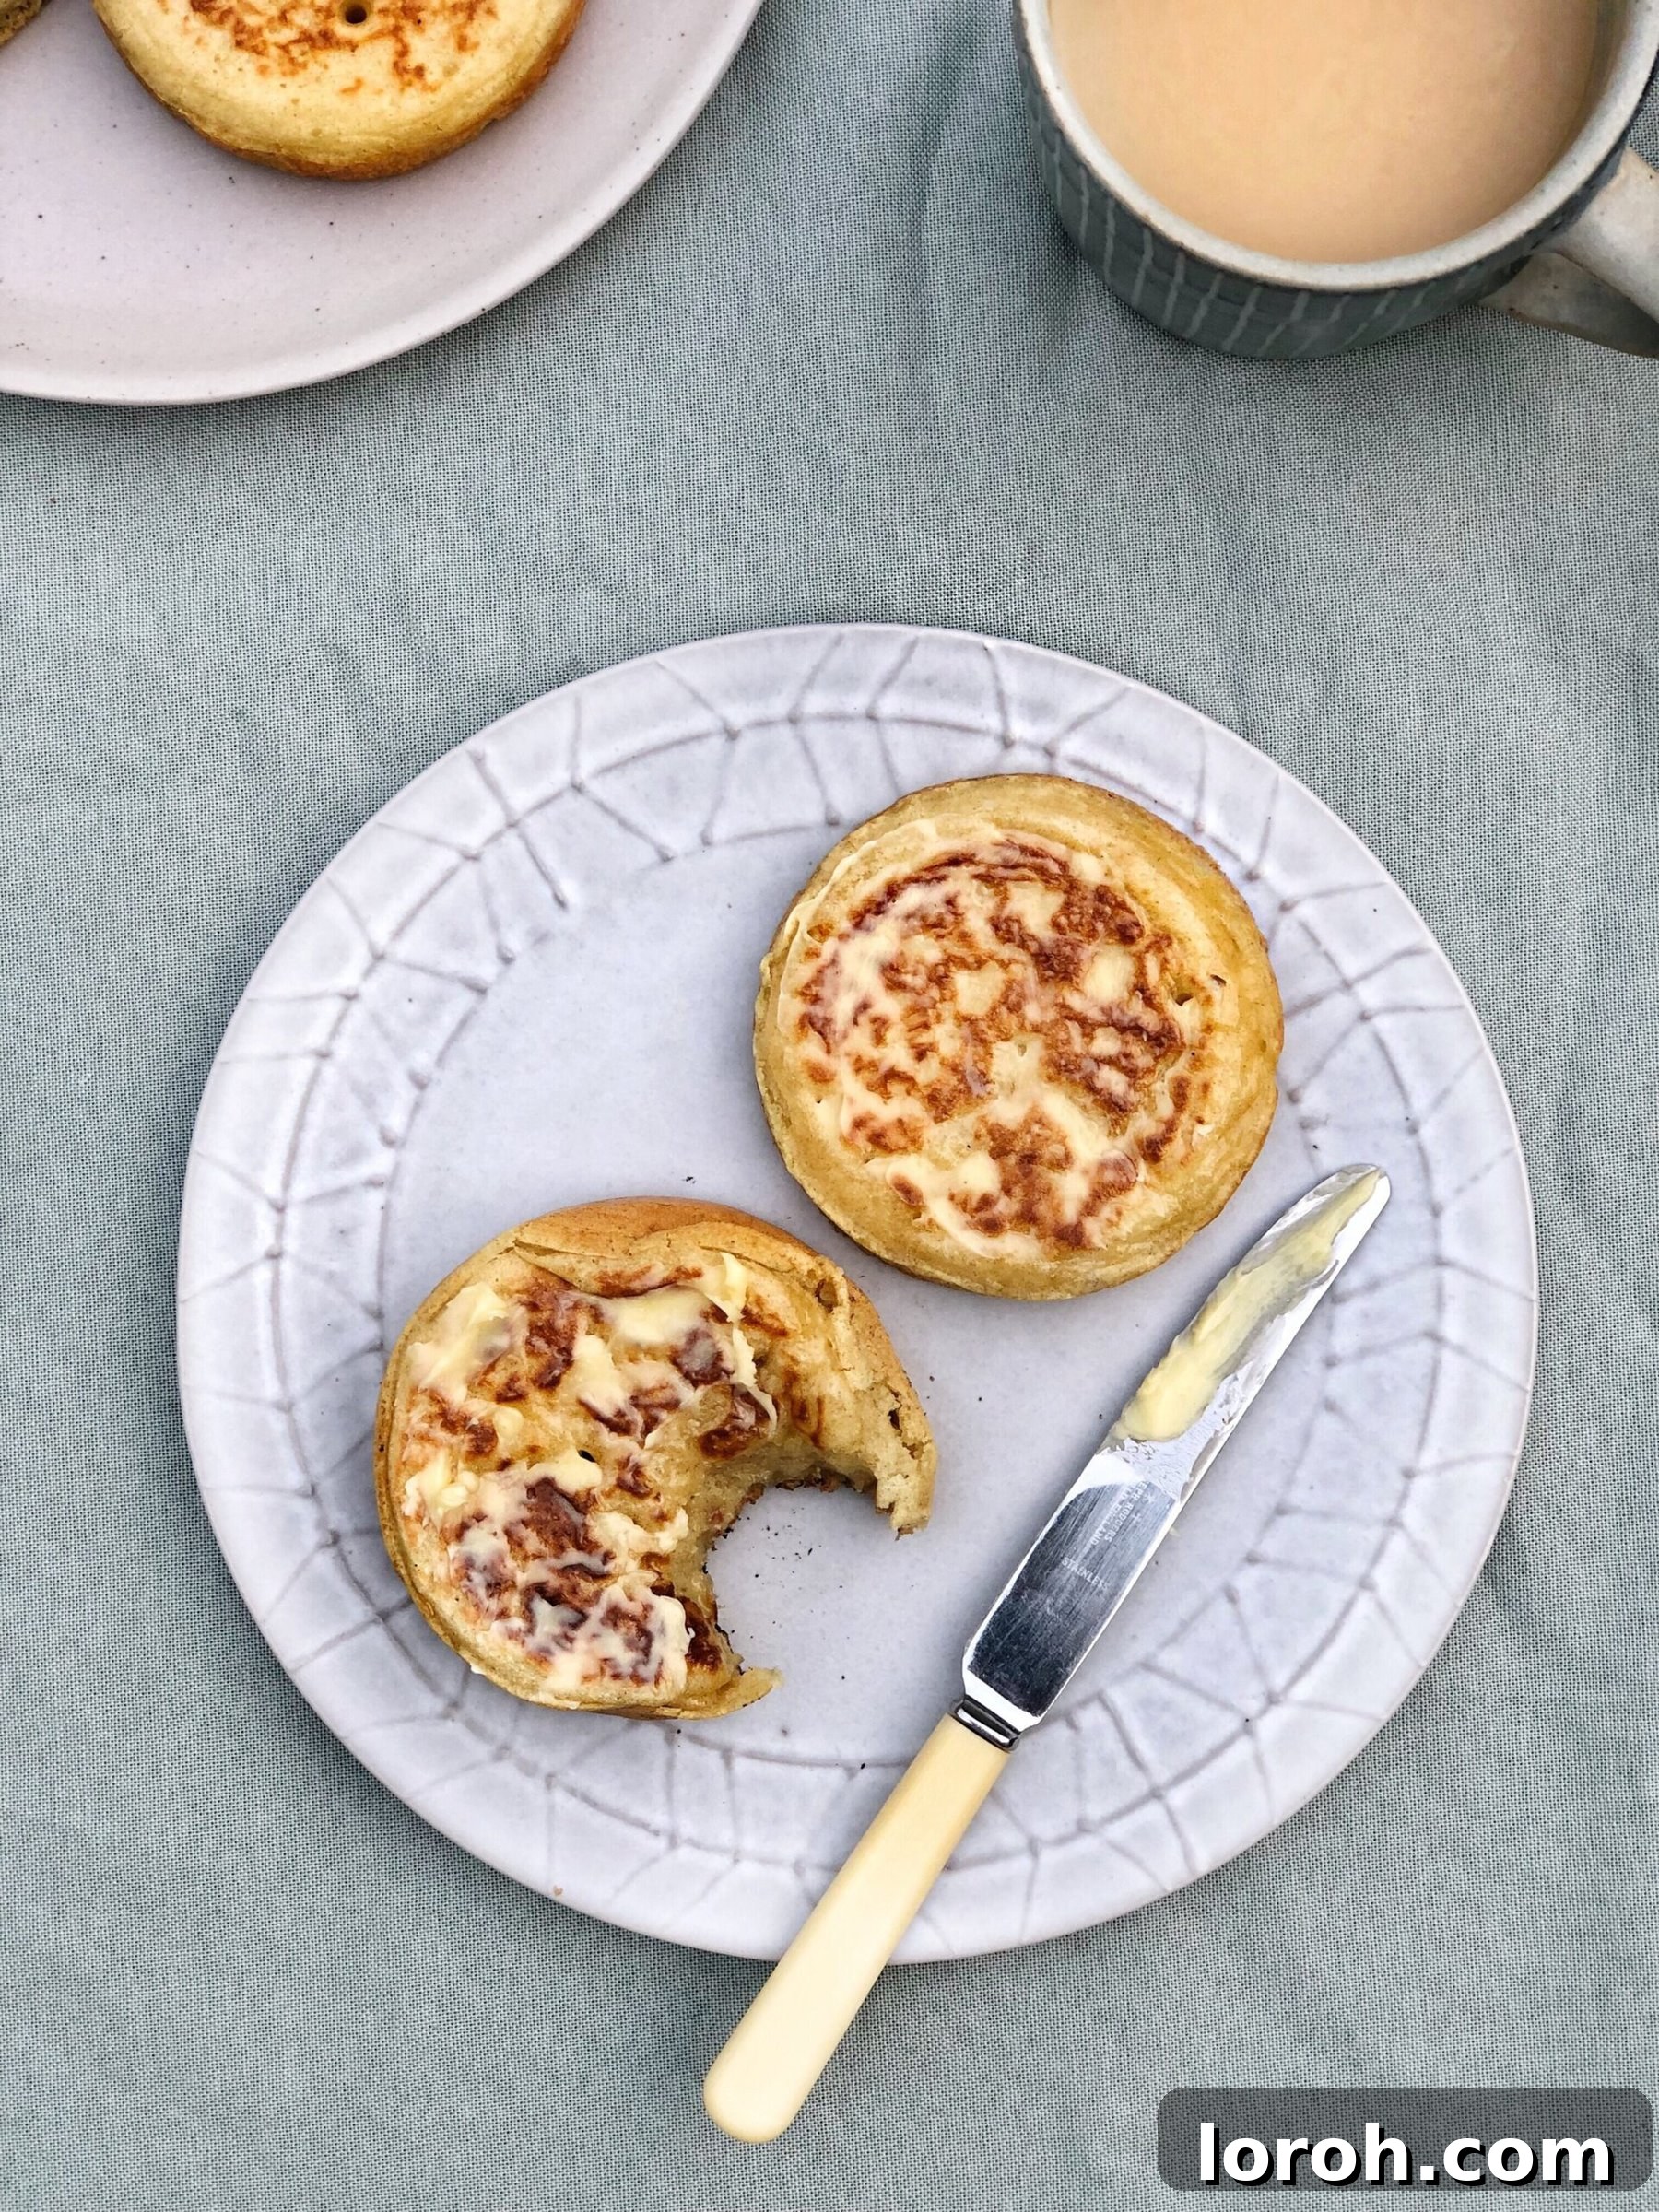

The Ultimate Guide to Making Perfect Homemade Crumpets
By: Margie
There’s something undeniably comforting and quintessentially British about a warm, freshly made crumpet. Those distinctive holes, perfect for soaking up melted butter, make them a beloved breakfast or tea-time treat. While it’s incredibly convenient to grab a pack from the supermarket, the joy and satisfaction of making crumpets from scratch are truly unmatched. You’ll be surprised at how simple the process is, yielding a batch of irresistibly soft and bubbly crumpets that far surpass any store-bought version.
The hardest decision you’ll face is undoubtedly what to lavish them with. Butter is, of course, a non-negotiable must. But then the real culinary debate begins: a classic strawberry jam, the bold umami of Marmite, the golden sweetness of honey, or the hearty kick of Bovril? Or perhaps, like me, you’ll find it necessary to enjoy one of each! I’ve shared a step-by-step video series on my Instagram (saved as a highlight) to visually guide you through the process, but I wanted to provide a comprehensive written recipe here with all the exact quantities and detailed instructions to ensure your crumpet-making success.
30 mins
10 mins
1 hr 40 mins
2 hrs 20 mins
8 Crumpets
Rate Recipe
Print Recipe
Save this Recipe!
Enter your email below to get this recipe sent directly to your inbox, plus receive new delicious recipes from us every week!
A Brief History of the Beloved Crumpet
Crumpets have a rich history, believed to have originated in Wales as far back as the Anglo-Saxon period. Initially, they were likely hard cakes cooked on a griddle, but with the introduction of yeast to the recipe in the 17th century, they transformed into the soft, porous treats we know and love today. Their unique texture, characterized by those signature aerated holes, developed over time as bakers perfected the yeast-leavened batter. By the 19th century, crumpets had become a staple in British tea rooms and households, symbolizing comfort and tradition. Their enduring popularity is a testament to their simple yet satisfying appeal, making them a timeless classic.
Why Homemade Crumpets Are Simply the Best
While convenience often dictates our choices, making crumpets at home offers an unparalleled experience. The aroma of fresh yeast and warm batter filling your kitchen is intoxicating. The taste and texture of a homemade crumpet—warm, chewy, with perfectly formed holes—are far superior to anything pre-packaged. You control the quality of ingredients, ensuring no additives or preservatives. Plus, there’s immense satisfaction in creating something so delightful from basic pantry staples. It’s a small culinary adventure that rewards you with an incredibly comforting treat.
Essential Equipment for Crumpet Making
To embark on your crumpet-making journey, a few key pieces of equipment will make all the difference:
- Crumpet Rings: Annoyingly, these are truly essential for achieving the classic crumpet shape and thickness. They are inexpensive and readily available at most kitchen shops or online. Invest in a set of four to six to speed up the cooking process.
- Heavy-Bottomed Frying Pan or Cast Iron Griddle: A good quality, non-stick pan or a well-seasoned cast iron griddle is crucial for even heat distribution and preventing sticking.
- Large Mixing Bowls: For combining ingredients and allowing the dough to rise.
- Whisk: To ensure a smooth, lump-free batter.
- Cling Film (Plastic Wrap): For covering the dough during its proving stages.
- Tongs or Spatula: For handling the hot crumpet rings and flipping the crumpets.
Ingredients
Adjust servings:
- 2 cups all-purpose flour
- 1 tsp salt
- 1 sachet (7g or 2 1/4 tsp) of fast-action yeast
- 1 tsp granulated sugar
- 1 cup warm milk (around 105-115°F / 40-46°C)
- 1 cup warm water (around 105-115°F / 40-46°C)
- 1/2 tsp bicarbonate of soda (baking soda)
A Note on Ingredients: The warm milk and water are crucial for activating the yeast. Ensure the temperature is warm to the touch but not hot, which could kill the yeast. Fast-action yeast is recommended for speed and ease, but active dry yeast can also be used with a slight modification (see instructions). Bicarbonate of soda creates a secondary rise and contributes to the signature crumpet holes.
Instructions
-
Combine Dry Ingredients: In a large mixing bowl, thoroughly combine the all-purpose flour and salt. Use a whisk to ensure they are well distributed.
-
Activate Yeast: In a separate bowl or jug, whisk together the warm milk, sugar, and the sachet of fast-action yeast. The sugar provides food for the yeast, helping it activate efficiently.
-
Special Note for Active Dry Yeast: If you are using active dry yeast instead of fast-action yeast, you’ll need to “proof” it first. Let the warm milk, sugar, and yeast mixture sit for about 10-15 minutes until it becomes visibly frothy on top. This indicates the yeast is active and ready to work. If it doesn’t foam, your yeast may be old or the liquid not warm enough, and you should start again.
-
Form the Initial Dough: Pour the yeast mixture into the bowl with the flour and salt. Stir everything together thoroughly with a spoon or whisk until a smooth, thick batter forms. Don’t worry if it’s a bit sticky at this stage.
-
First Prove (Bulk Fermentation): Cover the bowl tightly with cling film (plastic wrap) and place it in a warm spot in your kitchen. This could be near a radiator, in a slightly warm oven (turned off!), or even a sunny windowsill. Let it prove for approximately 1 hour, or until the dough has visibly doubled in size and looks light and airy.
-
Prepare Second Leavening Agent: While the dough is proving, prepare the final addition. In a small cup, stir together the remaining warm water and the bicarbonate of soda until the soda is fully dissolved. This mixture will give the crumpets their characteristic airy texture and holes.
-
Second Prove (Bicarbonate Addition): Once your dough has doubled, pour the warm water and bicarbonate of soda mixture into the bowl. Give the entire batter a really good whisk for a minute or two. This vigorous whisking helps to remove any lumps and incorporate air, resulting in a smooth, bubbly batter. Re-cover the bowl with cling film and let it rest for another 30-40 minutes. During this second prove, the batter should become even more bubbly and slightly thinner, indicating it’s ready for cooking.
-
Prepare Crumpet Rings and Pan: Lightly grease the inside of your crumpet rings and the surface of your heavy-bottomed frying pan or griddle with a little oil or butter. This step is crucial for preventing the crumpets from sticking. Place the greased rings onto the greased pan.
-
Heat the Pan and Control Temperature: Place the pan with the rings over a medium heat. Allow the pan and rings to get nice and hot before adding the batter. Temperature control is the only slightly tricky aspect of this recipe. You want the pan hot enough to cook the crumpets through without burning the bottoms before the tops are set. A medium heat is typically ideal, but it might require a little trial and error with your specific stovetop. The goal is to see small bubbles form on top without the bottom browning too quickly.
-
Cook the Crumpets: Carefully spoon or pour the crumpet batter into each ring, filling them about halfway. Be patient! It will take several minutes for the batter to cook. Watch for small bubbles to appear on the surface of the crumpets, which will then pop, creating those signature holes. The top should begin to look set and dry, and the edges should start to pull away from the rings. This usually takes 5-7 minutes.
-
Flip and Finish: Once the top appears largely set, use tongs to gently remove the crumpet rings. Then, carefully flip the crumpets over to cook for just another minute on the other side. This side will not develop the holes but will ensure they are cooked through and have a light golden bottom.
-
Patience is Key: It’s critical not to flip the crumpets too early! If the batter is still too wet on top, it will spill everywhere, creating a messy situation and losing the distinctive crumpet structure. Trust the process and wait for those clear signs of setting.
-
Serve and Enjoy: Transfer your freshly cooked crumpets to a cooling rack, or straight to a plate if you can’t wait! They are best served warm, generously smothered in butter (which is absolutely compulsory!).
Serving Suggestions and Topping Ideas
The beauty of crumpets lies in their versatility. While butter is non-negotiable, the toppings are where you can really get creative:
- Classic Sweet: Indulge in traditional pairings like strawberry jam, raspberry preserve, orange marmalade, or golden syrup. A drizzle of honey is also a divine choice.
- Decadent Sweet: For a more luxurious treat, spread with Nutella, lemon curd, or even cream cheese and berries.
- Savory Delights: Don’t limit crumpets to just sweet! Explore savory options like the classic Marmite or Bovril for a true British experience. Melted cheese, a poached egg, or even crispy bacon can elevate a crumpet into a satisfying meal. Avocado and a sprinkle of chili flakes also make for a surprisingly delicious twist.
Tips for Crumpet Perfection
- Don’t Rush the Prove: Yeast needs time and warmth to work its magic. Resist the urge to shorten the proving times, as this directly impacts the fluffiness and hole structure of your crumpets.
- Monitor Pan Temperature: This is arguably the most crucial step. Too low, and the crumpets won’t cook through or develop enough holes. Too high, and they’ll burn on the bottom before the top sets. Adjust the heat as needed.
- Generous Greasing: Ensure both the crumpet rings and the pan surface are well-greased. This makes it easy to release the crumpets and prevents frustrating sticking.
- Watch for Bubbles: The appearance of bubbles and their subsequent popping on the surface is your key indicator that the crumpet is cooking correctly and developing its signature texture.
Storing and Reheating Your Homemade Crumpets
If by some miracle you have any leftover crumpets, store them in an airtight container at room temperature for up to 2-3 days, or in the refrigerator for up to a week. They also freeze beautifully for up to a month. To reheat, simply pop them in the toaster until golden brown and piping hot. The toaster will revive their texture and crispness, ready to absorb all that delicious melted butter once more.