
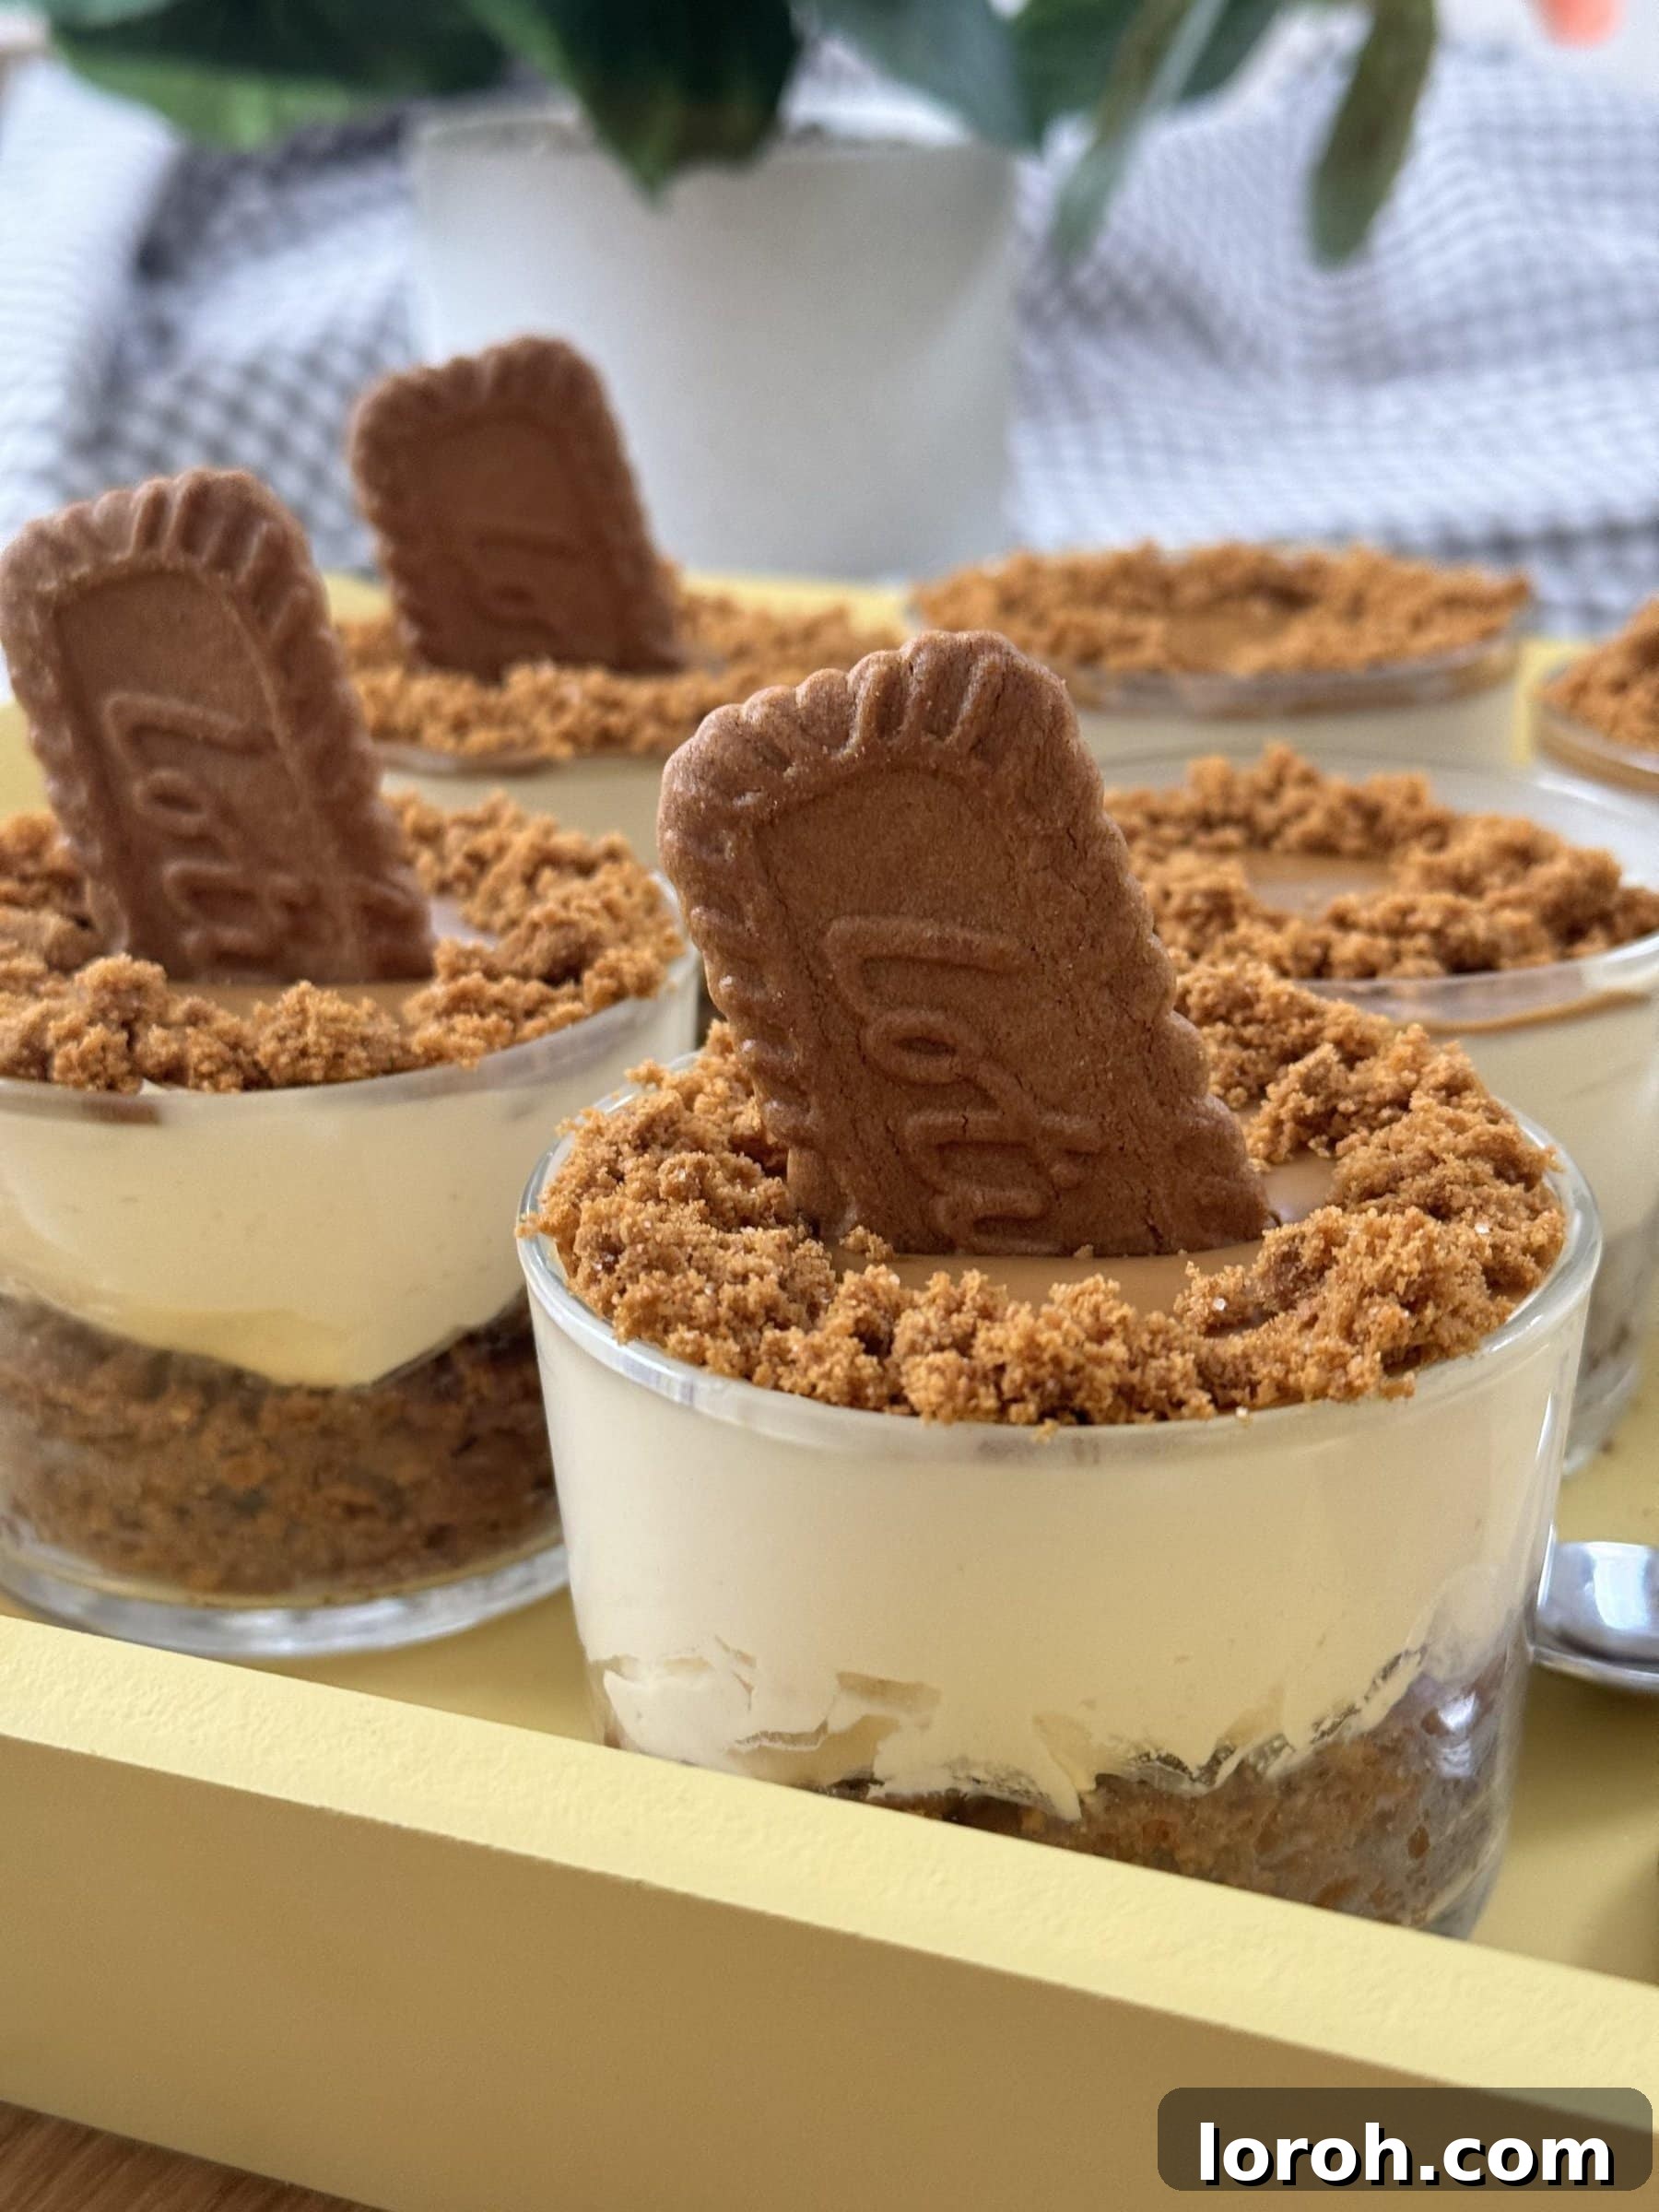
Indulge in Pure Bliss: The Ultimate 5-Ingredient No-Bake Biscoff Cheesecake Recipe
Prepare to delight your taste buds with the easiest and most incredibly delicious no-bake Biscoff cheesecake recipe! This dessert is a true game-changer: simple to prepare, perfect for making ahead, and requires absolutely no oven or stovetop cooking. We’ve crafted this recipe for adorable mini cheesecakes served in individual glasses or ramekins, but it’s just as effortless to scale up and create one show-stopping large no-bake Biscoff cheesecake. Imagine a perfectly crushed biscuit base, a rich, creamy whipped Biscoff center, crowned with a luscious layer of melted Biscoff spread. And the best part? This entire heavenly creation comes together with just five essential ingredients!
Biscoff, also widely known as Lotus Biscoff, has captured hearts worldwide with its unique caramelized biscuit flavor. From coffee accompaniments to spreads and ice creams, its distinctive taste is instantly recognizable and utterly addictive. This recipe leverages the irresistible charm of Biscoff in every layer, promising a dessert that’s both familiar and extraordinarily decadent. Whether you’re a seasoned baker or a kitchen novice, this recipe is designed for foolproof success, making it an ideal choice for last-minute gatherings, special occasions, or simply satisfying that sweet craving.
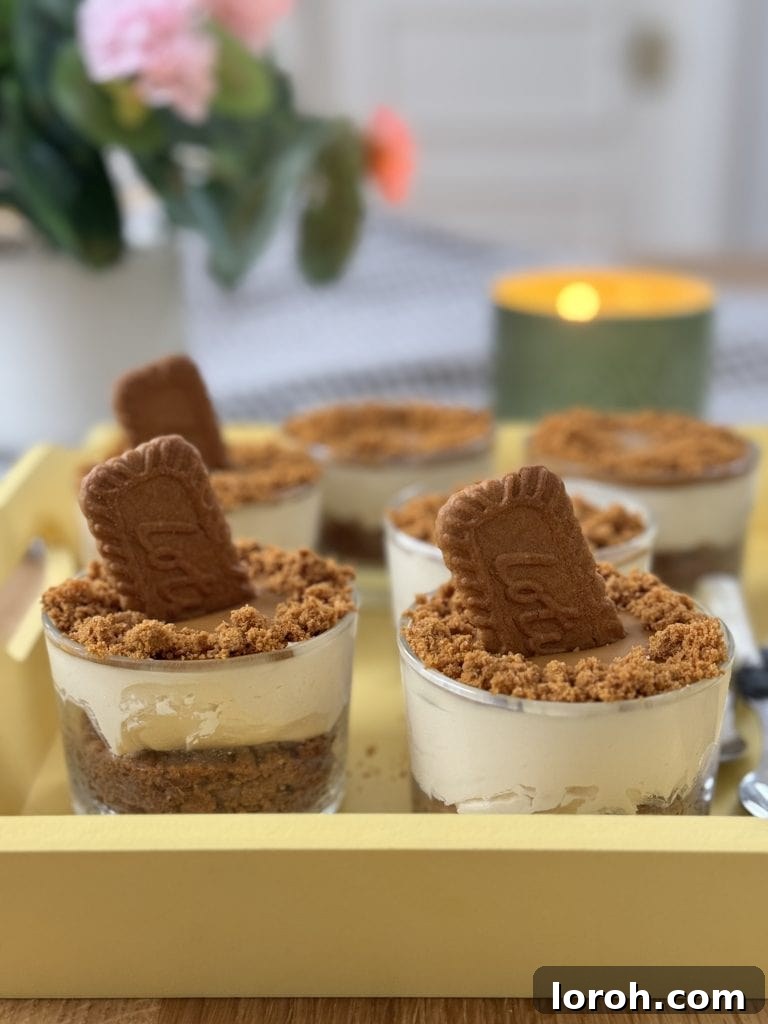

The Essential 5 Ingredients for Your Perfect No-Bake Biscoff Cheesecake
Creating this magnificent dessert requires minimal ingredients, ensuring both simplicity and incredible flavor:
- Biscoff Biscuits (also known as Lotus biscuits): These iconic caramelized biscuits form the irresistible base. Their unique flavor is foundational to the cheesecake. You can find them in most major supermarkets in the biscuit or international foods aisle.
- Unsalted Butter: Essential for binding the biscuit crumbs into a firm base. Using unsalted butter allows you to control the overall saltiness of your cheesecake, ensuring a balanced flavor profile.
- Double Cream (or heavy cream): This provides the rich, luxurious texture and helps the cheesecake mixture set beautifully. Its high fat content is crucial for a stable and creamy filling.
- Full-Fat Cream Cheese: Absolutely paramount for the cheesecake’s structure and creamy consistency. It’s vital to use full-fat cream cheese to guarantee that your cheesecake sets properly in the fridge, preventing a runny filling. Ensure it’s at room temperature for smooth mixing.
- Biscoff Spread: The star of the show! This creamy, caramelized biscuit spread infuses the cheesecake filling and topping with its signature flavor. We recommend using smooth Biscoff spread for a silky finish on top, but if you only have crunchy, it will still work wonderfully, adding a delightful textural contrast. Learn more about Biscoff spread here.
Mastering Your No-Bake Biscoff Cheesecake: A Step-by-Step Guide
Follow these simple steps to create a show-stopping Biscoff cheesecake that’s sure to impress with minimal effort.
Step 1: Crafting the Perfect Biscoff Biscuit Base
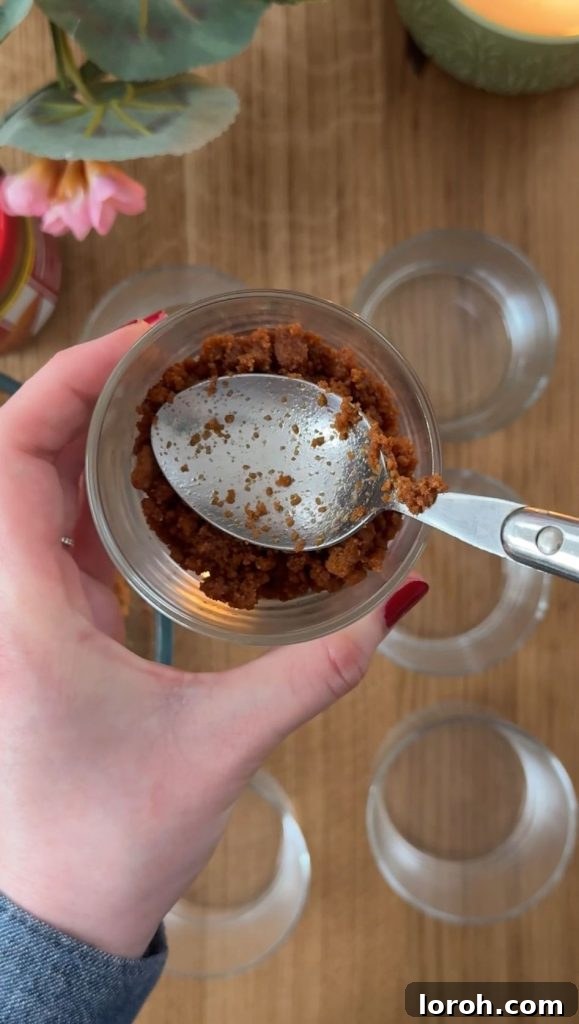
The foundation of any great cheesecake is its base, and for this Biscoff delight, it’s all about precision. Begin by finely crushing your Biscoff biscuits. You can achieve this using a food processor for a quick, uniform crumb, or by placing the biscuits in a Ziploc bag and crushing them with a rolling pin until they resemble fine sand. Next, melt your unsalted butter gently. Combine the melted butter with the crushed biscuits thoroughly until the mixture is evenly coated. The texture should resemble wet sand – moist enough to hold its shape when pressed. This consistency is crucial for a stable base.
Carefully spoon this mixture into the bottom of your chosen ramekins, straight-sided glasses, or your large springform tin. Using the back of a spoon, a flat-bottomed glass, or a tamper, press the biscuit crumbs firmly and evenly into place. Don’t be shy – really pack it down! This compression is especially important if you’re making a larger cheesecake, as it ensures the base holds together beautifully when sliced. Once packed, place the bases in the fridge to chill while you prepare the luscious filling. This initial chilling helps to firm up the butter, creating a sturdy foundation for your cheesecake.

Step 2: Whipping the Creamy Biscoff Cheesecake Filling
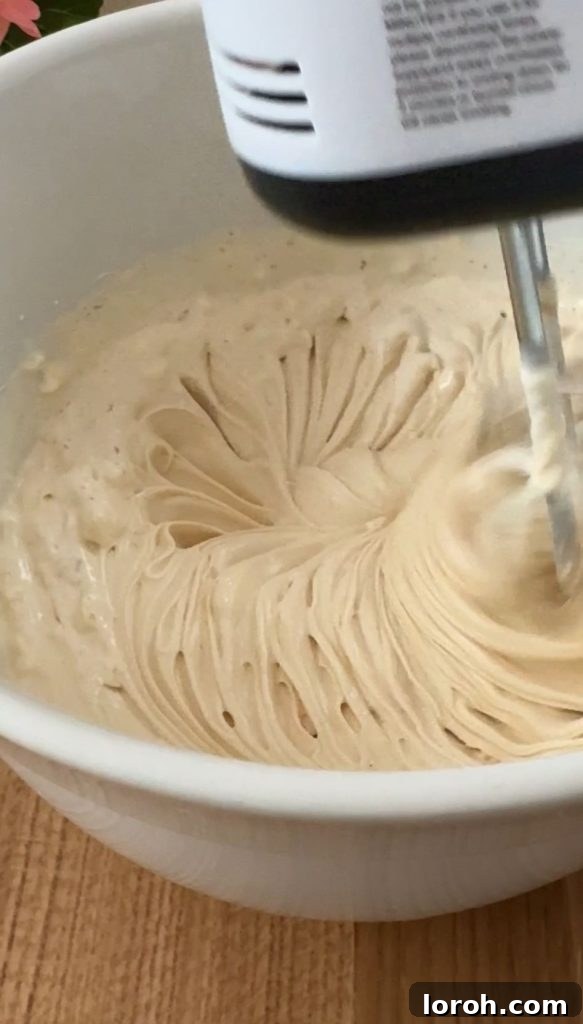
The success of a no-bake cheesecake heavily relies on its filling setting correctly, and proper whipping is absolutely crucial. In a large mixing bowl, combine the chilled double cream, room-temperature full-fat cream cheese, and 250g of Biscoff spread. The cream cheese being at room temperature will ensure it blends smoothly without lumps. Now, it’s time to whisk!
Using an electric whisk is highly recommended here, as it makes the process much quicker and ensures consistent results. However, if you don’t have one, a good old-fashioned hand whisk and some vigorous “elbow grease” will certainly do the trick. Whisk the mixture on medium-high speed until it becomes very thick, creamy, and holds stiff peaks. This usually takes several minutes. If the mixture isn’t whipped sufficiently, it won’t set properly in the fridge, resulting in a runny cheesecake. The texture you’re aiming for should be dense enough to hold its shape on the whisk, as shown in the accompanying image. Be careful not to over-whisk, which can sometimes split the cream, but generally, for no-bake cheesecakes, thorough whipping is key.
Step 3: Assembling and Chilling Your Cheesecakes
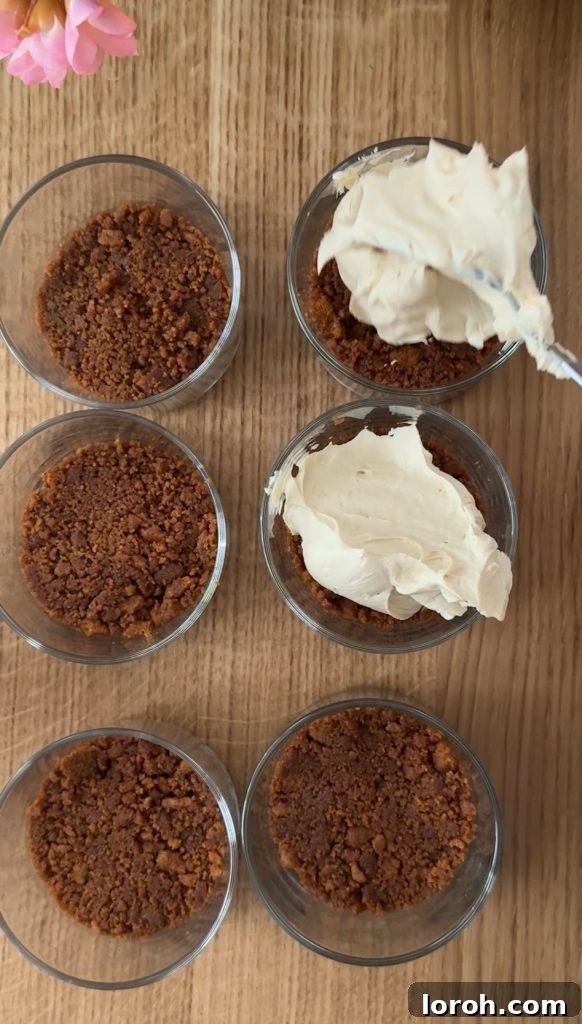
Once your cheesecake filling is perfectly whipped, retrieve your chilled biscuit bases from the fridge. Spoon the creamy Biscoff mixture generously over each base. Use the back of a teaspoon or a small offset spatula to gently smooth the tops, ensuring there are no gaps between the biscuit base and the rich cheesecake topping. This creates a neat and professional finish. For mini cheesecakes, fill them almost to the brim; for a large cheesecake, spread the mixture evenly over the entire base.
Return the filled cheesecakes to the fridge for at least an hour. This initial chilling period allows the mixture to firm up slightly, making it easier to add the final Biscoff topping without it sinking or mixing into the creamy layer. Patience during this step is key for beautifully defined layers.
Step 4: The Irresistible Biscoff Topping and Final Chill
Now for the crowning glory! Gently melt the remaining 150g of Biscoff spread. The goal is to make it pourable, not hot. You can do this in a small pan over very low heat, stirring constantly, or in the microwave. If using a microwave, heat in short 15-20 second bursts, stirring well after each burst, until smooth and pourable. Be careful not to overheat, as Biscoff spread can burn easily.
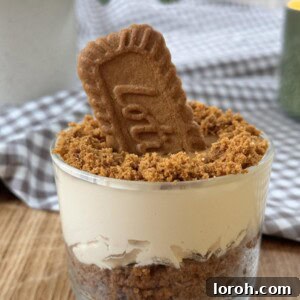
Once melted, pour the warm Biscoff spread evenly over the tops of your chilled cheesecakes. Allow it to spread naturally or gently tilt the ramekins/tin to achieve an even layer. While the topping is still slightly soft, sprinkle the edges with extra crushed Biscoff biscuits for added texture and visual appeal. For an extra touch of indulgence, place a whole Biscoff biscuit in the center of each mini cheesecake or around the edge of a large one – because, in our opinion, the more Biscoff, the better!
Finally, return your decorated cheesecakes to the fridge for a minimum of 3 hours, or ideally, overnight. This extended chilling time is vital for the cheesecake to fully set and achieve its perfect firm, yet creamy, texture. This also makes them an excellent make-ahead dessert, freeing up your time on the day you plan to serve them.
This video guide will visually assist you with each step of the recipe.
Frequently Asked Questions About No-Bake Biscoff Cheesecake
Can I make this no-bake Biscoff cheesecake in a large tin?
Absolutely! This recipe is incredibly versatile. Instead of individual ramekins or glasses, you can certainly make one large, impressive cheesecake. We recommend using an 8-inch (20cm) springform tin. This type of tin features a clasp on the edge that allows the sides to expand and neatly release the cheesecake without damaging its beautiful structure. Simply line the base with parchment paper for easier removal, and ensure you firmly press the biscuit base into the tin. The chilling times will remain similar, though a large cheesecake might benefit from an extra hour of chilling to ensure it’s perfectly firm before slicing.
Why haven’t my Biscoff cheesecakes fully set?
There are a few common reasons why a no-bake cheesecake might not set properly, and they usually relate to the filling mixture. The most frequent culprit is insufficient whipping of the cream cheese, double cream, and Biscoff spread. The mixture needs to be whipped until it’s very thick and can hold its shape – resembling stiff peaks. If it’s still loose or runny, it won’t firm up in the fridge. We highly recommend using an electric whisk for best results, as it provides the necessary power and speed. Another factor could be using low-fat cream cheese or cream, which lacks the fat content required for setting. Always opt for full-fat ingredients. Lastly, ensure you’ve allowed adequate chilling time; while 3 hours is a minimum, overnight chilling often yields the best, most stable results. If your cheesecake is still a little soft, don’t despair! You can try placing it in the freezer for a couple of hours to enjoy it as a delicious, semi-frozen Biscoff ice-cream cheesecake.
Can I make this Biscoff pudding in advance?
Yes, this no-bake Biscoff cheesecake is an exceptional make-ahead dessert, which is one of its many charms! You can prepare the entire cheesecake (base and filling) 1-2 days in advance of serving. This allows the flavors to meld beautifully and ensures the cheesecake has ample time to set. However, there’s a crucial tip for make-ahead success: do not decorate with the biscuit crumbs or whole biscuits until a few hours before serving. If added too early, the biscuit toppings can absorb moisture from the cheesecake and lose their delightful crunch, becoming soggy. Simply keep the cheesecakes plain in the fridge and add the melted Biscoff topping and biscuit garnish closer to serving time for maximum freshness and texture.
Can I use other types of biscuits for the base?
While Biscoff biscuits are essential for the authentic Biscoff flavor profile, you can certainly experiment with other biscuits for the base if you wish to vary the taste. Digestive biscuits, Graham crackers, or even shortbread cookies would make excellent alternatives, providing a sturdy and flavorful foundation for the creamy Biscoff filling. Just ensure they are finely crushed and mixed with melted butter as per the recipe instructions.
How long do these Biscoff cheesecakes last?
When stored properly in an airtight container in the refrigerator, these no-bake Biscoff cheesecakes will stay fresh and delicious for 3-4 days. For best flavor and texture, we recommend consuming them within the first 2-3 days. If you’ve made a large cheesecake, cover it tightly with cling film to prevent it from absorbing any fridge odors.
Can I make a vegan or dairy-free version of this cheesecake?
Adapting this recipe for vegan or dairy-free diets is possible with a few substitutions. You would need to use vegan Biscoff biscuits (check labels, as most Biscoff products are naturally vegan), a plant-based butter alternative, vegan double cream (there are several good brands available now), and a high-quality vegan cream cheese. Ensure all vegan substitutes are designed for baking and setting, especially the cream cheese, to guarantee a firm consistency. The Biscoff spread itself is generally vegan-friendly.
Other Desserts You Might Want to Try
If you loved the simplicity and deliciousness of this no-bake Biscoff cheesecake, explore more delightful dessert recipes:
- Mini Egg Cheesecake
- Lemon Posset (no bake)
- Moist Dark Chocolate Muffins
- Giant Cookie in a Pan
- Triple Chocolate Brownies
- Orange Cake (gluten free)
No Bake Biscoff Cheesecake (5 Ingredients)
By: margie
This no-bake Biscoff cheesecake requires no baking. It is remarkably simple yet feels very luxurious, perfect for any occasion.
Prep Time: 30 mins
Chilling Time: 3 hrs
Total Time: 3 hrs 30 mins
Servings: 8 servings
Equipment
- 8 ramekins or straight-sided glasses (or one 8-inch springform tin for a large cheesecake)
- Large mixing bowl
- Electric whisk (recommended) or hand whisk
- Measuring cups/scales
- Small pan or microwave-safe bowl for melting Biscoff spread
Ingredients
For the base:
- 220 g Biscoff biscuits, crushed
- 100 g Unsalted butter, melted
For the cheesecake mixture:
- 300 ml Double cream (or heavy cream), chilled
- 400 g Full-fat cream cheese, softened at room temperature
- 250 g Biscoff spread, smooth (or crunchy for texture)
For the topping:
- 150 g Biscoff spread, melted
- 50 g Biscoff biscuits, crushed (for garnish)
- Whole Biscoff biscuits (optional, for garnish)
Instructions
- Combine the crushed Biscoff biscuits with the melted unsalted butter in a bowl. Mix thoroughly until the crumbs are evenly coated and resemble wet sand. Press this mixture firmly into the bottom of your chosen ramekins, glasses, or springform tin, using the back of a spoon or a flat-bottomed glass to flatten and pack it down. Place the bases into the fridge to chill while you prepare the filling.
- In a large mixing bowl, add the chilled double cream, room-temperature full-fat cream cheese, and 250g of Biscoff spread. Using an electric whisk (or a hand whisk), beat the mixture until it becomes very thick, creamy, and holds stiff peaks. This is crucial for the cheesecake to set properly.
- Remove the chilled biscuit bases from the fridge. Spoon or pour the thick cheesecake mixture over the bases, smoothing the tops with a teaspoon or small spatula to ensure an even layer and no gaps. Return the cheesecakes to the fridge for at least 1 hour to allow the filling to firm up slightly.
- For the topping, gently melt the remaining 150g of Biscoff spread. You can do this in a small pan over very low heat, stirring constantly, or in the microwave in 15-20 second bursts, stirring in between, until smooth and pourable. Pour the melted Biscoff evenly over the tops of the partially set cheesecakes.
- While the Biscoff topping is still soft, sprinkle the cheesecakes with the extra crushed Biscoff biscuits around the edges. If desired, place a whole Biscoff biscuit in the middle of each mini cheesecake or decoratively on a large one.
- Finally, return the decorated cheesecakes to the fridge for at least 3 hours, or preferably overnight, to allow them to fully set. These make a fantastic make-ahead dessert!
Notes
To make 1 large cheesecake, use an 8-inch (20cm) springform tin instead of the 8 small ramekins/glasses. Line the base with parchment paper for easy removal.
Nutrition (per serving, approximate)
Calories: 866 kcal
Carbohydrates: 52g
Protein: 9g
Fat: 70g
Saturated Fat: 33g
Polyunsaturated Fat: 5g
Monounsaturated Fat: 13g
Trans Fat: 0.4g
Cholesterol: 120mg
Sodium: 288mg
Potassium: 135mg
Fiber: 0.4g
Sugar: 27g
Vitamin A: 1567 IU
Vitamin C: 0.2mg
Calcium: 81mg
Iron: 1mg
Nutrition information is automatically calculated, so should only be used as an approximation.
Loved this easy and delicious No-Bake Biscoff Cheesecake recipe? We’d love to hear your thoughts! Leave a comment below and share your experience with this delightful dessert!