
Authentic Pannekaker: The Ultimate Norwegian Pancake Recipe
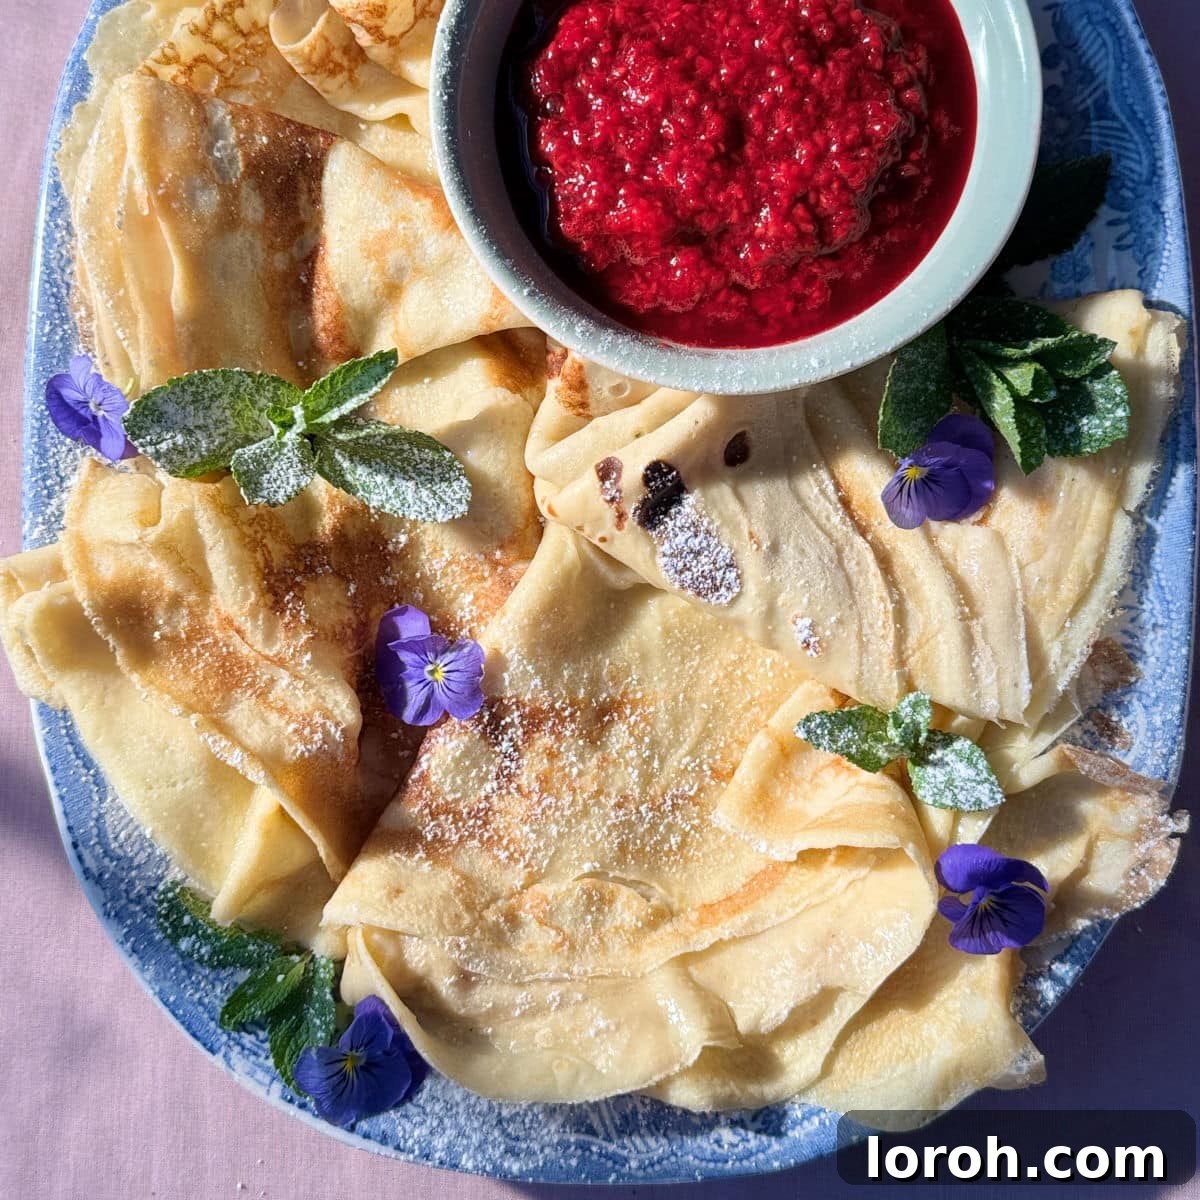
These classic Pannekaker (Norwegian Pancakes) are an absolute must-try for any pancake enthusiast. Delicately thin, much like their French crêpe cousins, they offer a uniquely richer flavor and a wonderfully light texture that sets them apart. Yet, despite their refined profile, they are just as simple to prepare. Whether you’re looking for an indulgent breakfast, a leisurely brunch, or a sweet dessert, Pannekaker are incredibly versatile with a myriad of topping possibilities – making them particularly ideal for festive occasions like Shrove Tuesday (Pancake Day)!
A World of Pancakes: Discovering Norwegian Pannekaker
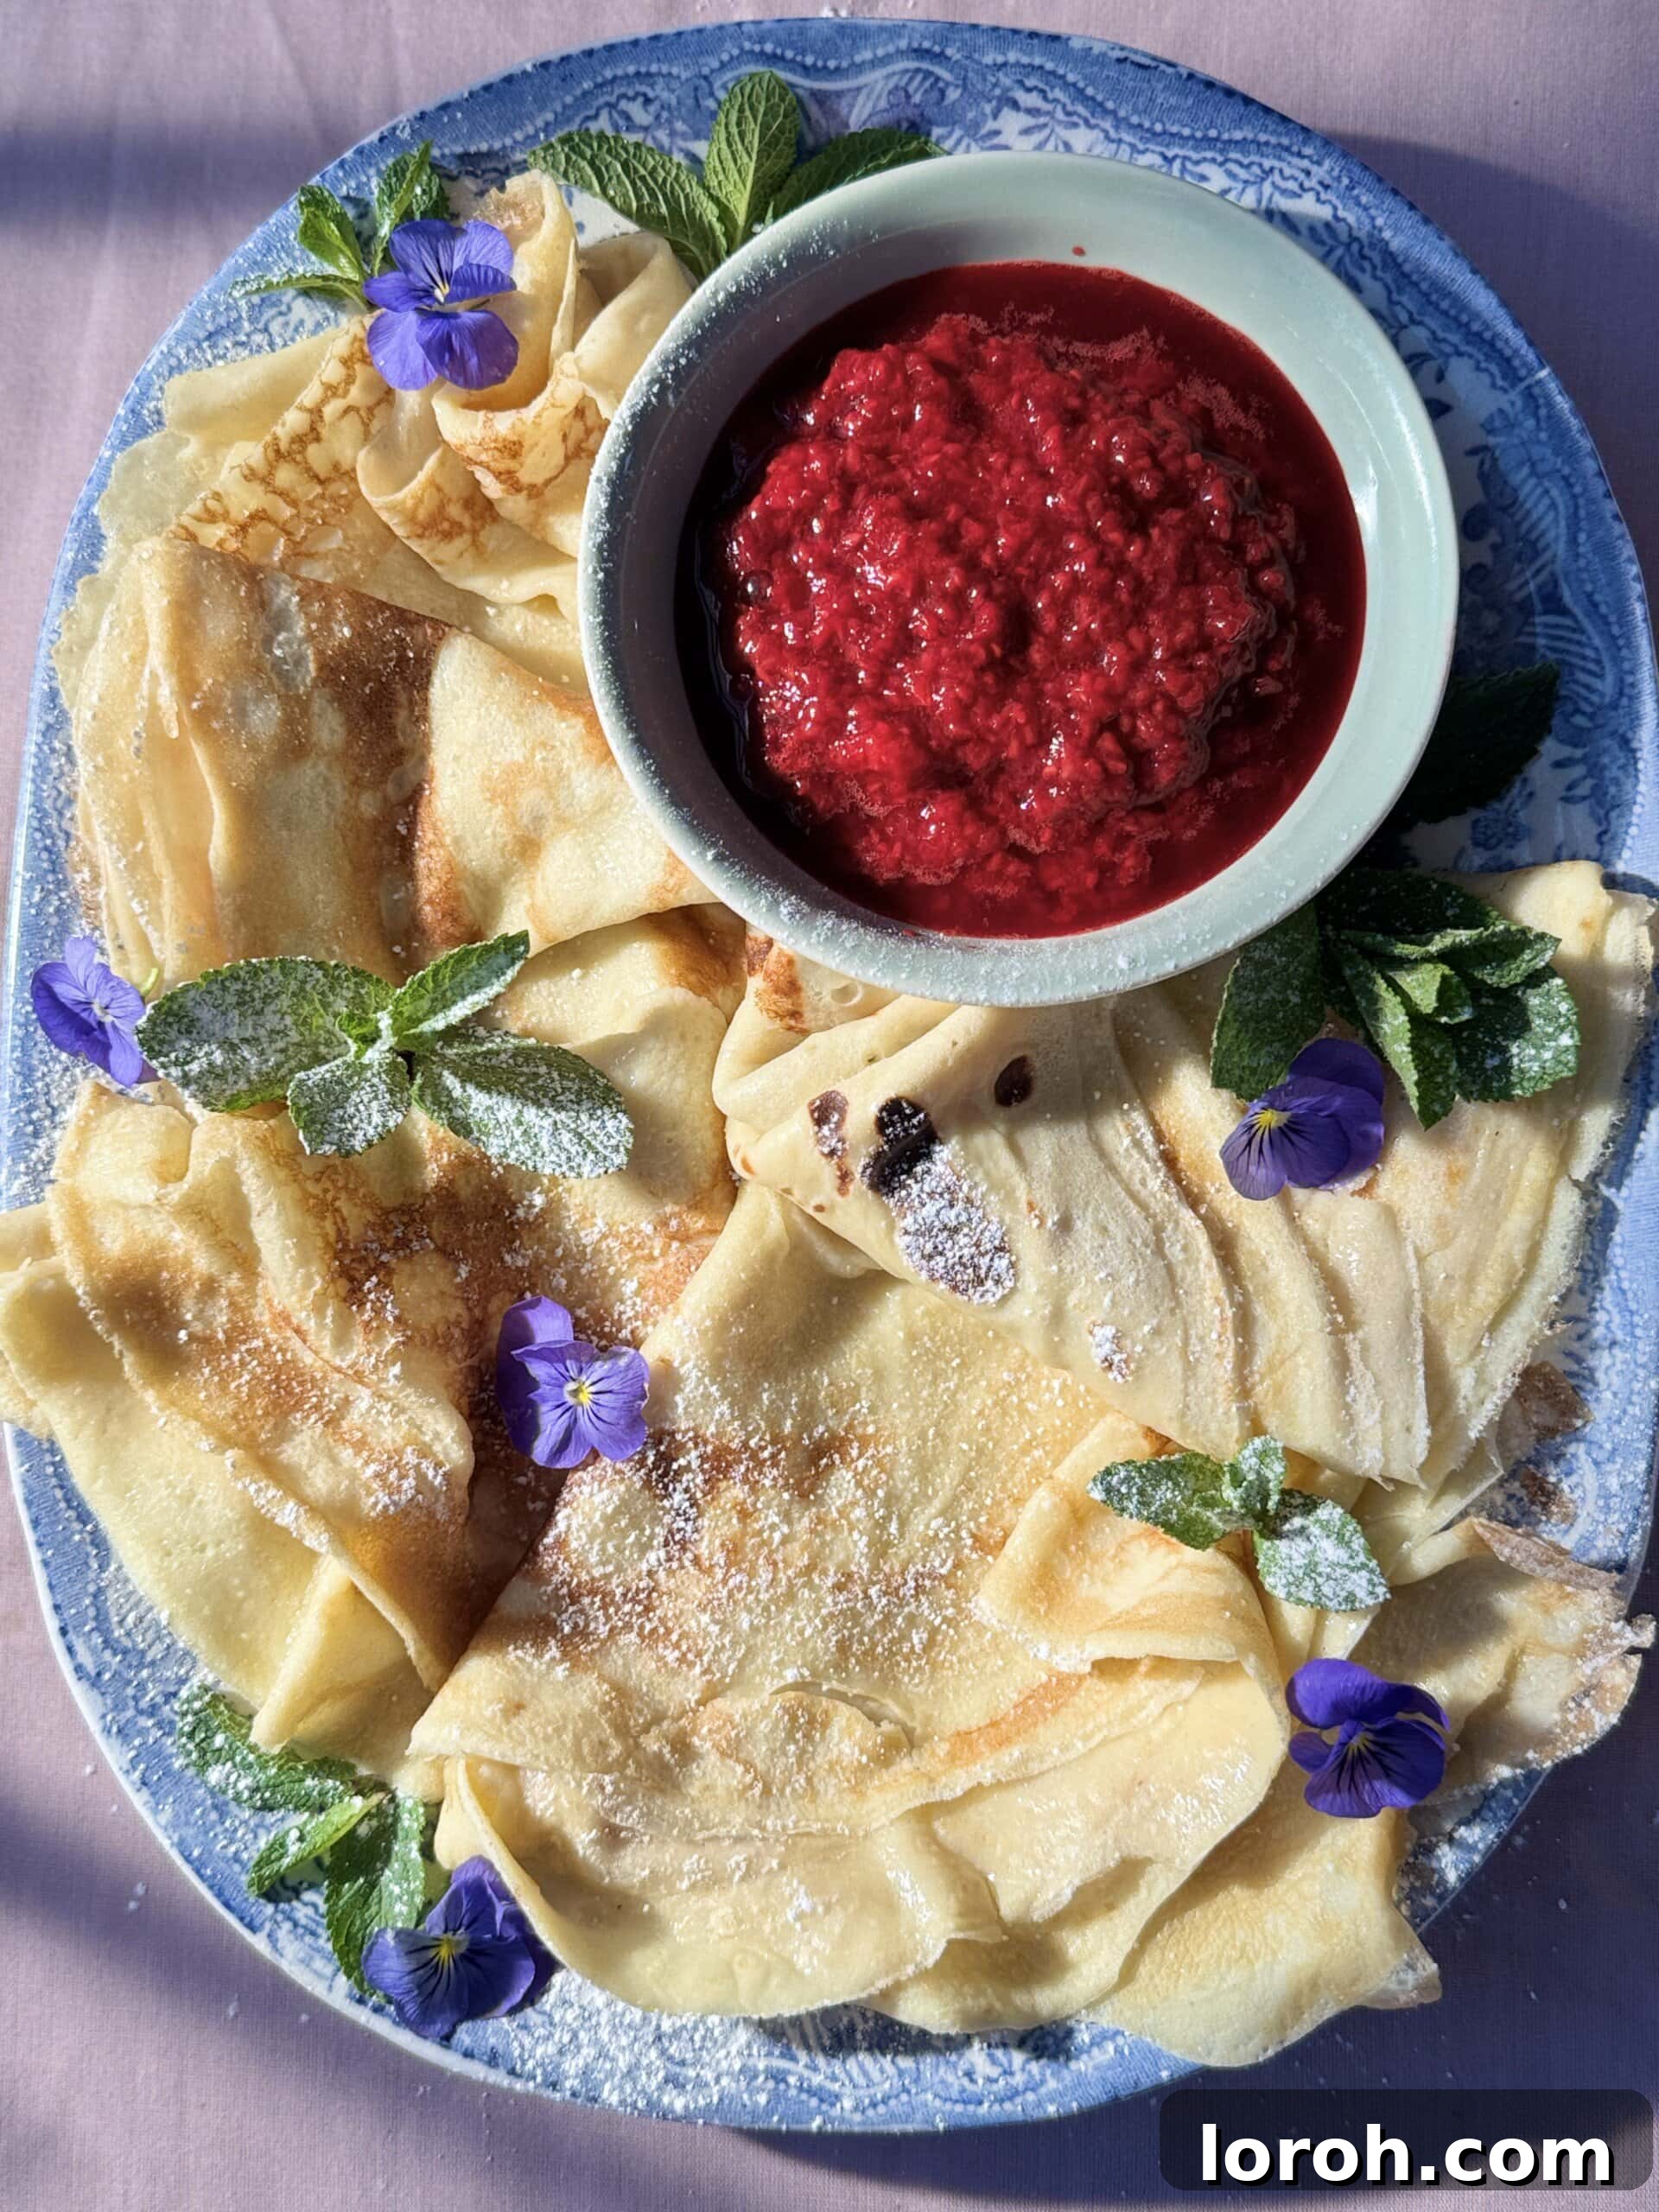
One of the most captivating aspects of culinary arts is the sheer diversity of interpretations for a single dish. Take pancakes, for instance – their recipes vary wildly across cultures and continents! From the familiar thick, fluffy American pancakes to the lighter, larger British pancakes and the elegant French crêpes (which I adore transforming into a strawberry mille crêpe cake), the global pancake landscape is truly vast. Yet, beyond these well-known varieties, there exists a treasure trove of lesser-known versions that truly deserve a wider audience – and Norwegian Pannekaker are certainly one of them.
Pannekaker hold a special place in Norwegian cuisine. While structurally similar to French crêpes, they possess a distinct character, often being slightly thicker and more robust, with a comforting, eggy richness. Their delicate balance of sweetness and subtle savory notes makes them incredibly adaptable to various toppings, catering to both sweet cravings and savory preferences. Exploring Pannekaker is not just about making a delicious meal; it’s about taking a delightful journey into Nordic culinary traditions.
Mastering Pannekaker: Essential Tips for Success
Like any pancake, achieving perfection with Pannekaker sometimes requires a practice run. Don’t be discouraged by the very first one – I always consider it a “chef’s perk,” an essential part of the learning process! Here are my top tips to ensure your Pannekaker turn out beautifully:
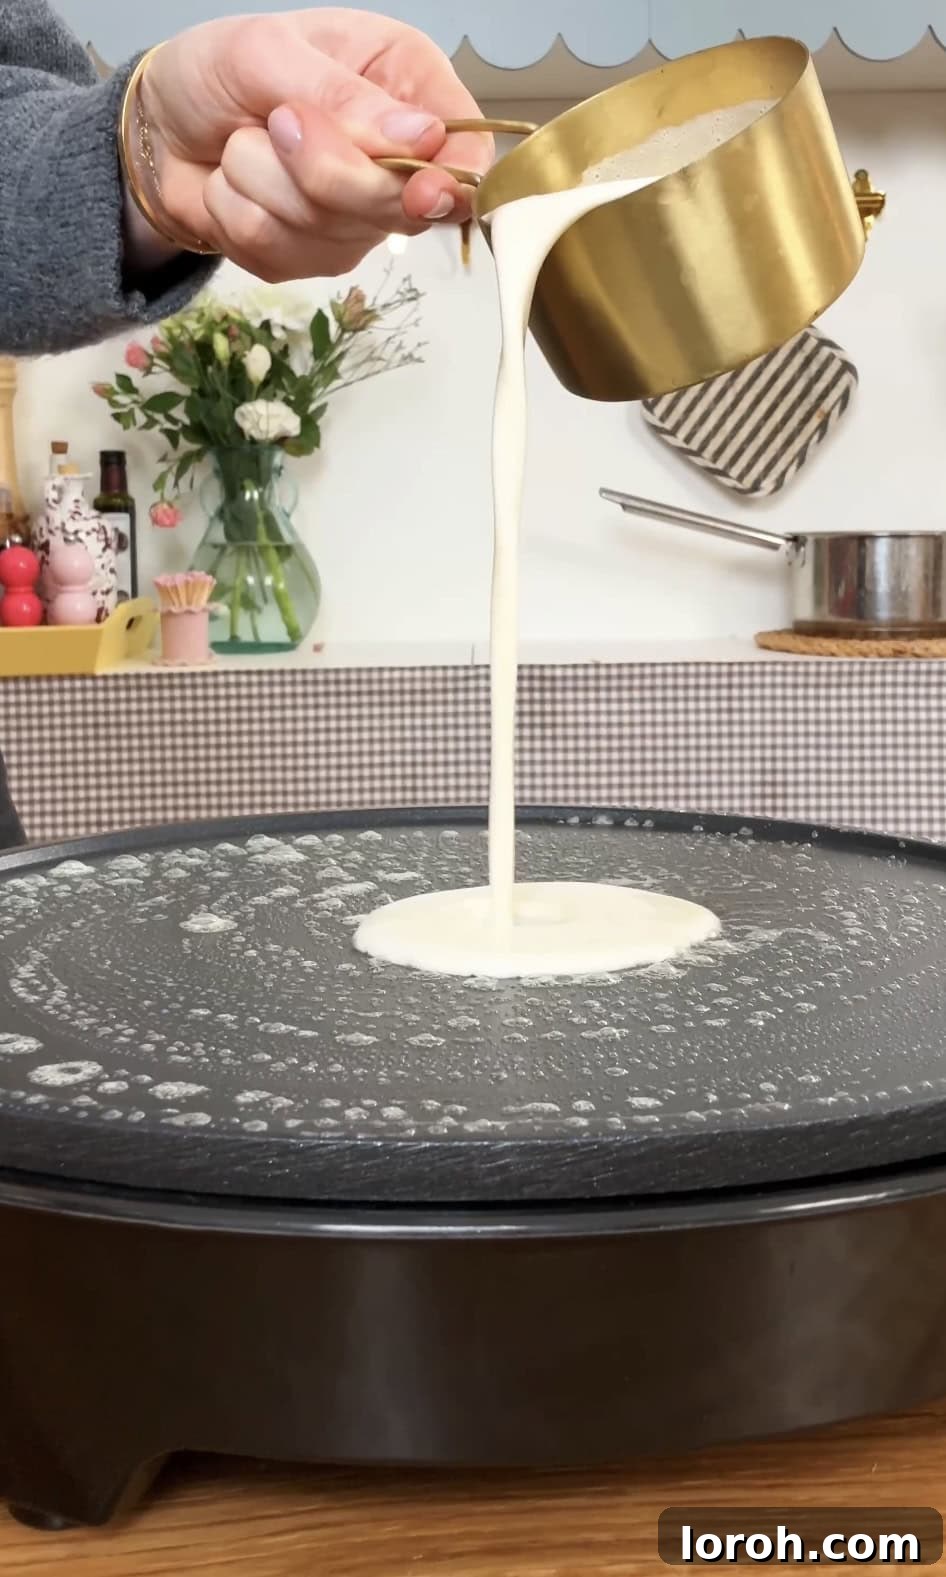
- Portion Control is Key: Pannekaker are meant to be exquisitely thin. Resist the temptation to pour too much batter into the pan. You only need just enough to create a thin, even layer that coats the entire base of your pan. A gentle swirl of the pan as you pour the batter helps achieve this uniform thinness.
- Monitor the Heat: Maintaining a consistent medium heat is crucial. Too low, and your pancakes will take too long to cook and might become tough; too high, and they’ll burn before cooking through. A medium setting ensures a beautiful golden-brown color and even cooking.
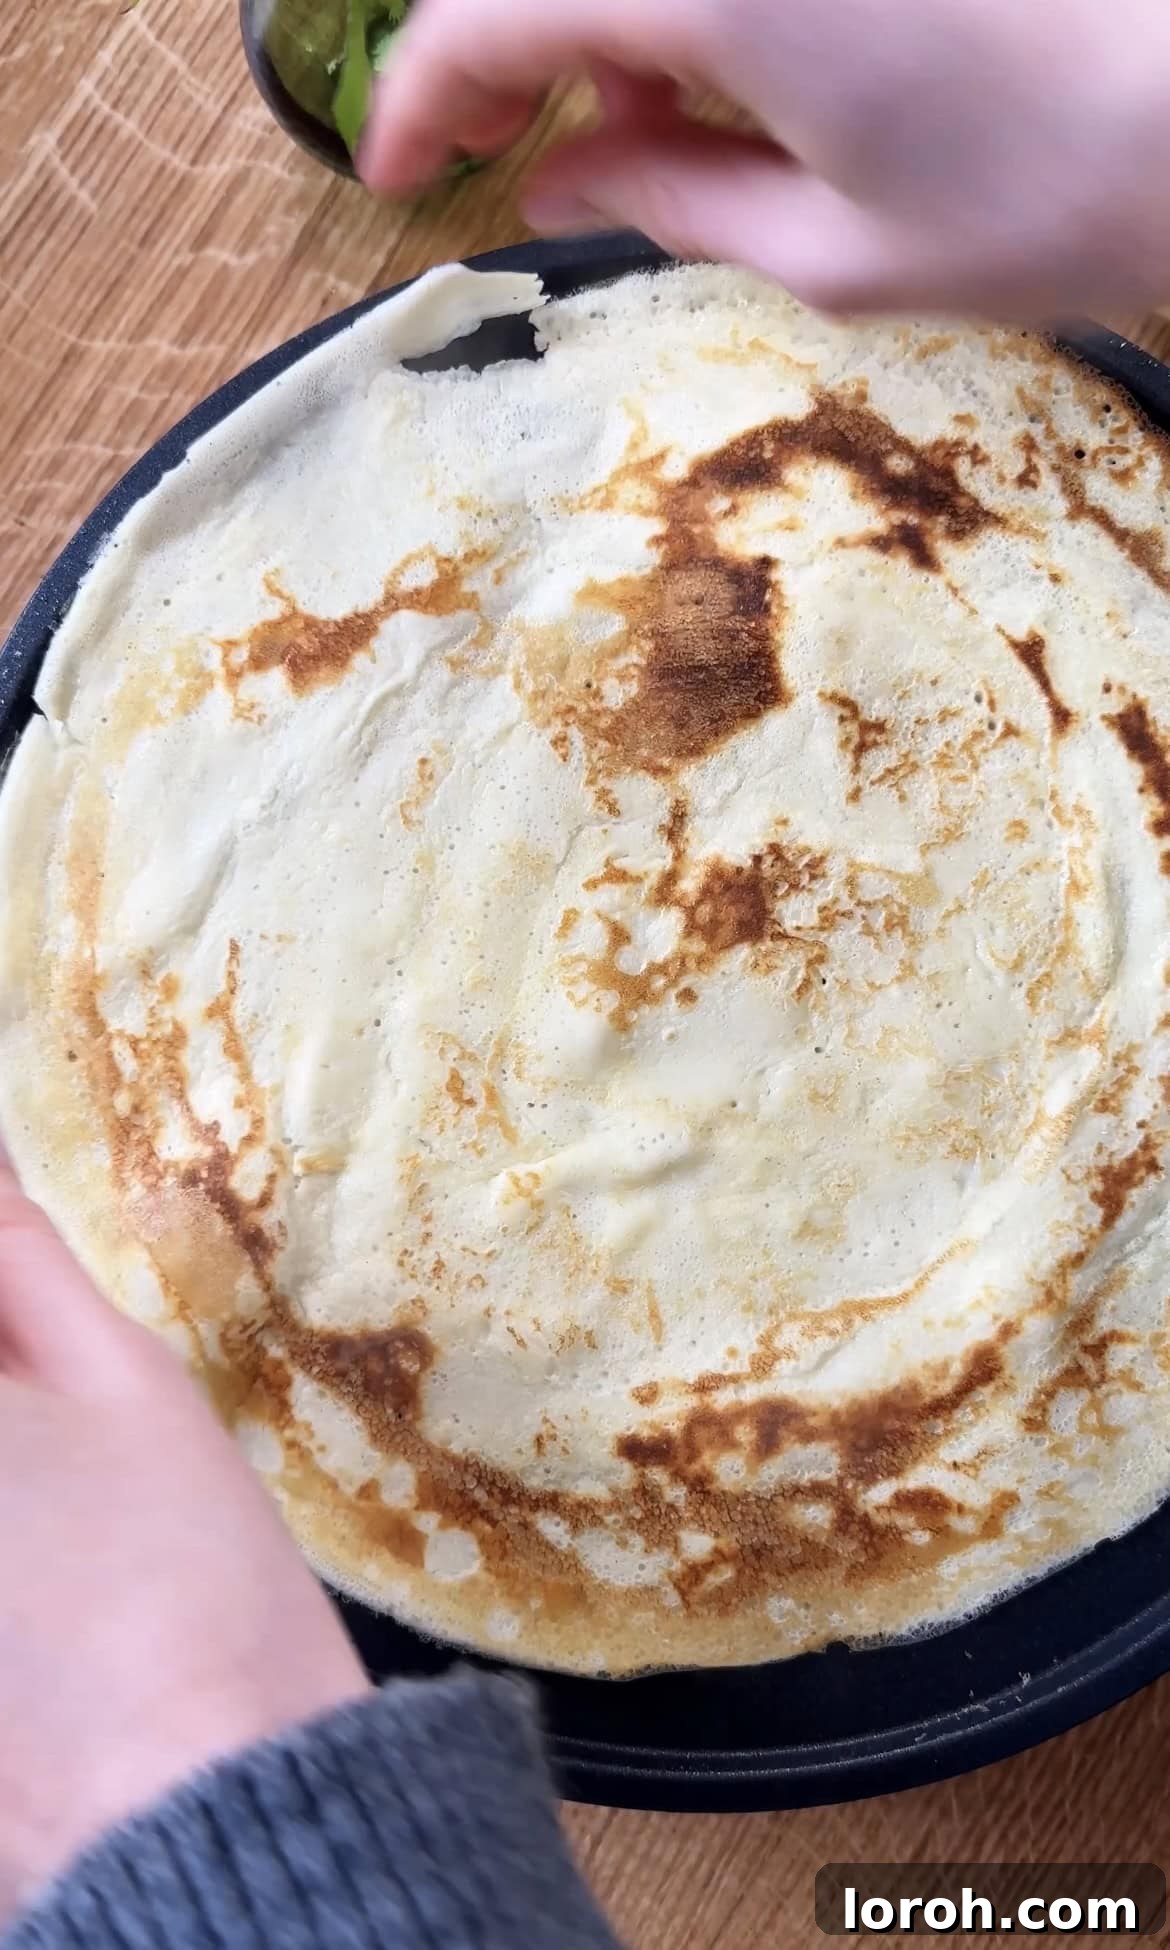
- Patience is a Virtue: Don’t rush the flip! It’s tempting to turn the pancake over prematurely, but if it isn’t fully set on top, it will tear and result in a rather crumpled, less-than-photogenic mess. While it will still taste delicious, waiting for the edges to crisp slightly and the surface to appear dry will ensure a clean flip and a perfect pancake.
- Choosing Your Pan: You absolutely do not need a specialized crêpe pan to make wonderful Pannekaker. While a pan with low sides can make flipping slightly easier, your best non-stick frying pan will work perfectly. The key is to ensure it has a good non-stick surface to prevent sticking and tearing.
Table of Contents
- Why You’ll Adore This Pannekaker Recipe
- Key Ingredients for Perfect Pannekaker
- Creative Twists & Delicious Variations
- Crafting Your Pannekaker: A Step-by-Step Culinary Journey
- Expert Cooking Tips for Flawless Pannekaker
- Frequently Asked Questions About Pannekaker
- Discover More Delightful Pancake Recipes
- Pannekaker (Norwegian Pancakes) Full Recipe
Why You’ll Adore This Pannekaker Recipe
- Effortlessly Simple to Make: With minimal prep time and straightforward steps, these Pannekaker are perfect for home cooks of all skill levels. You’ll be amazed at how quickly you can whip up a batch of these delicate treats.
- Perfect for Any Occasion: Whether you’re planning a lavish Sunday brunch, a quick weekday breakfast, a light and satisfying dessert, or celebrating Shrove Tuesday, these pancakes fit seamlessly into any mealtime. Their versatility makes them a crowd-pleaser for guests and family alike.
- Budget-Friendly Ingredients: Forget exotic or expensive items. This recipe relies on common pantry staples like milk, flour, and eggs – ingredients you likely already have on hand. It’s a delicious way to create something special without breaking the bank.
- Endlessly Versatile: The beauty of Pannekaker lies in their adaptability. They serve as a perfect canvas for a spectrum of flavors. From fresh berries and whipped cream to savory fillings, you’ll love experimenting with different toppings to suit your mood and preferences.
- A Taste of Nordic Charm: Beyond their delicious taste, making Pannekaker offers a delightful glimpse into Norwegian culinary culture. Share this traditional Nordic treat with loved ones and impress them with a unique and memorable dish.
Key Ingredients for Perfect Pannekaker
The full ingredient list with precise measurements can be found in the printable recipe card at the very bottom of this post – just scroll down!
Creating authentic Pannekaker requires a few simple, yet crucial, ingredients. The quality of these basic components truly shines through in the final product, contributing to their rich flavor and delicate texture.
Milk: For the most luxurious and flavorful Pannekaker, I highly recommend opting for full-fat milk. The higher fat content contributes significantly to the richness of the batter, ensuring your pancakes have a superior consistency and a wonderfully tender crumb. While lower-fat milk can be used, full-fat milk truly elevates the experience.
Plain Flour (All-Purpose Flour): This is the structural backbone of your Pannekaker batter. Plain flour, also known as all-purpose flour, provides the necessary gluten development to give the pancakes their characteristic thinness and slight chewiness, preventing them from being too fragile or crumbly. Sieving the flour can help prevent lumps and create an even smoother batter.
Eggs: Eggs are vital for both the flavor and texture of Pannekaker. They provide richness, binding the ingredients together and contributing to the delicate, airy quality of the pancake. If you have access to free-range eggs with deep golden yolks, they will impart a beautiful, vibrant hue to your Pannekaker, enhancing their visual appeal.
Caster Sugar (Superfine Sugar): Just a touch of caster sugar is added to the batter to provide a subtle sweetness that balances the other flavors. It’s not meant to make the pancakes overly sweet, but rather to enhance their overall taste profile. You can adjust the amount slightly to your personal preference.
Pinch of Salt: A small amount of flaky sea salt is essential for amplifying all the other flavors in the batter. Salt doesn’t just make things salty; it brings out the inherent sweetness and richness, making the Pannekaker taste more vibrant and well-rounded.
Butter: I exclusively use unsalted butter to grease the pan. Butter not only prevents the Pannekaker from sticking but also imparts a far superior, nutty flavor compared to oil. A small knob of butter melted onto warm Pannekaker just before serving adds an extra layer of richness and a beautiful sheen.
Creative Twists & Delicious Variations for Your Pannekaker
One of the true joys of making Pannekaker is their incredible versatility. While delicious on their own, they truly shine when paired with an array of toppings and fillings. Don’t hesitate to get creative and tailor them to your unique tastes!
Sugar Choices: While caster sugar is excellent for a light sweetness, feel free to experiment with other sugars in your batter or compote. Granulated sugar works perfectly well, and you won’t notice a significant difference in the final pancake texture. For a deeper, more caramel-like flavor, consider using soft light brown sugar. This adds a subtle warmth and complexity that can be delightful.
Berry Delights: My personal favorite is a vibrant raspberry compote, but the world of berries is your oyster! Always opt for what’s in season if using fresh berries for the best flavor. However, frozen berries are a fantastic, cost-effective alternative that works just as wonderfully. Strawberries, blueberries, blackberries, pitted cherries, or a mixed berry medley all create exquisite compotes. For a super quick cheat’s version, a spoonful of warm jam is always a winner. If serving to adults, a cherry compote infused with a splash of kirsch can feel incredibly luxurious and sophisticated.
Creamy Companions: A generous dollop of softly whipped cream is an undeniably classic and utterly delicious accompaniment. But why stop there? Explore other creamy textures and flavors like decadent clotted cream, rich mascarpone, or for a delightful tangy contrast, try sour cream, crème fraîche, or a thick Greek yogurt. Each offers a unique counterpoint to the sweetness of the pancakes and berries.
Chocolate Indulgence: For those with a sweet tooth, drizzling melted chocolate over warm Pannekaker is simply irresistible. Whether you prefer the intensity of dark chocolate, the classic sweetness of milk chocolate, or the creamy notes of white chocolate, any variety will create a decadent treat. A sprinkle of chocolate shavings also adds a lovely textural element.
More Sweet Toppings: Just like British pancakes, these Pannekaker welcome a multitude of sweet additions. Nutella remains a firm favorite for its rich hazelnut-chocolate goodness. Lotus Biscoff spread offers a delightful spiced caramel flavor. My easy homemade pistachio cream adds an elegant and unique touch, while easy lemon curd provides a bright, zesty burst. A classic drizzle of maple syrup or runny honey is always a safe and satisfying choice.
Embrace the Savory Side: Don’t limit Pannekaker to sweet dishes! They are surprisingly delicious with savory fillings, making for a unique lunch or light dinner. Try them with grated cheese and/or ham, rolled up for a simple meal. Or, elevate them with smoked salmon, a dollop of cream cheese, sour cream, or crème fraîche, perhaps with a sprinkle of fresh dill or chives. The delicate flavor of the pancake provides a wonderful base for these savory combinations.
Crafting Your Pannekaker: A Step-by-Step Culinary Journey
Below is a detailed step-by-step guide with accompanying images to help you visualize the process. For the full, precise recipe and measurements, please refer to the recipe card at the end of this page.
Expert Cooking Tips for Flawless Pannekaker
Creating perfect Pannekaker is a rewarding culinary endeavor, and with a few insider tips, you can elevate your pancake-making game. Here are some expert pointers to help you achieve beautifully thin, flavorful, and consistently perfect Norwegian pancakes every time:
Perfecting Your Raspberry Compote: The Taste Test
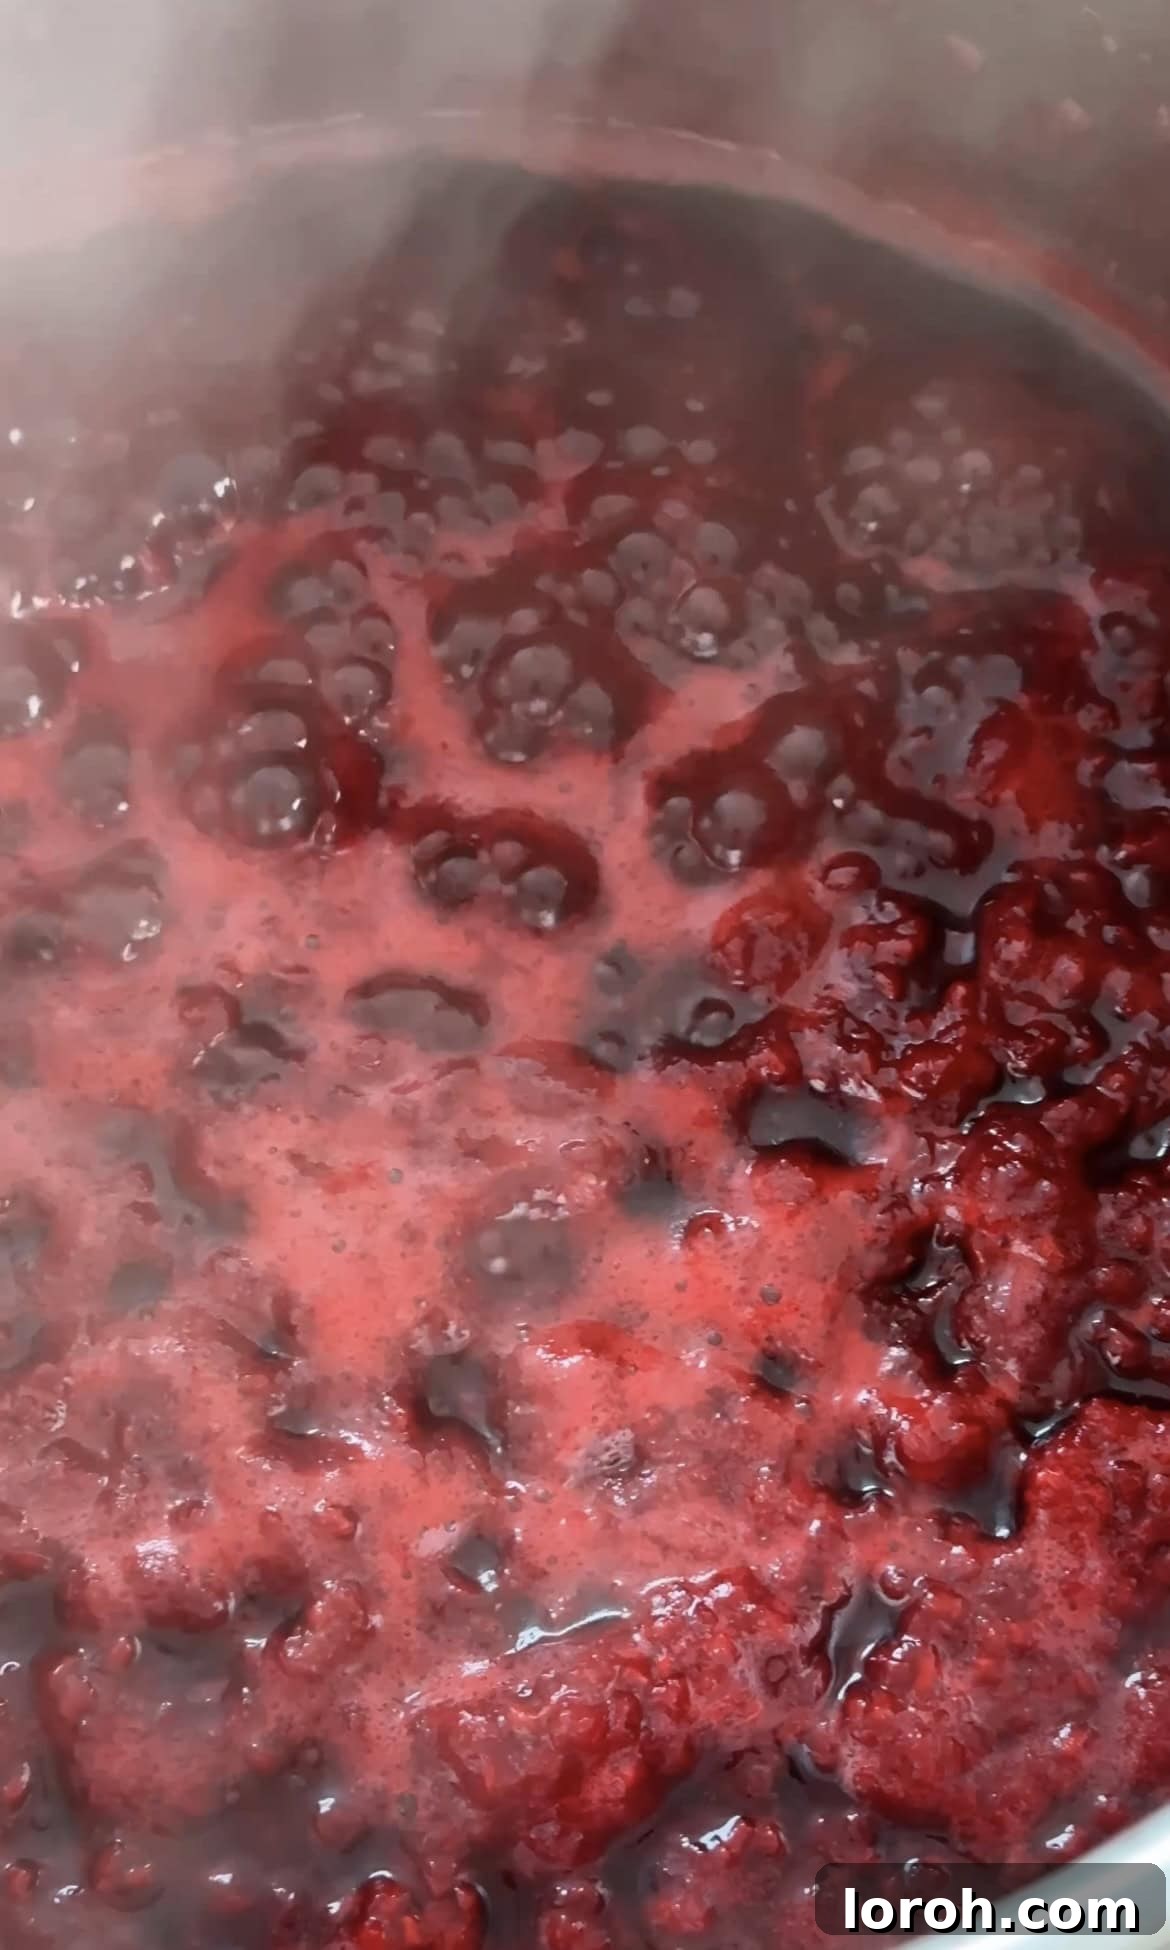
While the recipe provides a guideline, the sweetness and tartness of raspberries can vary greatly. It’s crucial to taste your raspberries before and during the compote-making process. If they are particularly tart, don’t shy away from adding a little more sugar to achieve a balanced sweetness. Conversely, if your compote ends up a touch too sweet for your liking, a squeeze of fresh lemon juice can beautifully cut through the richness and brighten the flavors. Keep tasting and adjusting until you are absolutely delighted with the balance – this small step makes a huge difference!
Effortless Batter: Blender vs. Whisk
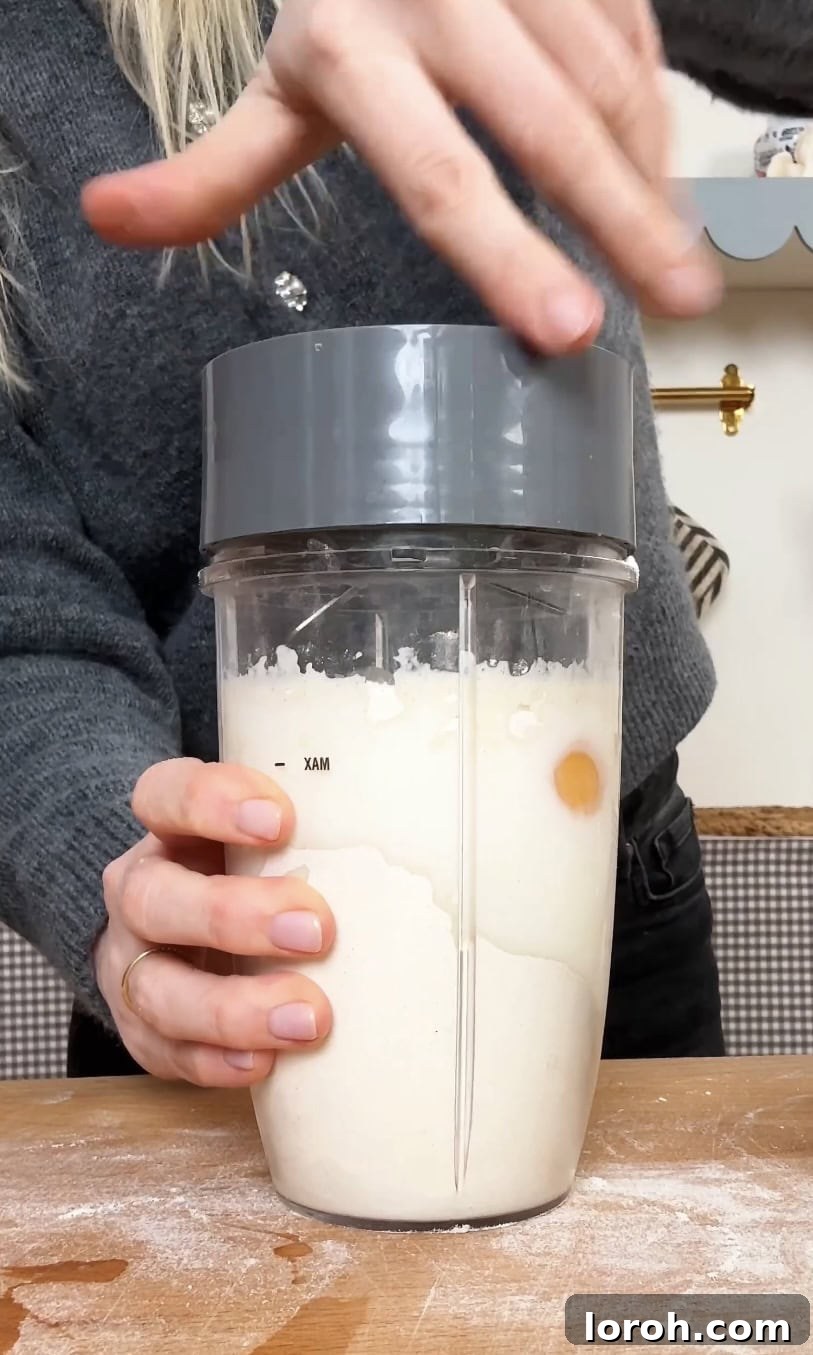
For ultimate convenience and a silky-smooth batter, a blender or food processor is your best friend. Whizzing all the ingredients together takes mere seconds and virtually guarantees a lump-free mixture. However, if you prefer the traditional approach or don’t have a blender, a good old whisk and mixing bowl work perfectly too. When whisking, I highly recommend sieving your flour first. This aerates the flour and breaks up any clumps, making it much easier to incorporate into the wet ingredients smoothly and prevent stubborn lumps from forming in your batter.
The Art of Thin Pannekaker: Less is More
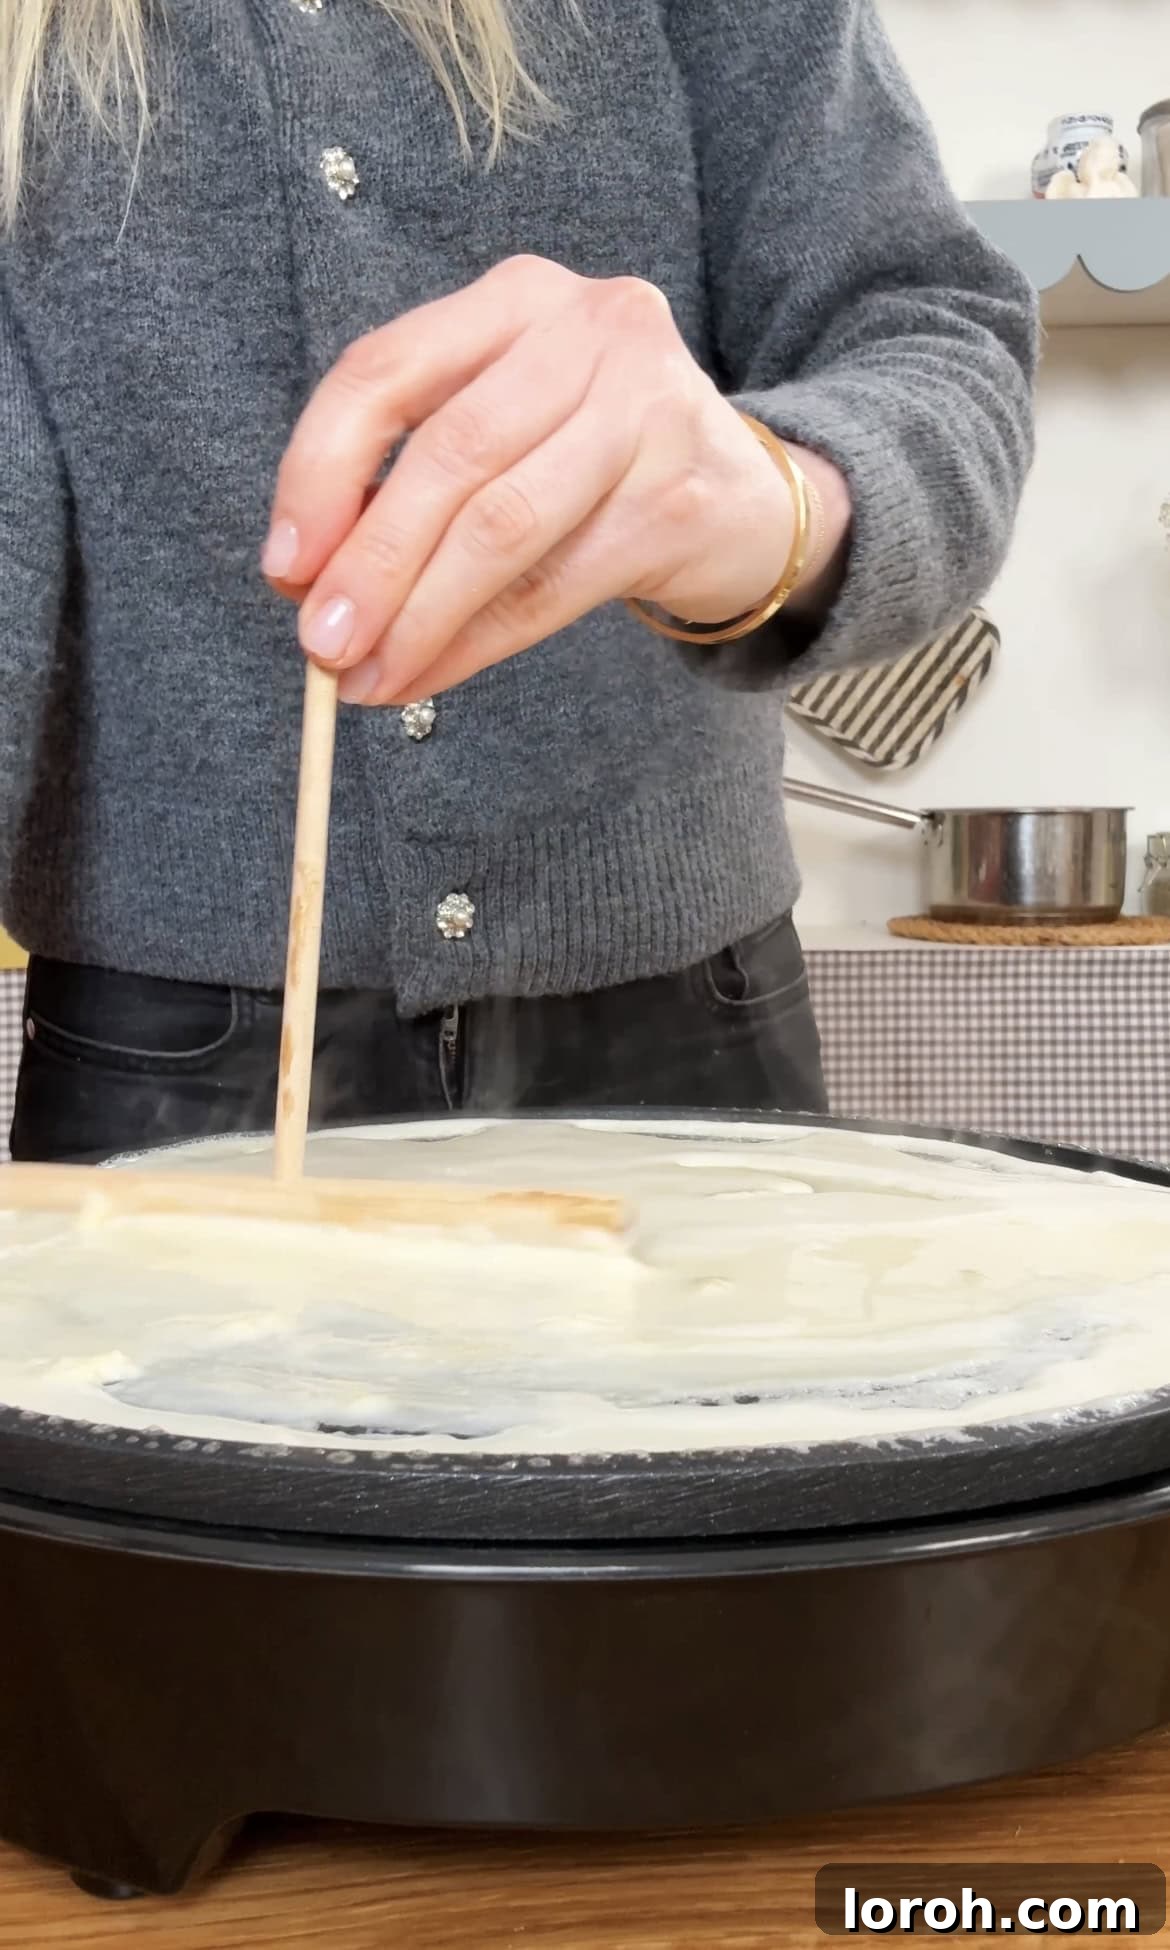
The hallmark of an authentic Pannekaker is its delicate, almost translucent thinness, akin to French crêpes. This means you should resist the urge to pour too much batter into the pan. You need just enough to lightly coat the base in an even, very thin layer. After pouring the batter, immediately pick up the pan and swirl it vigorously in a circular motion. This technique distributes the batter thinly and evenly, ensuring a perfectly delicate pancake that cooks quickly and has that desirable lacy edge.
Embrace the “Chef’s Perk”: Don’t Stress the First Pancake
It’s an almost universal truth in the pancake world: the first one rarely turns out perfect. This isn’t a reflection of your cooking skills! It’s simply the pan adjusting to the heat, and you familiarizing yourself with the batter consistency and the pan’s hot spots. Consider the first Pannekaker your “chef’s perk” – a delicious reward for your efforts, often enjoyed right off the pan. Don’t panic if it looks a little rustic; you’ll quickly get the hang of the technique and heat as you move on to the next ones. Quality control is, after all, very important!
Choosing the Right Pan: Specialized vs. Everyday
While a dedicated crêpe pan, with its shallow sides, certainly makes flipping Pannekaker a breeze, it’s by no means a necessity. If you don’t own one, a good-quality large non-stick frying pan will perform admirably. The crucial factor is that your pan has an excellent non-stick surface to prevent the delicate pancakes from sticking and tearing when you try to flip them. A well-seasoned cast-iron pan can also work if you’re experienced with it, but for most, a reliable non-stick option is best.
Frequently Asked Questions About Pannekaker
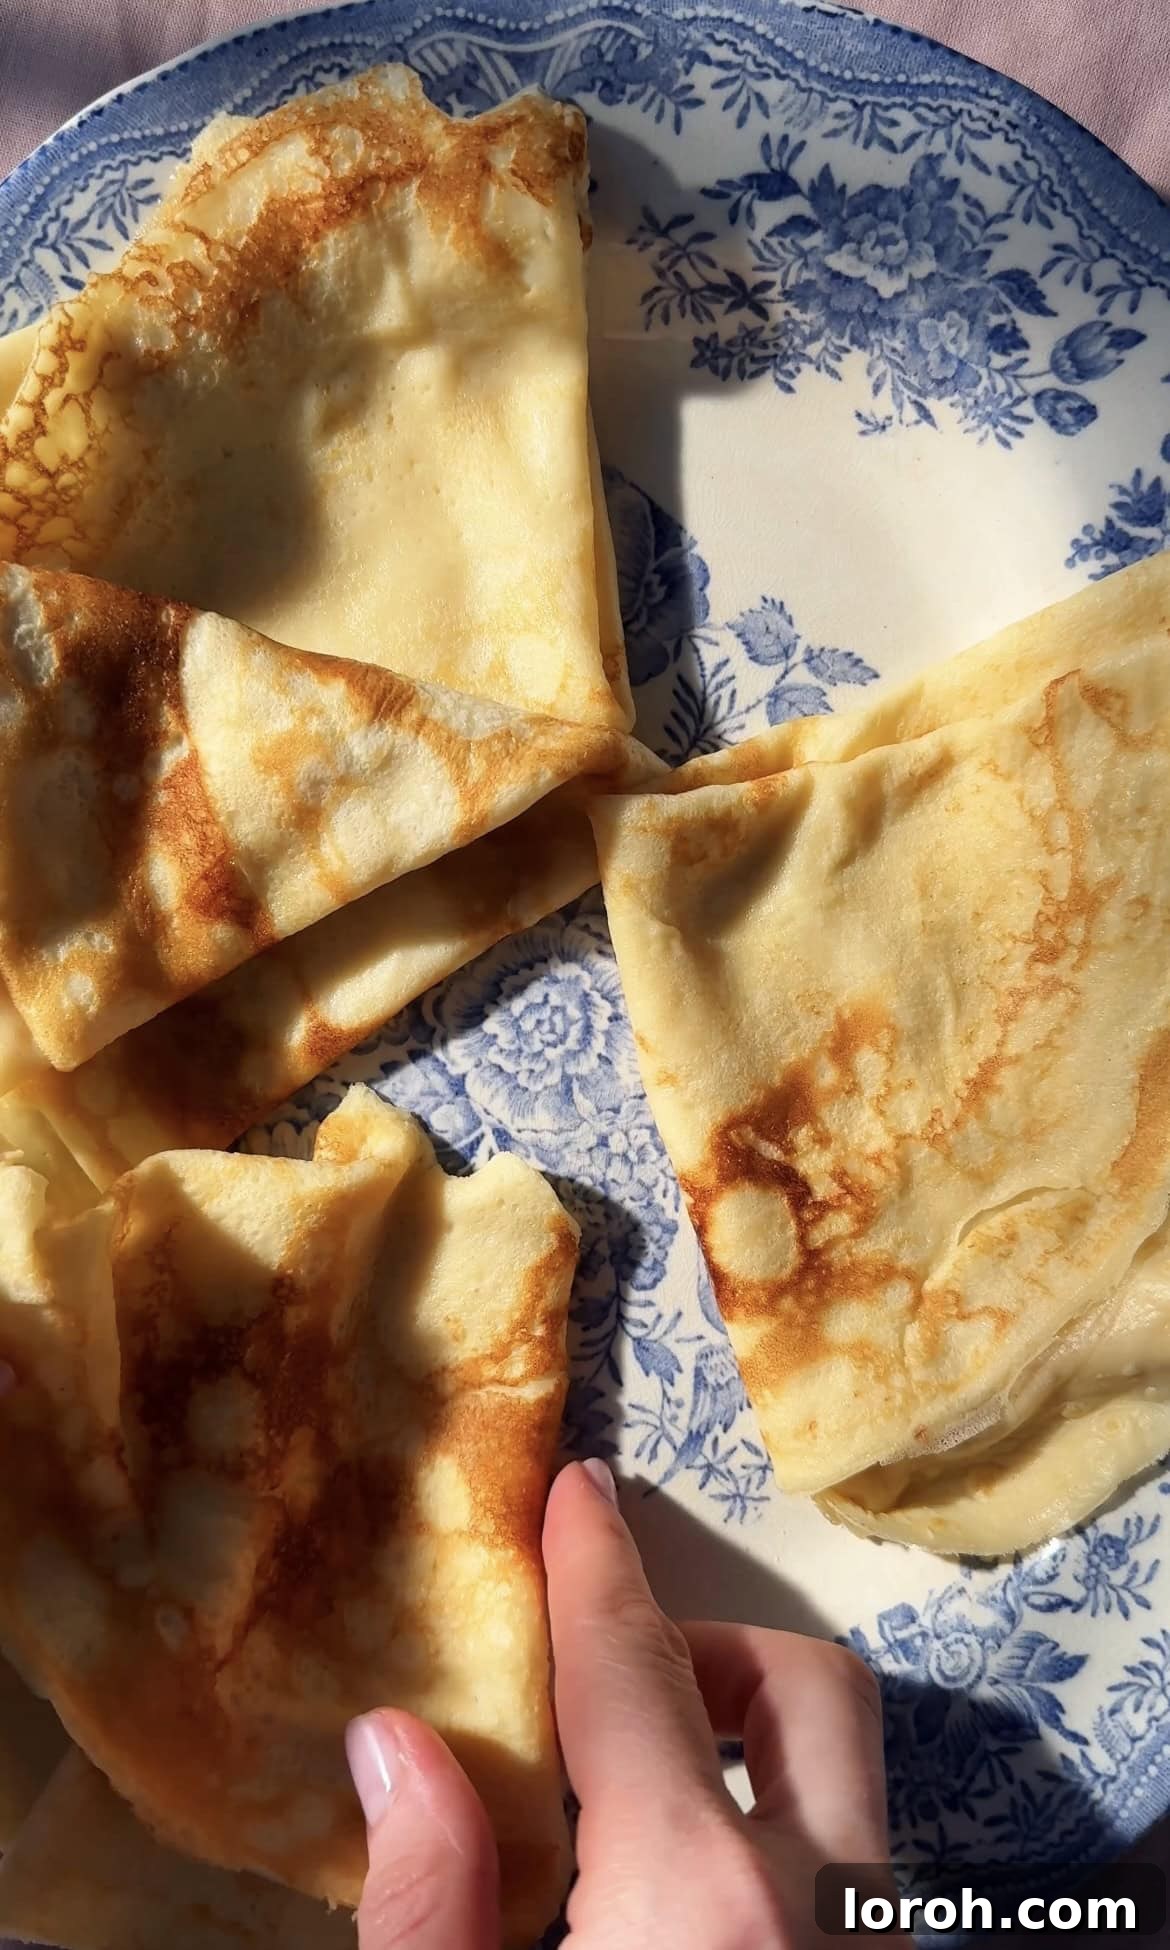
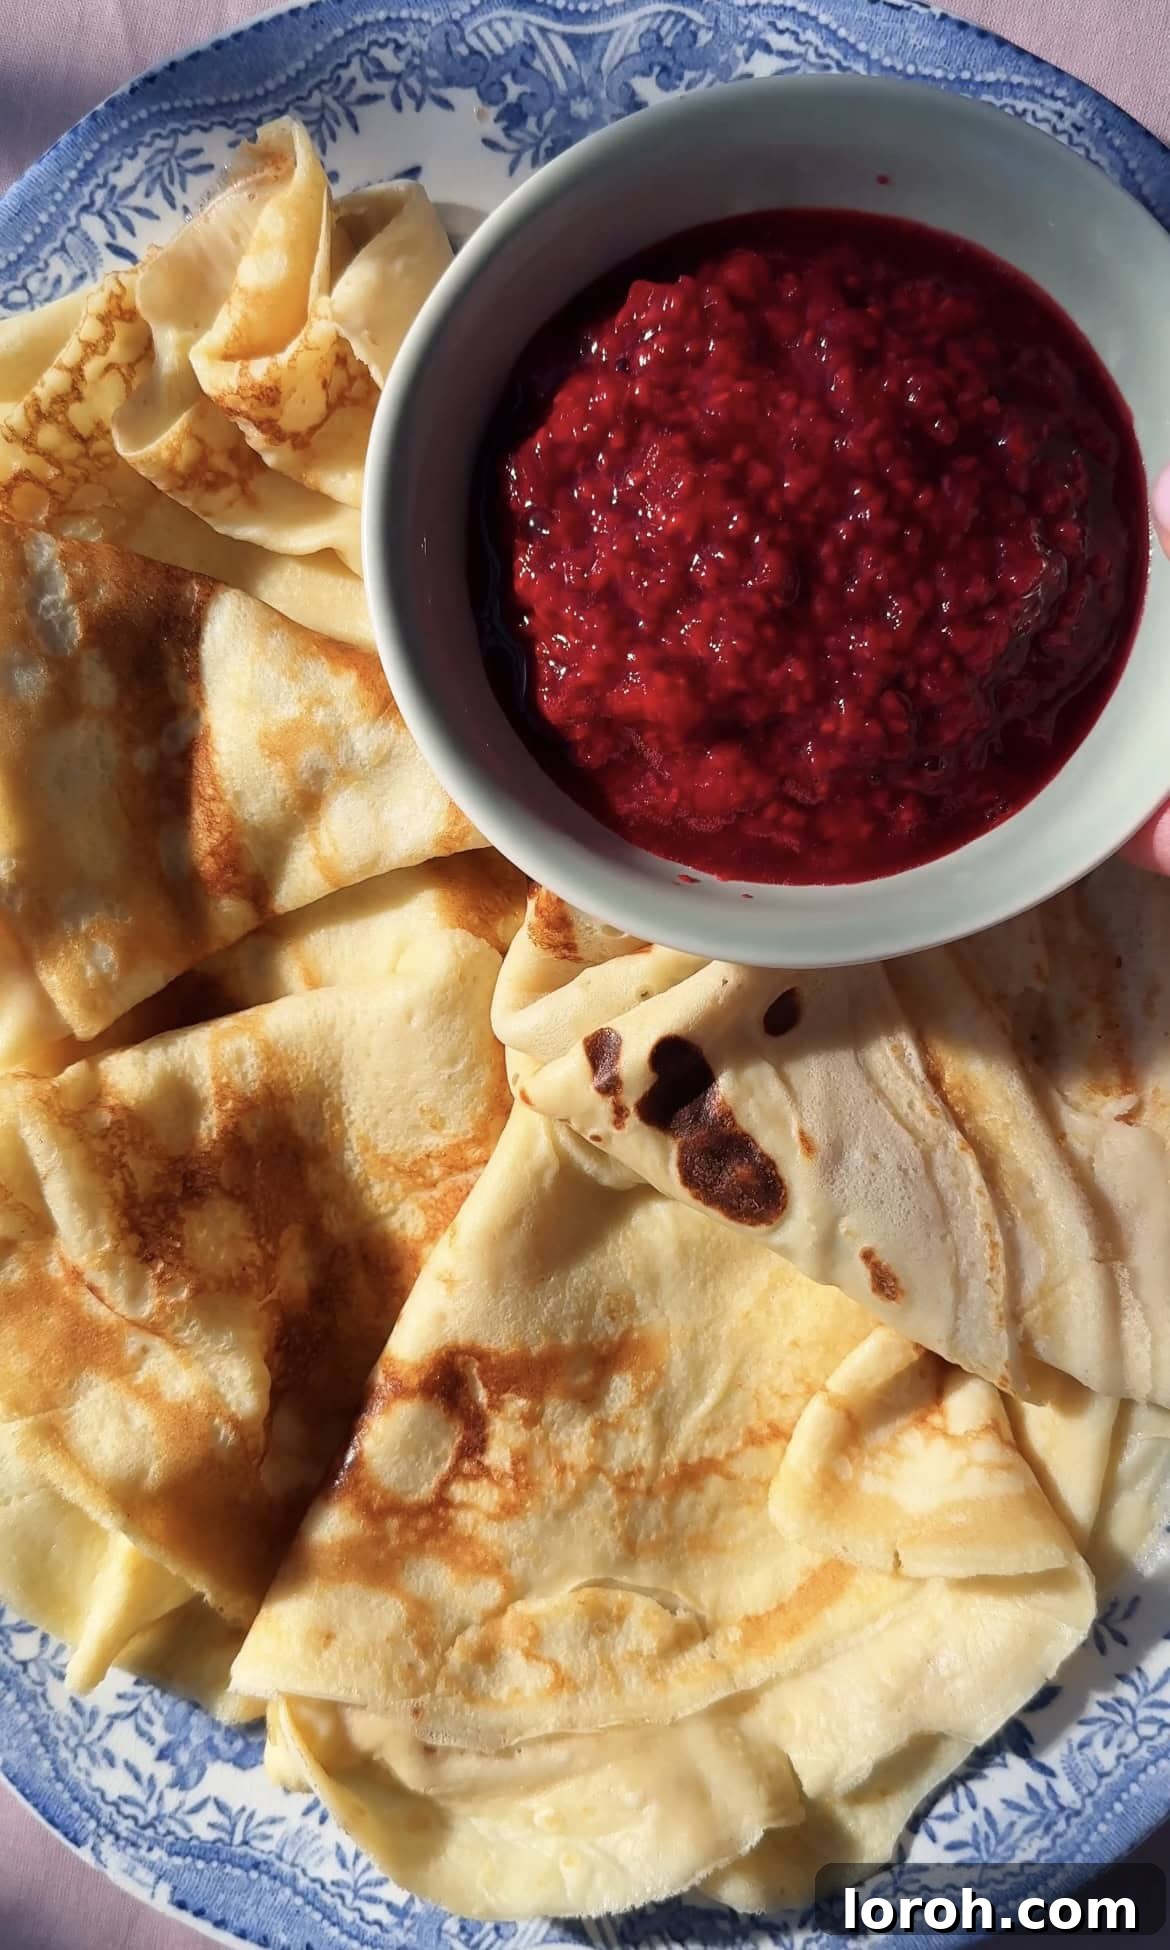
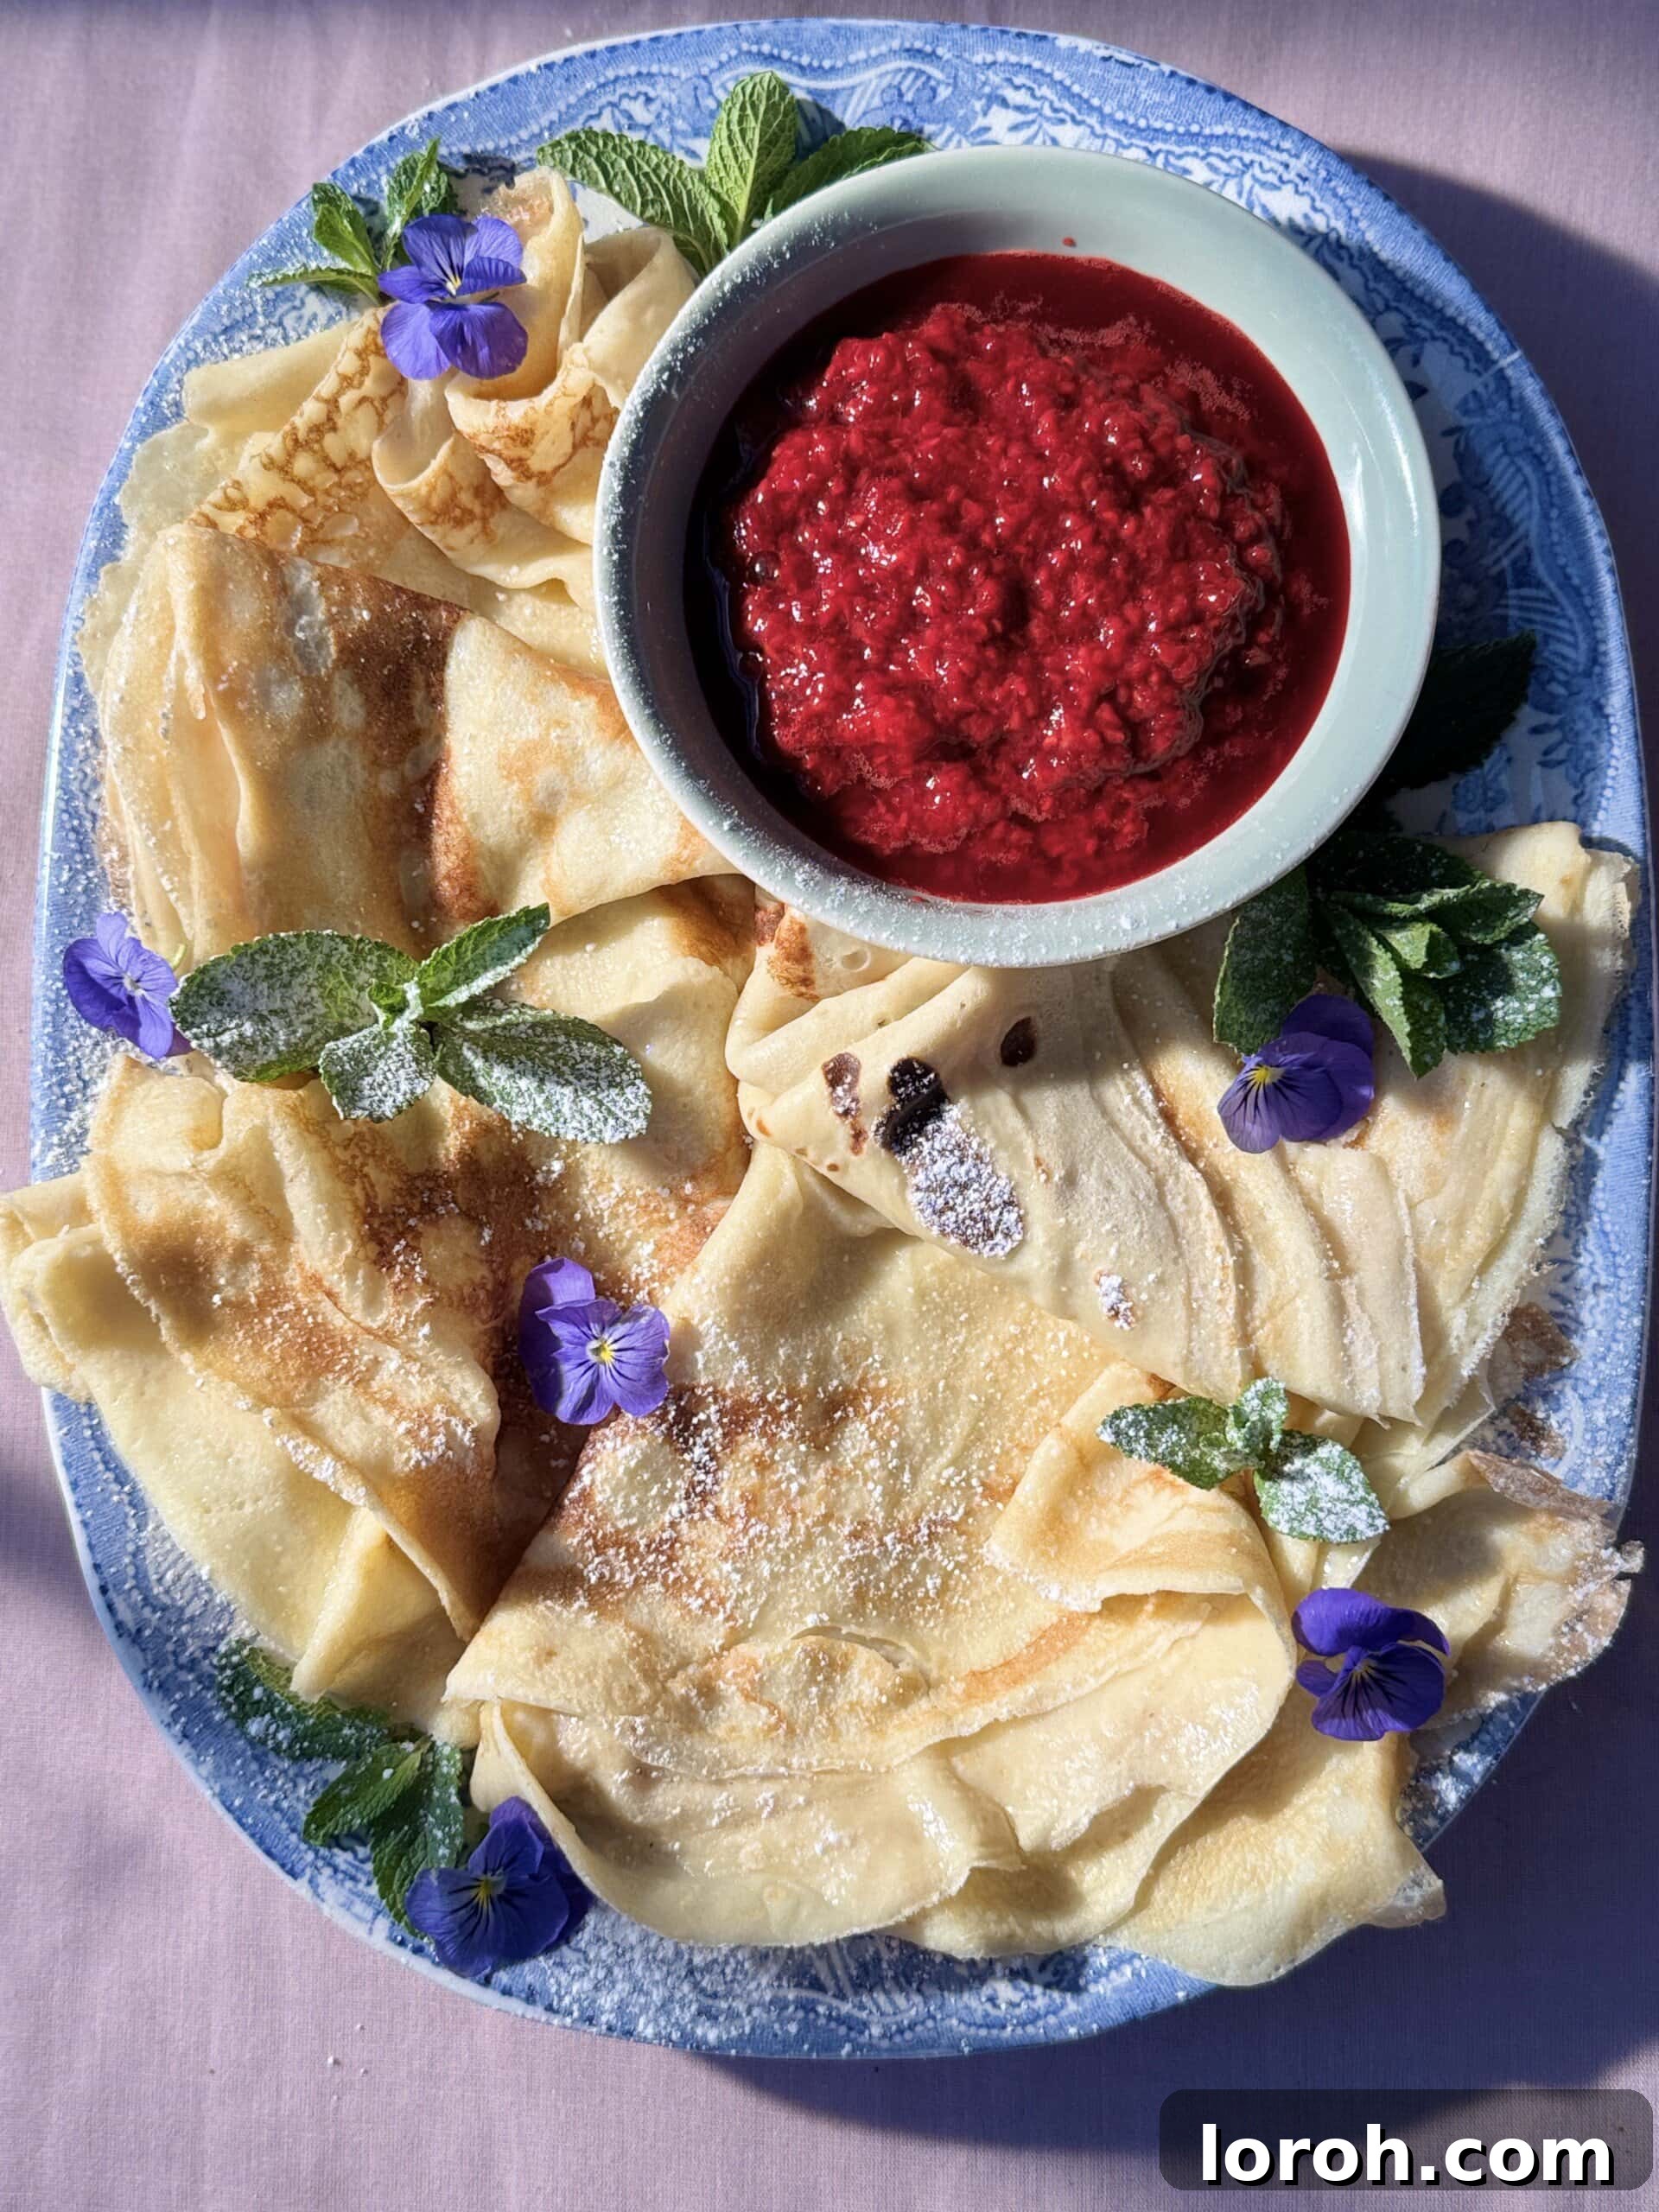
Pannekaker (pronounced ‘pahn-uh-kah-ker’) are delightful, delicately thin pancakes originating from Norway. They are characterized by a delicious, rich, and often eggy flavor, coupled with a wonderfully light and airy texture. If you use fresh eggs with naturally deep golden yolks, your Pannekaker will boast a glorious golden hue. While there are many regional variations of the traditional recipe, they are most commonly served either rolled or folded, often with a simple dusting of sugar or accompanied by sweet blueberry or lingonberry jam. They are a staple in Norwegian homes, enjoyed for various meals.
The distinction between Pannekaker and French crêpes is often subtle, as they share many similarities in their thinness and preparation. However, Pannekaker recipes typically call for a slightly higher flour content or a slightly thicker batter, which can give them a marginally more substantial and often chewier texture compared to the almost paper-thin, delicate French crêpe. They also share many characteristics with the large, thin British pancakes. In contrast, they are quite distinct from American pancakes, which are notably thick and fluffy due to the inclusion of leavening agents like baking powder, giving them a completely different rise and texture.
Absolutely not! While a specialized crêpe pan, with its characteristically shallow sides, can make the flipping process a little easier and more dramatic, it is by no means essential. You can achieve fantastic results using any good quality, reliable non-stick frying pan that you already own. The key is to ensure your pan has an excellent non-stick surface and is heated evenly. Just focus on greasing it well with butter and maintaining the right heat, and you’ll be making perfect Pannekaker in no time.
Pannekaker are incredibly versatile and can be enjoyed at various times throughout the day, and even for different courses! They are a delightful choice for a special breakfast or a leisurely brunch, and they make an excellent light dessert. They are also a favorite for celebrations like Shrove Tuesday (Pancake Day). Interestingly, in Norway, Pannekaker are often served as a second course during dinner, frequently following a savory soup like a tomato or pea soup. This tradition highlights their adaptability and cherished place in Norwegian culinary culture, proving they are much more than just a breakfast item.
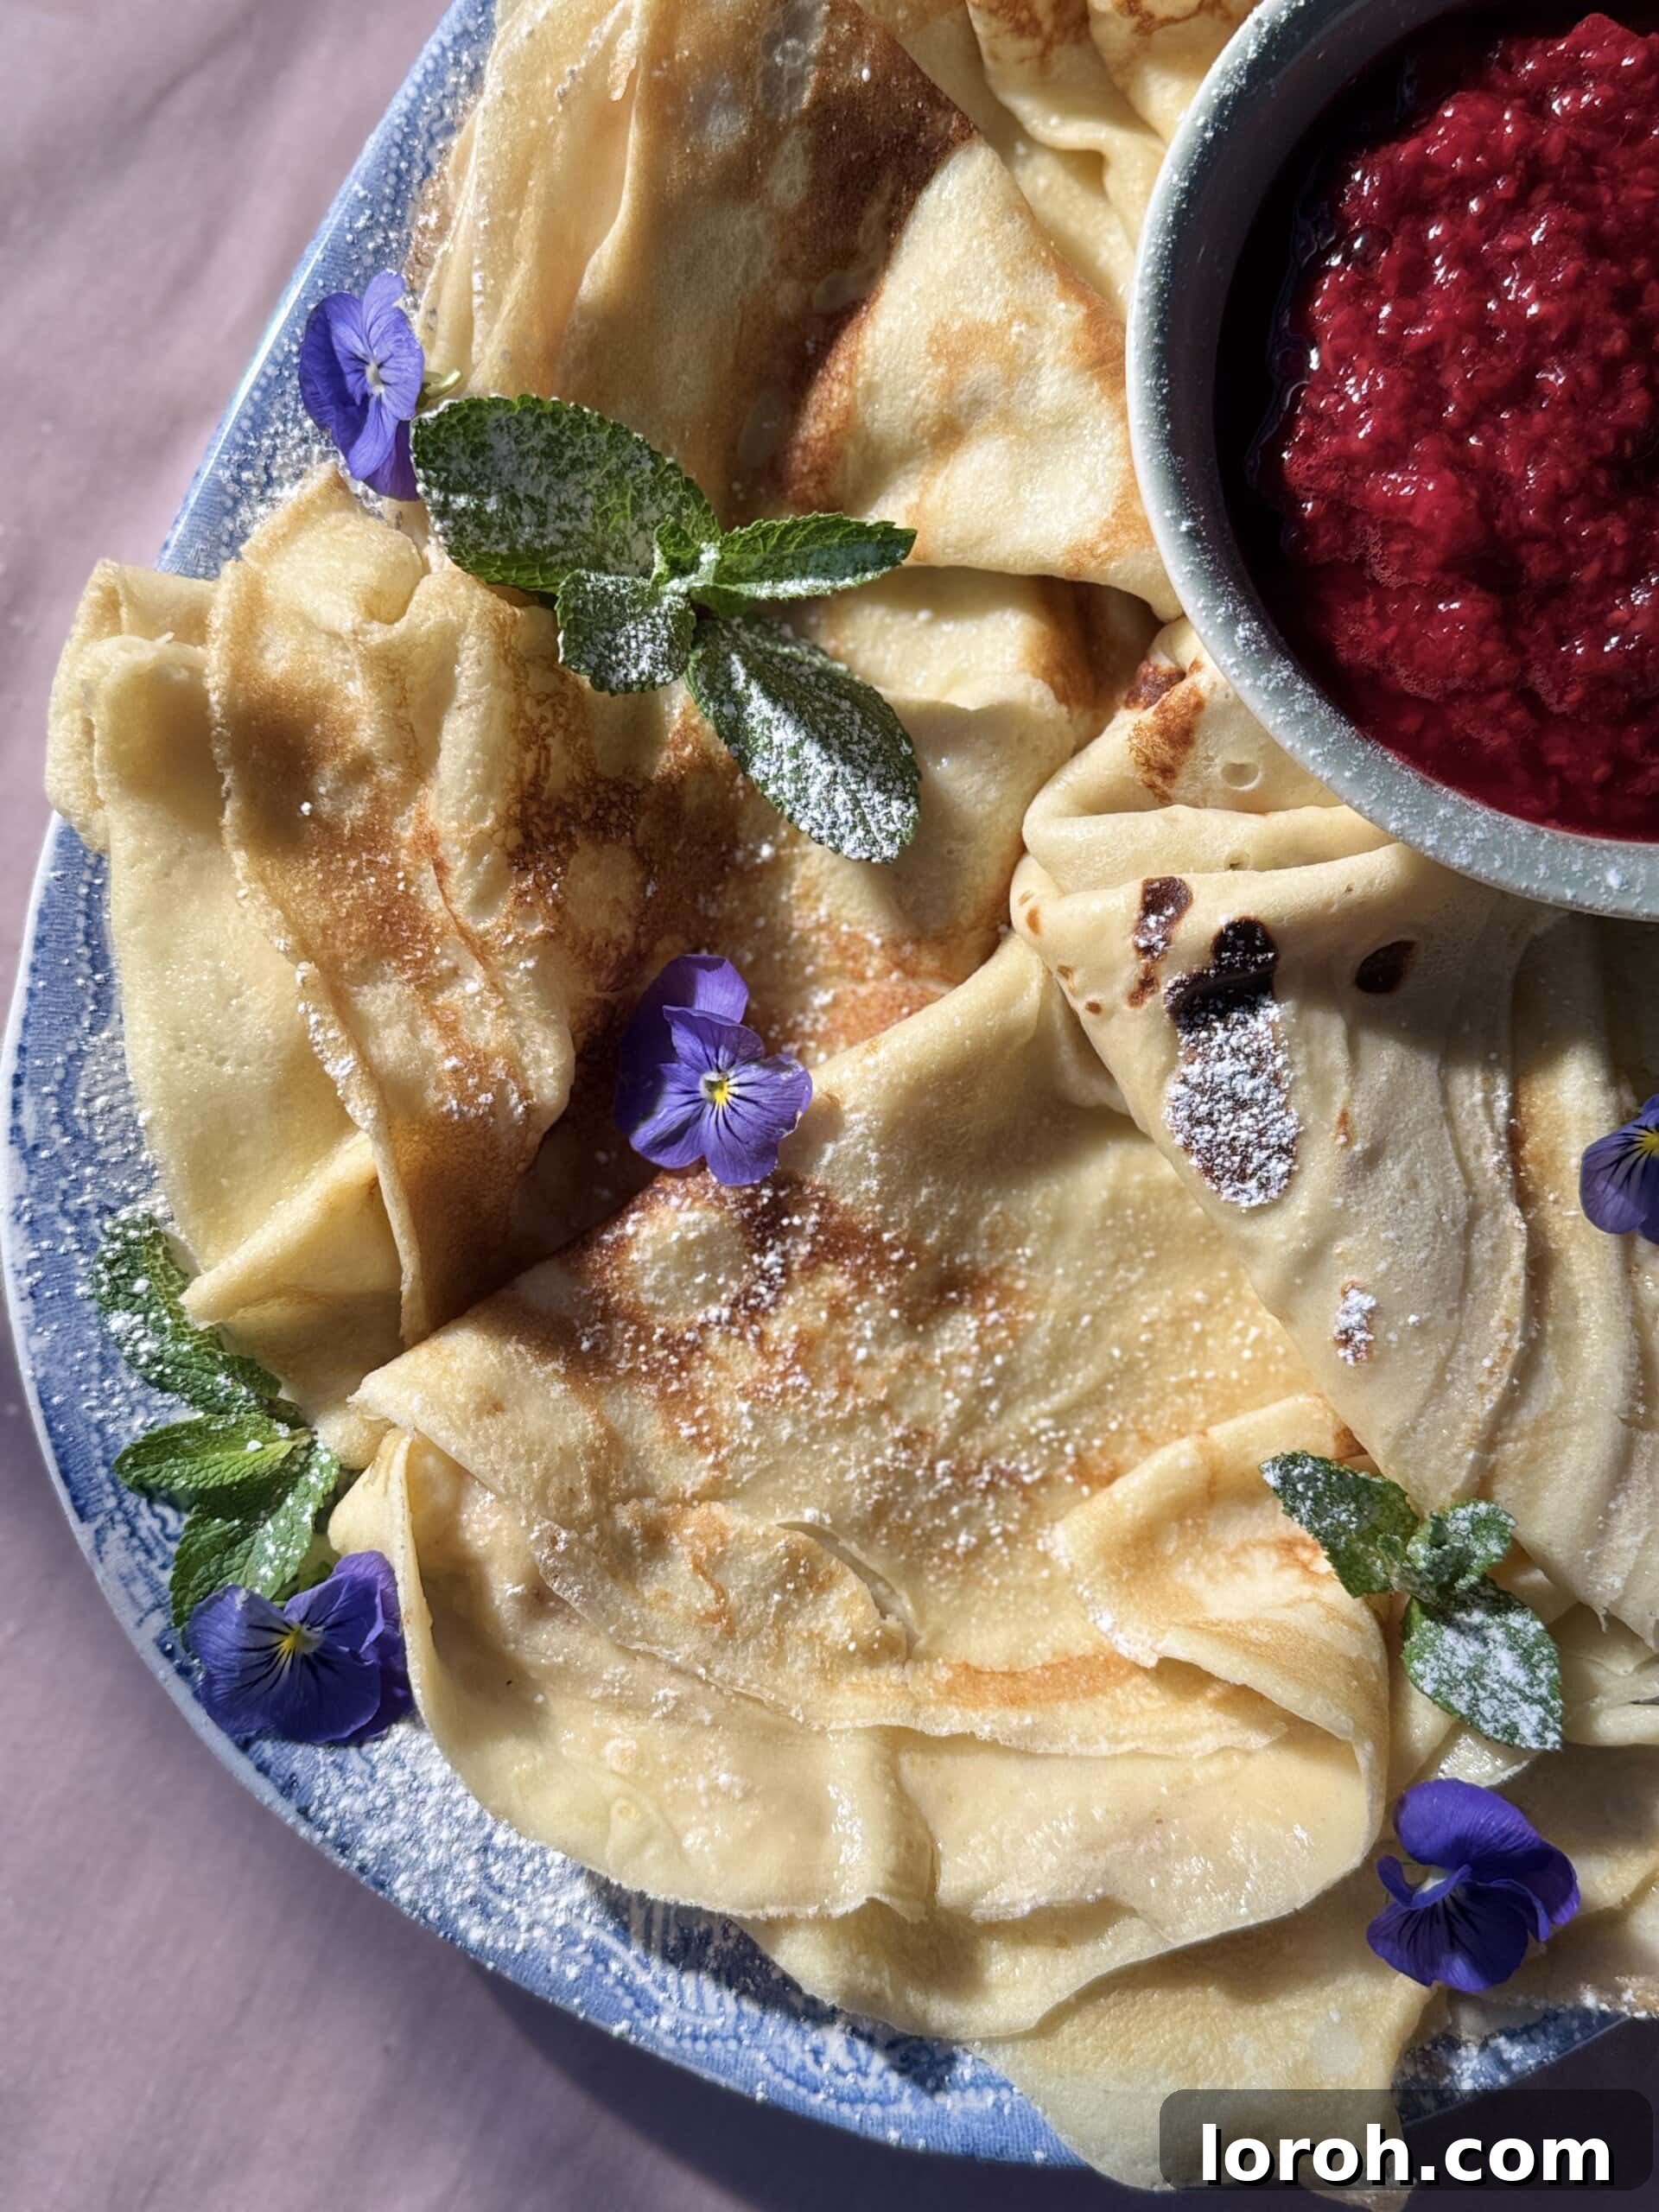
The beauty of Pannekaker lies in their incredible versatility when it comes to toppings. My personal favorite way to serve them is with a generous dollop of softly whipped cream, a vibrant raspberry compote, and a dusting of icing sugar. Another traditional and highly popular Norwegian serving is with lingonberry jam. However, just like any pancake, you are encouraged to get creative! For a quick option, I often swap compote for a handful of fresh berries or warm up any fruit jam. For spreads, I frequently alternate between the rich hazelnut-chocolate of Nutella, the spiced caramel notes of Lotus Biscoff, my easy homemade pistachio cream, or a bright easy lemon curd for a zesty kick. Beyond whipped cream, you could indulge with clotted cream or mascarpone, or opt for the tangy freshness of sour cream or crème fraîche. A classic drizzle of maple syrup or runny honey is always a delicious choice. Don’t forget savory options too, like ham and cheese, or smoked salmon with cream cheese and dill for a unique twist!
Yes, both the Pannekaker batter and the raspberry compote can be prepared in advance. For the batter, simply mix it up the night before, then cover it tightly and chill it in the fridge overnight. The next morning, give it a good stir, and if it has thickened too much (which can happen as the flour hydrates), add a splash more milk until it reaches the desired thin consistency. Be aware that the gluten in the flour might develop slightly overnight, potentially making your final Pannekaker a tiny bit less fluffy, but the difference is usually negligible and they will still be delicious. The raspberry compote is also excellent made ahead; let it cool completely, then cover and store it in the fridge for up to 3 days. This makes meal prep a breeze!
Absolutely! Cooked Pannekaker freeze beautifully. Once they have cooled completely, stack them with sheets of greaseproof paper or parchment paper in between each pancake to prevent them from sticking together. Then, tightly wrap the entire stack in cling film, followed by a final layer of aluminum foil, or place them in a freezer bag. They can be stored in the freezer for up to 3 months. When you’re ready to enjoy them, simply thaw them in the fridge overnight or at room temperature. I generally do not recommend freezing Pannekaker that have already been filled or topped, as the texture of the fillings might change upon thawing. The berry compote can also be frozen for up to 3 months in an airtight container or freezer bag. To use, defrost it at room temperature until liquid again. If you prefer it warm, gently reheat the frozen compote in a saucepan over low-medium heat with a splash of water until smooth and warm.
Discover More Delightful Pancake Recipes
If you’ve fallen in love with these delicate Pannekaker, you’ll be thrilled to explore more of my international pancake recipes. Don’t miss out on these other fantastic treats that are perfect for any time of day!
Pancake Recipes
Racuchy (Polish Apple Pancakes)
Pancake Recipes
Banana Crêpes
Pancake Recipes
Berry Crêpes with Cheesecake Cream
Easy Dessert Recipes
Mango Pancakes
We truly hope you enjoy making and savoring this authentic Pannekaker recipe. If you tried this or any other recipe on our site, please don’t hesitate to leave a comment below and let us know how it turned out! Your feedback is invaluable and helps other home cooks discover delicious new dishes.
Pannekaker (Norwegian Pancakes)
Rate Recipe
Print Recipe
Ingredients
For the raspberry compote:
- 300 g fresh or frozen raspberries
- About 1-2 tsp caster sugar, to taste
- Zest of ½ lemon and about 1 tbsp lemon juice, to taste
- 1 tbsp water
For the pannekaker:
- 350 ml (1 ½ cups) full-fat milk
- 3 large eggs
- 120 g (1 cup) plain flour
- 1-2 tsp caster sugar
- pinch of flaky sea salt, about ¼ tsp
- Unsalted butter, for greasing
To serve:
- Raspberry compote
- Softly whipped cream
- Icing sugar, for dusting
- Sprigs of fresh mint
Instructions
-
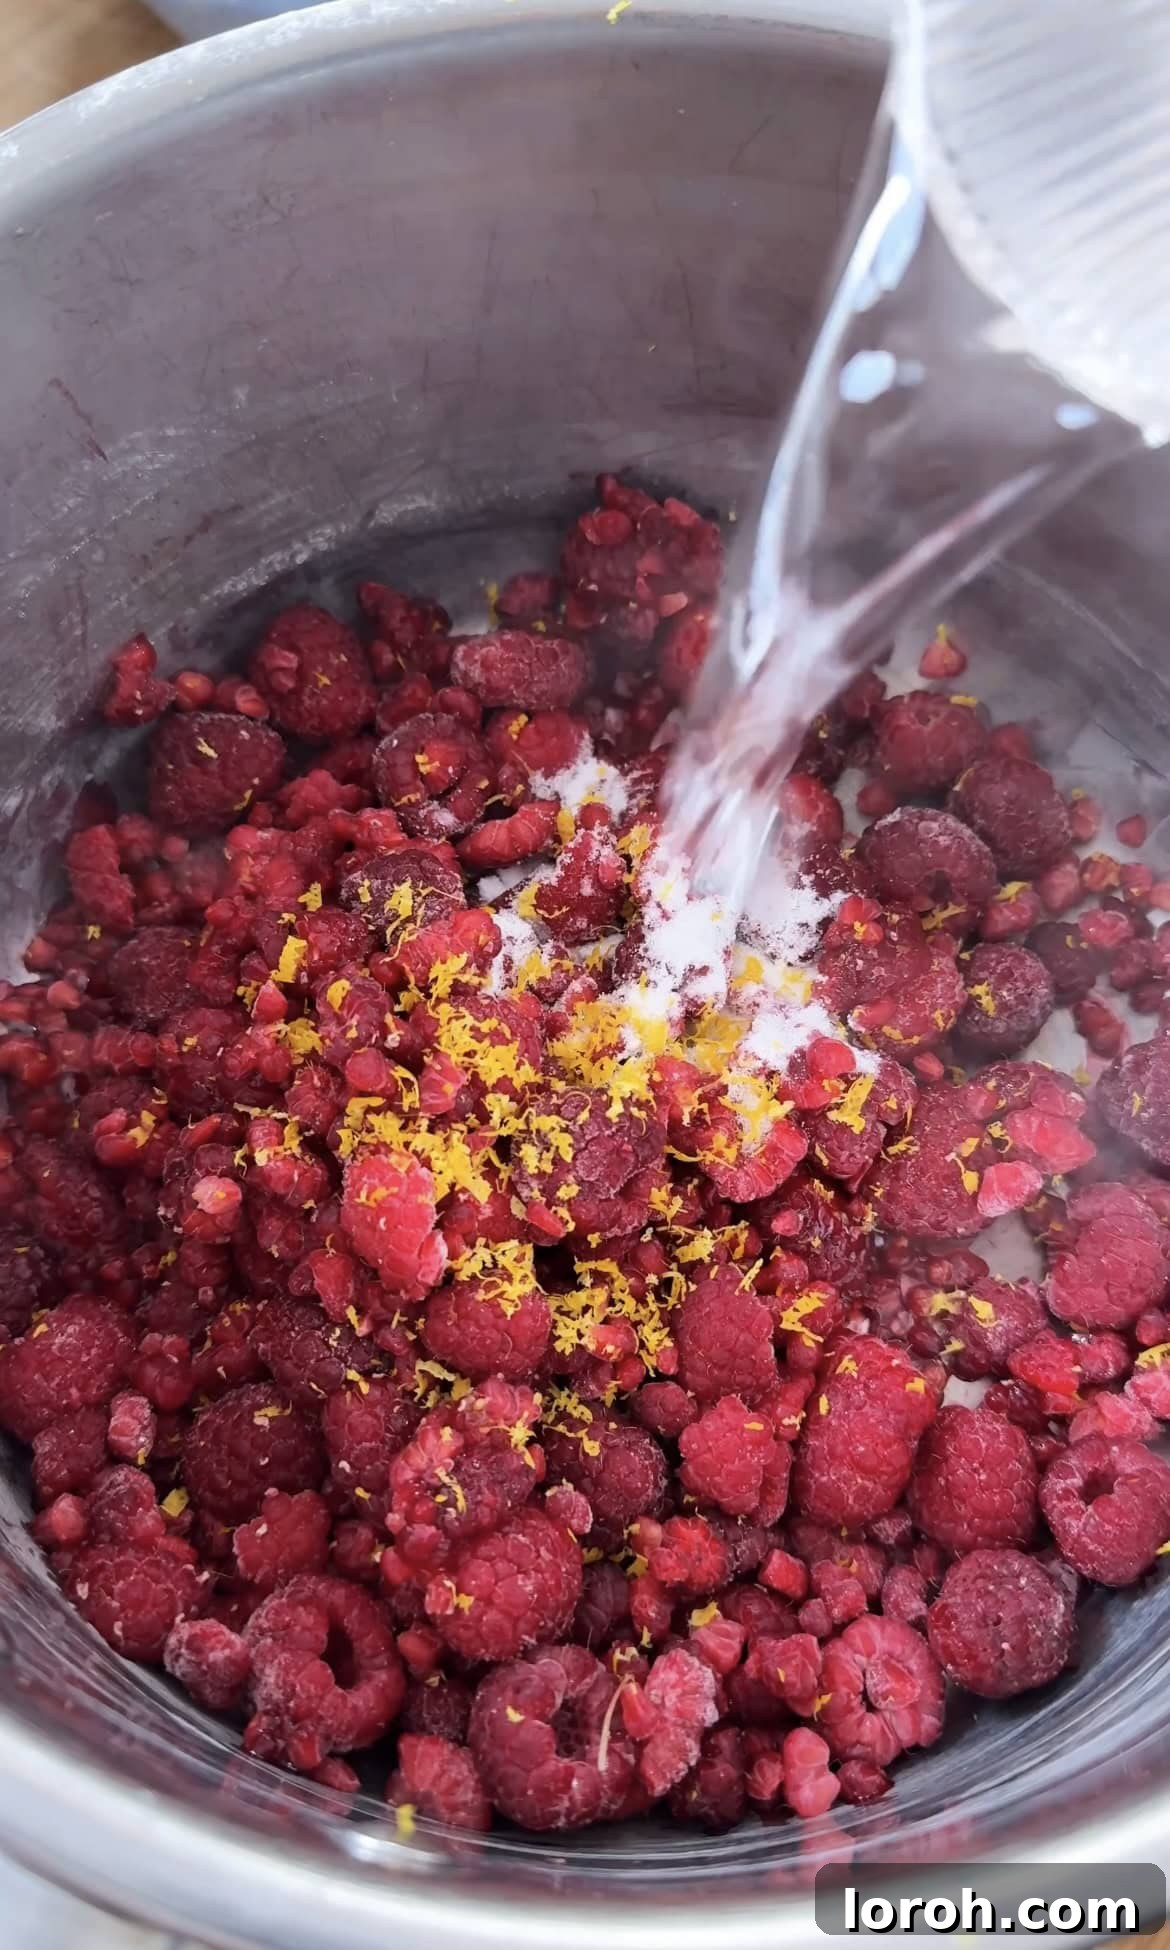
First, prepare the raspberry compote: Place the raspberries into a medium-sized saucepan. Add the caster sugar, lemon zest, and 1 tbsp of water. Set over a low-medium heat and gently bring to a boil, stirring occasionally until the sugar has fully dissolved. Once simmering, reduce the heat and cook gently for about 5 minutes, or until the raspberries have softened and broken down. Remove from the heat and stir in lemon juice to taste. Adjust the sweetness if necessary. Pour the compote into a bowl and set aside to cool.
-
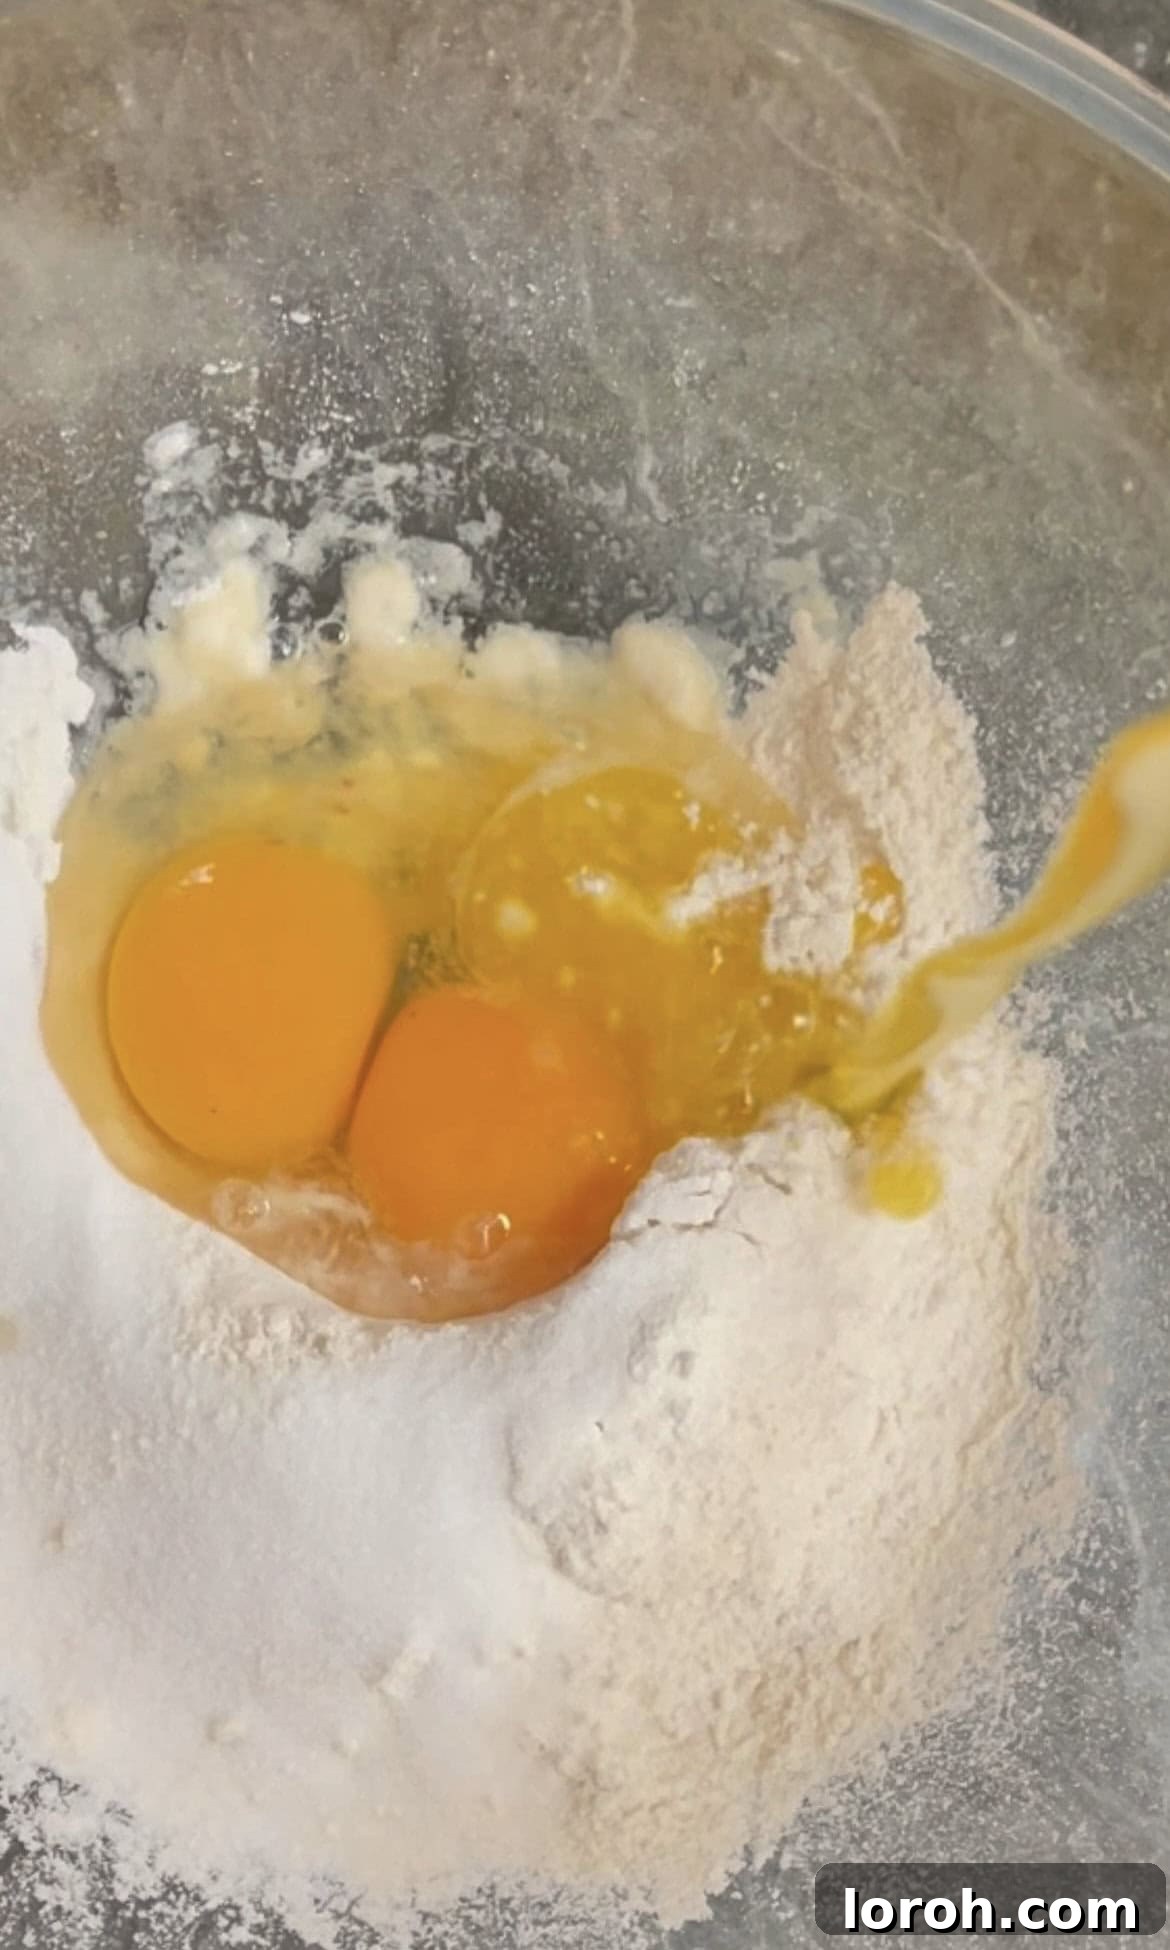
Next, make the Pannekaker batter: Pour the milk into a blender, then add the eggs, followed by the flour, sugar, and salt. Blitz the mixture until you achieve a perfectly smooth batter. Alternatively, if you’re using a mixing bowl, combine all ingredients and whisk vigorously until completely smooth. You might find it easier to sieve the flour beforehand to prevent lumps.
-
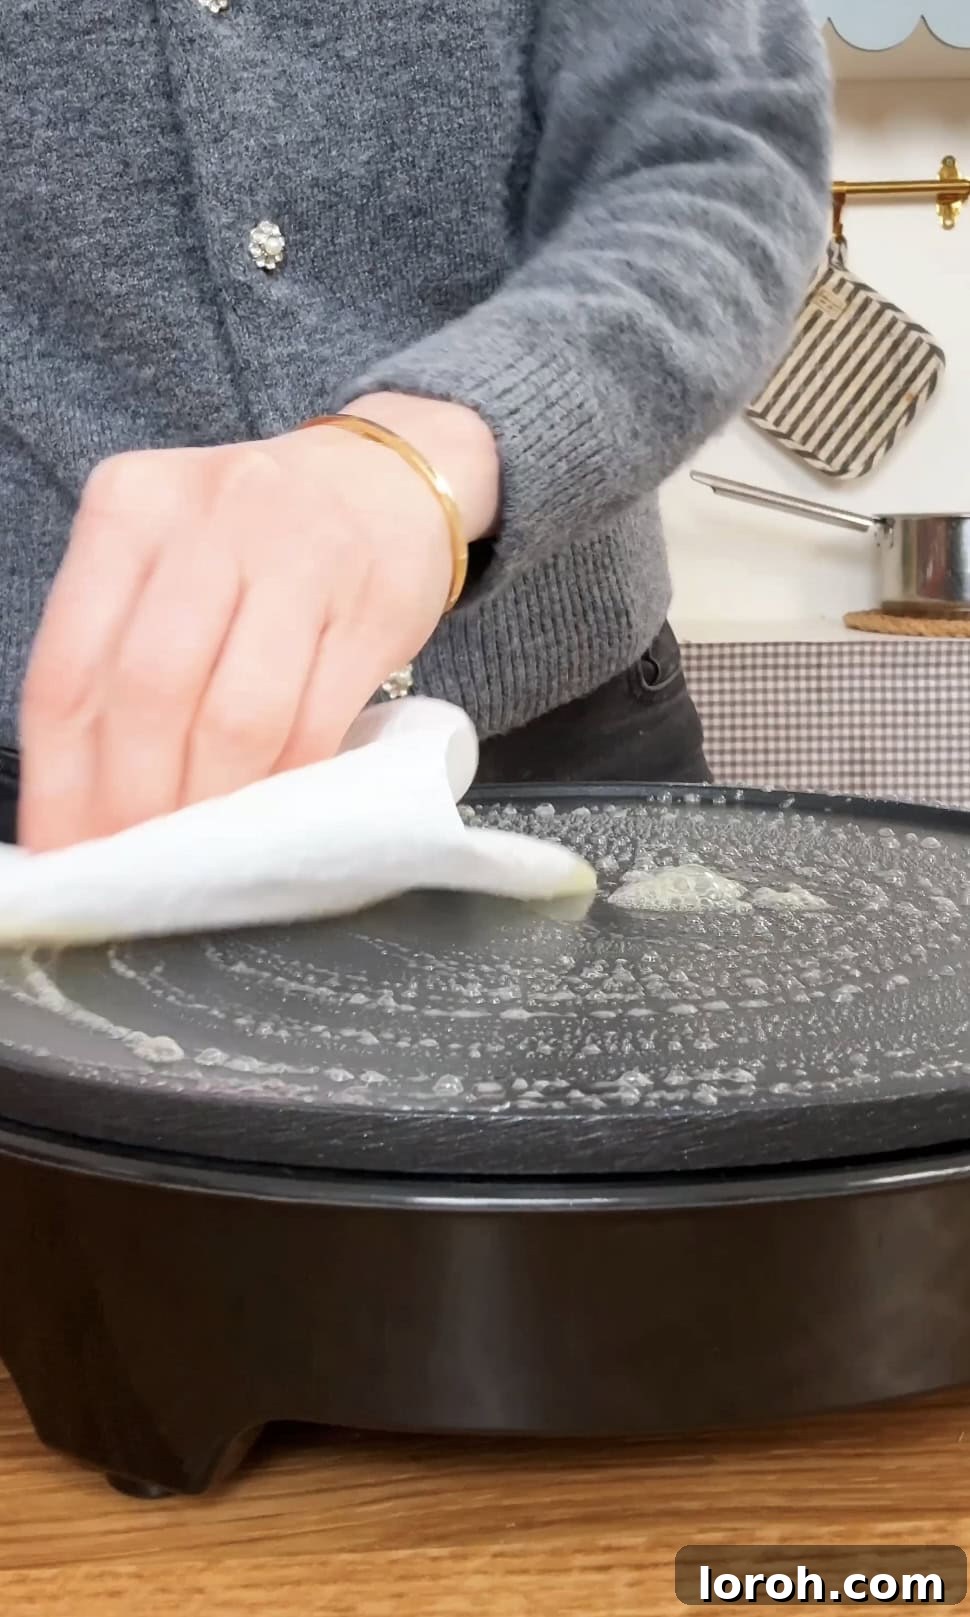
Grease a large non-stick crêpe pan or frying pan with butter and place it over medium-high heat. Once the pan is hot, add a small ladleful of batter to the pan. Immediately tilt and swirl the pan to ensure the batter thinly and evenly coats the entire base. Cook for approximately 30 seconds to 1 minute, or until the top surface has just set and the edges begin to crisp. The exact cooking time will vary depending on your pan size, stove heat, and batter thickness. Once set, carefully loosen the pancake edges with a palette knife or spatula, then confidently flip it over. Cook for a further 10-30 seconds on the second side until it’s lightly golden. Slide the cooked pancake onto a plate and cover it loosely with foil to keep warm. Repeat this process with the remaining batter, adding more butter to the pan if needed, until you have around 6 Pannekaker.
-
Serve the warm Pannekaker immediately with the raspberry compote, a dollop of softly whipped cream, a dusting of icing sugar, and a few sprigs of fresh mint for garnish. Enjoy!
Notes
To store: Pannekaker are best enjoyed freshly made to appreciate their light and fluffy texture. However, any leftover cooked Pannekaker can be covered and chilled in the fridge for up to 2 days.
To reheat: You can gently reheat cooked Pannekaker in the microwave. Place them in a microwave-proof container, loosely covered, and heat in 15-second bursts until warm. Be careful not to overheat, as this can make them rubbery. The raspberry compote can be served warm or cold; to warm, simply heat in a small pan or in 15-second increments in a microwave-safe bowl.
To freeze: Both the cooked Pannekaker and the raspberry compote can be frozen in separate sealed containers for up to 2 months. Ensure they are fully defrosted before reheating.
Make ahead: The Pannekaker batter can be prepared the night before, covered, and chilled overnight. Give it a good stir in the morning and add a splash more milk if it has thickened. The raspberry compote can also be made up to 3 days in advance and stored in the fridge once cooled.
Taste test: Always taste your raspberries to determine the ideal amount of sugar for your compote. If they are tart, add more sugar. If the finished compote is too sweet, a little lemon juice will balance the flavors.
Blitz it up: Using a blender or food processor makes a super smooth batter. If using a whisk, sieve the flour first to avoid lumps.
Thin Pannekaker: Remember, Pannekaker are meant to be thin like crêpes. Don’t pour too much batter; just enough to coat the pan in an even, thin layer by swirling.
Chef’s perk: The first Pannekaker often looks imperfect. Don’t worry! It’s a practice run to get used to the pan and batter. Enjoy it as the chef’s treat.
Serving size: This recipe yields approximately 6 Pannekaker. I suggest serving 2 per person, making it enough for 3 servings. Appetites vary, and this also depends on your chosen toppings. You can easily double or triple the quantities for larger gatherings. The nutritional information provided is for 1 serving (2 pancakes) without any additional toppings.
Nutrition
Carbohydrates: 38g,
Protein: 14g,
Fat: 8g,
Saturated Fat: 4g,
Polyunsaturated Fat: 1g,
Monounsaturated Fat: 2g,
Trans Fat: 0.02g,
Cholesterol: 178mg,
Sodium: 109mg,
Potassium: 284mg,
Fiber: 1g,
Sugar: 7g,
Vitamin A: 433IU,
Calcium: 179mg,
Iron: 3mg
Nutrition information is automatically calculated, so should only be used as an approximation.
Loved this recipe? Share your thoughts below!