
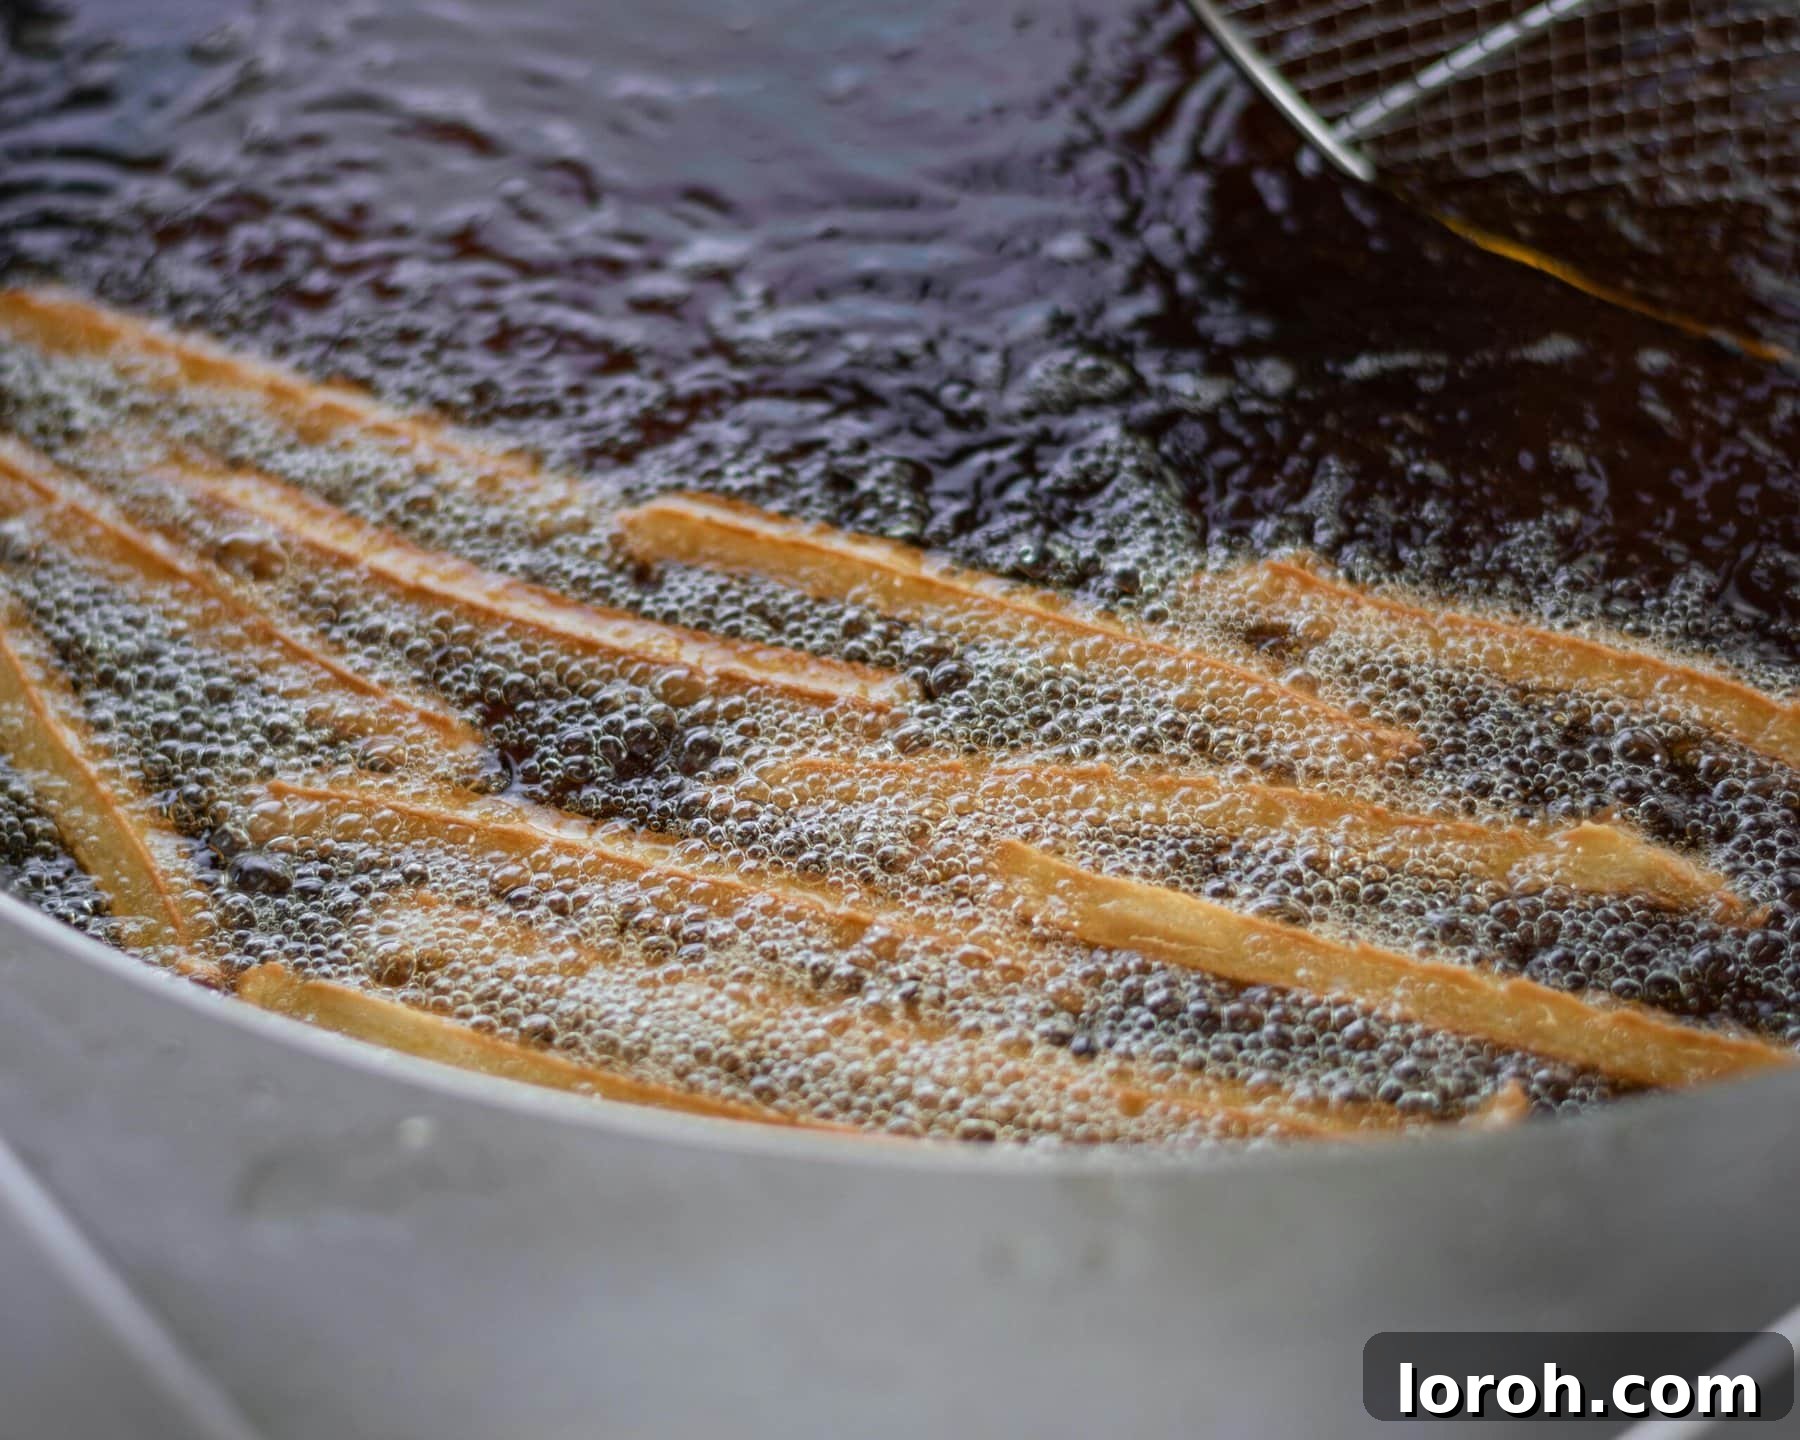
After whipping up delightful dishes like crispy chicken parmesan, perfectly golden apple fritters, or any deep-fried treat, you’re often left with a common kitchen dilemma: what to do with the leftover cooking oil. While the aroma of freshly fried food is inviting, the task of disposing of used oil can be daunting, often leading to tempting-but-terrible ideas like pouring it down the drain. This comprehensive guide is here to demystify the process, offering you safe, eco-friendly, and practical solutions for managing your used cooking oil, along with smart tips for reusing it responsibly.
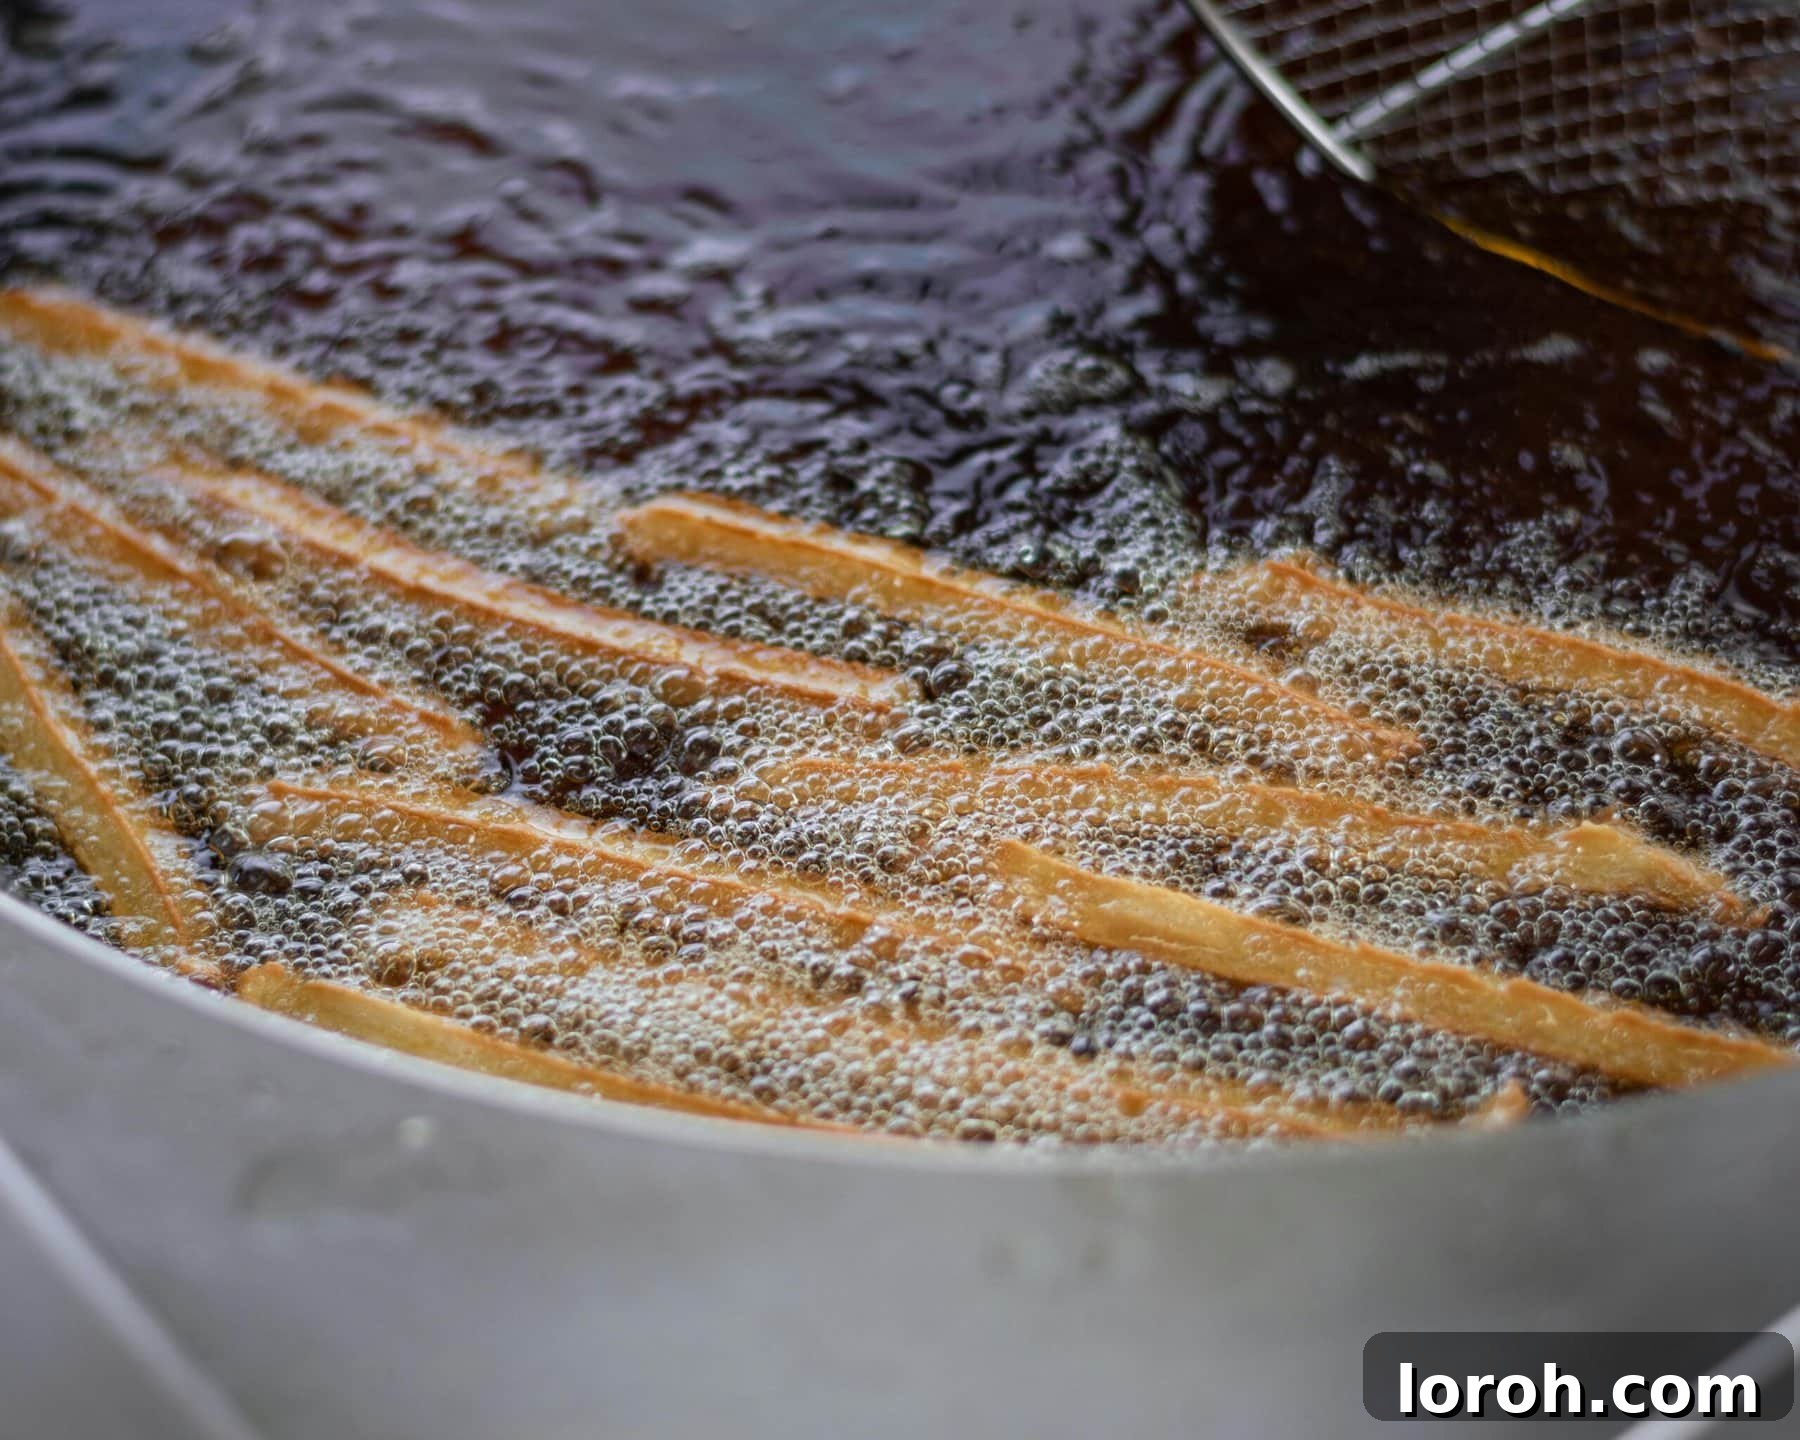
This isn’t just about avoiding a mess; it’s about protecting your home’s plumbing, safeguarding the environment, and even finding ways to minimize waste. We’ll explore various methods for safe disposal, highlight the critical reasons why certain practices should be avoided, and provide expert advice on how to properly store and reuse cooking oil to extend its life, if appropriate.
Table of Contents
- Why Proper Cooking Oil Disposal Matters
- Never Pour Oil Down The Drain (And Why!)
- Safe Disposal Method 1: Put It In The Bin
- Safe Disposal Method 2: Go To A Recycling Centre
- Safe Disposal Method 3: Mix With Other Solid Waste
- How To Reuse Your Cooking Oil Responsibly
- How Many Times Can You Reuse Cooking Oil?
- How Do You Know If The Oil Is Rancid?
- Final Tips for Responsible Oil Management
Why Proper Cooking Oil Disposal Matters
The importance of correctly disposing of used cooking oil extends far beyond simple kitchen hygiene. Mishandling oil can lead to significant problems for your plumbing system, pose environmental threats, and even create safety hazards. Understanding these risks is the first step towards adopting responsible disposal habits.
Never Pour Oil Down The Drain (And Why!)
This cannot be stressed enough: pouring cooking oil, grease, or fat down any drain is a major culinary no-no. It might seem like an easy way to get rid of it, especially when it’s hot and liquid, but the consequences are costly and environmentally damaging.
As oil cools, it solidifies. When this happens inside your pipes, it clings to the pipe walls and other debris, gradually building up over time. This leads to blockages that can cause:
- Clogged Drains and Pipes: Slow drainage, backed-up sinks, and even burst pipes can result from fat build-up, requiring expensive plumbing repairs.
- “Fatbergs” in Sewer Systems: On a larger scale, solidified fats combine with non-biodegradable waste (like wet wipes) in municipal sewer systems to form monstrous “fatbergs.” These can weigh tons, block entire sections of sewer, cause raw sewage to overflow into streets and waterways, and are incredibly costly for cities to remove.
- Environmental Pollution: When sewage overflows, it contaminates local ecosystems, harming wildlife and polluting natural water sources. Even if it doesn’t cause a blockage, treating water contaminated with oil is more difficult and energy-intensive.
Furthermore, pouring hot oil directly into your kitchen bin without proper containment is also risky. Hot oil can melt plastic bin liners and even ignite flammable waste, creating a fire hazard. Always allow oil to cool completely before handling it for disposal.
Safe Disposal Method 1: Put It In The Bin
For small to moderate quantities of used cooking oil, the most straightforward and common disposal method is to simply throw it in your regular household trash, but with a few crucial steps to ensure it’s done safely and cleanly.
- Cool It Completely: This is the absolute first and most important step. Leave the oil in the pan or fryer to cool down to room temperature. This might take several hours, especially for larger quantities. Hot oil is not only a burn hazard but can also melt plastic containers or garbage bags.
-
Choose the Right Container: Once completely cool, carefully pour the oil into a sealable, non-recyclable container. Ideal choices include:
- Original non-recyclable oil bottles or jugs (ensure they are empty and clean).
- Empty milk cartons or juice boxes.
- Sturdy plastic bottles (e.g., from soda or water).
- Glass jars with tight-fitting lids.
- Even an old coffee can works well for solidifying fats.
Avoid flimsy containers that could leak or break easily.
- Pour with Precision: For easier pouring, especially into narrow openings, consider using a funnel. If you don’t have one, you can fashion a temporary funnel out of greaseproof paper or aluminum foil by shaping it into a cone. A measuring jug with a spout also offers an accurate and mess-free pour.
- Seal and Dispose: Securely seal the container. For added protection against leaks, you can place the sealed container into a plastic bag before putting it in your general waste bin. This method prevents messy spills in your bin and helps contain odors. This is particularly effective for solidified fats like bacon grease, which can be scraped into a container once hardened.
Safe Disposal Method 2: Go To A Recycling Centre
Recycling used cooking oil is an increasingly popular and environmentally responsible option, transforming waste into valuable resources like biofuel. This method not only keeps oil out of landfills and drains but also contributes to sustainable energy production.
- Cool and Collect: As always, allow the oil to cool completely. Store the cooled oil in a durable, sealed container, similar to those used for general bin disposal (e.g., sturdy plastic bottles or glass jars). Clear containers are often preferred by recycling centers as they allow for easy inspection of the oil’s condition.
-
Locate Your Local Recycling Centre: Many communities now offer facilities for recycling used cooking oil. To find a drop-off point:
- Check your local municipal or county waste management website.
- Use online recycling locators like Recycle Now (for the UK) or similar services in your region.
- Inquire with local supermarkets or petrol stations, as some may have collection points.
Be aware that facilities may have specific requirements regarding the type of oil (e.g., vegetable oil vs. animal fat) and container size.
- Transport and Dispose: Once you’ve identified a suitable recycling center, transport your sealed container of used oil and dispose of it in the designated collection bins. This ensures the oil is processed correctly, diverting it from landfills and preventing harm to your plumbing or the environment. Recycled cooking oil can be converted into biodiesel, a clean-burning alternative fuel, or used in other industrial applications.
Safe Disposal Method 3: Mix With Other Solid Waste
This method is particularly useful for smaller quantities of oil or as an alternative when direct pouring into a bottle feels too messy. By absorbing the oil into solid waste, you transform a liquid hazard into a manageable solid, making it less prone to leaks and easier to handle for disposal.
To implement this, simply mix your cooled cooking oil with highly absorbent materials. Suitable options include:
- Paper Towels or Newspaper: Crumple up paper towels, newspaper, or even cardboard scraps and place them in the pan or a disposable container (like an old milk carton). Pour the cooled oil over them, allowing them to soak up the liquid completely.
- Sawdust or Sand: These materials are excellent absorbents. If you have access to them, mix the cooled oil directly into sawdust or sand until it forms a solid, crumbly mass.
- Flour or Cat Litter: Kitchen staples like flour or even used cat litter can effectively absorb oil. Mix them thoroughly with the cooled oil until the mixture is dry and clumpy.
Once the oil has been fully absorbed and solidified into the material, simply scoop the solid waste into a plastic bag, tie it securely, and place it in your regular household trash bin. While this method uses additional materials, it’s a very effective way to prevent liquid oil from leaking in your trash.
How To Reuse Your Cooking Oil Responsibly
Reducing waste is always a good practice, and reusing cooking oil is an excellent way to do so, provided it’s done safely and appropriately. Not all oil is suitable for reuse, but if it remains relatively clear and free from excessive food particles, you can give it a second (or even third) life.
Criteria for Reusing Oil
Before considering reuse, assess the oil’s condition:
- Clarity: It should still be relatively clear, not dark, cloudy, or murky.
- Odor: It should smell neutral or similar to its original state, not rancid, bitter, or funky.
- What was fried: Neutral oils (like vegetable or canola) used for lightly breaded items are best. Highly spiced or strongly flavored foods (e.g., heavily seasoned chicken, fish) will impart their flavors to the oil, making it unsuitable for other uses. For instance, frying chicken pakoray in oil would make that oil unsuitable for sfingi doughnuts, unless you fancy curry-flavored doughnuts!
Step-by-Step Guide to Reusing Oil
- Cool Completely: Allow the oil to cool down to room temperature in the pan. Handling hot oil is extremely dangerous.
- Strain Thoroughly: Place a fine-mesh sieve or a colander lined with cheesecloth or a coffee filter over a clean, heat-proof container (like a measuring jug). Carefully pour the cooled oil through the strainer. This step is crucial for removing any leftover food particles, batter bits, or crumbs, which can cause the oil to spoil quickly and give it an unpleasant taste.
- Store Properly: Transfer the strained oil into a clean, airtight container. Glass jars with tight lids or original oil bottles are ideal. Store the container in a cool, dark place, such as a pantry or refrigerator. Light, heat, and oxygen accelerate spoilage. Label the container with the date of straining and what was fried in it for best practice.
- When to Refrigerate: For animal fats (like bacon grease) or if you plan to store vegetable oil for more than a few weeks, refrigeration is recommended to further slow down oxidation and spoilage.
How Many Times Can You Reuse Cooking Oil?
The number of times you can reuse oil largely depends on what was fried in it, the type of oil, and how well it was strained and stored. As a general guideline:
- Lightly Used Oil: Oil used for mild foods (e.g., french fries, breaded vegetables) can often be reused 2-3 times, sometimes even up to 4-5 times if diligently strained and stored.
- Heavily Used Oil: Oil used for strongly flavored or heavily battered foods will degrade faster and should be reused fewer times, perhaps only once or twice, if at all for other dishes.
- Observe the Oil: Always trust your senses. If it looks dark, smells off, or produces excessive smoke at its typical frying temperature, it’s time to dispose of it, regardless of how many times it’s been used.
For example, you might use oil first for chicken katsu sandwiches, then for something like french fries, but probably not beyond that. Using it for something sweet like sfingi doughnuts would require a very clean, neutral-flavored oil.
Freezing Oil for Longer Storage
If you’re unsure when you’ll next need your strained oil, or want to extend its shelf life significantly, freezing is an excellent option.
- Preparation: Strain the oil as described above to remove all food particles.
- Container: Transfer the strained oil into an airtight, freezer-safe container. Leave some headspace in the container, as liquids can expand slightly when frozen.
- Freezing: Freeze for up to 1 year. The oil will become opaque and solid, which is normal.
- Thawing: When you’re ready to use it, simply thaw the oil at room temperature. It will return to its liquid state and typical appearance.
How Do You Know If The Oil Is Rancid?
Even with careful storage, oil will eventually go bad. Using rancid oil not only imparts an unpleasant taste to your food but can also produce harmful free radicals when cooked. Knowing how to identify rancid oil is crucial for both culinary quality and health.
Your senses are your best tools here:
-
Smell Test: This is often the most reliable indicator. Fresh oil has a mild, often neutral scent. Rancid oil, however, will develop a distinct, unpleasant odor. Look for smells that are:
- Bitter or Acrid: A sharp, chemical smell, sometimes described as similar to old crayons or metallic.
- Funky or Stale: A heavy, unpleasant smell that deviates significantly from the oil’s original aroma.
- Soapy: In some cases, oil can take on a slightly soapy smell due to hydrolysis.
If it smells bad, it likely is bad.
-
Visual Cues: While not always definitive, visual changes can indicate spoilage:
- Darkening: Oil typically darkens with each use, but excessive darkening, especially without much use, can indicate rancidity.
- Cloudiness or Foaminess: If the oil appears cloudy, hazy, or has developed a persistent foam even when cool, it’s a strong sign of spoilage.
- Thickening: Rancid oil may become thicker or appear more viscous than fresh oil.
Remember that frozen oil will be opaque and solid, but it should revert to its clear, liquid state at room temperature. If it remains cloudy after thawing, it’s likely rancid.
- Smoke Point Reduction: When fresh oil starts to smoke at a much lower temperature than usual, it’s a sign that its chemical structure has broken down, and it’s likely rancid or degraded beyond safe reuse.
If you suspect your oil is rancid based on any of these signs, it’s best to dispose of it immediately using one of the safe methods outlined above. Do not attempt to use it for cooking.
Final Tips for Responsible Oil Management
Mastering the art of cooking involves not just preparing delicious food, but also handling the aftermath responsibly. By adopting mindful practices for disposing of and reusing cooking oil, you contribute to a cleaner environment, prevent costly plumbing issues, and maintain a healthier kitchen.
- Think Before You Pour: Always remember that the drain is never an option for liquid fats.
- Keep a Dedicated Container: Consider having a designated, reusable container in your kitchen specifically for collecting used cooking oil. This makes disposal much easier and less messy.
- Educate Others: Share these tips with family and friends to encourage responsible practices within your community.
- Consider Composting (with caution): While large amounts of cooking oil or animal fats are unsuitable for home composting, very small amounts of *plant-based* oils (e.g., soaked into a paper towel) can sometimes be added to a well-maintained compost pile. However, this should be done sparingly and with caution, as excessive oil can attract pests and disrupt the composting process.
By following this comprehensive guide, you can ensure that your culinary adventures remain delightful from start to finish, without the headache of oil disposal. Happy cooking, and responsible cleaning!