
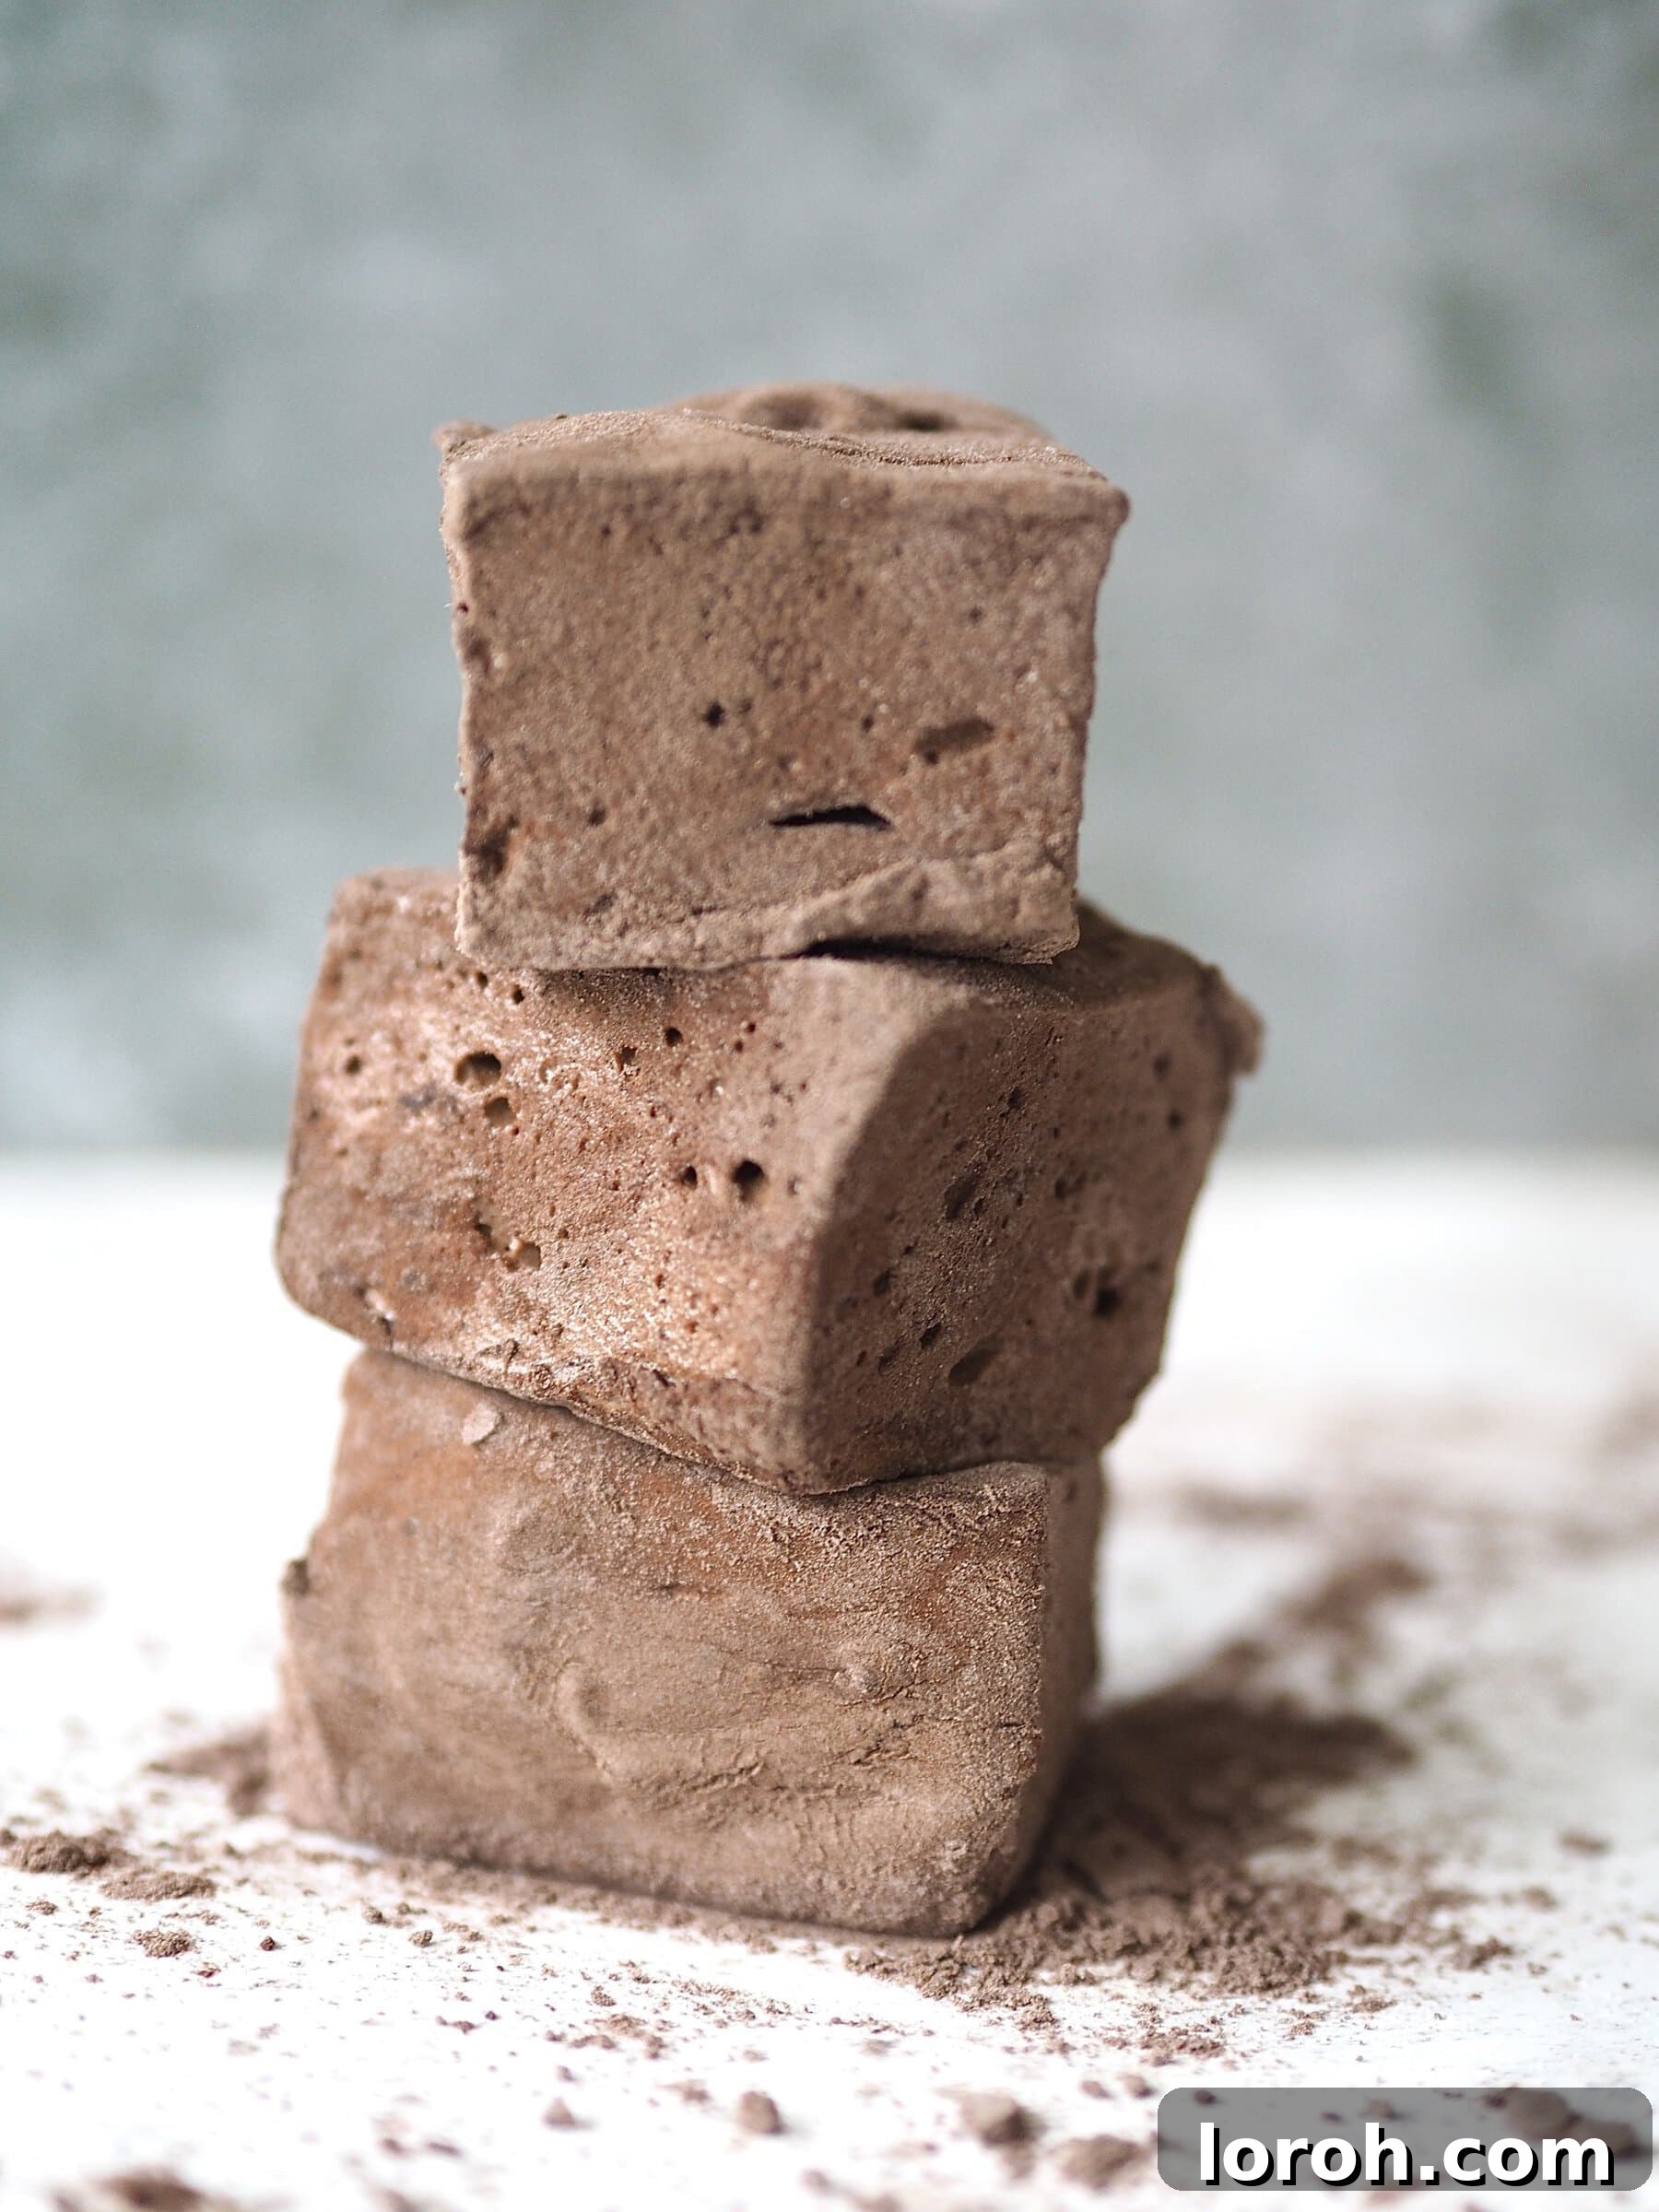
Homemade Chocolate Marshmallows: Your Ultimate Guide to Fluffy, Decadent Treats
Are you ready to elevate your dessert game? If you’ve enjoyed classic marshmallows, prepare to be amazed by the irresistible depth and richness of homemade chocolate marshmallows. These delightful treats are surprisingly simple to create and offer a taste and texture far superior to anything you’ll find in a store. If you’re new to making marshmallows from scratch, trust us – the difference is profound. For a foundational understanding of marshmallow making, check out our classic marshmallow recipe, which provides a detailed guide to the basics.
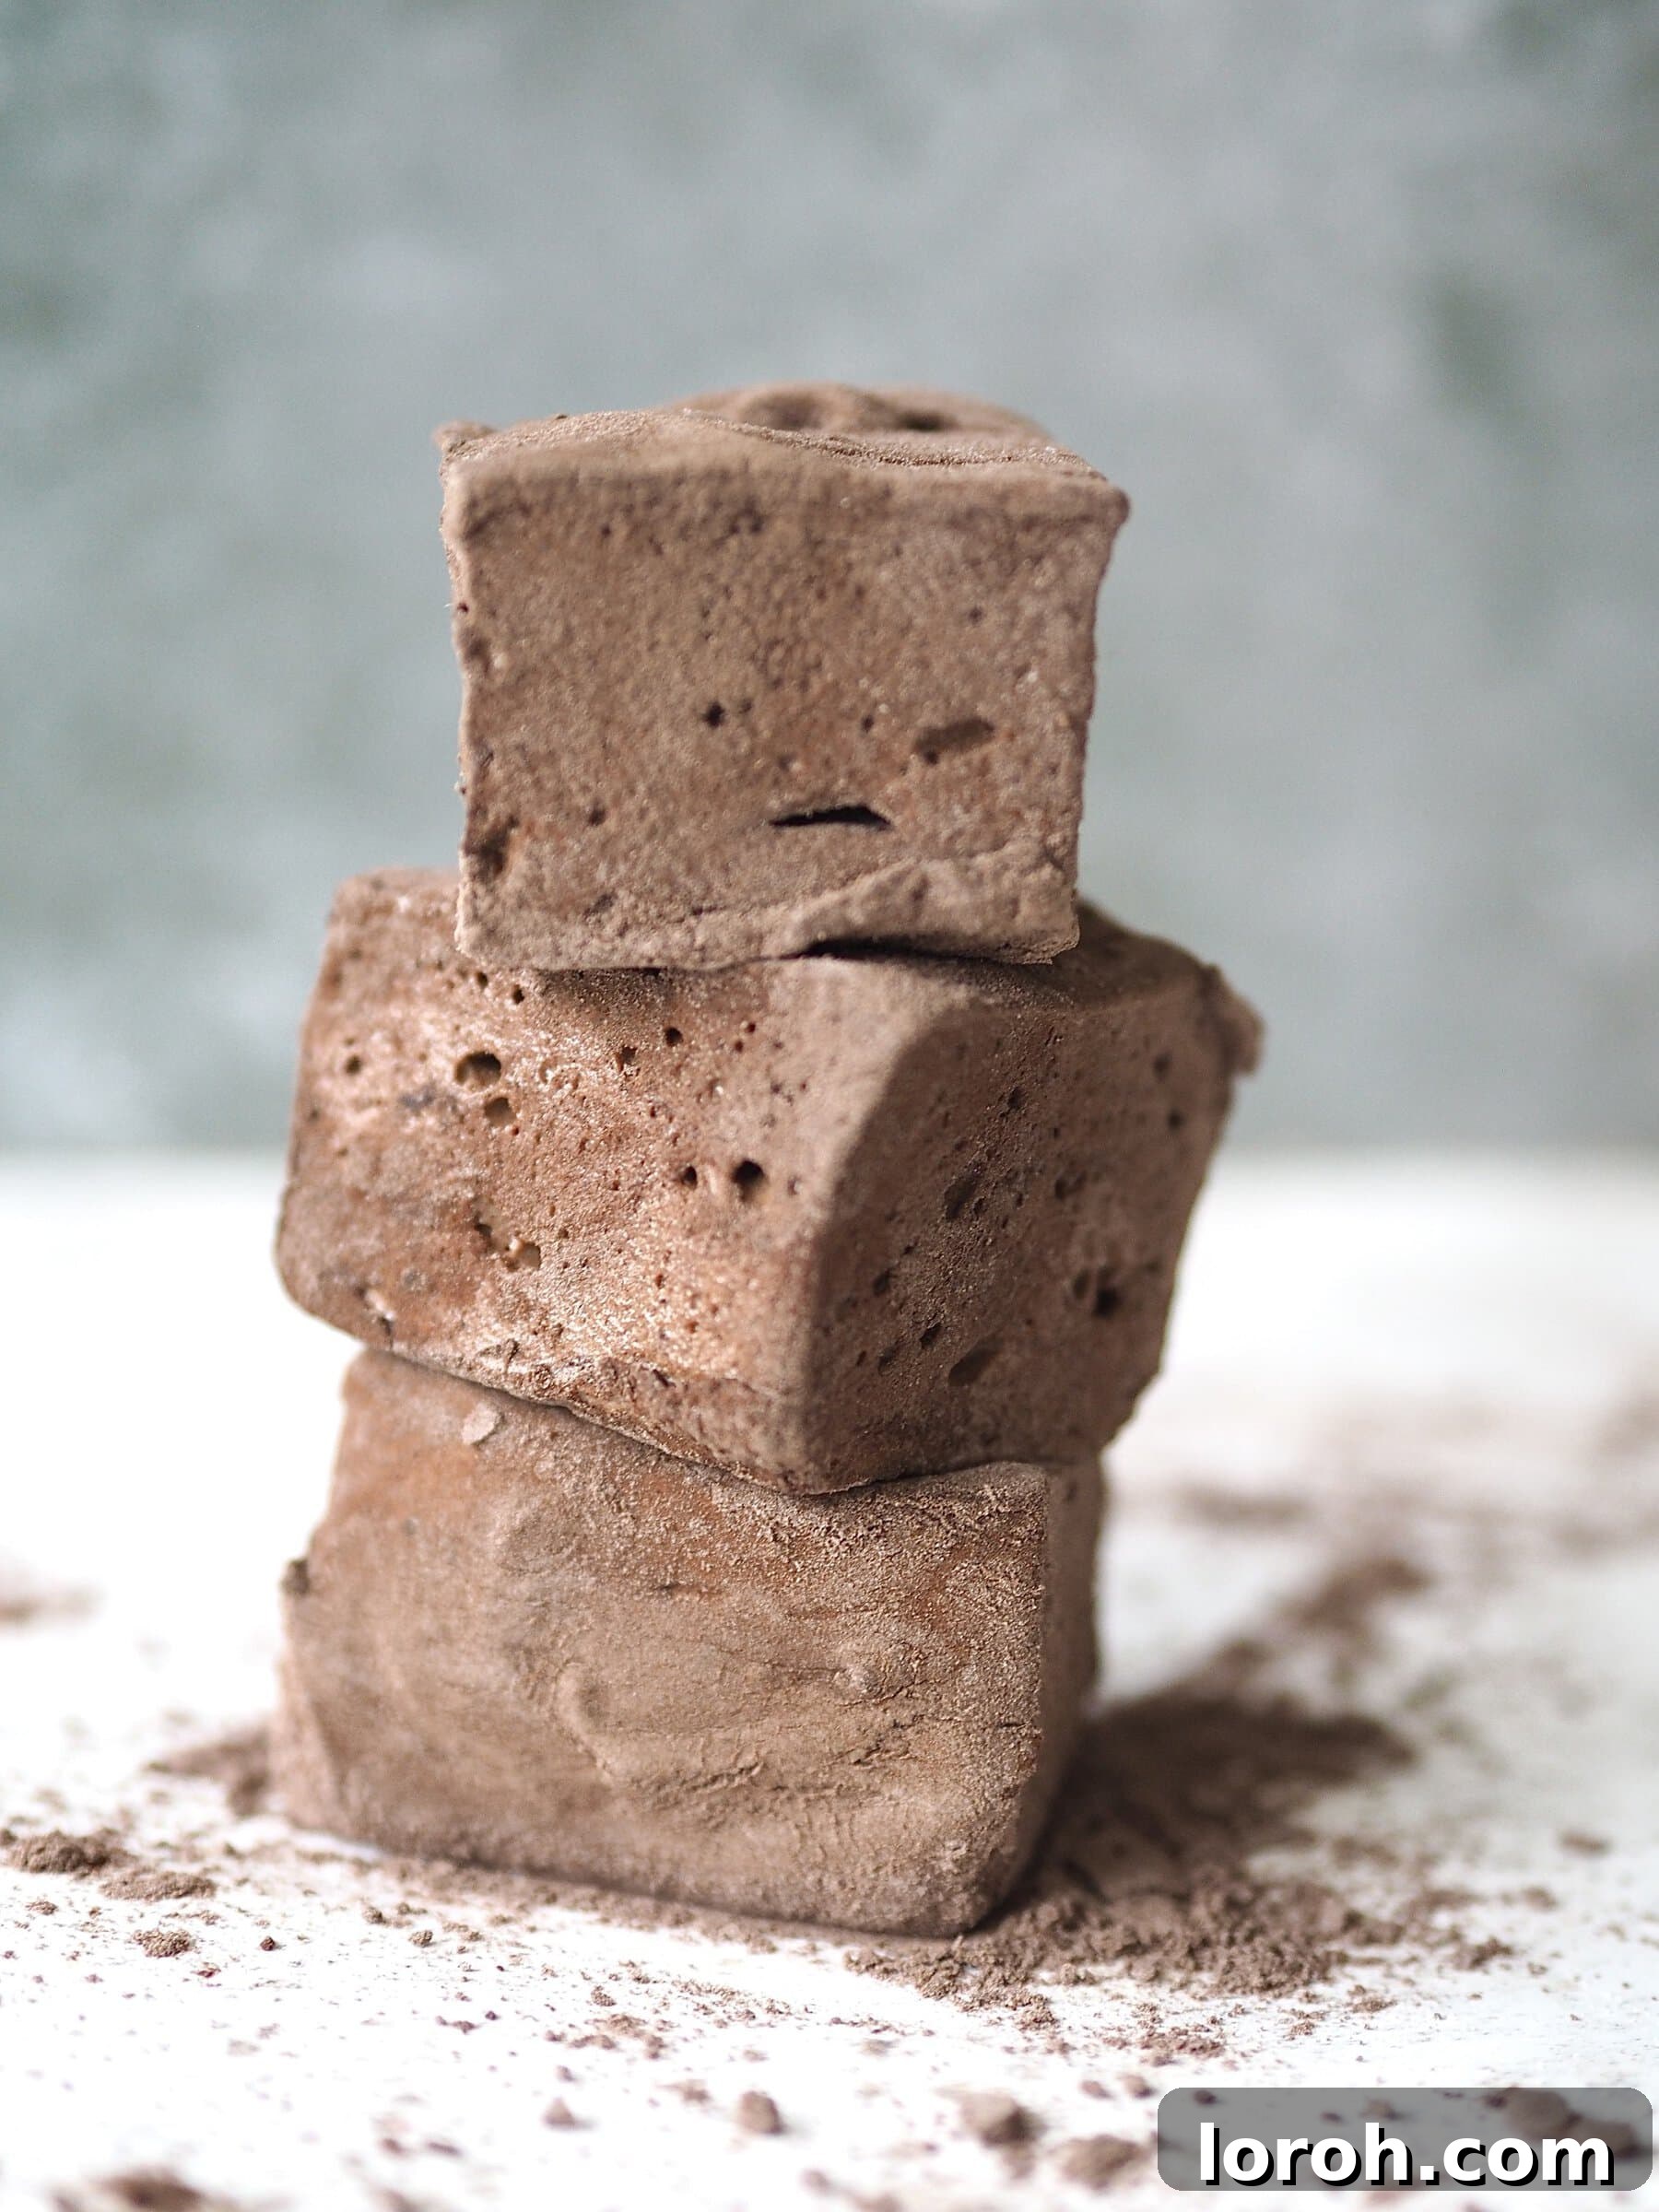
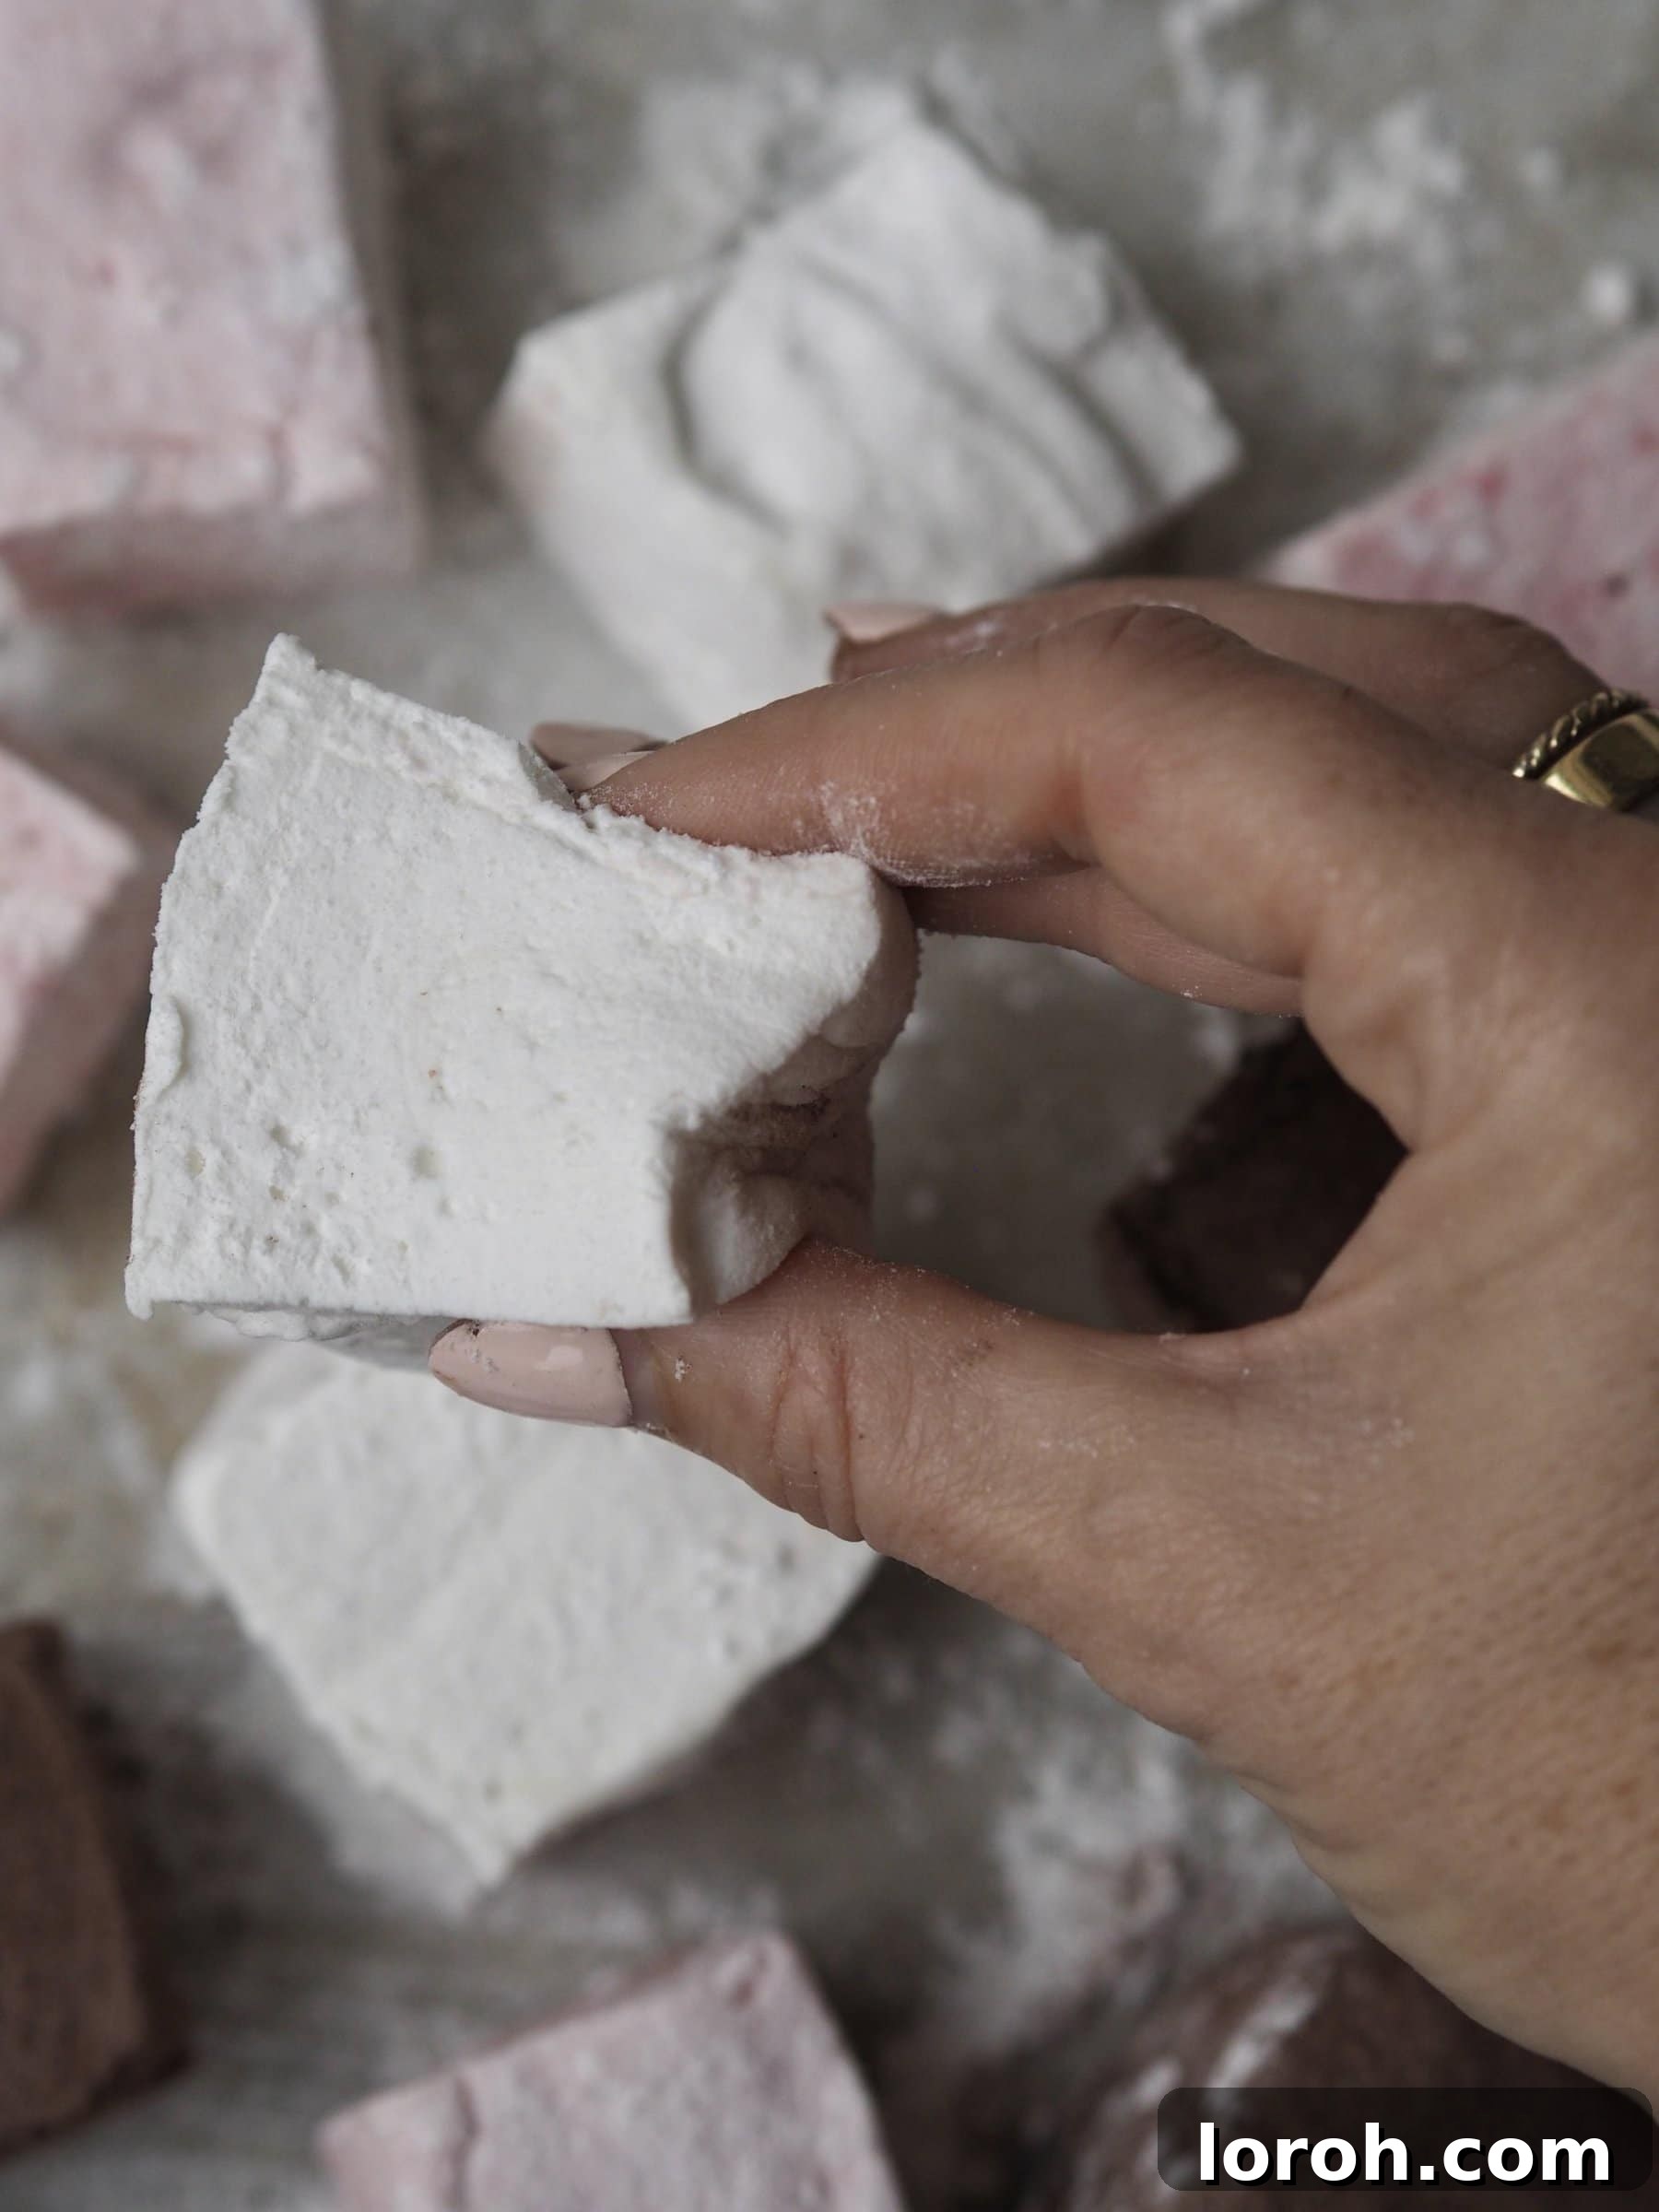
Many people associate marshmallows with an overly sweet, cloying sensation. However, that perception quickly changes once you experience the magic of homemade versions. Our chocolate marshmallows are wonderfully light, incredibly springy, and perfectly sweet without being overpowering. The beauty of making them yourself lies in the control you gain over ingredients and flavors, allowing for endless customization. This guide focuses on crafting the ultimate chocolate variation, a true indulgence for any sweet tooth.
Table of Contents
- Why You’ll Love This Chocolate Marshmallow Recipe
- Essential Equipment for Marshmallow Making
- Key Ingredients for Perfect Chocolate Marshmallows
- Unveiling Liquid Glucose: The Marshmallow Secret Weapon
- Substitutions and Creative Variations
- Step-by-Step Guide: Making Homemade Chocolate Marshmallows
- Expert Cooking Tips for Success
- Can You Make Marshmallows Without a Sugar Thermometer?
- Frequently Asked Questions About Chocolate Marshmallows
- Serving Suggestions for Your Homemade Marshmallows
- Storage and Make-Ahead Instructions
- Other Recipes You Might Enjoy
- Homemade Chocolate Marshmallows Recipe Card
Why You’ll Love This Chocolate Marshmallow Recipe
Embarking on the journey of making homemade chocolate marshmallows is a rewarding experience, yielding treats that are far superior to their store-bought counterparts. Here’s why this recipe will quickly become a favorite:
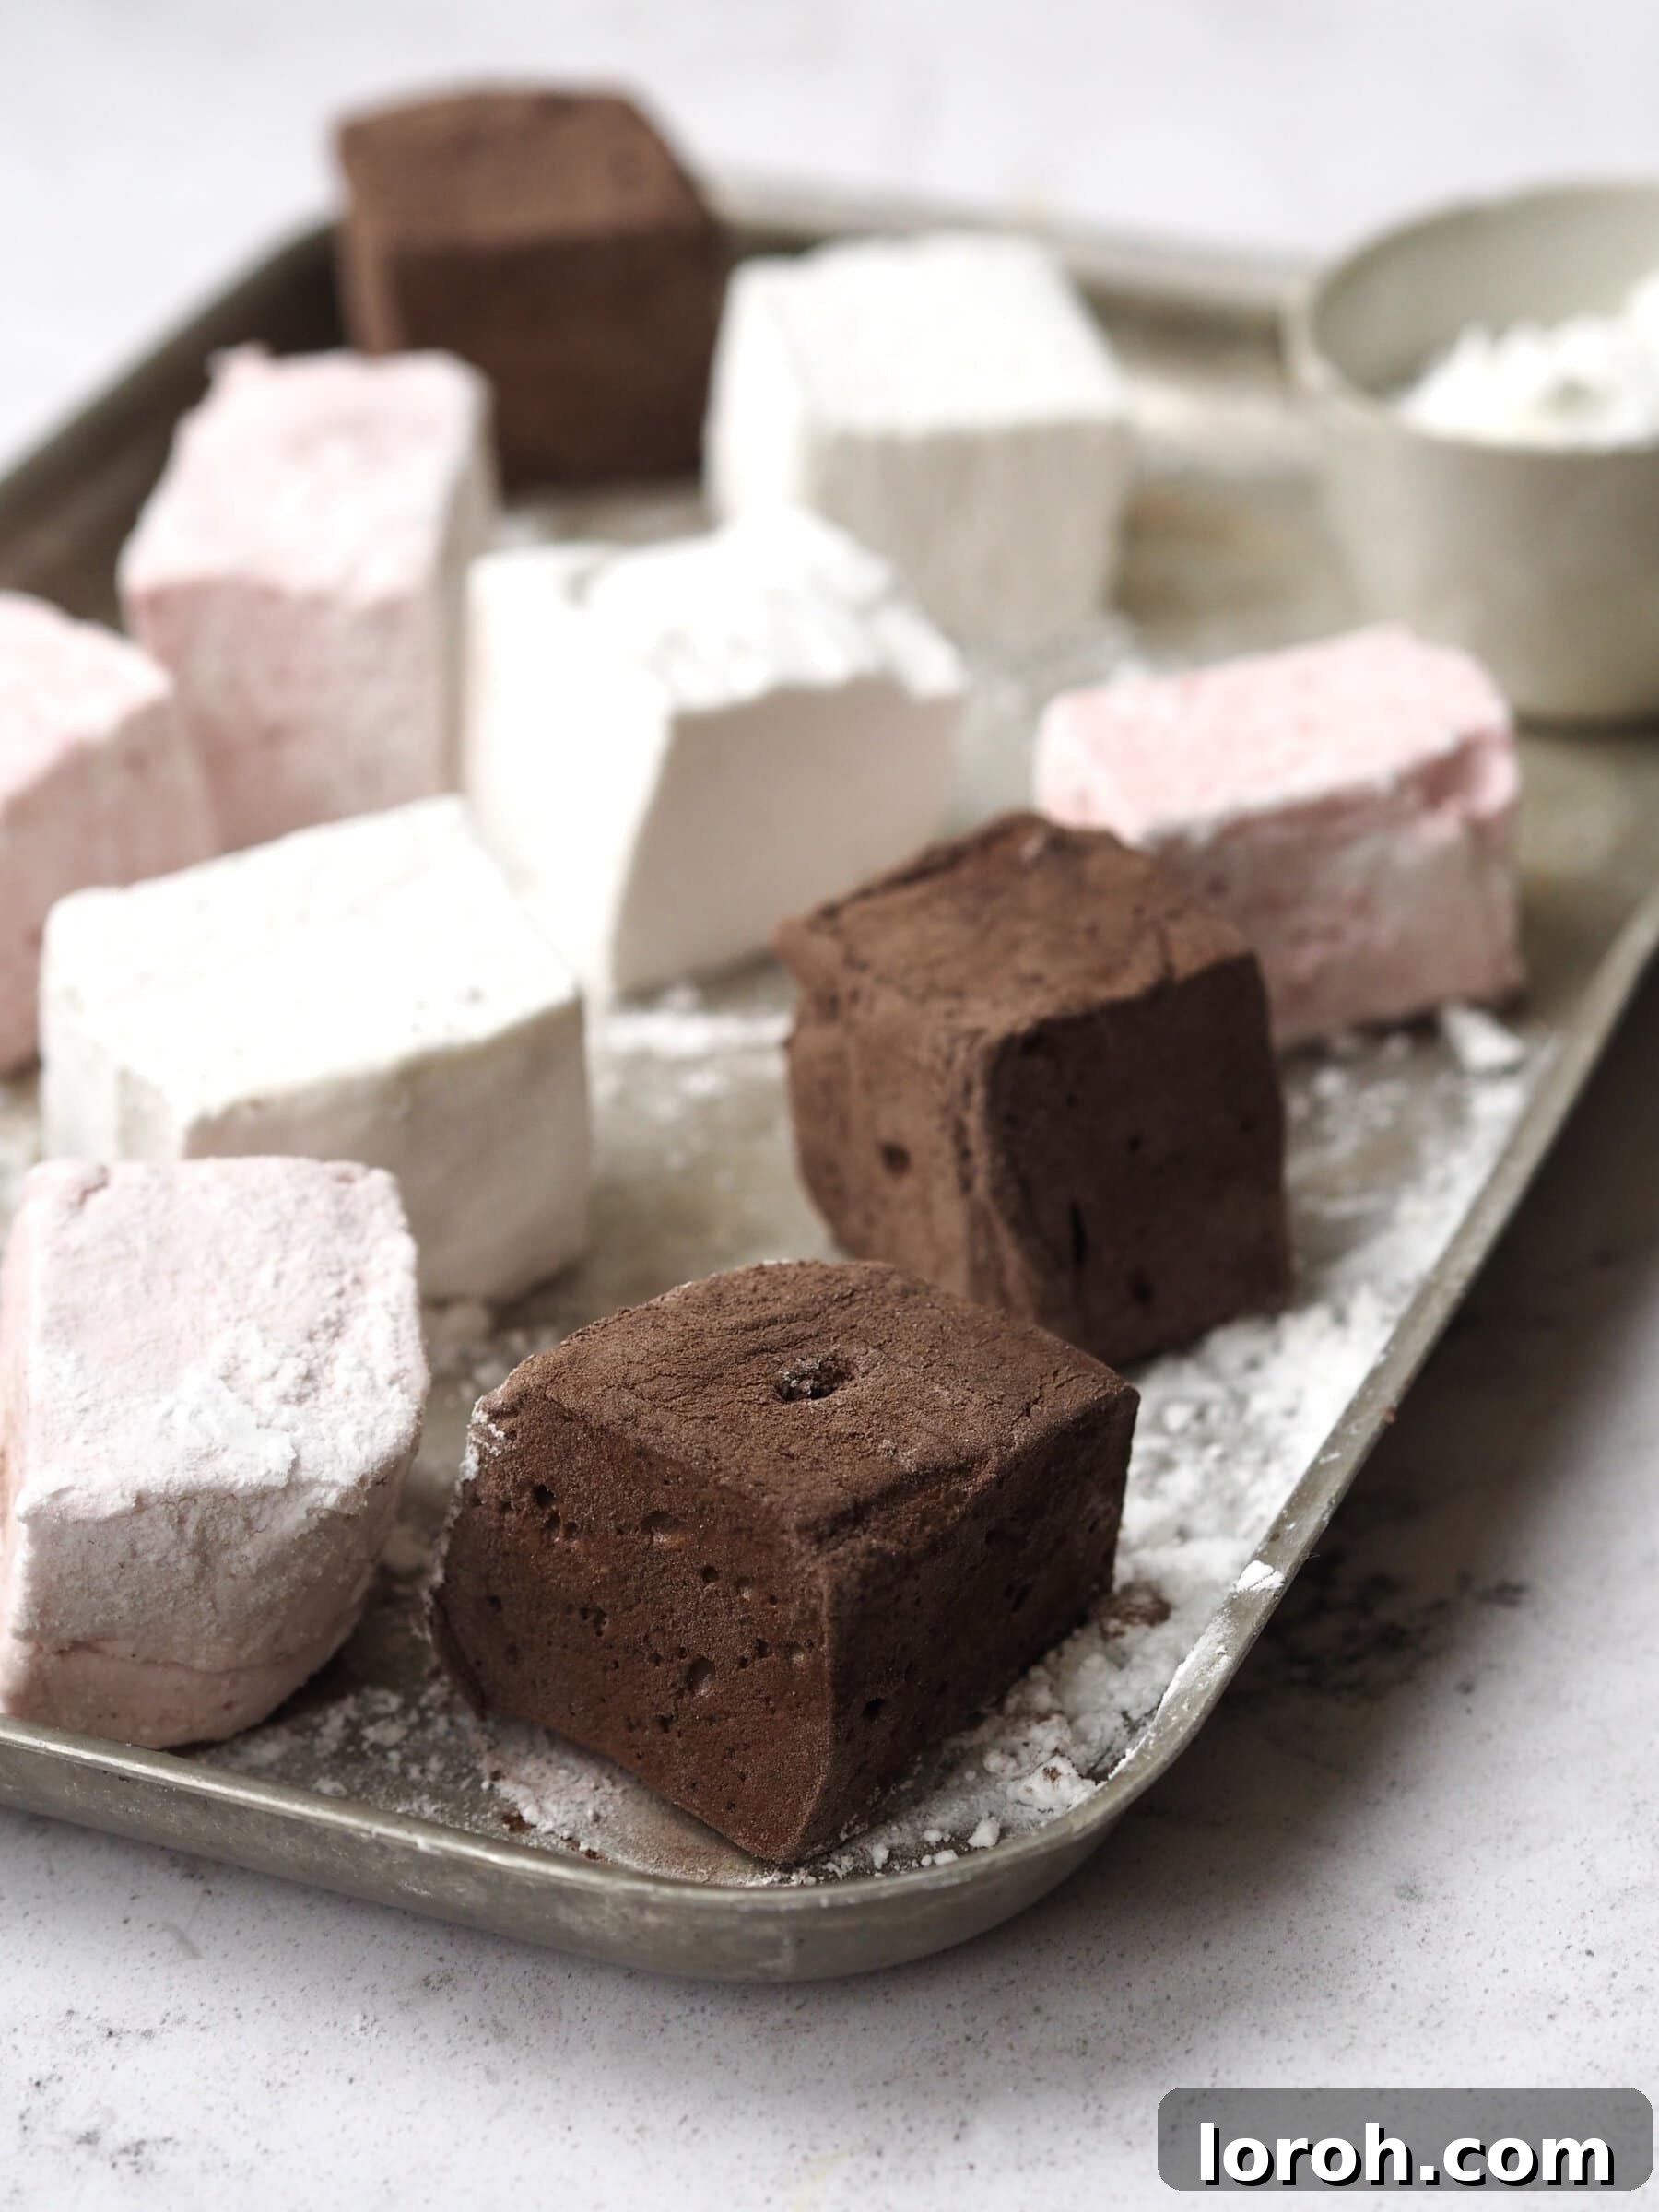
- Unmatched Quality: These marshmallows are exceptionally sweet, luxuriously soft, and wonderfully light. The texture is a delicate balance of melt-in-your-mouth tenderness and satisfying chewiness that industrial marshmallows simply cannot replicate.
- The Perfect Homemade Gift: Crafted with care, a batch of these beautiful chocolate marshmallows makes an exquisite and thoughtful homemade gift. Package them elegantly for birthdays, holidays, or just to show appreciation.
- Excellent for Meal Prepping: You can easily prepare these marshmallows up to 3 weeks in advance, making them ideal for holiday entertaining or simply having a decadent treat on hand. They hold their texture and flavor beautifully when stored correctly.
- Incredibly Versatile: While phenomenal on their own, these chocolate marshmallows shine in countless applications. Imagine them gently melting over a steaming mug of hot chocolate, toasted in classic s’mores, or used as a creative garnish for desserts.
This guide will walk you through every step to ensure your chocolate marshmallows are a resounding success. If you’re interested in experimenting with other flavors, our plain marshmallow recipe is an excellent starting point, or consider trying a vibrant raspberry version.
Essential Equipment for Marshmallow Making
While making homemade marshmallows might seem intimidating, having the right tools simplifies the process significantly. Here’s what you’ll need for a smooth and successful experience:
- Stand Mixer with Whisk Attachment: This is highly recommended for its efficiency and ease. Whipping the marshmallow mixture for an extended period requires consistent power, making a stand mixer indispensable. A hand mixer can work but will require more effort and time.
- Large Heavy-Bottomed Saucepan: For making the sugar syrup. A heavy bottom ensures even heating and prevents scorching.
- Sugar Thermometer (Jam Thermometer): Crucial for accurately reaching the precise syrup temperature, which directly impacts marshmallow texture. While alternatives exist (discussed below), a thermometer guarantees the best results.
- Large Heatproof Bowl: To bloom the gelatine and later combine with the hot sugar syrup. If using a stand mixer, its bowl will serve this purpose.
- Spatula or Palette Knife: For smoothing the marshmallow mixture into the tin.
- 9×13 inch (30×20 cm) Rectangular Baking Tin: Or a similar sized dish for setting the marshmallows. The size will determine the thickness of your finished marshmallows.
- Fine-Mesh Sieve: For dusting the tin and coating the marshmallows with cocoa powder and cornflour mixture, ensuring an even, lump-free finish.
- Sharp Knife: Essential for cleanly cutting the set marshmallows into uniform pieces.
Key Ingredients for Perfect Chocolate Marshmallows
The full, detailed recipe with exact measurements can be found in the printable recipe card at the bottom of this post.
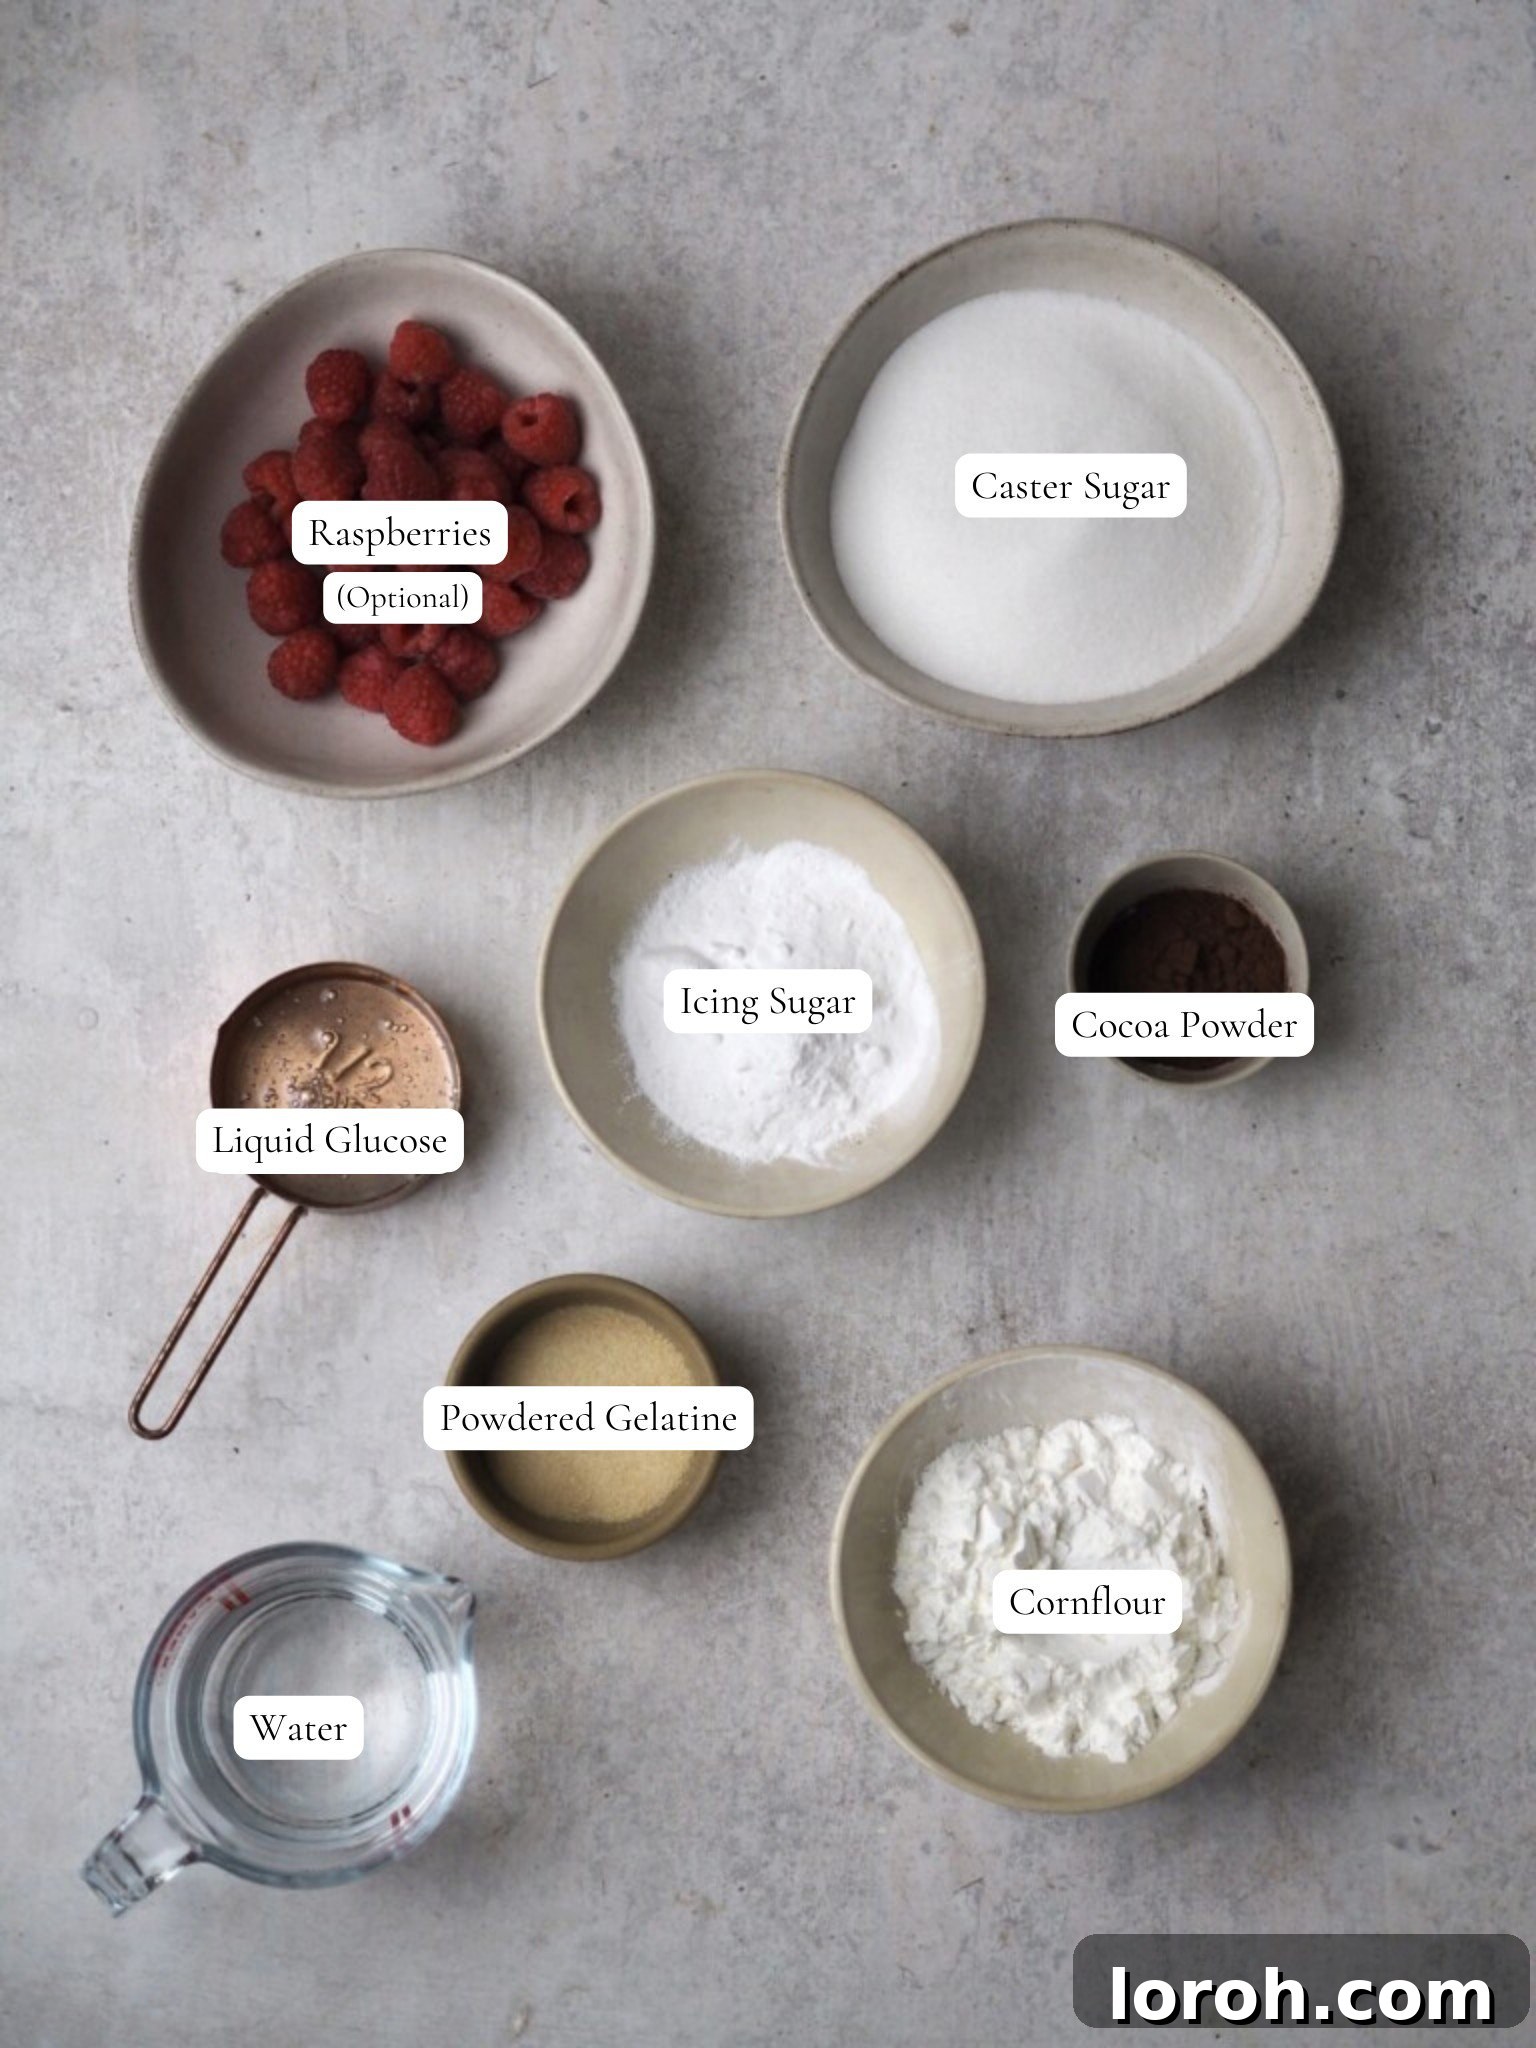
Crafting exquisite chocolate marshmallows requires a few essential ingredients, each playing a critical role in achieving that perfect texture and flavor:
- Powdered Gelatine: This is the fundamental setting agent that transforms the liquid mixture into a bouncy, cohesive marshmallow. Using powdered gelatine is generally easier to work with than sheet gelatine for this type of recipe, ensuring your marshmallows set beautifully and are ready to be cut into neat cubes.
- Liquid Glucose (Corn Syrup): Often hailed as the “secret ingredient” in homemade marshmallows, liquid glucose is vital for achieving that signature soft, chewy, and springy texture. It helps prevent sugar crystallization, ensuring a smooth, non-gritty result.
- Caster Sugar (Granulated Sugar): Forms the base of your sugar syrup, providing the essential sweetness. While caster sugar (fine granulated sugar) dissolves quickly, regular granulated sugar also works well. For a slightly richer, deeper caramel note and a darker marshmallow, you can experiment with golden caster sugar.
- Unsweetened Cocoa Powder: The star of our chocolate marshmallows! Use a high-quality, unsweetened cocoa powder for the best flavor. It’s crucial to use proper cocoa powder and not hot chocolate mix, as hot chocolate mixes contain sugar and other additives that can negatively affect the marshmallow’s texture and sweetness balance. Dutch-processed cocoa will give a darker color and milder chocolate flavor, while natural cocoa powder will result in a lighter color and more intense, slightly acidic chocolate taste.
- Water: Essential for dissolving the sugar and gelatine, creating the syrup base and allowing the gelatine to bloom properly.
- Cornflour (Corn Starch) and Vegetable Oil: Used for greasing and dusting the pan and marshmallows, preventing them from sticking.
Unveiling Liquid Glucose: The Marshmallow Secret Weapon
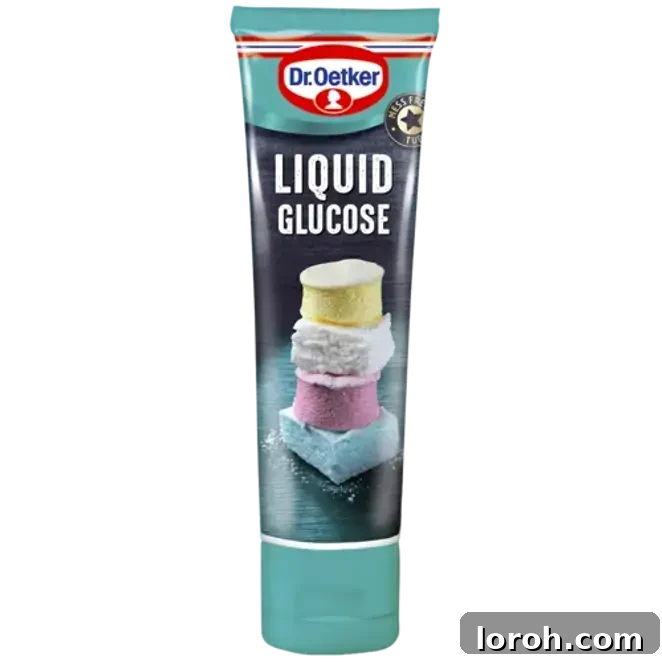
Liquid glucose is a thick, clear, viscous syrup derived from starches, most commonly corn starch (hence its alternative name, corn syrup) or maize starch. It’s an indispensable ingredient in many confectionery and baking recipes, including these delightful marshmallows, as well as icings, fudges, and jams.
Its primary role in marshmallow making is to prevent sugar crystallization. Without it, your marshmallows could become grainy or overly hard. Liquid glucose ensures the sugar syrup remains smooth and pliable, contributing to the perfect soft, bouncy, and chewy texture that defines a great homemade marshmallow.
While you can find recipes to make glucose syrup at home, purchasing it is significantly easier and more reliable. In the UK, look for “liquid glucose” in the baking aisle of most large supermarkets. Brands like Dr. Oetker Liquid Glucose are widely available. If you’re elsewhere, “corn syrup” is the equivalent. Online retailers also offer an easy way to source it if it’s not readily available locally.
It shares a similar thick viscosity with golden syrup, but unlike golden syrup, liquid glucose is clear and has a neutral flavor, allowing the other ingredients (especially the chocolate) to shine without interference. Do not substitute with golden syrup unless specifically directed, as it will impart a distinct flavor and color to your marshmallows.
Substitutions and Creative Variations
Once you’ve mastered the basic chocolate marshmallow, the possibilities for customization are endless. Here are a few exciting ways to adapt this recipe:
- Vanilla Boost: Enhance the deep chocolate flavor with a touch of vanilla. Simply mix in 1-2 teaspoons of high-quality vanilla extract or vanilla bean paste at the same time you fold in the cocoa powder. The subtle floral notes of vanilla beautifully complement the richness of chocolate.
- Mocha Twist: For coffee lovers, a mocha variation is a must-try. Dissolve a teaspoon of instant espresso powder or fine instant coffee granules into the 100g cocoa powder before sieving and folding it into the marshmallow mixture. The coffee deepens and intensifies the chocolate flavor.
- Chocolate Orange Delight: Introduce a bright, zesty note with chocolate orange marshmallows. Add the finely grated zest of half an orange or 1-2 teaspoons of orange extract in the final step, when incorporating the cocoa powder. This classic flavor combination is always a hit.
- Spicy Mexican Chocolate: For an adventurous palate, add a pinch of cayenne pepper or a dash of chili powder along with the cocoa powder. The subtle heat creates a warming contrast to the sweet chocolate.
- Peppermint Perfection: During the final folding stage, add a few drops of peppermint extract for a refreshing mint-chocolate flavor, perfect for holidays or a cool treat.
Step-by-Step Guide: Making Homemade Chocolate Marshmallows
This is a visual, step-by-step overview. For precise measurements and detailed instructions, please refer to the complete recipe card at the bottom of the page.
Expert Cooking Tips for Success
Achieving perfect homemade chocolate marshmallows is easy with a few key tips:
- Thorough Tin Preparation is Key: Homemade marshmallows are inherently sticky. To prevent a messy situation, ensure your baking tin is very generously greased with vegetable oil or a neutral-flavored oil, then liberally dusted with a mixture of cornflour and cocoa powder. Don’t skip the dusting – it’s crucial for easy removal.
- Control Marshmallow Thickness: You have full control over the size and depth of your marshmallows. For shallower, wider marshmallows, use a larger rectangular container. For thicker, deeper marshmallows, opt for a narrower tin. Once set, you can cut them into any size cubes or rectangles you prefer.
- Invest in a Sugar Thermometer: We cannot stress this enough – a good quality sugar or jam thermometer is your best friend when making marshmallows. It ensures the sugar syrup reaches the exact temperature required for the perfect texture, preventing too-hard or too-soft results. If you don’t have one, please refer to the “Can I Make Marshmallows Without a Sugar Thermometer?” section below.
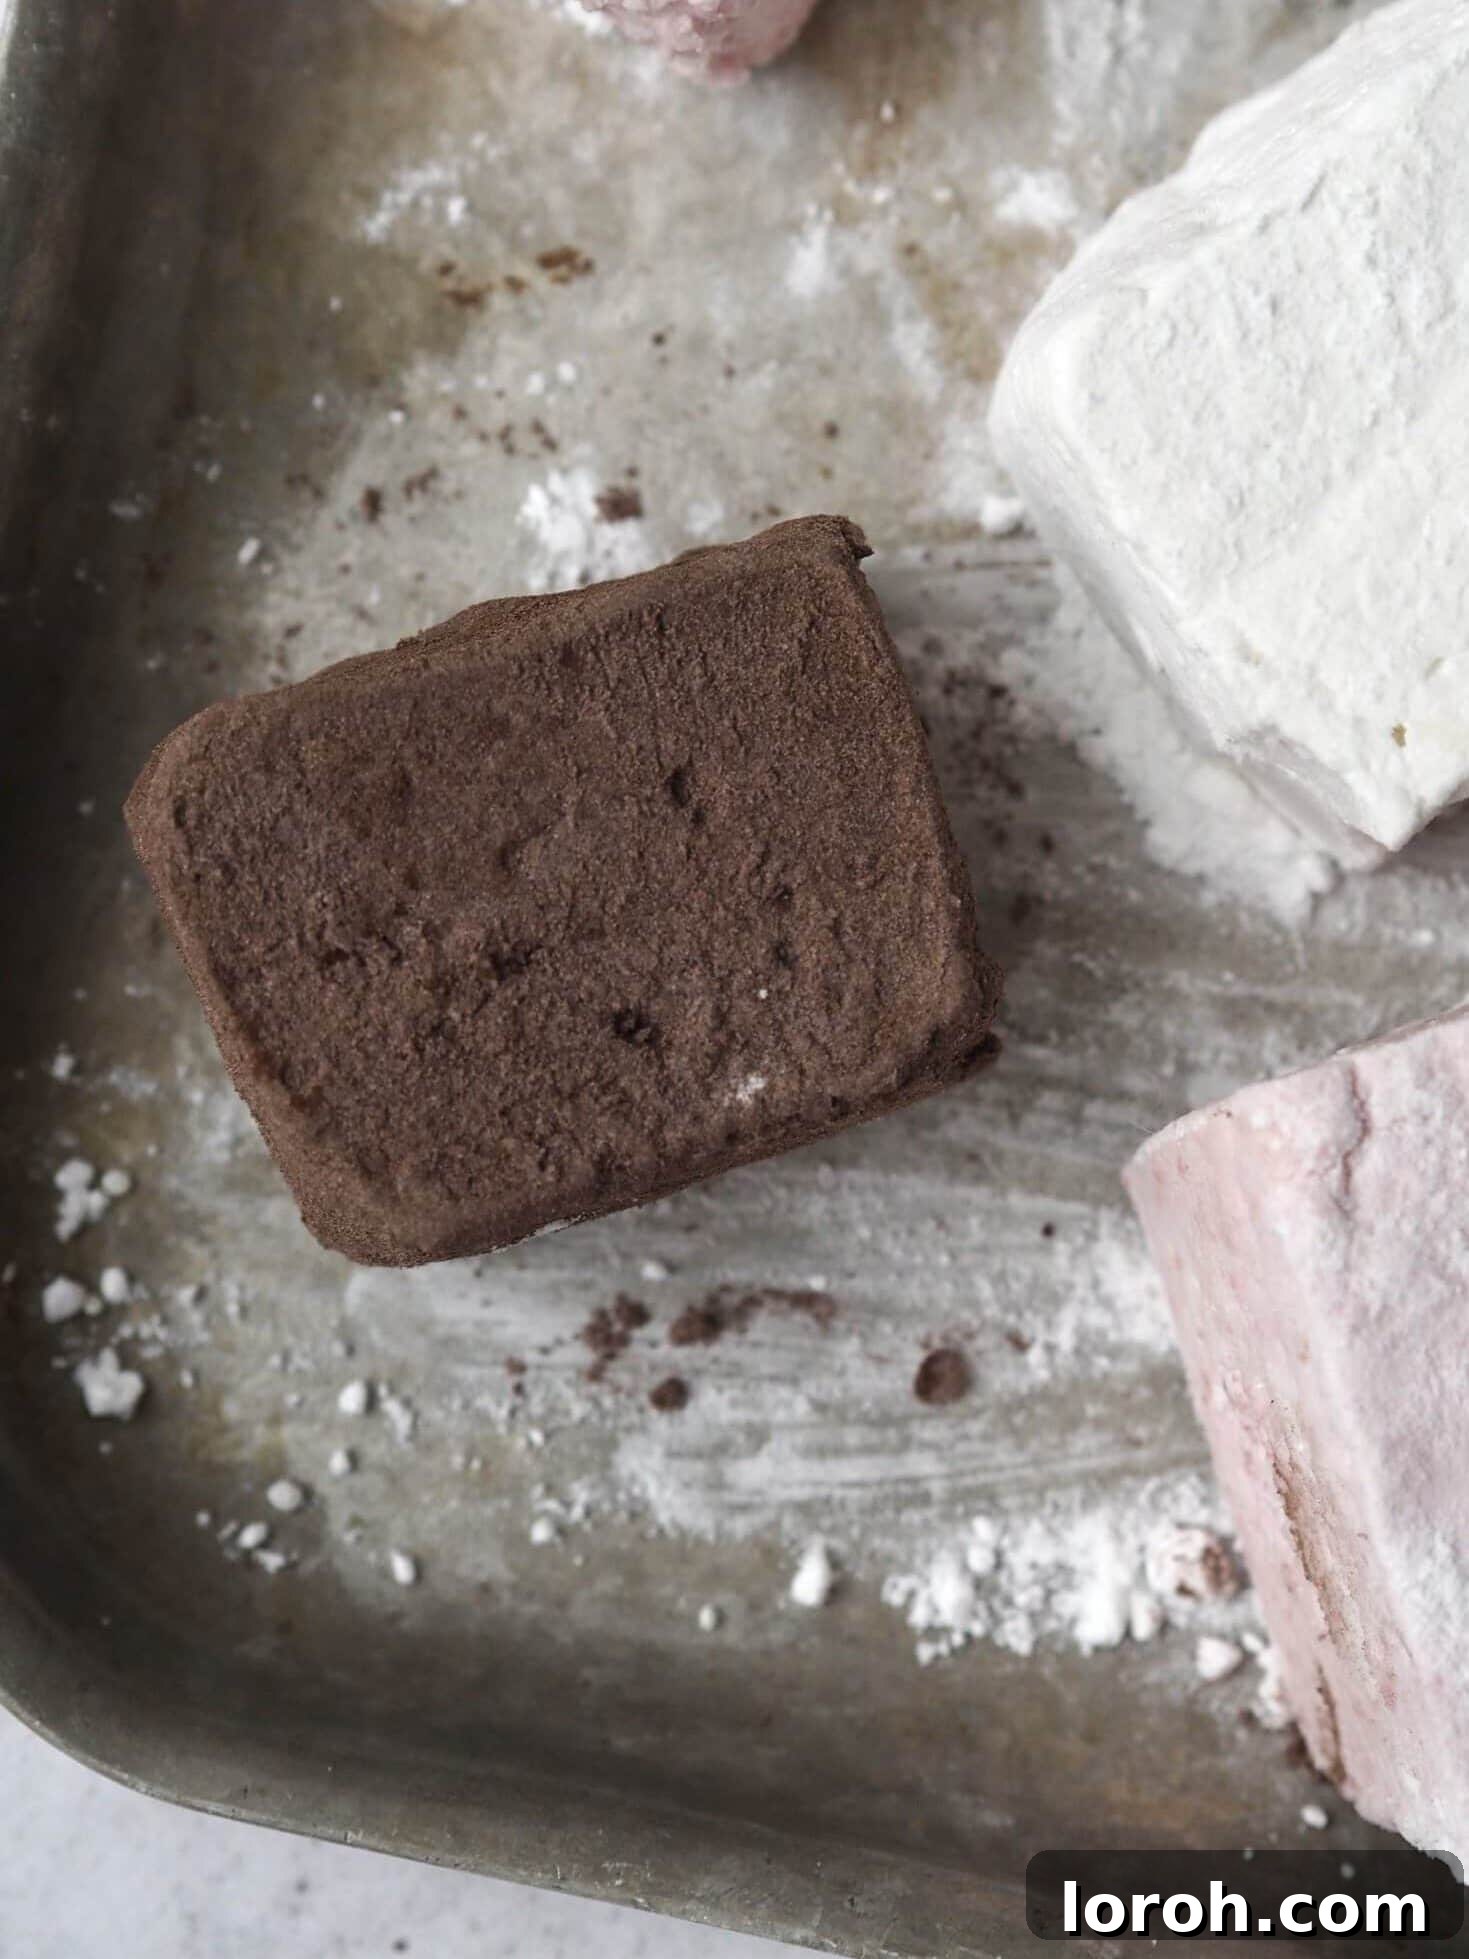
- Dust Your Knife: Before attempting to cut the set marshmallow slab, dust your large, sharp knife with the cornflour-cocoa mix. This prevents the marshmallow from sticking to the blade and allows for clean, precise cuts, yielding beautifully neat cubes. Re-dust the knife as needed between cuts.
- Avoid Humidity and Water: Homemade marshmallows are sensitive to moisture. Store them in an airtight container in a cool, dry place. Humidity or contact with water will make them incredibly sticky and can compromise their texture. Ensure your hands are dry when handling them.
- Don’t Rush the Setting: While marshmallows can set in as little as 2 hours, allowing them to set overnight (8-12 hours) yields the best, most stable texture. Patience is a virtue here!
Can You Make Marshmallows Without a Sugar Thermometer?
Yes, it is possible to make marshmallows without a sugar thermometer, but it certainly makes the process significantly trickier and requires more experience and keen observation. For consistent, foolproof results, we always recommend investing in a sugar thermometer. They are relatively inexpensive and prove invaluable for many other confectionary and baking projects. However, if you’re determined to try without one, you’ll need to rely on the “cold water test” method:
- As your sugar syrup bubbles and heats on the stove, periodically (every 5 minutes or so once it thickens) take a very small amount of the hot syrup on a spoon.
- Carefully drop this small amount into a bowl of very cold water.
- Too Early Stage 1: If the sugar dissolves completely in the cold water without forming any shape, the syrup is definitely not hot enough.
- Too Early Stage 2 (Soft Ball Stage): If the sugar forms a shape in the water but feels very squishy and soft between your fingers, almost dissolving when pressed, it’s still too early. You’ve reached the “soft ball” stage, but we need a firmer consistency.
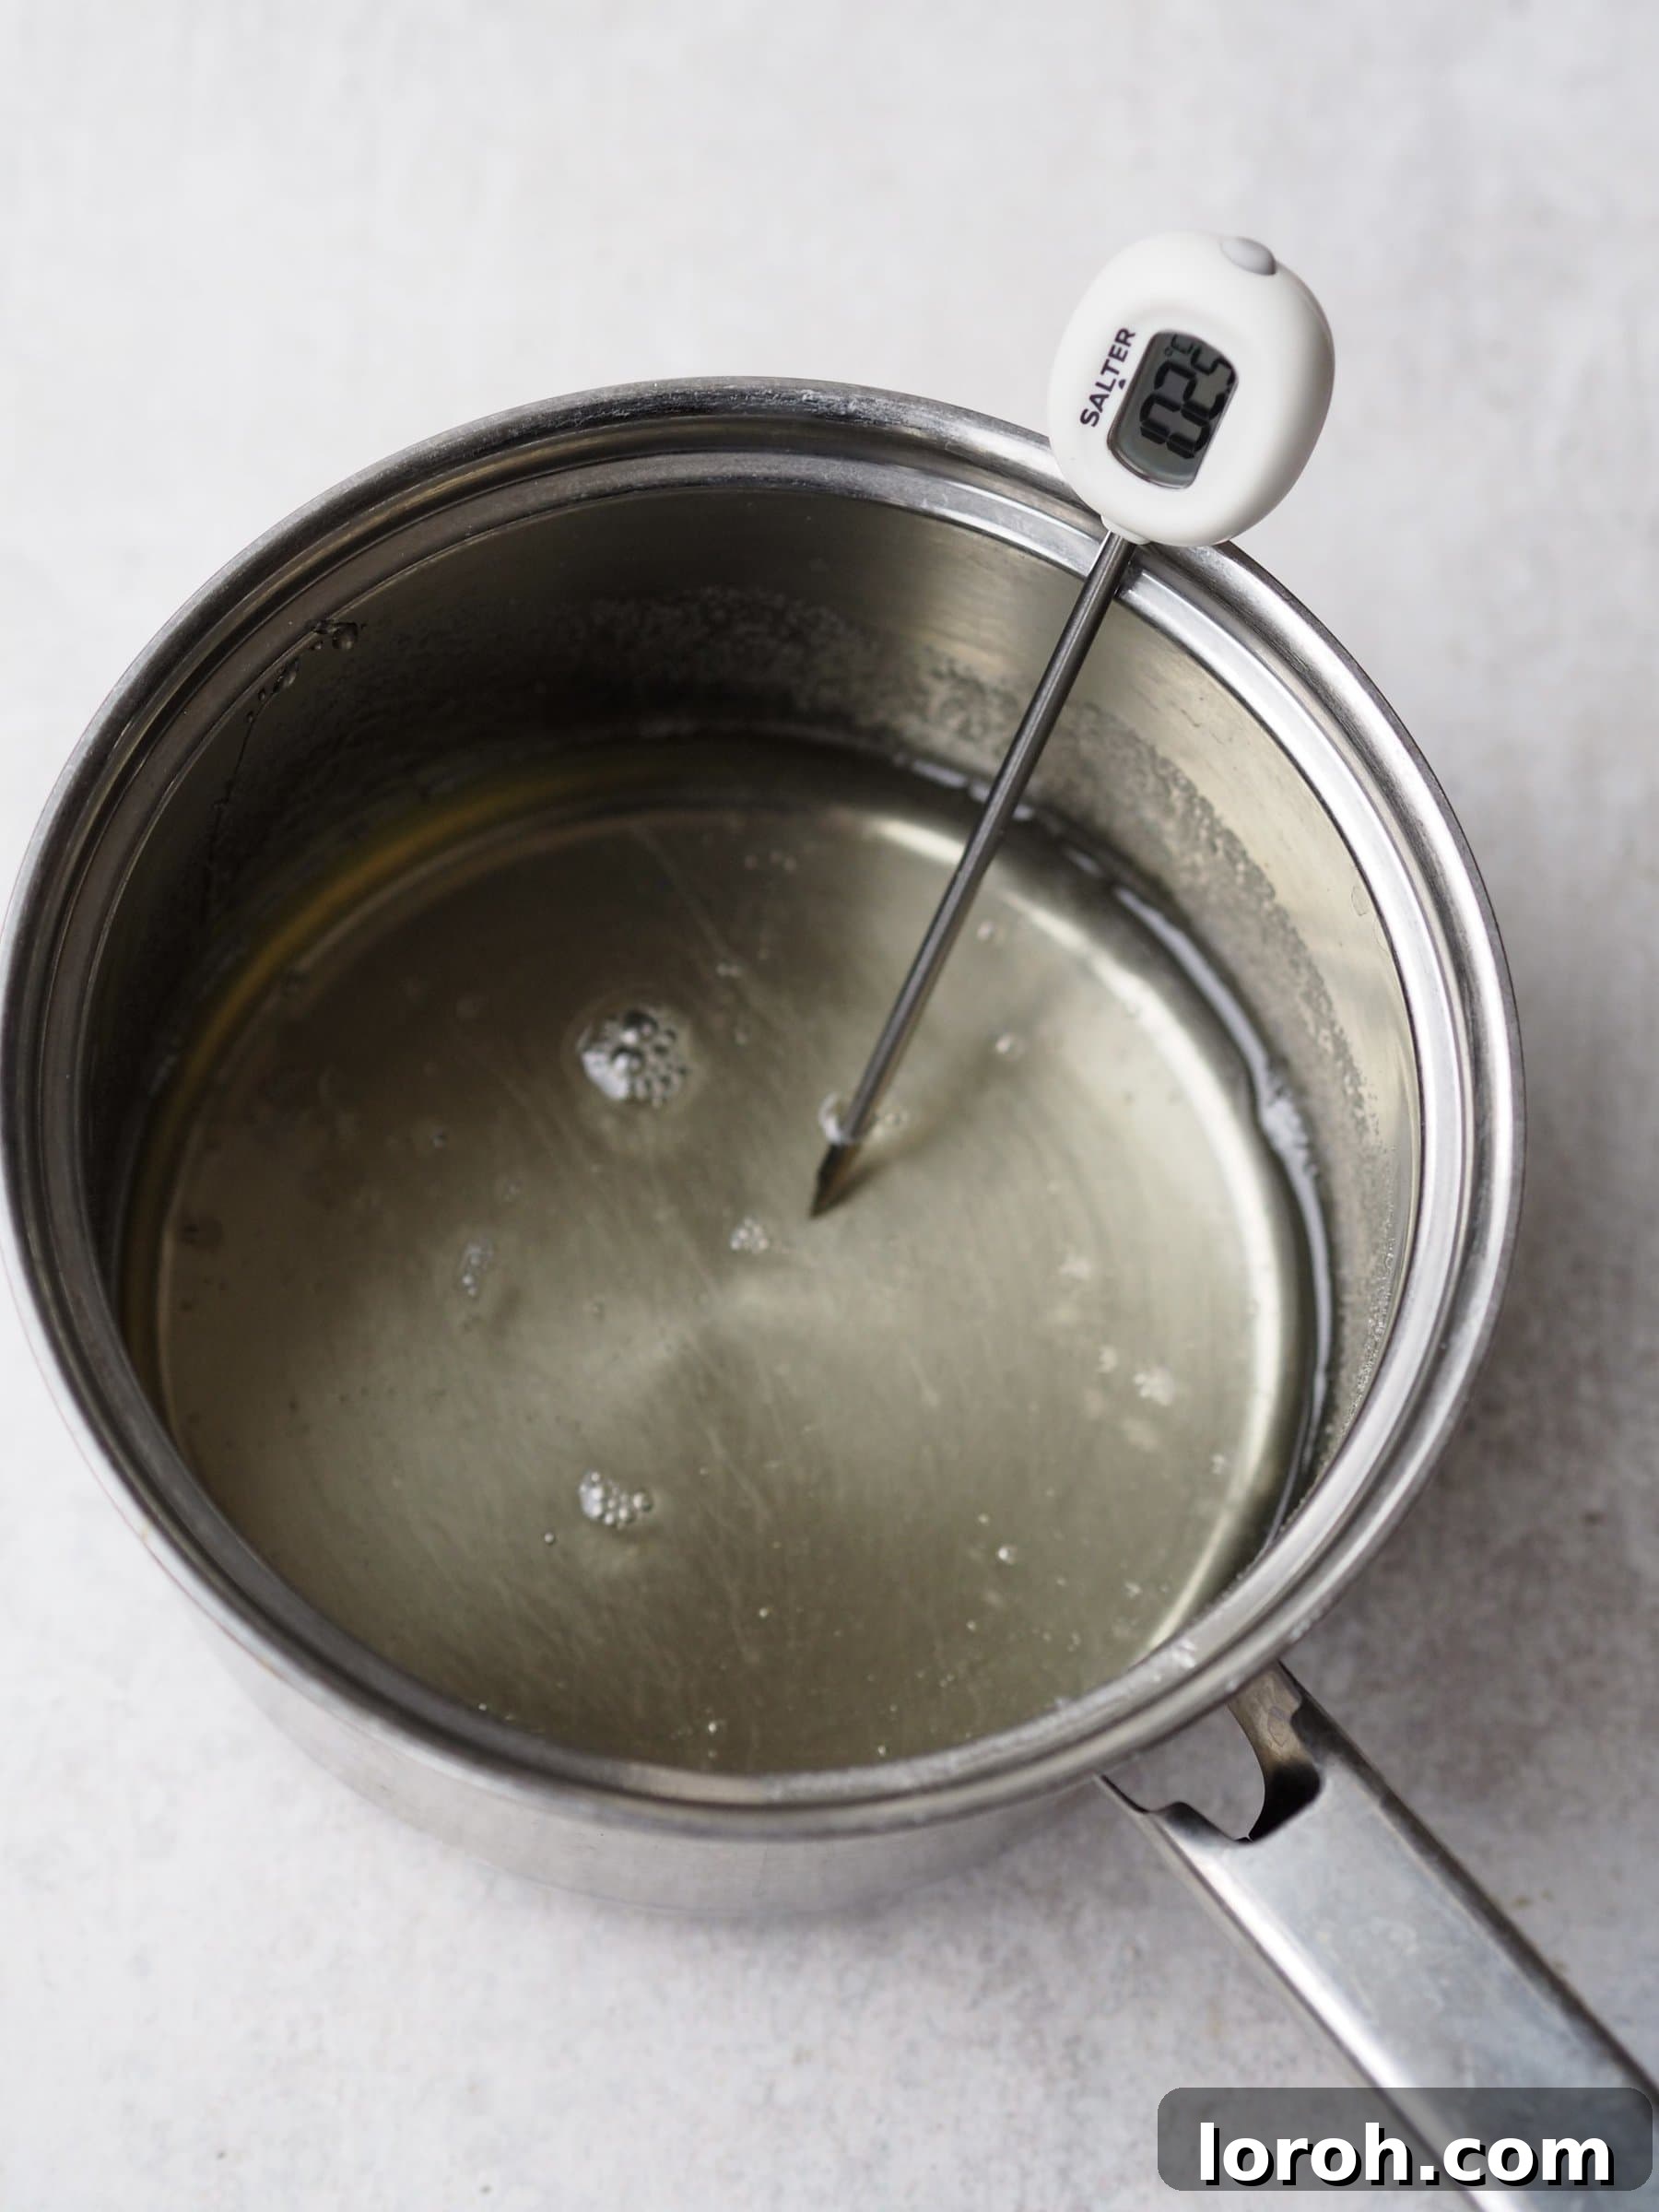
- The Right Stage (Firm Ball Stage – 115°C/239°F): When the sugar forms a distinct shape in the cold water and you can pick it up with your fingers, rolling it into a firm and pliable ball that holds its shape when gently pressed and doesn’t dissolve, then it has reached the correct temperature (115°C/239°F). It’s ready for the next step!
- Too Far (Hard Ball Stage and Beyond): If you test the syrup and the ball is very firm, hard, or brittle, it has gone too far and is too hot. If this happens, you can try adding a splash more hot water to the pan to slightly lower the temperature and then attempt the cold water test again to catch it at the perfect stage.
This method requires practice, so be prepared for a learning curve if you choose to forgo a thermometer.
Frequently Asked Questions About Chocolate Marshmallows
Essentially, yes. All corn syrup is a type of glucose syrup, but not all glucose syrup is specifically derived from corn (it can come from other starches). For this recipe, you can use them interchangeably. If you’re in the UK, look for “liquid glucose,” while in the US, “corn syrup” is the common term.
Yes, it is absolutely possible to make vegan marshmallows! However, this particular recipe is not vegan as it relies on animal-derived gelatine. For a vegan alternative, you would typically use agar-agar powder, which is a plant-based gelling agent. Agar-agar has different setting properties and usually requires boiling in liquid to activate, so it’s not a direct, like-for-like swap for gelatine in terms of quantities or method.
The most common reason for marshmallows lacking fluffiness is incorrect sugar syrup temperature. If the syrup gets too hot, the sugar can become too firm, resulting in hard or dense marshmallows instead of light and airy ones. This highlights why a sugar thermometer is such a valuable tool. Additionally, not whipping the mixture for long enough (12-14 minutes minimum) can also prevent it from incorporating enough air to achieve that signature fluffy texture.
No, it is not recommended to use melted chocolate as a direct substitute for cocoa powder in this recipe. The fat content in melted chocolate will likely deflate the delicate marshmallow mixture, preventing it from holding its airy, fluffy structure. Cocoa powder provides intense chocolate flavor without adding excess fat.
Yes, homemade chocolate marshmallows can be frozen! Store them in an airtight container, preferably with layers of parchment paper to prevent sticking. They will last for up to 3 months in the freezer. Thaw them at room temperature before serving. Given they keep well for a few weeks at room temperature, freezing might not always be necessary for short-term storage.
When stored in an airtight container in a cool, dry place, homemade chocolate marshmallows will stay fresh and delicious for up to 3 weeks. Always ensure they are well-coated with the cornflour-cocoa dusting to prevent sticking.
Serving Suggestions for Your Homemade Marshmallows
Your homemade chocolate marshmallows are incredibly versatile and can be enjoyed in numerous delicious ways:
- Classic S’mores: The ultimate use! Toast them over a campfire or under the broiler for gooey, melted perfection between graham crackers and chocolate.
- Hot Chocolate Topper: Drop a few into a mug of rich, steaming hot chocolate. They’ll slowly melt, adding a creamy, chocolatey layer to your drink.
- Dessert Garnish: Use them to adorn cakes, cupcakes, brownies, or ice cream sundaes for an impressive and tasty finish.
- Edible Gifts: Package them in pretty bags or boxes tied with a ribbon for a thoughtful homemade gift.
- Baking Adventures: Chop them up and fold them into cookies, brownies, or even bread puddings for an extra layer of texture and sweetness.
- On Their Own: Sometimes, the simplest way is the best. Enjoy them as a standalone sweet treat, savoring their unique texture and flavor.
Storage and Make-Ahead Instructions
Proper storage is essential to keep your homemade chocolate marshmallows fresh and prevent them from becoming sticky. They are also excellent for making in advance, saving you time when you need a quick dessert or gift.
- Storage: Once cut and thoroughly coated in the cornflour-cocoa dusting, place your marshmallows in an airtight container. If you plan to stack them in layers, separate each layer with a sheet of parchment or wax paper to prevent sticking. Store the container in a cool, dry place at room temperature, away from direct sunlight or humidity. Under these conditions, they will remain fresh for up to 3 weeks. Avoid storing them in the refrigerator, as the moisture can make them sticky.
- Make-Ahead: These marshmallows are perfect for preparing well in advance. As they keep for several weeks, you can easily make a batch up to three weeks before you plan to serve or gift them. This makes them an ideal candidate for holiday baking or party preparations.
- Freezing: For longer storage, chocolate marshmallows can be frozen. Place them in an airtight, freezer-safe container, again using parchment paper between layers. They can be frozen for up to 3 months. To thaw, simply remove them from the freezer and let them come to room temperature for a few hours before enjoying.
Other Recipes You Might Enjoy:
If you loved making these chocolate marshmallows, explore more delightful dessert recipes from our collection:
- For another unique chocolate treat, try our Tiramisu Ice Cream Mochi Bites.
- Indulge in our decadent chocolate marshmallow tarts for a sophisticated dessert.
- If you’re a fan of rich, gooey treats, our brownie bites are absolutely divine.
- Explore these light and airy sfingi doughnuts for a quick and easy dessert option.
Puddings
Lemon Meringue Cheesecake
Easy Dessert Recipes
Chocolate Brownie Trifle
Easy Dessert Recipes
Tiramisu Ice Cream Mochi Bites
Puddings
Brownie Tiramisu Cheesecake with Malted Whipped Cream
If you tried these homemade chocolate marshmallows or any other recipe on the site, please do leave a comment and let us know how it went! Your feedback is always appreciated.
Homemade Chocolate Marshmallows
By: Margie Nomura
These sweet, soft and fluffy homemade chocolate marshmallows are utterly delicious. Perfect for a delightful treat or topping a steaming mug of rich hot chocolate.
Cook: 20 mins
Setting Time: 2 hrs
Total: 2 hrs 40 mins
Servings: 30 marshmallows
Rate Recipe
Print Recipe
Ingredients
- About 2 tbsp vegetable oil
- Cornflour, to dust
- Cocoa powder, to dust
- 8 tsp powdered gelatine (12g), plus 2 tbsp cold water
- 280 g liquid glucose
- 460 g caster sugar
- 300 ml water
- 100 g cocoa powder
Instructions
- First, grease your tin well. Add vegetable oil and use clean fingers to evenly coat a 30x20cm rectangular tin. Then dust the tin liberally with a mixture of cornflour and cocoa powder.
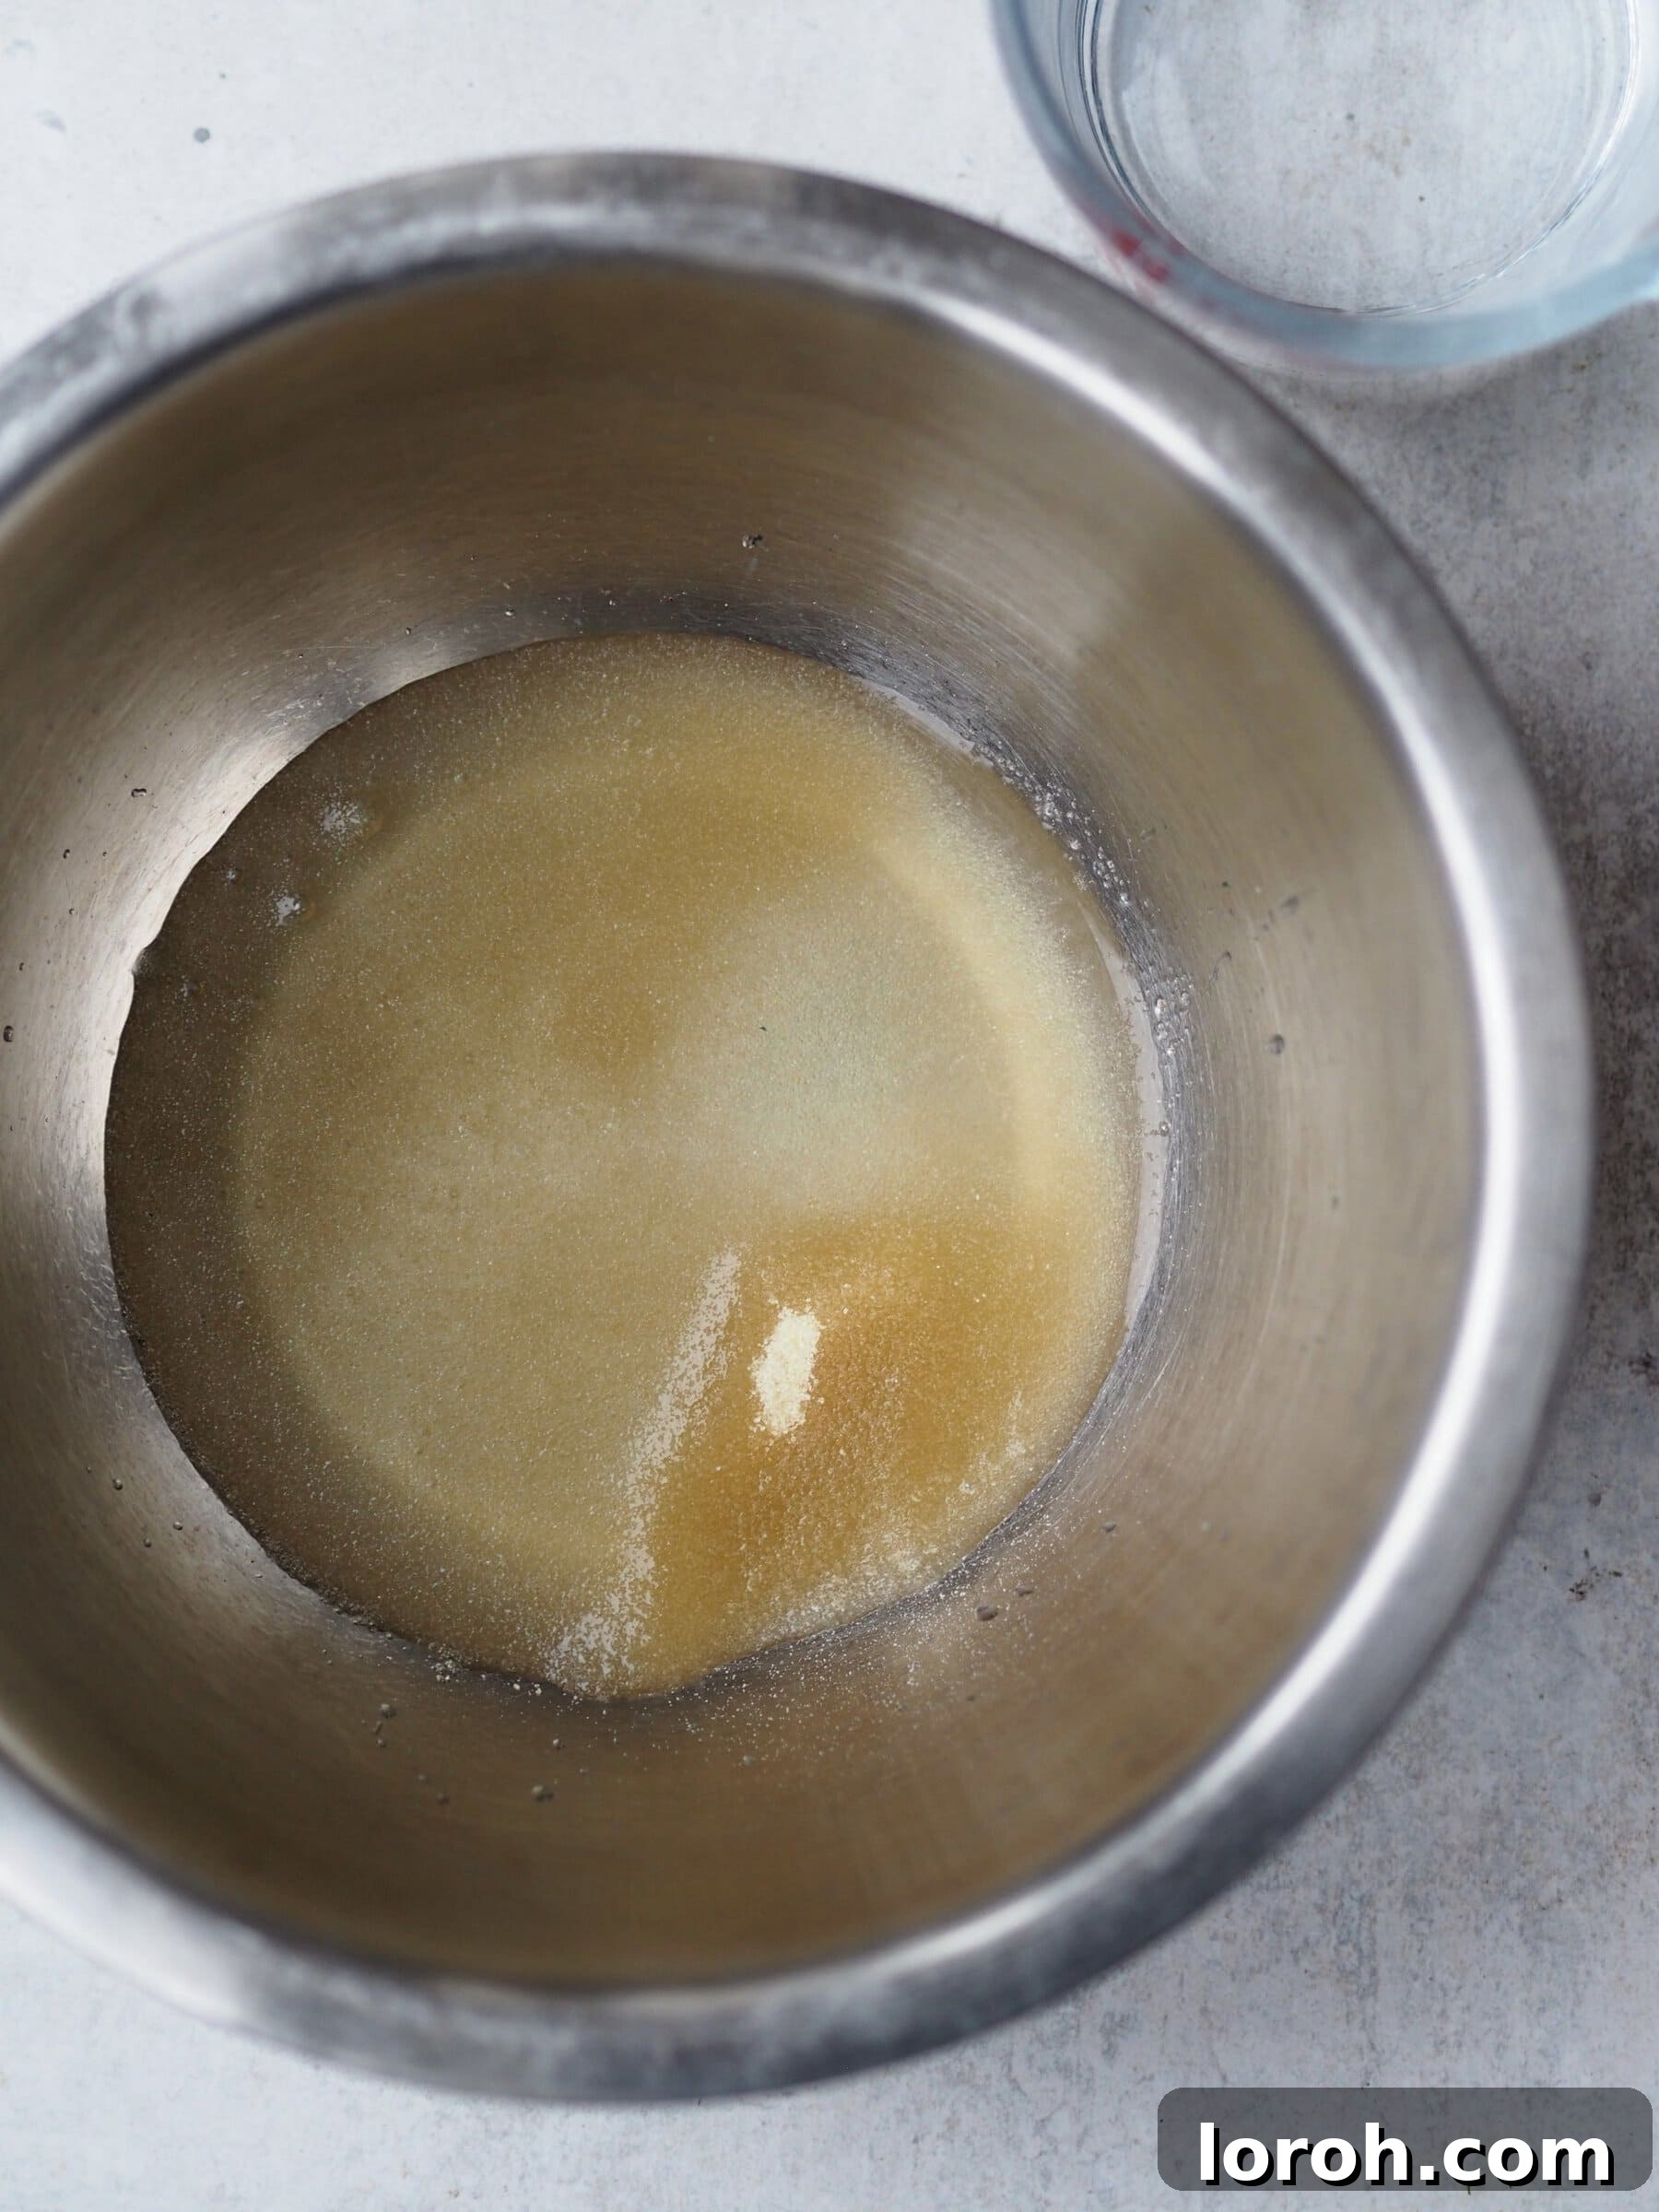
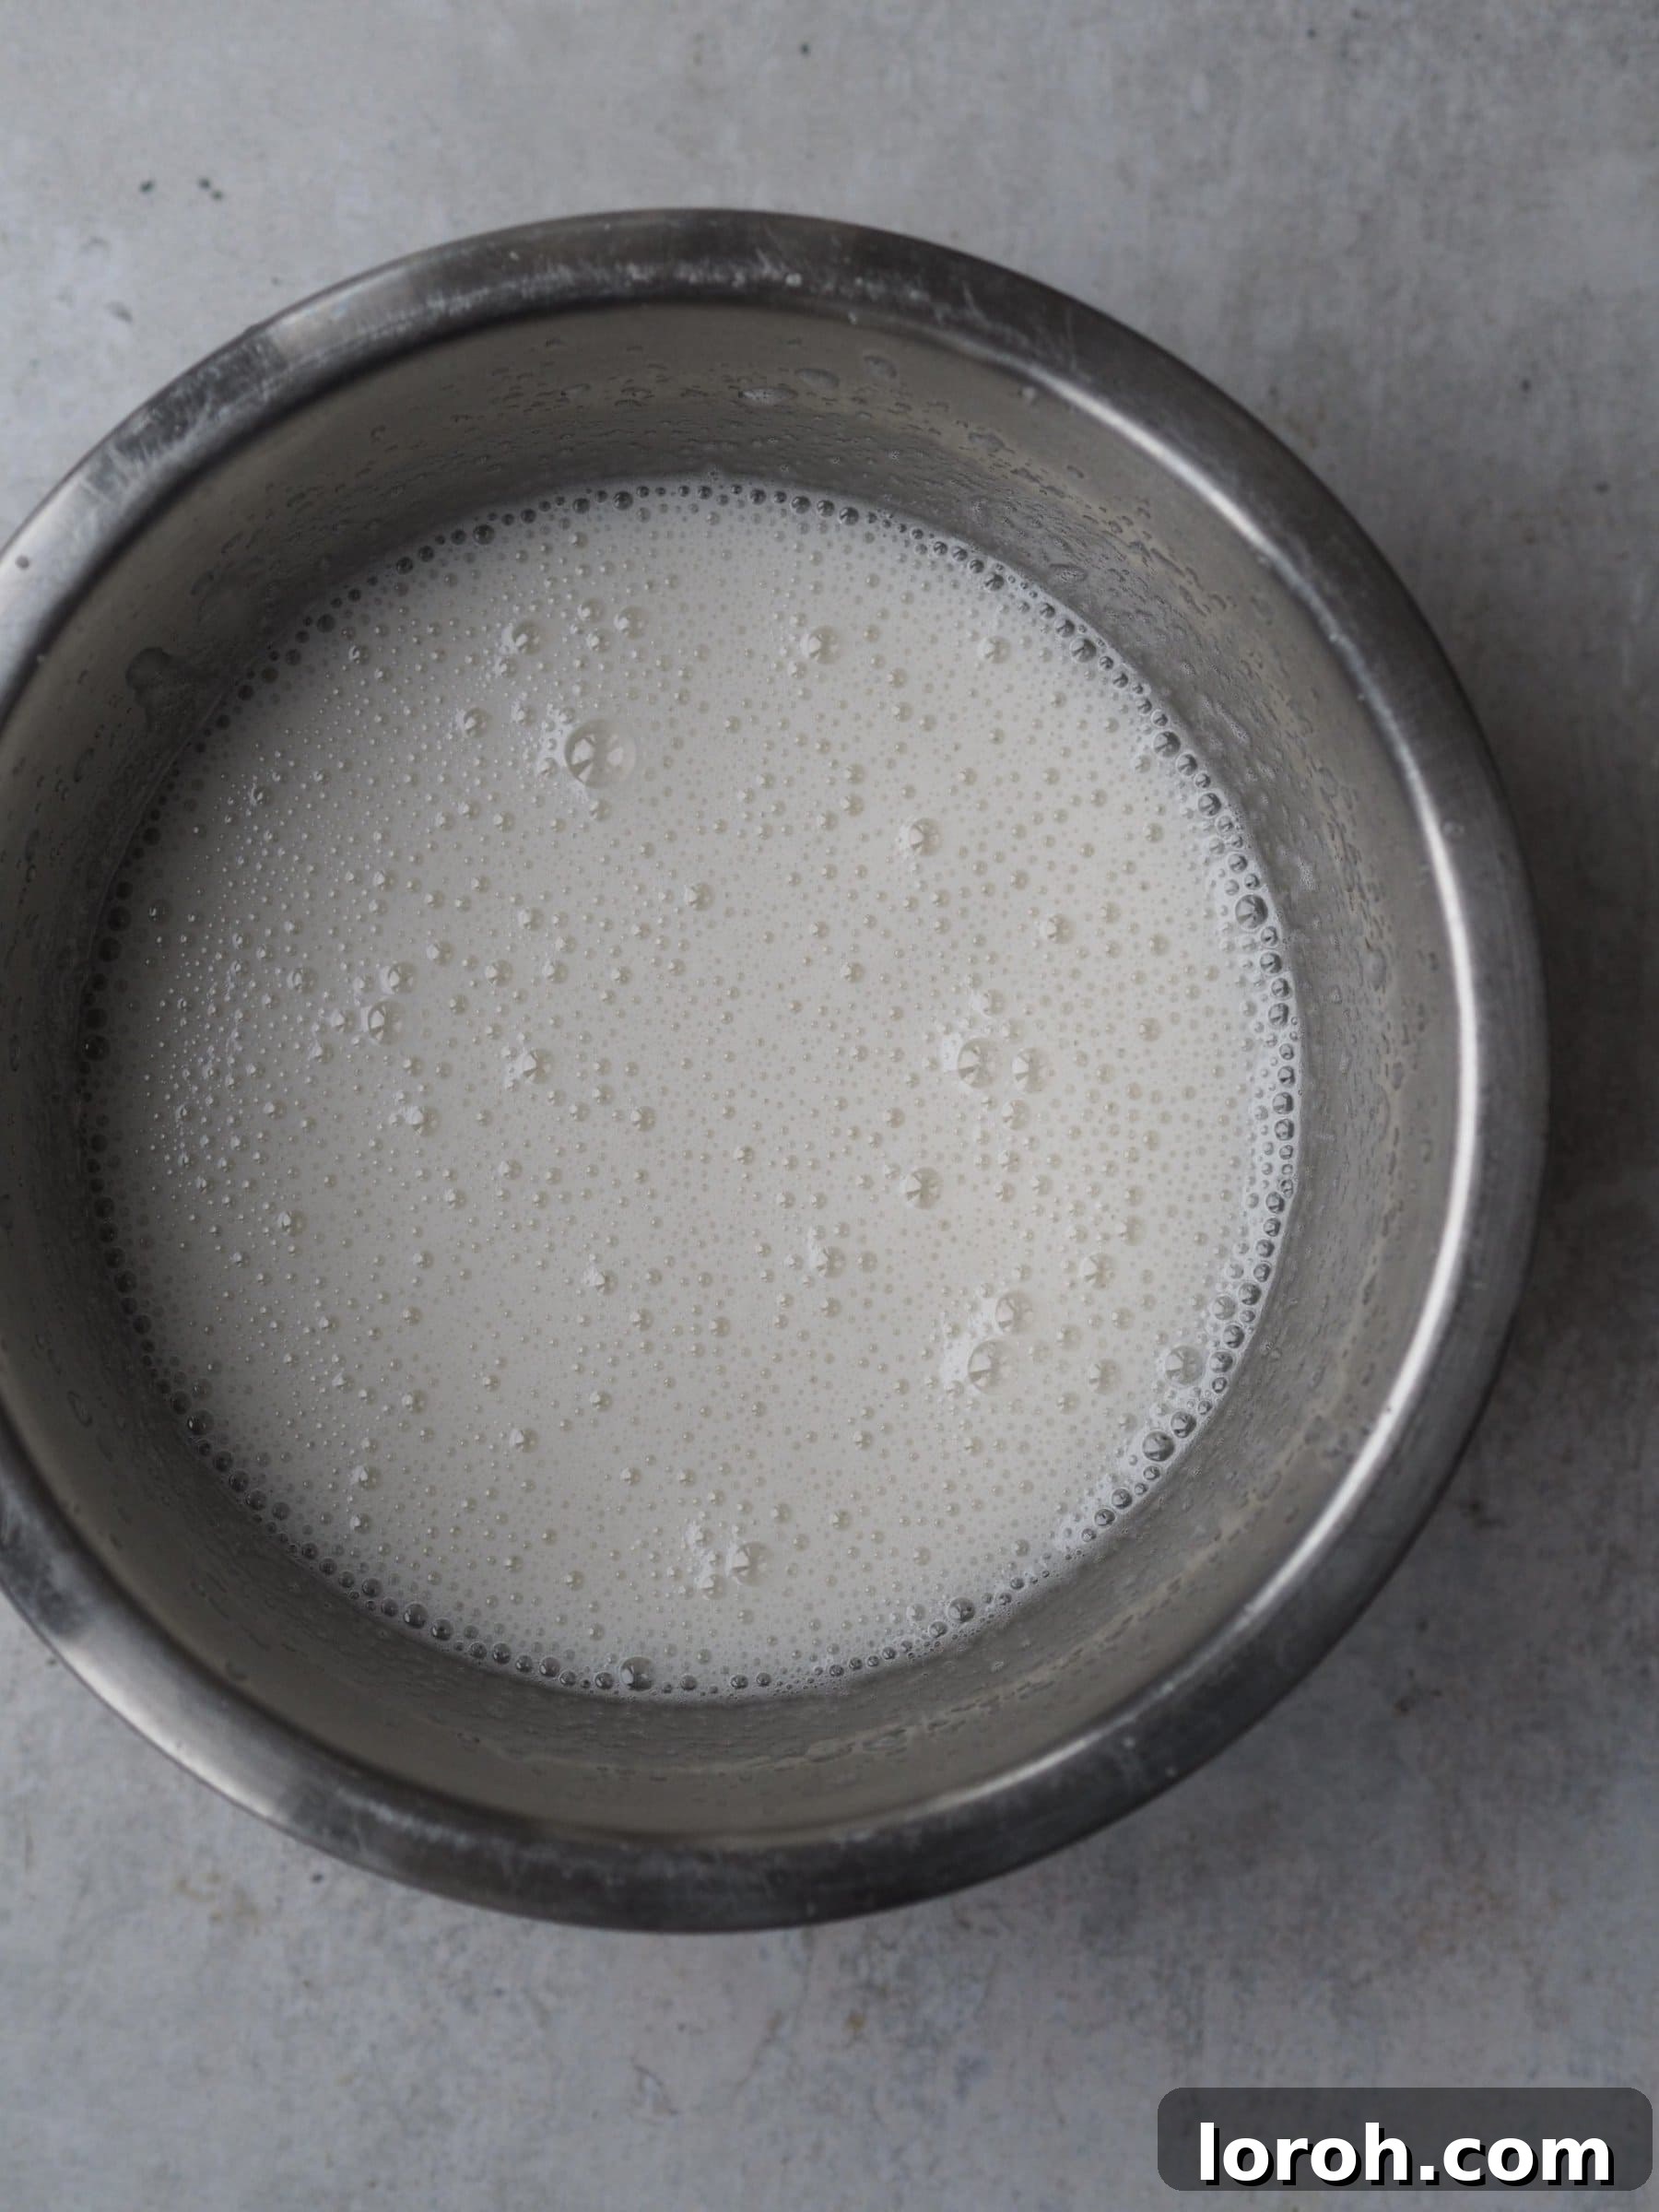
- Place the gelatine into a large heatproof bowl (ideally the bowl of a stand mixer if you have one). Add the 2 tbsp cold water and mix well. Set aside to bloom.
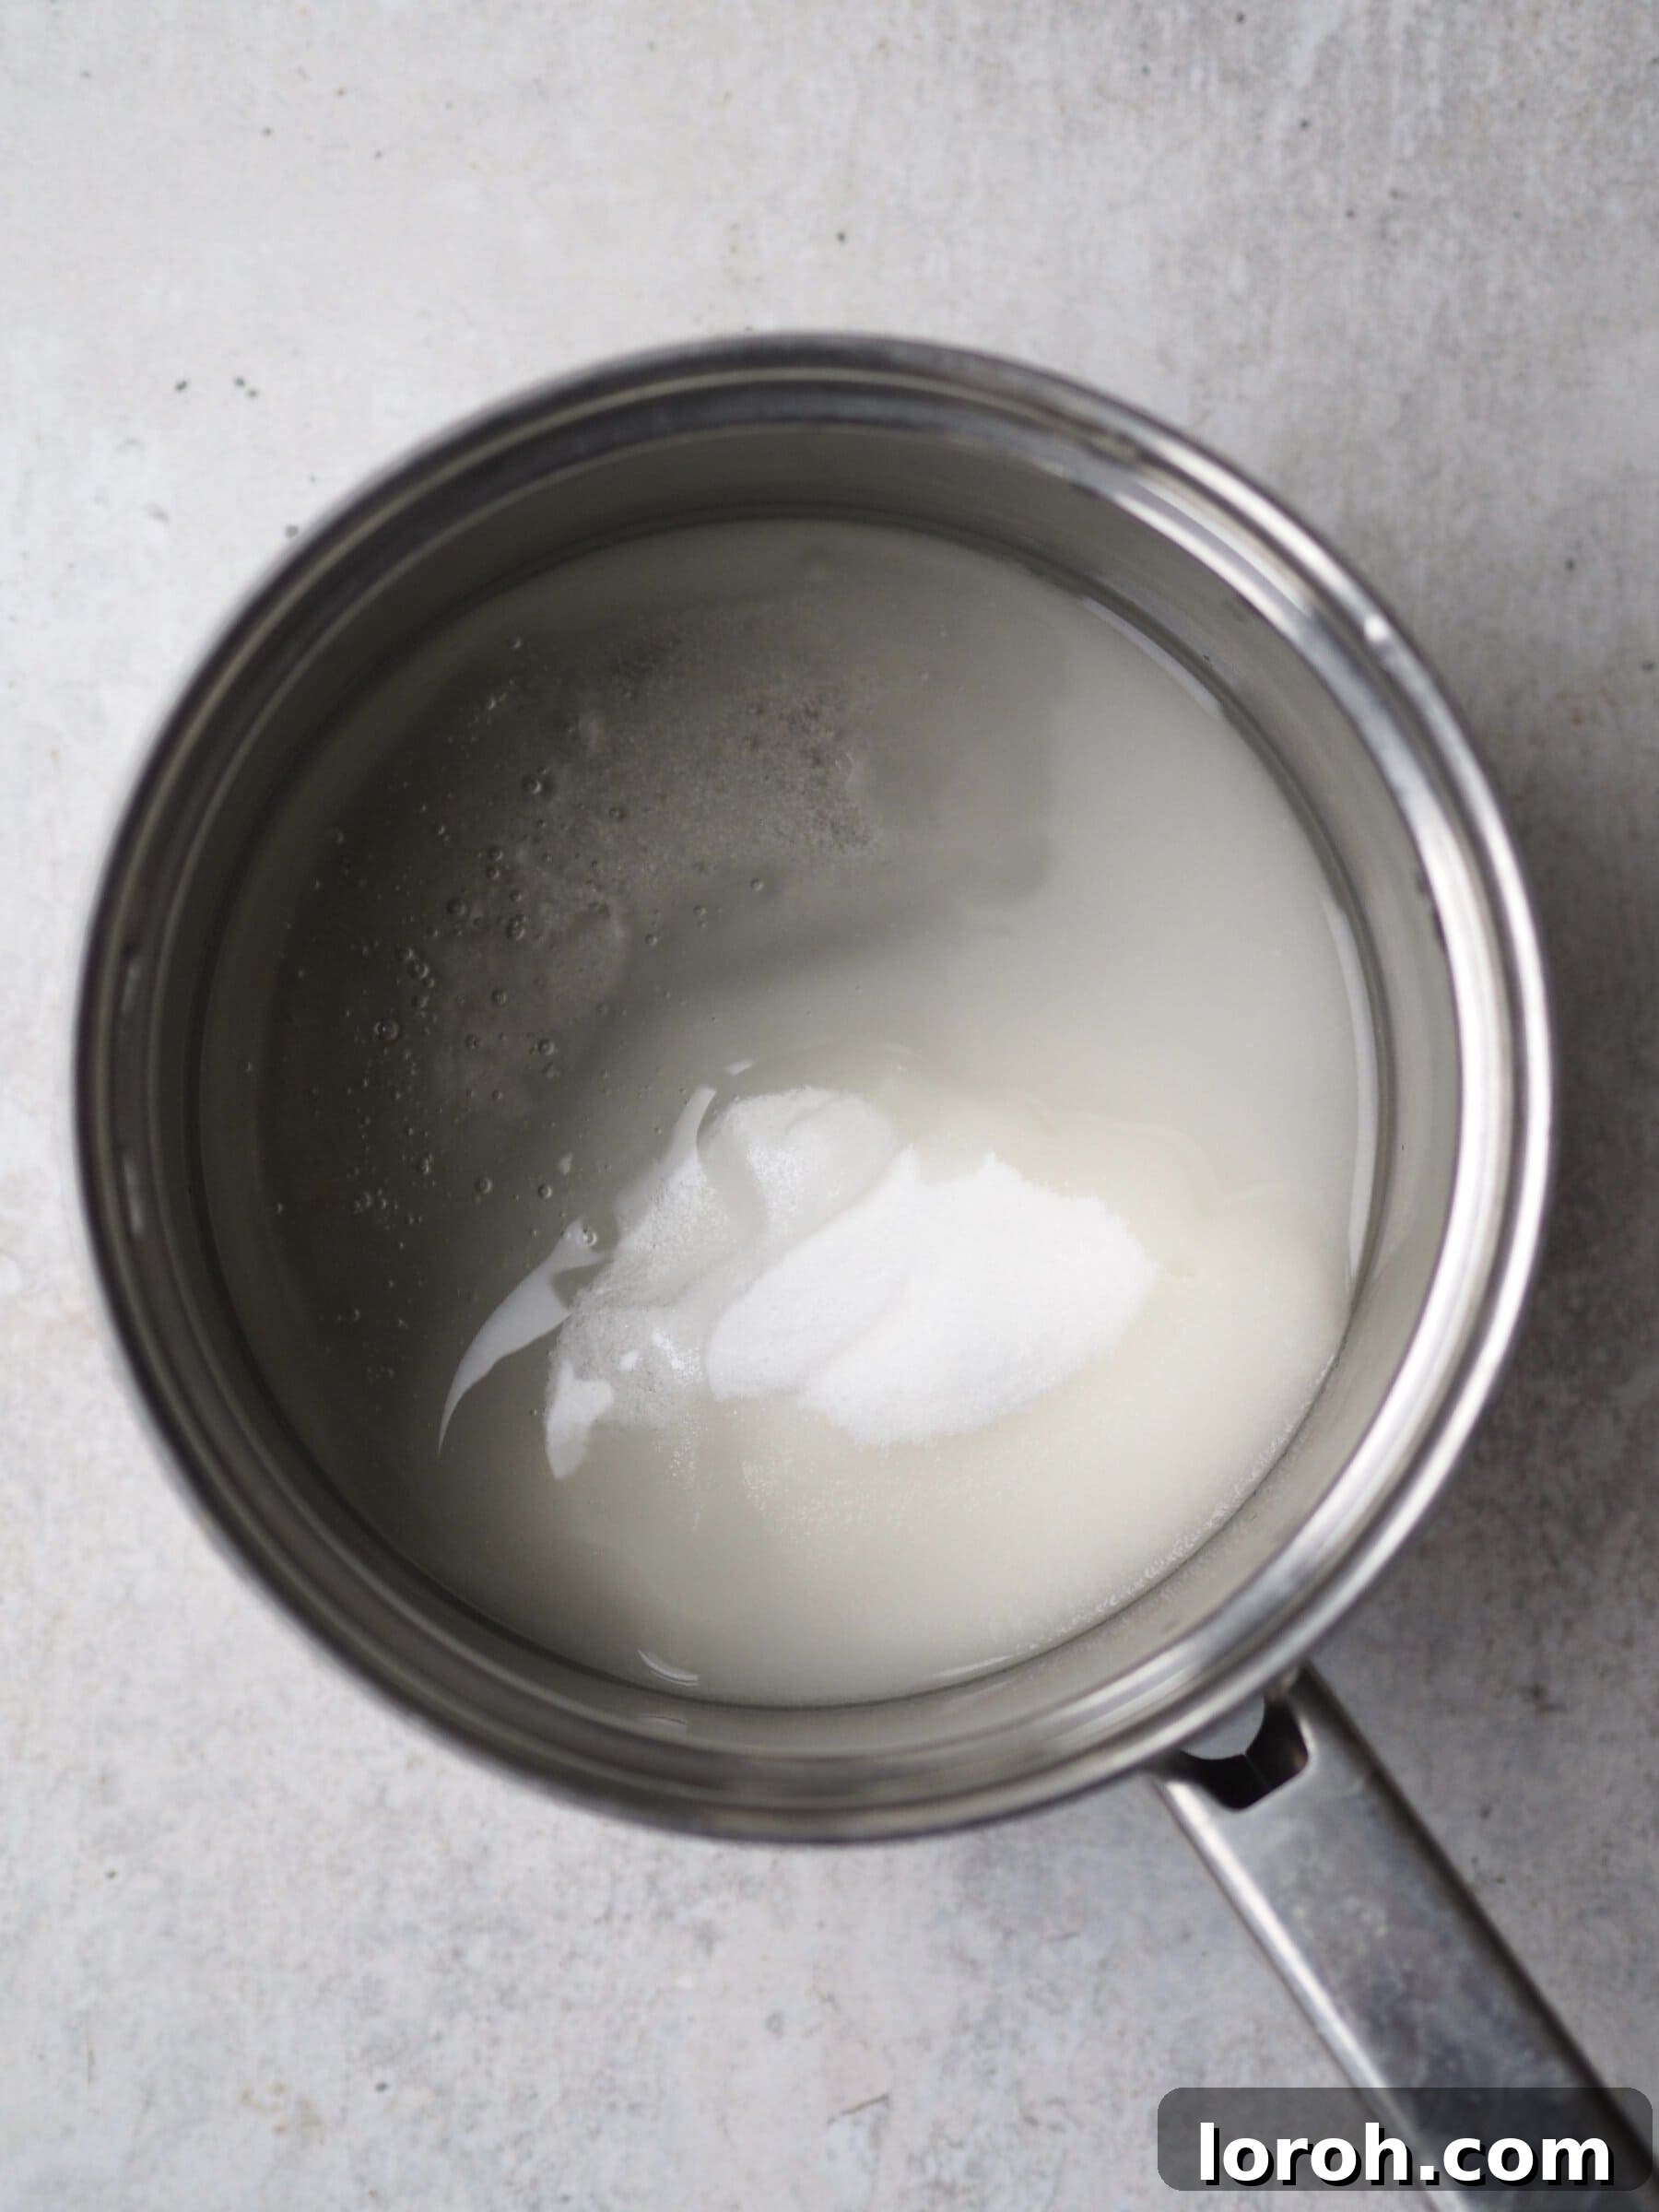
- Next, add the liquid glucose and caster sugar to a large saucepan. Pour in 150ml water and place over a medium heat. Stir gently until the sugar has dissolved in the water. Once the mix begins to simmer, stop stirring. Continue to heat over a medium-high heat, gently swirling the pan, until the sugar syrup reaches 115°C (239°F) using a jam thermometer. The liquid should be clear and bubbling. Handle the pan carefully as it will be extremely hot.
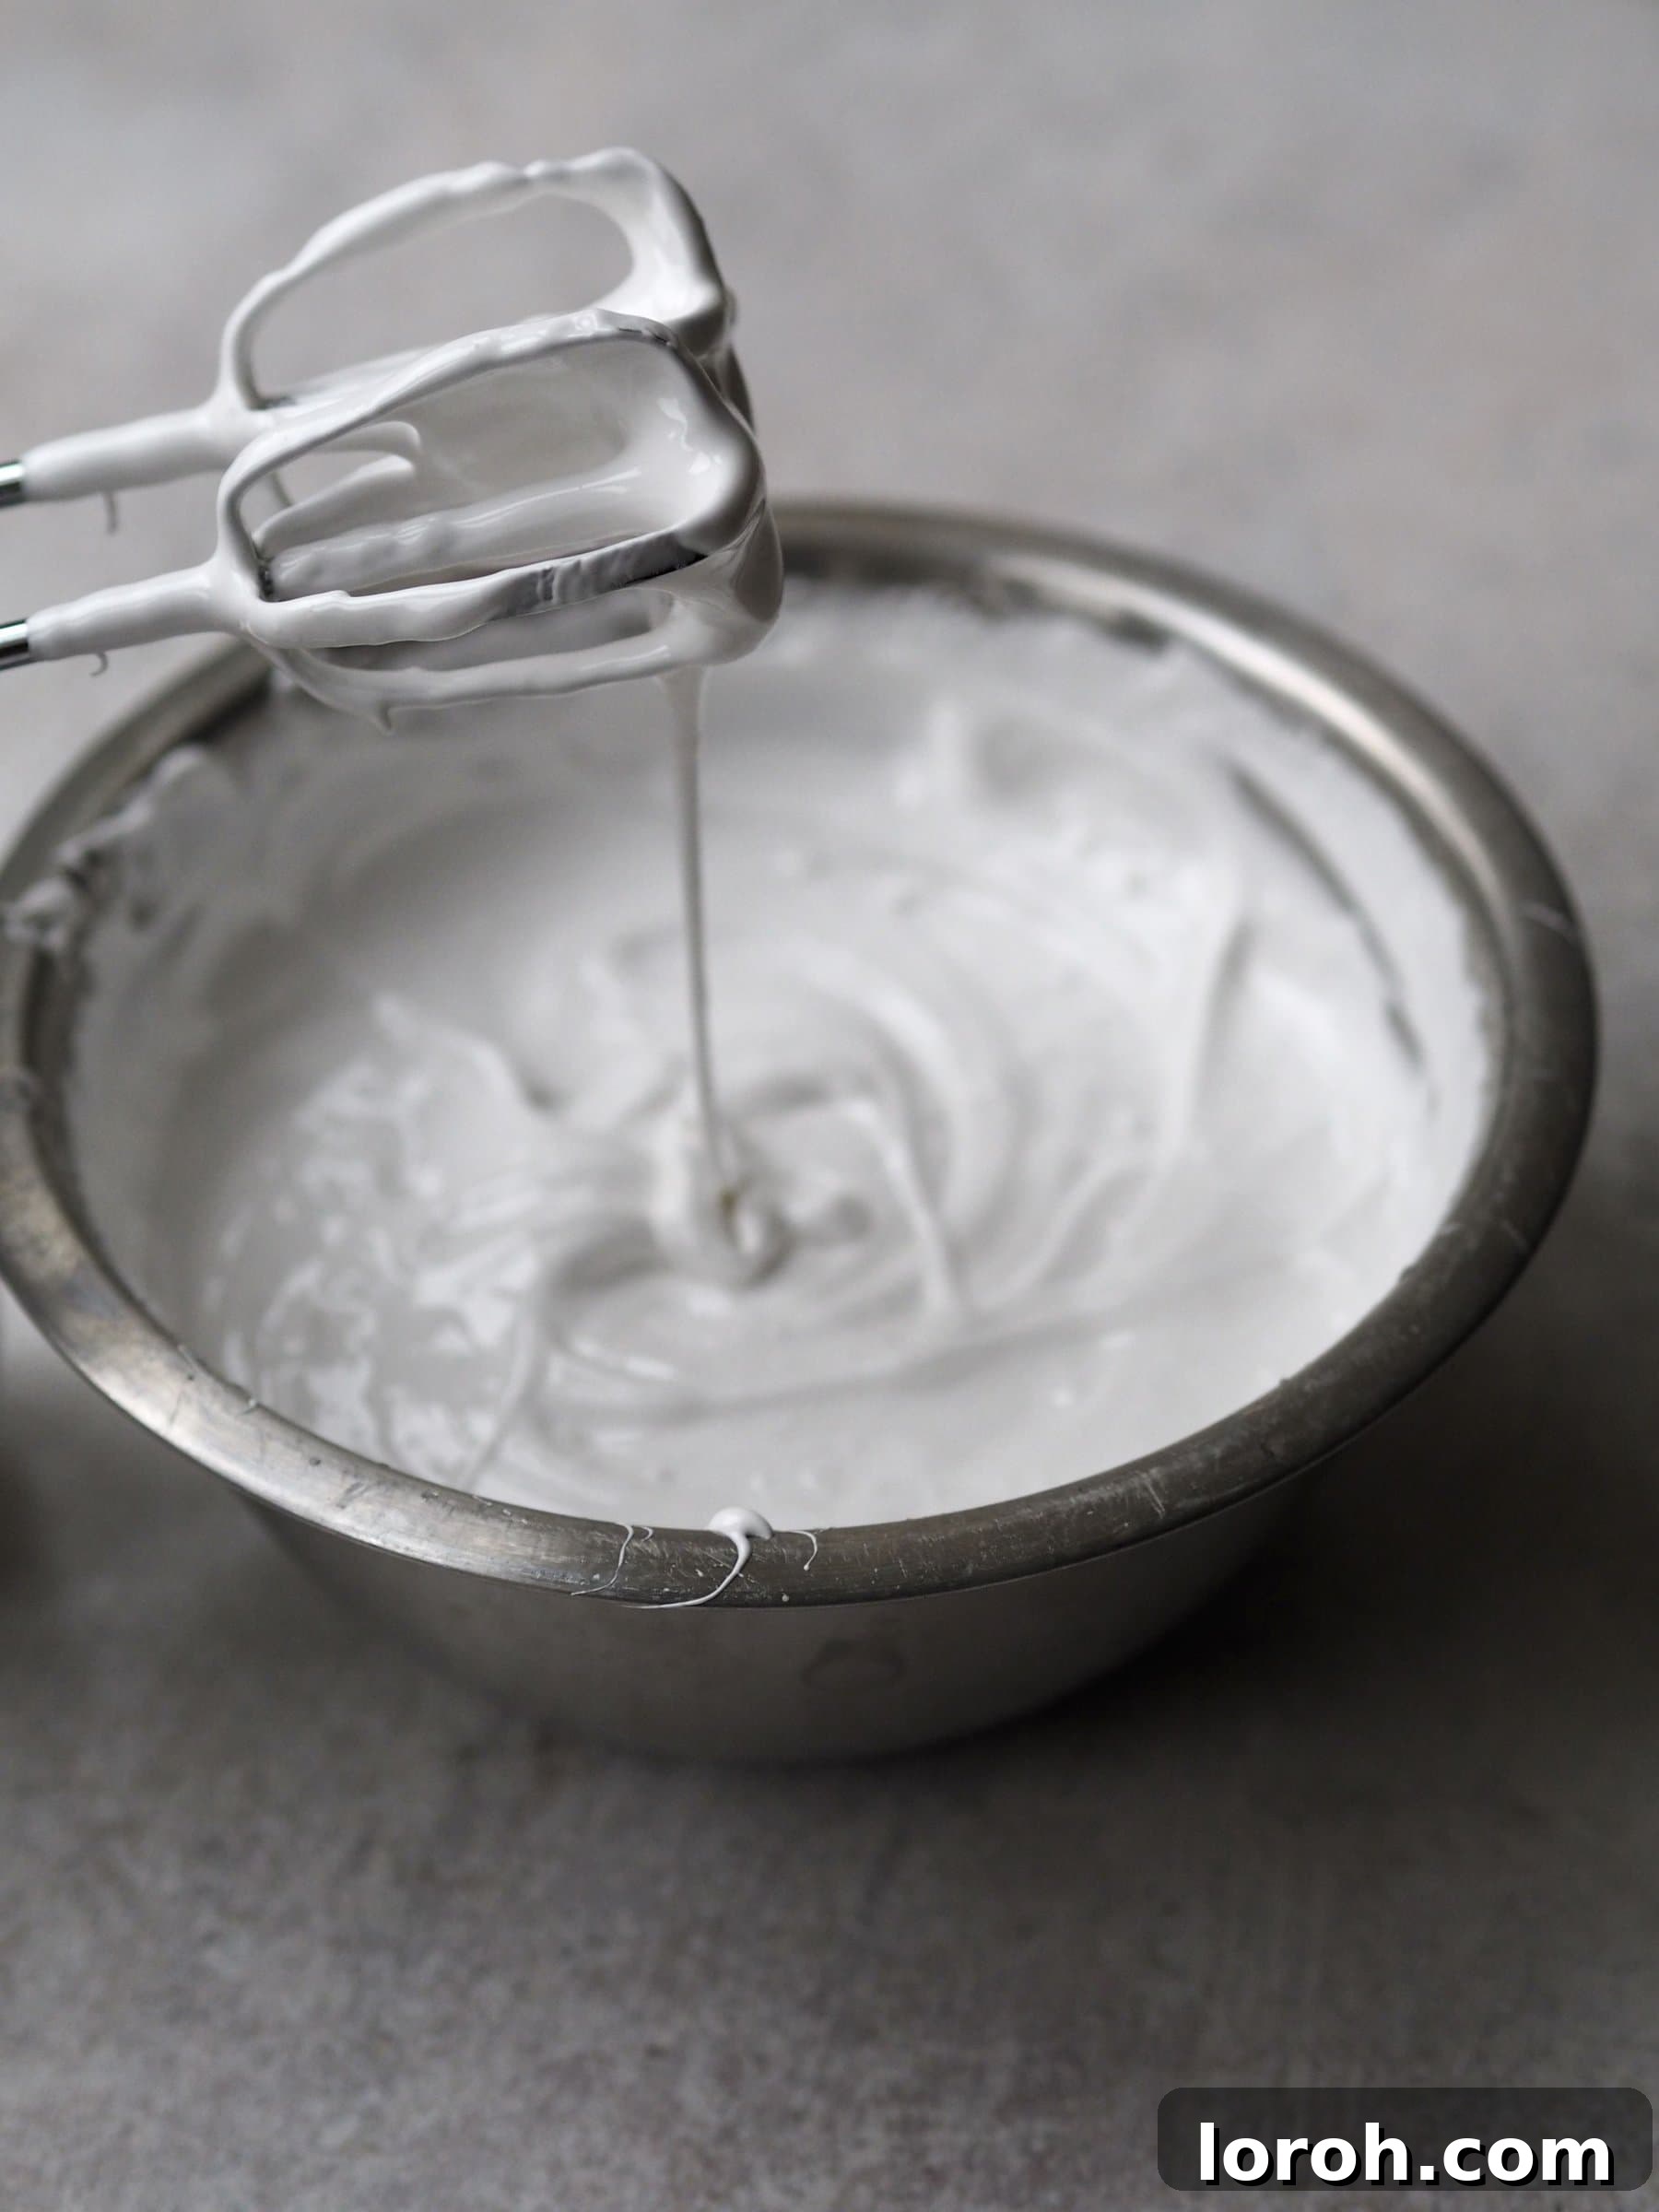
- Remove the pan from the heat and very carefully drizzle the hot sugar syrup into the gelatine mixture whilst whisking continuously with an electric whisk. This is easiest with a stand mixer fitted with the whisk attachment running on low speed.
- Once all syrup has been added, whisk on medium-high speed for a further 12-14 minutes, or until you have a thick, glossy, white meringue-like texture that holds stiff peaks.
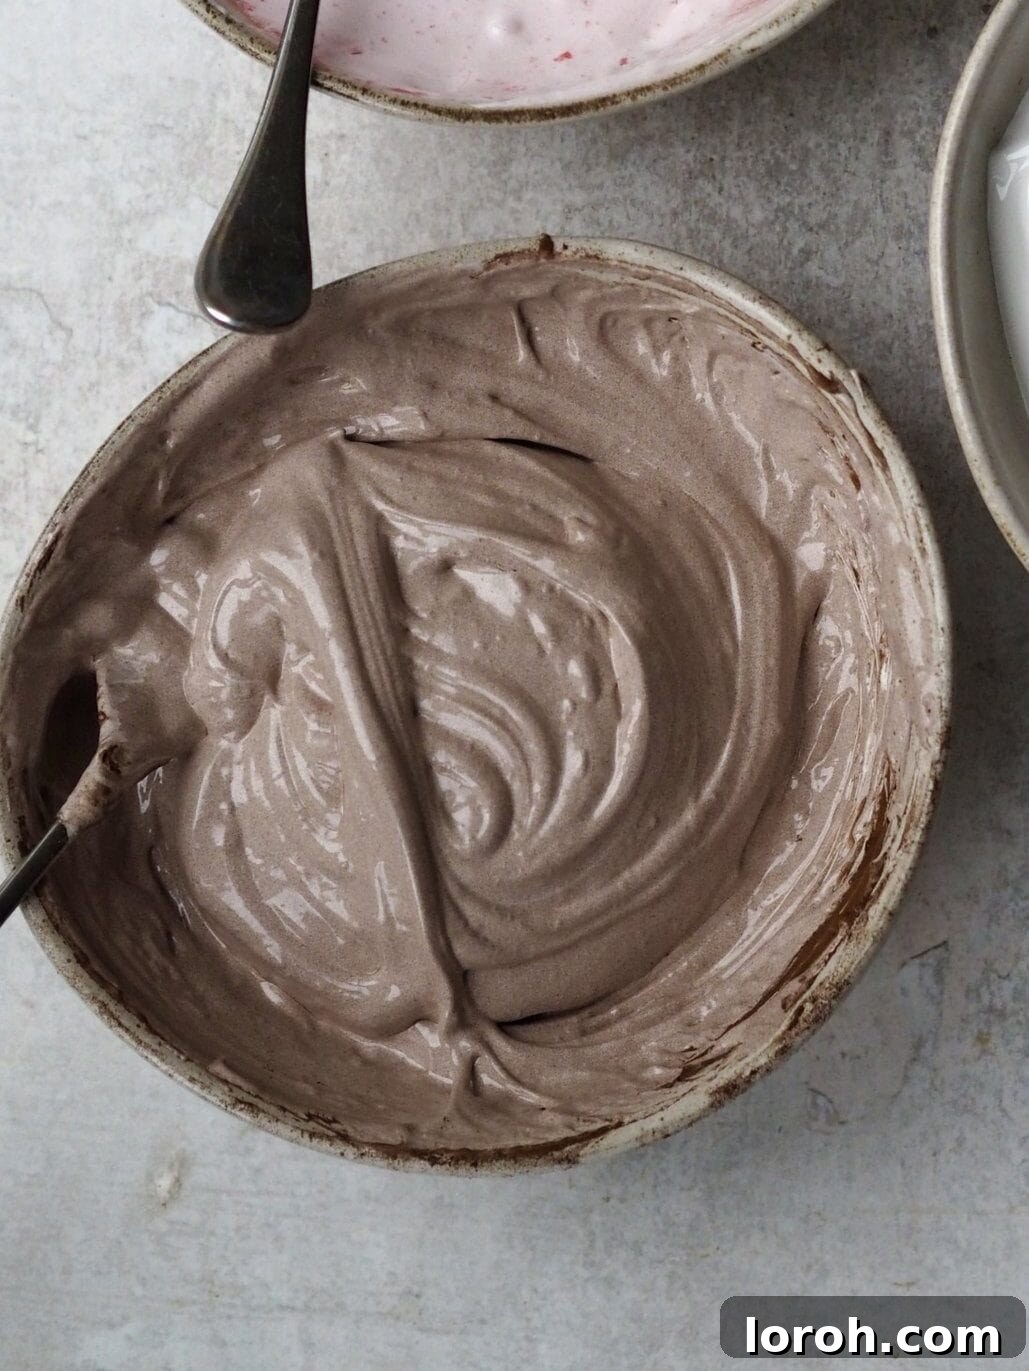
- Sieve the 100g cocoa powder into the mixture and gently fold together using a spatula until just combined.
- Spoon the marshmallow mixture into the prepared tin and smooth over the top using a spatula or palette knife. Leave to set at room temperature for at least 2 hours, or preferably overnight.
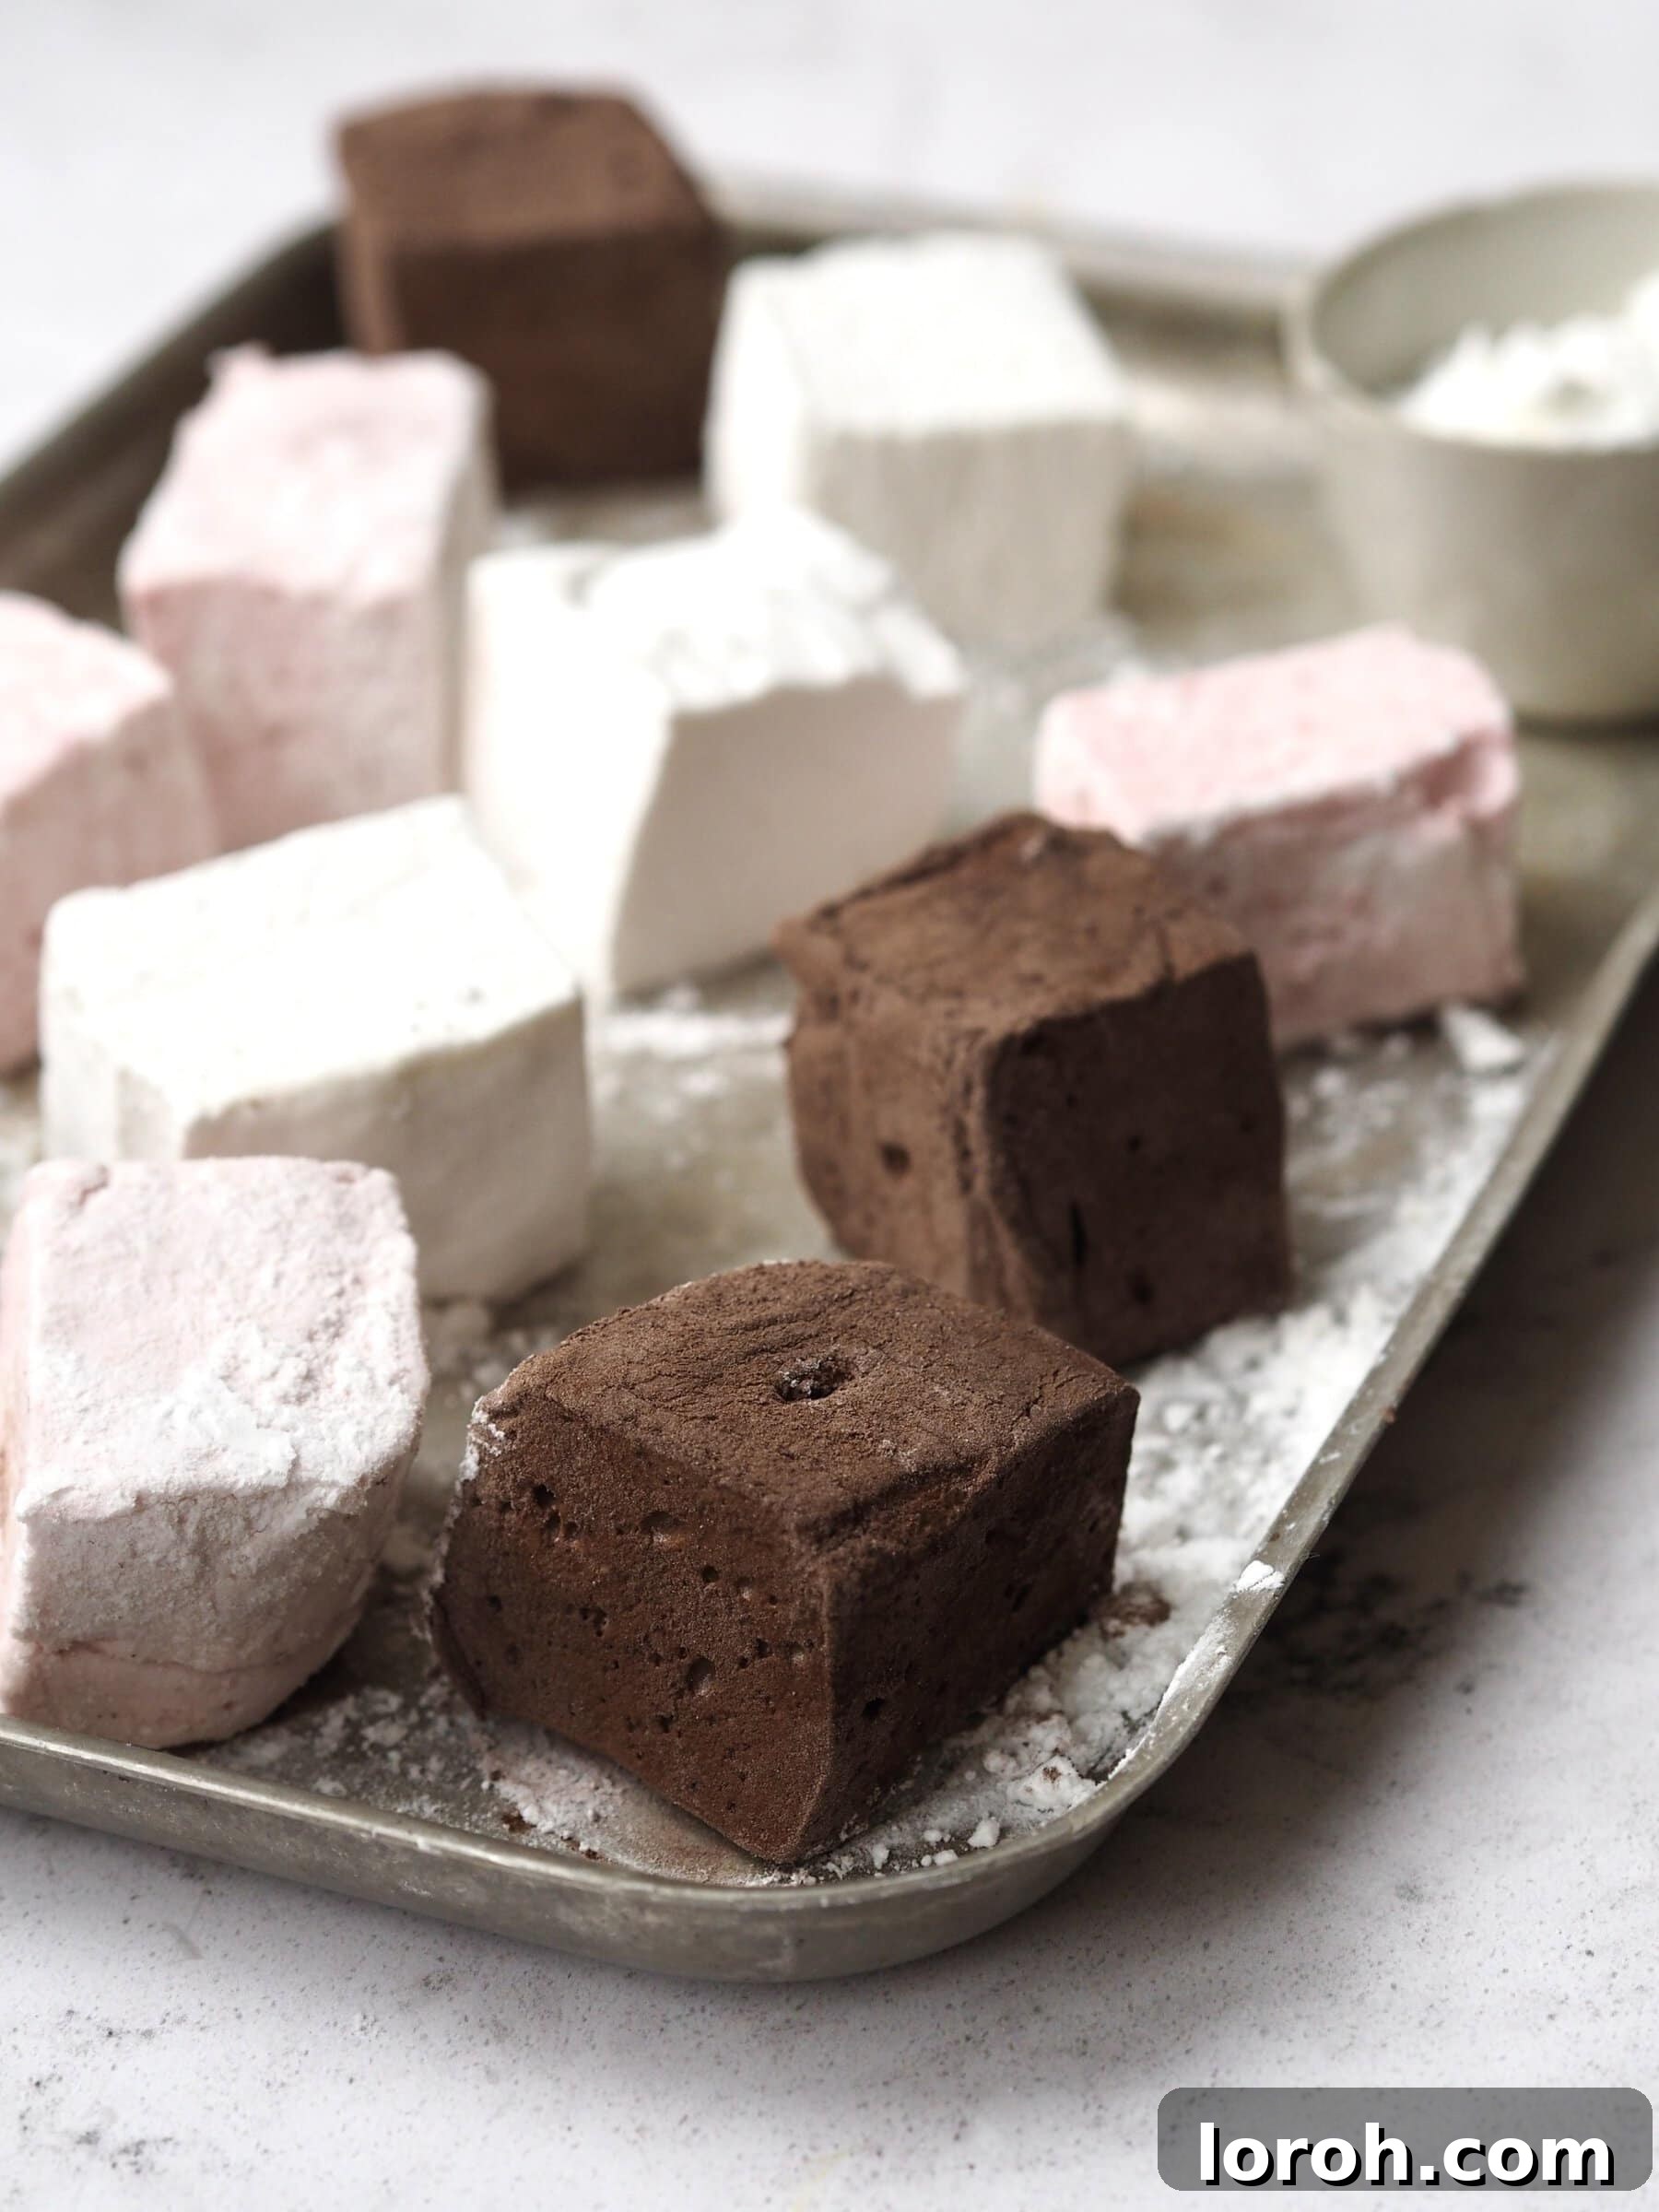
- Dust a baking tray or board with a mixture of cornflour and cocoa powder. Tip the set marshmallows onto the tray. Dust a large sharp knife with the cocoa-cornflour mix, then cut the marshmallow into equal-sized cubes. Toss to coat each one thoroughly in the dusting mixture.
Notes
- Step-by-Step Guide: Refer to the visual step-by-step guide with images above to help you with this recipe.
- Storage: Ensure each individual marshmallow is liberally coated in the cornflour-cocoa mix; this prevents them from sticking together. Store in an airtight container in a cool, dry place. If stacking, layer with parchment paper. They will keep for up to 3 weeks.
- Freezing: Freeze in an airtight container for up to 3 months. Thaw at room temperature. Note that they keep well at room temperature for several weeks, so freezing might not always be necessary.
- Make Ahead: These homemade marshmallows keep excellently in an airtight container in a cool, dry place for up to 3 weeks, making them ideal for preparing in advance.
- Size: You can cut the marshmallows into any size you like – from jumbo to mini. You can also use different sized baking tins to alter the initial depth of the marshmallow slab.
- Make Without Sugar Thermometer: If you are making without a sugar thermometer, please scroll up to the “Can You Make Marshmallows Without a Sugar Thermometer?” section in the main article to see how the cold water test is performed.
Nutrition
Nutrition information is automatically calculated, so should only be used as an approximation.
- Serving: 1 marshmallow
- Calories: 97kcal
- Carbohydrates: 24g
- Protein: 2g
- Fat: 1g
- Saturated Fat: 0.3g
- Polyunsaturated Fat: 0.01g
- Monounsaturated Fat: 0.2g
- Sodium: 9mg
- Potassium: 51mg
- Fiber: 1g
- Sugar: 23g
- Calcium: 7mg
- Iron: 0.5mg
Like this recipe? Leave a comment below!
Your feedback helps us create more delicious content.