
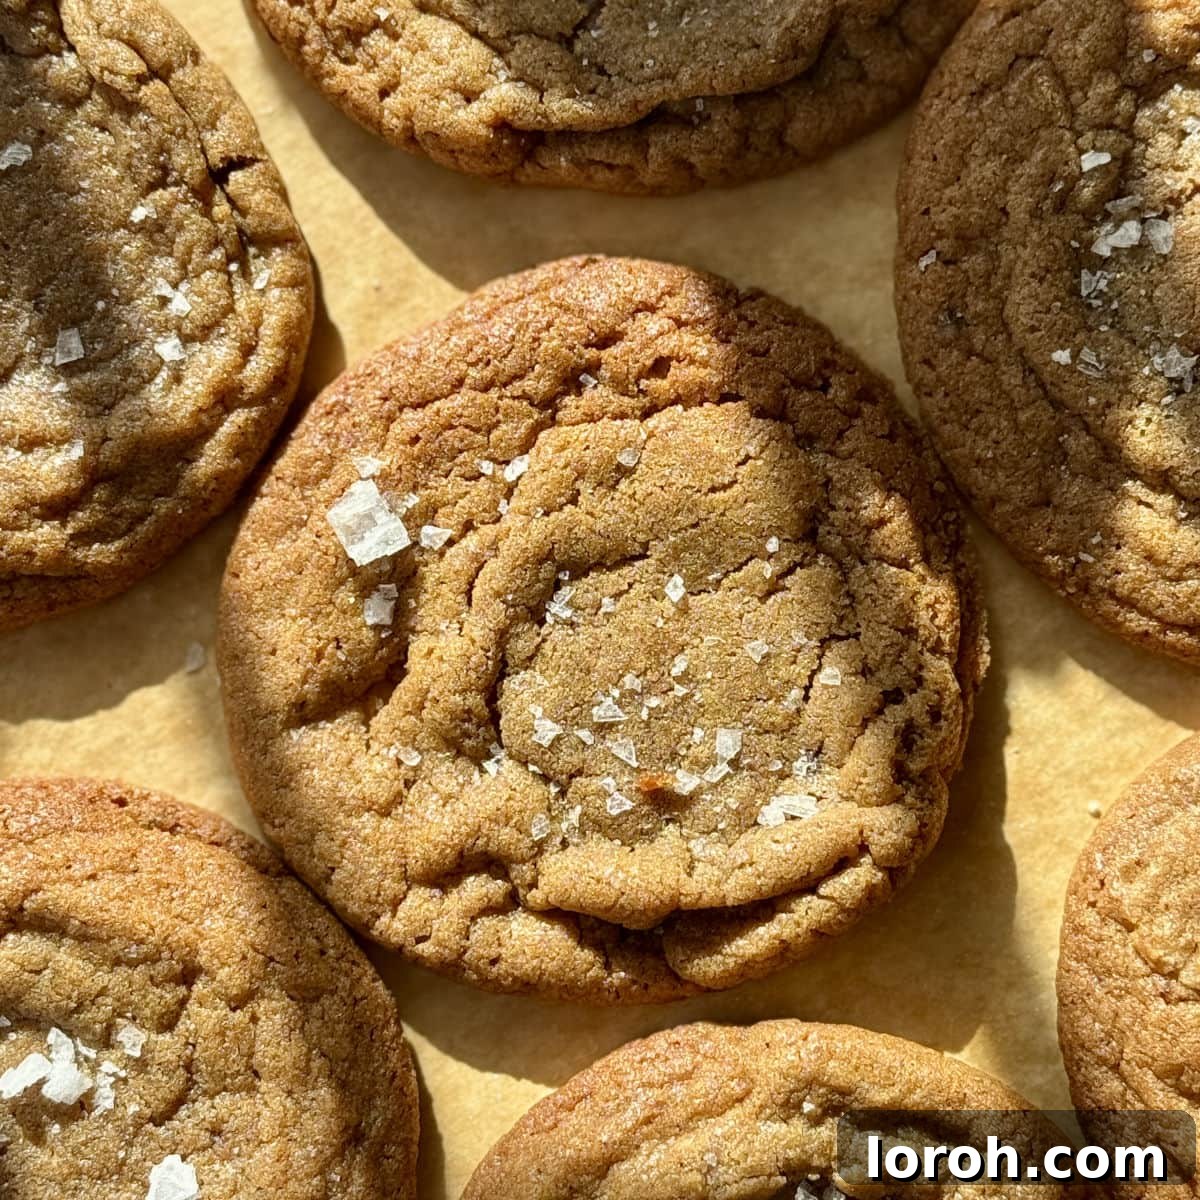
The Ultimate Guide to Soft & Chewy Chocolate Chipless Cookies
At first glance, you might think these chocolate chipless cookies are simply cookies without chocolate chips – and yes, they are, but their true essence goes far beyond that. By removing the chocolate and embracing the depth of nutty brown butter, the buttery caramel notes and profound vanilla flavor are allowed to truly shine. The result is a cookie masterpiece: a deliciously chewy, soft center beautifully contrasted with crisp, golden edges. Often affectionately known as ‘boneless cookies,’ by any name, they are an absolute delight and a must-try for any cookie enthusiast.
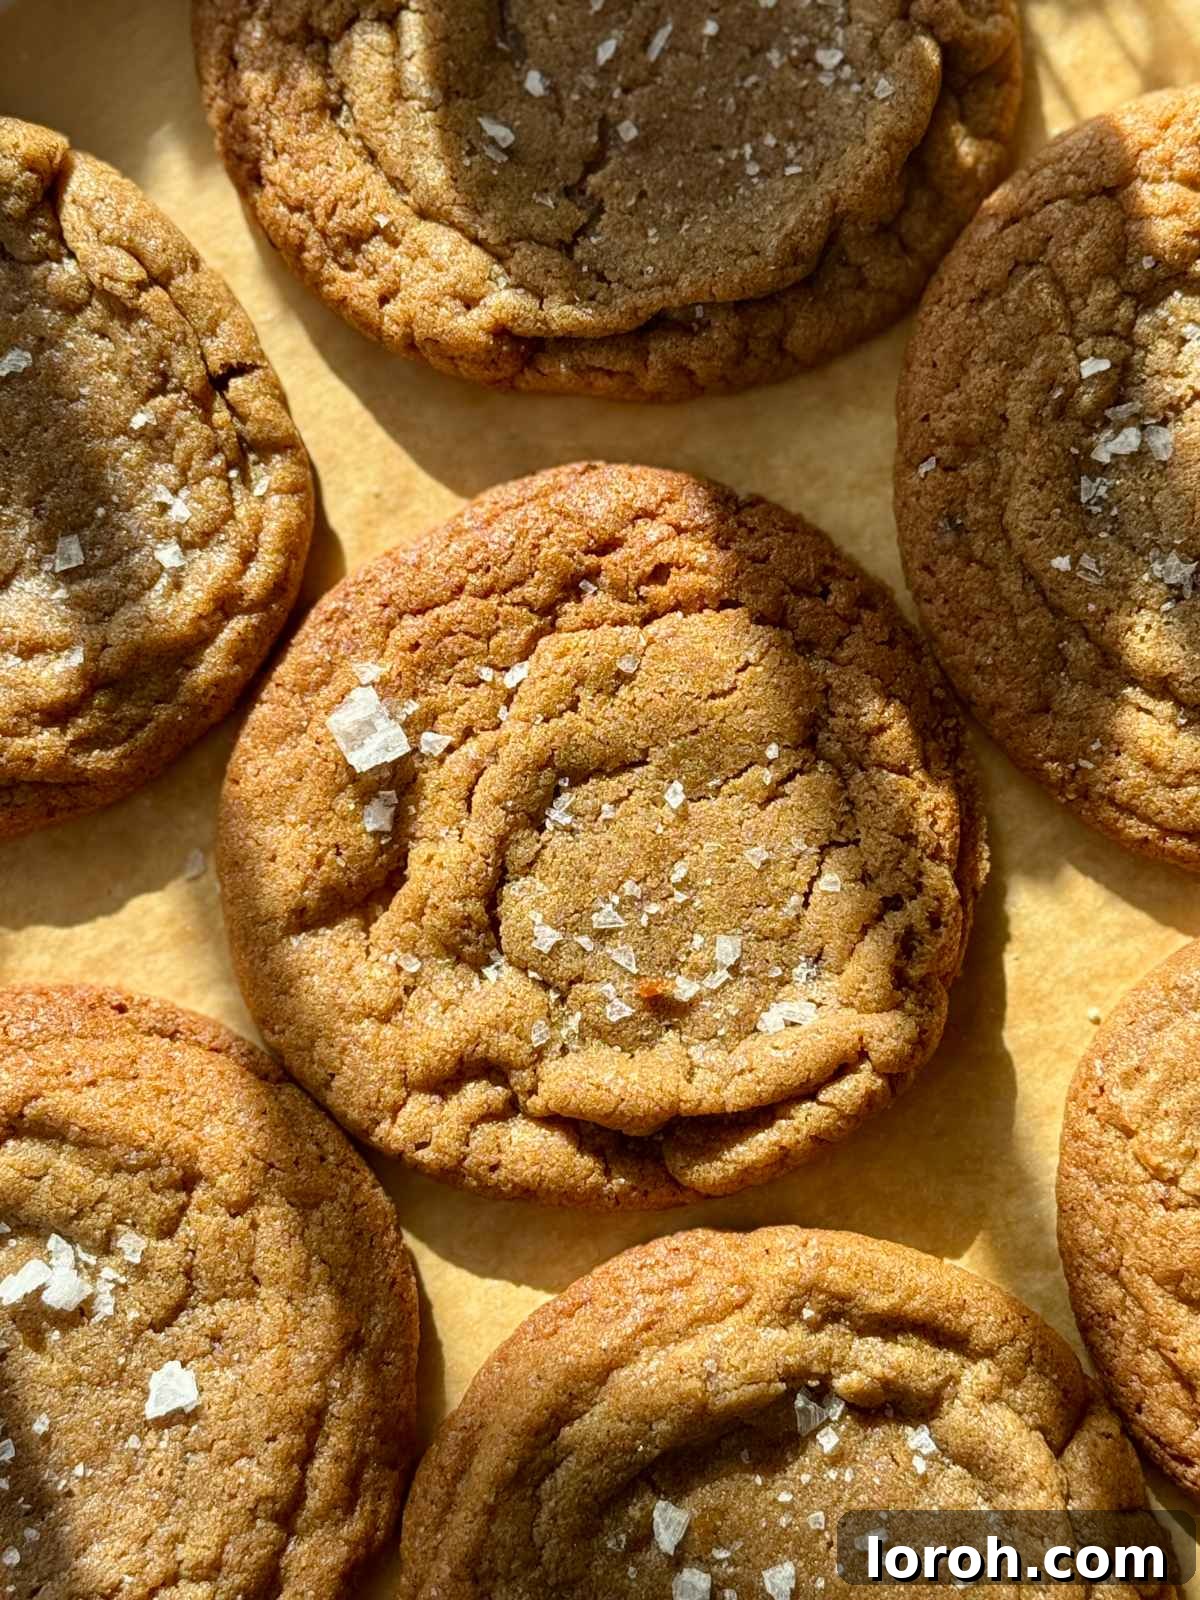
Whether you’ve run out of chocolate chips, prefer desserts without chocolate, or simply crave a unique and comforting treat, these chipless wonders are the perfect solution. Even if you’re a devoted chocolate lover, we strongly encourage you to give these a try; their distinct flavor profile is truly captivating. Imagine dunking one of these warm, buttery cookies into a rich hot chocolate – it’s an experience not to be missed! Below, you’ll find a comprehensive guide, including a detailed recipe, step-by-step instructions, essential texture tips, and troubleshooting advice to ensure your chipless cookie baking is a resounding success.
Why You Will Love This Recipe: A Cookie Revelation
These aren’t just any cookies; they are a delightful journey for your taste buds, offering several compelling reasons to become your new favorite:
- They showcase a deep, complex caramel-vanilla flavor, allowing the rich notes of brown butter and brown sugar to truly captivate the palate. Without chocolate, these foundational flavors take center stage, creating an unparalleled depth.
- Effortless to prep ahead, the dough can be prepared and allowed to rest overnight for enhanced flavor development, or baked immediately if time is of the essence. This flexibility makes them perfect for spontaneous baking or planned events.
- They deliver the quintessential cookie texture: a perfectly chewy, soft center cradled by delightfully crisp, golden edges. Every bite is a harmonious blend of textures that will keep you coming back for more.
- Ideal for those with chocolate sensitivities or allergies, or simply when you desire a straightforward yet incredibly satisfying homemade treat. These cookies prove that you don’t need chocolate to achieve extraordinary flavor.
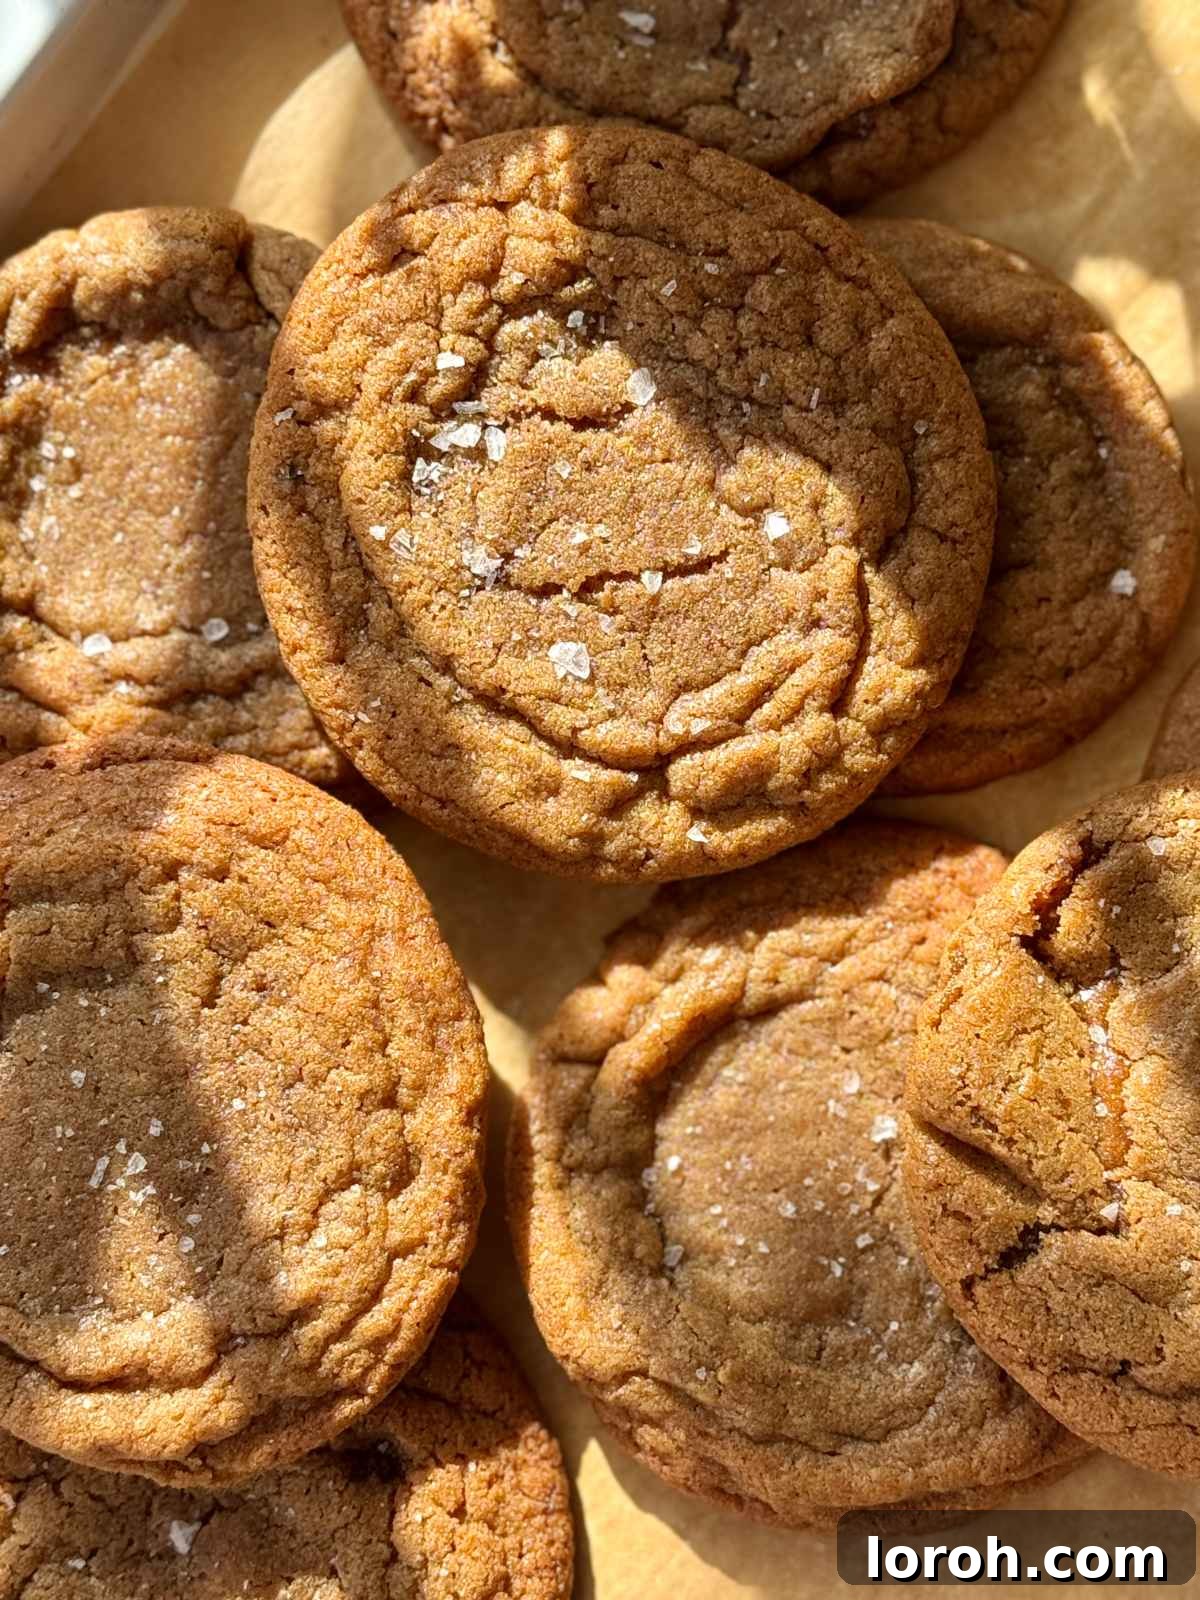
Key Ingredients for Perfection: Crafting the Ideal Chipless Cookie
The magic of these cookies lies in a few simple, high-quality ingredients. Each plays a crucial role in achieving that perfect texture and unforgettable flavor profile. You’ll find the complete ingredient list with precise measurements in the printable recipe card at the bottom of this page, but let’s delve into some of the stars:
Soft Light Brown Sugar: This ingredient is absolutely critical for the signature chewy texture of these cookies. Unlike demerara or turbinado sugars, its fine crystals and molasses content contribute to a tender crumb and deep caramel notes. It ensures moisture and a delightful chewiness that granulated sugar alone cannot provide.
Caster Sugar (Superfine Sugar): Known as superfine sugar in the US, caster sugar’s delicate grain size melts quickly and evenly, contributing to the cookie’s crisp edges and uniform spread without making them too flat. It balances the richness of the brown sugar beautifully.
Vanilla Extract: As a primary flavor in chipless cookies, vanilla is paramount. While a good quality vanilla extract works wonderfully, for an even richer and more intense vanilla experience, consider using vanilla bean paste. The visible specks of vanilla bean add a gourmet touch and deeper aroma. Always opt for the best quality you can find, as its impact is truly profound here.
Plain Flour (All-Purpose Flour): This provides the essential structure for your cookies, giving them the right amount of lift and stability without making them tough. It’s the backbone of the cookie, holding all the rich flavors and textures together. Ensure it’s accurately measured to avoid overly dense or crumbly cookies.
Salted Butter: The foundation of flavor! Browning the butter elevates this simple ingredient into a nutty, aromatic powerhouse, infusing the cookies with incredible depth. If using unsalted butter, simply add an extra pinch of fine sea salt to the dough.
Large Egg: The egg acts as a binder, bringing the dough together and adding moisture. It also contributes to the rich flavor and helps achieve that desirable chewy texture by providing structure when baked.
Bicarbonate of Soda (Baking Soda): This leavening agent reacts with the acidic brown sugar to create carbon dioxide, resulting in a slightly puffed, tender cookie with a soft interior. It’s key to the cookie’s signature rise and texture.
Fine Sea Salt: A touch of salt enhances all the sweet and buttery flavors, preventing the cookies from tasting one-dimensional. It truly makes the caramel notes pop. Don’t confuse this with the flaky sea salt for topping!
Substitutions and Variations: Unleash Your Creativity
While these chocolate chipless cookies are perfect as they are, there’s always room for a little customization. Here are some ideas to make them uniquely yours:
- Brown Butter: The nutty flavor of brown butter is a game-changer for this recipe, adding a layer of caramel richness that distinguishes these cookies. However, if you’re truly short on time, you can use regular softened unsalted butter (add a pinch of salt). The cookies will still be delicious but will have a different, less complex flavor profile. We highly recommend taking the extra step for brown butter!
- Caster Sugar Swap: If you don’t have caster sugar on hand, granulated sugar can be used as a direct substitute. The texture might be slightly different, but the cookies will still turn out beautifully.
- Creative Mix-ins: These are designed to be chocolate chipless, but this foundational dough is incredibly versatile. If you’re looking to experiment, consider adding about 200g (approximately 1.5 cups) of your favorite mix-ins. Think chopped toasted nuts like pecans or walnuts for an extra crunch, dried cranberries or cherries for a fruity twist, or even white chocolate chunks if you’re not strictly avoiding chocolate. Toasted coconut flakes or a sprinkle of cinnamon can also add wonderful dimensions of flavor.
- Spices: A pinch of cinnamon, nutmeg, or even a touch of cardamom can add warmth and complexity, especially during autumn or winter months.
- Citrus Zest: For a brighter flavor, add the zest of half an orange or a whole lemon to the dough with the wet ingredients.
How to Make Chewy Chocolate Chipless Cookies: Step-by-Step Perfection
Follow this detailed step-by-step guide to create your perfect batch of chipless cookies. For full, precise measurements and timings, please refer to the complete recipe card at the bottom of the page.
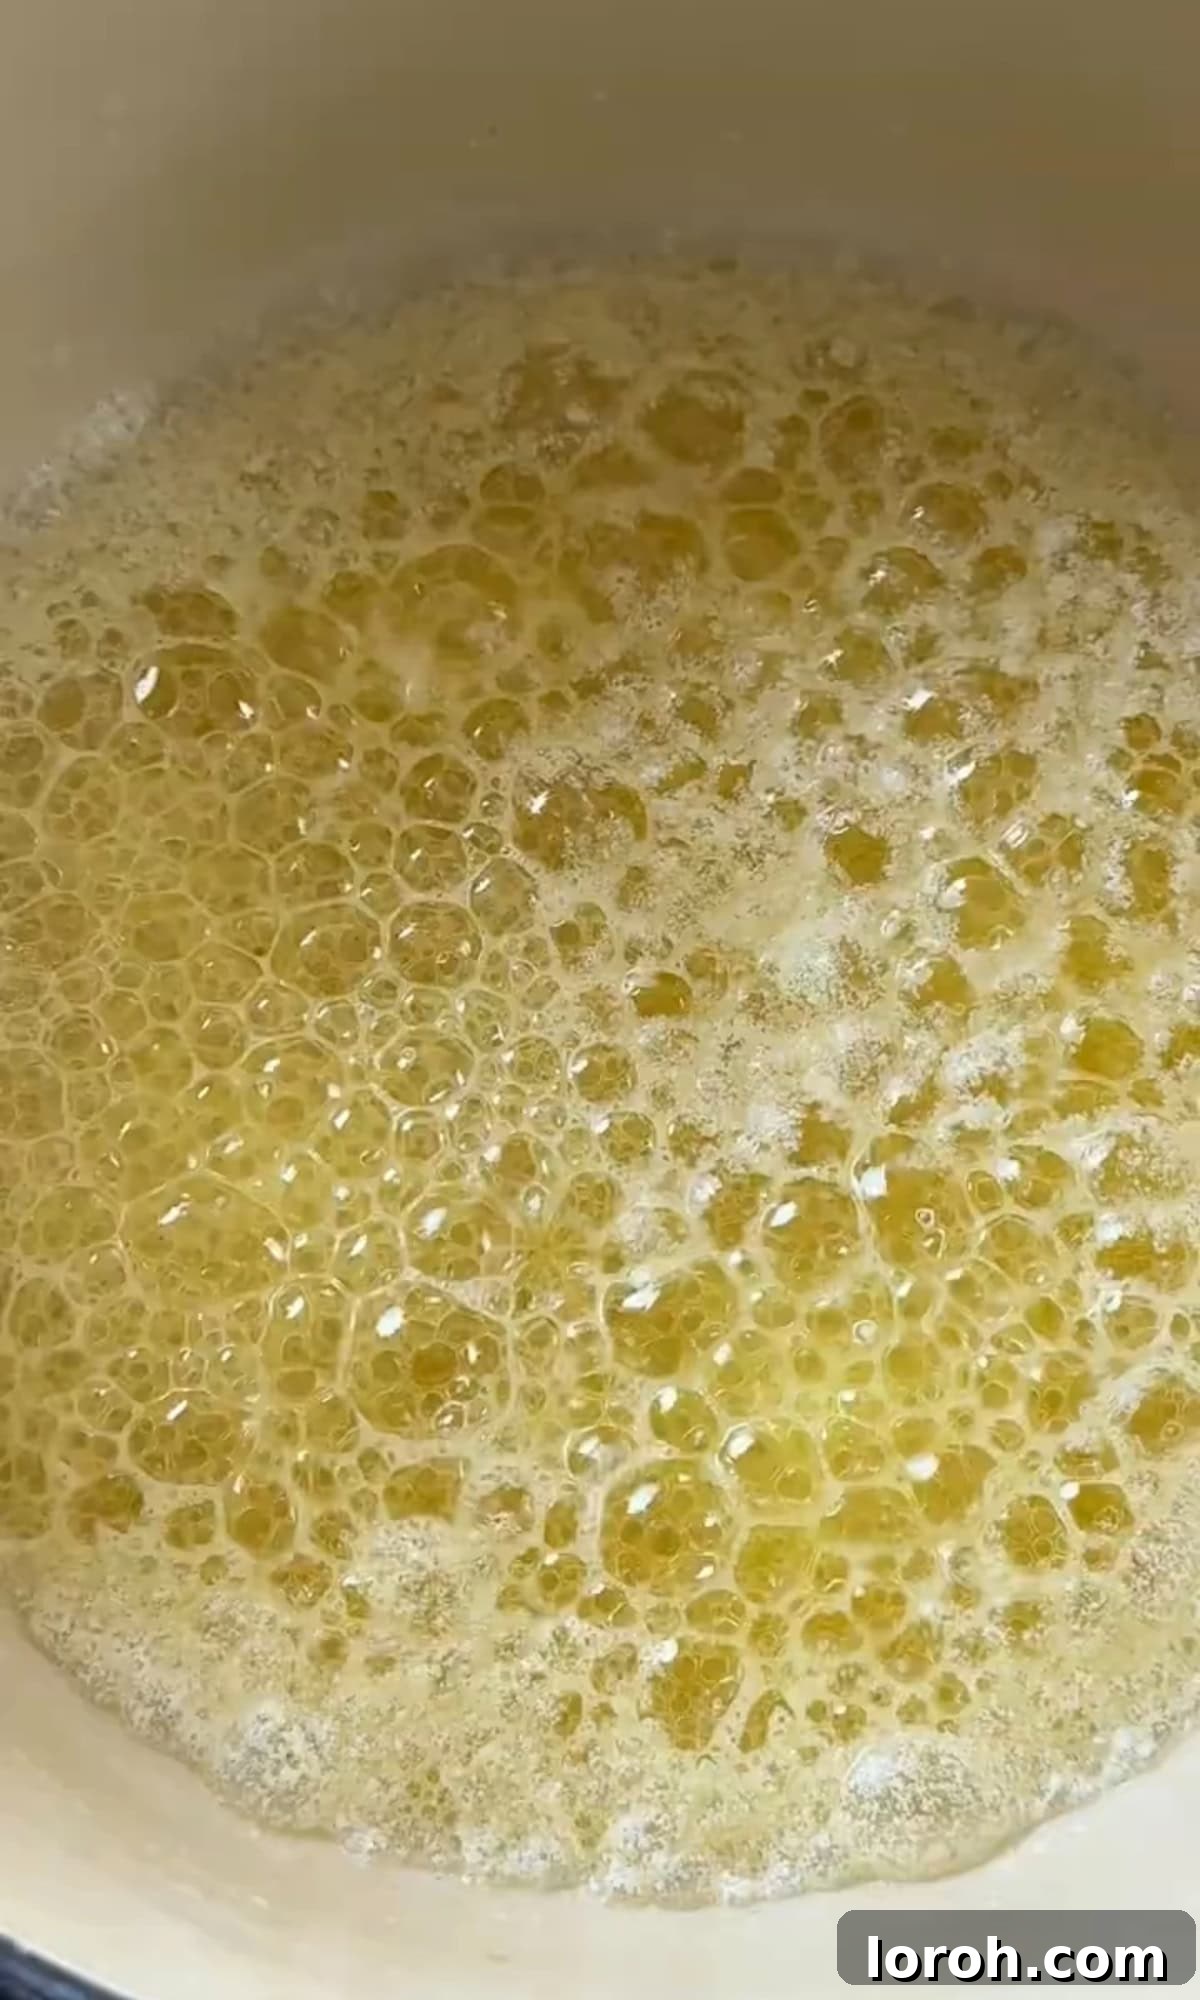
ONE: Crafting Brown Butter. Begin by dicing your salted butter and placing it into a medium-sized non-stick saucepan. Set it over medium heat, stirring gently until it’s completely melted. Increase the heat slightly to medium-high and allow the butter to come to a steady bubble, stirring frequently. Don’t be alarmed by the bubbling and spitting – this is perfectly normal, but exercise caution. Continue cooking and stirring until the crackling sounds diminish and the bubbles begin to subside. At this point, a delicate foam will appear on the surface, and the color will shift from a bright golden-yellow to a light brown, eventually reaching a deep amber. This process typically takes 7-10 minutes, depending on your pan size and heat level. Crucially, watch it very closely; butter can go from perfectly browned to burnt in a matter of seconds. As soon as you see rich brown flecks at the bottom of the pan and perceive a gorgeous, nutty aroma, immediately remove the pan from the heat. Carefully pour the browned butter into a medium-sized heatproof bowl to halt the cooking process. Allow it to cool slightly; it doesn’t need to be fully room temperature, but should not be scorching hot before mixing. This brown butter can be prepared up to two weeks in advance and stored in the fridge. Just remember to bring it back to a softened room temperature before proceeding with the cookie dough.
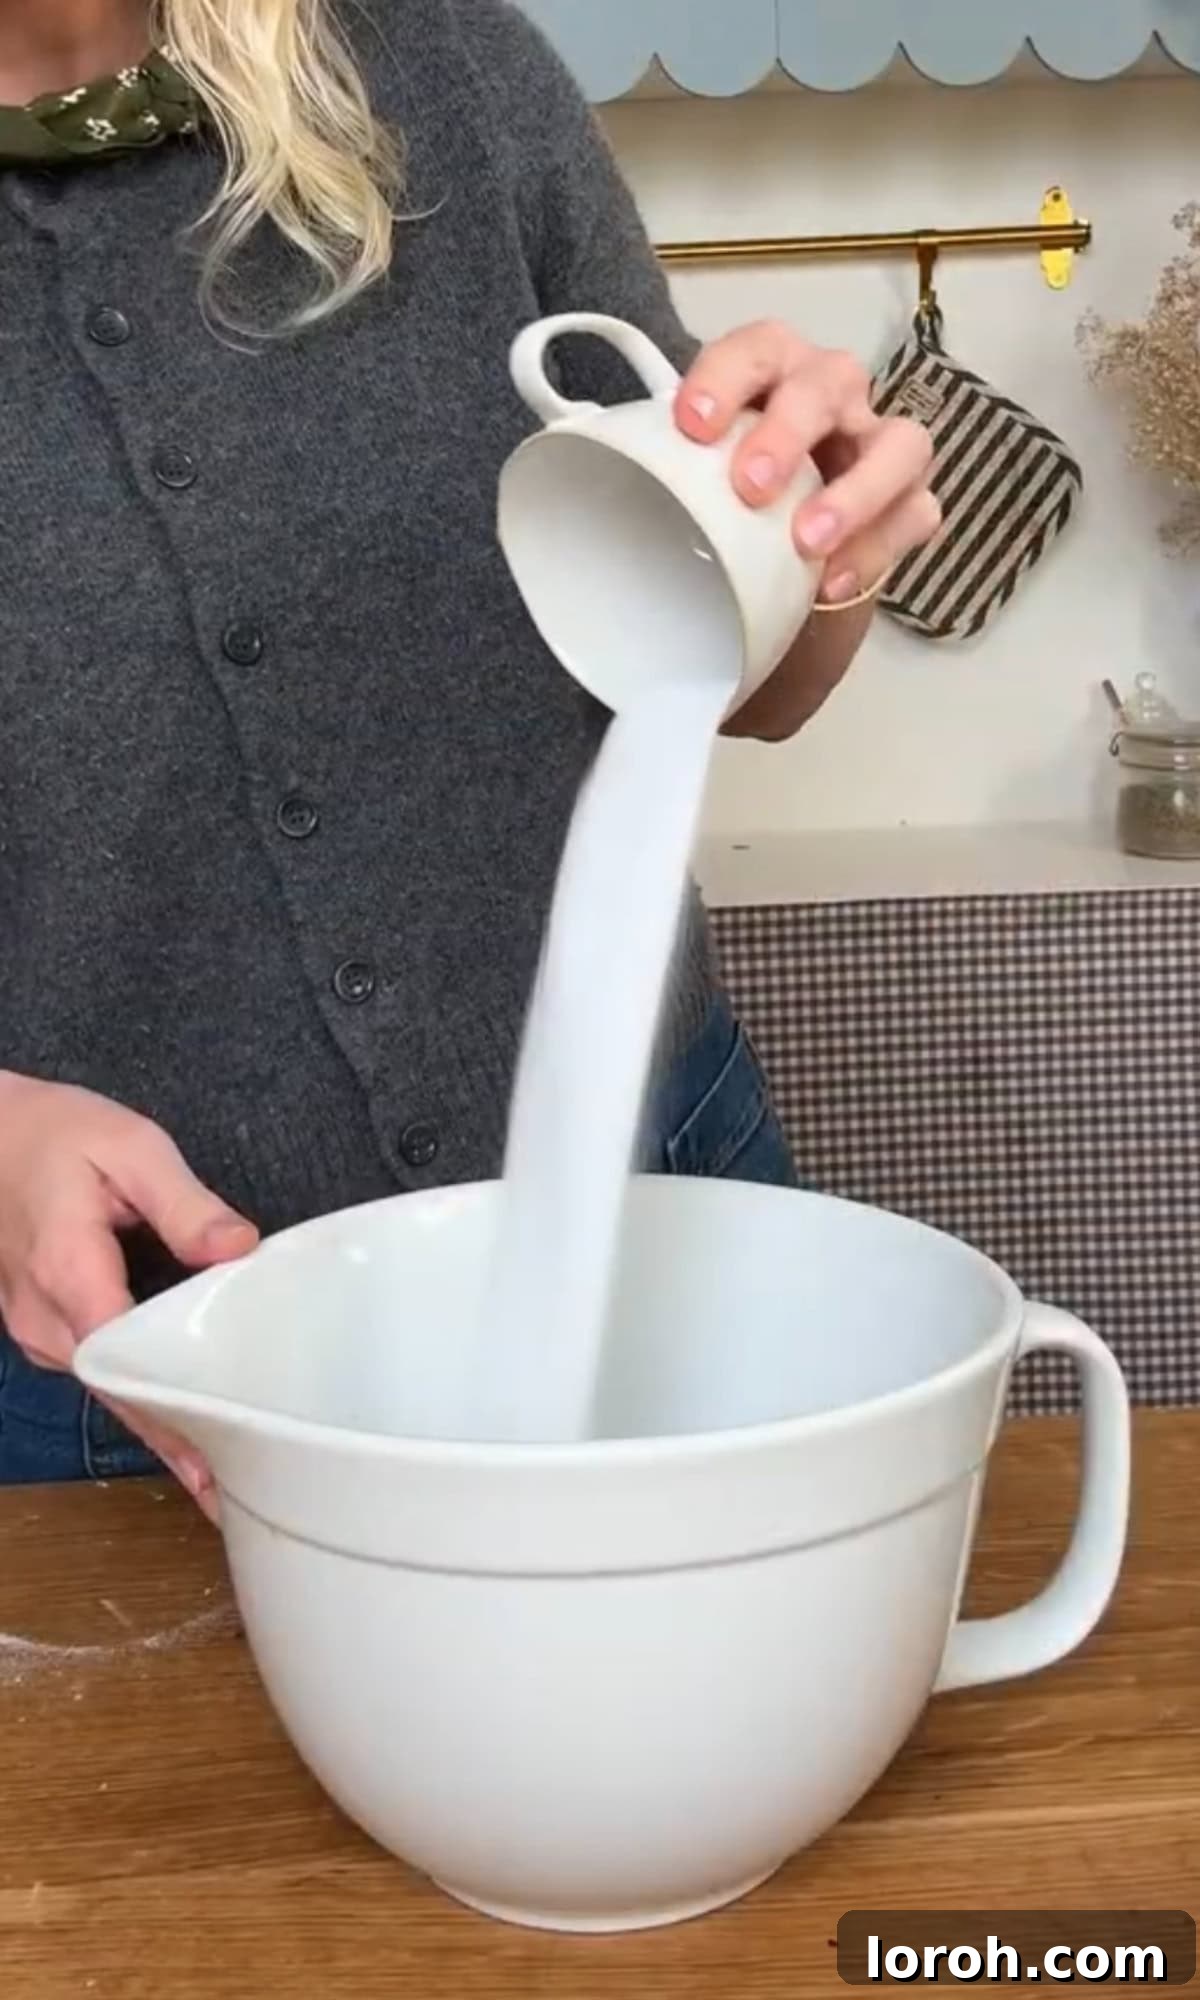
TWO: Creaming the Wet Ingredients. In a large mixing bowl, combine your slightly cooled brown butter with the caster sugar and soft light brown sugar. Using an electric whisk (or a sturdy wooden spoon for a good arm workout), beat these ingredients together until they are light, fluffy, and well combined. This creaming process incorporates air, which contributes to the cookies’ final texture and spread.
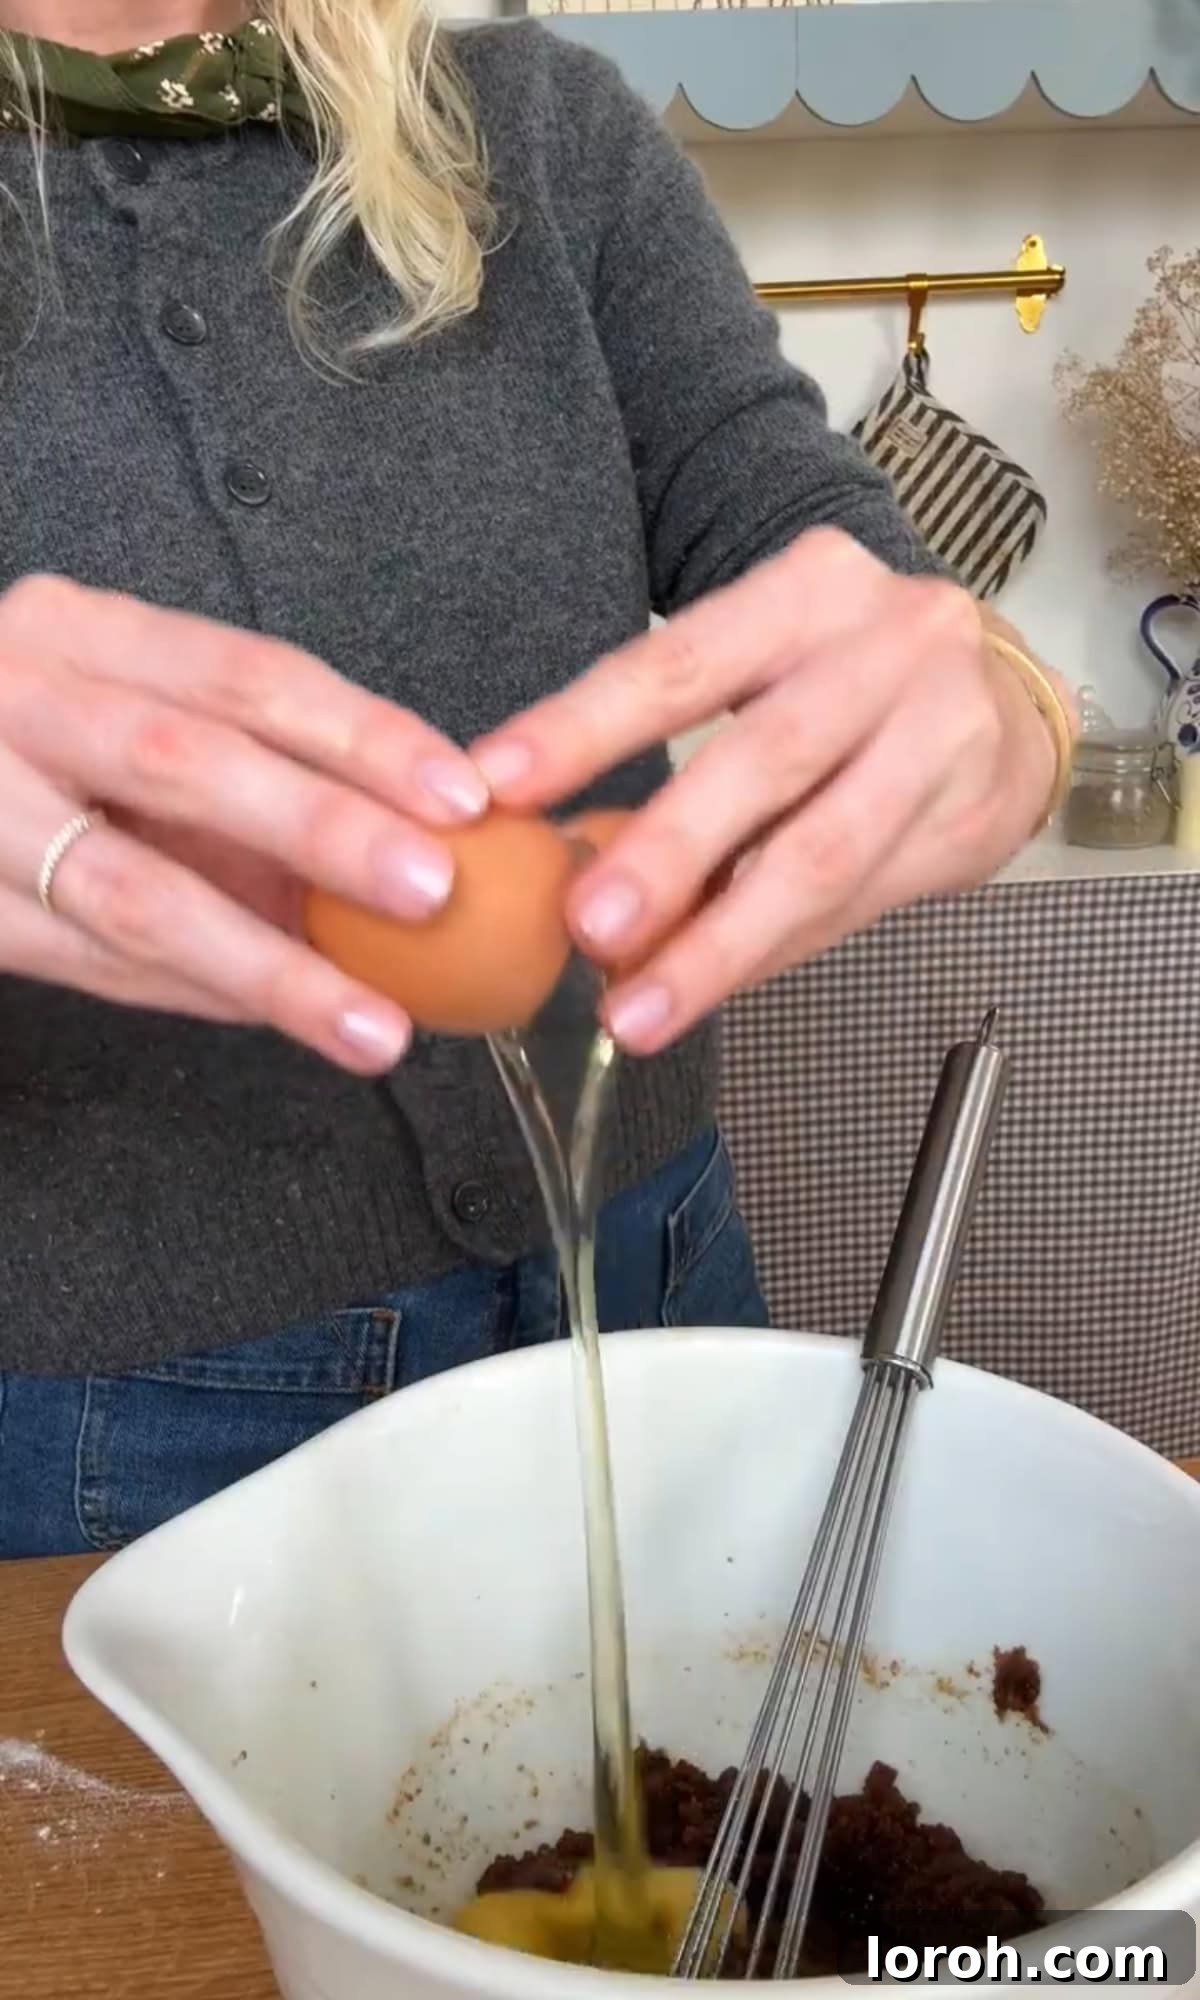
THREE: Incorporating Egg and Vanilla. To the creamed butter and sugar mixture, add the large egg and the vanilla extract (or vanilla bean paste). Mix again, ensuring everything is thoroughly combined. Scrape down the sides of the bowl to ensure no dry streaks remain and that the mixture is homogenous and smooth. The vanilla is a star here, so make sure it’s fully integrated.
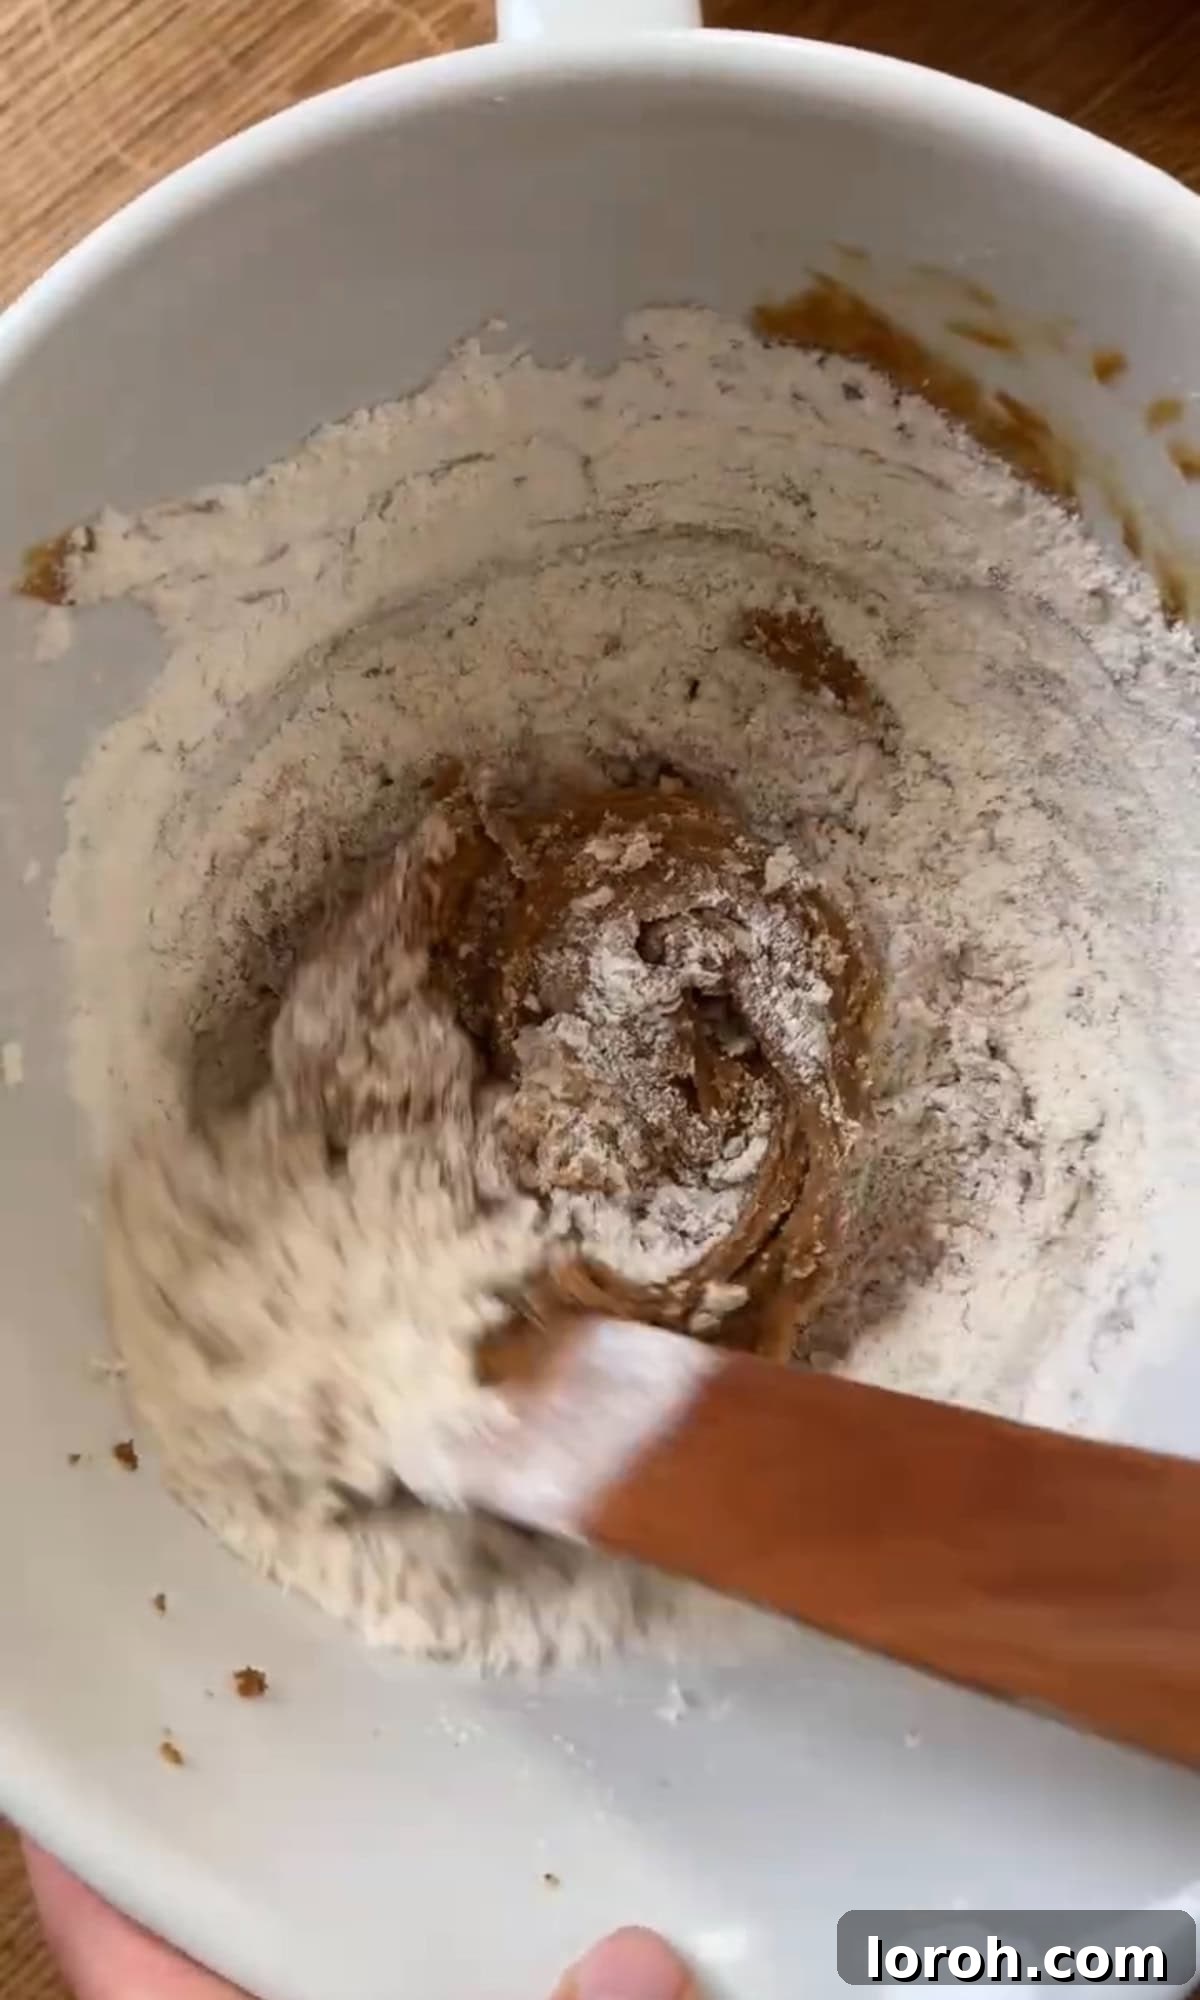
FOUR: Adding Dry Ingredients and Chilling. Gradually add the plain flour, bicarbonate of soda, and fine sea salt to the wet mixture. Mix until just combined and a smooth dough forms. Be careful not to overmix at this stage, as overworking the dough can lead to tough cookies. As soon as the flour streaks disappear, stop mixing. Cover the bowl with plastic wrap and chill the dough in the fridge for at least 30 minutes, or ideally overnight. This chilling step is crucial for flavor development, preventing excessive spreading, and achieving that desired chewy texture.
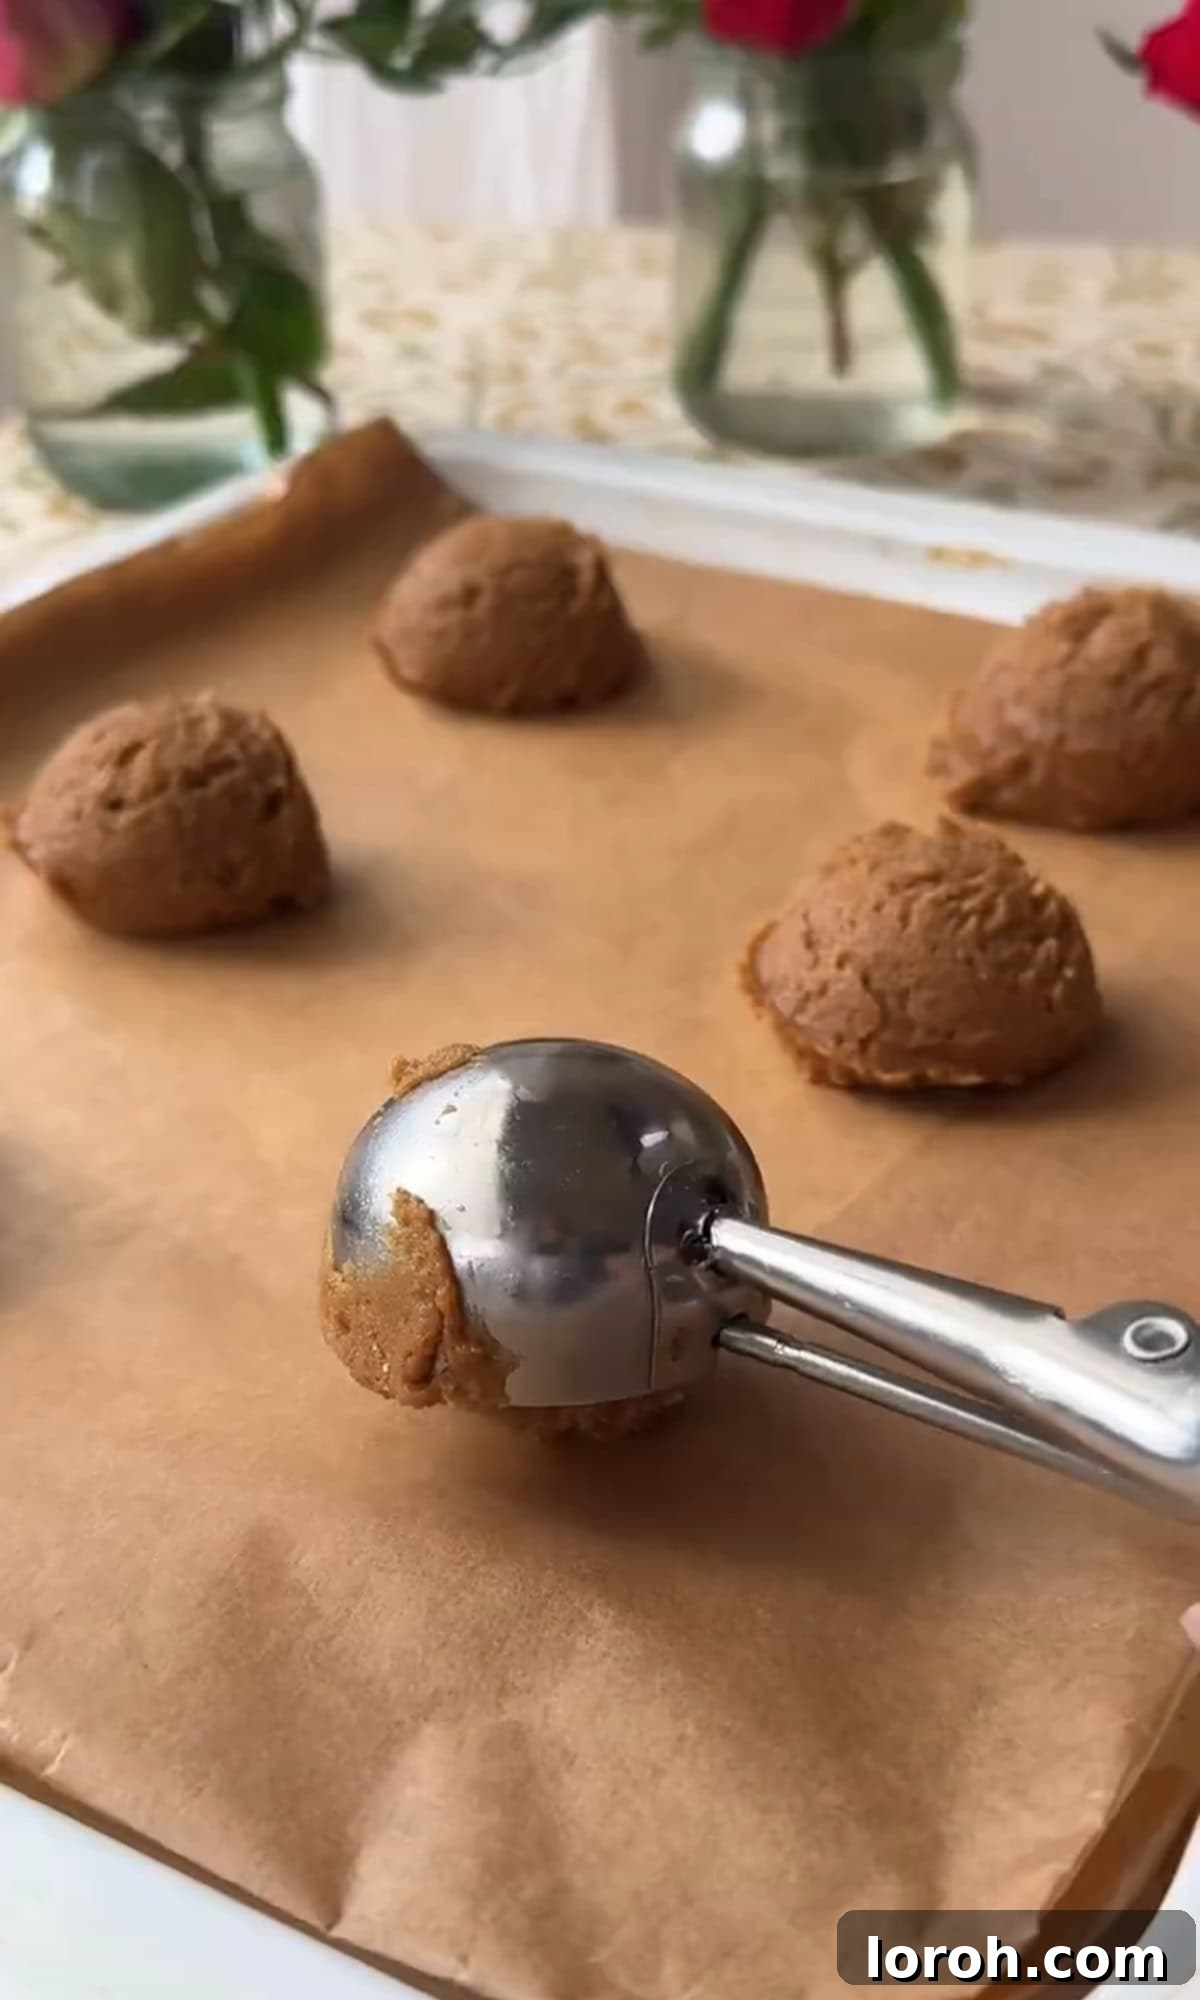
FIVE: Scooping and Baking. Once the dough is adequately chilled, preheat your oven to 190°C (170°C fan/375°F). Line a couple of baking sheets with non-stick parchment paper. Use an ice cream scoop or a spoon to portion the dough into 10-12 uniform balls. Arrange them on the prepared baking sheets, ensuring ample space between each ball as they will spread during baking (typically 4-6 cookies per sheet works well). Bake for 8-10 minutes. The cookies are ready when the edges appear set and lightly golden, while the centers still look very soft and slightly underbaked. Remember, they will continue to firm up as they cool, so resist the urge to overbake. Immediately after removing them from the oven, sprinkle with flaky sea salt to enhance their sweet and savory balance.
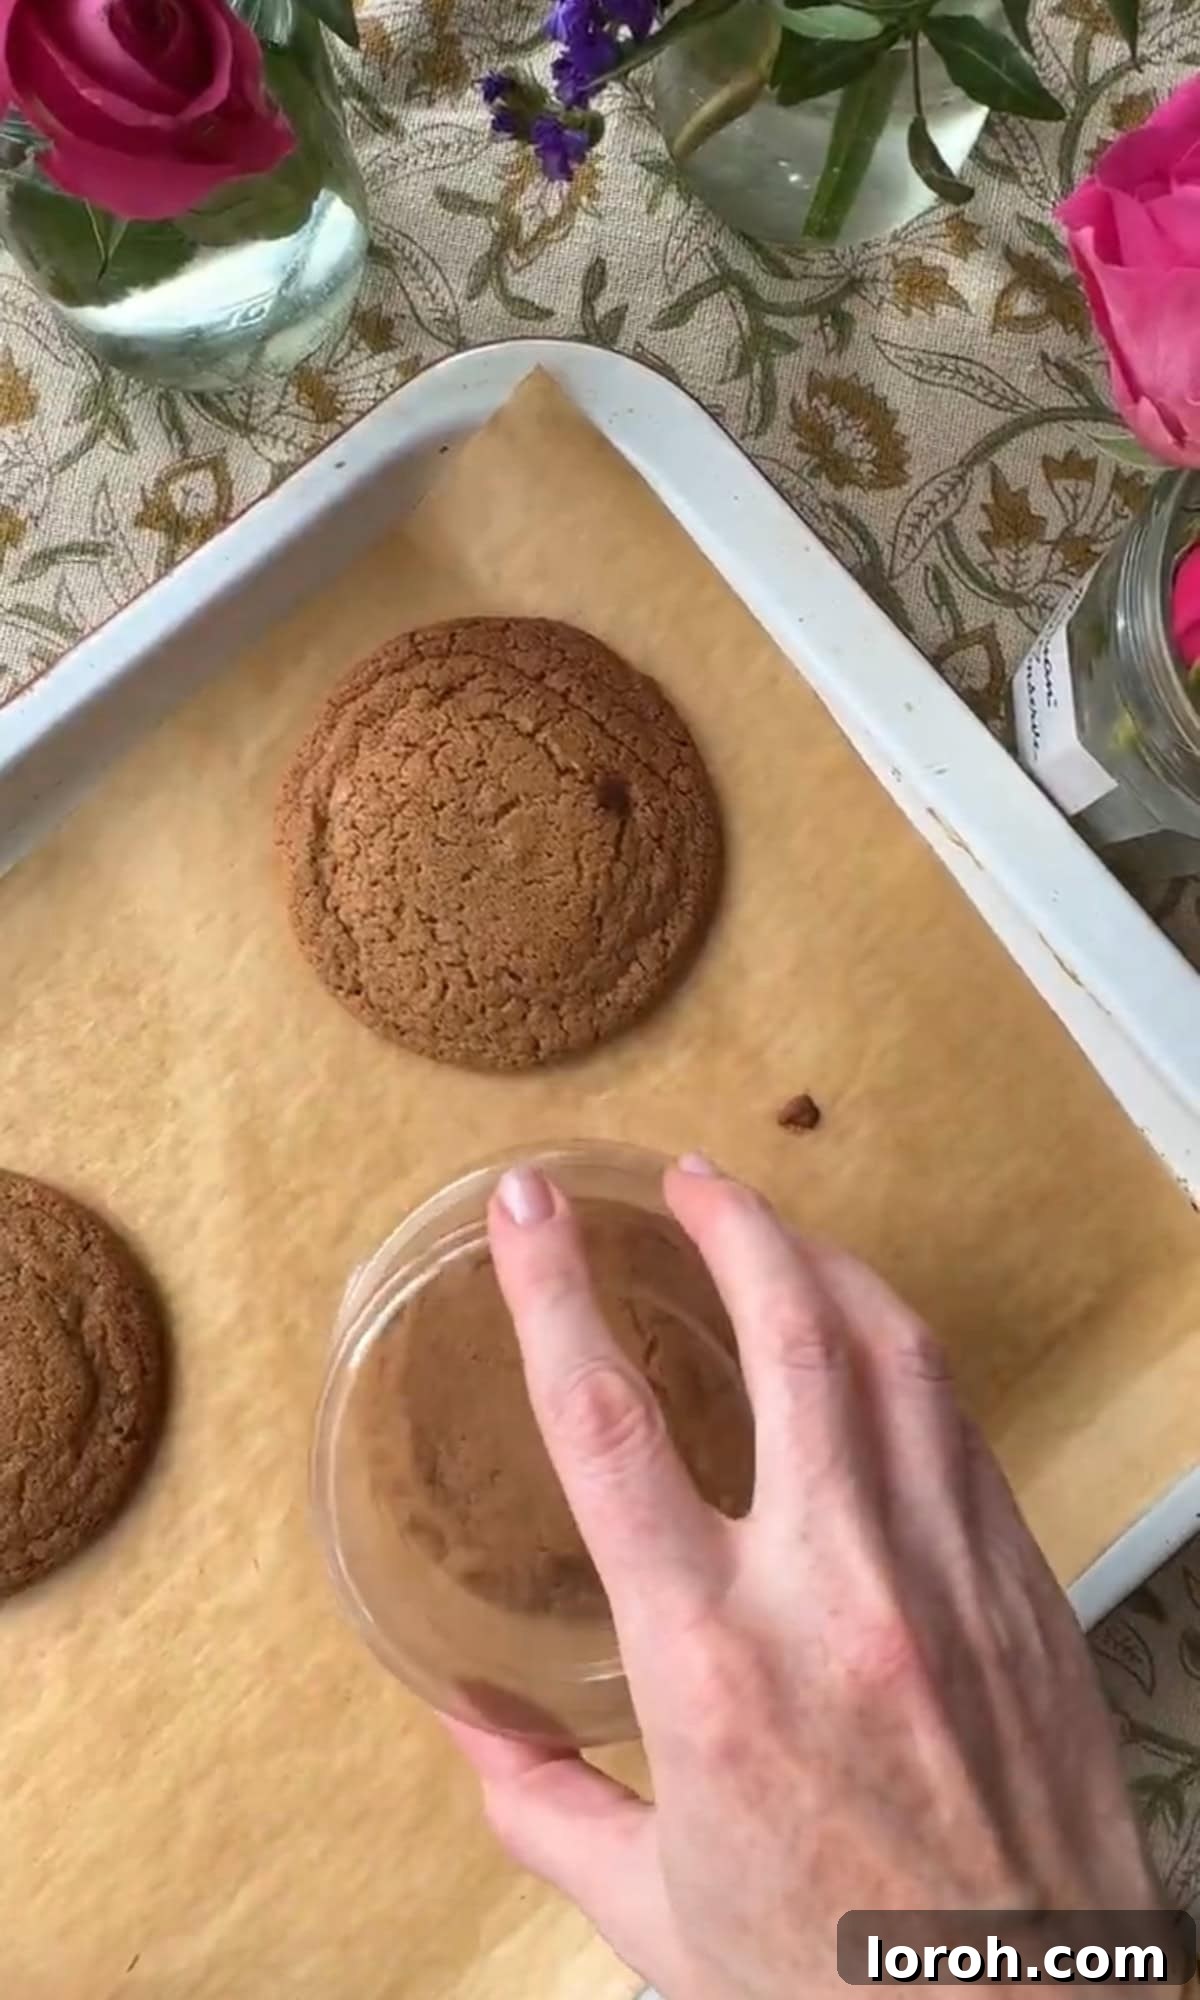
SIX: Achieving Perfect Circles. This is a pro tip for bakery-style perfection! As soon as the cookies emerge from the oven, while they are still hot and pliable, take a large cookie cutter (one that is slightly larger than your baked cookies) or an overturned glass. Gently place it over each cookie and swirl it around the edges. This simple technique reshapes any irregular edges into beautifully perfect circles, giving your chipless cookies a professional finish. Ensure your cutter or glass is larger than the cookie to avoid odd indentations. Allow the cookies to cool on the baking sheet for a few minutes before transferring them to a wire rack to cool completely, locking in that delightful chewy texture.
Troubleshooting Common Cookie Problems: Achieving Perfection
Even experienced bakers can encounter issues. Here’s a guide to common cookie problems and how to fix them, ensuring your chipless cookies turn out perfect every time:
| Problem | Cause | Fix |
|---|---|---|
| Cookies too flat | Butter too warm, dough not chilled enough, or too much leavening. | Ensure brown butter is cool enough before mixing. Chill dough for at least 1 hour, or ideally overnight. If butter was too warm, consider adding an extra tablespoon of flour. |
| Cookies too cakey | Dough overmixed, especially after adding flour. Too much flour or baking soda. | Mix dry ingredients into wet until just combined; stop as soon as flour streaks disappear. Double-check flour and leavening measurements. |
| Grainy texture | Sugars not properly dissolved into the butter. | Beat the brown butter and sugars together for a longer period (3-5 minutes with an electric mixer) until the mixture is light, fluffy, and sugar crystals are mostly dissolved. |
| Cookies are greasy | Too little flour, causing the butter to separate, or butter too warm. | Accurately measure flour. If dough feels overly wet or greasy, add 10-15g (about 1 tablespoon) of extra plain flour and chill thoroughly. |
| Hard cookies | Overbaked cookies are the primary culprit. | Keep a close eye on your cookies! Remove them from the oven when the edges are just set and golden, but the middle still looks soft and slightly underbaked. They will firm up as they cool. |
| Sticky dough | Often due to warm kitchen temperatures or insufficient chilling. | Chill the dough for at least 30 minutes, or longer if your kitchen is particularly warm or humid. A longer chill can also improve flavor. |
| Burnt bottoms | Using a thin baking tray, an oven that’s too hot at the bottom, or cookies placed too low. | Always use a heavy-bottomed, light-colored baking sheet. Consider baking in batches on the middle rack of your oven. You can also place an empty baking sheet on the rack below to act as a heat shield. |
| Pale color | Oven temperature too low or insufficient baking time. | Verify oven temperature with an oven thermometer. Bake for a few extra minutes until edges are golden. Remember, oven temperatures can vary significantly. |
Essential Cooking Tips for Flawless Cookies: Master Your Bake
Achieving cookie perfection is an art, but these crucial tips will set you up for success with your chipless cookies:
- Flour & Mixing Precision: Once you’ve added the dry ingredients (flour, bicarbonate of soda, salt) to the wet mixture, mix only until they are just combined and no streaks of flour remain. Overworking the dough develops the gluten too much, resulting in tough, dry cookies instead of the soft and chewy texture we crave. Use a gentle hand or mix on low speed.
- The Magic of Chilling: Do NOT skip the chilling step! Even just 30 minutes in the fridge makes a remarkable difference. Chilling solidifies the butter in the dough, which prevents the cookies from spreading too much and becoming thin puddles in the oven. The result? Thicker, chewier cookies with more even browning and a superior overall texture. It also allows the flour to fully hydrate, enhancing the flavors and creating a more cohesive dough. If you’re truly in a hurry, consider making chocolate chip cookie bars instead, which are more forgiving without chilling.
- Give Them Space: Cookies spread as they bake, so it’s essential to arrange your dough balls with plenty of room between them on the baking sheet. Overcrowding can lead to uneven baking, misshapen cookies, and them baking into each other. A good rule of thumb is 4-6 cookies per standard baking sheet.
- The Patience of Cooling: While it’s tempting to devour them straight from the oven, allow your cookies to cool on the baking sheet for at least 10-15 minutes before transferring them to a wire rack or indulging. This crucial cooling time allows the cookies to firm up and fully set, locking in that perfect chewy texture and preventing them from falling apart.
- Accurate Measurements: Baking is a science. Using a kitchen scale to measure your dry ingredients, especially flour, will yield the most consistent and best results. Scooping flour directly from the bag with a measuring cup can pack it down, leading to too much flour and dry cookies.
- Even Baking: Rotate your baking sheets halfway through the baking time to ensure even browning. Ovens often have hot spots, and this simple step can prevent some cookies from being overcooked while others are underdone.
Frequently Asked Questions About Chipless Cookies
While you technically can bake the cookies without chilling, the results will not be nearly as good. The chilling process, even for just 30 minutes, significantly improves the flavor, texture, and prevents excessive spreading. We strongly advise against skipping this step for the best possible cookie. If you’re truly pressed for time, you can bake them at a slightly higher temperature (like 200°C regular/180°C fan/390°F) to help set the edges quickly and minimize spread, but expect a slightly flatter cookie.
We highly, highly recommend making the brown butter for this recipe. It is a dominant flavor here, alongside vanilla, and provides an incredible depth of nutty, caramel notes that elevates these cookies from good to extraordinary. However, if you are genuinely short on time, you can use regular softened butter instead. The cookies will still be delicious and buttery, but they will lack that signature caramel-nutty complexity that makes these chipless cookies truly special.
Absolutely! These cookies are excellent for making ahead. The brown butter can be prepared up to 2 weeks in advance and stored in an airtight container in the refrigerator. Just remember to bring it back to a softened room temperature before proceeding with the cookie dough. The cookie dough itself can be made up to 3 days in advance; simply cover the bowl tightly with plastic wrap and chill in the fridge. For longer storage, shape the dough into individual balls and freeze them. This allows you to bake fresh cookies whenever a craving strikes!
Yes, you can conveniently bake these chocolate chipless cookies directly from frozen. Simply place the frozen cookie dough balls on a lined baking tray and bake as usual at 190°C/170°C fan (375°F). You’ll need to add a few extra minutes to the baking time, typically 13-15 minutes, depending on your oven and the size of your cookies. Keep a close eye on them; you’re looking for golden, crisp edges and a soft, slightly puffy middle. Baking from frozen is a fantastic way to enjoy fresh, warm cookies anytime!
Once fully cooled, store your baked chocolate chipless cookies in an airtight container at room temperature for up to 5-7 days. While they are always best on the day they are baked, they retain their delicious chewiness for several days. For ultimate freshness, you can also freeze baked cookies in an airtight container for up to 2-3 months; simply thaw at room temperature or reheat gently.
If you love a warm, gooey cookie (and who doesn’t?), reheating is a great idea. Pop a cookie into the microwave for 10-20 seconds until warm and soft. Alternatively, place them in a preheated air fryer at 170°C (340°F) for about 2-3 minutes, or in a regular oven at 150°C (300°F) for 5-7 minutes. This brings back that freshly baked texture and aroma!
Other Irresistible Recipes You Might Enjoy: Expand Your Baking Repertoire
If you’ve fallen in love with these chocolate chipless cookies, you’ll be thrilled to discover a whole host of other fantastic cookie and dessert recipes on our site! Explore more cookie delights like our brown butter chocolate chunk cookies, the innovative brookies (a heavenly combination of brownie and cookie in one!), or our sophisticated tiramisu cookies. Beyond cookies, you might also savor our indulgent thick French hot chocolate or our creamy salted caramel cheesecake. There’s always something new and delicious to bake!
Puddings
Self Saucing Chocolate Pudding
Easy Dessert Recipes
Apple and Blackberry Crumble
Puddings
Easy Homemade Pistachio Cream
Easy Baking Recipes
Dark Chocolate and White Chocolate Brownies

Soft & Chewy Chocolate Chipless Cookies
These Soft & Chewy Chocolate Chipless Cookies are so much more than a chocolate-free cookie. They are caramelized, wonderfully chewy with crisp edges, and brimming with rich, nutty brown butter and vanilla flavor. A true classic reimagined for pure buttery bliss.
- Prep Time:
- 20 mins
- Cook Time:
- 10 mins
- Chilling Time:
- 30 mins (minimum)
- Total Time:
- 1 hour (including minimum chill)
- Yields:
- 10-12 cookies
- Cuisine:
- American
- Course:
- Dessert, Snack
Pin Recipe |
Rate Recipe |
Print Recipe
Ingredients
- 115 g (1/2 cup) salted butter, diced
- 100 g (1/2 cup) soft light brown sugar, packed
- 50 g (1/4 cup) caster sugar (superfine sugar)
- 1 large egg
- 2 tsp good quality vanilla extract (or vanilla bean paste)
- 155 g (1 1/4 cups) plain, all-purpose flour
- 1/2 tsp bicarbonate of soda (baking soda)
- 1/4 tsp fine sea salt
- Flaky sea salt, for topping (optional but highly recommended)
Instructions
- Prepare the Brown Butter: Place the diced salted butter into a medium-sized non-stick saucepan over medium heat. Stir until completely melted. Increase heat slightly and let the butter bubble, stirring frequently. It will crackle and foam – this is normal! Continue to cook, stirring, until the crackling fades, bubbles subside, and brown flecks appear at the bottom. A nutty aroma will emerge, and the color will deepen to amber brown (7-10 minutes). Immediately remove from heat and pour into a heatproof bowl to stop cooking. Let it cool slightly until warm, but not hot. (Can be made 2 weeks ahead and chilled, bring to softened room temperature before use).
- Cream Butter and Sugars: In a large mixing bowl, add the slightly cooled brown butter, caster sugar, and soft light brown sugar. Beat together with an electric whisk or wooden spoon until light, fluffy, and well combined (about 3-5 minutes with an electric mixer).
- Add Egg and Vanilla: Incorporate the egg and vanilla extract into the mixture. Mix again until fully combined, scraping down the sides of the bowl to ensure everything is evenly incorporated.
- Combine Dry Ingredients: Add the plain flour, bicarbonate of soda, and fine sea salt to the wet mixture. Mix gently until a smooth dough forms and no streaks of flour remain. Be careful not to overmix to keep the cookies tender.
- Chill the Dough: Cover the dough tightly with plastic wrap and chill in the fridge for at least 30 minutes. For optimal flavor development and texture, chilling overnight (or even up to 3 days) is highly recommended. This step is crucial for preventing spread and enhancing chewiness.
- Preheat Oven and Prepare Sheets: When ready to bake, preheat your oven to 190°C (170°C fan/375°F). Line two baking sheets with non-stick baking paper.
- Scoop and Space Dough: Use an ice cream scoop or a spoon to portion the dough into 10-12 uniform balls. Place them on the prepared baking sheets, ensuring ample space between each cookie (4-6 per sheet is ideal, as they will spread).
- Bake to Perfection: Bake for 8-10 minutes. The cookies are ready when their edges are lightly golden and set, but the centers still look very soft and slightly underbaked. Remember, they will continue to firm up as they cool.
- Sprinkle and Reshape: Immediately upon removing the cookies from the oven, sprinkle them with flaky sea salt. For perfectly round cookies, take a large cookie cutter (slightly larger than your cookie) or an overturned glass, place it over each hot cookie, and gently swirl it around to nudge the edges into a neat circle.
- Cool and Enjoy: Allow the cookies to cool on the baking sheets for 5-10 minutes before carefully transferring them to a wire rack to cool completely.
Notes
- For Visual Guidance: Scroll up for a detailed step-by-step guide with images to assist you in making these delicious chipless cookies.
- Storage: Baked cookies, once fully cooled, can be stored in an airtight container at room temperature for up to one week. They are undeniably best on the day they are made.
- Reheating: If you enjoy a warm cookie, gently reheat individual cookies in the microwave for 10-20 second bursts until warm and soft. Alternatively, an air fryer at 170°C (340°F) for about 2-3 minutes or a regular oven at 150°C (300°F) for 5-7 minutes works wonders.
- Freezing Dough: This cookie dough freezes exceptionally well for up to 3 months. We recommend freezing individual shaped dough balls on a baking sheet until solid, then transferring them to a freezer-safe bag. This allows you to bake them directly from frozen (add 3-5 minutes to the baking time, baking for 13-16 minutes). Alternatively, form the chilled dough into a log, wrap tightly, and freeze. Defrost in the fridge before slicing and baking.
- Make Ahead: The brown butter can be prepared up to 2 weeks in advance and stored chilled (bring to softened room temperature before use). The cookie dough can be made up to 3 days in advance, covered, and chilled. You can chill it in the bowl or after shaping into balls.
- Bake What You Need: You don’t have to bake all the cookies at once. Baking a few at a time ensures you always enjoy them at their freshest and best. The dough only improves with extended chilling! If keeping dough longer than 3 days, freeze it in balls as described above.
- The Importance of Chilling: While it might be tempting to skip, chilling the dough is paramount for these chipless cookies. It solidifies the butter, reducing spread and leading to thicker, chewier cookies with better texture and more even browning. It also hydrates the flour, enhancing the overall flavor and structure.
Nutrition
(Approximate values per serving, based on 10 cookies)
- Calories: 158 kcal
- Carbohydrates: 16 g
- Protein: 1 g
- Fat: 10 g
- Saturated Fat: 6 g
- Polyunsaturated Fat: 0.4 g
- Monounsaturated Fat: 3 g
- Trans Fat: 0.4 g
- Cholesterol: 43 mg
- Sodium: 203 mg
- Potassium: 47 mg
- Sugar: 16 g
- Vitamin A: 326 IU
- Vitamin C: 0.1 mg
- Calcium: 32 mg
- Iron: 0.2 mg
Nutrition information is automatically calculated and should only be used as an approximation.
If you tried these Soft & Chewy Chocolate Chipless Cookies or any other recipe on our site, please do leave a rating or comment below and let us know how it went! Your feedback is incredibly valuable.