
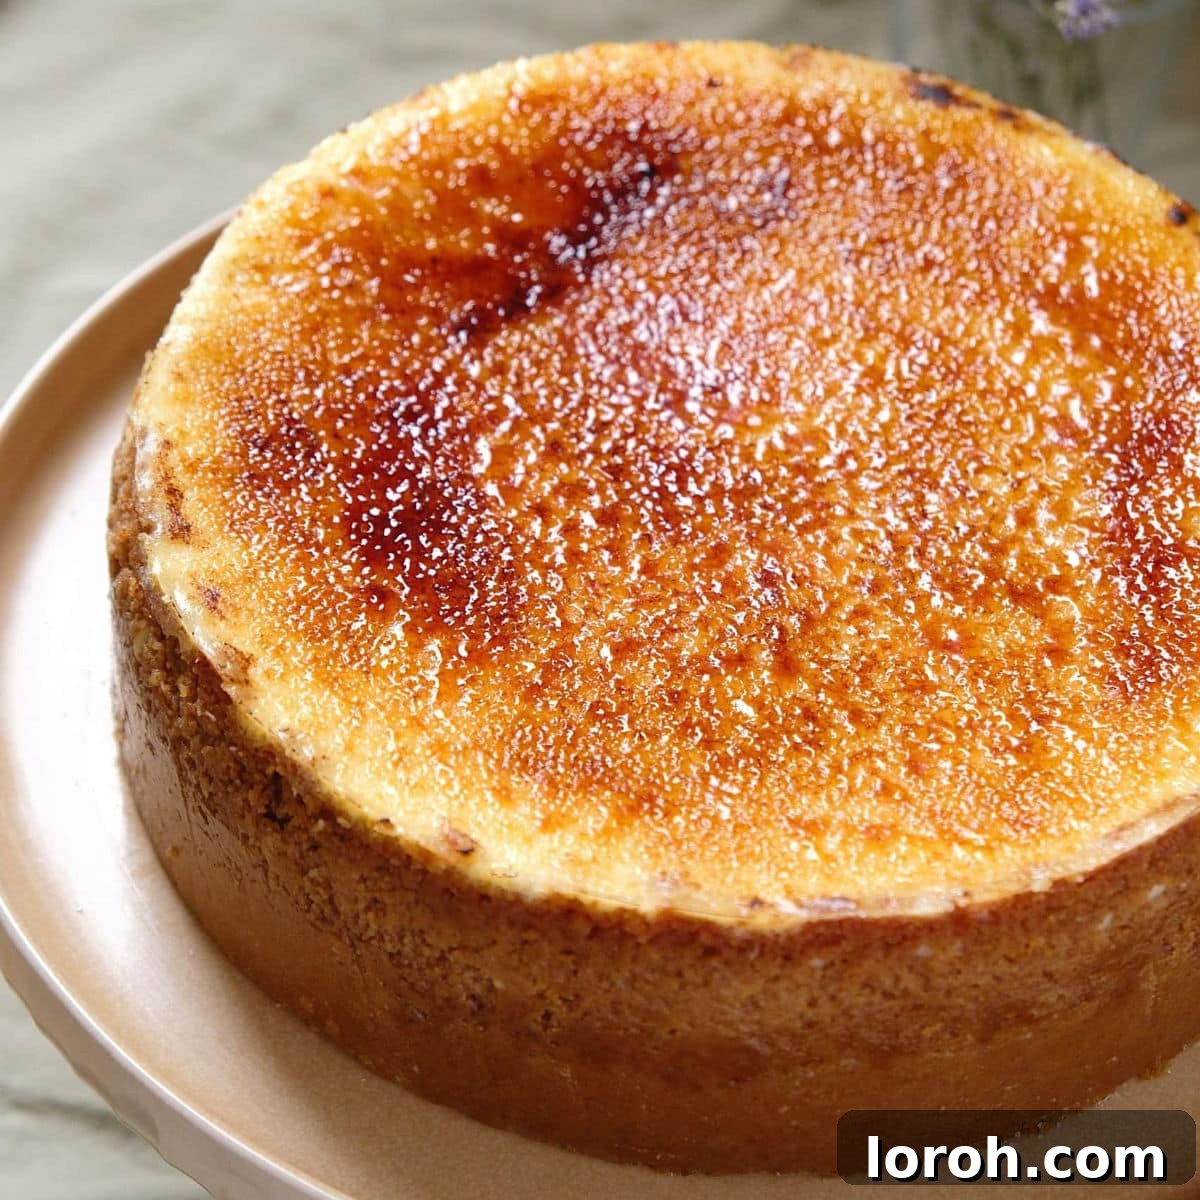
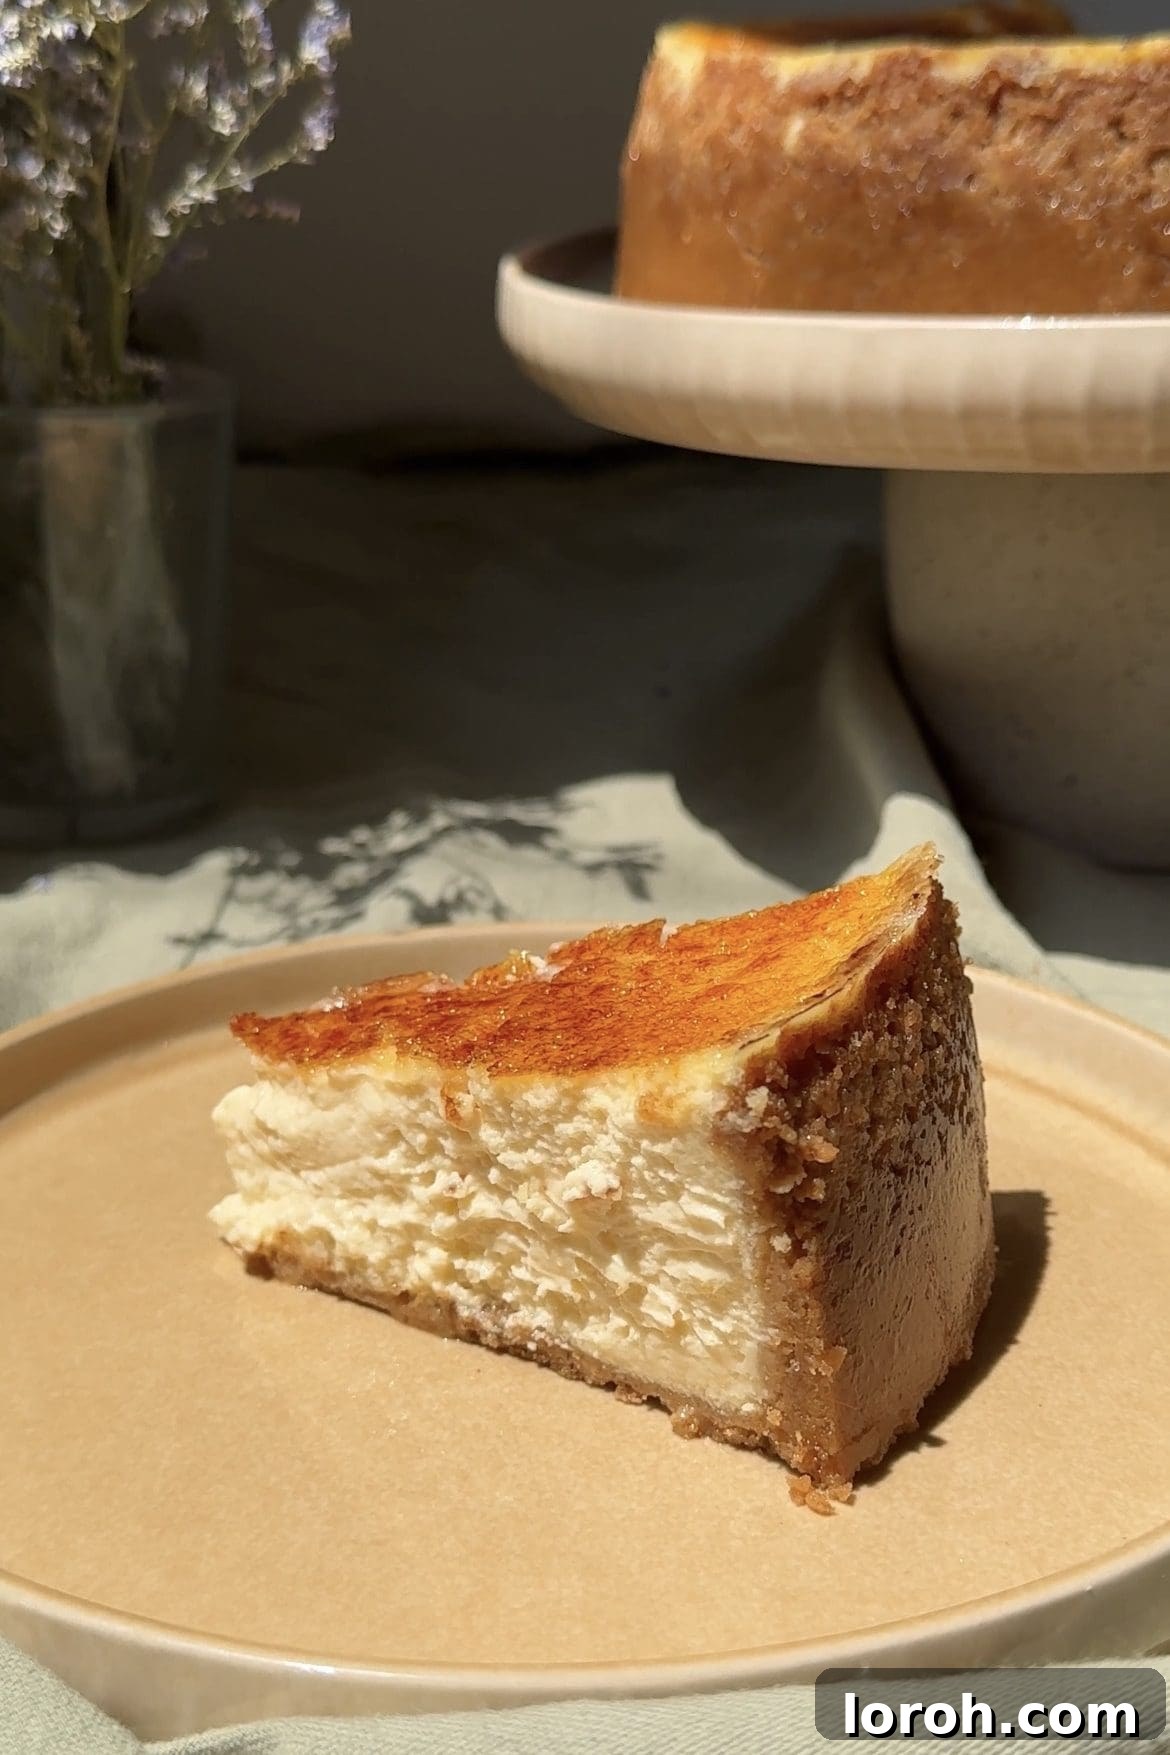
Prepare to be enchanted by a dessert that elegantly marries two beloved classics: the rich, creamy decadence of a perfectly baked cheesecake with the signature crisp, caramelized sugar crust of a traditional crème brûlée. This isn’t just a dessert; it’s a showstopper, a conversation starter, and an unforgettable culinary experience. Our recipe for the Ultimate Crème Brûlée Cheesecake delivers an exquisite balance of textures and flavors – a velvety smooth, tangy cheesecake filling nestled upon a simple yet satisfying digestive biscuit base, crowned with that irresistible, glass-like layer of burnt sugar that cracks with a satisfying crunch at first bite. It’s a masterpiece that looks incredibly impressive but is surprisingly achievable for any home baker.
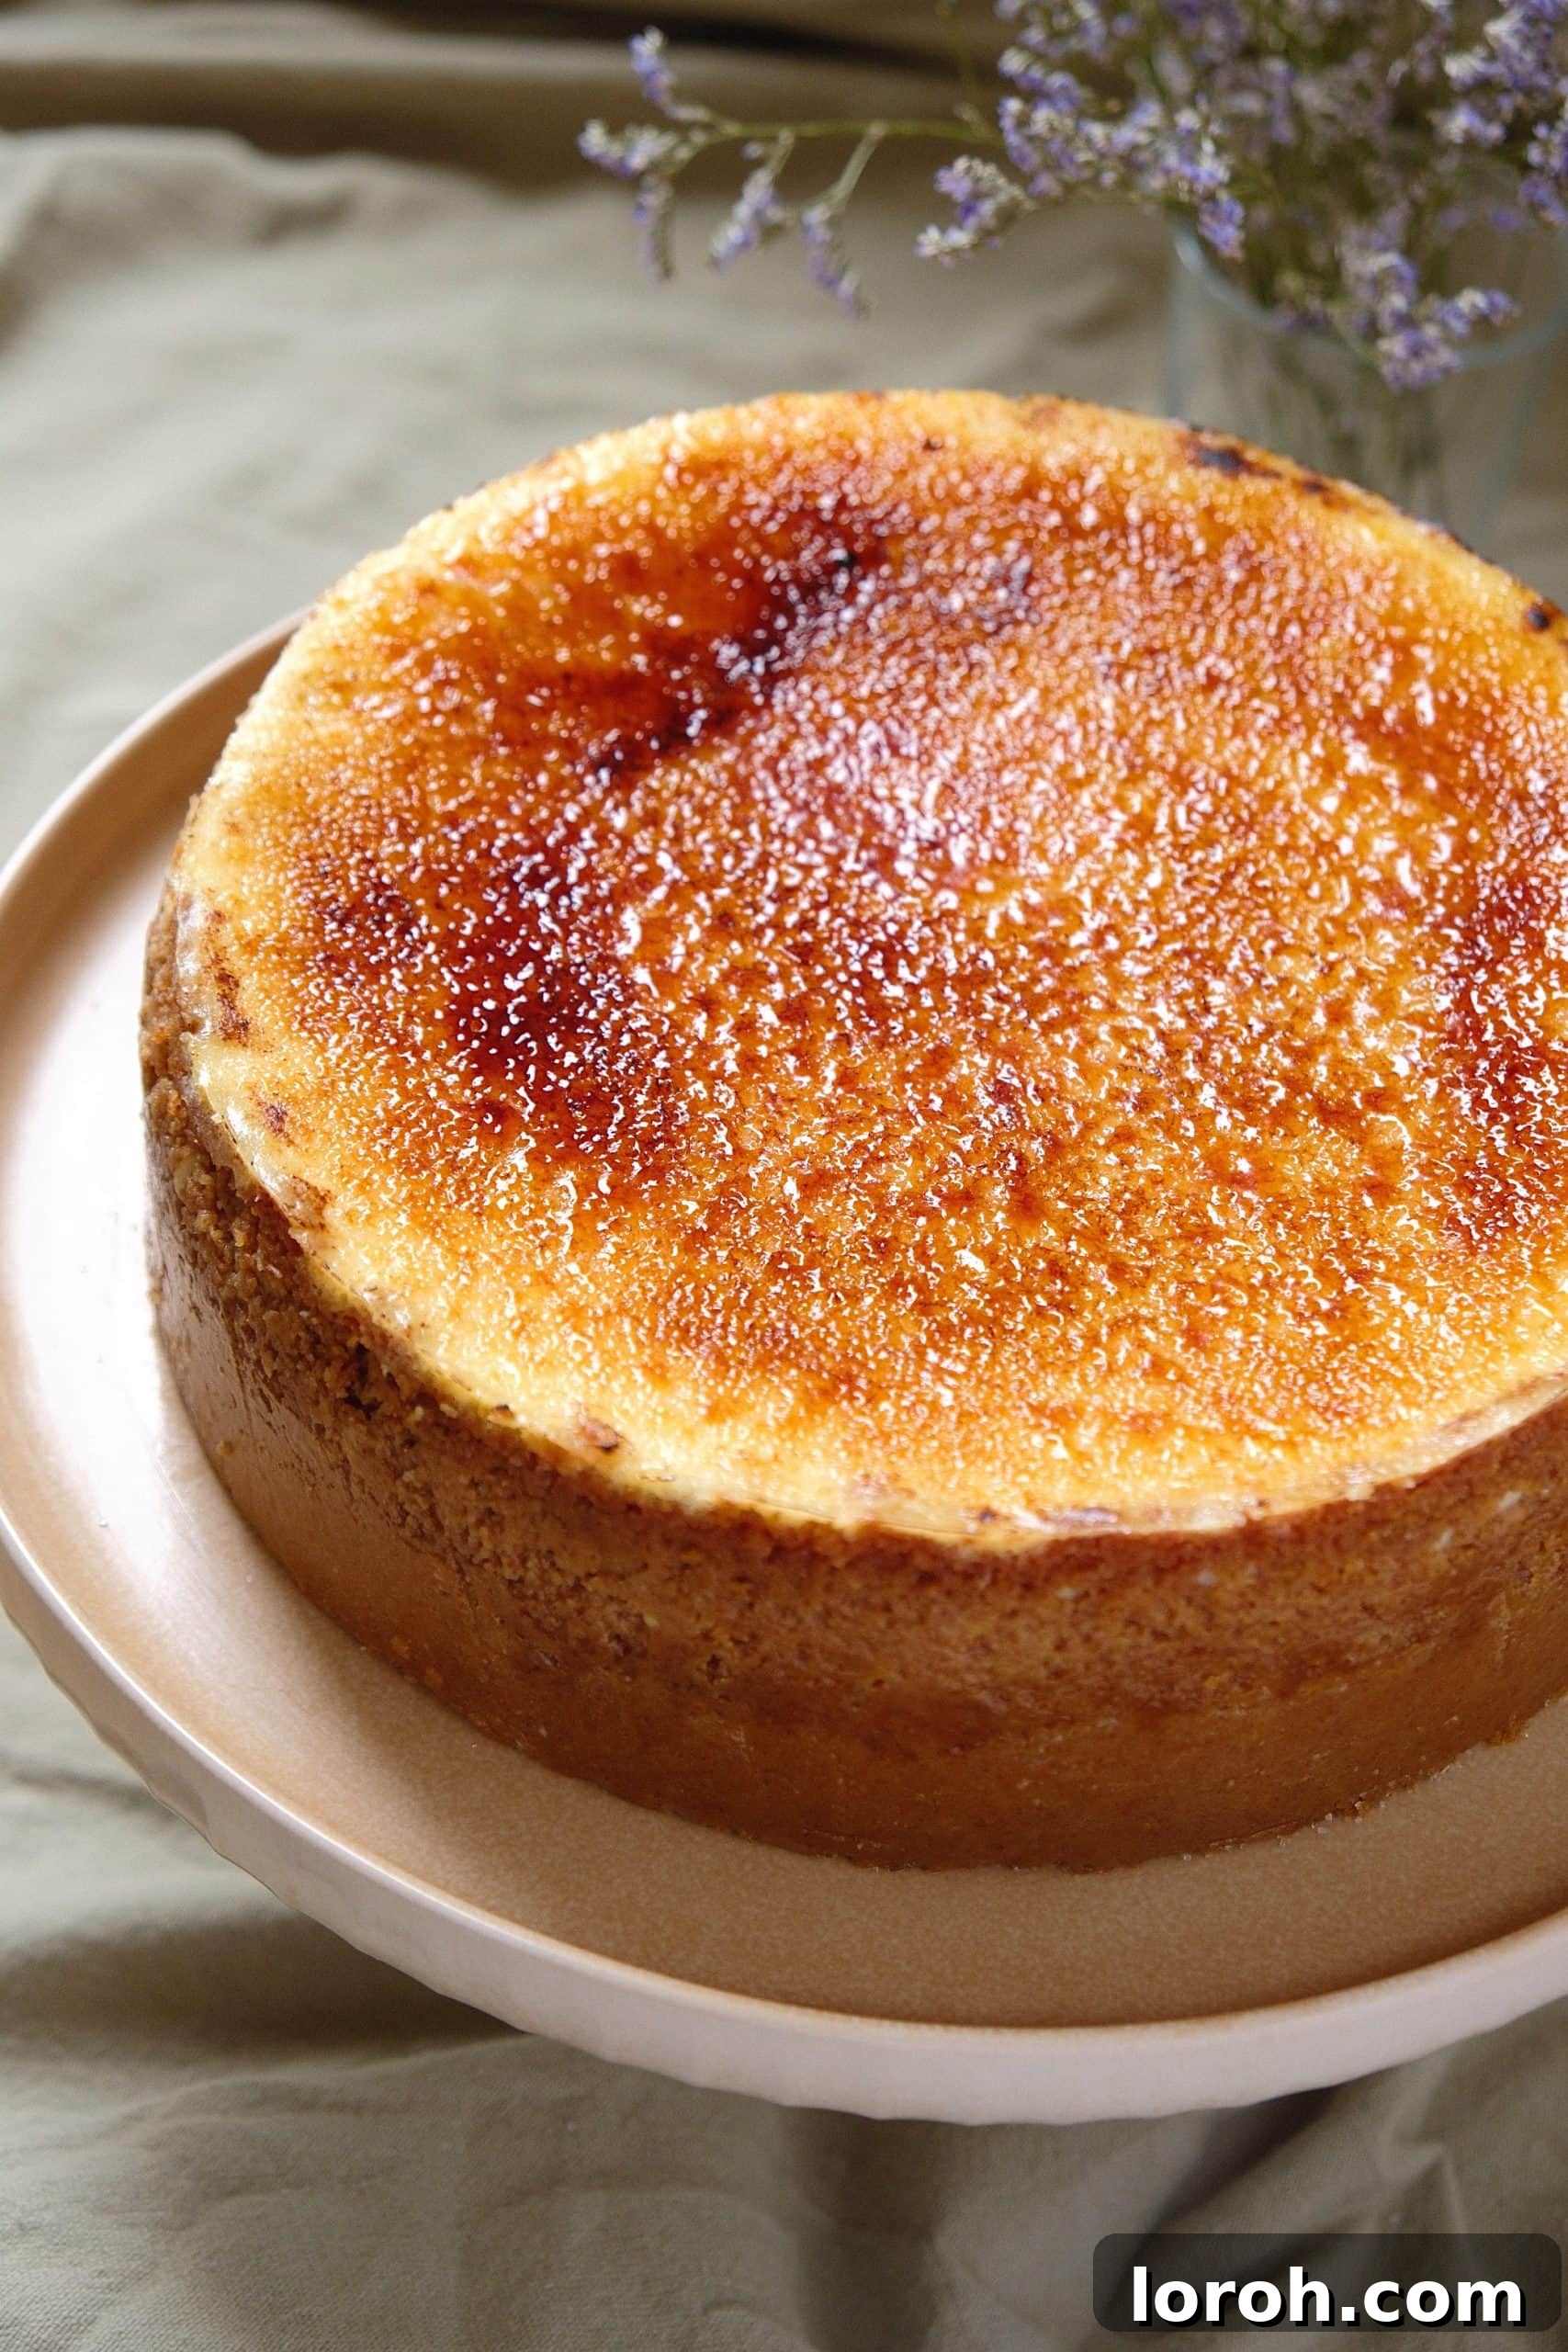
To achieve that iconic, irresistible crème brûlée topping, a kitchen blow torch is your best friend. It provides the most even and precise caramelization, transforming granulated sugar into a shimmering, brittle layer. However, don’t despair if you don’t own one! We’ve included detailed tips on how to use your oven’s grill (broiler) setting as an alternative. While the results may vary slightly, it’s a fantastic backup option that still delivers a delightful, crisp finish. If you’re looking for a delightful cheesecake that requires no baking at all, you might love our Mini Egg Cheesecake – a fun, customizable treat perfect for any occasion, not just Easter!
Table of Contents
- Why This Crème Brûlée Cheesecake is a Must-Try
- Key Ingredients for a Perfect Cheesecake
- Creative Substitutions and Variations
- Step-by-Step Guide: How to Make Crème Brûlée Cheesecake
- Expert Cooking and Baking Tips
- Frequently Asked Questions About Crème Brûlée Cheesecake
- Other Dessert Recipes You Might Enjoy
- Share Your Crème Brûlée Cheesecake Masterpiece!
- Crème Brûlée Cheesecake Full Recipe Card
Why This Crème Brûlée Cheesecake is a Must-Try
- An Unforgettable Presentation: This dessert isn’t just delicious; it’s a visual delight. Its elegant appearance, complete with the gleaming, crackable caramel top, makes it a true centrepiece for any dinner party, holiday gathering, or special occasion. Your guests will be thoroughly impressed by its sophisticated charm, making you feel like a master baker without the excessive effort.
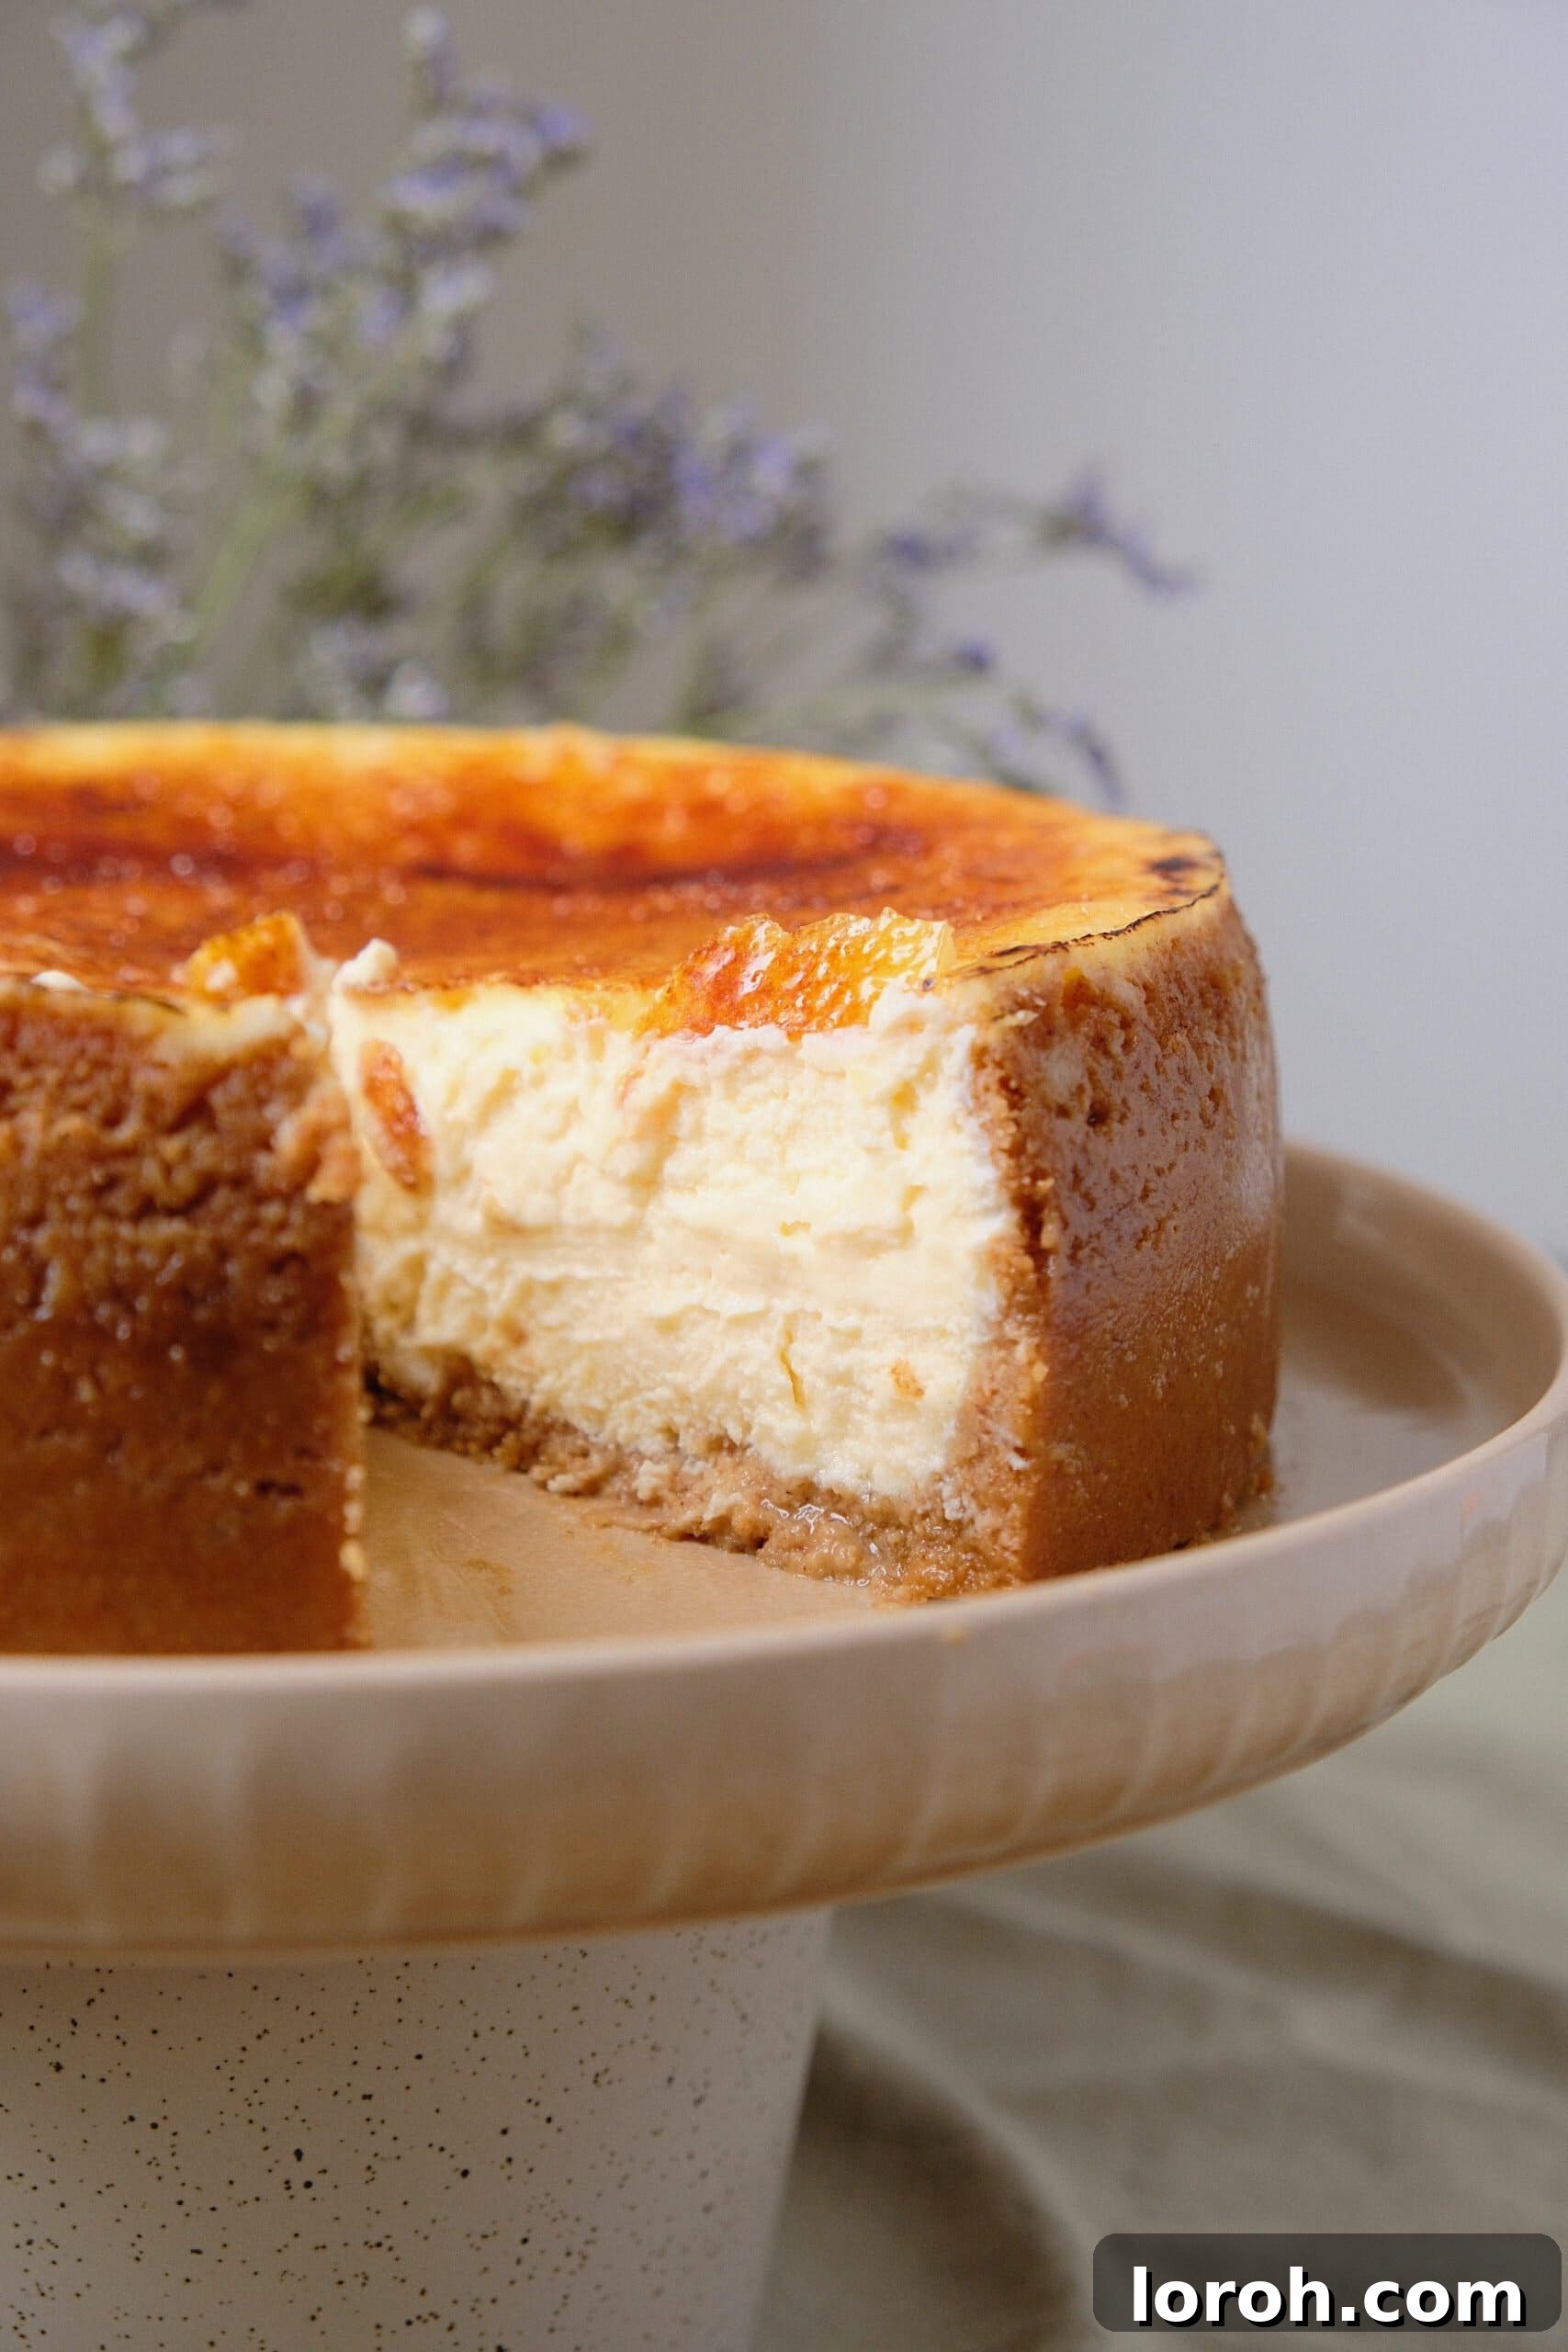
- The Best of Both Dessert Worlds: Why choose between a creamy cheesecake and a caramelized crème brûlée when you can have both? This recipe seamlessly blends the rich, tangy, and smooth texture of a classic baked cheesecake with the satisfyingly crisp, buttery crunch of a burnt sugar topping. Each bite offers a delightful journey through contrasting textures and complementary flavors, making it an incredibly indulgent treat.
- A Crowd-Pleaser with Gluten-Free Options: One of the greatest advantages of this recipe is its versatility. By simply opting for gluten-free digestive biscuits for the crust, the entire dessert becomes suitable for those with gluten sensitivities, ensuring that everyone at your table can enjoy this magnificent creation. It’s a universally appealing dessert that caters to diverse dietary needs without compromising on taste or quality.
- Surprisingly Simple to Master: Despite its gourmet appearance, this crème brûlée cheesecake is remarkably straightforward to prepare. The steps are clear, the ingredients are accessible, and our expert tips guide you through each stage, making it an ideal project for both novice and experienced bakers. You’ll gain confidence in your baking skills while creating something truly extraordinary.
Key Ingredients for a Perfect Cheesecake
For precise measurements and detailed instructions, please refer to the comprehensive recipe card at the bottom of this page.
Digestive Biscuits: These classic British biscuits form the robust and buttery foundation of our cheesecake. Their slightly sweet, malty flavor pairs beautifully with the rich cheesecake filling and caramelized topping. For a gluten-free alternative, simply swap them for your favorite gluten-free digestive biscuits. In North America, Graham crackers are an excellent substitute, offering a similar texture and complementary taste.
Unsalted Butter: Melted butter binds the biscuit crumbs together, creating a firm and delicious crust. While unsalted butter is generally recommended for baking to give you control over the salt content, salted butter can also be used, adding a subtle depth of flavor to the base. Ensure it’s fully melted for easy mixing and an even crust.
Full-Fat Cream Cheese (e.g., Philadelphia): This is the star of your cheesecake filling, and quality truly makes a difference. Full-fat cream cheese, such as Philadelphia, provides the unparalleled richness, velvety smooth texture, and stability crucial for a perfect baked cheesecake. Opting for a lower-fat version can compromise the structure and creaminess, so splurge on the good stuff here for the best results.
Caster Sugar: Used in the cheesecake filling, caster sugar (also known as superfine sugar) dissolves easily, ensuring a smooth and lump-free batter. Its fine crystals integrate seamlessly, contributing to the delicate texture of the cheesecake. If caster sugar isn’t available, granulated sugar can be used as a direct substitute, though you might need to mix slightly longer to ensure it’s fully dissolved.
Full-Fat Sour Cream: The addition of sour cream is a game-changer, introducing a delightful tang that beautifully balances the sweetness and richness of the cream cheese. Its acidity also contributes to the cheesecake’s incredibly tender and moist texture, preventing it from becoming too dense. As with cream cheese, full-fat sour cream is essential for optimal results.
Pure Vanilla Extract: Do not compromise on your vanilla! Always choose high-quality pure vanilla extract, vanilla bean paste, or even the seeds from a vanilla pod. These impart a deep, authentic vanilla flavor that artificial vanilla essence simply cannot replicate. Vanilla is a foundational flavor in this cheesecake, so let it shine.
Pinch of Fine Sea Salt (e.g., Maldon Salt Flakes): A small pinch of salt enhances all the other flavors in the cheesecake, much like it does in savory dishes. It brightens the sweetness and adds complexity. Maldon Salt Flakes are a fantastic choice, providing a clean, mineral taste, but any fine sea salt will work effectively.
Large Free-Range Eggs: Eggs are vital for structure and binding, helping the cheesecake set beautifully while maintaining its creamy consistency. Using large eggs that are at room temperature ensures they incorporate smoothly into the batter, preventing curdling and promoting even baking. Lightly beating them before adding helps achieve a uniform mix without overworking the batter.
Granulated Sugar (for topping): For the iconic caramelized crust, granulated sugar is preferred over caster sugar. Its larger crystals caramelize slower and more evenly under heat, allowing you to achieve that perfect golden-brown, crackable layer without burning. This slow caramelization process creates a more robust and visually appealing brûlée.
Creative Substitutions and Variations
While this Crème Brûlée Cheesecake is perfect as is, don’t hesitate to experiment with these delicious substitutions and variations to tailor it to your taste or occasion:
- Biscuit Crust Alternatives:
- Ginger Nut Biscuits: For a warming, spicy twist, substitute digestive biscuits with ginger nuts. The subtle kick of ginger will beautifully complement the rich cheesecake and caramel.
- Oreo Cookies: Crush whole Oreo cookies (filling and all) and mix with melted butter for a dark, decadent chocolate crust.
- Biscoff/Speculoos Cookies: These spiced caramel cookies create an incredibly fragrant and flavorful base, perfect for those who love Biscoff spread.
- Gluten-Free Options: Many brands now offer excellent gluten-free digestive biscuits or Graham crackers, ensuring everyone can enjoy this dessert.
- Cheesecake Flavor Enhancements:
- Citrus Zest: Add the finely grated zest of one lemon or orange to the cream cheese mixture for a bright, refreshing note that cuts through the richness.
- Coffee/Espresso: Incorporate 1-2 teaspoons of instant espresso powder (dissolved in a tiny bit of hot water) for a subtle coffee flavor that pairs wonderfully with caramel.
- Liqueur: A tablespoon of Grand Marnier, Kahlúa, or Bailey’s Irish Cream can add a sophisticated depth to the filling.
- Spices: A pinch of cinnamon or nutmeg can add a cozy, autumnal touch.
- Topping Twists:
- Flavored Sugars: Experiment with a thin layer of brown sugar (though be cautious as it burns faster) or even a spiced sugar mix (granulated sugar with a pinch of cinnamon) for the brûlée.
- Fruit Garnish: After the caramel has set, garnish individual slices with fresh berries (raspberries, strawberries), a dollop of whipped cream, or a sprig of mint for added color and freshness.
- Chocolate Drizzle: A delicate drizzle of melted dark chocolate over the set brûlée topping can add another layer of indulgence.
Step-by-Step Guide: How to Make Crème Brûlée Cheesecake
For the complete, detailed recipe with exact measurements, please scroll down to the recipe card at the bottom of the page. Here’s a visual step-by-step breakdown to guide you through the process:
Step 1: Prepare the Irresistible Crust
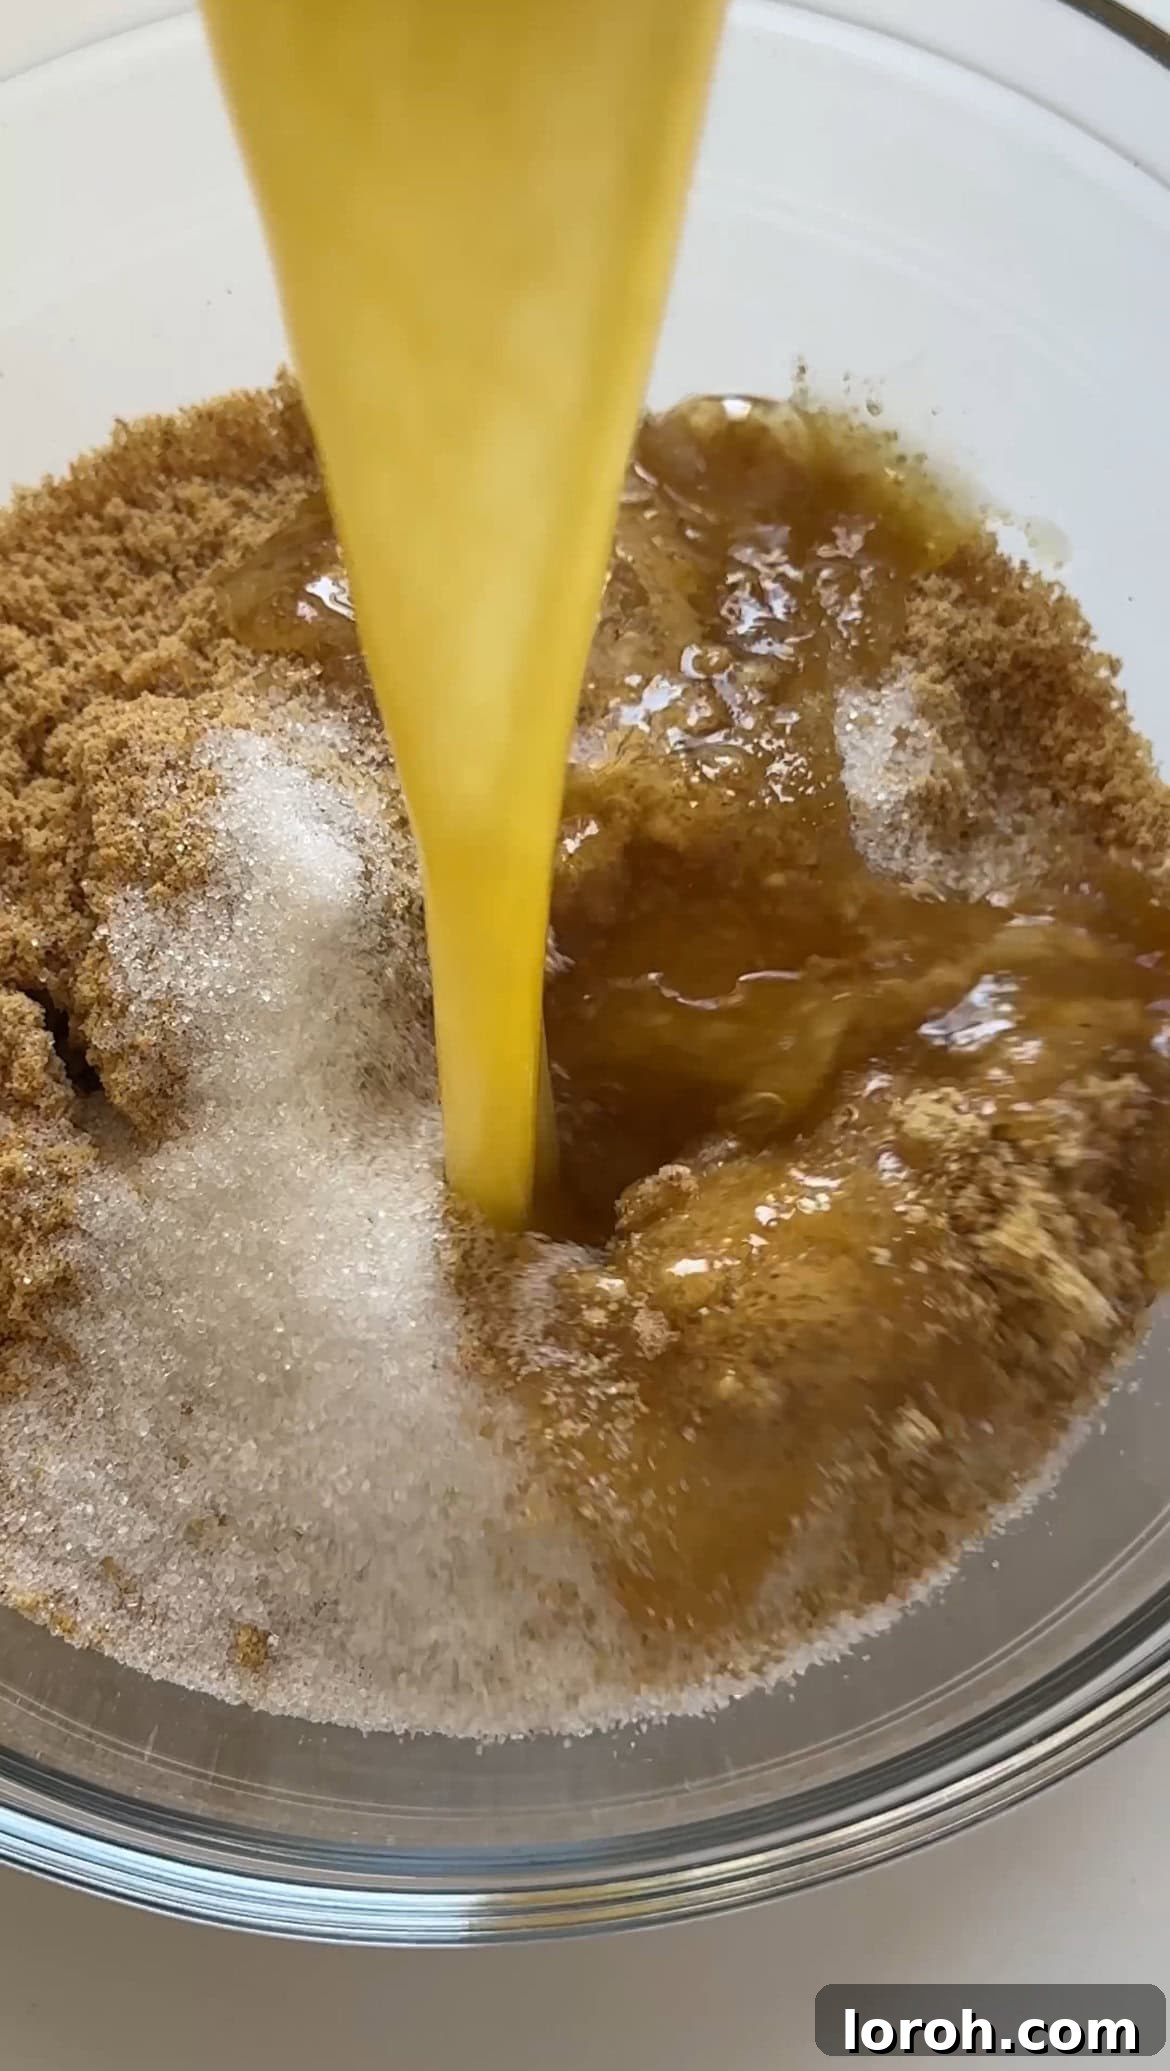
ONE: Begin by preheating your oven to 160°C (325°F). Next, finely crush your digestive biscuits. You can achieve this easily by pulsing them in a food processor until they resemble fine crumbs, or by placing them in a sturdy ziplock bag and crushing them thoroughly with a rolling pin. Transfer these crumbs to a mixing bowl and thoroughly combine them with the melted butter until the mixture is evenly moistened.
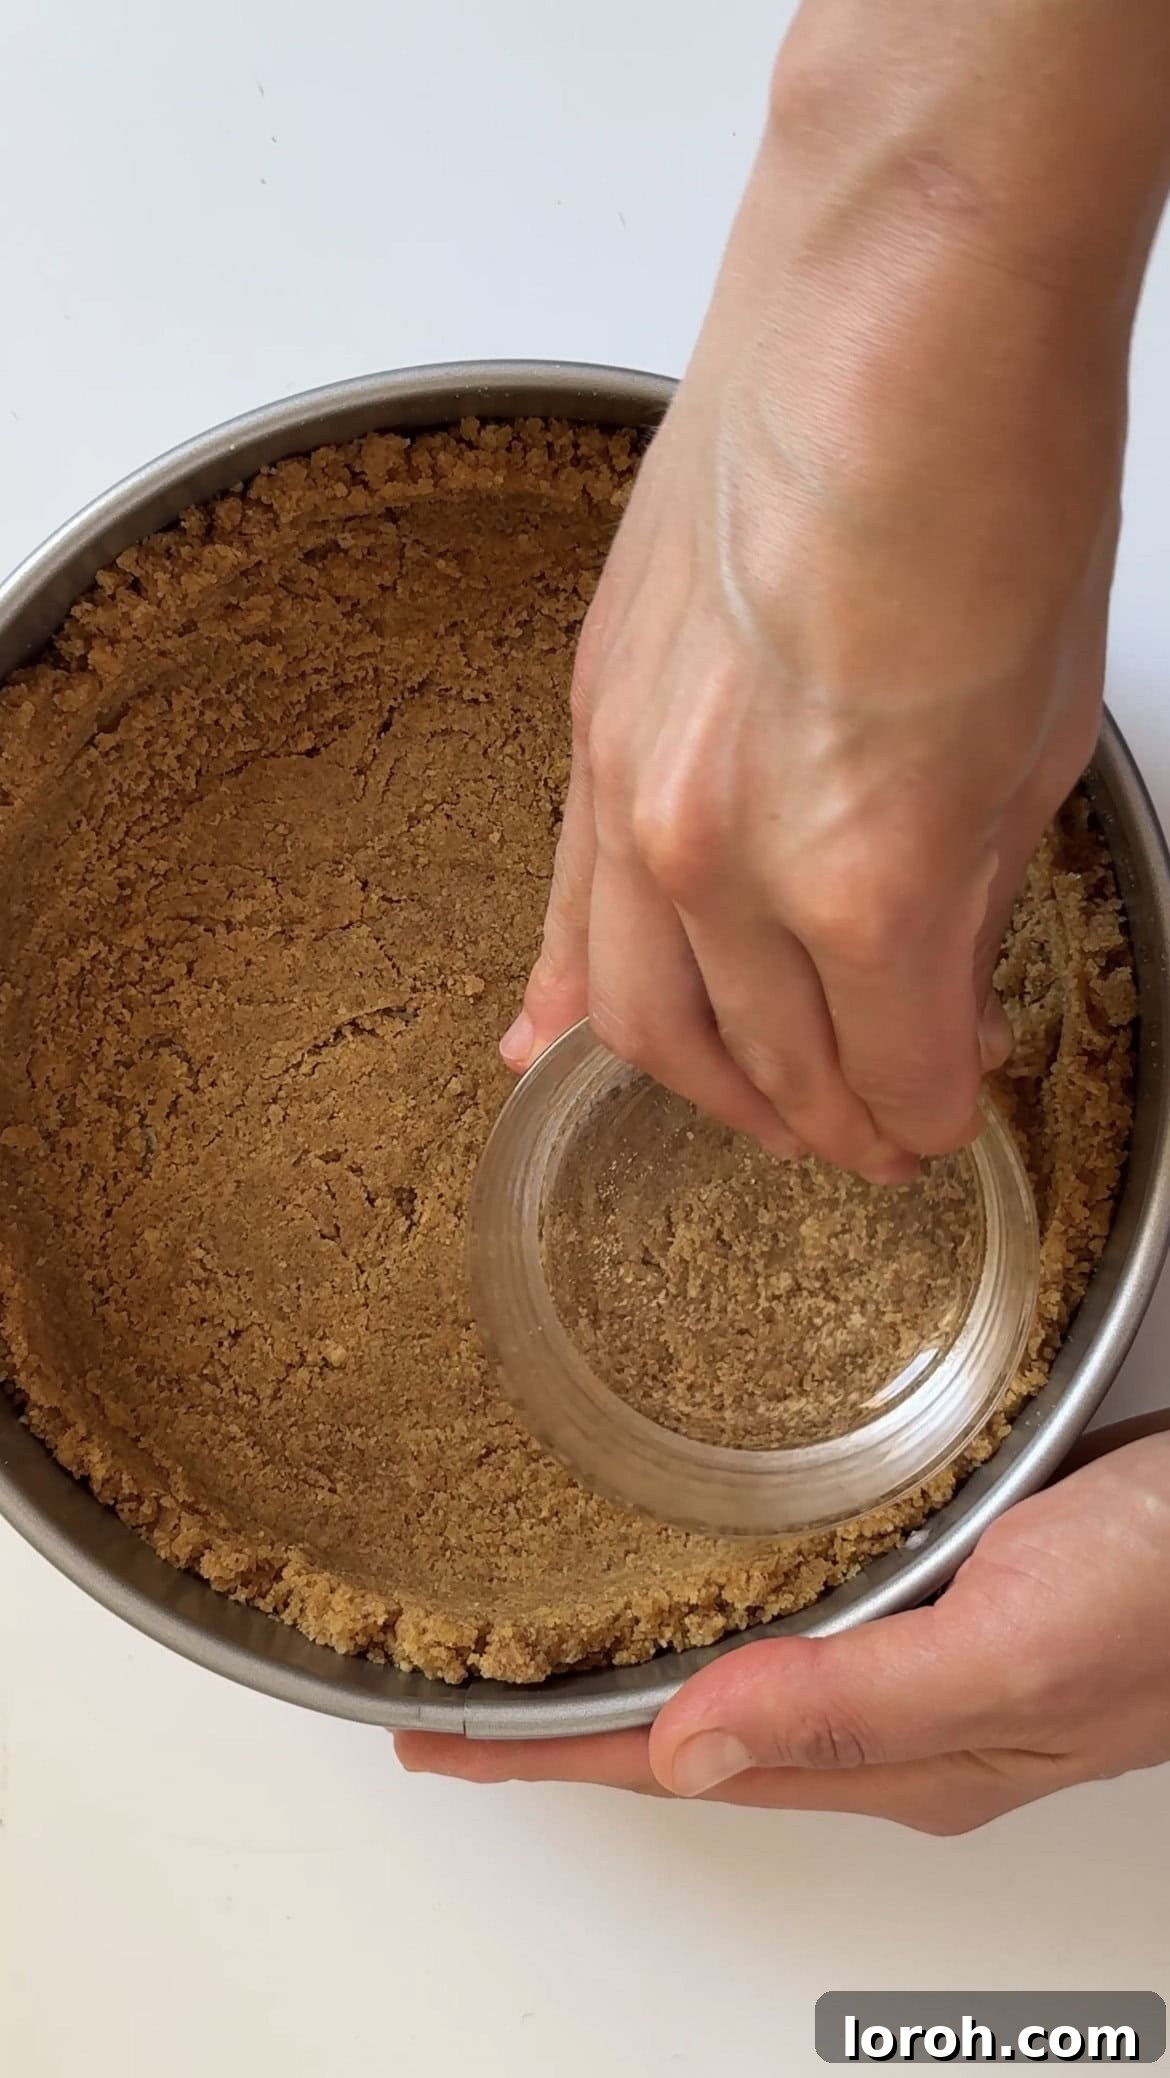
TWO: Carefully pour the buttered biscuit crumbs into a 9-inch (23cm) springform pan. Using the bottom of a glass or your knuckles, press the mixture firmly and evenly across the bottom and slightly up the sides of the pan. A well-packed crust ensures it won’t crumble when sliced. Once pressed, set the pan aside while you prepare the luscious cheesecake filling.
Step 2: Craft the Creamy Cheesecake Filling
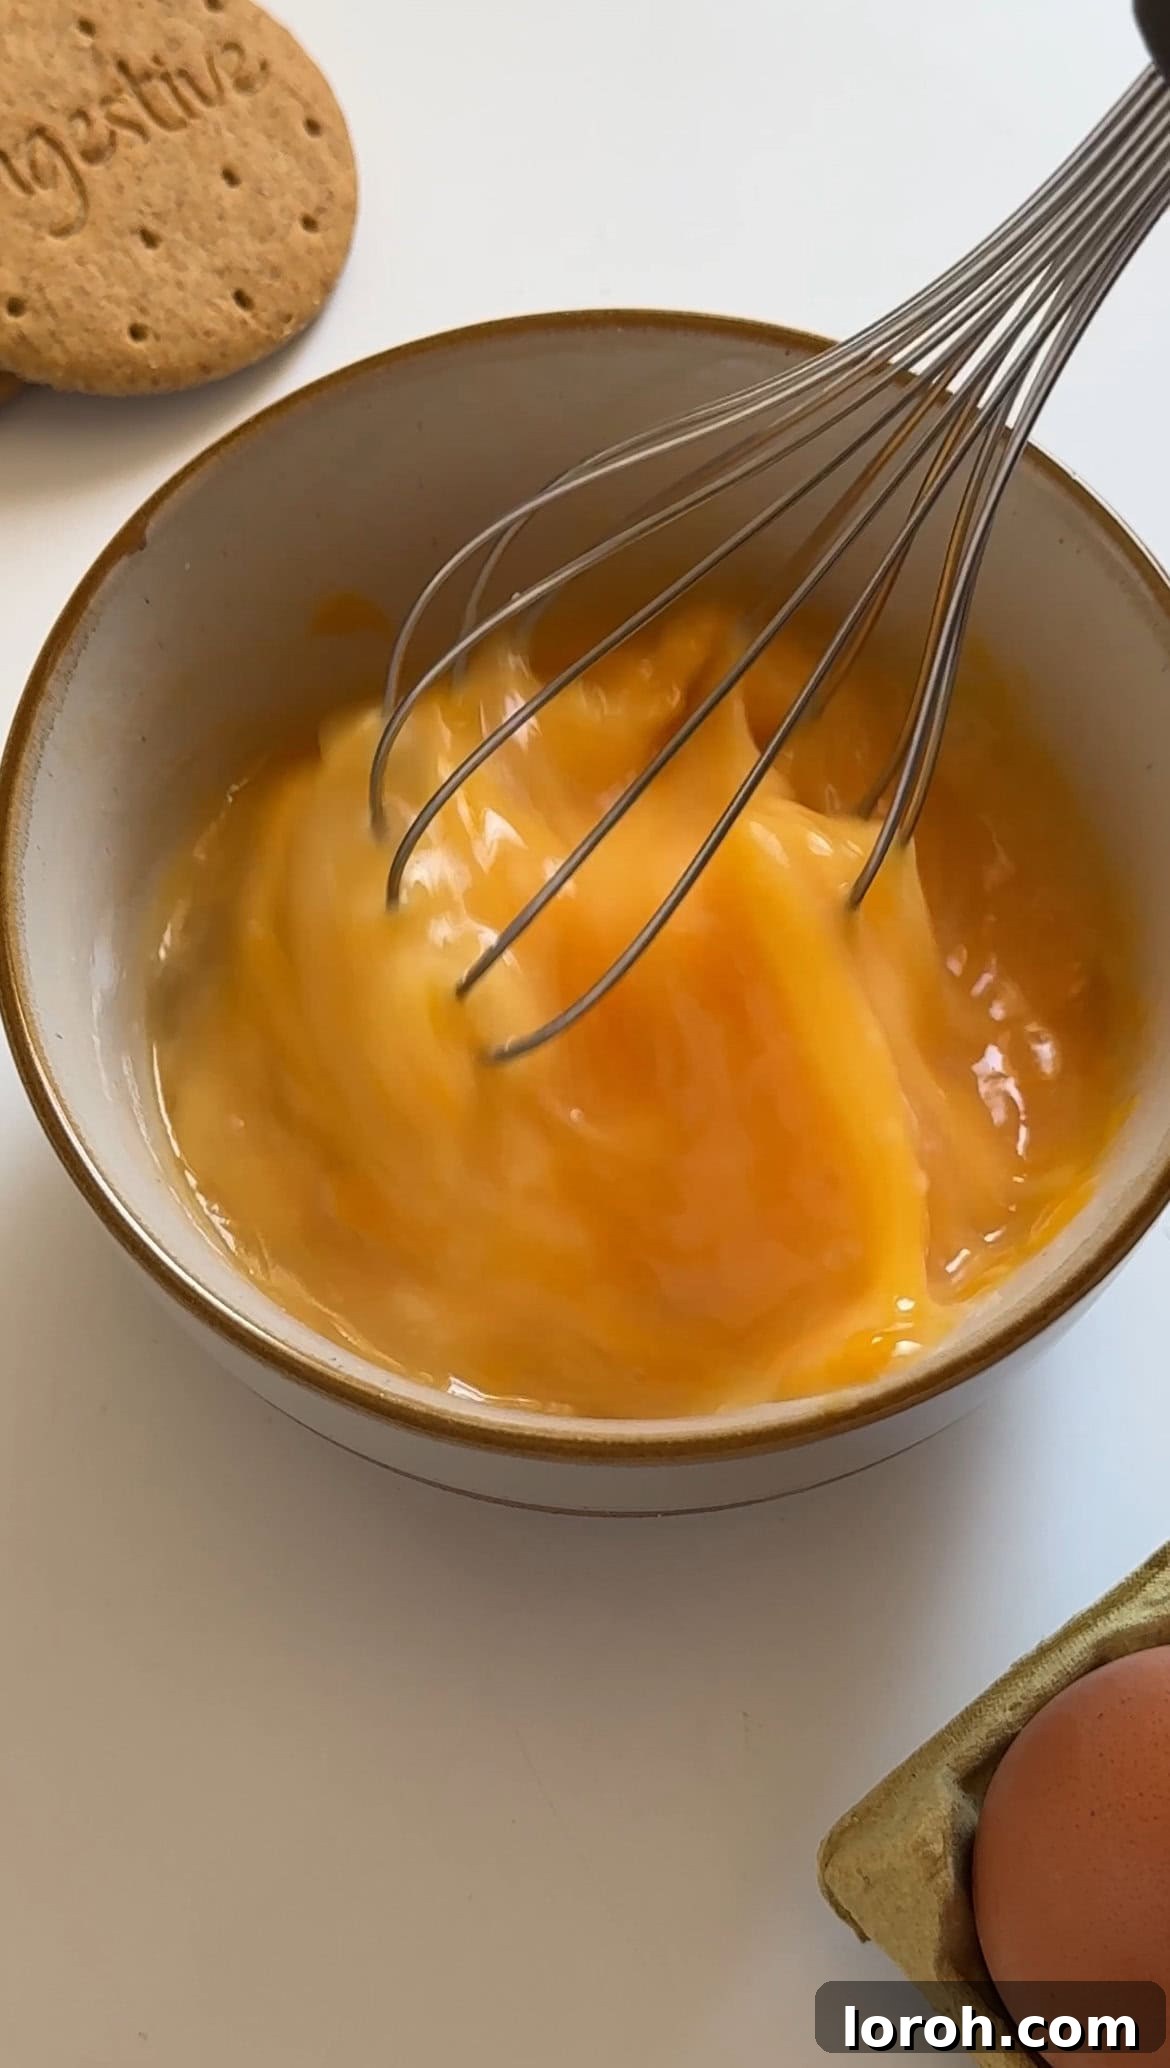
THREE: In a separate bowl, lightly beat the four large, room-temperature eggs. You want them just combined, not frothy. Set these aside for later. This pre-beating step ensures they incorporate smoothly into the cream cheese mixture without requiring excessive mixing, which can introduce too much air.
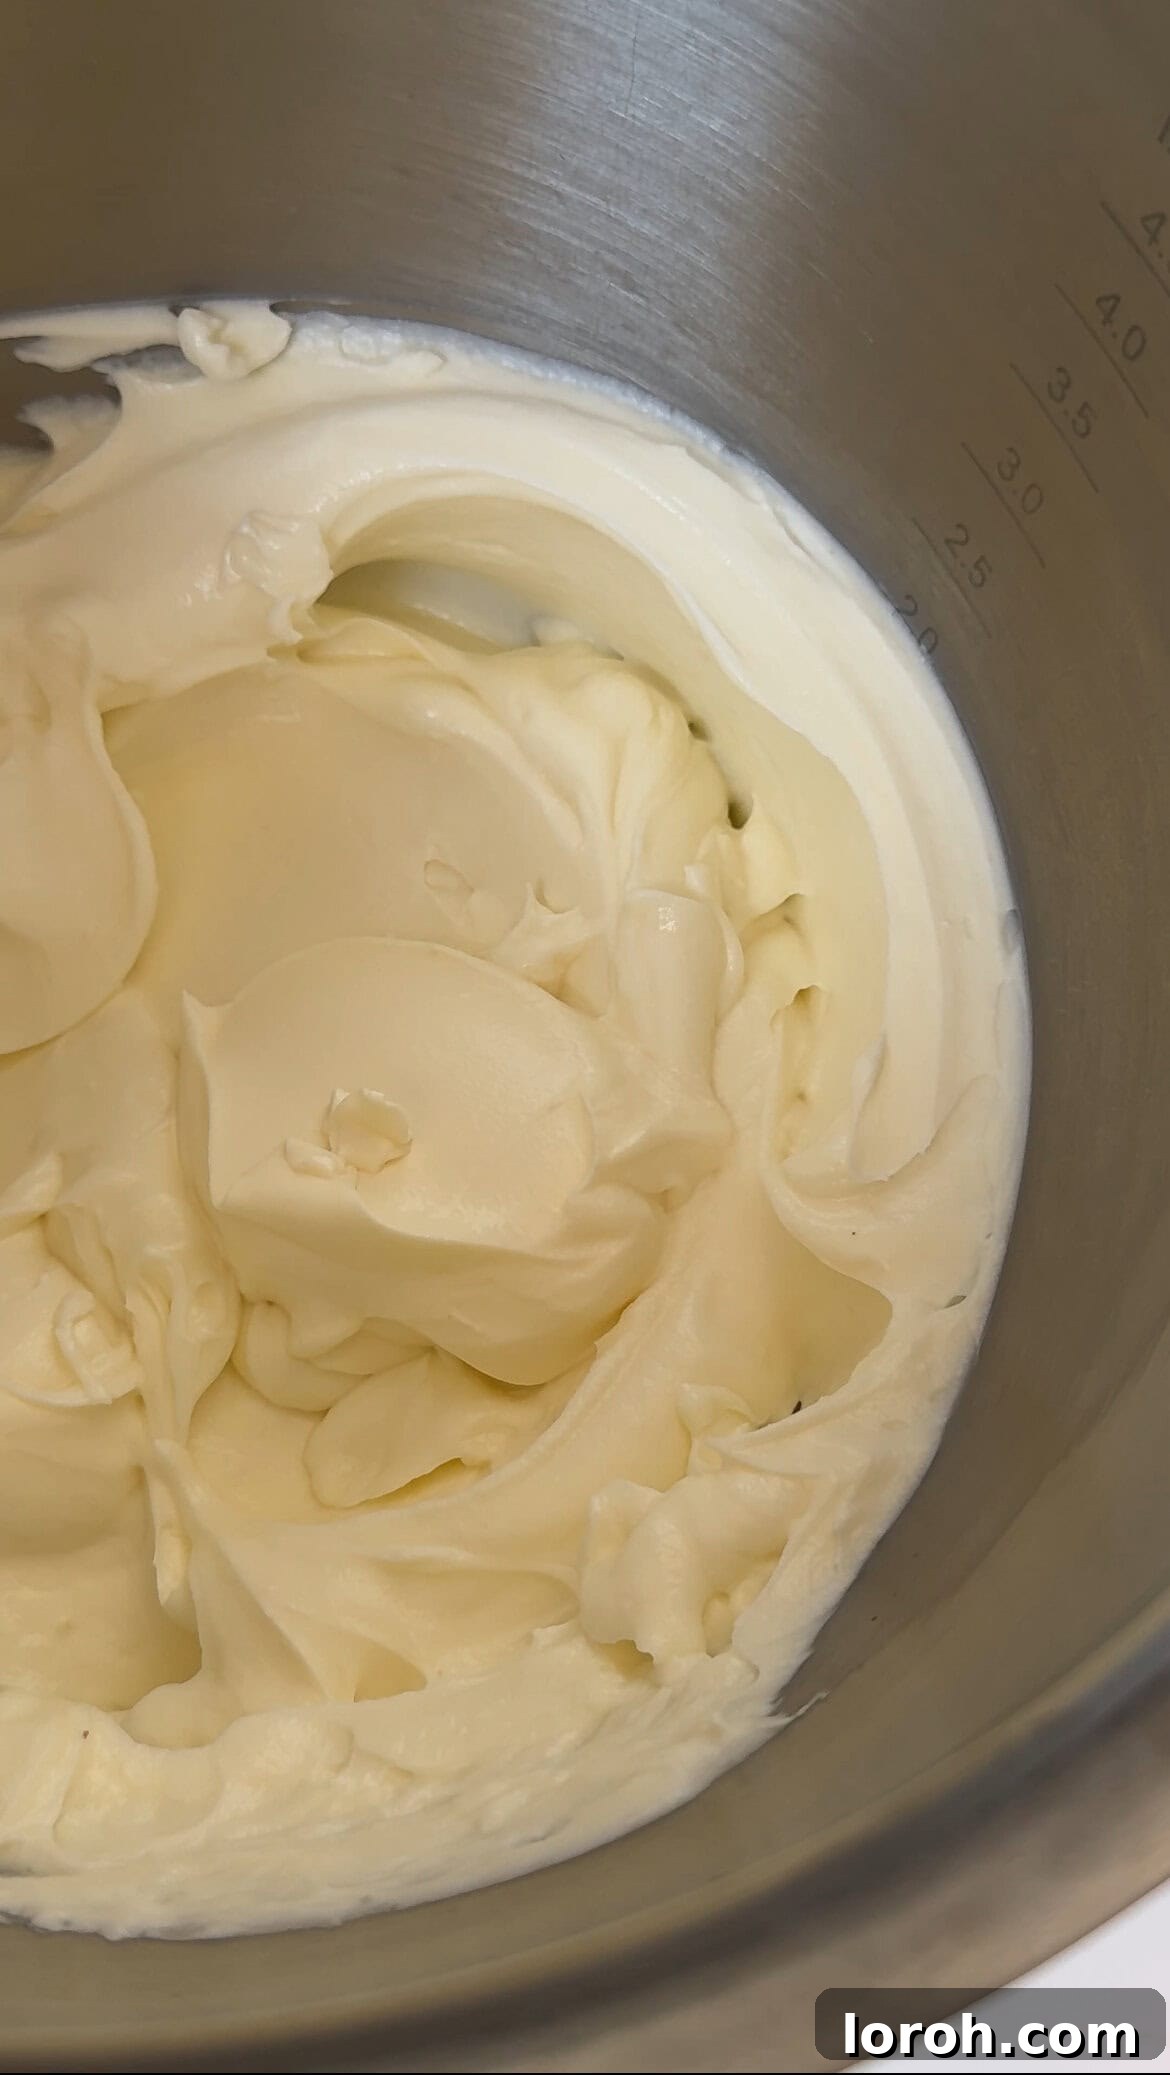
FOUR: In a large mixing bowl (or a stand mixer fitted with the paddle attachment), gently whisk the softened cream cheese until it is perfectly creamy and smooth. The key here is to avoid over-beating, which can incorporate too much air, leading to cracks in your baked cheesecake. Once smooth, gradually add the caster sugar and continue mixing on low speed until just combined, ensuring all sugar crystals are dissolved.
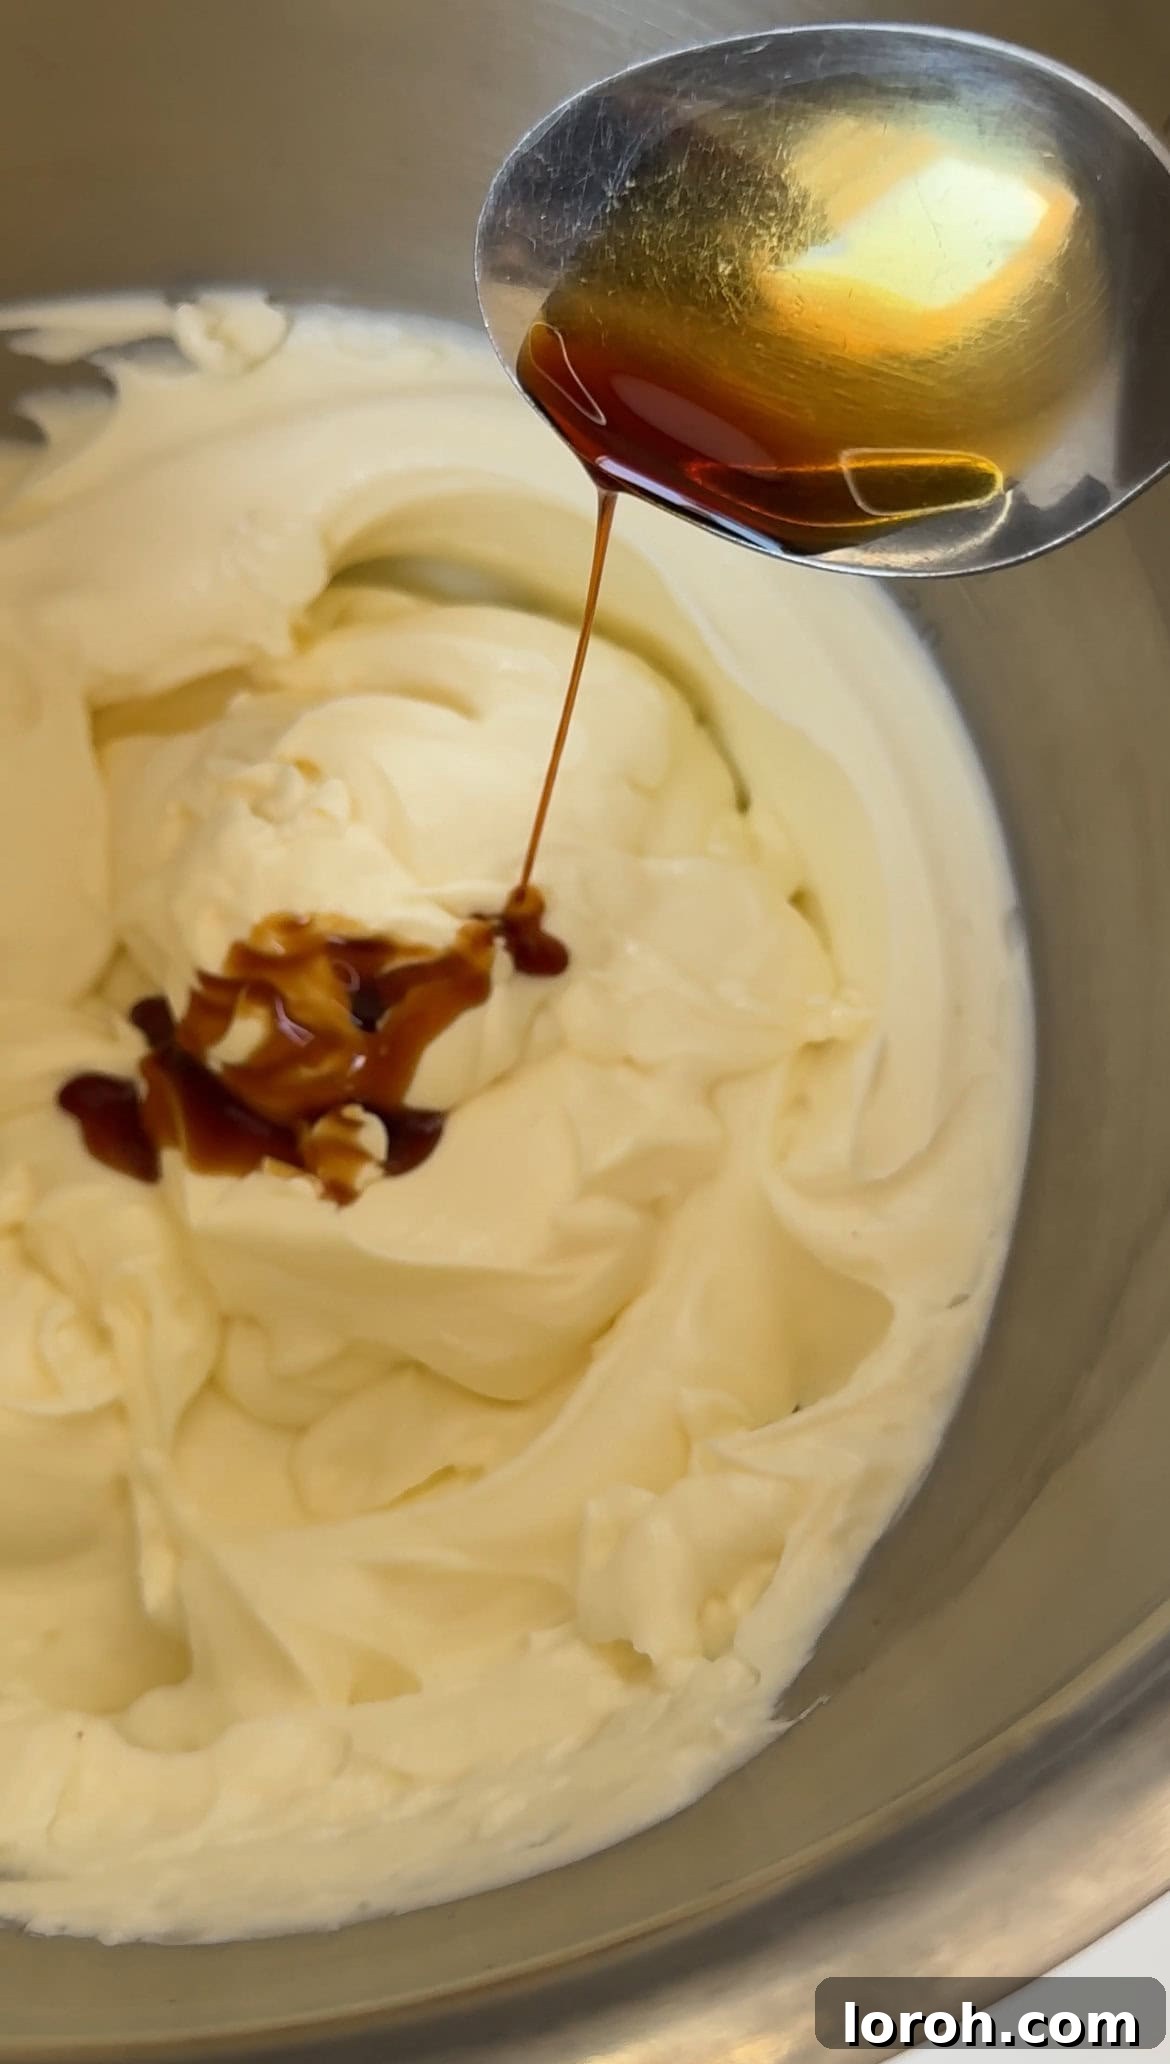
FIVE: Now, carefully incorporate the full-fat sour cream, pure vanilla extract, and a pinch of salt into the cream cheese mixture. Stir gently until everything is just well-combined. Make sure to scrape down the sides of the bowl frequently with a spatula to ensure no unmixed pockets remain, maintaining that smooth consistency.
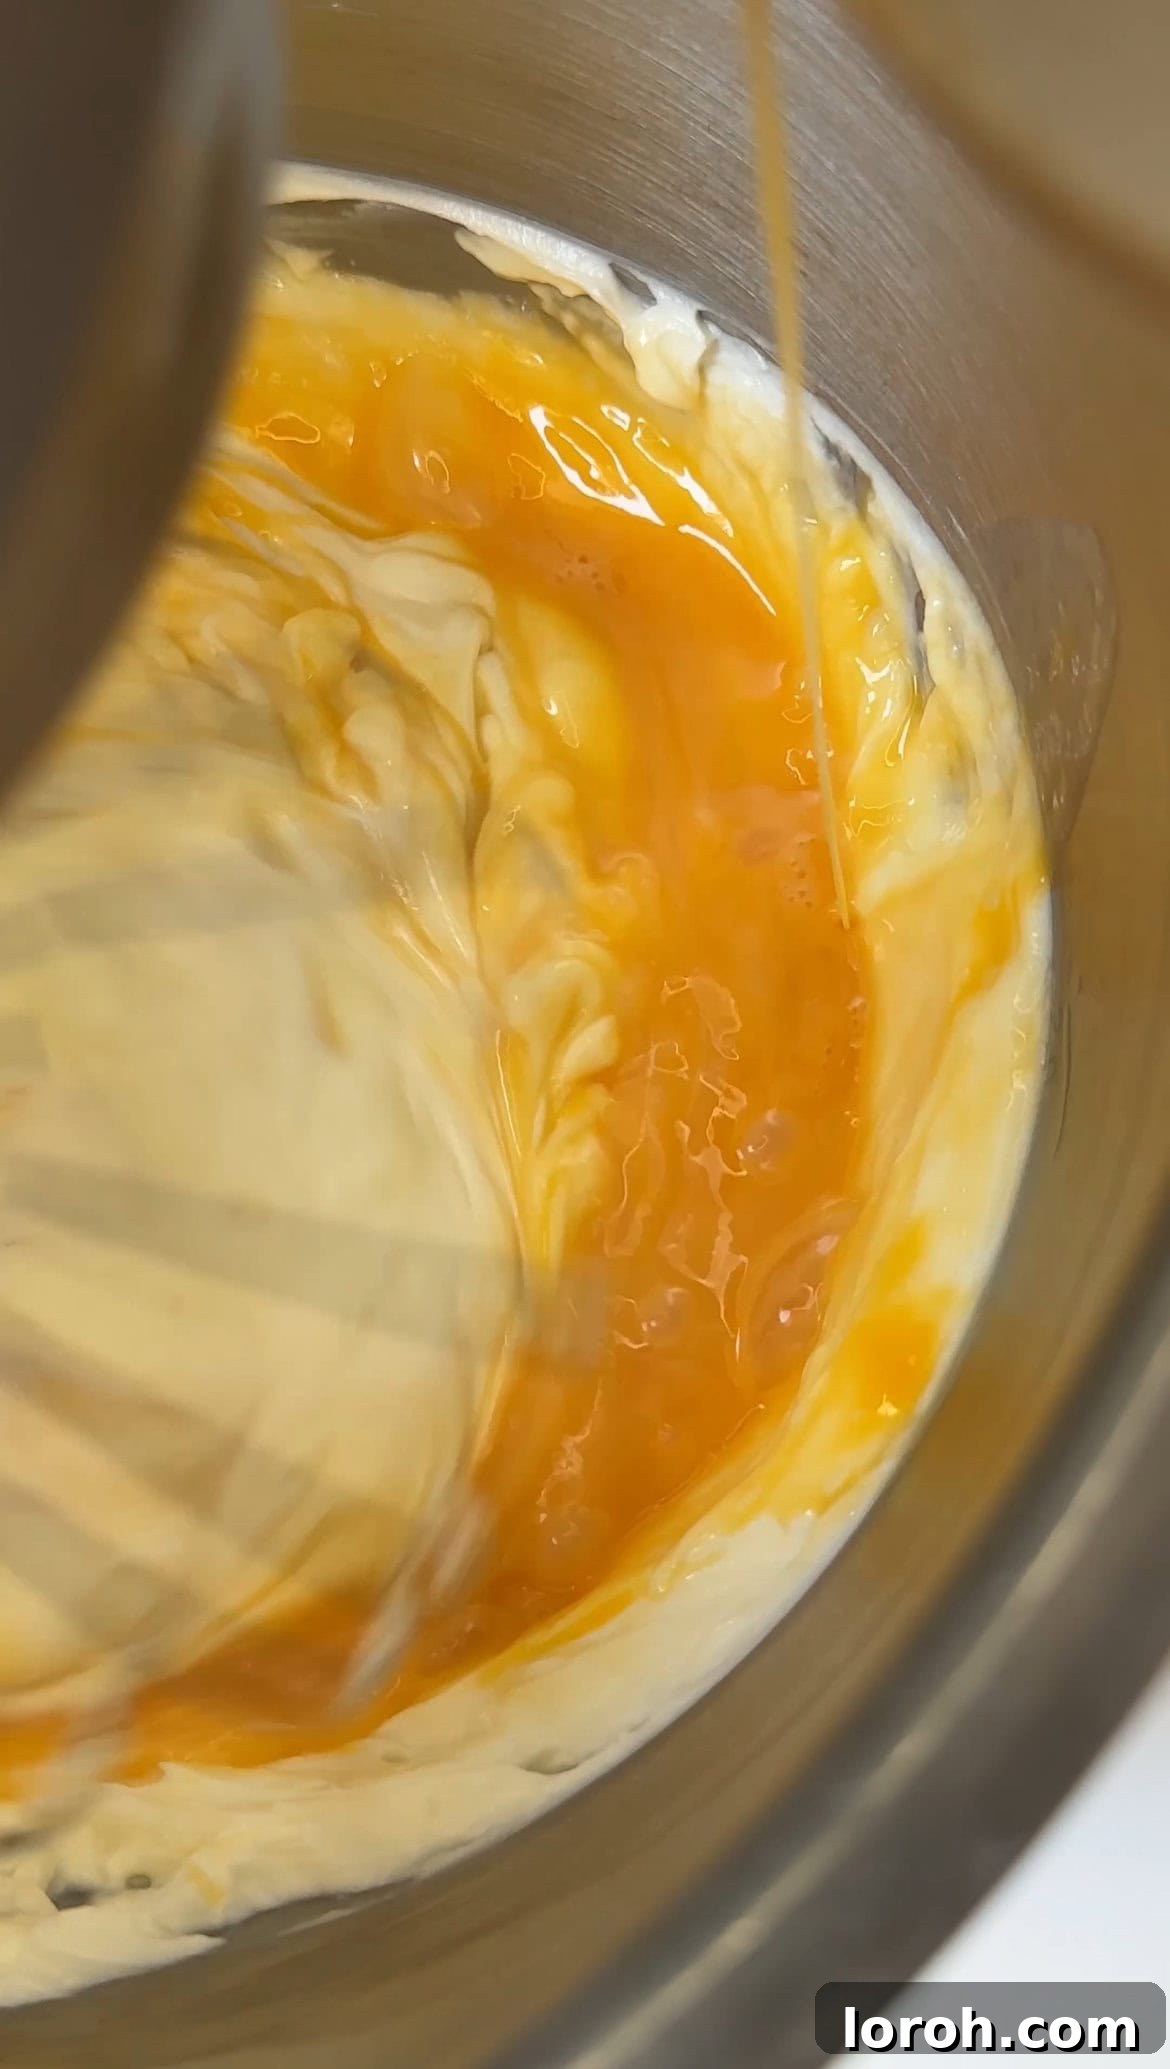
SIX: With your mixer on the lowest speed, slowly drizzle in the lightly beaten egg mixture, a little at a time. Mix *just* until the eggs are incorporated. It is crucial at this stage not to overmix, as this can introduce too much air, which expands during baking and contracts upon cooling, potentially leading to cracks in your cheesecake surface.
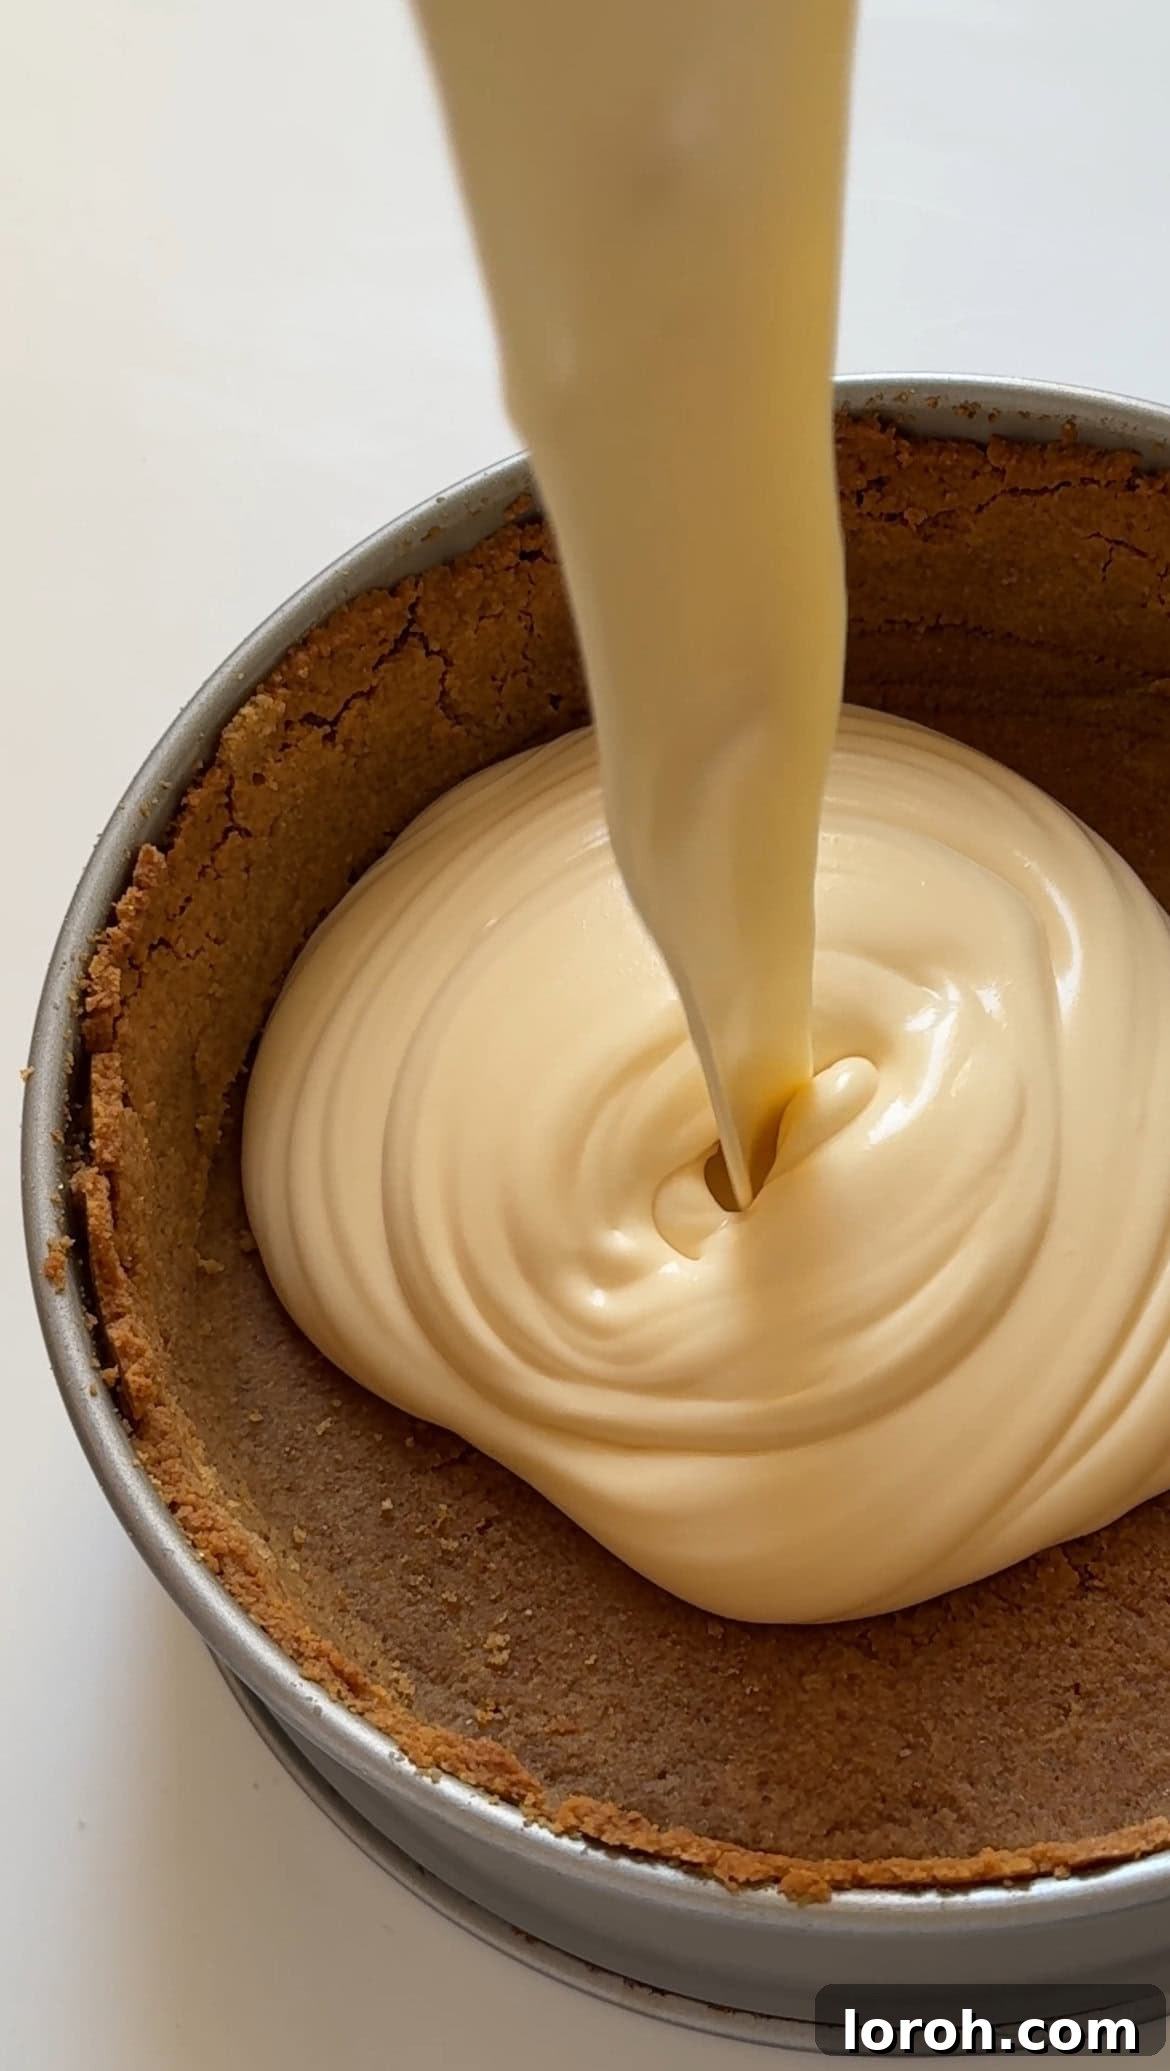
SEVEN: Pour the impeccably smooth cheesecake mixture into your prepared springform pan, which should already contain the biscuit crust. Place the springform pan onto a baking sheet lined with tin foil to catch any potential drips. Bake in your preheated oven at 160°C (325°F) for approximately 50-60 minutes, or potentially longer depending on your oven.
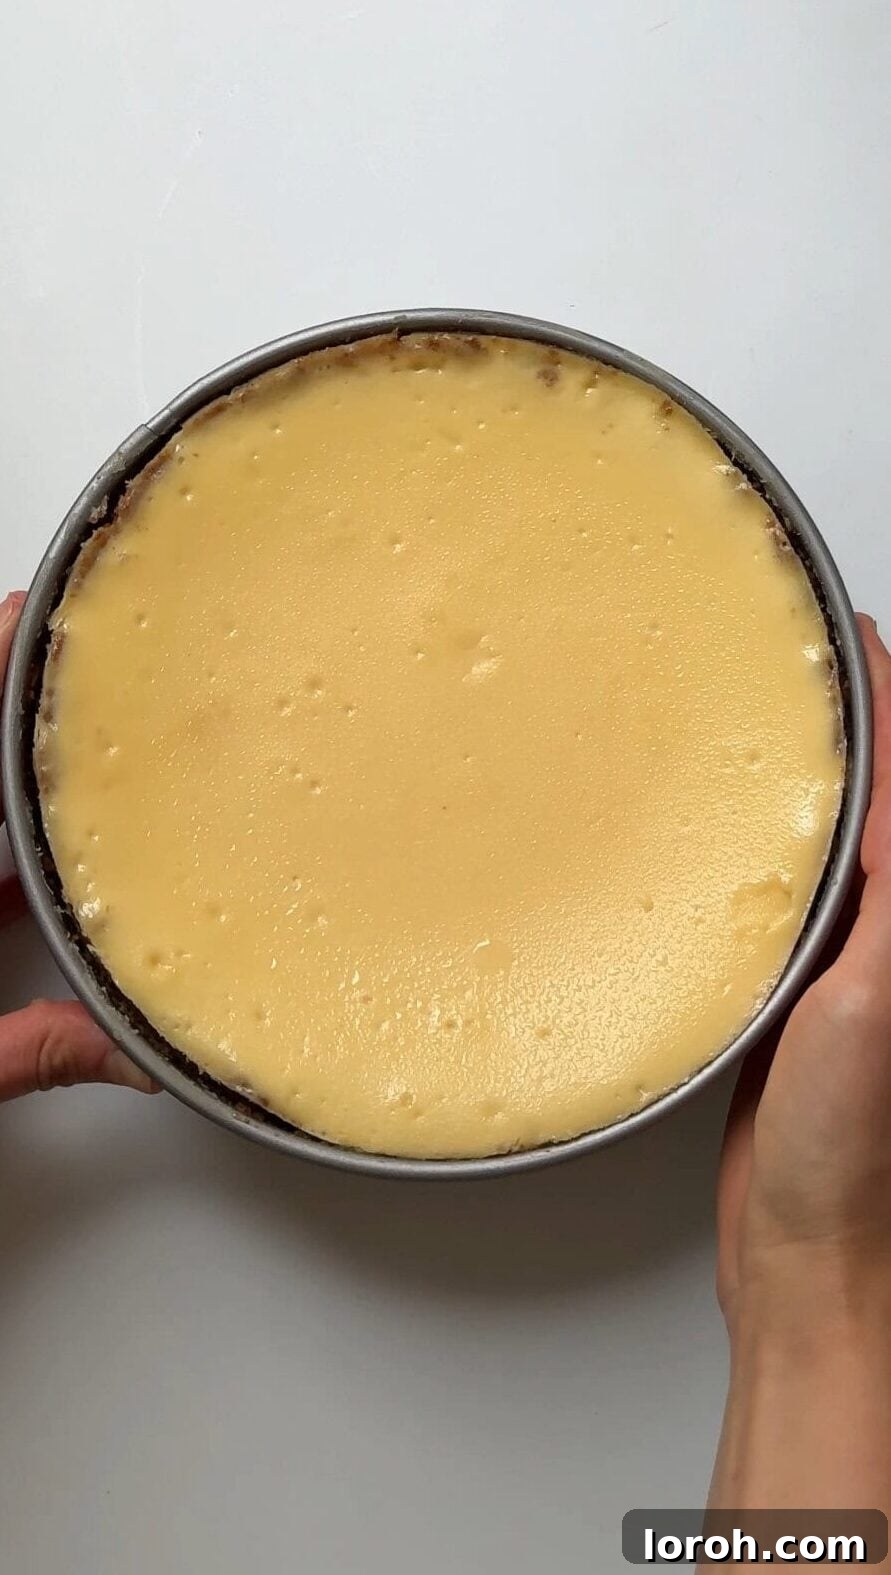
EIGHT: Your cheesecake is done when the edges are slightly puffed and a very light golden brown, but the center still has a gentle wobble – it should spring back to the touch but definitely still be jiggly. This “jiggly” center is crucial for preventing overbaking, which can result in a dry texture and cracks. Remove it from the oven and let it cool on top of the oven (with the oven off) for 10 minutes. Then, gently run a thin knife around the inner edge of the springform pan to prevent cracking as it cools further. Allow it to cool completely at room temperature, still in the pan, before chilling it in the fridge overnight or for a minimum of 4 hours. Proper chilling is vital for setting.
Step 3: Create the Signature Brûlée Topping
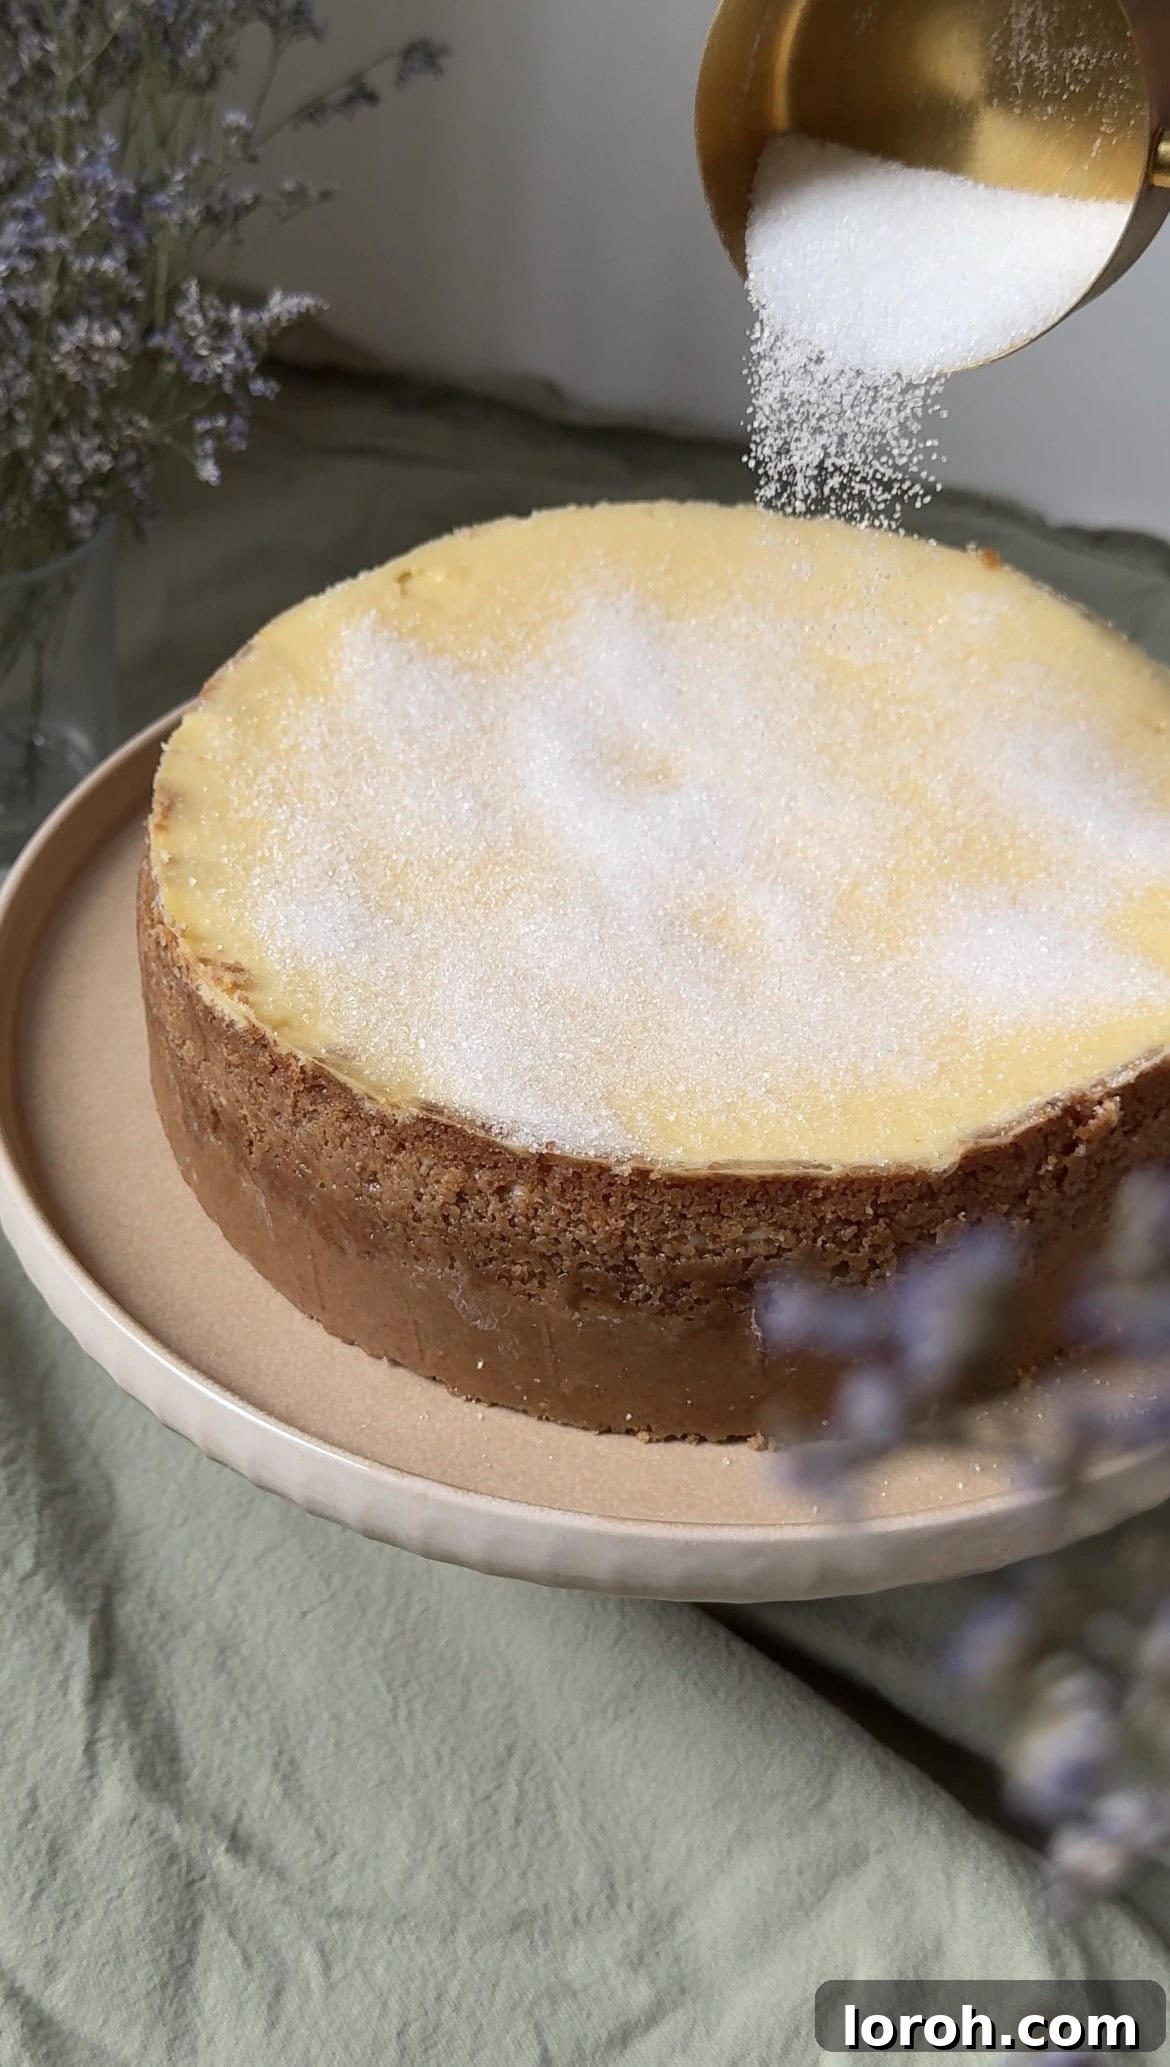
NINE: Once your cheesecake is thoroughly chilled, it’s time for the magical brûlée topping. Evenly scatter a layer of granulated sugar over the entire surface of the cheesecake. Avoid using brown sugar, as its molasses content can cause it to burn quickly and unevenly, leading to a spotty or overly dark, bitter topping rather than the desired golden, even caramelization.

TEN: Using a kitchen blow torch, systematically move the flame across the sugar, caramelizing it evenly. You’ll observe small bubbles forming as the sugar melts, transforming into a beautiful golden-brown, liquid caramel. Continue until the entire surface is uniformly caramelized. Once complete, allow the cheesecake to rest for a few minutes; the caramel will harden as it cools, creating that signature crunchy, crackable layer that is the hallmark of a perfect crème brûlée. Slice and serve immediately to enjoy the ultimate texture contrast!
Expert Cooking and Baking Tips for Perfection
Achieving a flawless Crème Brûlée Cheesecake is all about attention to detail. Here are some expert tips to ensure your dessert turns out perfectly every time:
- Embrace Full-Fat Ingredients: This tip cannot be stressed enough. For that luxuriously rich, creamy texture that sets beautifully, both your cream cheese and sour cream must be full-fat. The fat content is crucial for the cheesecake’s structure and mouthfeel. Skimping on fat here will result in a runny, less flavorful, or even crumbly cheesecake. This is a dessert to indulge in, so go all out!
- The Art of Baking the Cheesecake: Resist the urge to overbake! A perfectly baked cheesecake will have edges that are slightly puffed and a very light golden-brown hue, while the center will still retain a gentle, appealing wobble. When gently shaken, the center should move like firm jello, not liquid. This ensures a moist, tender interior. Overbaking leads to a dry texture and, more often than not, unsightly cracks on the surface. Trust the wobble!
- Mastering the Blowtorch Technique: For the most beautiful and consistent brûlée topping, I recommend sprinkling the granulated sugar in sections. Start by covering a quarter of the cheesecake surface, then caramelize that area with your blowtorch. Move to the next quarter and repeat. This sectional approach prevents the sugar from absorbing moisture from the cheesecake and helps maintain a uniform, crisp layer across the entire top, avoiding any burnt spots or soggy patches. Keep the flame moving constantly for even results.
- Creating the Perfect Crust: A sturdy, well-packed crust is essential for clean slices and structural integrity. After pouring the biscuit mixture into the springform pan, use the flat bottom of a glass or a measuring cup to press it down firmly and evenly across the base and slightly up the sides. This compacting ensures your base holds together beautifully when sliced and serves as a crisp counterpoint to the creamy filling.
- Patience is Key: Chilling Properly: This is arguably the most critical step for any baked cheesecake. The cheesecake (before the brûlée topping) requires a minimum of 4 hours of chilling in the refrigerator, but ideally, it should be chilled overnight. This extended cooling period allows the cheesecake to set completely, firming up its texture and intensifying its flavors. Rushing this step will result in a softer, less stable cheesecake that can be difficult to slice neatly.
- Room Temperature Ingredients: Always ensure your cream cheese, sour cream, and eggs are at room temperature before mixing. This allows them to combine smoothly and evenly, creating a consistent batter free of lumps and reducing the risk of overmixing.
Frequently Asked Questions About Crème Brûlée Cheesecake
Cheesecake cracks often occur due to sudden temperature changes. To minimize this risk, avoid opening the oven door unnecessarily during baking. After baking, let the cheesecake cool gradually. First, leave it in the oven (turned off, door ajar) for about an hour, then move it to a cooling rack at room temperature. Ensure it’s completely cooled to room temperature before transferring it to the refrigerator for chilling. Running a thin knife around the edges of the pan immediately after removing it from the oven can also help prevent cracking by easing tension as it cools and shrinks.
Absolutely! This cheesecake is an excellent make-ahead dessert. You can prepare and bake the entire cheesecake (excluding the caramelized sugar topping) 1-2 days in advance. Once baked and fully cooled, cover it loosely and store it in the refrigerator. The key is to add the granulated sugar and caramelize it with your blow torch just before serving. This ensures the topping is perfectly crisp and retains its signature crunch.
The perfect cheesecake has a slightly wobbly center. The edges should appear set, lightly puffed, and a faint golden brown. Gently shake the pan; the center (about 2-3 inches in diameter) should still have a slight jiggle, much like a firm jelly, but not be liquid. The residual heat will continue to cook the center as it cools. If there’s no wobble, it’s likely overbaked. For reference, it’s similar to the ideal texture of a San Sebastián (Burnt Basque) Cheesecake, which embraces the wobble.
Store any leftover cheesecake in an airtight container in the refrigerator for up to 5 days. Be aware that the caramelized topping will gradually soften over time due to moisture from the cheesecake. For the best crisp topping experience, consider caramelizing individual slices just before serving if you’re not planning to eat the entire cheesecake at once.
If a blow torch isn’t available, your oven’s grill (broiler) can be a viable alternative. First, ensure your cheesecake is thoroughly chilled from the refrigerator. Preheat your grill to its highest setting. Sprinkle an even layer of granulated sugar over the chilled cheesecake. Place the cheesecake on a baking sheet on an oven rack positioned relatively close to the grill element (but not too close to avoid burning). Watch it *very* carefully – this step takes only a few minutes. Keep the oven door slightly ajar so you can observe the sugar caramelizing. Once it achieves a beautiful golden-brown color, remove it immediately and let it cool completely for the sugar to harden. The direct heat of the grill will melt and caramelize the sugar, albeit with less precise control than a torch.
Certainly! While digestive biscuits provide a classic, perfectly balanced flavor, you have many delicious options. Ginger nut biscuits offer a delightful spicy kick, while gluten-free digestives ensure the dessert is accessible for everyone. If you’re based in America, Graham crackers are an excellent and popular choice that will yield a fantastic crust.
Other Dessert Recipes You Might Enjoy
If you’ve loved creating this sensational Crème Brûlée Cheesecake, you’ll surely find delight in exploring more of our tempting dessert recipes. For those who prefer a dessert that doesn’t require oven time, our No-Bake Mini Biscoff Cheesecakes are incredibly simple to prepare and truly irresistible – they set beautifully in the fridge! If baked goods are more your style, you absolutely must try our Moist Dark Chocolate Muffins for a classic, comforting treat. Or, put those ripe bananas to good use with our fantastic Banana Chocolate Muffins. For something truly indulgent and shareable, bake up our Giant Chocolate Chip Skillet Cookie, or dive into the rich, fudgy goodness of these Nigella-inspired Triple Chocolate Brownies – a timeless classic for a reason!
More Delicious Recipes to Discover
Sandwiches
The Best Coronation Chicken Sandwiches
Christmas Recipes
The Best Chocolate Salami
Easy Dessert Recipes
Chocolate Budino (Creamy Italian Pudding)
Drinks and Cocktails
Homemade Hot Chocolate Bombs
Share Your Crème Brûlée Cheesecake Masterpiece!
We absolutely love seeing your culinary creations! If you’ve made this incredible Crème Brûlée Cheesecake and enjoyed it, please consider leaving a review in the comments section below. Your feedback, stories about your baking journey, and any personal twists you’ve added are truly invaluable and make our day. Don’t forget to share a photo of your masterpiece on Instagram and tag us @desertislanddishes – it’s always a joy to see our recipes come to life in your kitchens!
Crème Brûlée Cheesecake
margie
30 minutes
1 hour
4 hours
5 hours 30 minutes
10 servings
Rate Recipe
Print Recipe
Ingredients
For the crust:
- 170 g digestive biscuits, crushed
- 100 g unsalted butter, melted
For the cheesecake:
- 900 g full-fat cream cheese, softened to room temperature
- 200 g caster sugar
- 160 g full-fat sour cream
- 1 ½ teaspoons pure vanilla extract
- Pinch of fine sea salt
- 4 large eggs, room temperature, lightly beaten
For the topping:
- 50 g granulated sugar
Instructions
To make the crust:
-
Preheat oven to 160°C (325°F).
-
Blend the biscuits in a food processor or crush them in a ziplock bag with a rolling pin until fine crumbs. Transfer to a bowl and mix thoroughly with the melted butter.
-
Pour the biscuit base into a 9-inch (23cm) springform pan. Press firmly and evenly into the bottom and slightly up the sides of the pan. Set aside.
To make the cheesecake:
-
In a large bowl, lightly whisk the room-temperature cream cheese until creamy and smooth. Be careful not to over-beat. Add the caster sugar and mix on low speed until just combined.
-
Add the sour cream, vanilla extract, and salt. Stir until well-combined, scraping down the sides of the bowl as needed.
-
With the mixer on low, slowly add the lightly beaten egg mixture, a little at a time, mixing just until fully incorporated. Do not overmix.
-
Pour the cheesecake mixture into the prepared springform pan. Place the pan on a baking sheet lined with tin foil.
-
Bake at 160°C (325°F) for 50-60 minutes, or until the edges are lightly golden and the center has a slight wobble.
-
The cheesecake is done when the edges are slightly puffed and lightly golden brown, and the center is still jiggly when gently shaken. It’s crucial not to overbake to maintain creaminess and prevent cracks.
-
Remove from the oven and let it cool on top of the oven for 10 minutes. Then, gently run a thin knife around the inside edge of the springform pan to prevent cracking as it cools. Allow to cool completely at room temperature, still in the pan.
-
Transfer the cooled cheesecake to the fridge and chill for at least 4 hours, or ideally overnight, to allow it to set fully.
-
Once thoroughly chilled, remove the cheesecake from the fridge and carefully release the springform pan ring.
Make the crème brûlée topping:
-
Just before serving, sprinkle an even layer of granulated sugar over the top of the chilled cheesecake.
-
Using a kitchen blow torch, caramelize the sugar evenly until it turns a rich golden brown. Allow the caramelized sugar to harden for a few minutes before slicing and serving. Enjoy the satisfying crack!
Notes
Storage: Store leftover cheesecake in an airtight container in the fridge for up to 5 days. Note that the brûlée topping will gradually soften over time. For the freshest crunch, consider caramelizing individual slices just before serving.
Make Ahead: The cheesecake (without the brûlée topping) can be made 1-2 days in advance, covered, and stored in the fridge. Apply the caramelized sugar topping just before serving for optimal crispness.
No Blowtorch? No Problem: If you don’t have a blow torch, the cheesecake is still delicious without the brûlée topping. Alternatively, you can use your oven’s grill/broiler. Ensure the cheesecake is fully chilled. Preheat the grill to high, sprinkle an even layer of sugar, and place under the grill. Watch constantly as it takes only a few minutes. Remove when golden and allow to cool to harden the sugar.
Preventing Cracks: Cracks usually result from sudden temperature changes. Avoid opening the oven door during baking and allow the cheesecake to cool gradually at room temperature before chilling. Gently loosening the edges with a knife after baking can also help.
Crust Alternatives: Feel free to use ginger nut biscuits for a spicy twist, gluten-free digestives for dietary needs, or Graham crackers if you’re in America.
Loved this recipe? Leave a comment below!