
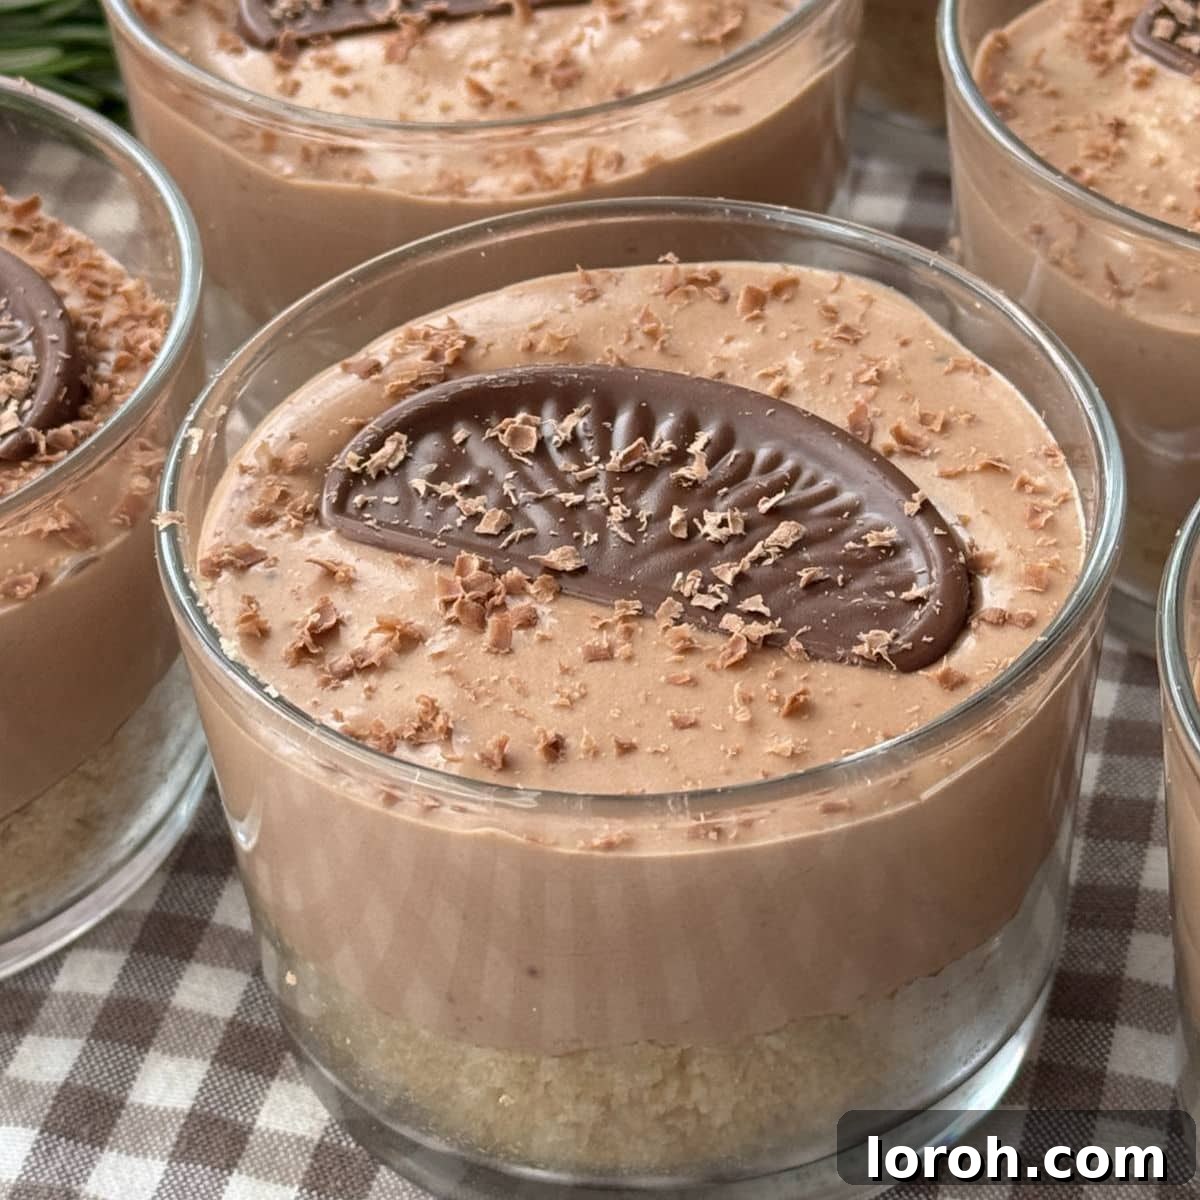
Decadent No-Bake Terry’s Chocolate Orange Cheesecake Pots: Your Go-To Easy Dessert
Prepare to fall in love with these no-bake chocolate orange cheesecake pots – the epitome of indulgence wrapped in simplicity. Crafted with the iconic Terry’s Chocolate Orange, these individual desserts deliver an irresistible blend of rich chocolate and vibrant citrus, creating a flavor profile that is both nostalgic and utterly luxurious. Forget complex baking; these cheesecakes are effortlessly delicious, making them a perfect choice for any occasion, from casual family dinners to elegant dinner parties. Their individual serving size not only makes presentation a breeze but also ensures perfect portions every time.
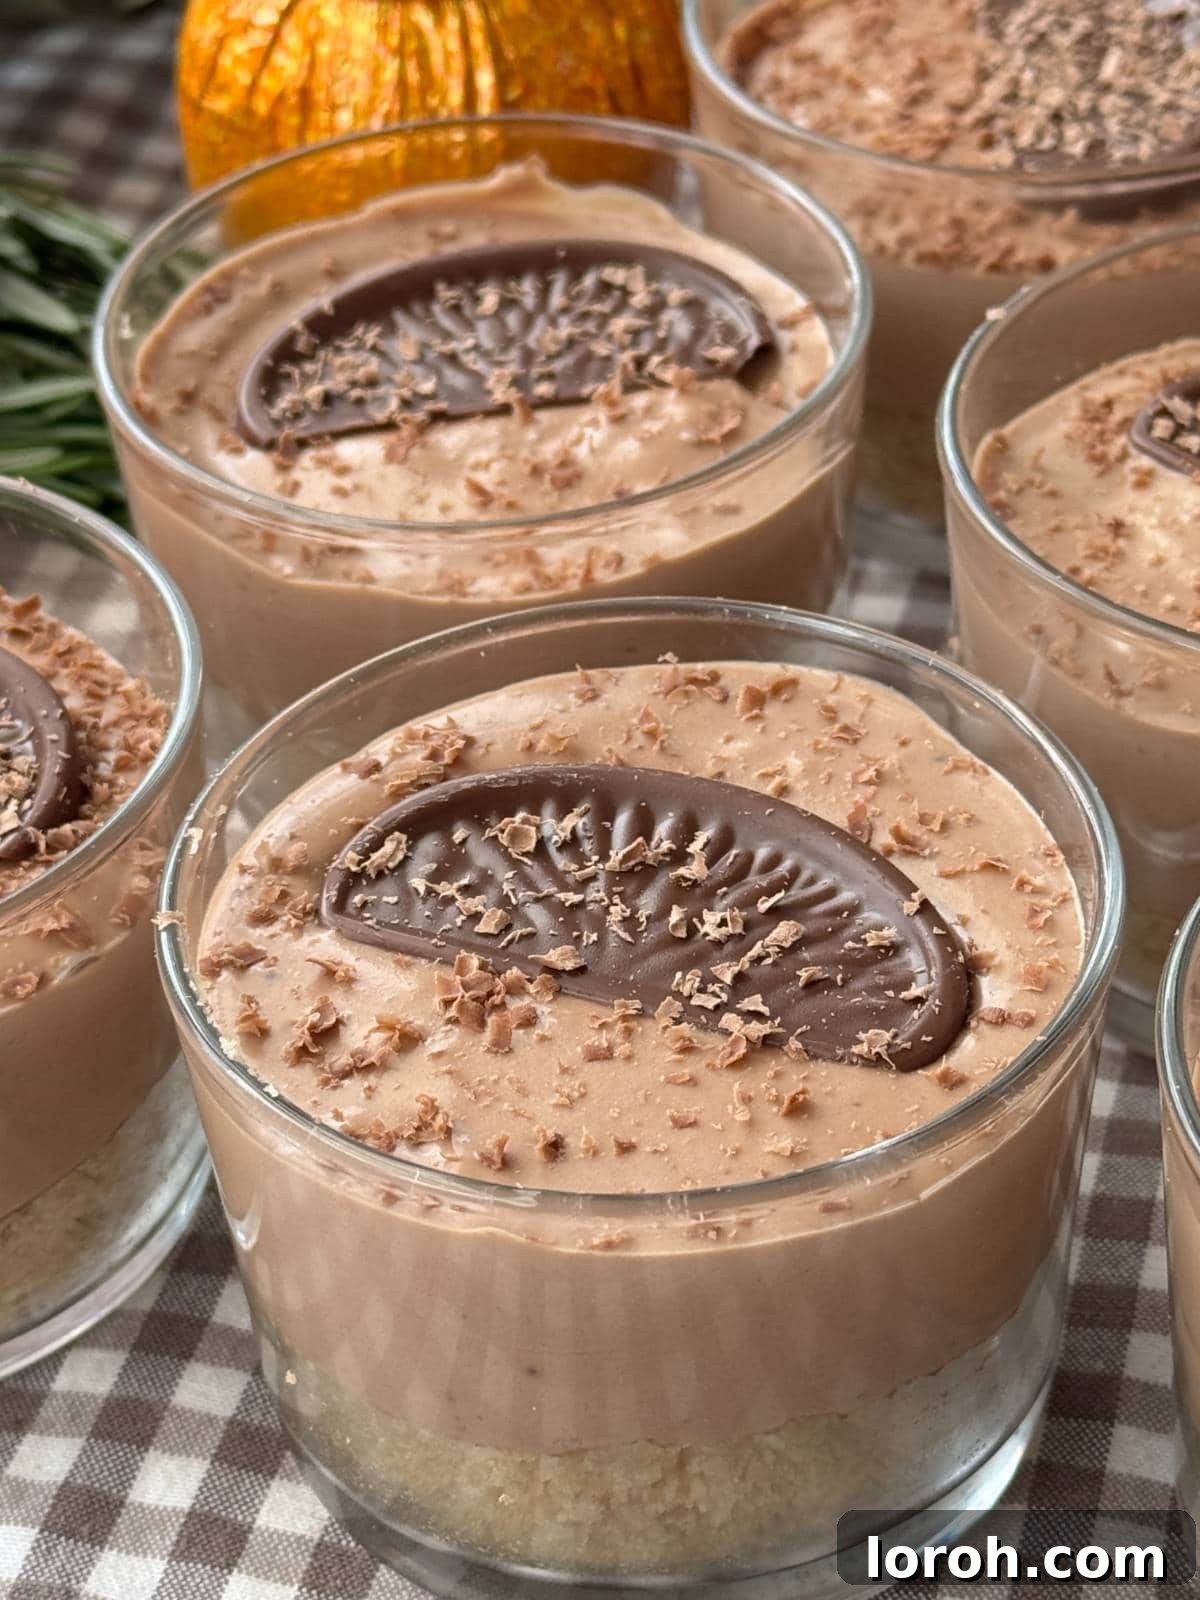
The combination of chocolate and orange is a timeless classic, and it shines brightest in this cheesecake. Imagine the familiar, comforting zest of Terry’s Chocolate Orange infused into a velvety, melt-in-your-mouth cheesecake base. This recipe transcends the ordinary, transforming simple ingredients into a dessert that’s truly unforgettable. Whether you’re a seasoned baker or a kitchen novice, this guide will walk you through every step to create stunning, delectable cheesecake pots.
In this comprehensive post, you’ll discover a detailed, step-by-step recipe for perfect no-bake chocolate orange cheesecake pots, alongside invaluable storage tips, creative ingredient variations, essential troubleshooting advice, and answers to frequently asked questions. Get ready to impress with minimal effort!
Table of Contents
- Why You Will Adore This No-Bake Chocolate Orange Cheesecake Recipe
- Key Ingredients for Your Chocolate Orange Cheesecake Pots
- Substitutions and Variations: Customizing Your Cheesecake Pots
- Step-by-Step: How to Make Terry’s Chocolate Orange Cheesecake Pots
- Expert Cooking Tips for Perfect No-Bake Cheesecakes
- Frequently Asked Questions About Chocolate Orange Cheesecake
- More Irresistible Dessert Recipes You Might Enjoy
- Printable Terry’s Chocolate Orange Cheesecake Pots Recipe Card
Why You Will Adore This No-Bake Chocolate Orange Cheesecake Recipe
These individual chocolate orange cheesecake pots aren’t just a dessert; they’re a revelation. Here’s why this recipe will quickly become a cherished favorite in your kitchen:
- Nostalgic, Creamy, and Indulgent: Made with authentic Terry’s Chocolate Orange, each spoonful evokes that beloved, classic chocolate orange flavor. The texture is incredibly smooth and rich, offering a truly decadent experience that satisfies any sweet craving. This isn’t just a dessert; it’s a celebration of a classic flavor combination.
- Effortlessly No-Bake & Quick to Assemble: Say goodbye to oven worries and complicated techniques! This recipe requires absolutely no baking, making it ideal for novice cooks and busy home chefs alike. The assembly is straightforward and quick, allowing you to whip up these delightful treats even for last-minute entertaining or when you crave something special without the fuss. Just like making a creamy Italian budino, simplicity is key here.
- Perfectly Portioned in Individual Pots: Serving has never been easier or more elegant. Presenting these cheesecakes in individual pots eliminates the need for slicing and ensures each guest receives a beautifully portioned dessert. This makes them perfect for dinner parties, picnics, or simply enjoying a single treat without temptation.
- Fantastic Make-Ahead Friendliness: Planning ahead is a breeze with these cheesecake pots. They chill beautifully and actually benefit from an overnight rest in the fridge, allowing the flavors to meld and the texture to firm up perfectly. Prepare them a day in advance, and simply garnish before serving, freeing up your time on the day of your event.
- Versatile for Any Occasion: From festive holiday gatherings to casual summer soirées, these cheesecake pots fit right in. Their appealing presentation and universally loved flavor make them a guaranteed hit, ensuring compliments from all who try them.
Key Ingredients for Your Chocolate Orange Cheesecake Pots
The full, detailed recipe with exact measurements can be found in the printable recipe card at the bottom of this post. Simply scroll down to access it!
Creating these heavenly chocolate orange cheesecake pots starts with selecting the right ingredients. Each component plays a crucial role in achieving that perfect creamy texture and iconic flavor:
- Cream Cheese: For an impeccably firm and lusciously creamy cheesecake, always opt for a full-fat block cream cheese. Brands like Philadelphia are excellent choices due to their consistent texture and rich flavor. It’s vital to drain off any excess liquid from the cream cheese before use, as extra moisture can prevent your cheesecake from setting properly. Low-fat varieties simply won’t yield the desired consistency or richness, often resulting in a runny filling.
- Icing Sugar: Also widely known as ‘powdered sugar’ or ‘confectioners’ sugar,’ this finely milled sweetener dissolves seamlessly into the cream cheese mixture, ensuring a smooth, lump-free filling. Its delicate texture is essential for achieving the cheesecake’s signature velvety mouthfeel, unlike granulated sugar which might leave a grainy texture.
- Double Cream: In the US, this is referred to as ‘heavy cream’ or ‘heavy whipping cream.’ This ingredient is fundamental for the cheesecake’s structure and luxurious texture. Double cream has a high fat content (typically around 48%), allowing it to whip up thick and hold its shape beautifully, which is crucial for a stable no-bake cheesecake. Do not be tempted to substitute with single cream or half-and-half, as they lack the fat content necessary to whip adequately or provide the required structural integrity.
- Terry’s Chocolate Orange: This is the star ingredient that infuses our cheesecake with its distinctive, beloved flavor. Widely available, especially during holiday seasons in the UK and internationally, Terry’s Chocolate Orange is a sphere of milk chocolate cleverly segmented to resemble an orange. The playful design adds to its charm, but it’s the unique blend of sweet milk chocolate and natural orange oil that makes it irreplaceable. While any good quality orange-infused milk chocolate bar can be used as a substitute, the iconic taste of Terry’s truly elevates this dessert. Ensure you have extra for decoration to achieve that classic look.
- Shortbread Biscuits: These buttery, crumbly biscuits form the perfect sturdy yet tender base for our cheesecake pots. Their delicate sweetness and rich butter flavor complement the chocolate orange filling beautifully. They are easily blitzed into fine crumbs, providing a delightful textural contrast to the creamy topping.
- Unsalted Butter: Melted unsalted butter binds the biscuit crumbs together to create a firm, delicious base that won’t fall apart. Using unsalted butter gives you control over the overall saltiness of the dessert, ensuring a perfectly balanced flavor profile.
Substitutions and Variations: Customizing Your Cheesecake Pots
One of the joys of this no-bake chocolate orange cheesecake recipe is its adaptability. Feel free to get creative with these delicious substitutions and variations to tailor the dessert to your taste or dietary needs:
- Biscuit/Cookie Base Alternatives: While shortbread offers a classic, buttery base, many other biscuits can create equally delicious foundations for these cheesecake pots. Consider using Digestive biscuits (similar to Graham crackers in the US for a slightly less sweet, more wheaty flavor), gingernuts for a spicy kick, Bourbons for an extra chocolatey layer, or even Oreos for a cookies-and-cream twist. For a gluten-free option, simply swap in your favorite gluten-free biscuits. Ensure you adjust the amount of melted butter if the texture of your chosen biscuit is significantly different.
- Chocolate Swaps and Enhancements: The beauty of Terry’s Chocolate Orange is its unique flavor, but you can certainly experiment with other chocolate types.
- Dark Chocolate Orange: For a more sophisticated, less sweet cheesecake, use a high-quality dark chocolate orange bar (e.g., 70% cocoa with orange oil). You might want to add an extra spoonful or two of powdered sugar to the cheesecake filling to balance the bitterness of the darker chocolate, depending on your preference.
- Milk or White Chocolate (with Orange Extract/Zest): If Terry’s Chocolate Orange isn’t available, you can use plain milk or white chocolate and add a teaspoon of good quality orange extract or finely grated orange zest (from an unwaxed orange) to the cheesecake filling to achieve the citrus flavor. This allows for excellent customization of the chocolate type.
- Vegan Orange Chocolate: For a plant-based version, select a dairy-free orange-flavored chocolate. Remember to also use vegan cream cheese and vegan double cream (or a suitable plant-based whipping cream alternative) and vegan biscuits for the base.
- Extra Orange Zest: For an even brighter, more intense orange flavor, finely grate the zest of one unwaxed orange directly into the cream cheese mixture alongside the icing sugar. This adds a wonderful aromatic lift.
- Garnish Options: Beyond the classic Terry’s Chocolate Orange segment, consider other garnishes. A swirl of whipped cream, a dusting of cocoa powder, chocolate shavings, candied orange peel, or even a sprig of fresh mint can add visual appeal and extra flavor dimension.
- Nutty Base: For added texture and flavor, try incorporating finely chopped toasted nuts (like almonds or hazelnuts) into your biscuit base mixture. This adds a lovely crunch and a complementary nutty aroma.
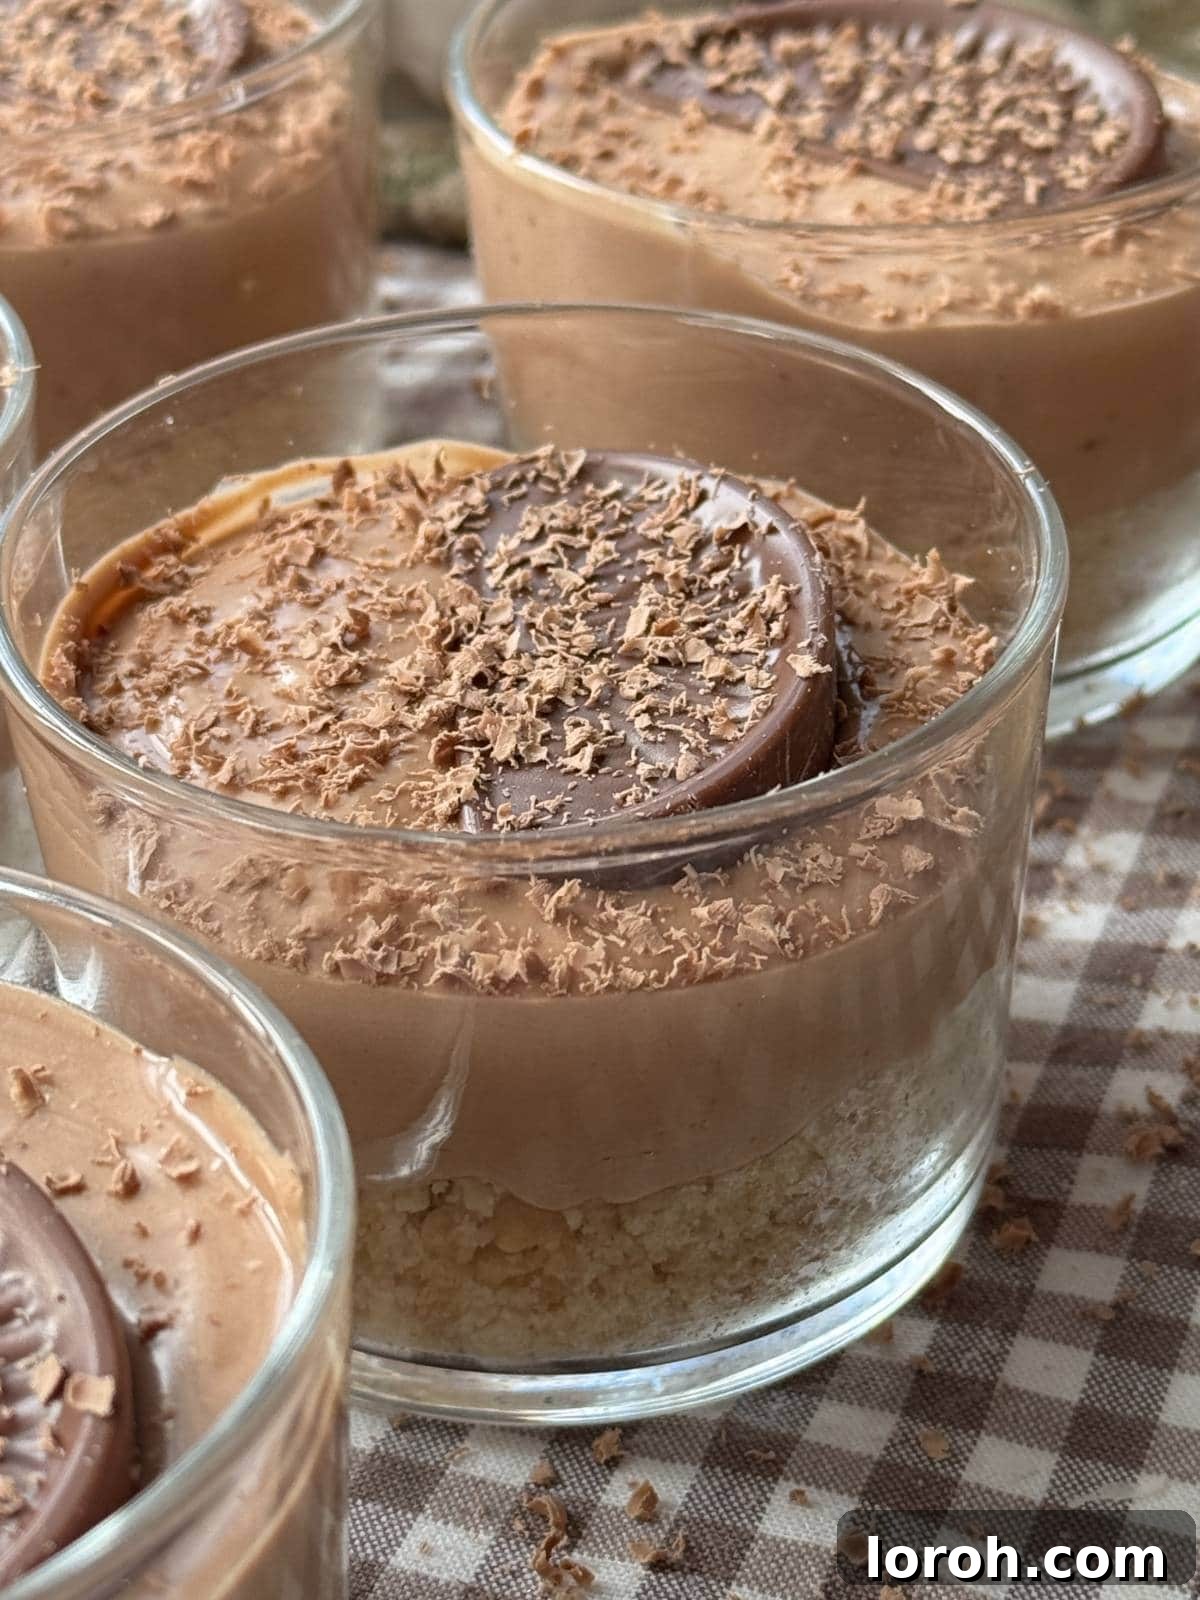
Step-by-Step: How to Make Terry’s Chocolate Orange Cheesecake Pots
This is a visual, step-by-step guide to help you, but you can find the complete printable recipe with detailed instructions and exact measurements at the very bottom of the page.
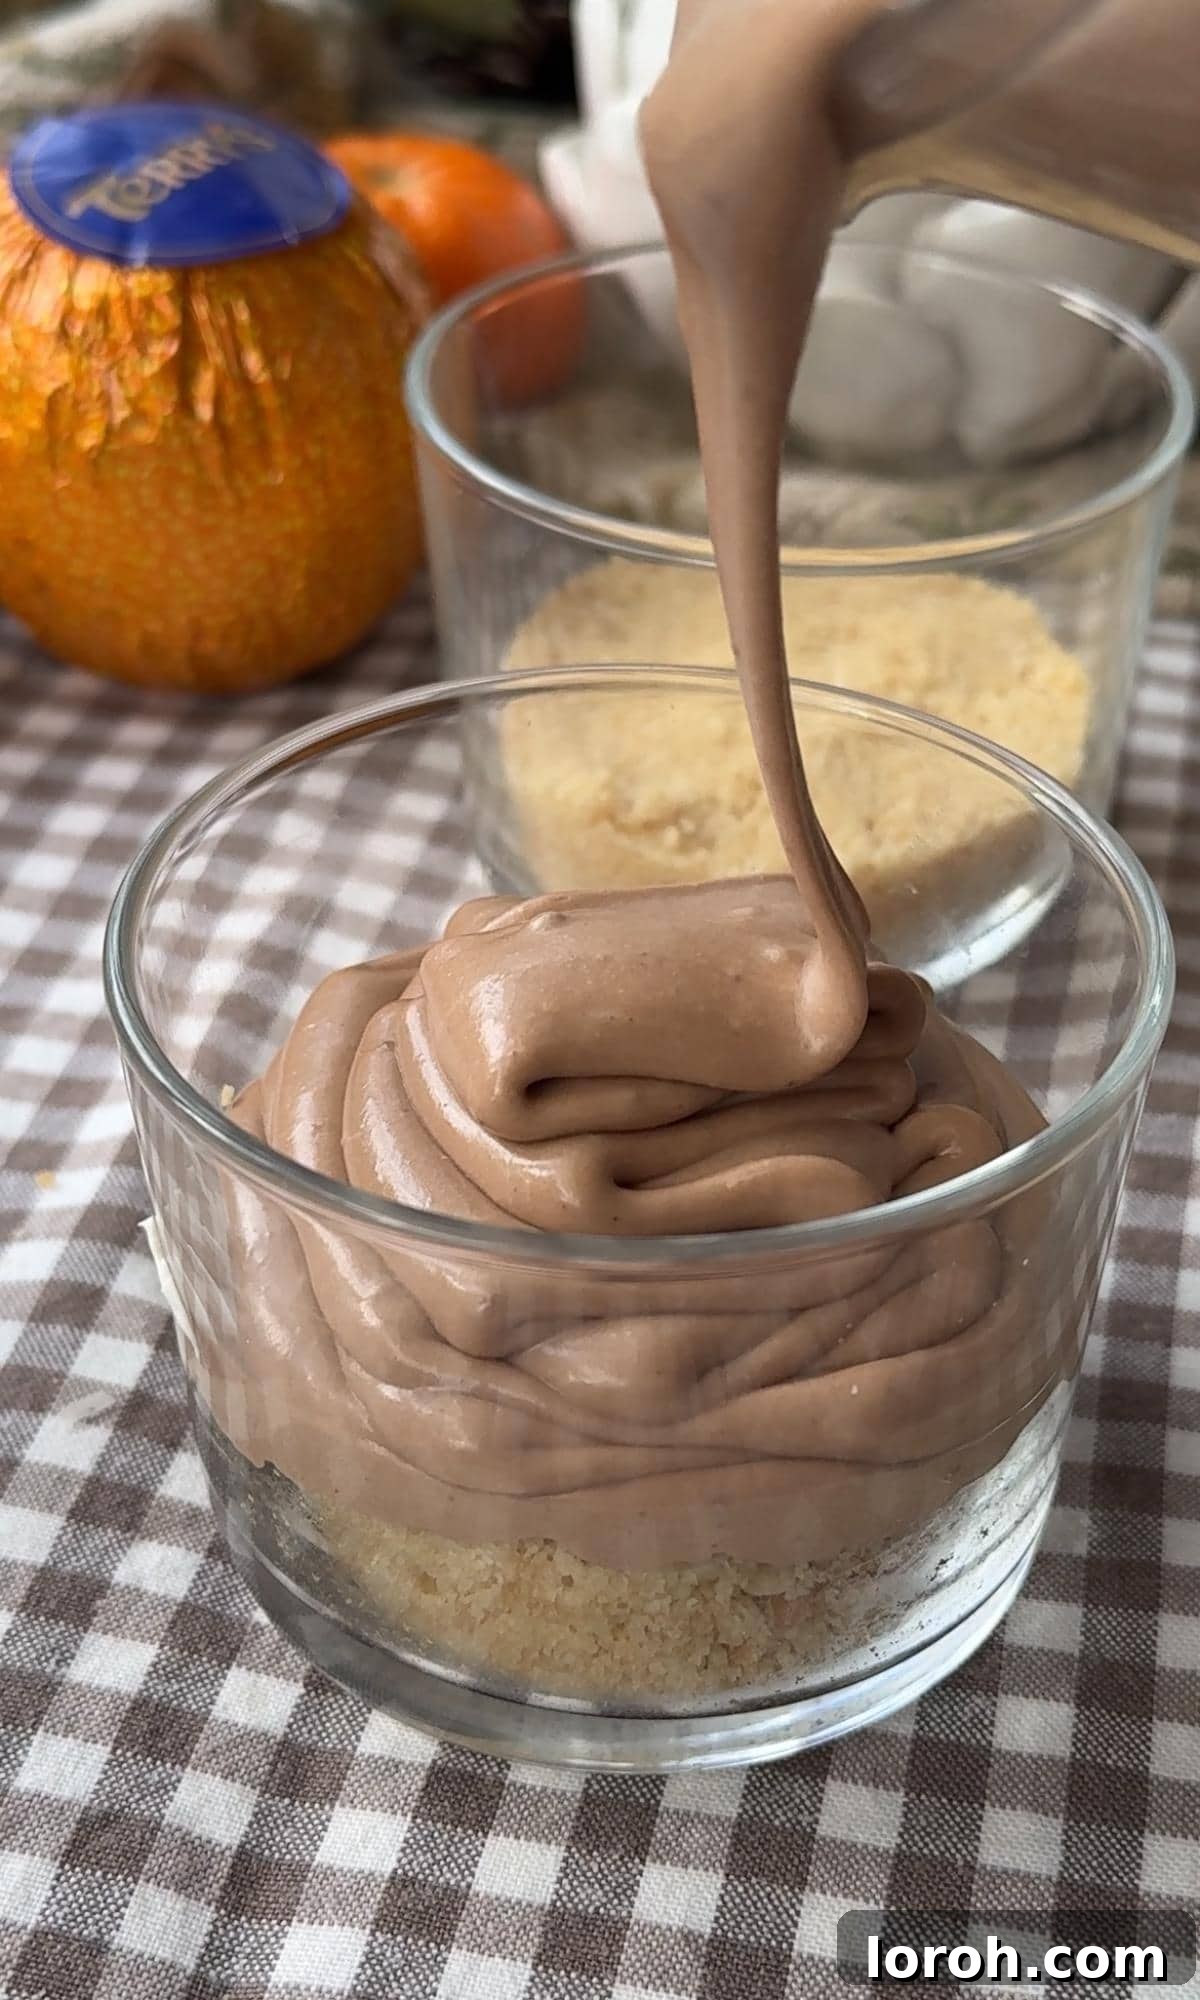
Expert Cooking Tips for Perfect No-Bake Cheesecakes
Achieving a flawless no-bake cheesecake is simple with these essential tips. Paying attention to these details will ensure your chocolate orange cheesecake pots turn out perfectly every time:
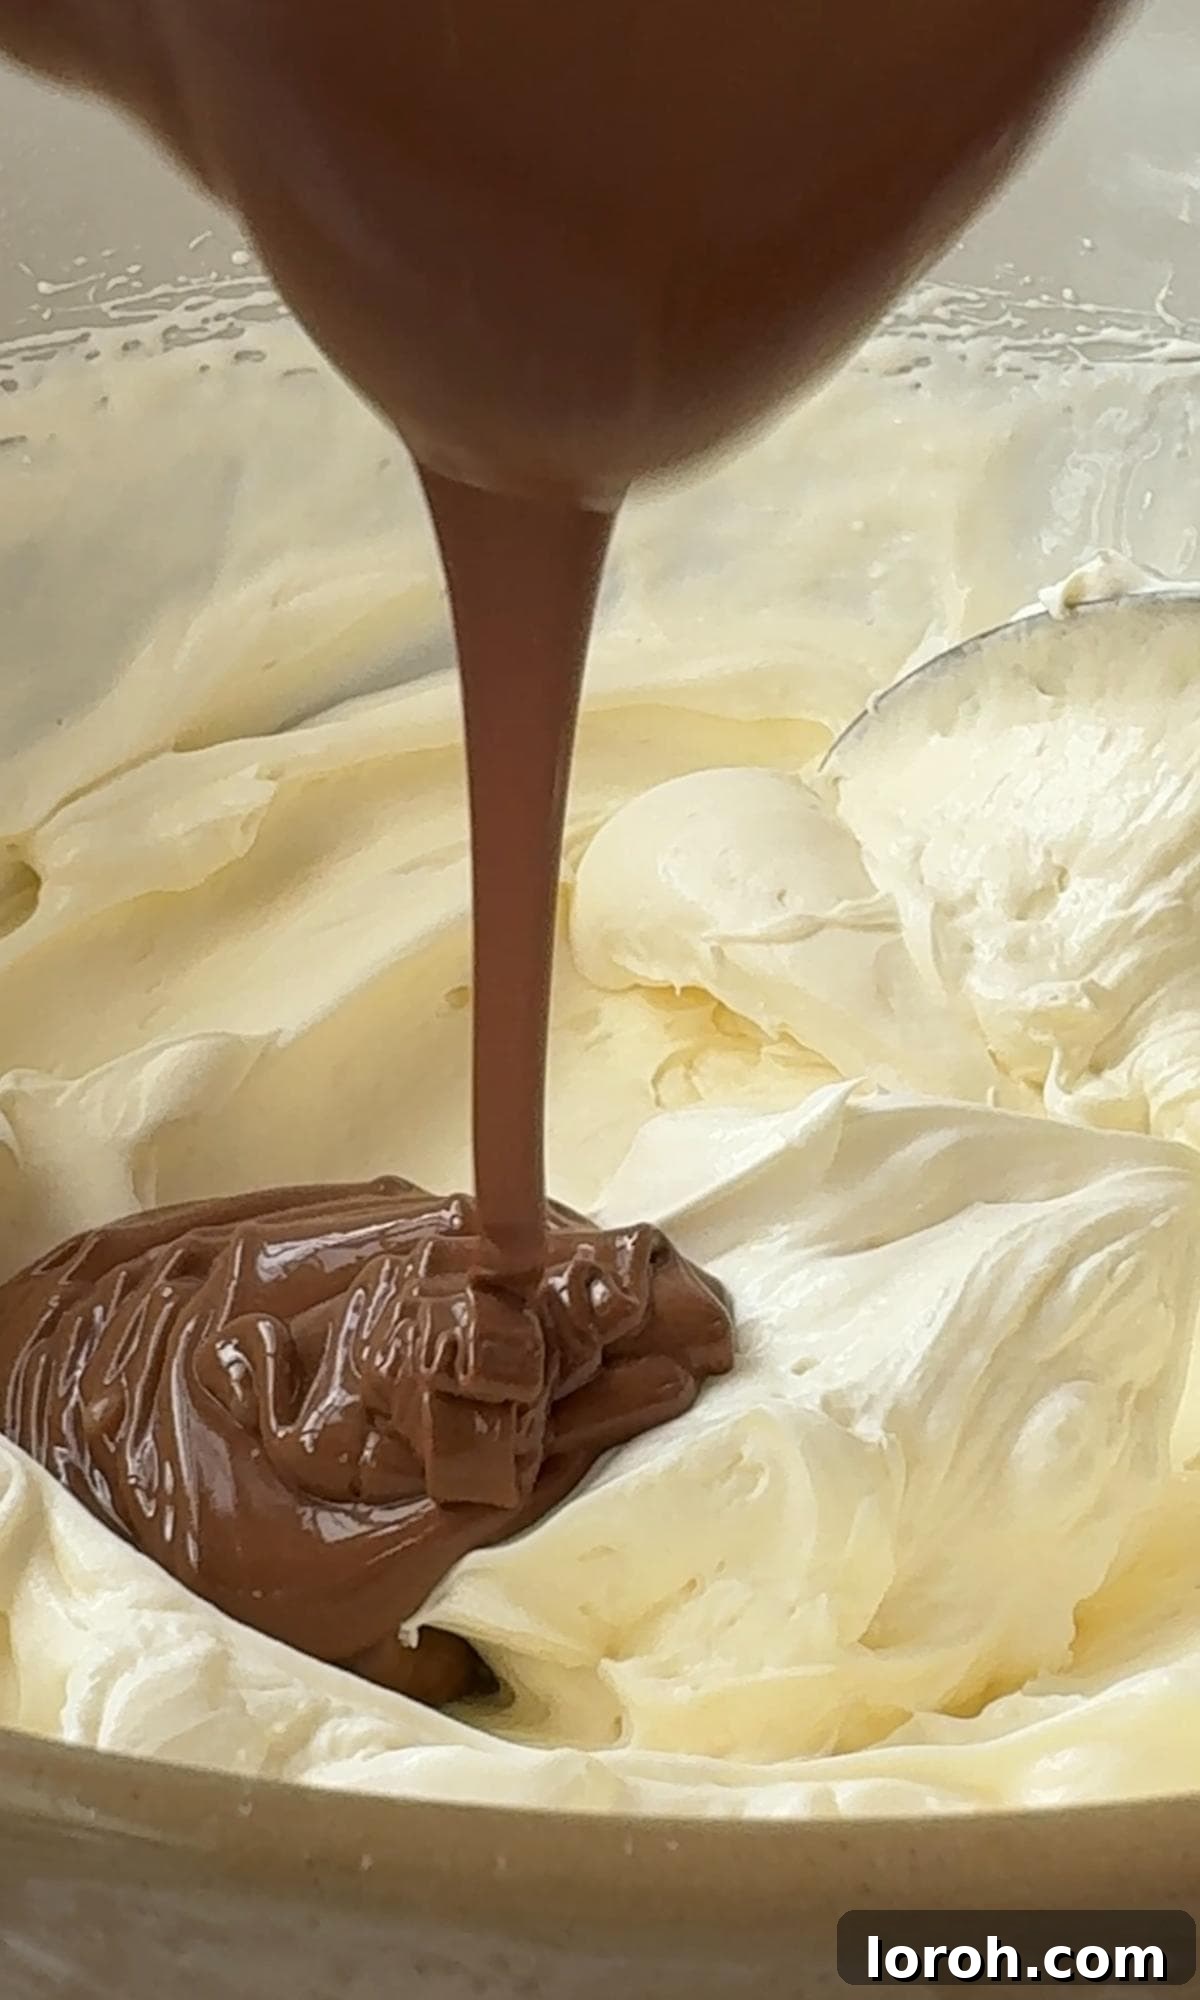
- Room Temperature Ingredients (and the Chocolate): This is crucial for a smooth, homogenous mixture. Ensure your cream cheese is at room temperature before you start; this allows it to whip up without lumps. The melted chocolate, however, needs to be *slightly warm, almost room temperature* – not hot and not cold. If the chocolate is too hot, it can melt the cream cheese and cream, resulting in a runny filling. If it’s too cold, it will seize and create solid chocolate chunks when it hits the cold cream cheese mixture, making your cheesecake grainy. Aim for a temperature where the chocolate is still fully liquid but not radiating heat.
- If the Mixture Seizes or Turns Grainy: Don’t panic! This often happens if the melted chocolate cools too quickly when added to cold ingredients. To rescue it, place the bowl in the microwave and heat in very short 10-second increments. After each increment, remove and whisk vigorously. The gentle heat will help the seized chocolate and fats re-emulsify with the cream cheese, smoothing out the mixture. Continue until silky smooth.
- Filling Too Runny? Several factors can contribute to a runny filling.
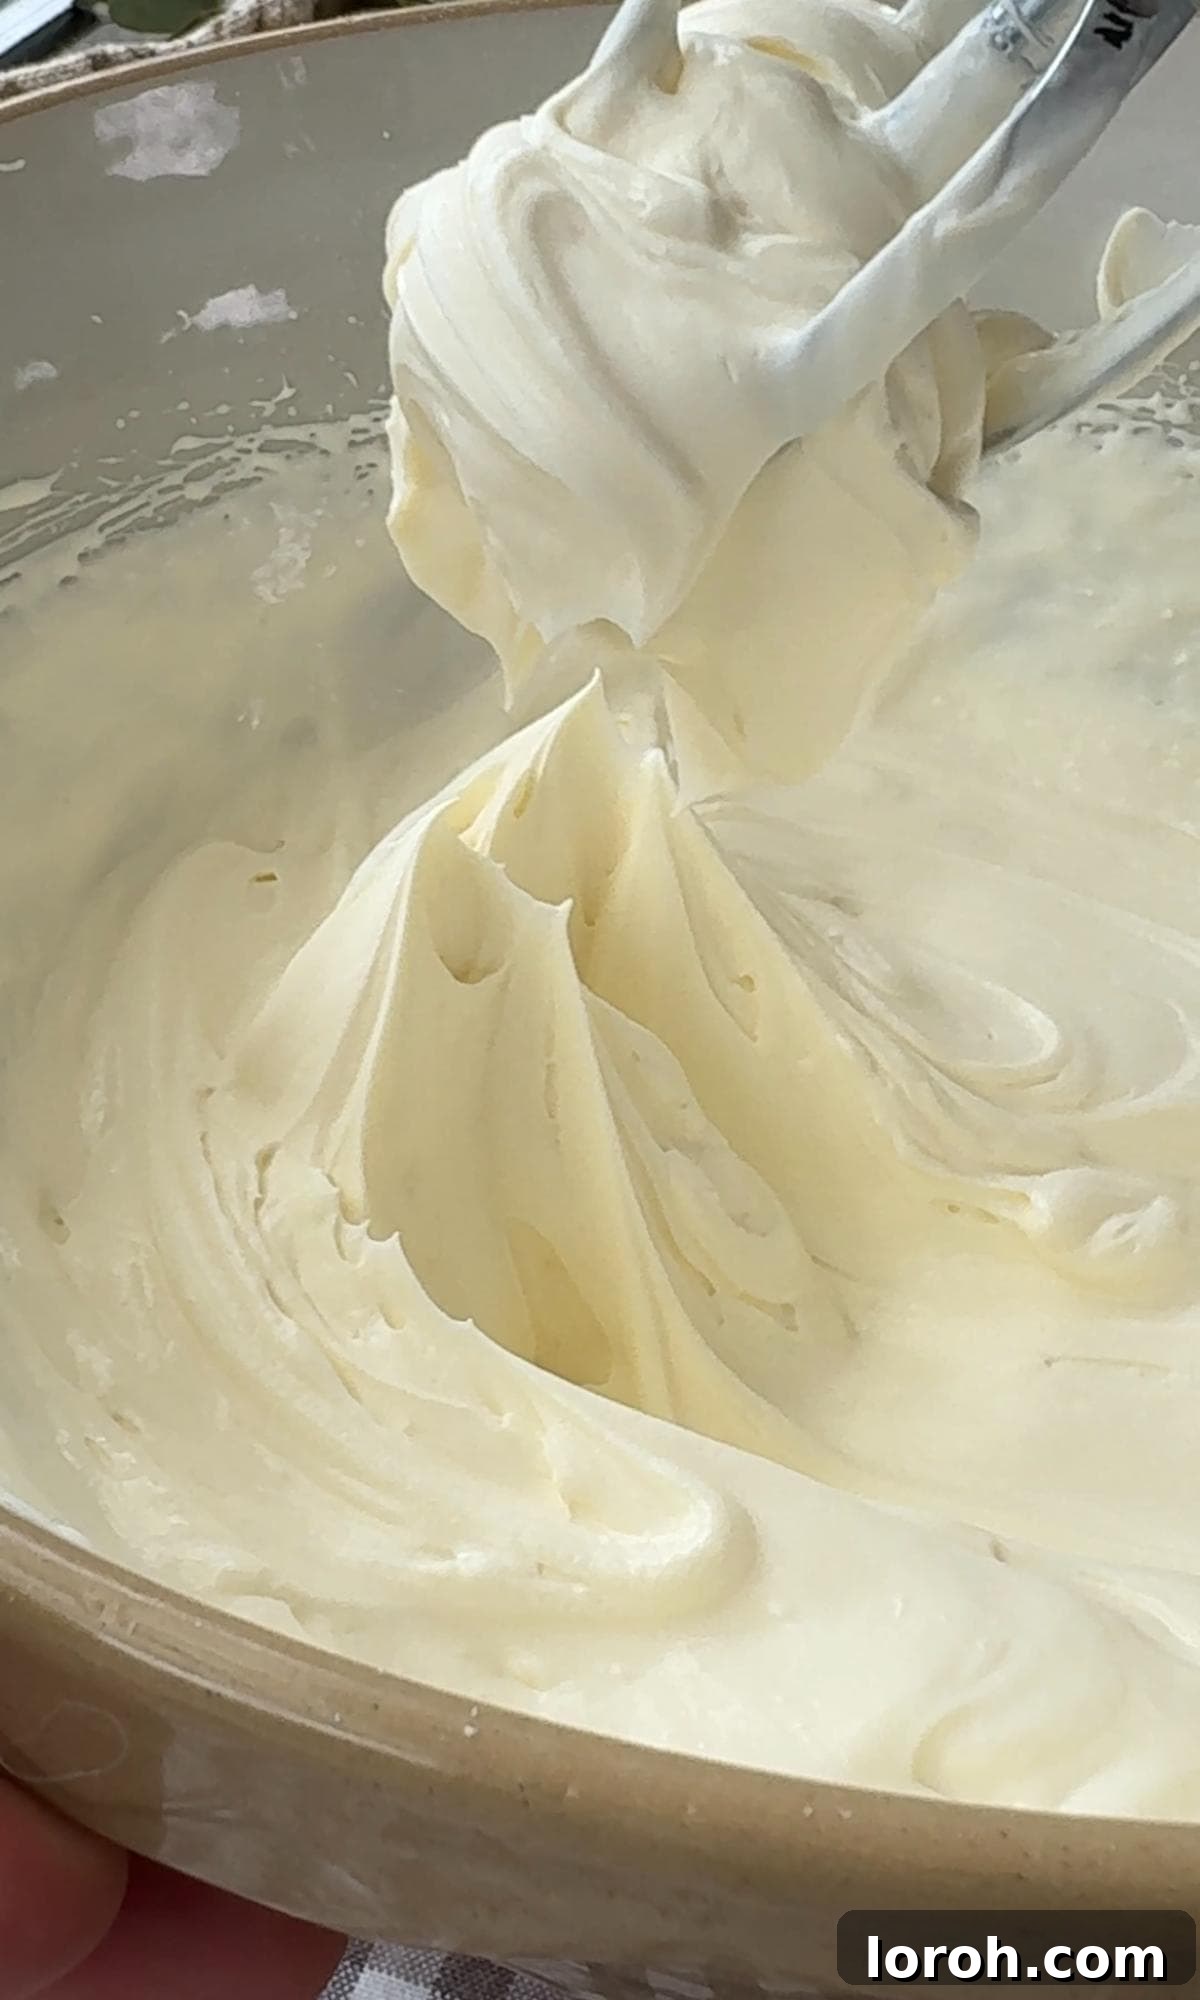
- Under-whipped Cream: Ensure your double cream (heavy cream) is whipped sufficiently until it holds soft peaks. If it’s too soft, the cheesecake won’t set.
- Insufficient Chilling: No-bake cheesecakes require ample chilling time to set properly. A minimum of 4 hours is needed, but overnight is always best for optimal firmness.
- Low-Fat Cream Cheese: Always use full-fat block cream cheese. Reduced-fat versions contain more water and less fat, making them unable to set as firmly as needed for a no-bake recipe.
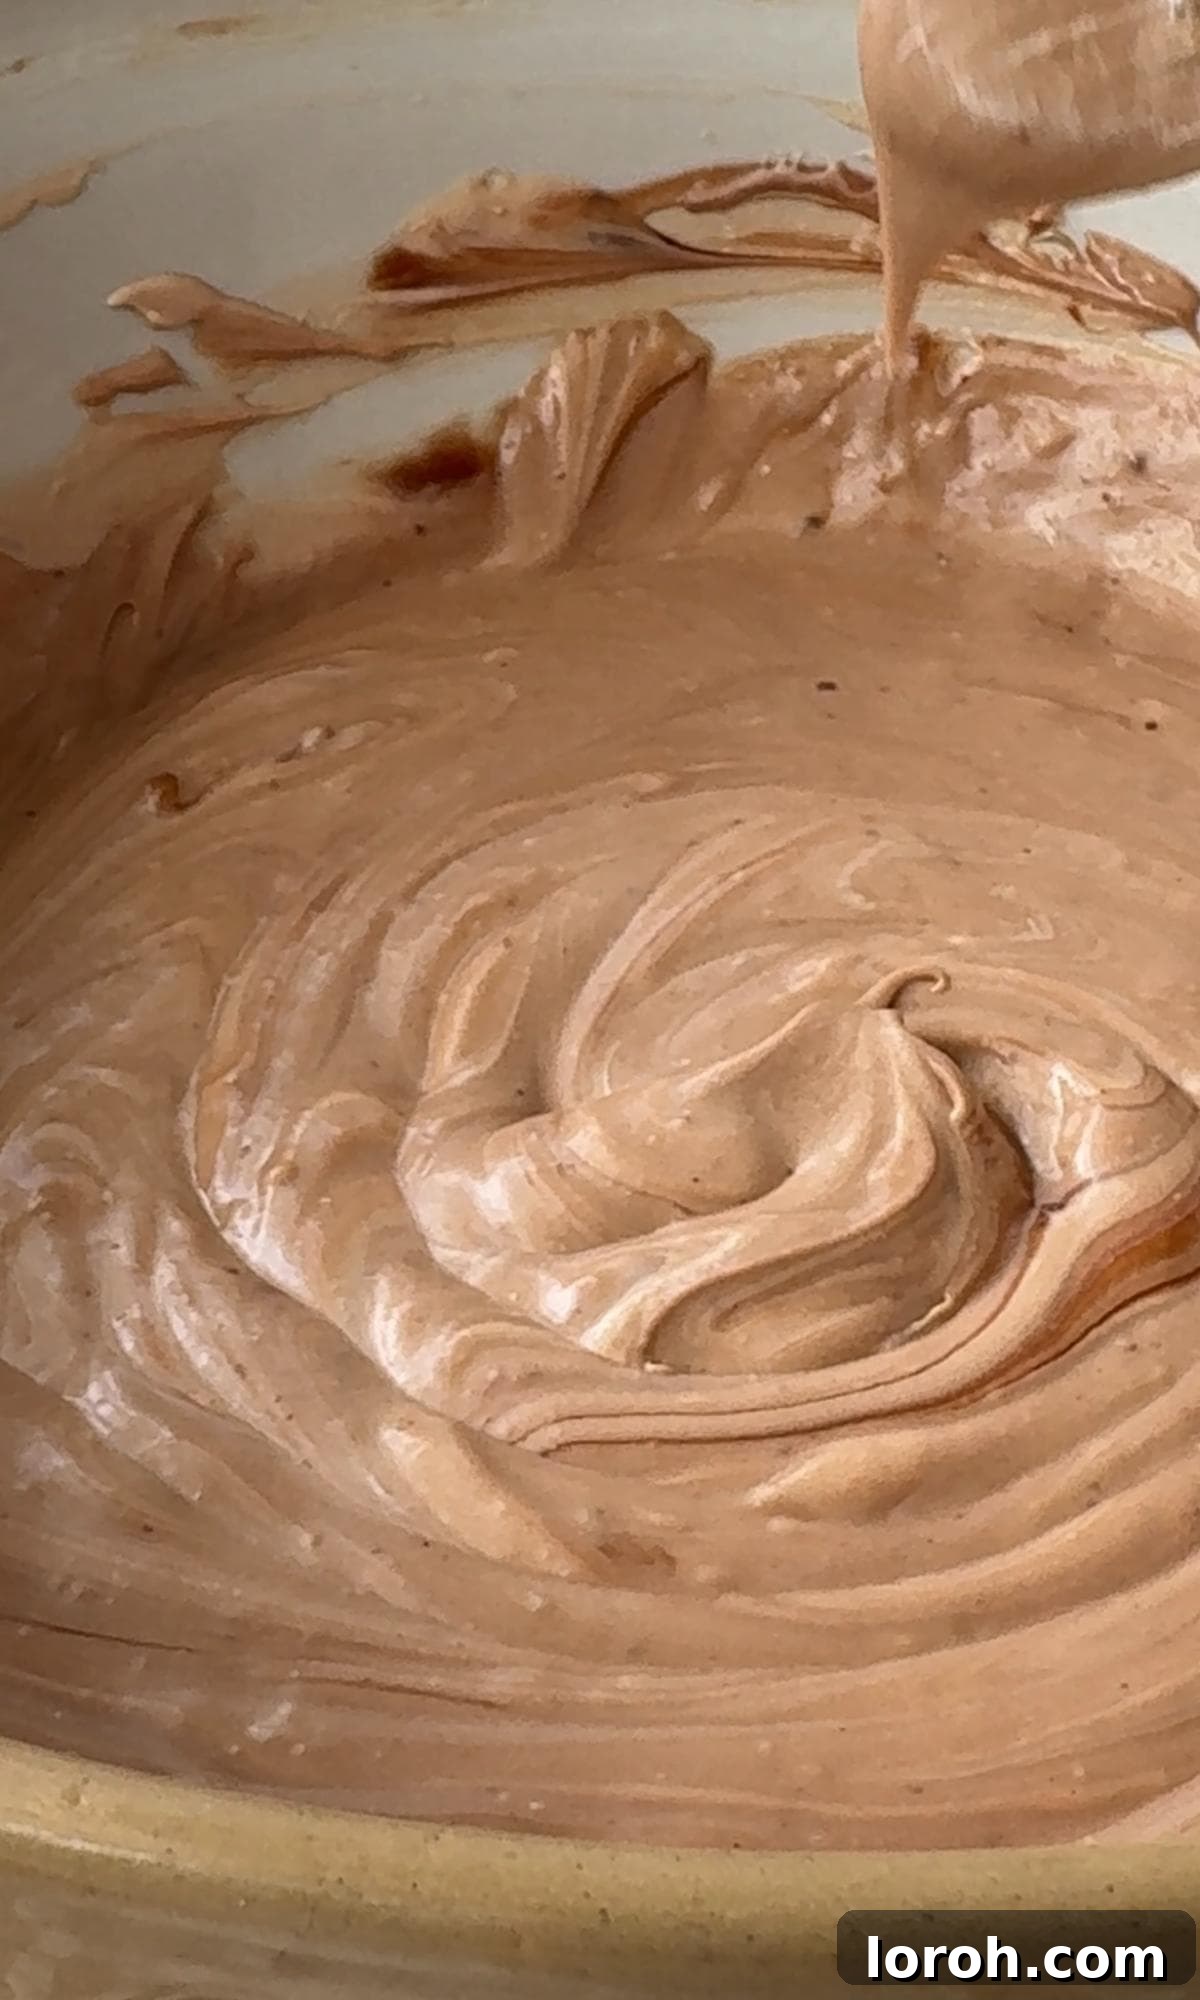
- Overmixing: While whipping is important, overmixing after adding the chocolate can sometimes break down the emulsion, leading to a thinner consistency.
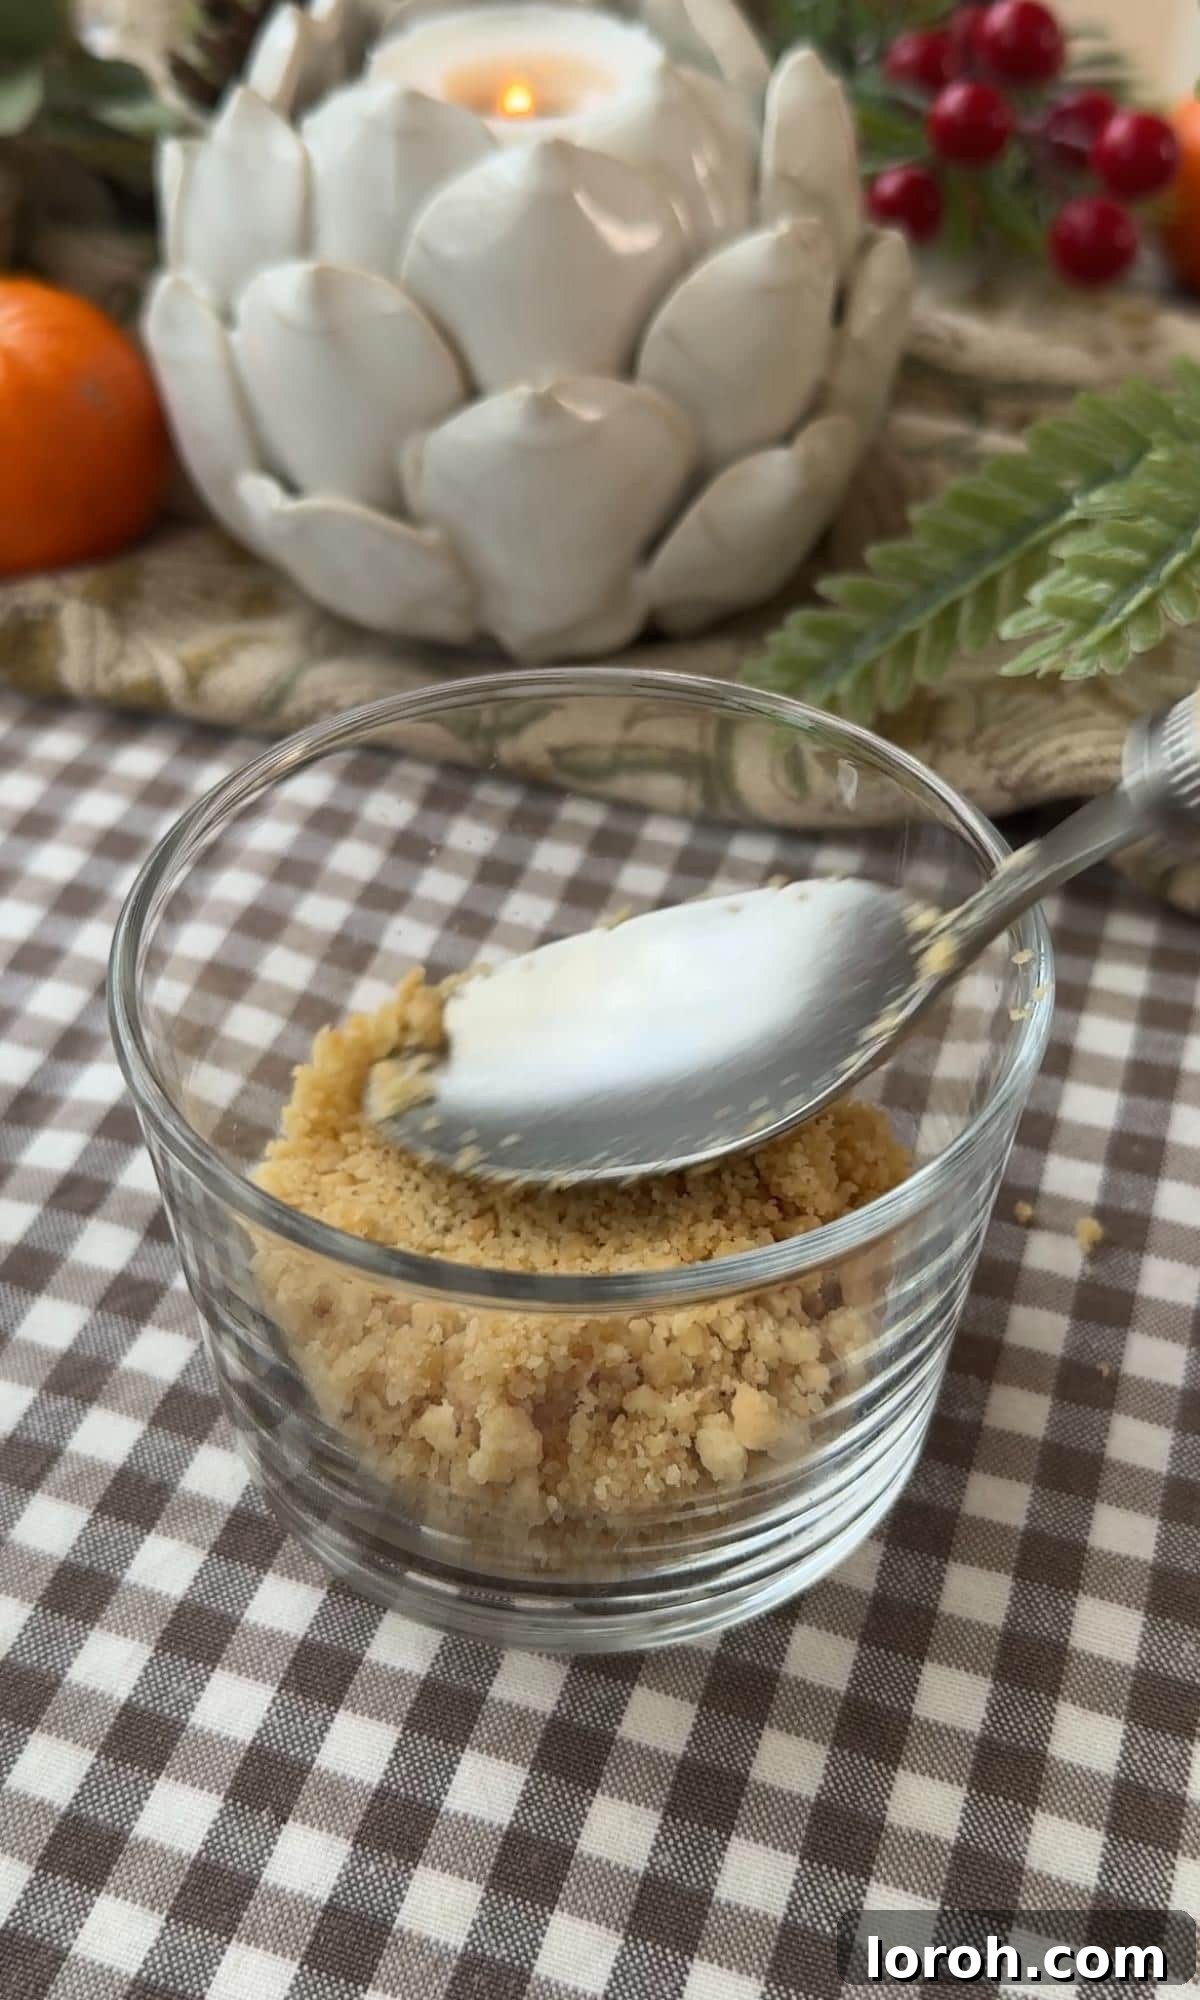
- Base Too Crumbly? If your biscuit base isn’t holding together well, it might be due to insufficient butter or not enough compression. Add a little more melted butter (start with a tablespoon) to the crumbs and mix well. Then, press the mixture *very firmly* into the bottom of your pots. The harder you press, the more cohesive your base will be.
- Sifting Icing Sugar: Always sift your icing sugar. It prevents lumps and ensures a silky-smooth cheesecake texture.
Frequently Asked Questions About Chocolate Orange Cheesecake
Melting chocolate properly is key to a smooth cheesecake. The safest method is using a bain-marie: place the chocolate in a heatproof bowl set over a pan of gently simmering water, ensuring the bowl does not touch the water. Stir gently until melted and smooth. Alternatively, microwave in short 20-second bursts, stirring thoroughly after each interval. It’s crucial to avoid overheating, as this can cause the chocolate to burn or seize (turn thick and grainy). If it seizes, you can try to rescue it with the microwave trick mentioned in the cooking tips above.
Absolutely! This recipe is versatile and works wonderfully as a large cheesecake. For best results, use a 20cm (8-inch) loose-bottomed or springform cake tin, which allows for easy removal once chilled. Pack the biscuit base firmly into the bottom of the tin, then evenly spread the cheesecake mixture over it. Decorate as instructed, or get creative with extra chocolate shavings and orange segments. The chilling time will remain the same, or potentially a little longer for a very deep cheesecake.
These delicious chocolate orange cheesecake pots store very well. When covered tightly with cling film or kept in an airtight container, they will last for 3-4 days in the refrigerator. For longer storage, you can freeze the cheesecake pots (without any fresh decorations like chocolate segments) for up to a month. To freeze, ensure they are well-wrapped individually or in an airtight container. When you’re ready to enjoy, thaw them overnight in the fridge before adding your desired garnishes and serving.
Small glass jars (like those used for jams or desserts), ramekins, or small tumbler glasses are perfect for these individual cheesecakes. Aim for a capacity of approximately 150-200ml (5-7 oz) per pot. Clear glass pots are ideal as they beautifully showcase the layers of biscuit base and creamy filling, adding to the visual appeal of your dessert.
Yes, to save time, you can certainly use pre-crushed biscuit crumbs available in many supermarkets. Just ensure they are plain or complementary in flavor. You’ll still need to mix them with melted butter to form a cohesive base.
More Irresistible Dessert Recipes You Might Enjoy
If you’ve fallen in love with these delightful chocolate orange cheesecake pots, you’ll be thrilled to explore more of our decadent dessert recipes. For fellow fans of the chocolate orange combination, try my Jaffa Cake Cake or my light and airy Chocolate Orange Mousse. If you prefer classic chocolate, my Classic Chocolate Mousse is a must-try, offering pure cocoa bliss with no orange distractions. And for those who enjoy a bit of baking, my elegant Crème Brûlée Cake is a showstopper. Discover your next favorite sweet treat!
More Cheesecake & Sweet Treat Ideas:
Easy Dessert Recipes
Mini Egg Cheesecake
Puddings
Crème Brûlée Cheesecake
Easy Dessert Recipes
No-Bake Chocolate Cheesecake
Easy Dessert Recipes
The Best Salted Caramel Cheesecake
If you tried this Chocolate Orange Cheesecake recipe or any other recipe on the site, please do leave a rating or comment and let us know how it went! Your feedback is incredibly valuable.
Terry’s Chocolate Orange Cheesecake Pots
30 mins
4 hrs
4 hrs
30 mins
6 servings
Print Recipe
Ingredients
For the biscuit base:
- 200 g shortbread biscuits
- 100 g unsalted butter, melted
For the cheesecake filling:
- 280 g full-fat cream cheese
- 10 g icing sugar, sifted
- 190 g Terry’s Chocolate Orange, about 1.5 chocolate oranges – save remaining half for decoration
- 150 ml double cream (heavy cream)
To decorate:
- Extra Terry’s Chocolate Orange segments, from the chocolate oranges used above, and a little grated chocolate if desired
Instructions
-
Prepare the Base: Blitz the shortbread biscuits in a food processor until you have fine, even crumbs. Pour in the melted butter and mix until fully combined and the crumbs are moistened.
-
Assemble the Bases: Spoon the biscuit crumbs into your chosen pots or jars (approximately 6-8 pots, depending on size). Use the back of a spoon to press down very firmly into a compact, even base. Place these in the fridge to chill while you prepare the filling.
-
Melt the Chocolate: Gently melt the 190g Terry’s Chocolate Orange using a bain-marie (a heatproof bowl over a pan of simmering water) or in short 20-second bursts in the microwave, stirring well after each. Set aside to cool slightly to just warm (not hot) while remaining fully liquid.
-
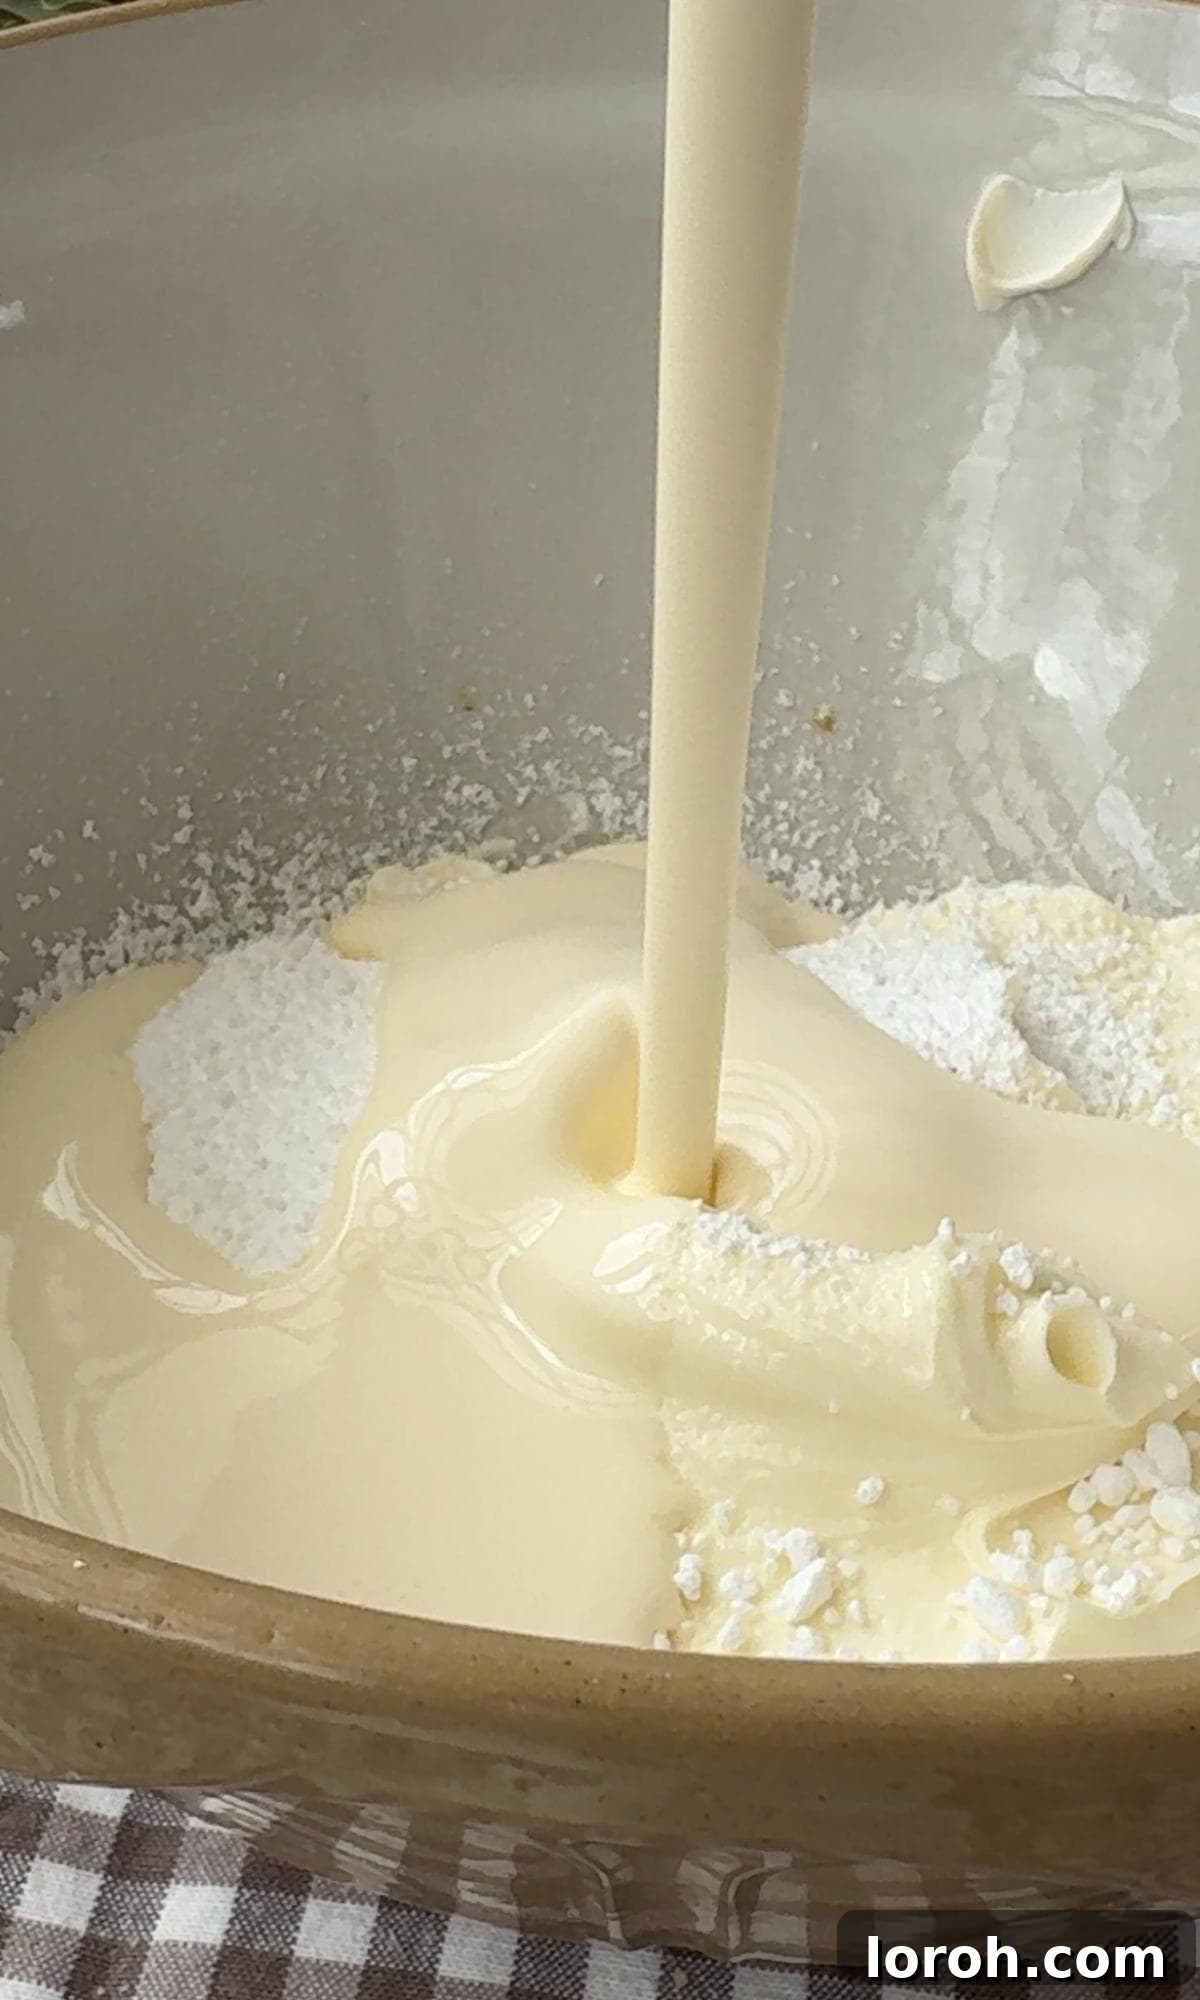
Prepare the Filling Base: To a large mixing bowl, add the room temperature full-fat cream cheese and the sifted icing sugar. Pour in the cold double cream.
-
Whip the Filling: Using an electric whisk, mix the cream cheese, icing sugar, and double cream together until the mixture is smooth, thick, and holds soft peaks. Be careful not to over-whisk.
-
Combine with Chocolate: Pour in the slightly cooled (but still liquid) melted chocolate. Using a spatula, gently fold the chocolate into the cream cheese mixture until just combined and evenly incorporated. Avoid overmixing.
-
Fill the Pots: Spoon the chocolate orange cheesecake mixture into the pots/jars on top of the chilled biscuit bases. Use the back of a spoon, a spatula, or a palette knife to smooth the tops for a neat finish.
-
Chill and Set: Cover each pot loosely with cling film to prevent a skin from forming. Chill in the fridge for at least 4 hours, or ideally overnight, for the best texture and firmness.
-
Decorate and Serve: Before serving, top each pot with an extra Terry’s Chocolate Orange segment and a sprinkle of grated chocolate for an irresistible finish. Enjoy your perfectly decadent, no-bake chocolate orange cheesecake pots!
Notes
To store: The cheesecake pots keep wonderfully covered (or in an airtight container) in the fridge for up to 4 days.
To freeze: You can cover and freeze the cheesecake pots without the decoration for up to 3 months. When ready to serve, defrost them overnight in the fridge before adding your desired decorations.
Make ahead: These are perfect for making ahead! Prepare them up to one day in advance, then simply decorate just before serving. This makes entertaining effortless.
Make one large cheesecake: If you prefer a single, larger dessert, you can use a 20cm (8-inch) round tin, ideally a springform or loose-bottomed pan for easy removal. The recipe quantities remain the same.
Full-fat ingredients: For the best taste and texture, this is not the time to use low-fat ingredients! Using full-fat cream cheese and double cream is essential for proper setting and a rich, creamy consistency.
Whipped cream: Always whip your cream straight from the fridge for optimal results. However, take care not to overwhip, as it can become grainy and lead to a less smooth cheesecake texture. Stop when soft peaks form.
Room temperature ingredients: Ensure your cream cheese is at room temperature. For the melted chocolate, let it cool sufficiently to just warm, close to room temp, but still liquid before whisking into the cream cheese. This prevents it from seizing up.
Nutrition
Carbohydrates: 45g,
Protein: 7g,
Fat: 58g,
Saturated Fat: 33g,
Polyunsaturated Fat: 5g,
Monounsaturated Fat: 16g,
Trans Fat: 1g,
Cholesterol: 111mg,
Sodium: 278mg,
Potassium: 211mg,
Fiber: 2g,
Sugar: 28g,
Vitamin A: 1442IU,
Vitamin C: 0.2mg,
Calcium: 78mg,
Iron: 2mg
Nutrition information is automatically calculated, so should only be used as an approximation.
Enjoyed this recipe? Share your thoughts below!