
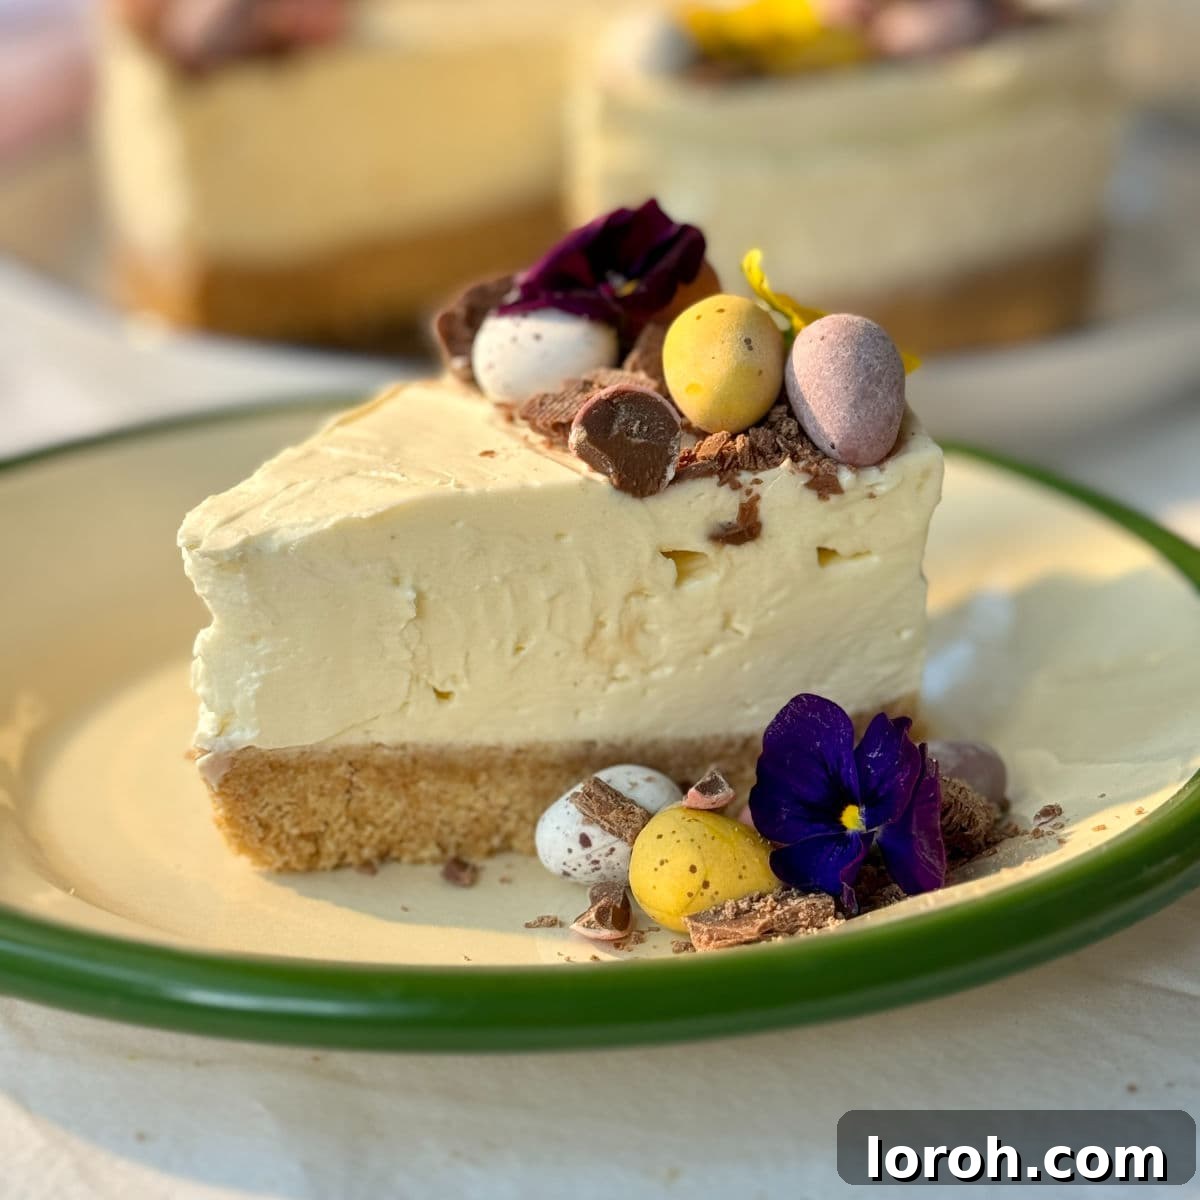
Delight in the ultimate Easter treat with this incredibly easy, no-bake Mini Egg Cheesecake. Imagine a rich, buttery biscuit base, generously topped with a velvety smooth vanilla cheesecake, brimming with crunchy Mini Eggs. Each slice is then crowned with a cloud of whipped cream, an extra sprinkle of Mini Eggs, and elegant dark chocolate curls. It’s a show-stopping dessert that promises pure bliss with every bite, and best of all, it requires no oven! Perfect for beginners and seasoned bakers alike, this recipe guarantees impressive results with minimal effort, making your Easter celebrations effortlessly sweet.
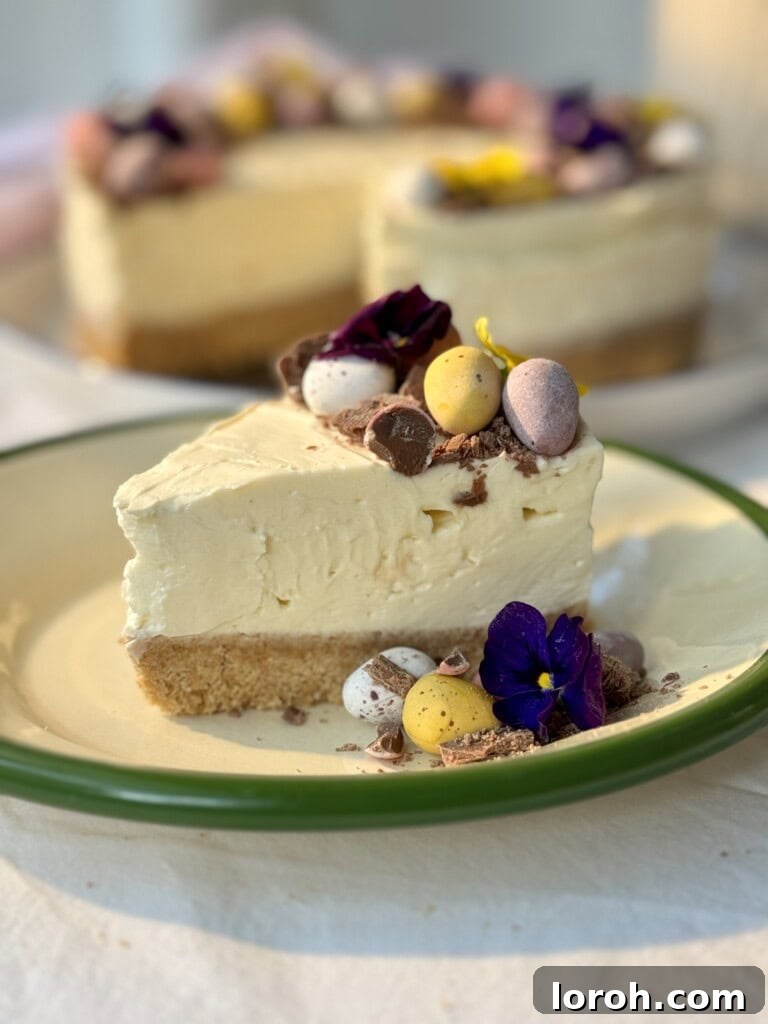
Cheesecakes hold a special place in my heart, truly being the quintessential dessert for any special occasion. Whether baked or unbaked, infused with fruit or decadent chocolate, their versatility and irresistible charm are unmatched. I particularly enjoy crafting hybrid cheesecakes that combine classic flavors into something truly spectacular – think of the luxurious brownie tiramisu cheesecake, the sweet indulgence of a crème brûlée cheesecake, or the bright zest of a lemon meringue cheesecake. However, there are times when simplicity is key, when you want to create something breathtakingly beautiful and delicious without the fuss. That’s precisely where this delightful No-Bake Mini Egg Cheesecake shines!
This Mini Egg Cheesecake is quite simply one of the easiest desserts you’ll ever make. The process is straightforward: start by blitzing digestive biscuits into fine crumbs, then mix in melted butter to form a perfectly buttery base. This base is then pressed into a springform tin and chilled. While it sets, you whip up an incredibly simple vanilla cheesecake filling using cream cheese, icing sugar, vanilla extract, and double cream. Once smooth and thick, you gently fold in a generous amount of crushed Mini Eggs, creating delightful pockets of chocolatey crunch. This creamy mixture is then spread over the chilled biscuit base, covered, and returned to the fridge to set. It’s truly a foolproof recipe; even if you consider yourself a novice in the kitchen, you’ll achieve a stunning dessert with ease. This Easter dessert is designed to be stress-free and utterly delicious.
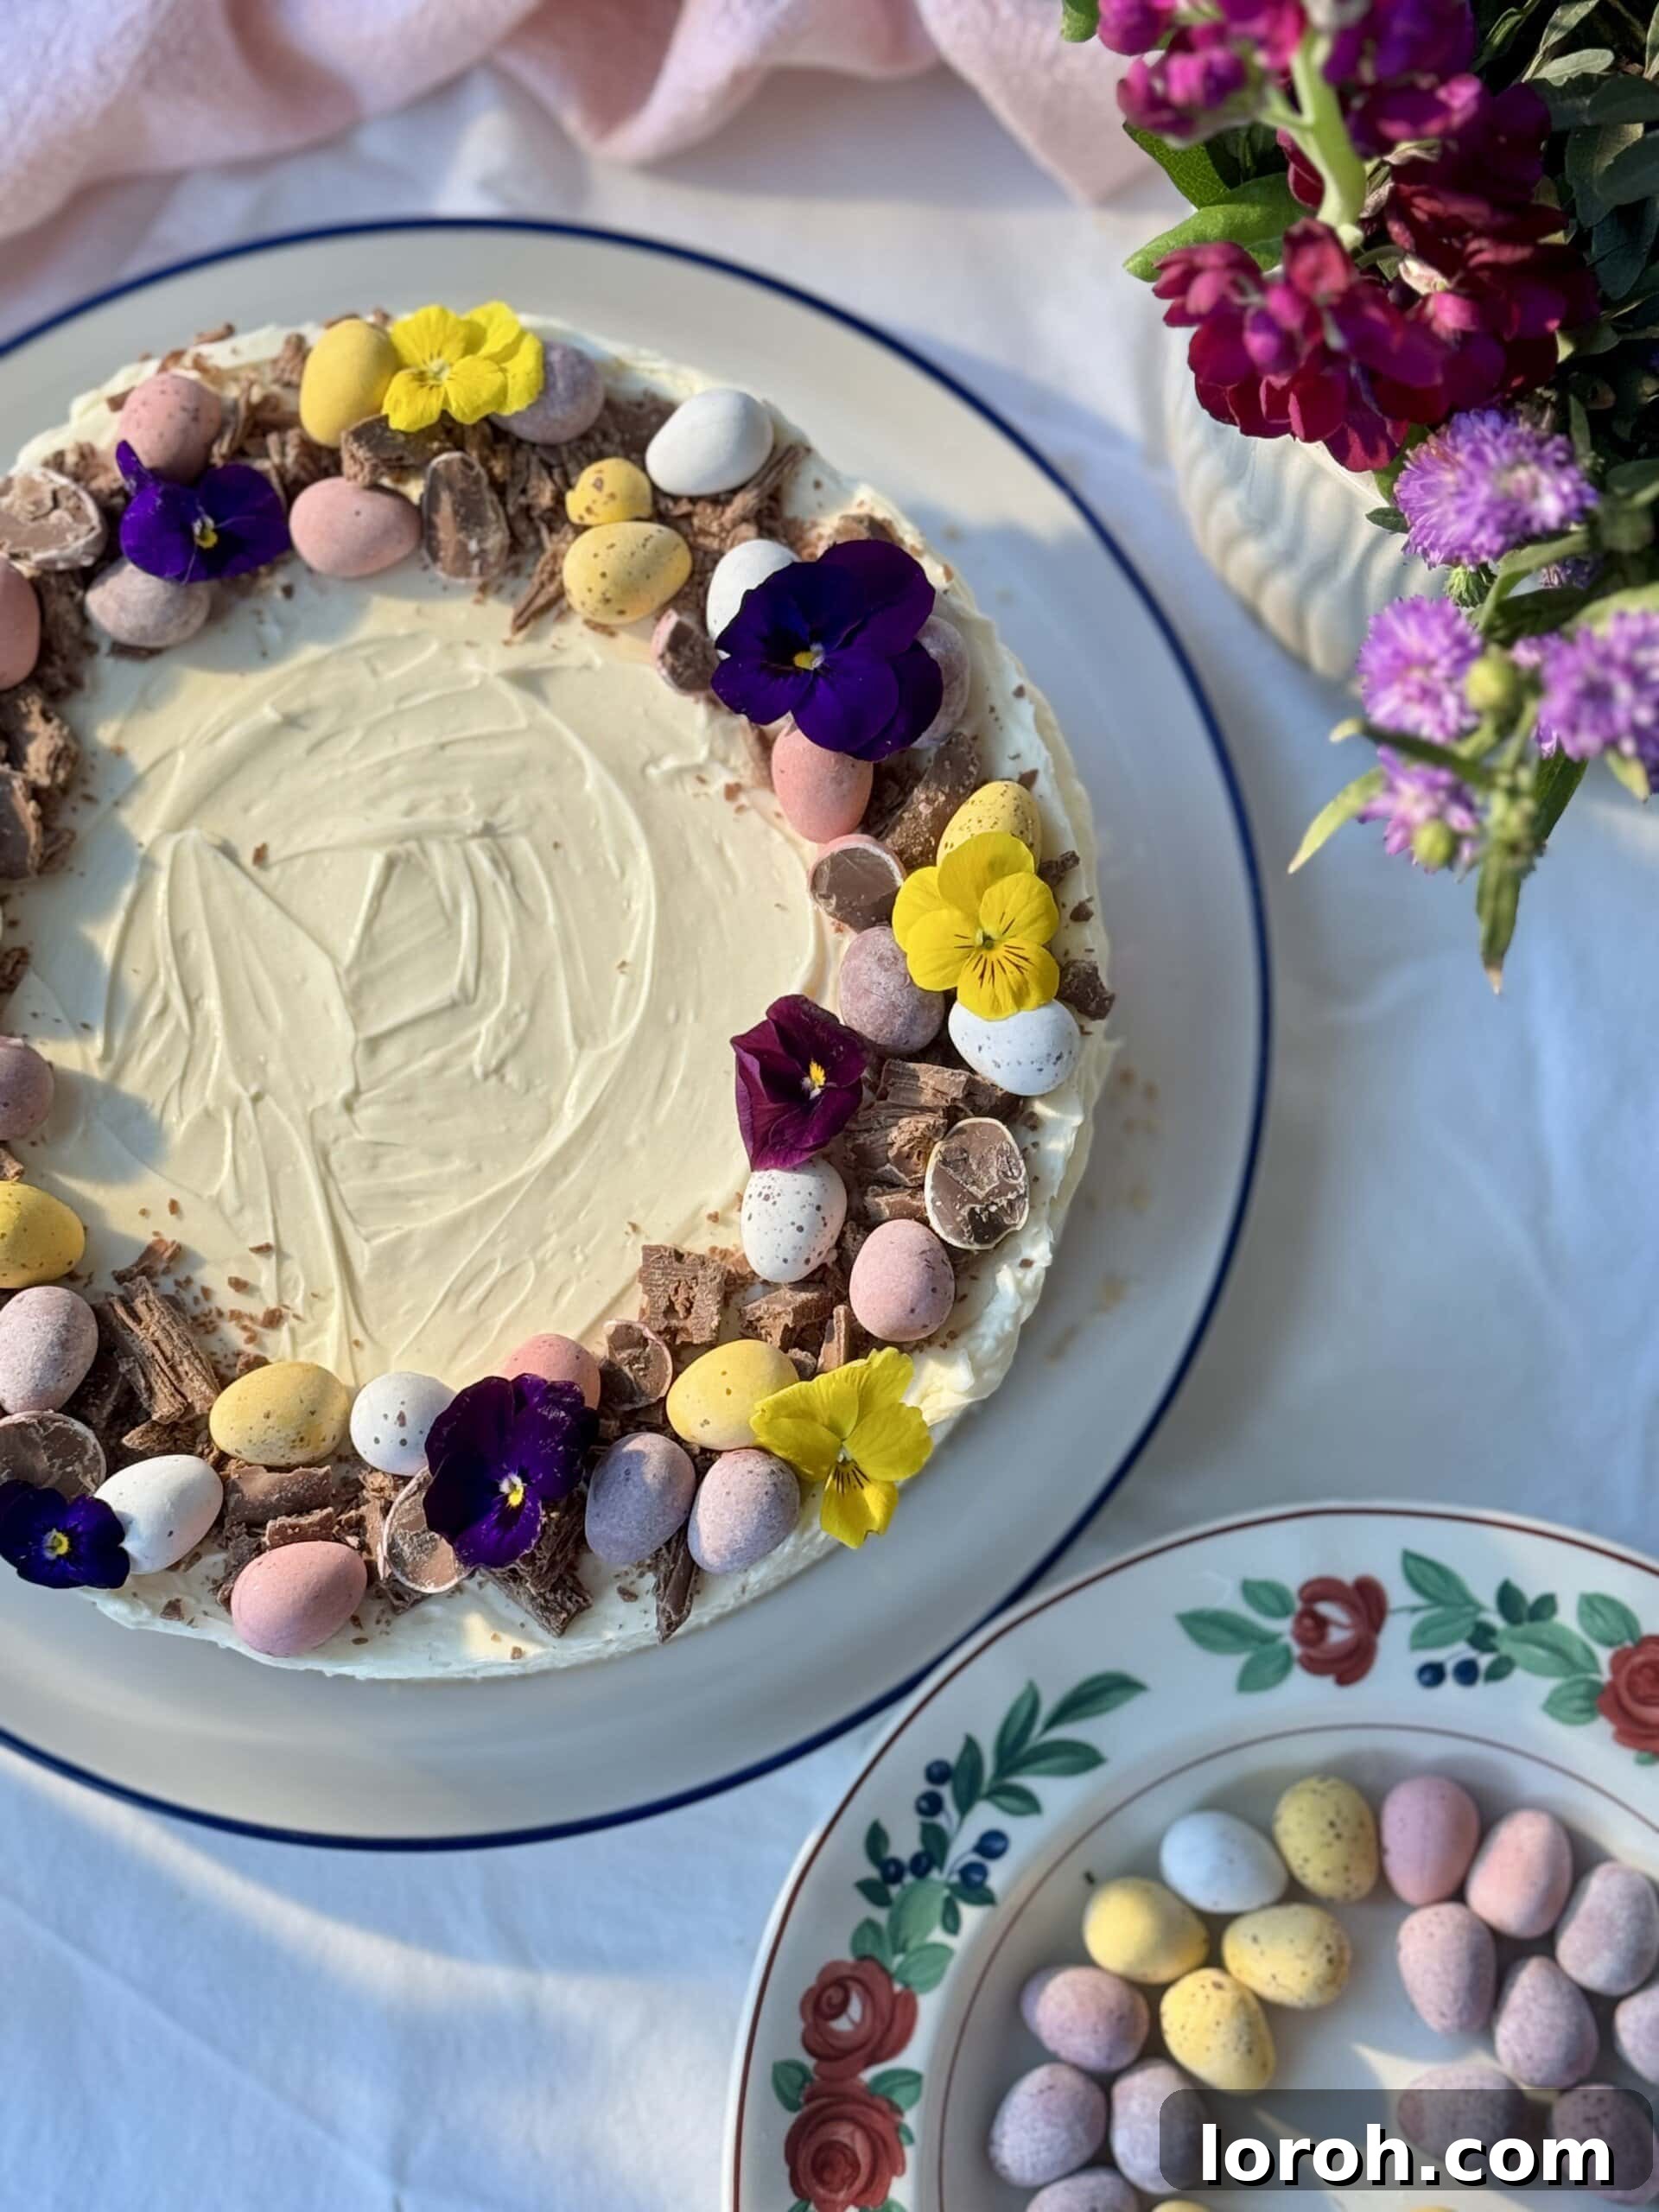
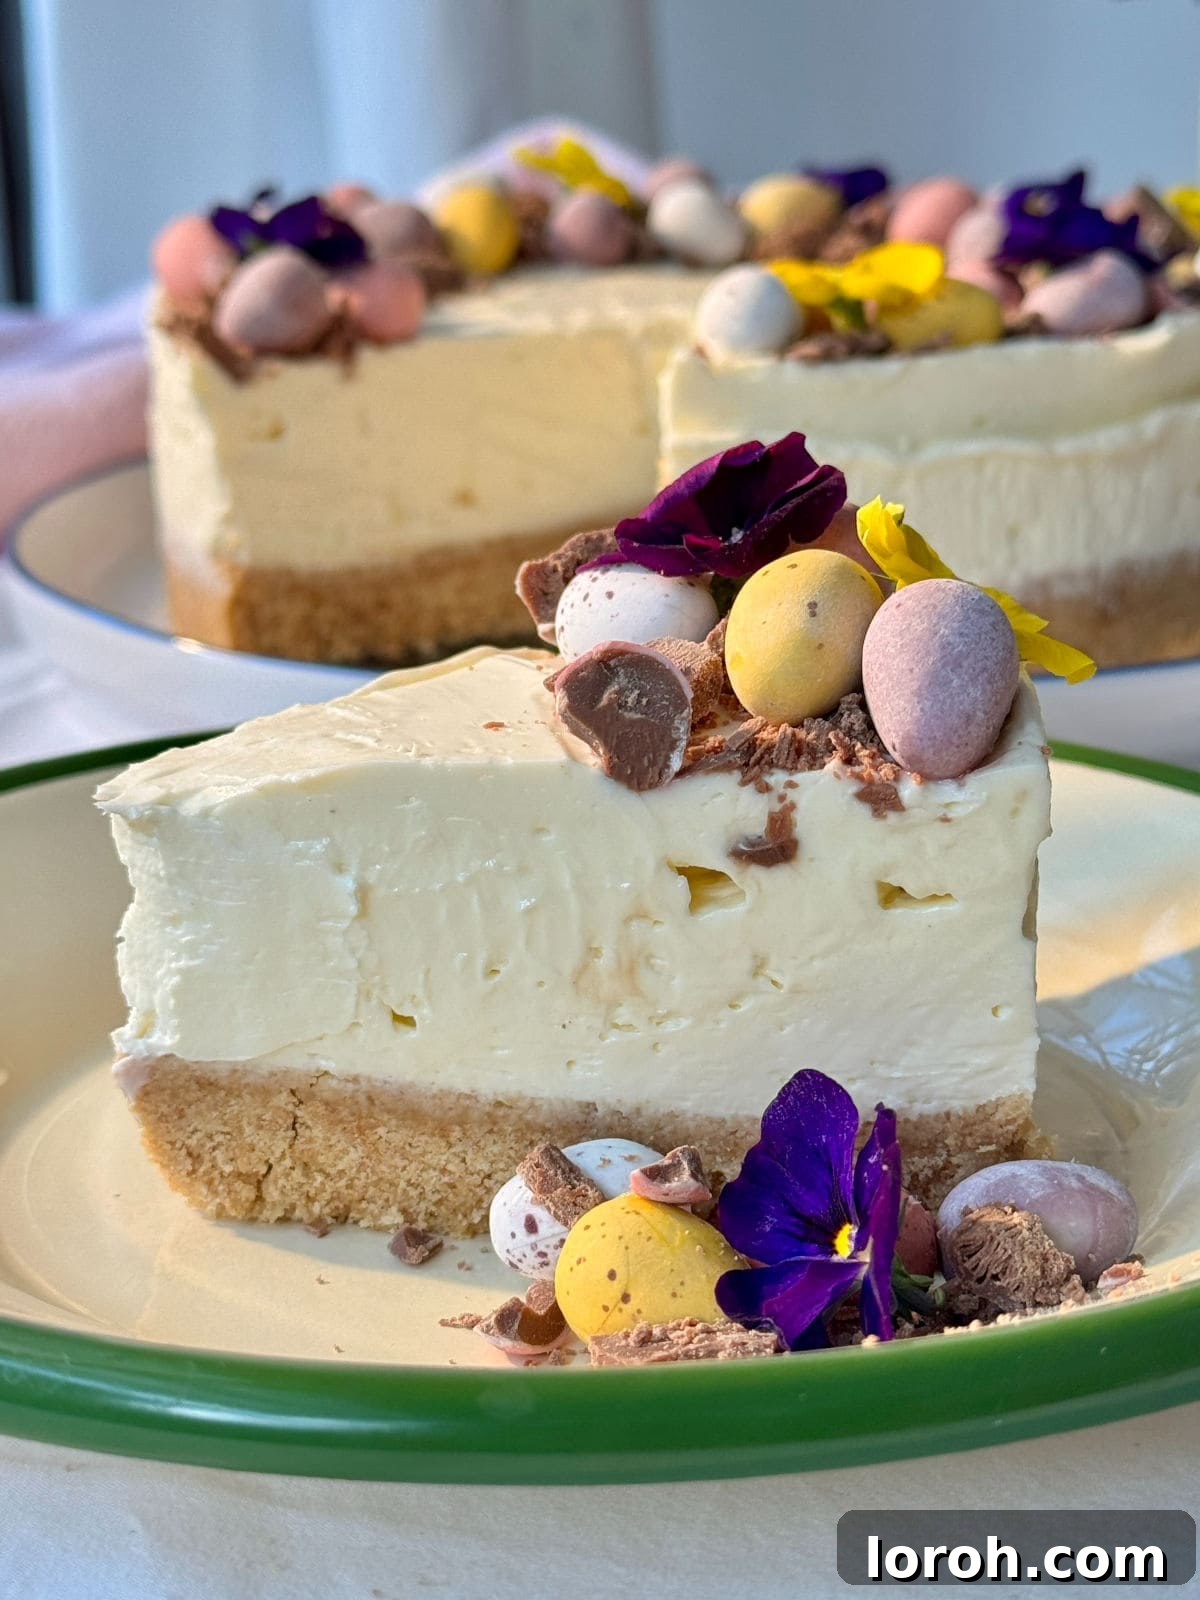
Like all no-bake cheesecakes, this delightful Easter Mini Egg Cheesecake requires several hours in the fridge to properly set. This characteristic, however, transforms it into the ultimate make-ahead dessert, allowing you to prepare it well in advance and eliminate any last-minute holiday stress. While delicious served as is, I love to elevate it further by spreading an additional layer of freshly whipped cream on top. For a final elegant touch, I adorn it with rich dark chocolate curls (you can also drizzle with melted chocolate if preferred) and a scattering of more colorful Mini Eggs. The combination of textures and flavors – from the crisp base to the creamy filling and crunchy chocolate – is simply divine and guaranteed to impress your guests.
Table of Contents
- Why You’ll Adore This Mini Egg Cheesecake
- Essential Equipment for Your Cheesecake
- Key Ingredients for the Perfect Mini Egg Cheesecake
- Creative Substitutions and Variations
- Step-by-Step Guide: Crafting Your Perfect Mini Egg Cheesecake
- STEP 1: Prepare the Buttery Biscuit Base
- STEP 2: Create the Creamy Cheesecake Filling
- STEP 3: Assemble and Chill Your Mini Egg Cheesecake
- Expert Cooking Tips for Success
- How to Make a Biscuit Base Without a Food Processor
- Effortless Removal of Your Cheesecake from the Tin
- Frequently Asked Questions
- Other Irresistible Dessert Recipes You Might Enjoy
- Loved This Recipe? Share Your Thoughts!
- Mini Egg Cheesecake Recipe Card
Why You’ll Adore This Mini Egg Cheesecake
This No-Bake Mini Egg Cheesecake isn’t just a dessert; it’s an experience waiting to happen. Here’s why it’s destined to become a staple in your Easter celebrations and beyond:
- It delivers an impressive presentation with minimal effort, making it the ideal simple no-bake Easter dessert. Your guests will be amazed, and only you’ll know how truly easy it was!
- Its make-ahead convenience is unmatched. Prepare it the day before, giving you more time to relax and enjoy your gatherings. Perfect for easy entertaining during busy holiday seasons.
- This recipe is a dream for beginners. With no baking involved and clear instructions, even those new to the kitchen can create a stunning dessert.
- It’s a symphony of flavor and texture. Savor the rich, buttery crunch of the biscuit base, the smooth, creamy, sweet vanilla cheesecake, and the delightful burst of crunchy, chocolatey Mini Eggs. All perfectly complemented by rich dark chocolate curls.
- This cheesecake is a guaranteed crowd-pleaser, sure to become a beloved family favorite year after year. It’s the kind of dessert that creates lasting memories.
Essential Equipment for Your Cheesecake
Creating this impressive no-bake dessert doesn’t require a professional kitchen, but a few key tools will make the process even smoother and more enjoyable. Gather these items before you begin:
- 20cm (8-inch) Springform Tin: This is crucial for easy removal of your set cheesecake. Its removable sides make serving a breeze.
- Food Processor: Essential for quickly blitzing biscuits into fine crumbs. If you don’t have one, don’t worry, a Ziploc bag and a rolling pin work just as well (see tip below!).
- Large Mixing Bowls: You’ll need at least two – one for the biscuit base and another for the cheesecake filling.
- Electric Whisk (Handheld or Stand Mixer): Highly recommended for achieving a perfectly smooth and thick cheesecake filling. Manual whisking is possible but requires more effort and time.
- Rubber Spatula or Palette Knife: For folding ingredients and spreading the cheesecake filling smoothly.
- Rolling Pin or Heavy-Bottomed Pan: For crushing Mini Eggs.
- Cling Film: For covering the cheesecake during chilling.
- Vegetable Peeler or Microplane Grater: For creating elegant chocolate curls for decoration.
- Measuring Cups and Spoons: For accurate ingredient measurements.
Key Ingredients for the Perfect Mini Egg Cheesecake
Every exceptional dessert starts with high-quality ingredients. Here’s a detailed look at what you’ll need for this luscious Mini Egg Cheesecake, along with tips for best results. For exact quantities, please refer to the comprehensive recipe card at the bottom of the page.
Digestive Biscuits: These classic British biscuits are the ideal choice for a crunchy, buttery base. Their slightly sweet and crumbly texture provides the perfect foundation for the creamy filling. You can also experiment with other types of biscuits for varied flavors.
Unsalted Butter: Opt for unsalted butter to maintain control over the overall saltiness of your cheesecake. Melted butter binds the biscuit crumbs together, creating a firm and flavorful base. Always melt it gently to avoid burning.
Full-Fat Soft Cream Cheese: This is the hero ingredient of our cheesecake filling. It’s absolutely crucial to use a full-fat variety; low-fat alternatives contain too much water and will not set properly, resulting in a runny cheesecake. Always drain off any excess liquid before using. Brands like Philadelphia are excellent choices for their creamy texture and consistent results.
Icing Sugar (Confectioners’ Sugar): This fine sugar dissolves easily, ensuring a smooth, lump-free cheesecake filling. Always sift your icing sugar before adding it to the cream cheese to prevent any granular texture.
Vanilla Extract: A touch of good quality vanilla extract enhances the sweet, creamy notes of the cheesecake, providing a subtle yet essential background flavor. Avoid artificial vanilla essence, which can impart a synthetic taste.
Double Cream (Heavy Cream): This is vital for achieving the thick, stable consistency of a no-bake cheesecake. It must be very cold, straight from the fridge, to whip properly. Do not substitute with single cream or light cream, as they lack the fat content required to thicken and set the cheesecake.
Mini Eggs: The star of the show! These iconic Easter treats are mini milk chocolate eggs encased in delicate, crunchy candy shells. They provide a wonderful texture and festive touch to the cheesecake. Crush them into varying sizes for an interesting bite.
Dark Chocolate: For the most exquisite chocolate curls, choose the best quality dark chocolate you can find, ideally with a cocoa content of 70% or higher. This provides a rich, slightly bitter contrast to the sweet cheesecake, elevating the overall flavor profile.
Creative Substitutions and Variations:
While this Mini Egg Cheesecake recipe is perfect as is, it’s also wonderfully adaptable! Don’t be afraid to get creative and tailor it to your taste or what you have on hand. Here are some inspiring ideas:
Biscuit Base Bonanza: Digestive biscuits are a classic choice for their neutral, buttery flavor, but the possibilities are endless for switching up your base!
- Chocolate Lover’s Dream: For an extra dose of chocolate, swap digestives for chocolate digestives.
- Warm & Spicy: Ginger nuts add a wonderfully warming, spiced note, as seen in my white chocolate and passionfruit cheesecake.
- Caramel Bliss: Lotus Biscoff biscuits are fantastic for a distinctive caramelized biscuit flavor.
- Oaty Goodness: Hobnobs provide a lovely “oaty” texture and taste.
- Nutty Crunch: Consider using shortbread biscuits, or even a mix of biscuits and finely chopped nuts for added depth.
Remember, different biscuits absorb butter differently, so you may need to adjust the quantity of melted butter slightly. Add it slowly until your crumbs resemble “wet sand” – just enough to hold together when pressed.
Mascarpone Magic: For an even richer, more luxurious cheesecake, you can substitute some of the cream cheese with mascarpone. Mascarpone has a higher fat content and a slightly sweeter, less tangy flavor than cream cheese, resulting in an incredibly indulgent finish. Feel free to use a 50/50 mix, or even all mascarpone if you desire an ultra-creamy, decadent dessert. Just be prepared for an intensely rich experience!
Vanilla Variations: While vanilla extract is excellent, you can elevate the flavor further.
- Vanilla Bean Paste: Offers a more intense, authentic vanilla flavor and beautiful flecks of vanilla bean.
- Vanilla Pod Seeds: Scrape the seeds from a fresh vanilla pod for the freshest, most aromatic vanilla notes.
Always steer clear of vanilla essence, which is artificial and can give your cheesecake a synthetic taste.
Gluten-Free Option: Making this cheesecake gluten-free is simple! Just swap the digestive biscuits for your favorite gluten-free biscuits. Always double-check the labels of all other ingredients to ensure they are certified gluten-free.
Chocolatey Alternatives to Mini Eggs: While Mini Eggs are perfect for Easter, this recipe can be enjoyed year-round with other chocolates:
- Malteser Marvel: Maltesers add a light, malty crunch.
- Galaxy Grandeur: Galaxy Minstrels provide smooth, creamy chocolate discs.
- Colorful Fun: M&M’s or Smarties bring vibrant color and a similar candy-shell crunch.
- Classic Chocolate Chip: Simply use chopped up chocolate bars (milk, dark, or white) for a timeless chocolate chip cheesecake.
- Premium Easter Eggs: If sticking to the Easter theme, consider using chopped Lindt Lindor mini eggs for an extra luxurious touch.
- Holiday Leftovers: After Christmas, use chopped-up chocolates from Celebrations or other festive assortments.
Dark Chocolate Topping Twists:
- Milk or White Chocolate: If dark chocolate isn’t your preference, use milk or white chocolate for the curls or drizzle.
- Melted Drizzle: Instead of curls, drizzle melted chocolate in a decorative zigzag pattern over the top. The cold cheesecake will help it set quickly.
Step-by-Step Guide: Crafting Your Perfect Mini Egg Cheesecake
Ready to create this irresistible No-Bake Mini Egg Cheesecake? Follow this simple, detailed guide. Remember, the full recipe with precise measurements can always be found in the recipe card at the bottom of this page.
STEP 1: Prepare the Buttery Biscuit Base
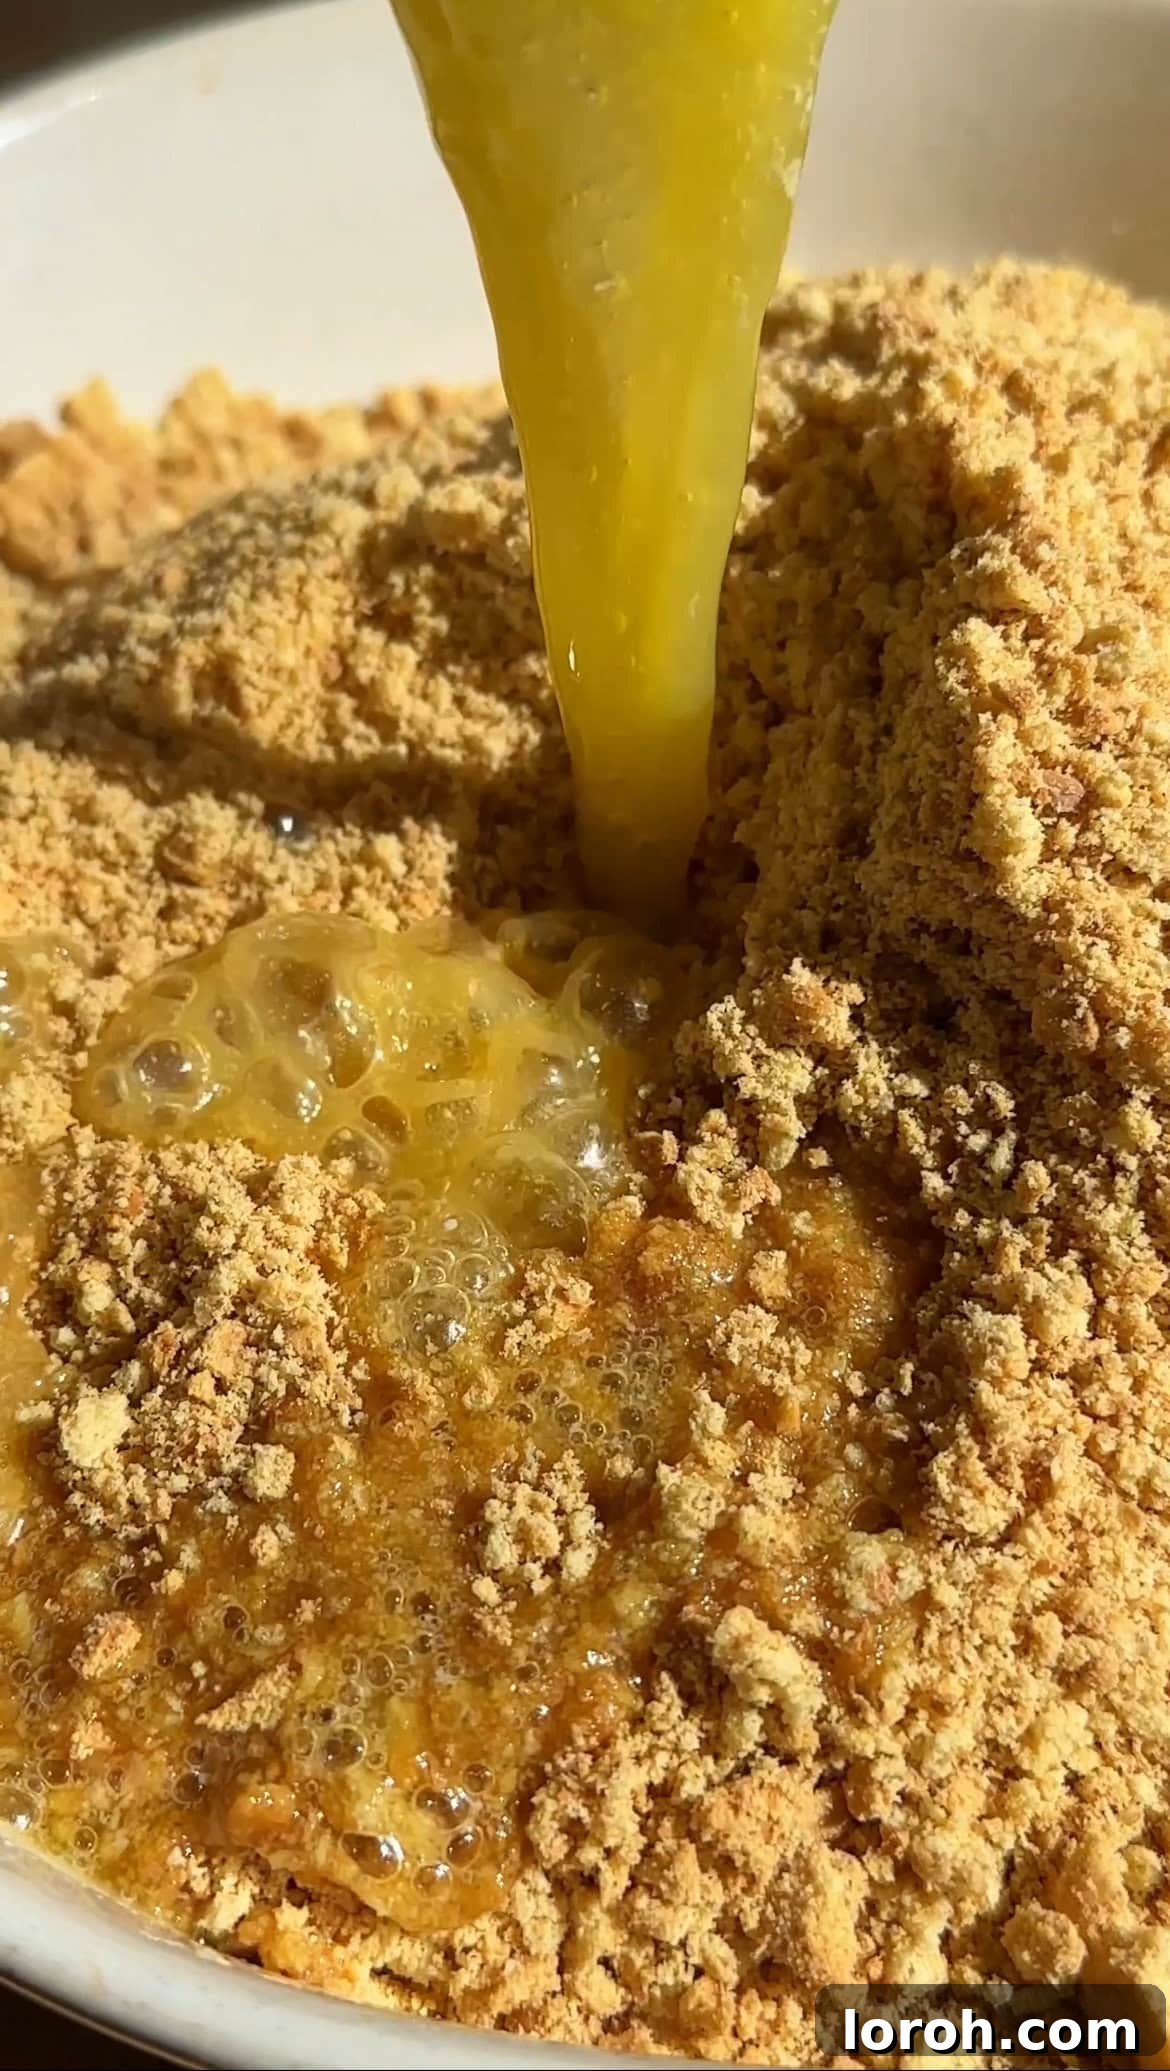
ONE: Begin by taking your digestive biscuits and tipping them into a food processor. Blitz them until they form very fine, even crumbs. Next, pour in the melted unsalted butter. Process again for another 30-60 seconds, or until the crumbs are thoroughly coated and resemble damp sand. This consistency is crucial as it ensures your base will hold together perfectly.
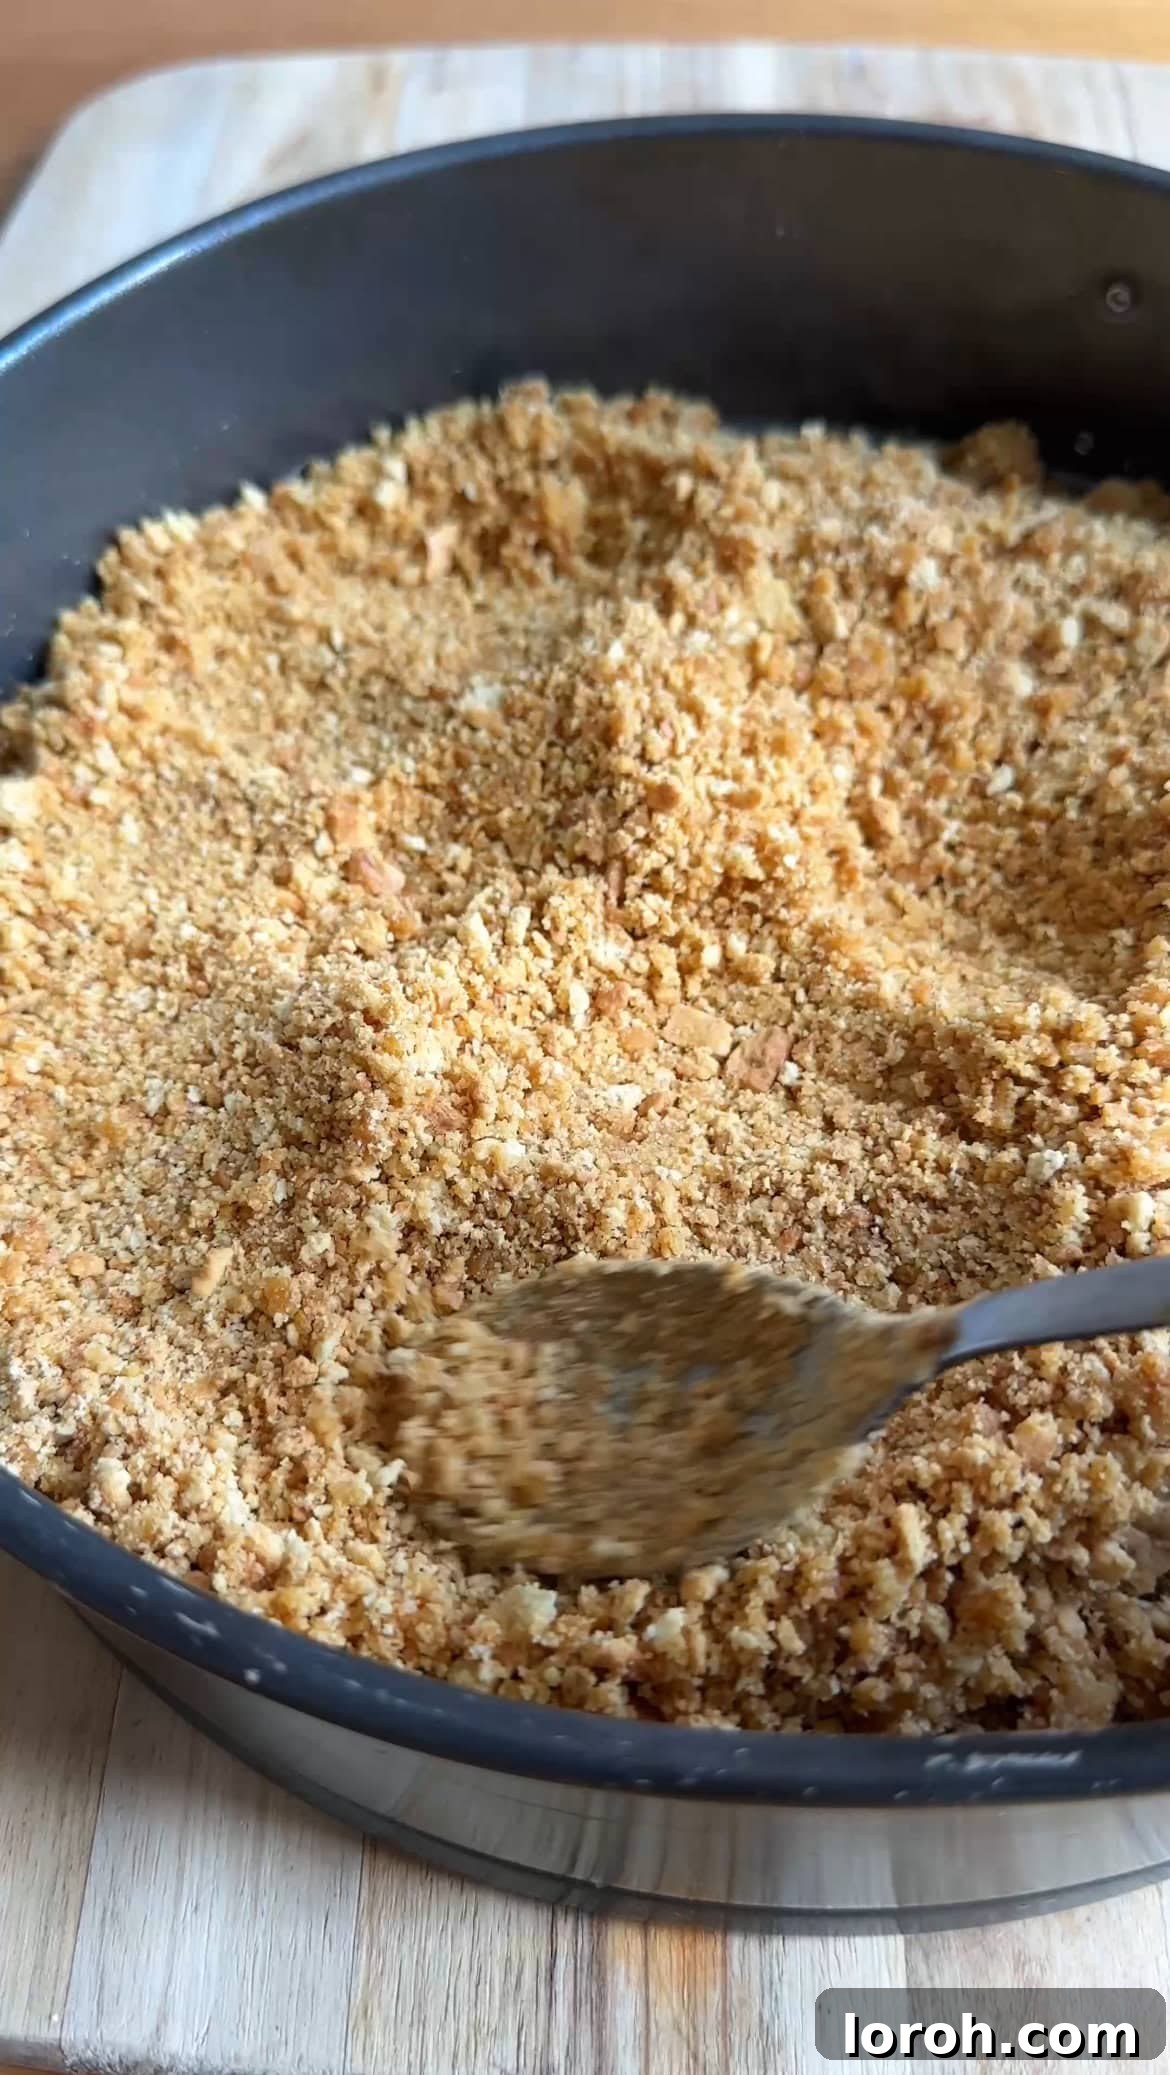
TWO: Transfer the buttery biscuit crumbs into a 20cm (8-inch) deep springform tin. Using the flat bottom of a drinking glass or the back of a spoon, press the crumbs down firmly and evenly across the base of the tin. Ensure it’s compact for a stable base. Cover the tin with cling film and place it in the fridge to chill while you prepare the delicious filling. This step is essential for a firm base.
STEP 2: Create the Creamy Cheesecake Filling
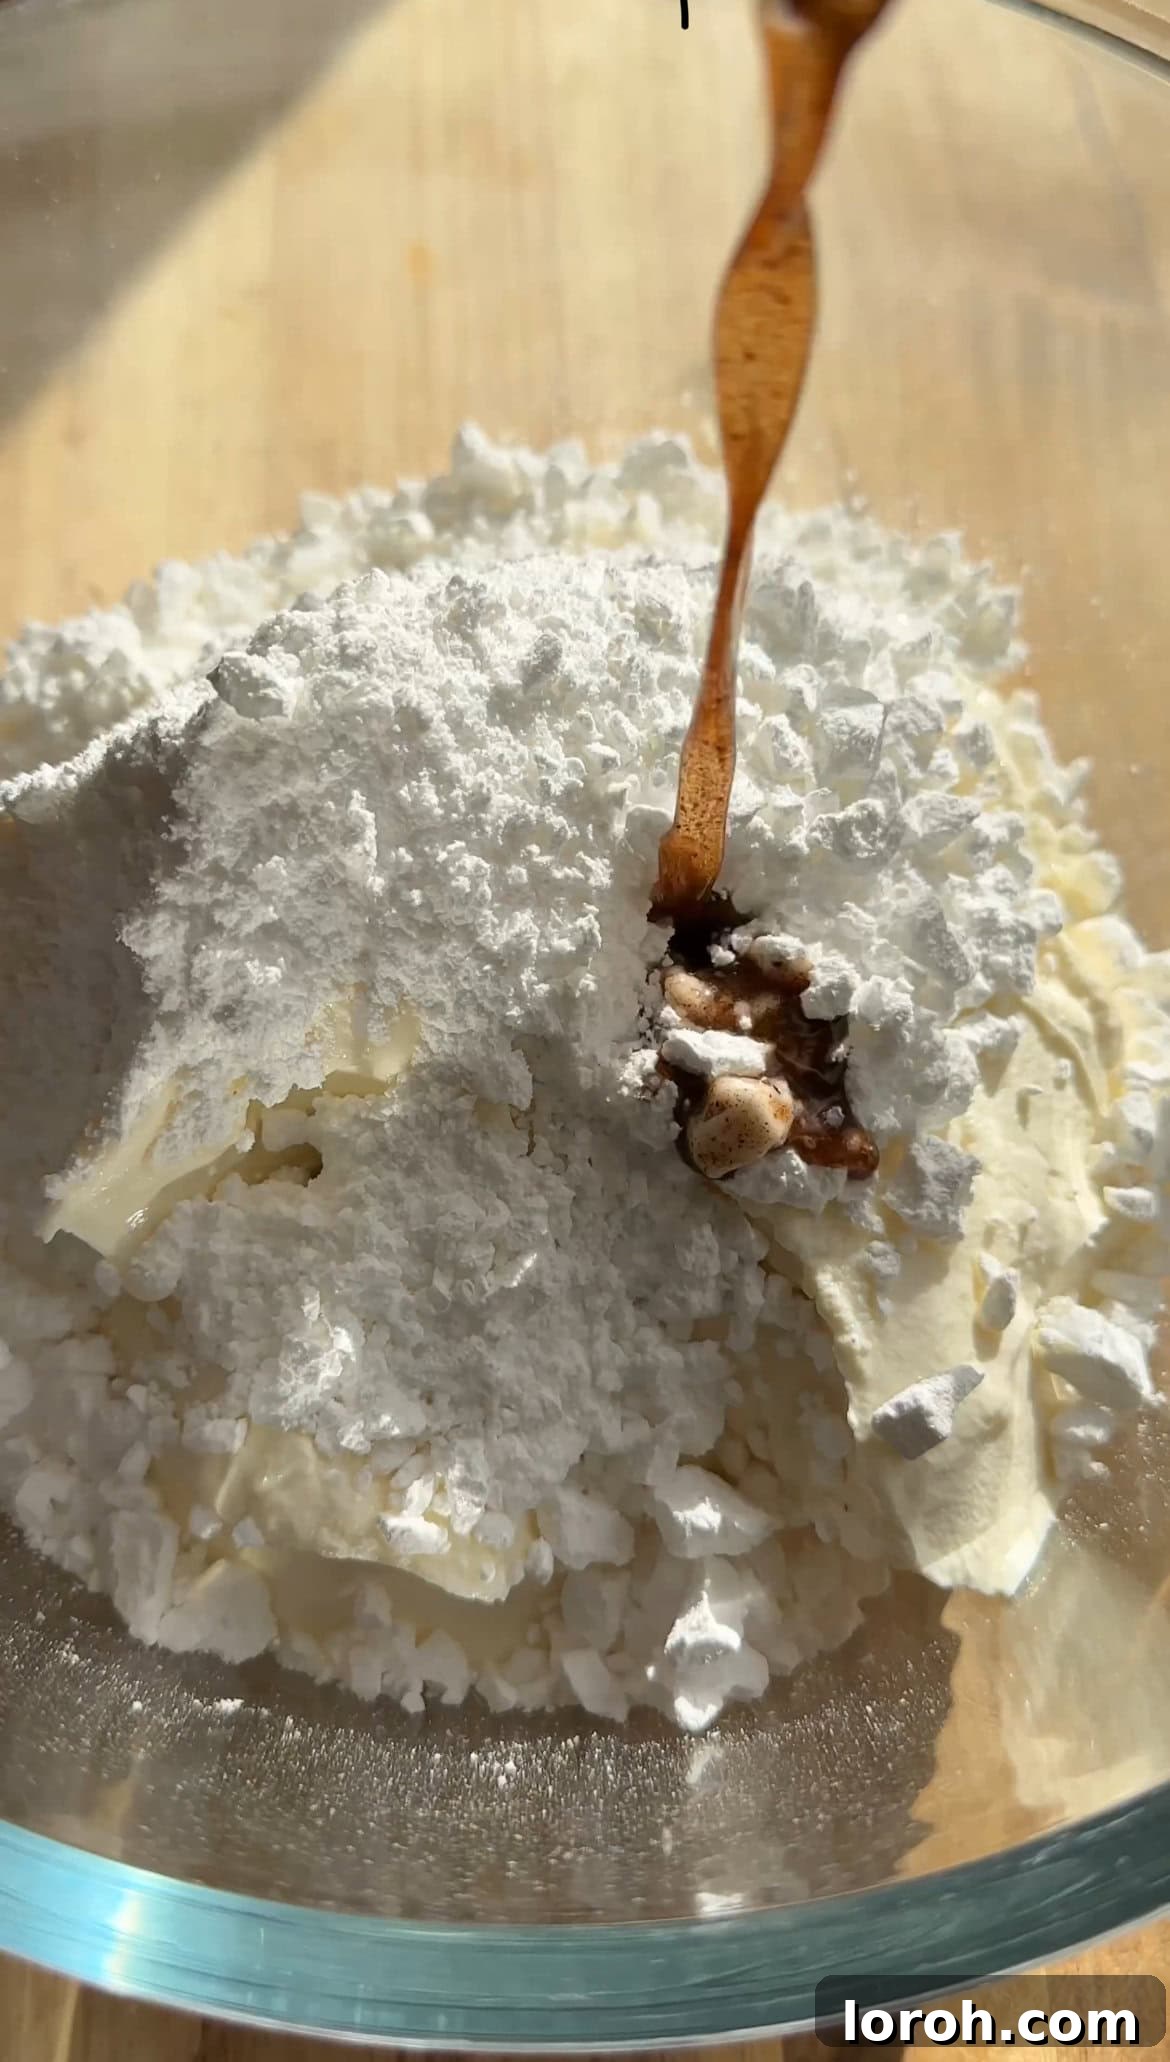
THREE: In a large mixing bowl, add your full-fat cream cheese. Sift the icing sugar directly into the bowl to prevent any lumps, then add the vanilla extract. Make sure your cream cheese is at room temperature for easier mixing.
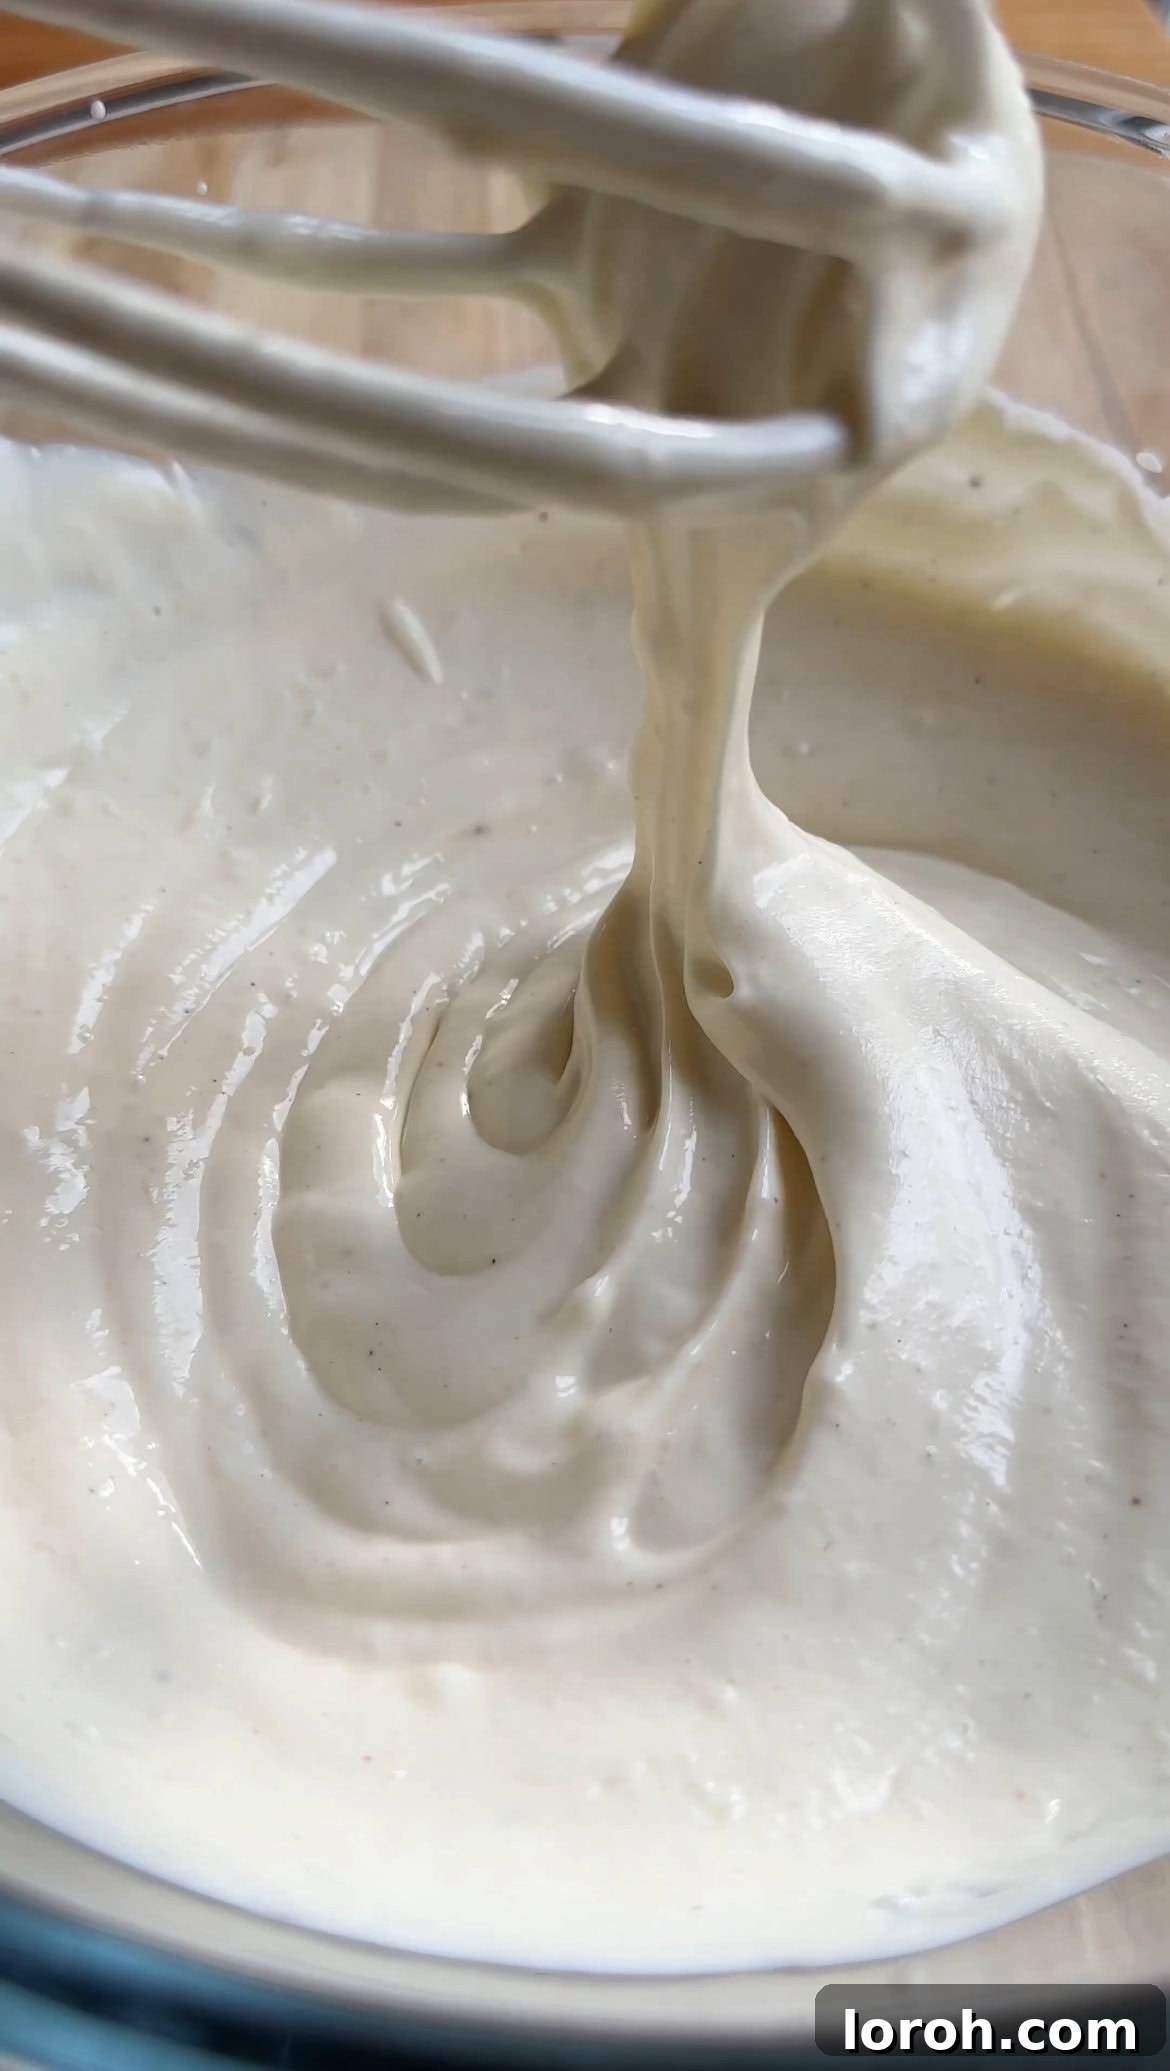
FOUR: Using an electric whisk (or a stand mixer fitted with the whisk attachment), beat the mixture on medium speed until it is perfectly smooth and all lumps of icing sugar have disappeared. Don’t overmix at this stage; just until smooth.
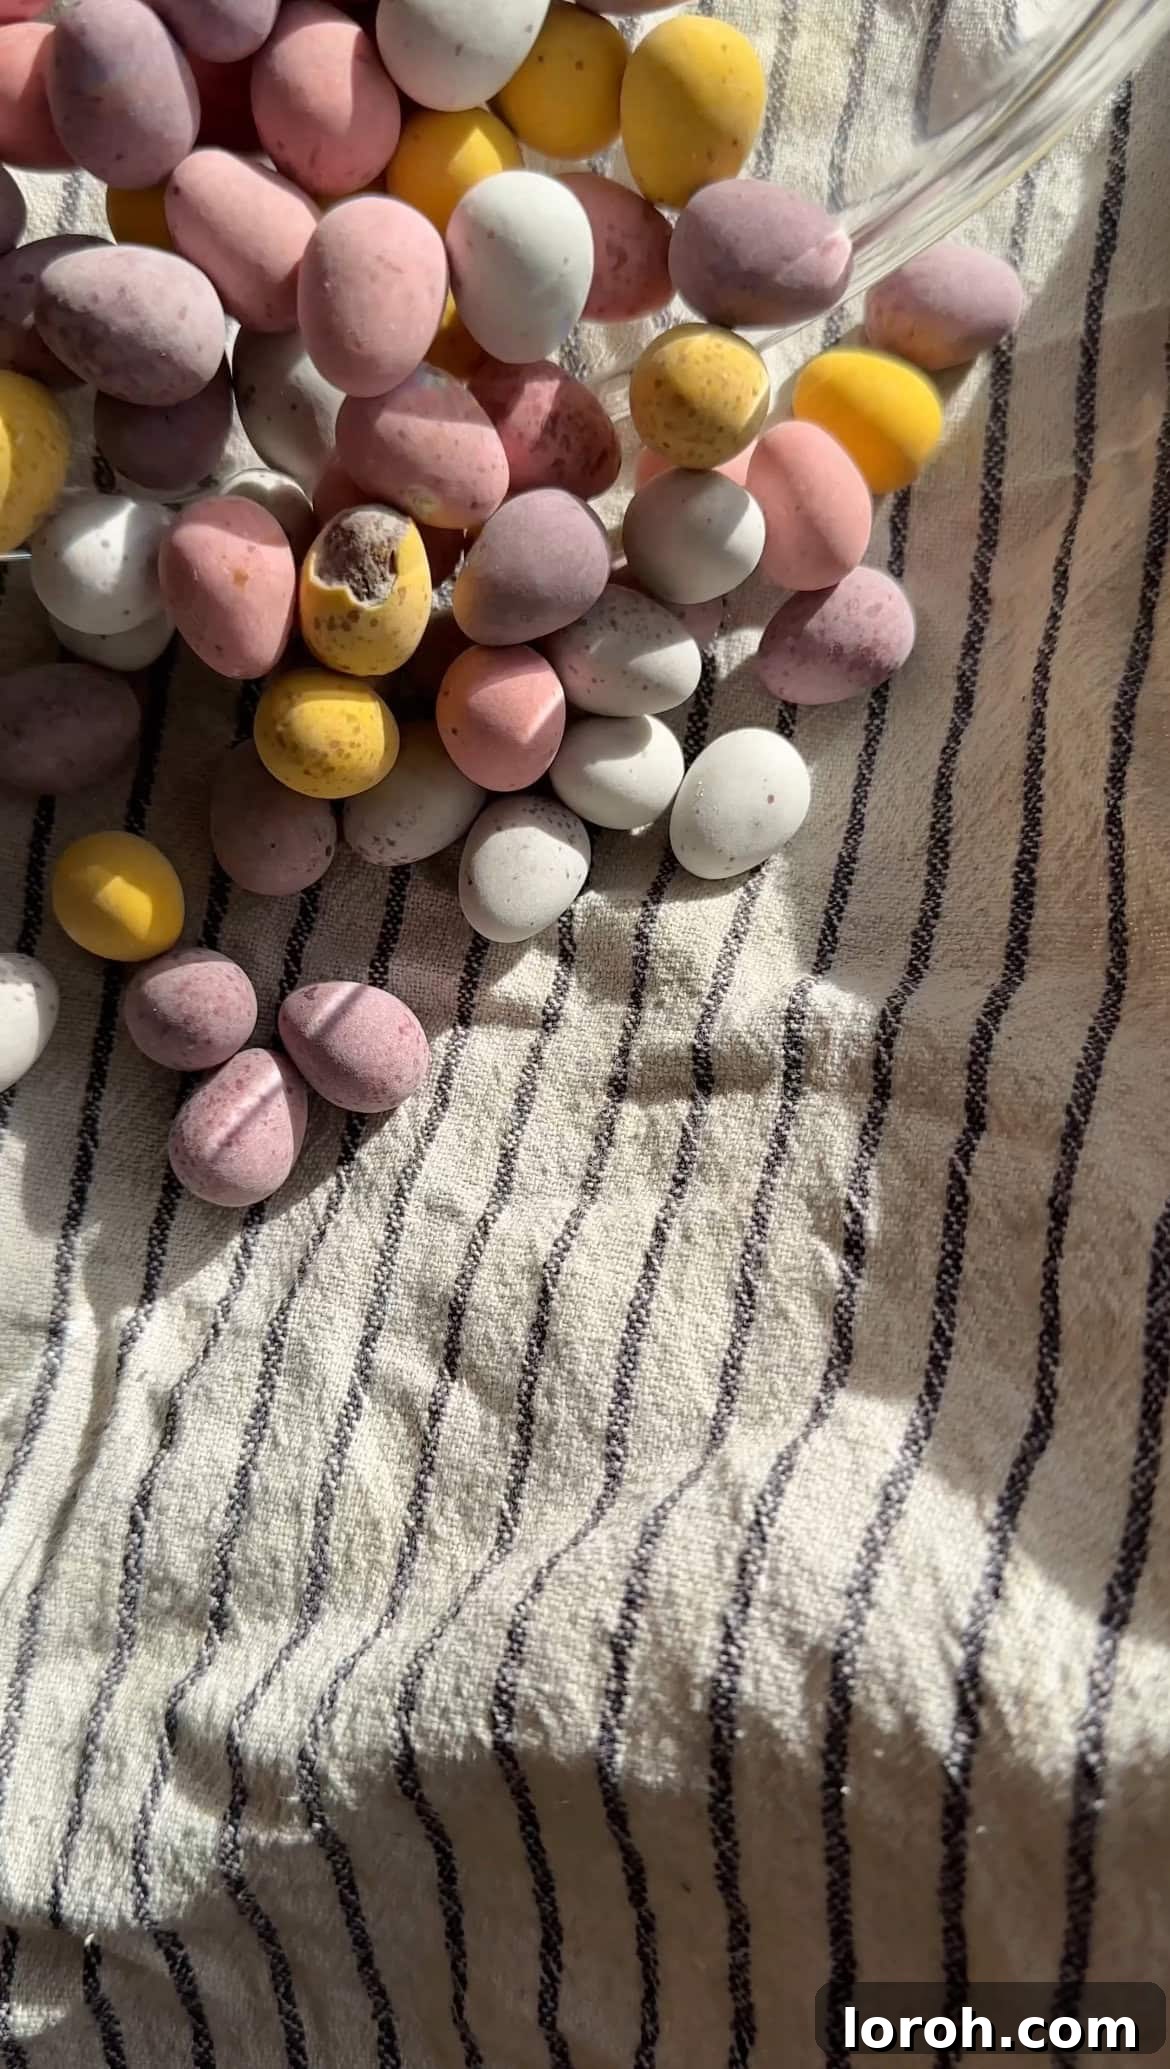
FIVE: While the cream cheese mixture is ready, prepare your Mini Eggs. Place them in a sturdy Ziploc bag or wrap them in a clean tea towel to create a small parcel. This helps contain the mess and prevents them from scattering everywhere.
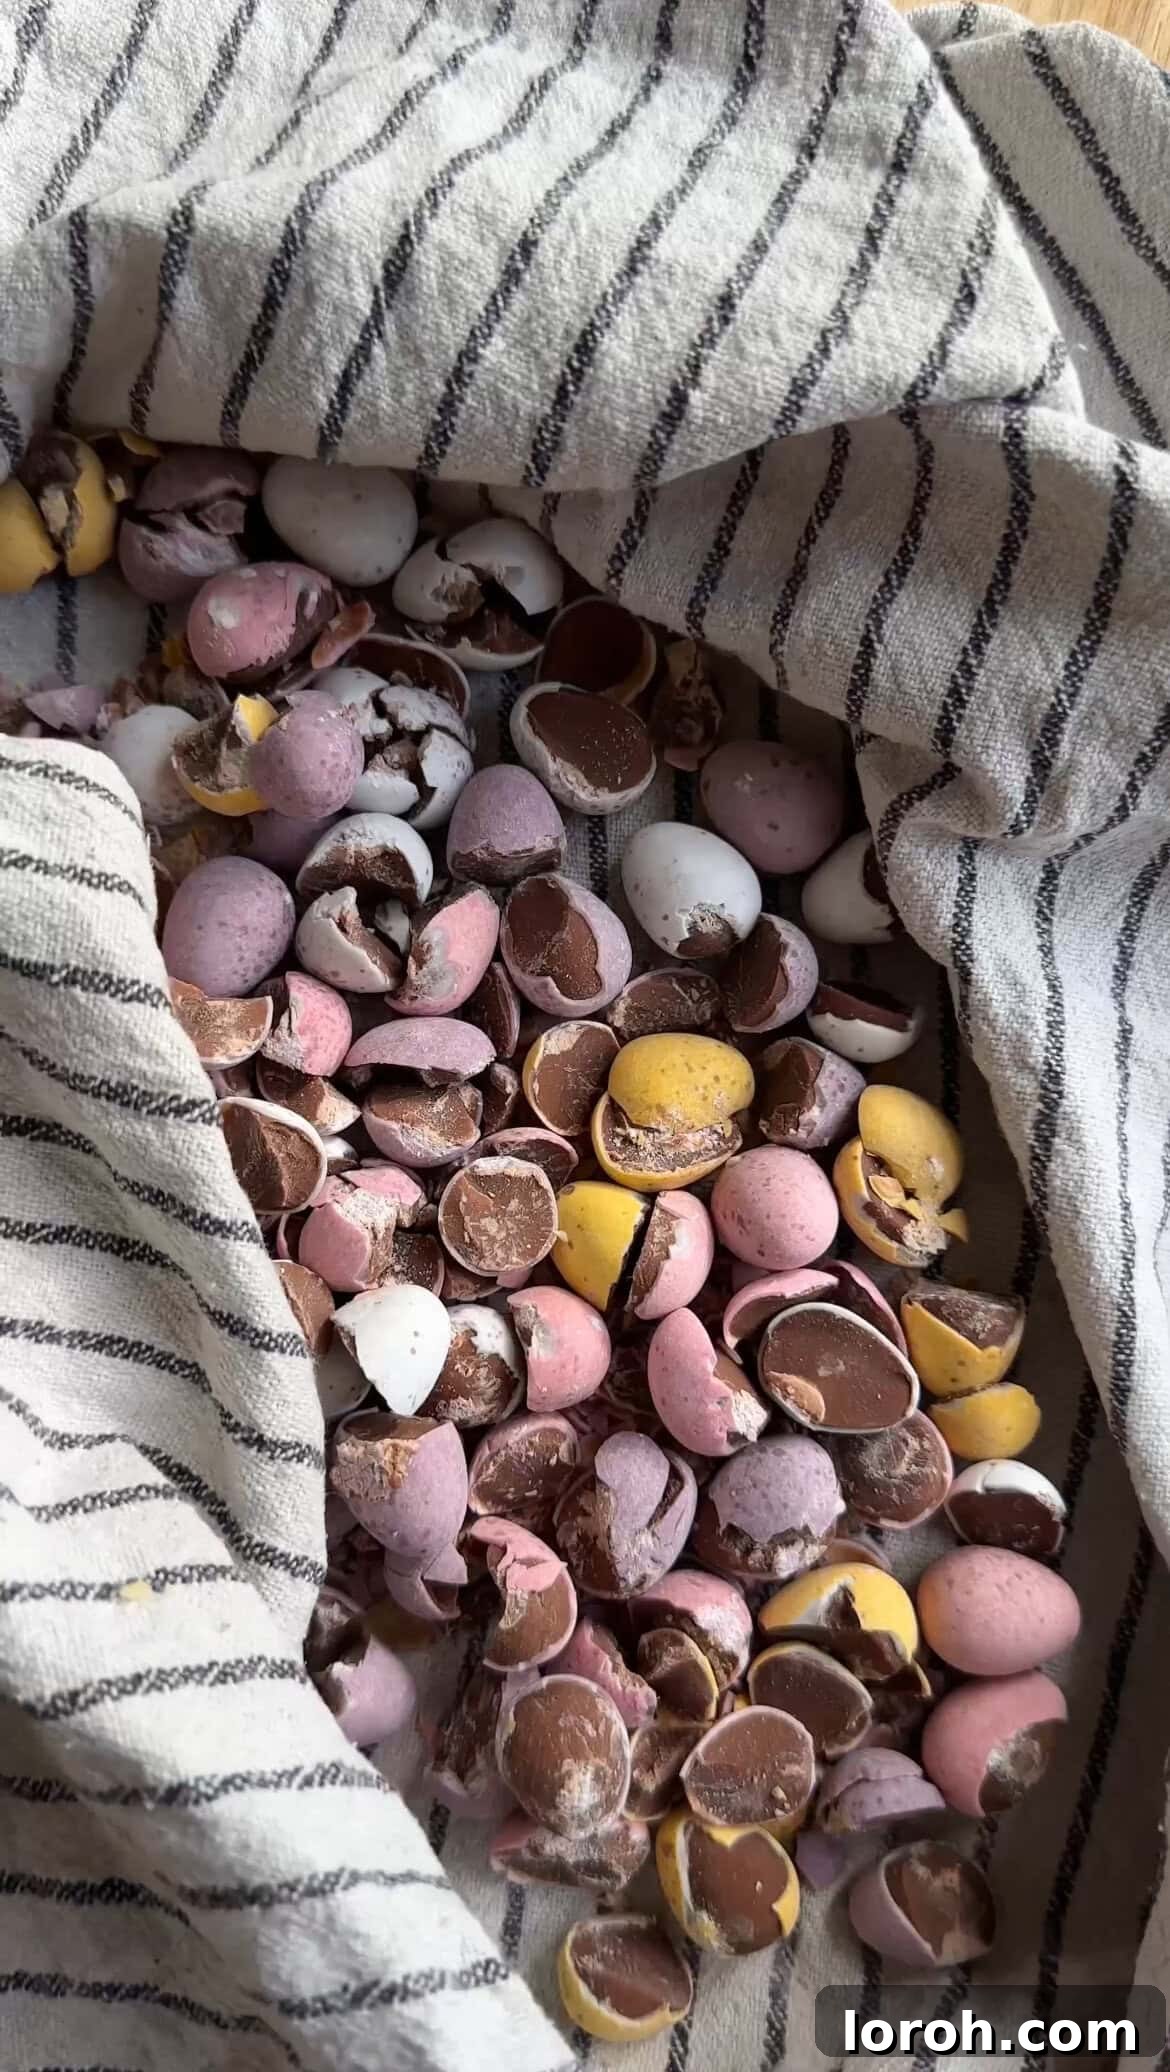
SIX: Use a rolling pin or a heavy-bottomed pan to bash the Mini Eggs. Aim for a variety of textures – some fine crumbs and some larger chunks – to add an exciting crunch to every bite of your cheesecake. Unfold the tea towel to reveal your perfectly crushed Mini Eggs.
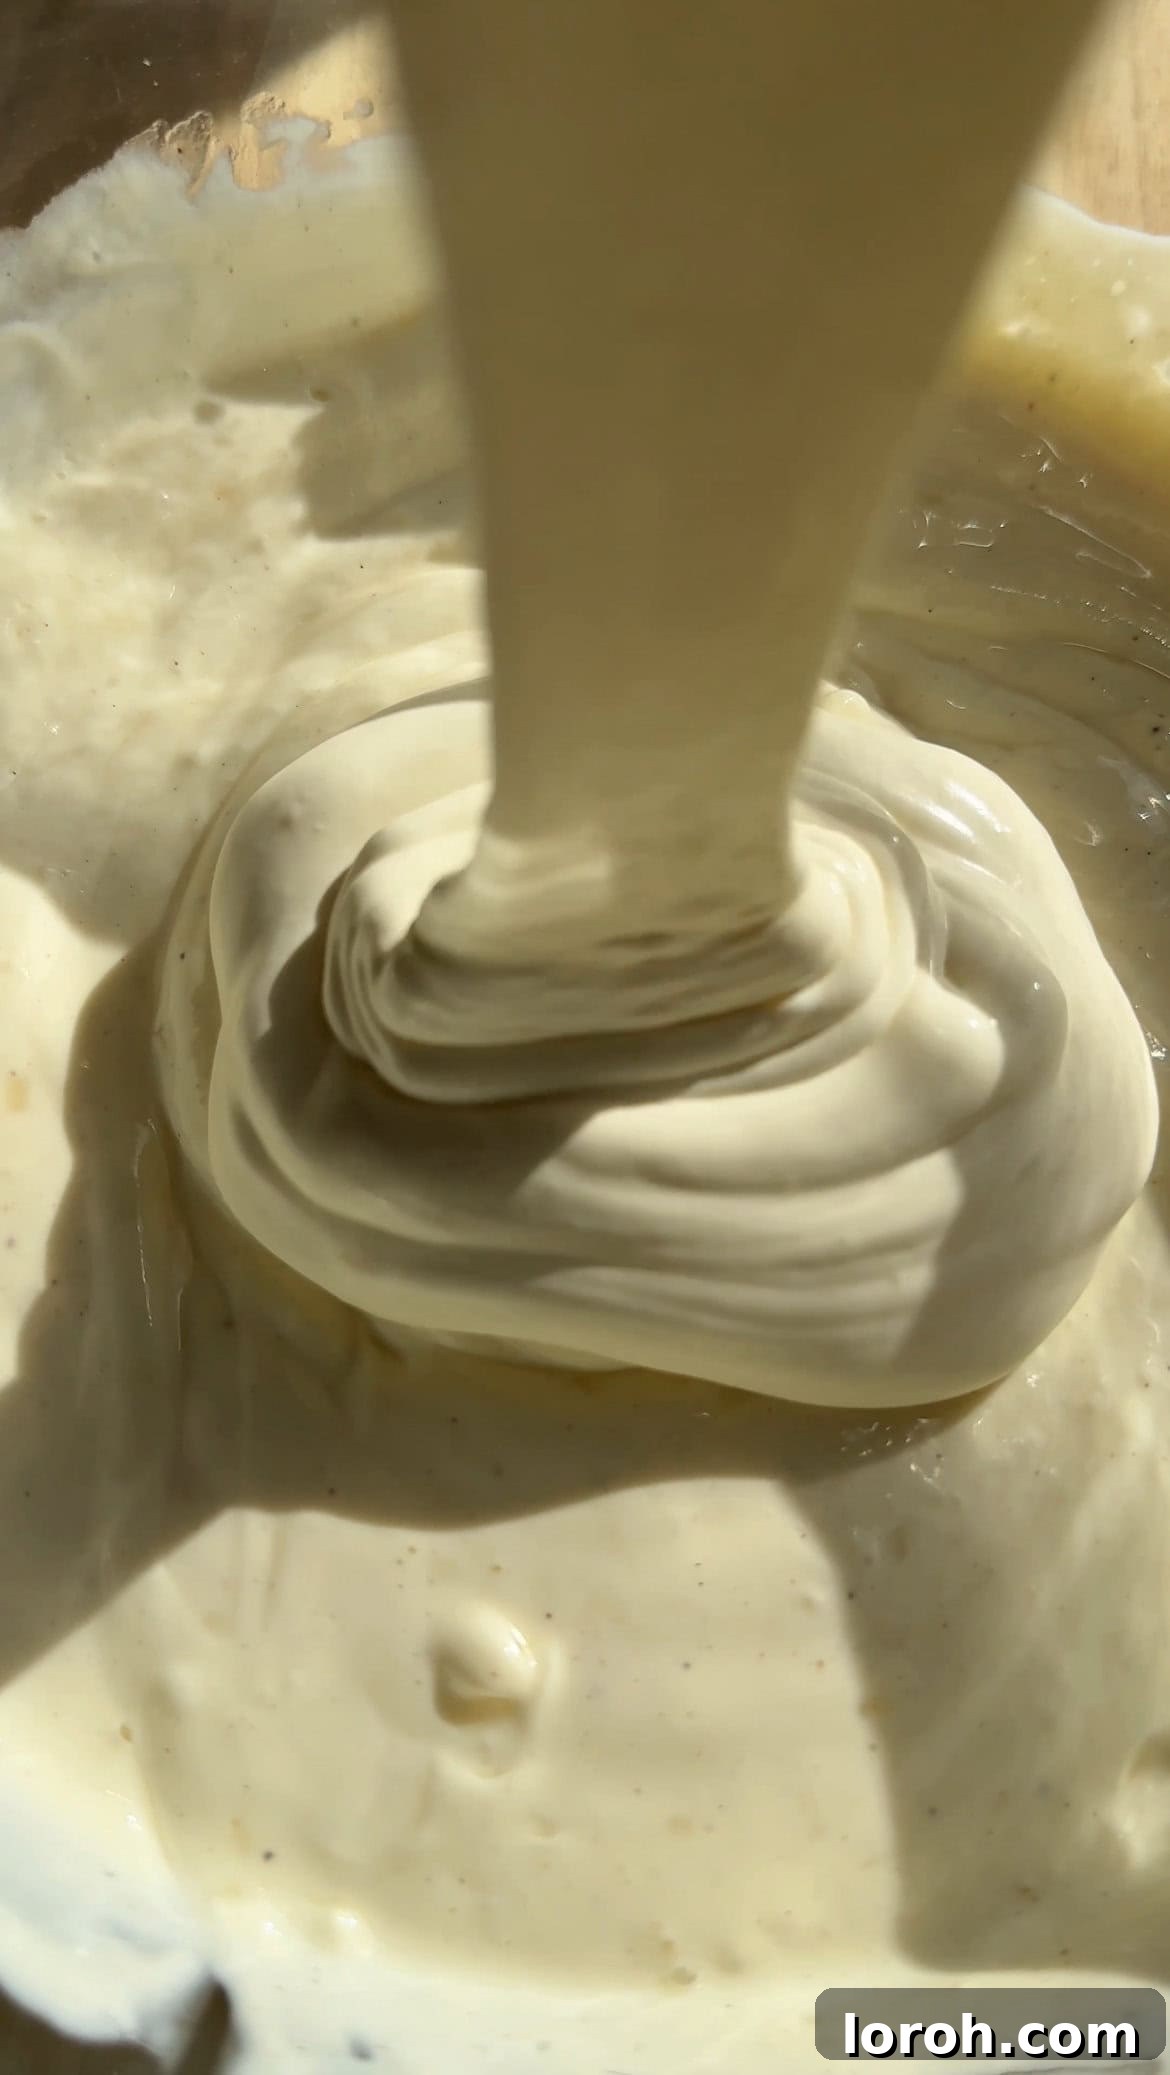
SEVEN: Pour the very cold double cream into the cream cheese mixture. Continue whisking with your electric whisk on medium-high speed. The mixture will start to thicken considerably and become light and fluffy. Whisk until it holds stiff peaks and forms a luxurious, thick cheesecake mixture. Be careful not to overmix, or it could curdle.
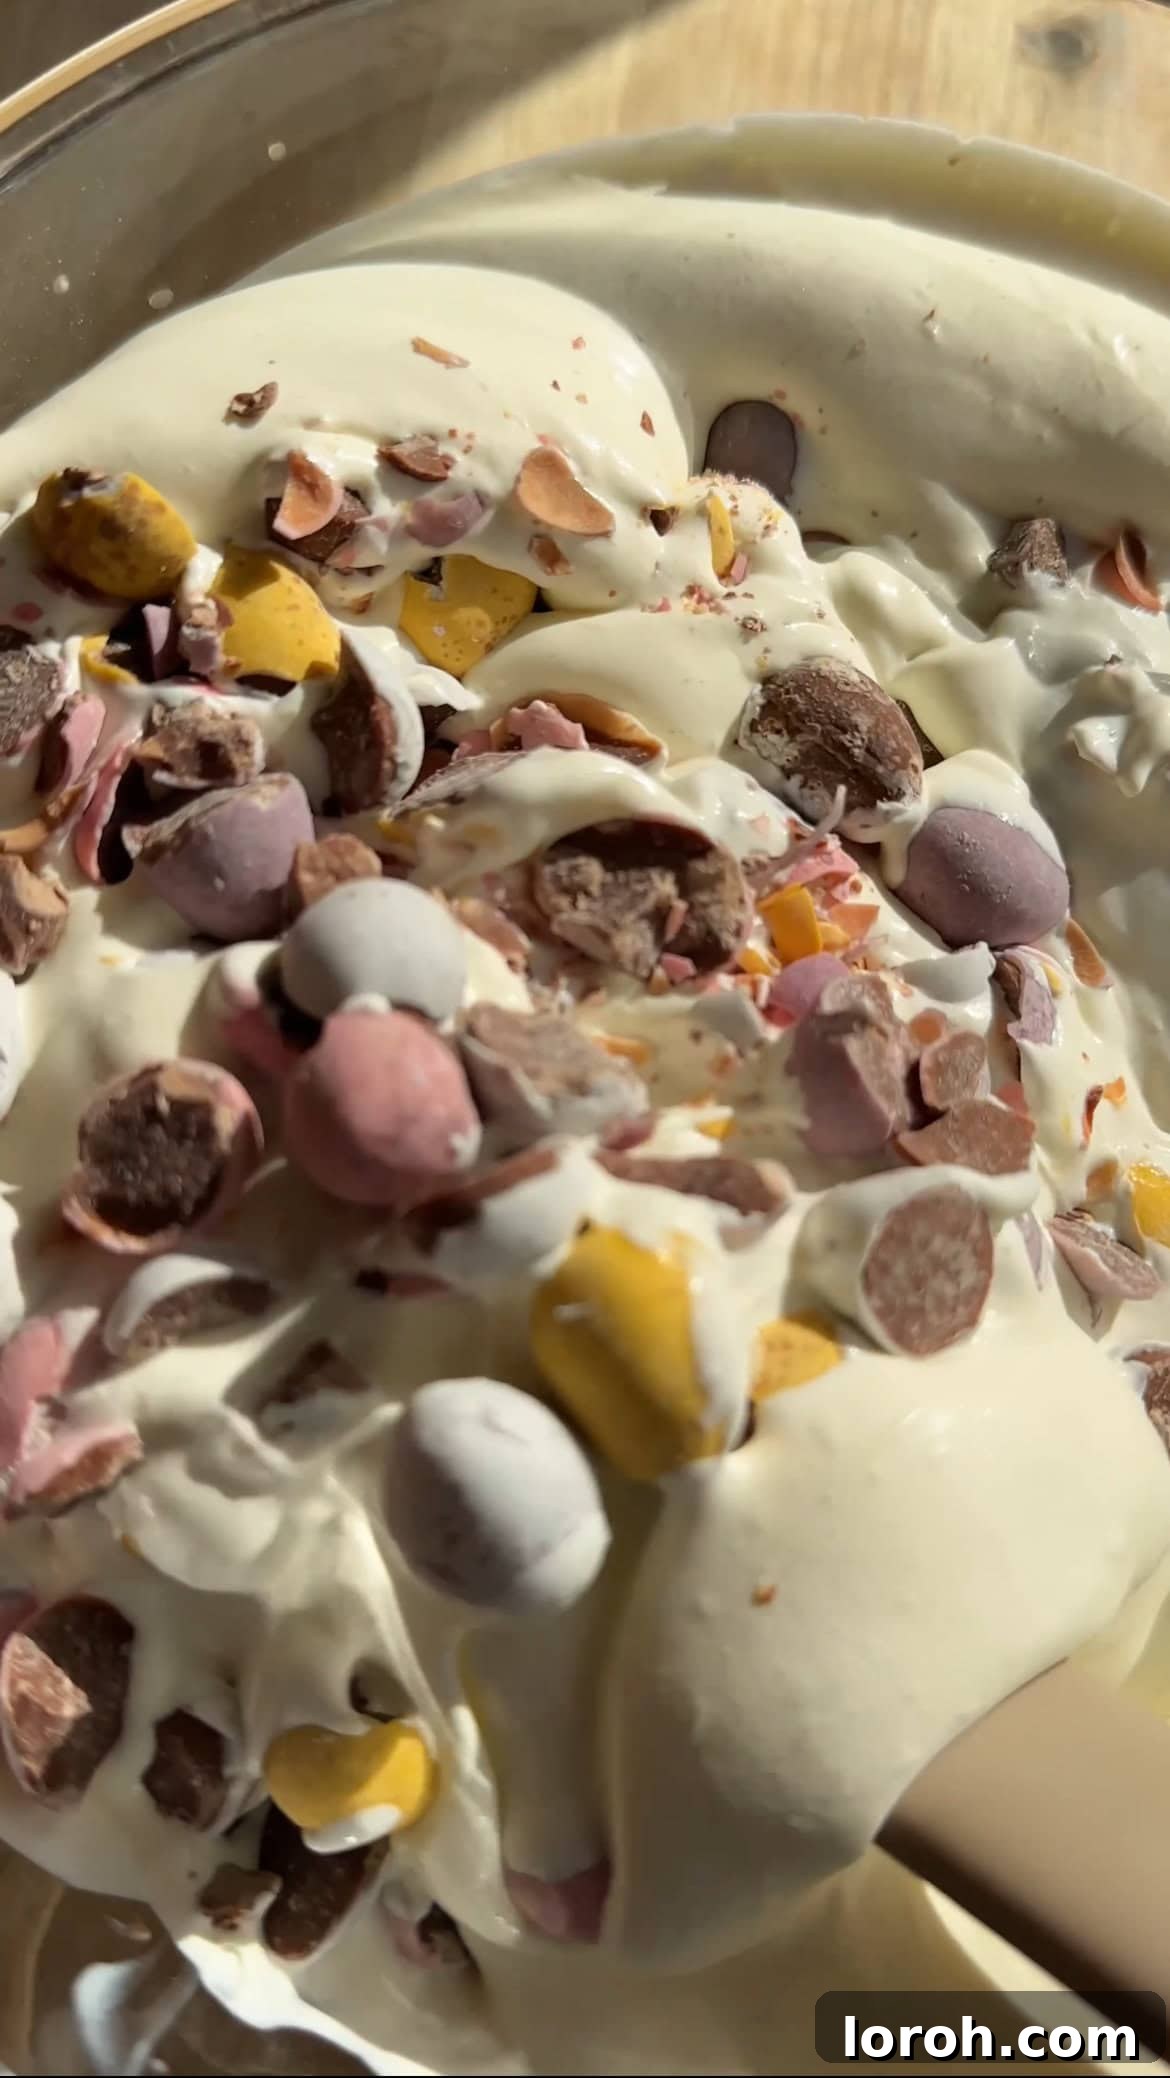
EIGHT: Gently fold the crushed Mini Eggs into the thick cheesecake mixture using a spatula. Mix until they are evenly distributed throughout the filling. You can be as generous as you like with the Mini Eggs, ensuring every slice is packed with chocolatey goodness! Taste and adjust vanilla if desired.
STEP 3: Assemble and Chill Your Mini Egg Cheesecake
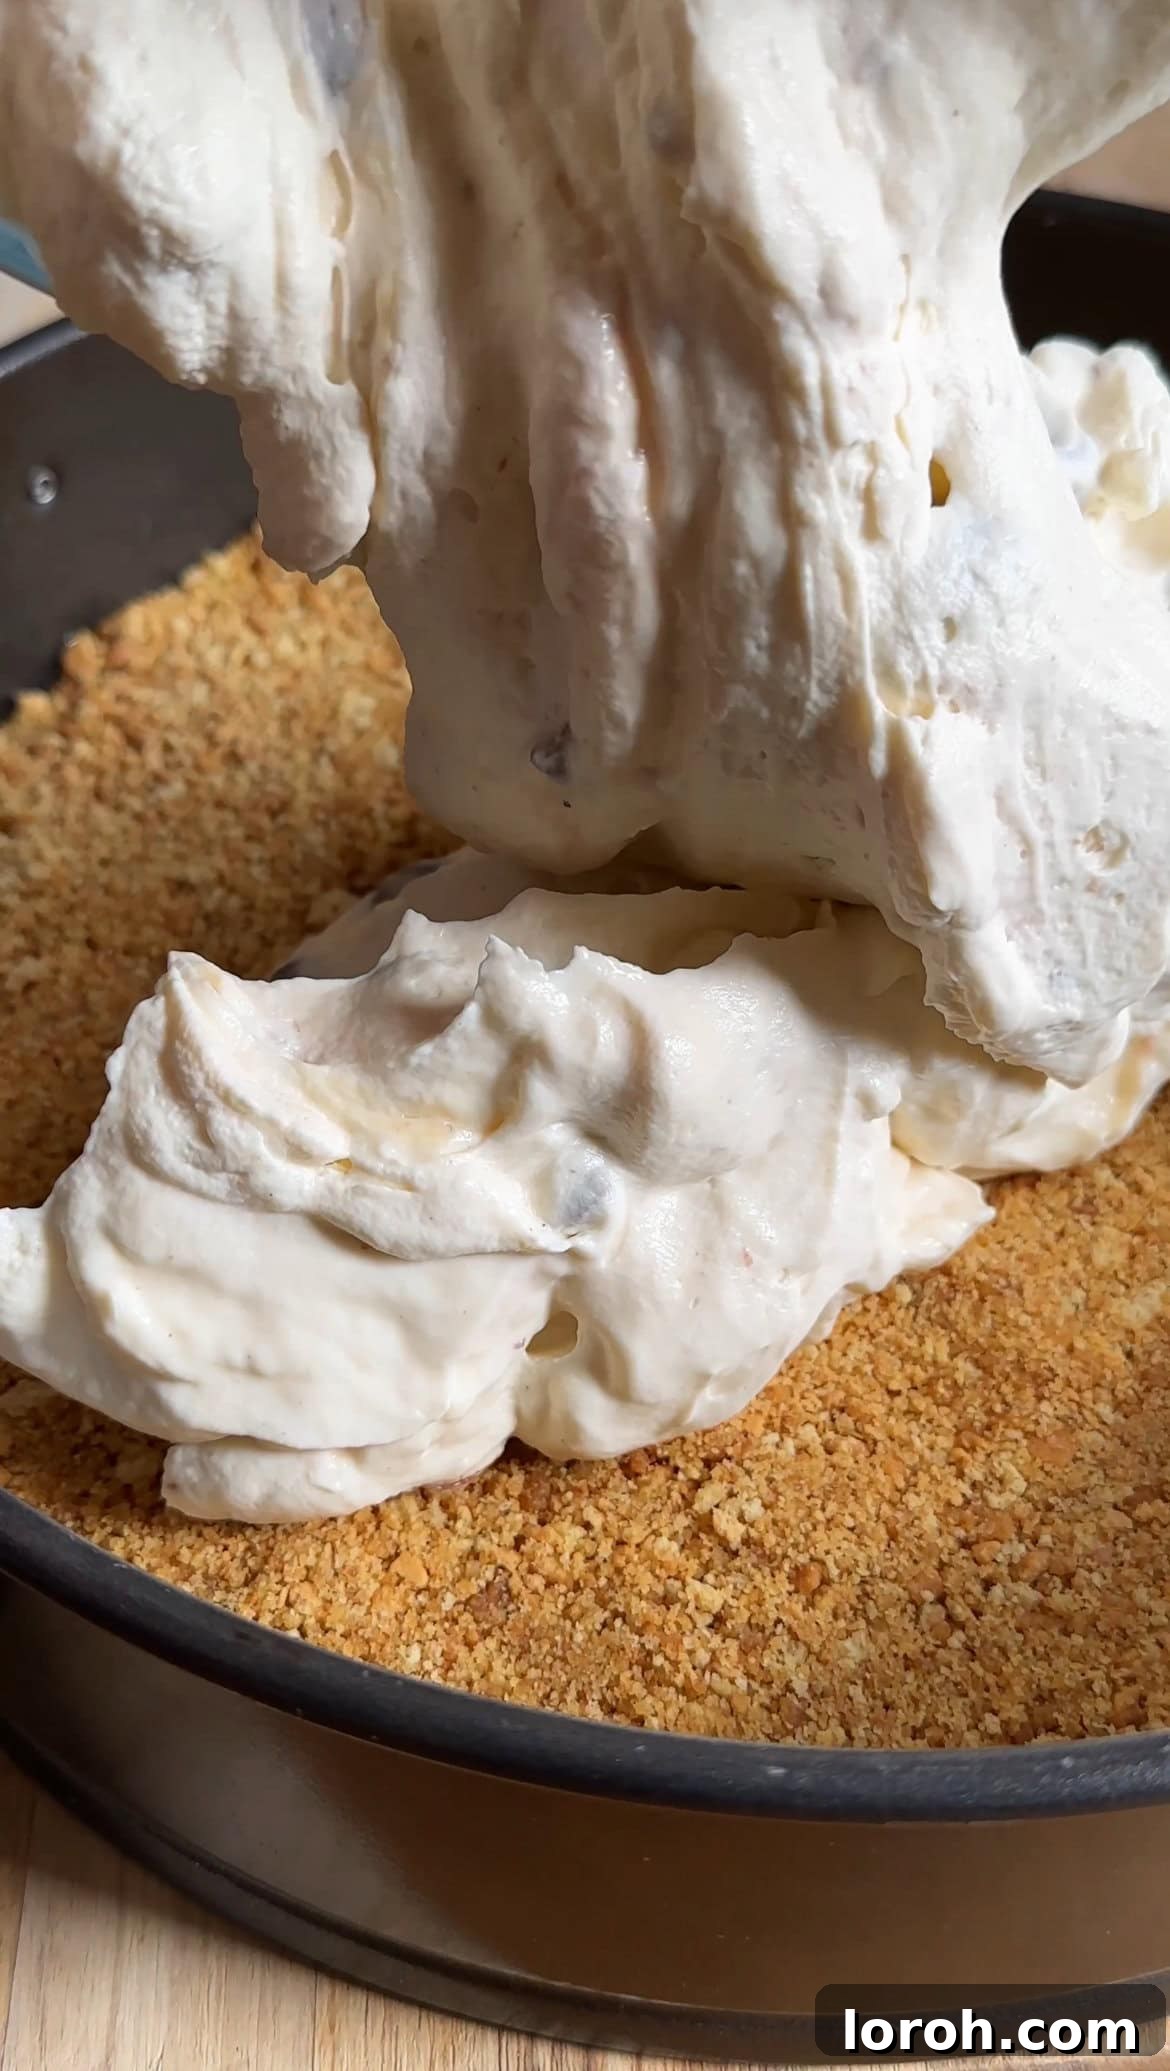
NINE: Retrieve your chilled biscuit base from the fridge. Carefully spoon the creamy Mini Egg cheesecake filling onto the base. Use the back of a spoon, a rubber spatula, or a palette knife to gently spread the filling into a smooth, even layer across the entire surface. Ensure the top is as flat and uniform as possible.
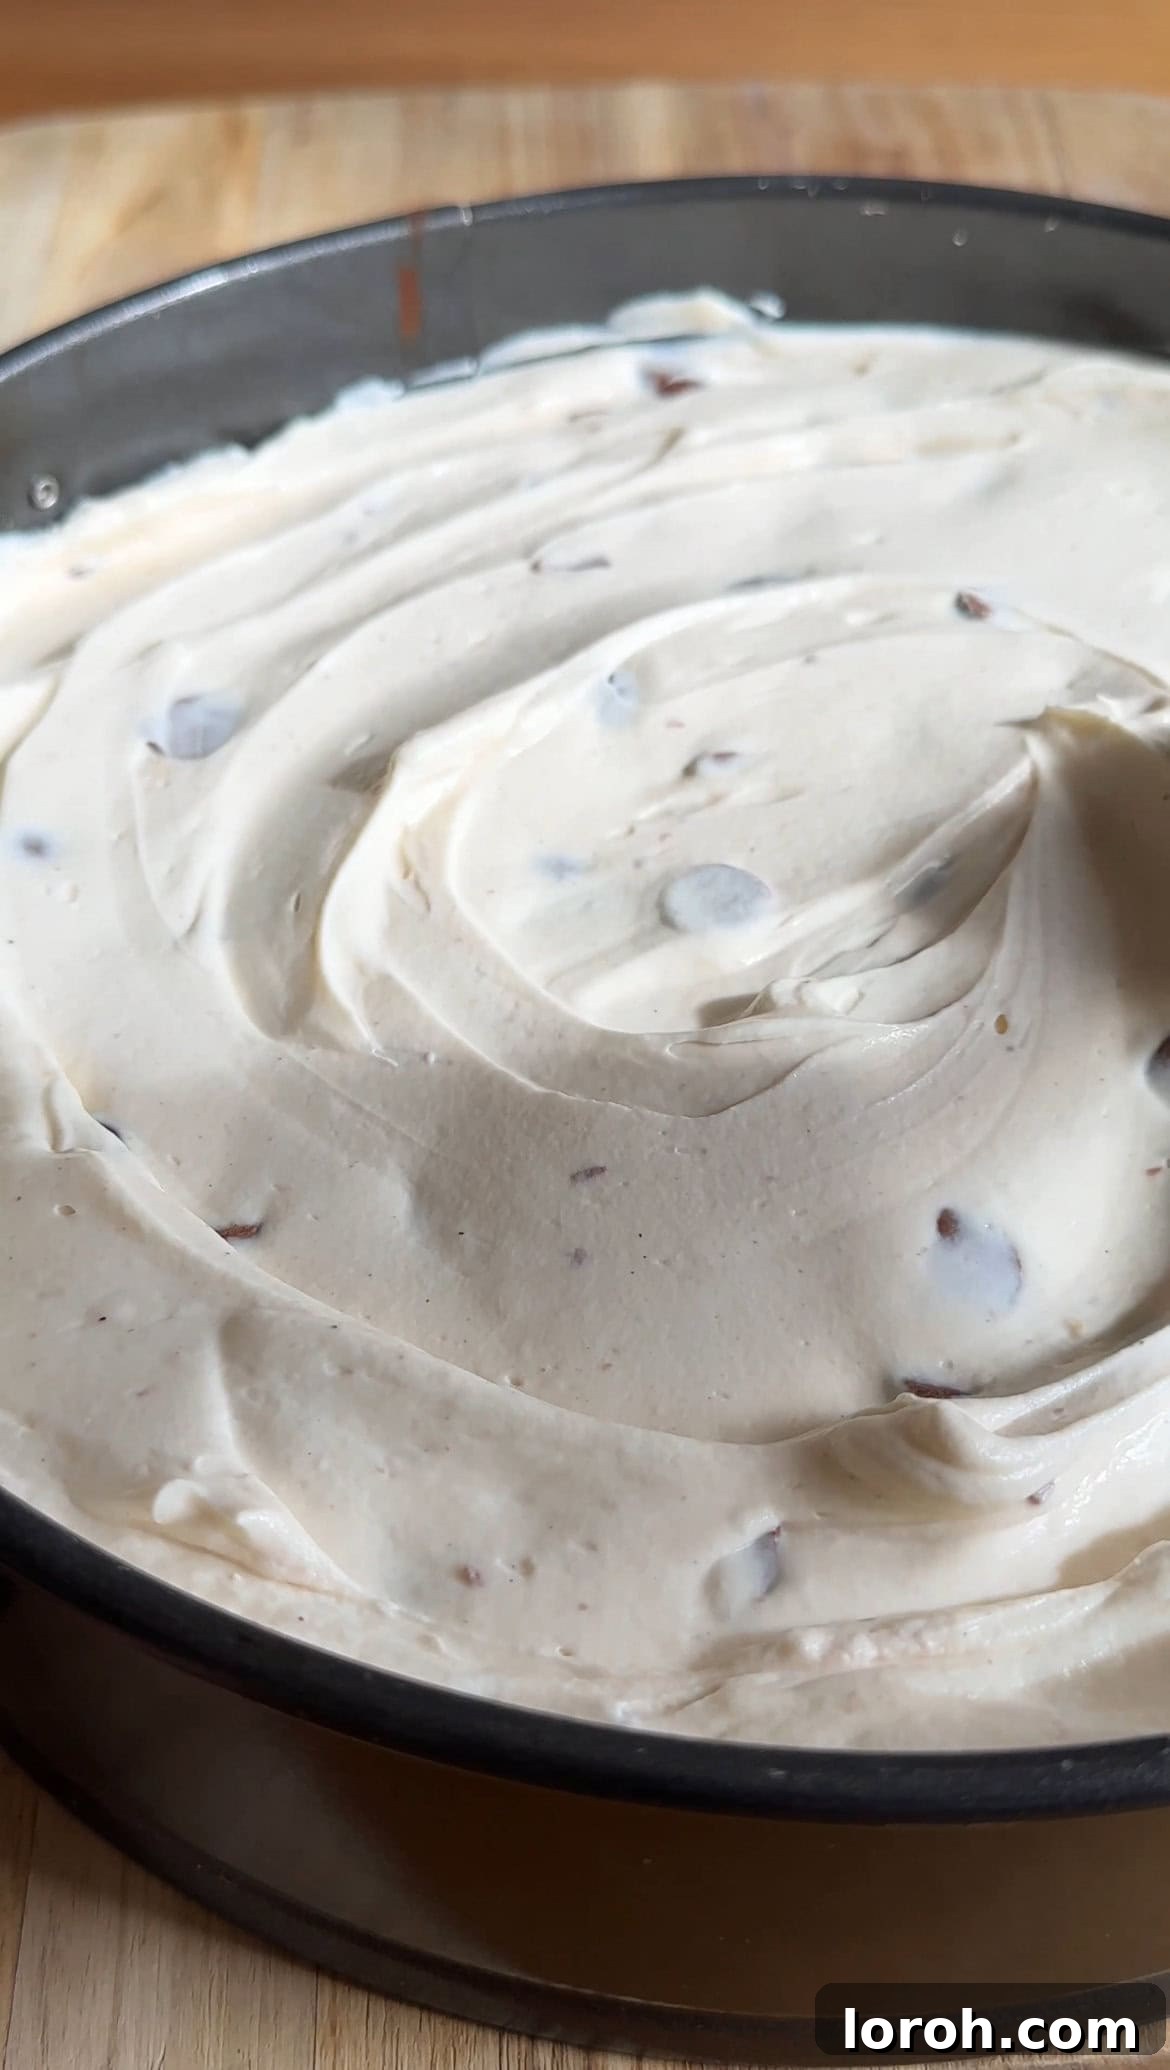
TEN: Once the filling is perfectly smooth, cover the springform tin tightly with cling film. Return the cheesecake to the fridge to chill for at least 4 hours, or ideally, overnight. Allowing it to chill overnight will ensure the best possible set, resulting in beautifully clean and defined slices. The longer it chills, the firmer and more stable your cheesecake will be.
Expert Cooking Tips for Success
Achieving a flawless No-Bake Mini Egg Cheesecake is simple with these expert tips:
- Full-Fat is Your Friend: I cannot stress this enough – always use full-fat cream cheese and double (heavy) cream. Low-fat alternatives simply won’t yield the same rich flavor or achieve the proper set, leading to a runny, disappointing cheesecake.
- The Art of Chilling: Patience is paramount! Do not rush the chilling time. This is the single most critical step to allow your Mini Egg Cheesecake to set beautifully and firmly. Overnight chilling is truly ideal for perfectly clean, crisp slices.
- Cream Whipping Perfection: When preparing extra whipped cream for decoration, ensure your double cream is straight from the coldest part of the fridge. This makes whipping much easier and faster. Whip only to medium peaks for a soft, airy consistency. If you over-whip, the cream will become grainy and eventually split, turning into something akin to butter.
- Piping Pizzazz: For an extra elegant presentation, consider piping the whipped cream onto your cheesecake. A star or rosette nozzle works wonders for creating beautiful decorative swirls.
- Cheat’s Dark Chocolate Curls: No need for fancy chocolate-shaving tools! To make impressive dark chocolate curls, simply take a good quality chocolate bar (ideally 70% cocoa) and run a vegetable peeler down its side. This will produce lovely, large curls. For smaller, tighter curls, use a microplane grater.
- Room Temperature Cream Cheese: While the double cream needs to be cold, allowing your cream cheese to come to room temperature for about 30 minutes before mixing will ensure a smoother, lump-free filling that combines more easily with the other ingredients.
- Clean Slices Every Time: For picture-perfect slices, use a sharp knife that has been run under hot water and wiped clean between each cut. This prevents the cheesecake from sticking and creates a neat edge.
How to Make a Buttery Biscuit Base Without a Food Processor
No food processor? No problem! You can still create a perfectly crunchy biscuit base for your delicious Mini Egg Cheesecake with minimal fuss (and less washing up!). Simply place your digestive biscuits into a sturdy freezer bag or a large Ziploc bag. Seal the bag, pressing out as much air as possible. Then, using a rolling pin, a heavy-bottomed pan, or even a sturdy mug, firmly bash the biscuits until they are reduced to fine crumbs. Once you have the desired consistency, transfer the crumbs to a large mixing bowl. Pour in the melted butter and mix thoroughly with a spoon or your hands until the crumbs are evenly coated and resemble damp sand. From there, proceed with pressing the mixture into your springform tin as described in the recipe.
Effortless Removal of Your Cheesecake from the Tin
Removing a no-bake cheesecake from its springform tin can sometimes cause a moment of anxiety, but with the right technique, it’s incredibly simple and stress-free. As long as you’ve used a springform tin, you’re already halfway there! Here’s a detailed guide to ensure a smooth, beautiful release:
First, gather your essential tools: you’ll need a flat serving plate or a cake stand for the final presentation, a thin butter knife or small offset spatula, a sturdy mug or small bowl, and a cake lifter (or two large palette knives/fish slices).
Once your Mini Egg Cheesecake is thoroughly chilled and set (preferably overnight), gently unclip the springform tin latch. Before fully releasing, take your thin butter knife and carefully run it around the inner edge of the cheesecake, between the cheesecake and the tin. Do this slowly and with a light touch to prevent tearing the edges of the cheesecake. If the knife starts to drag or pick up cheesecake, pause, wipe it clean with kitchen roll, and continue. This step helps to gently loosen any adherence.
Next, carefully place the entire springform tin, with the cheesecake still inside, on top of the inverted sturdy mug or small bowl. This elevates the cheesecake, making the next step easier. Now, fully unclip the tin and allow the sides (the ring) to drop down and rest on your work surface. You should now have the cheesecake sitting perfectly on the tin’s base, elevated by the mug, with the sides removed.
Carefully lift the cheesecake, still on its base, from the mug and place it onto your clean work surface. With confidence and precision, slide your palette knife (or the thinner edge of a cake lifter) underneath the biscuit base. Work your way around, gently separating the base from the springform tin’s bottom. Make sure the cheesecake is close to your final serving plate or cake stand.
Using your cake lifter, or by employing two large fish slices or palette knives, gently and steadily lift the cheesecake from the tin’s base and transfer it onto your chosen serving plate. Alternatively, you can carefully slide it directly from the tin base onto the plate, ensuring it remains flat to avoid any breakage in the middle. If you’re particularly nervous, or if you’re only serving family, there’s absolutely no harm in serving the cheesecake directly on the springform tin base – it will still look neat and presentable until it’s cut! Finally, use a small palette knife or the back of a butter knife to tidy up any imperfections on the sides of the cheesecake, making them smooth and pristine.
Frequently Asked Questions
There are typically two main reasons why a no-bake cheesecake might not set. Firstly, it could be due to insufficient whipping of the cream cheese and double cream mixture. This combination needs to be whisked until it’s very thick and holds firm peaks. An electric whisk is highly recommended for achieving this consistency efficiently. Be careful not to over-whip, as this can make the cheesecake dense or even curdle the cream. Secondly, it’s crucial to allow enough chilling time. No-bake cheesecakes require significant time in the fridge for the ingredients to firm up and bind together. An overnight chill is always ideal and will give you the most stable and beautifully firm slices.
Absolutely! This Mini Egg Cheesecake is actually one of the best make-ahead desserts. In fact, it benefits significantly from being left to chill overnight. This extended chilling period allows the flavors to meld beautifully and the cheesecake to set perfectly, resulting in much cleaner, more defined slices. This makes it a fantastic choice for Easter entertaining, as you can prepare it the day before and simply decorate it just before serving. It will keep wonderfully in the fridge, covered, for up to 3 days.
Certainly! While this is a dedicated Mini Egg cheesecake, making it a seasonal delight for Easter celebrations, you can easily adapt the recipe to be enjoyed all year round with different chocolates. Popular choices that work exceptionally well include Maltesers for a light, malty crunch, or Galaxy Minstrels for smooth, melt-in-your-mouth chocolate discs. Colorful alternatives like M&M’s and Smarties also add a festive touch. For a simpler option, you can use chopped-up chocolate bars (milk, dark, or white) to create a delicious chocolate chip cheesecake. If you wish to maintain an Easter theme but can’t find traditional Mini Eggs, Lindor milk chocolate mini eggs are a luxurious and tasty alternative. Post-Christmas, I sometimes use chopped up Celebrations chocolates for a varied chocolate mix!
While you can certainly purchase pre-made chocolate curls from the baking aisle (like these ones from Waitrose), making them yourself is incredibly simple and more cost-effective! For stunning “cheat’s” dark chocolate curls, take a good quality chocolate bar (preferably one that’s slightly chilled but not too hard). Using a standard vegetable peeler, gently scrape down the long side of the chocolate bar. As you scrape, beautiful, delicate curls will form. For smaller, finer curls, you can use a microplane grater instead. Although this recipe suggests dark chocolate for a lovely contrast, this technique works perfectly with milk or white chocolate as well, allowing you to customize your decoration.
Yes, this No-Bake Mini Egg Cheesecake freezes very well! To freeze, ensure the cheesecake is fully set and completely cooled. Wrap the undecorated cheesecake (without any whipped cream or fresh toppings) very tightly in several layers of cling film, then an additional layer of aluminum foil. This helps prevent freezer burn. It can be frozen for up to 3 months. When you’re ready to serve, transfer the frozen cheesecake to the fridge and let it defrost overnight. Once thawed, you can decorate it with whipped cream, additional Mini Eggs, and chocolate curls as desired.
Once prepared, this Mini Egg Cheesecake will stay fresh and delicious for up to 3 days when stored covered in the fridge. For the best taste and texture, ensure it is always kept chilled.
Yes, absolutely! When it comes to the “cheese” component of a cheesecake, the fat content is paramount for achieving the right consistency and richness. Mascarpone cheese, being a very rich Italian cream cheese, has a significantly higher fat content than standard cream cheese. This means using mascarpone will result in an even richer cheesecake with an incredibly creamy, almost velvety texture. It also offers a slightly sweeter and less tangy flavor profile compared to cream cheese. For a truly decadent experience, you can swap the full amount of cream cheese for mascarpone. However, if you’re new to using mascarpone in cheesecakes, I recommend starting with a half cream cheese, half mascarpone blend to balance the richness. Either way, it will produce a wonderfully indulgent dessert!
Other Irresistible Dessert Recipes You Might Enjoy
If you’ve fallen in love with the ease and deliciousness of this Mini Egg Cheesecake, you’re in for a treat with these other delightful dessert creations. Expand your baking repertoire with these fan favorites:
- For another individual no-bake sensation, try my charming No-Bake Biscoff Cheesecakes. They’re perfect for portion control and packed with spiced biscuit flavor!
- If you appreciate bright, zesty flavors, don’t miss my vibrant Lemon Meringue Cheesecake – a delightful twist on a classic pie.
- For an exotic and creamy indulgence, my White Chocolate and Passion Fruit Cheesecake offers a beautiful balance of sweet and tangy notes.
- And if you simply adore the creamy texture of cheesecake, but want it in a different form, these luscious Berry Crepes with Whipped Cheesecake Cream Filling are an absolute must-try for breakfast or dessert.
Each of these recipes brings its own unique charm and is designed to bring joy to your kitchen and your taste buds!
Sandwiches
The Best Coronation Chicken Sandwiches
Christmas Recipes
The Best Chocolate Salami
Easy Dessert Recipes
Chocolate Budino (Creamy Italian Pudding)
Drinks and Cocktails
Homemade Hot Chocolate Bombs
Loved This Recipe? Share Your Thoughts!
There’s nothing more rewarding than hearing about your culinary adventures! If you’ve made this delightful No-Bake Mini Egg Cheesecake and enjoyed it, I would absolutely love it if you could take a moment to leave a review in the comments section below. Your feedback means the world to me – tell me what you thought, any creative changes you made, or simply the story behind why you decided to try my recipe. It truly brightens my day to connect with you. Also, if you share a photo of your beautiful creation on Instagram, please remember to tag me @desertislanddishes. Seeing your stunning results makes all the effort worthwhile!
No-Bake Mini Egg Cheesecake
Rate Recipe
Print Recipe
Ingredients
For the buttery biscuit base:
- 300 g digestive biscuits
- 100 g unsalted butter, melted
For the creamy cheesecake filling:
- 600 g full-fat soft cream cheese
- 100 g icing sugar, sifted
- 1 tsp quality vanilla extract
- 300 ml cold double cream
- 300 g Mini Eggs, roughly crushed
To decorate (optional, but highly recommended):
- 100 g double cream, whipped to soft peaks
- 100-200 g Mini Eggs, (whole or crushed for garnish)
- Good-quality dark chocolate, grated into elegant curls
Instructions
-
For the Biscuit Base: In a food processor, blitz the digestive biscuits into fine, even crumbs. Add the melted unsalted butter and process again until the crumbs are thoroughly coated and resemble damp sand.
-
Tip the mixture into a 20cm (8-inch) deep springform tin. Use the back of a glass or spoon to press the crumbs firmly and evenly onto the base. Cover with cling film and chill in the fridge for at least 30 minutes while you prepare the filling.
-
For the Cheesecake Filling: Place the full-fat cream cheese in a large mixing bowl. Sift in the icing sugar and add the quality vanilla extract. Using an electric whisk (or stand mixer), beat the mixture until smooth and creamy, ensuring no lumps remain.
-
Pour in the cold double cream and continue to whisk on medium-high speed until the mixture thickens significantly and holds firm peaks. Alternatively, you can whisk the cream separately to medium peaks and then gently fold it into the cream cheese mixture (this method saves on washing up!). Taste and add a little more vanilla extract if desired.
-
Prepare your Mini Eggs by placing them in a sealed bag and crushing them with a rolling pin until you have a mix of fine crumbs and small chunks. Gently fold these crushed Mini Eggs into the cheesecake mixture until they are evenly distributed throughout. Feel free to be generous!
-
Assemble & Chill: Spoon the Mini Egg cheesecake filling onto the chilled biscuit base. Use the back of a spoon, spatula, or palette knife to spread it into a smooth, even layer. Cover the tin tightly with cling film and chill in the fridge for at least 4 hours (ideally overnight) or until completely set.
-
To Serve: Once the cheesecake is firmly set, carefully remove it from the springform tin (refer to the detailed instructions above for effortless removal) and place it onto a flat serving plate or cake stand. Gently spoon and swirl the optional whipped cream on top, then scatter with the remaining whole or crushed Mini Eggs. Finish by sprinkling with elegant dark chocolate curls, if desired. Cut into beautiful slices and serve immediately to your delighted guests!
Notes
To Store: This Mini Egg Cheesecake should be stored covered in the fridge and will remain fresh for up to 3 days.
To Freeze: You can easily freeze this cheesecake (without any decoration like whipped cream or fresh garnishes). Ensure it’s well wrapped in several layers of cling film and aluminum foil to prevent freezer burn. It can be kept in the freezer for up to 3 months. Defrost thoroughly in the fridge before decorating and serving.
Make Ahead: This is truly the perfect make-ahead dessert! The cheesecake actually benefits from an overnight chill, which ensures it sets perfectly and allows for cleaner, more defined slices. Prepare it the day before, then simply decorate just before you’re ready to serve. Once made, it will keep well for up to 3 days when stored covered in the fridge.
Mini Eggs Alternatives: While Mini Eggs are fantastic for Easter, this recipe is versatile! You can make it year-round by substituting with other chocolates like Maltesers, Galaxy Minstrels, M&M’s, or Smarties for a similar candy-coated crunch. Chopped chocolate bars also work wonderfully for a chocolate chip cheesecake. For an extra touch of luxury, consider Lindor milk chocolate mini eggs.
Whipped Cream Tips: When whipping cream for decoration, ensure it’s very cold. Whip only until it forms medium, soft peaks. Over-whipping can cause the cream to become grainy or even split, turning it into a butter-like consistency.