
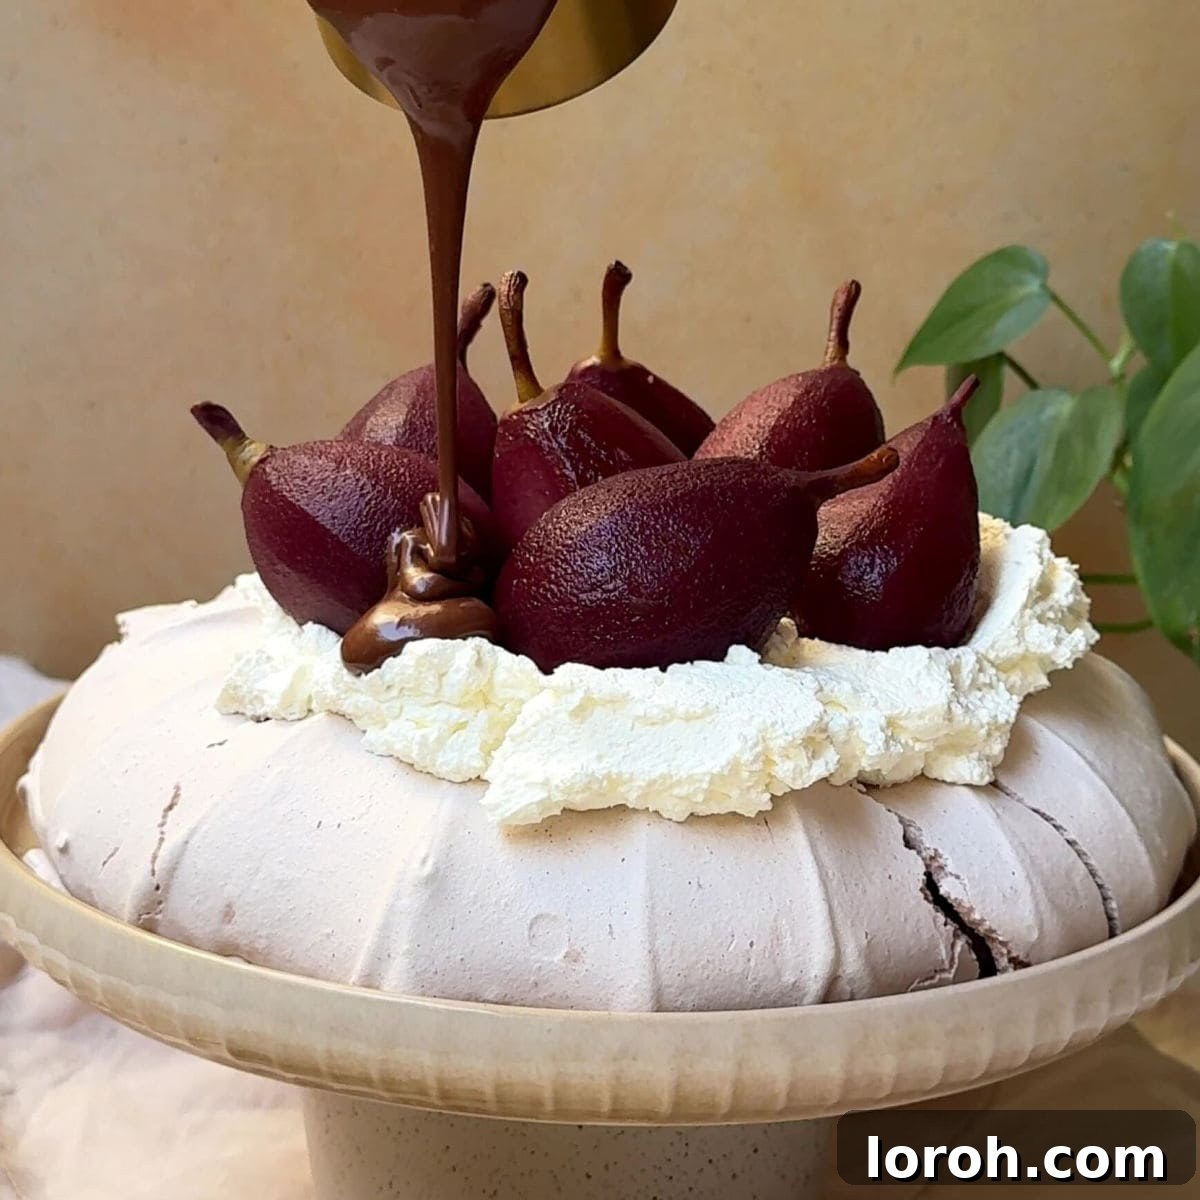
This Christmas Pavlova is the ultimate showstopper dessert, guaranteed to impress your holiday guests. Imagine a delicate, crisp meringue base, cloud-like and perfectly chewy, topped generously with softly whipped cream. Cascading over this dreamy canvas are exquisitely tender pears, gently poached in a spiced red wine, creating a gorgeous blush and intoxicating aroma. The final touch? A decadent, glossy chocolate sauce, artfully drizzled to complete this festive masterpiece. Despite its elegant appearance, you’ll be delighted to find how incredibly easy this dessert is to prepare. Many of its components can be made ahead of time, making it an ideal choice for effortless entertaining – simply assemble at the last minute for minimal fuss and maximum impact.
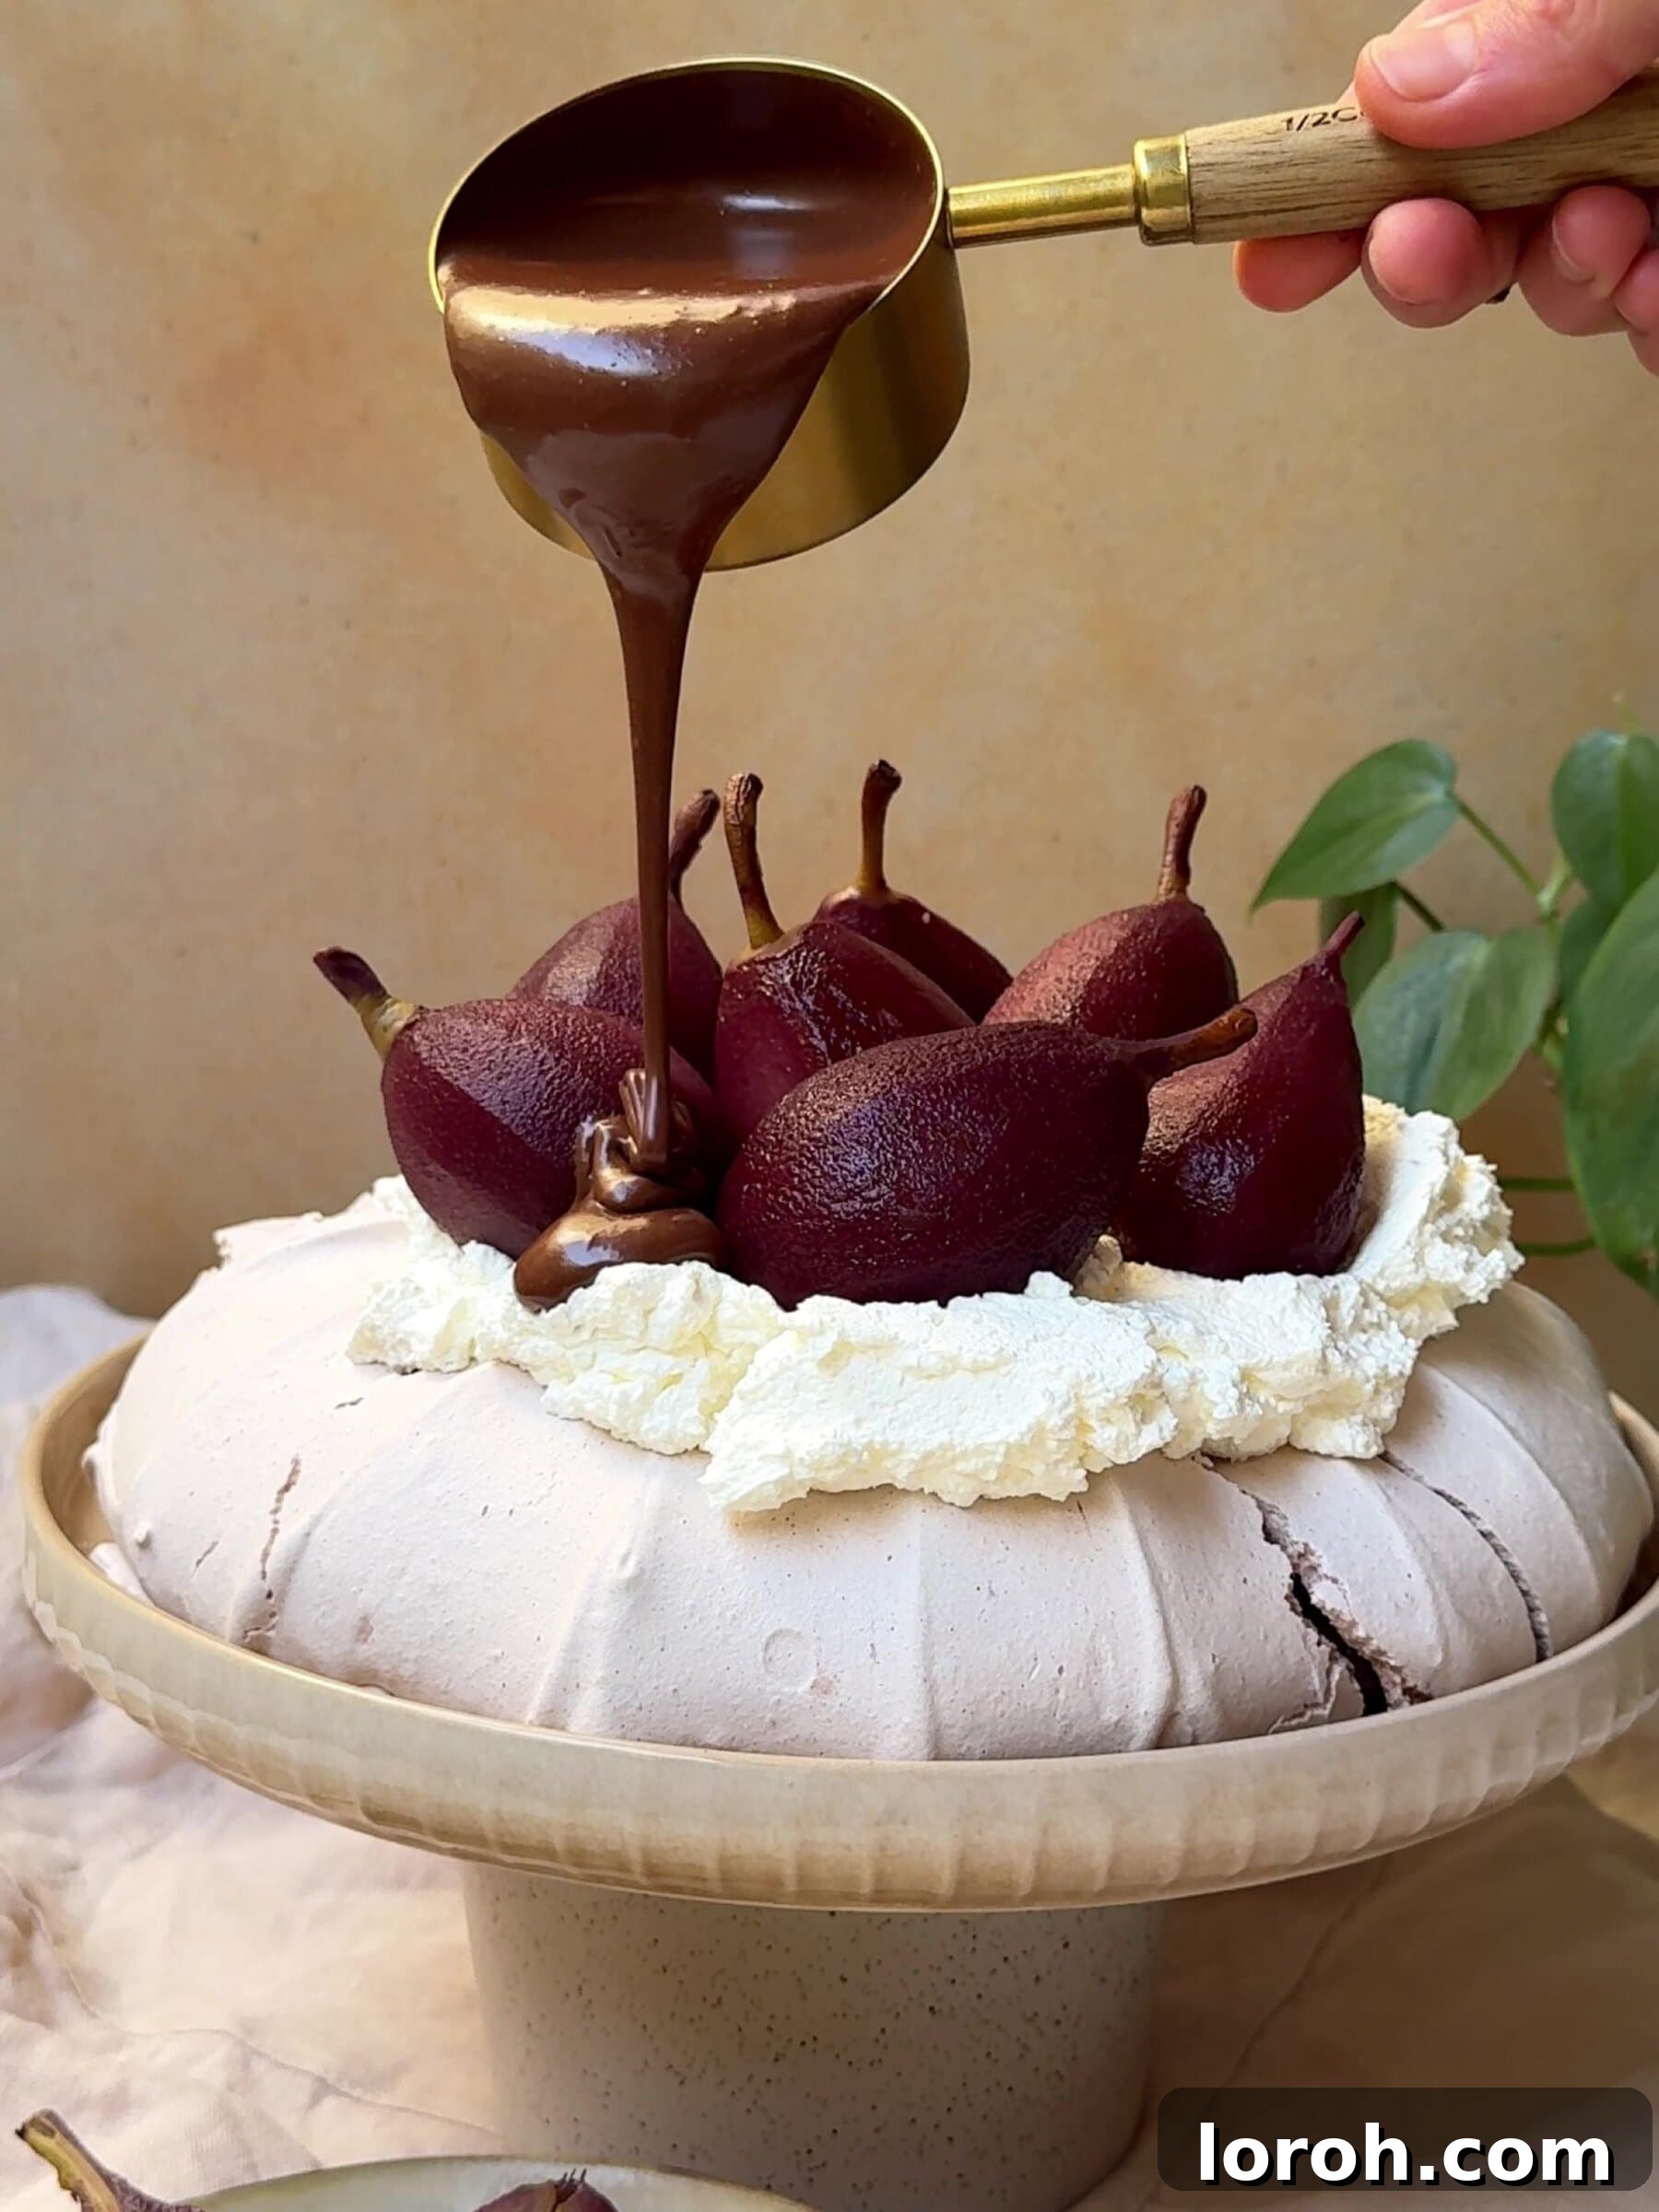
This recipe yields one magnificently large, round pavlova, perfect for sharing. However, feel free to get creative with its shape; I sometimes enjoy forming it into a festive wreath, reminiscent of my Christmas Wreath Pavlova. But there’s something truly special about piling this Pavlova high with cream and fruit, transforming it into a captivating centerpiece for any holiday table. The pairing of pears and chocolate is a timeless classic, and a personal favorite – my chocolate and pear cake is another testament to this delicious duo! The red wine poaching process imbues the pears with a stunning, deep crimson hue and a fragrant spice, making them look and feel incredibly festive. These luscious pears, even served on their own with a scoop of vanilla ice cream, make for a simple yet sophisticated pudding.
Many home bakers approach pavlovas with a hint of apprehension, often fearing cracks in the delicate meringue. Let me assure you, if your pavlova develops a crack or two, it is perfectly normal and absolutely fine! As you can see, even mine shows a slight crack – it’s part of the rustic charm and natural characteristic of a homemade pavlova, nothing to worry about. Often, these minor imperfections are beautifully concealed once you add the generous layers of whipped cream and succulent poached pears. The meringue will still hold its structure beautifully. While some cracking is inevitable, I’ve included valuable tips in our “Cooking Tips” section to help minimize them if you’re a true perfectionist. Personally, I believe a slight crack only enhances the homemade appeal of this delightful dessert.
Table of Contents
- Why You’ll Adore This Christmas Pavlova Recipe
- Essential Ingredients for Your Festive Pavlova
- Creative Substitutions & Flavor Variations
- Step-by-Step Guide: Crafting Your Poached Pear Christmas Pavlova
- Expert Cooking Tips for a Perfect Pavlova
- Frequently Asked Questions About Pavlova
- Make Ahead Instructions for Stress-Free Entertaining
- More Festive Recipes You Might Enjoy
- Full Christmas Pavlova Recipe Card
Why You’ll Adore This Christmas Pavlova Recipe
This exquisite dessert isn’t just a treat for the taste buds; it’s a feast for the eyes and a marvel of convenience, making it an absolute must-have for your holiday season:
- A Breathtaking Centerpiece: With its towering meringue, vibrant ruby pears, and luxurious chocolate drizzle, this pavlova looks incredibly impressive. It effortlessly elevates any celebration, serving as a stunning centerpiece that sparks conversation and delight among your guests.
- Effortless Entertaining: One of the greatest advantages of this recipe is the ability to prepare its components in advance. The meringue can be baked, the pears poached, and the chocolate sauce made ahead of time, leaving you free to simply assemble and decorate just before serving. This flexibility means less stress and more enjoyment of your festive gatherings.
- An Unforgettable Flavor Combination: The classic pairing of tender, sweet pears and rich, dark chocolate is elevated to new heights with the addition of aromatic red wine and spices. The subtle tartness of the wine-poached pears beautifully balances the sweetness of the meringue and chocolate, creating a symphony of flavors that is truly addictive.
- Naturally Gluten-Free: Pavlova, by nature, is a gluten-free dessert (always double-check your individual ingredient labels for certification). This makes it a fantastic and inclusive option for entertaining, ensuring that everyone at your table can indulge in this heavenly treat without worry.
- Versatile and Customizable: Whether you prefer a sweeter or richer chocolate, different fruits, or a hint of nuts, this recipe offers numerous ways to personalize it to your taste. Its adaptability ensures it can become a cherished part of your family’s holiday traditions.
Essential Ingredients for Your Festive Pavlova
Crafting this elegant Christmas Pavlova requires a few key ingredients, each playing a vital role in achieving its distinct texture and flavor profile. Below, we delve into each component, offering tips for selection and preparation.
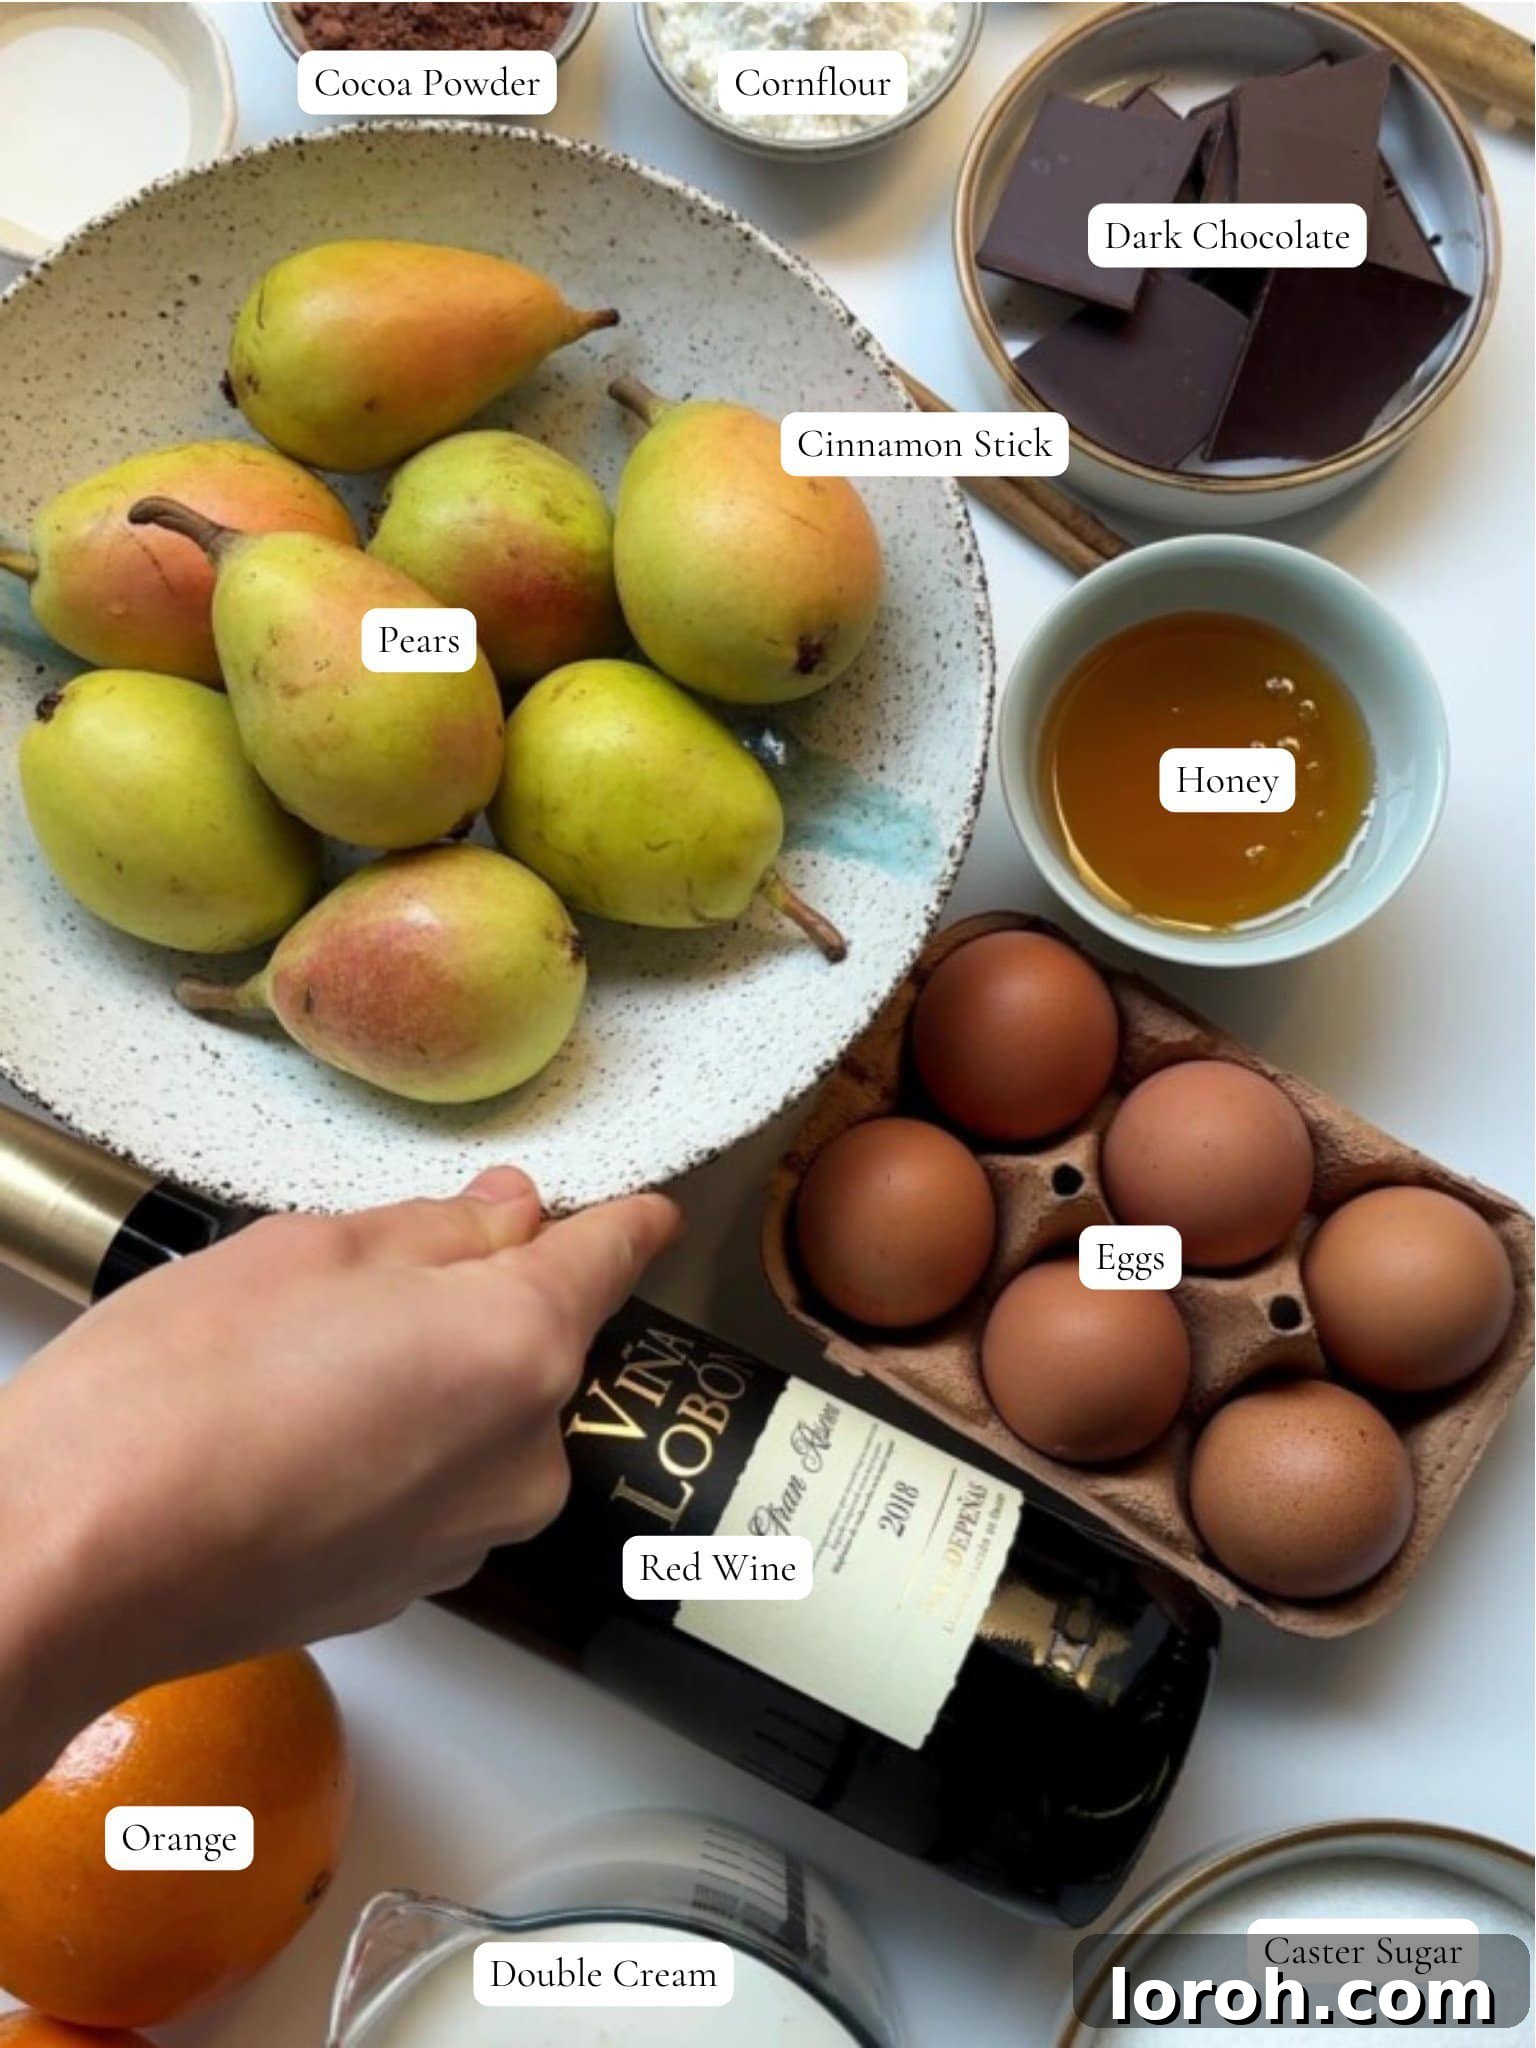
- Pears: The star of our topping! Opt for ripe but firm pears. They should yield slightly to a gentle squeeze but not be mushy. Small pears are ideal as they look daintier and cook more evenly. If you can only find larger pears, you can use a vegetable peeler to gently shave them down a bit, and trim their bottoms for stability, but always leave the elegant stalks intact for presentation. Any offcuts can be enjoyed as a snack or repurposed into another delicious dessert, like my apple and blackberry crumble.
- Red Wine: This is crucial for the aromatic poaching liquid and for giving the pears their beautiful, festive blush. A medium-bodied, fruity red wine such as Pinot Noir is highly recommended. Its subtle notes will complement the pears and spices without overpowering them.
- Cocoa Powder: Infused into the meringue, cocoa powder provides a delicate chocolate flavor and a gorgeous, light golden-brown hue, making our pavlova even more appealing. Ensure you use unsweetened cocoa powder for the best results.
- White Wine Vinegar: A secret weapon in pavlova making! A touch of white wine vinegar helps to stabilize the egg whites, ensuring your meringue holds its voluminous, crisp shape without collapsing. It contributes to that desirable chewy center.
- Cornflour (Cornstarch): Another essential stabilizer. Cornflour plays a critical role in preventing the egg whites from separating and helps create that signature marshmallow-soft interior, preventing any liquid from seeping out.
- Dark Chocolate: For the indulgent chocolate sauce, I highly recommend using good quality dark chocolate. The slight bitterness of dark chocolate (ideally 70% cocoa solids) perfectly balances the sweetness of the meringue and poached pears, creating a sophisticated flavor profile. Choose the best quality you can find for the most luxurious sauce.
- Caster Sugar: Fine caster sugar dissolves easily into the egg whites, creating a smooth, stable meringue.
- Honey: Adds a subtle floral sweetness to the poaching liquid.
- Cinnamon Stick & Cardamom: These spices infuse the pears with warm, festive aromas, enhancing the overall holiday feel of the dessert.
- Oranges: Used for both juice (to prevent pears from browning) and slices in the poaching liquid, adding bright citrus notes.
- Double Cream: For the light and airy whipped topping, ensuring a rich texture that perfectly contrasts the crisp meringue.
Creative Substitutions & Flavor Variations
This Christmas Pavlova recipe is wonderfully versatile, allowing you to tailor it to your preferences or what you have on hand. Here are some delicious ideas:
- Honey Alternatives: While honey offers a delightful floral note to the poaching liquid, you can easily substitute it with maple syrup for a similar depth of sweetness, or even a simple syrup made from sugar and water.
- Sugar Choices: For a subtle caramel-like undertone in your meringue, consider using golden caster sugar. This will give your pavlova a slightly darker hue than regular caster sugar, but since we’re adding cocoa powder, the color variation will be minimal and still beautiful.
- Elevate with Nuts: A light sprinkling of toasted nuts adds a wonderful crunch and depth of flavor. Hazelnuts and almonds are classic choices, but for an extra festive touch, I particularly love pistachios – their vibrant green color is perfect for the holidays! Remember to toast them lightly before chopping to bring out their full aroma. Alternatively, crushed amaretti biscuits offer a delightful almondy crispness.
- Chocolate Sauce Customization: If you prefer a milder chocolate flavor for the sauce, milk chocolate can be used. For those who enjoy a sweeter profile but still desire some richness, opt for a dark chocolate with a lower cocoa solid percentage, such as a 54% bar, which offers a lovely balance between sweetness and bitterness.
- Red Wine Alternatives for Pears: If you prefer to omit red wine, or simply don’t have it, there are excellent alternatives. You can use an alcohol-free red wine, or various fruit juices such as orange, cranberry, or even apple juice for a different fruity twist. Another option is to poach the pears in a simple sugar syrup: substitute the red wine with 450ml water, then add the honey and caster sugar as instructed. Adjust the sugar content to your taste and the natural sweetness of your pears, adding gradually and tasting as you go.
- Reduced Red Wine Syrup: Beyond the chocolate sauce, consider transforming the poaching liquid into a rich, flavorful syrup. After removing the pears, don’t discard the liquid! Simply return the saucepan to medium-high heat and allow the liquid to gently bubble and reduce. Stir occasionally until it thickens into a glossy, syrupy consistency. This can take anywhere from 15 to 30 minutes, depending on your pan and heat, so patience is key. This syrup beautifully complements the poached pears and offers a wonderful alternative to chocolate.
- Serving Pears Without Meringue: The red wine poached pears are so delicious, they can easily stand alone as a sophisticated dessert. Serve them with whipped cream and either the chocolate sauce or the reduced red wine syrup mentioned above. For this presentation, you might choose larger, more elegantly shaped pears. You can carefully slice a small portion off the bottom to help them stand tall. Coring the pears is an optional, fancier step that can be a bit fiddly but is perfect for a dinner party. For casual home serving, keeping the stalks in is perfectly charming.
- Vegan Option: While I haven’t personally tested it, many successful vegan pavlova recipes use aquafaba (chickpea brine) as an egg white substitute. Pair this with a good quality vegan whipped cream (Oatly’s Whippable Creamy Oat is a popular choice), ensure your dark chocolate is vegan-friendly, and swap honey for maple syrup to create a delightful plant-based version.
Step-by-Step Guide: Crafting Your Poached Pear Christmas Pavlova
Follow this detailed guide for a flawless festive dessert. The full recipe card with exact measurements is at the end of this post.
Part 1: Preparing the Aromatic Poached Pears
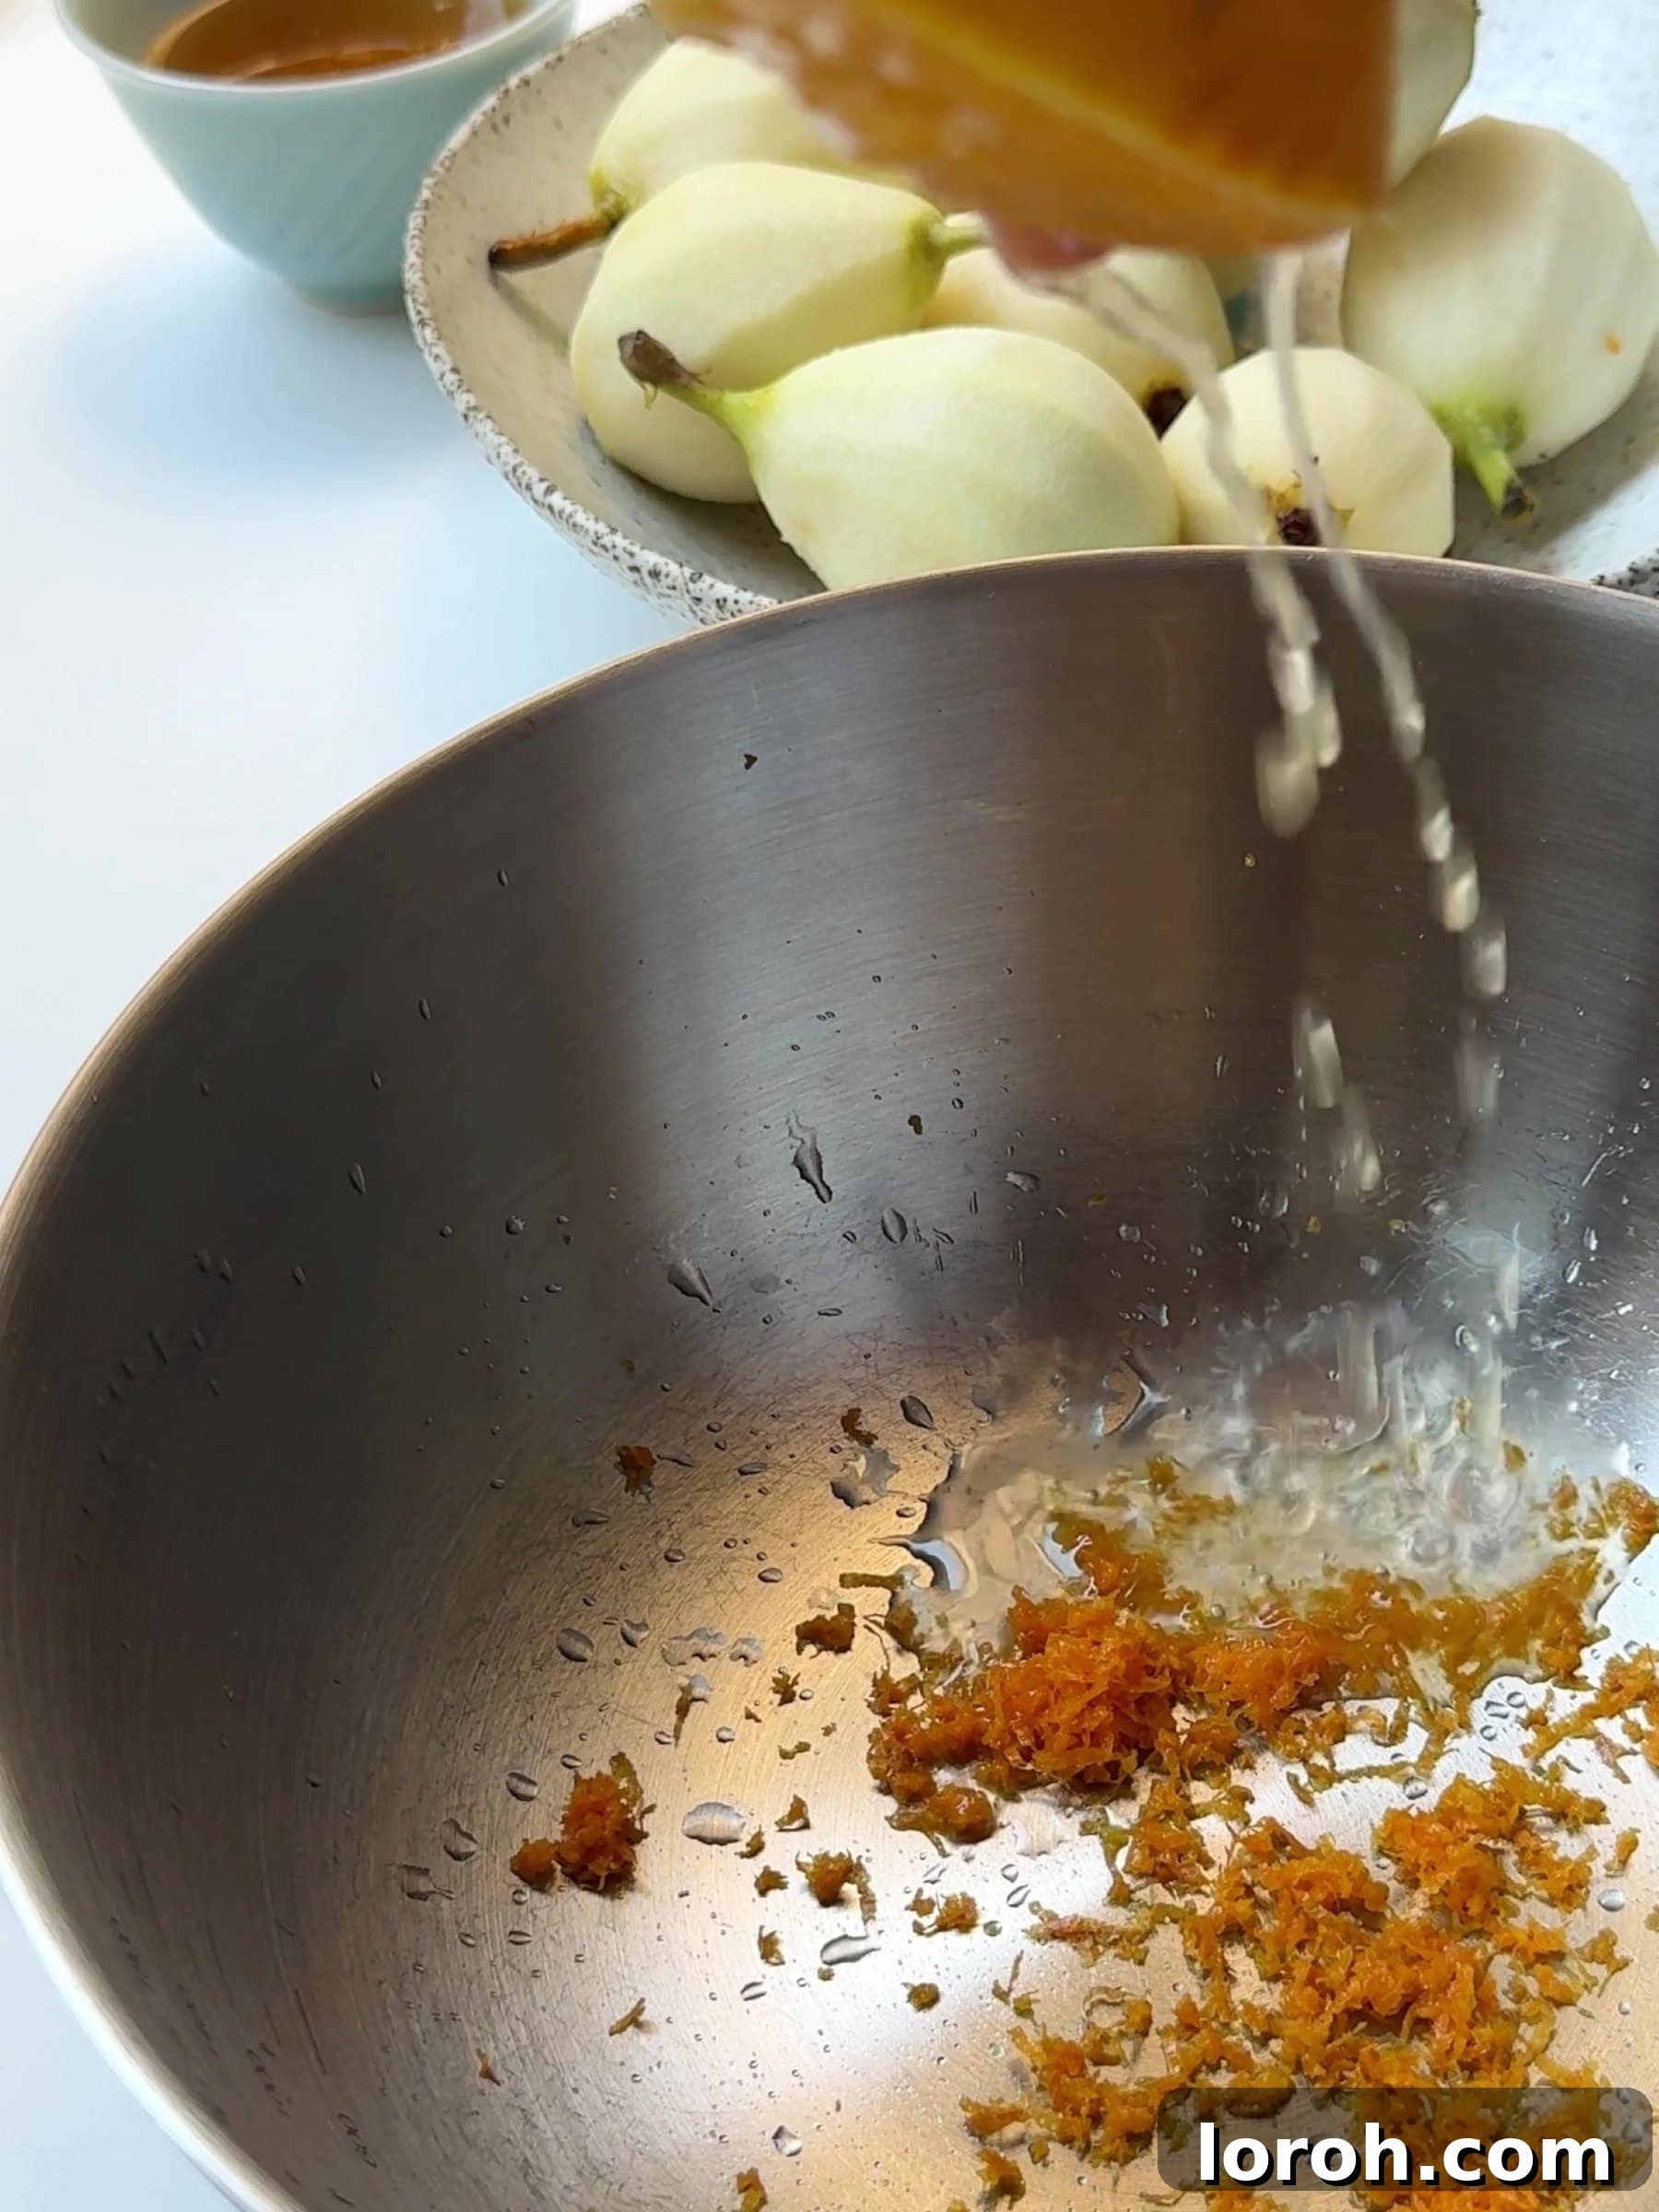
ONE: Zest and Juice an Orange. Carefully zest one of the large oranges, being sure to avoid the bitter white pith. Then, juice the zested orange and pour the fresh juice into a large mixing bowl. Take the remaining orange and slice it into ¼-inch rounds, setting these aside for the poaching liquid.
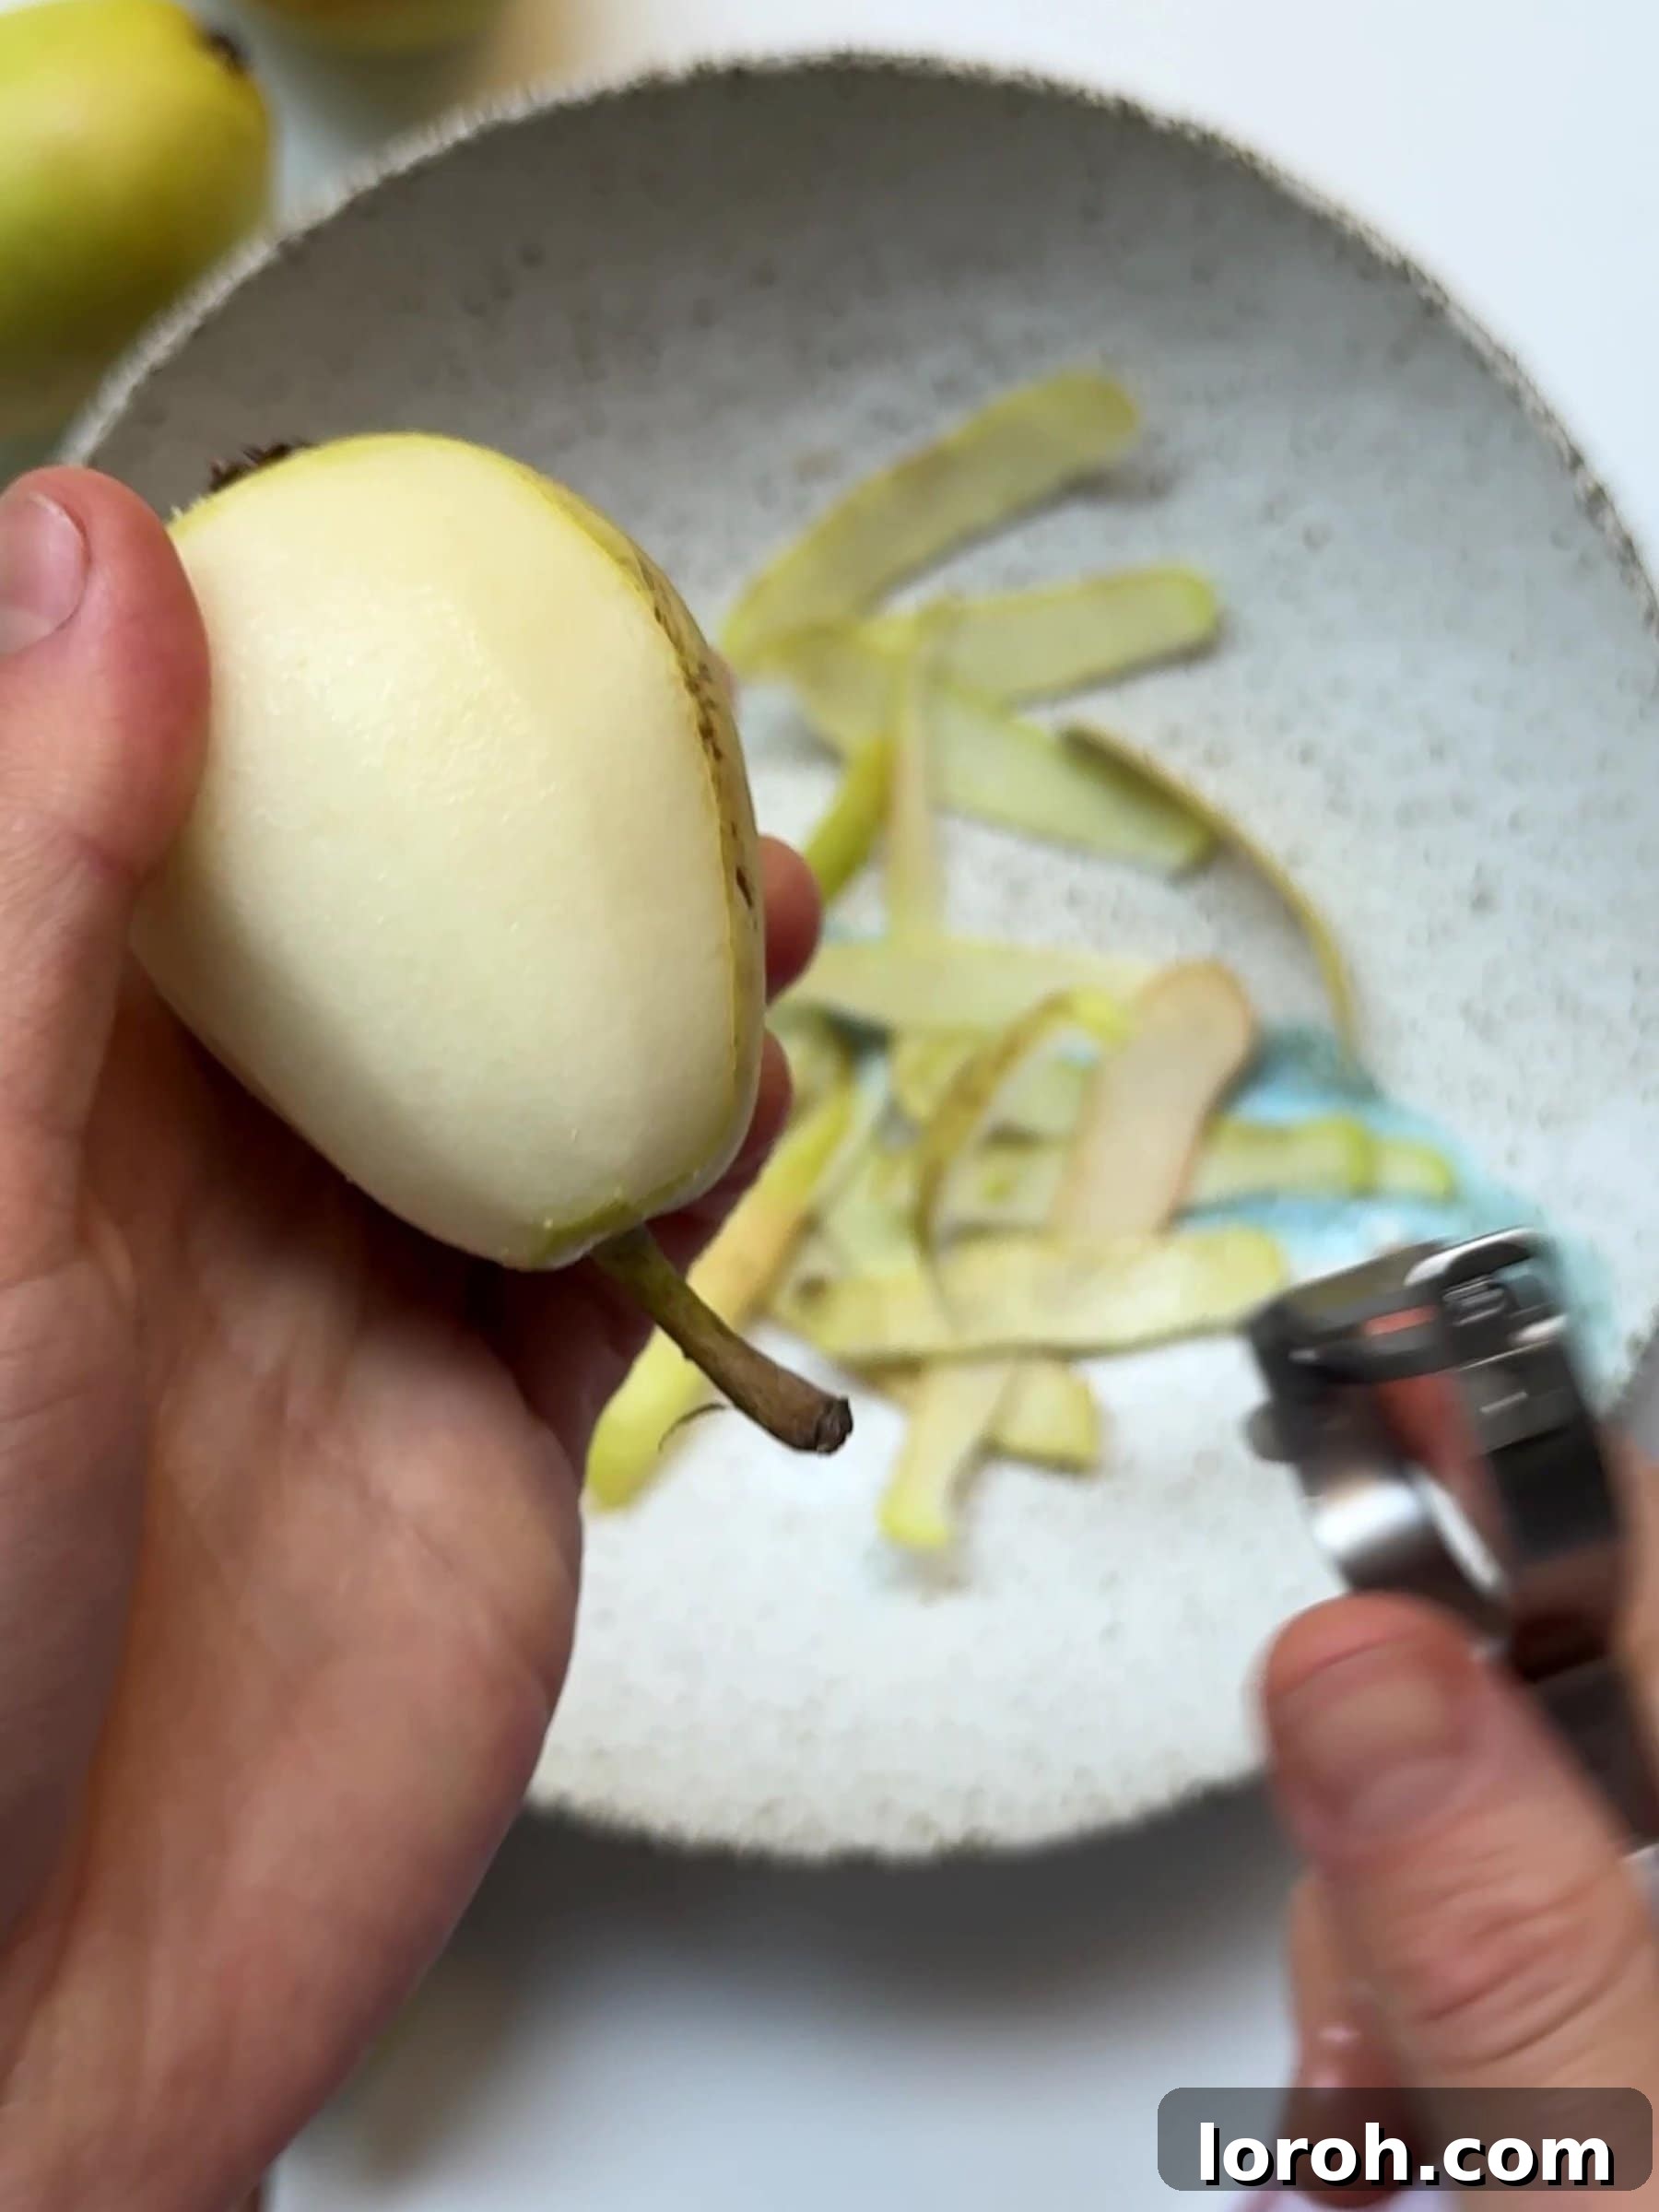
TWO: Prepare the Pears. Using a sharp vegetable peeler, carefully peel all six pears. It’s important to leave them whole, preserving their elegant shape, and keeping the stalks intact for a beautiful presentation. Work gently to maintain their integrity.
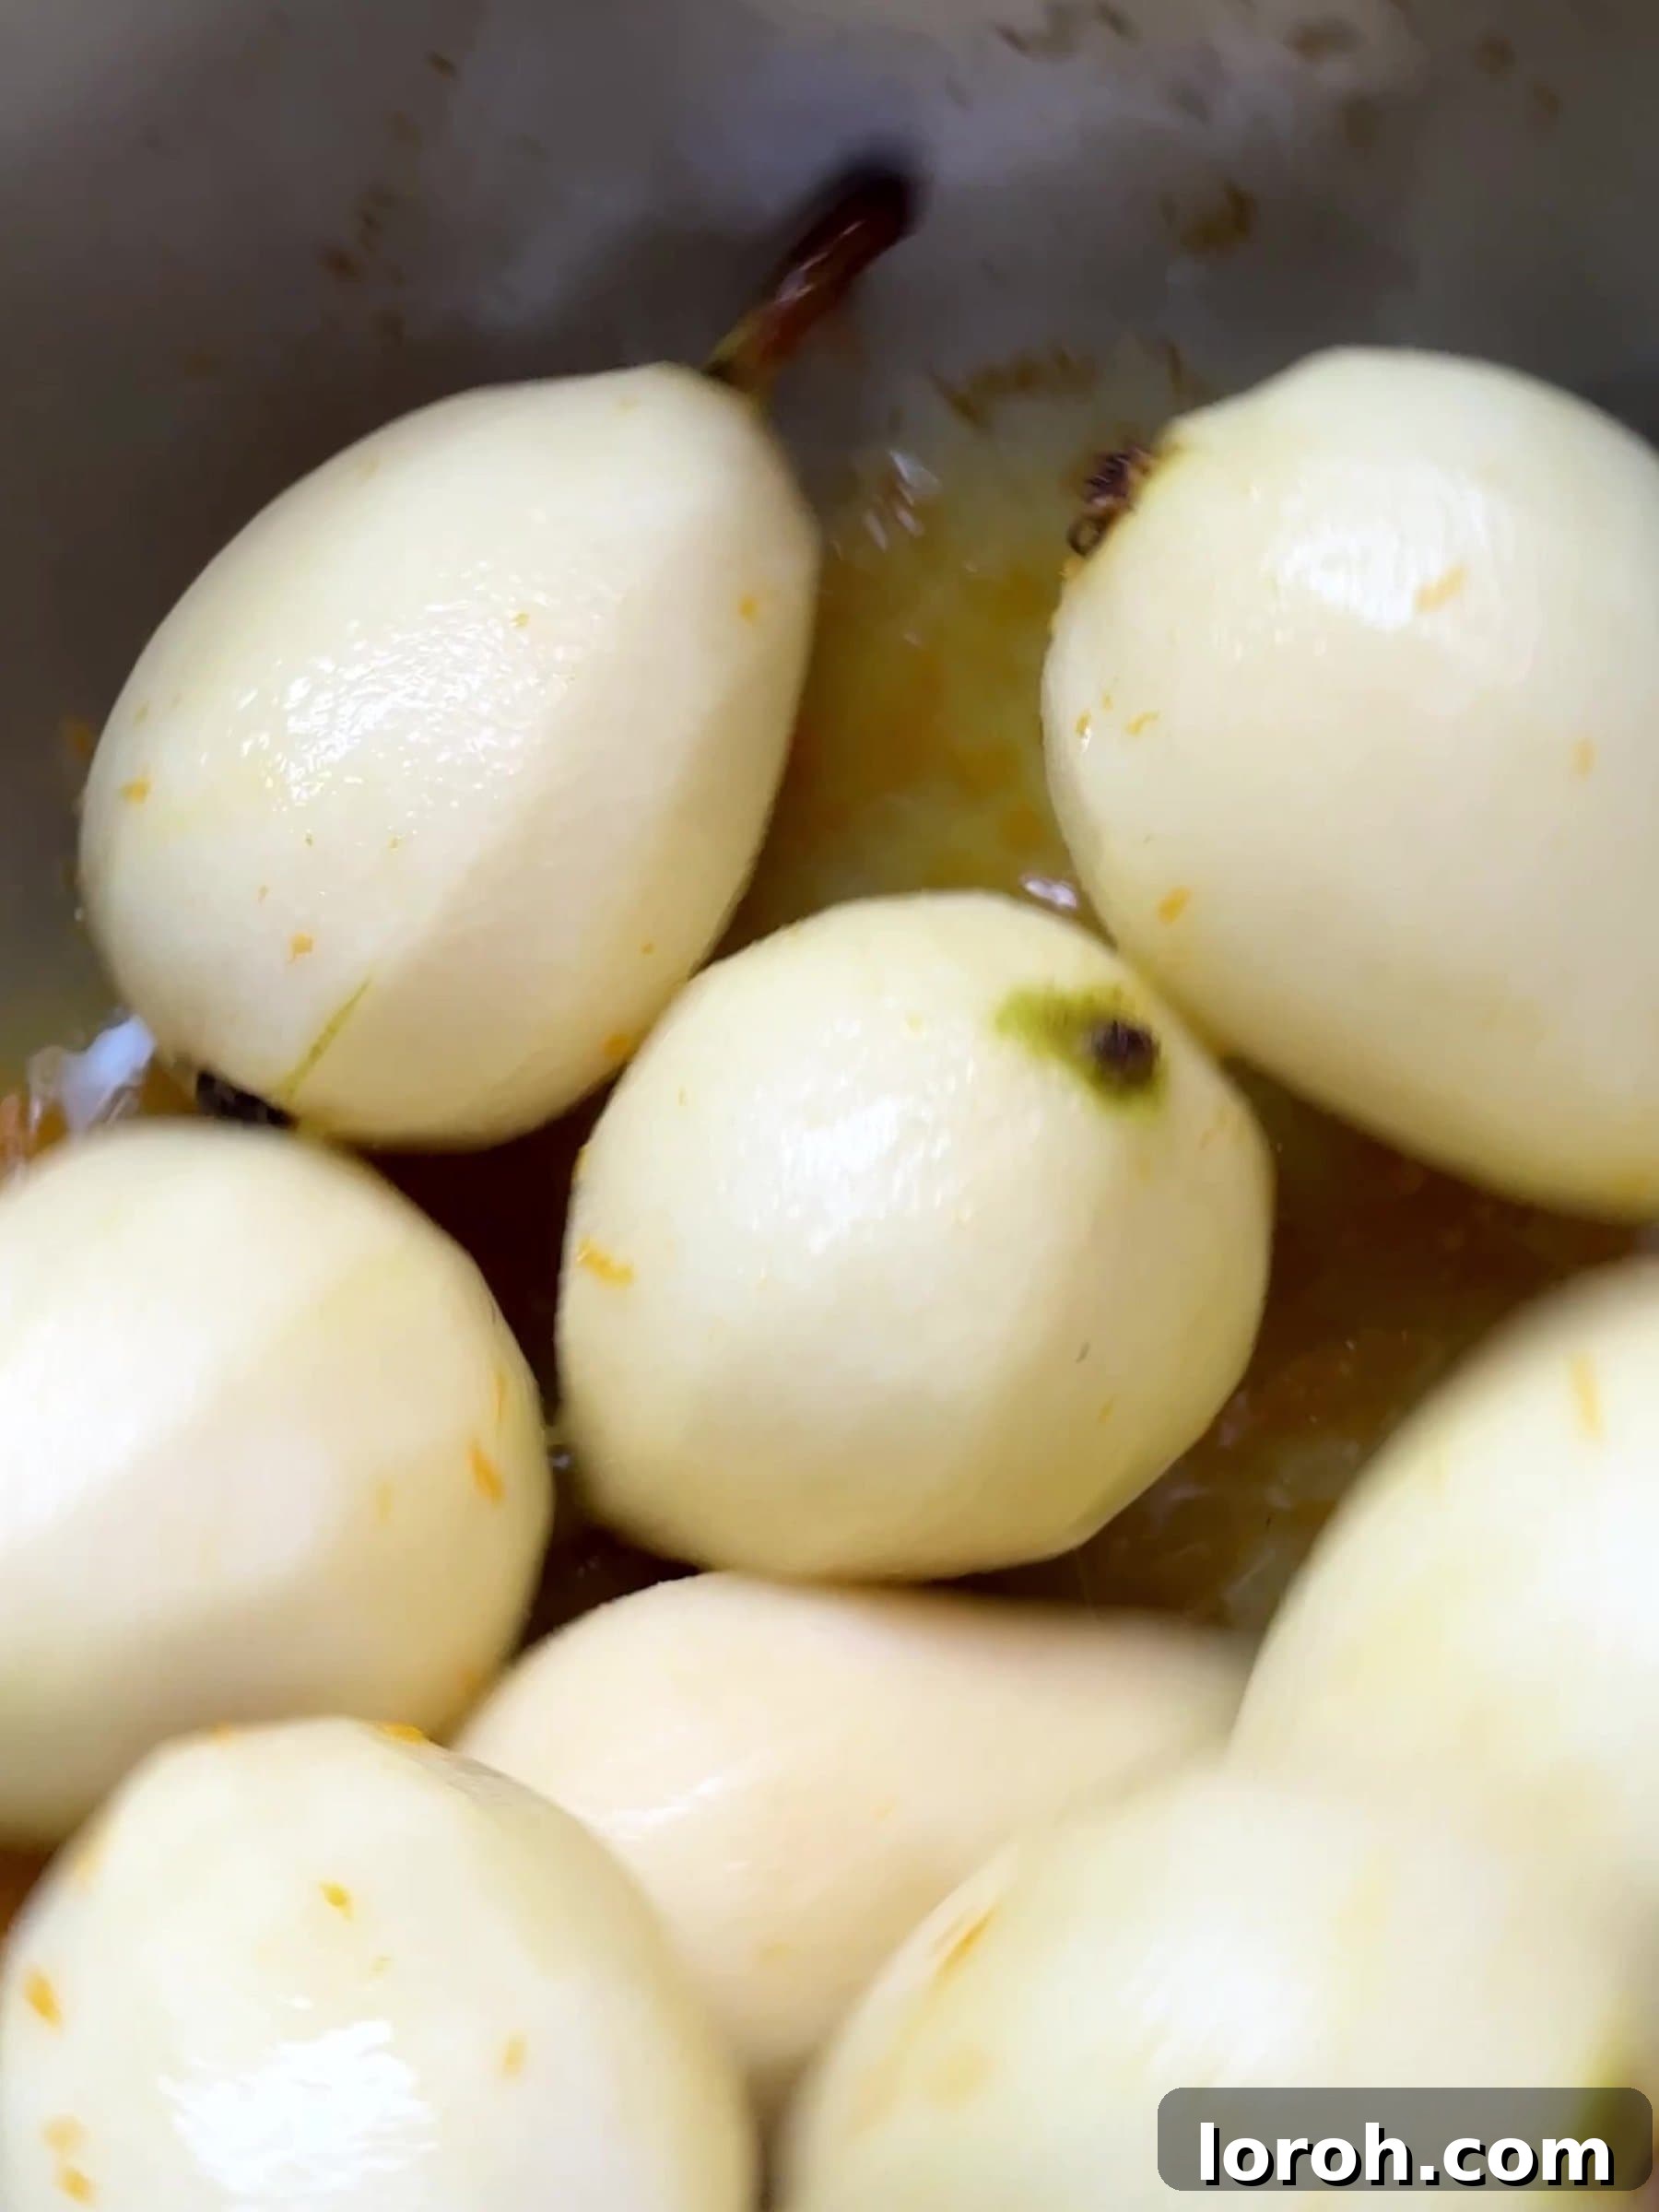
THREE: Prevent Browning. Immediately after peeling, add the pears to the bowl containing the orange juice. Gently toss them to ensure they are thoroughly coated. The citrus juice will act as a natural barrier, preventing the pears from oxidizing and turning brown too quickly, thus maintaining their pristine appearance.
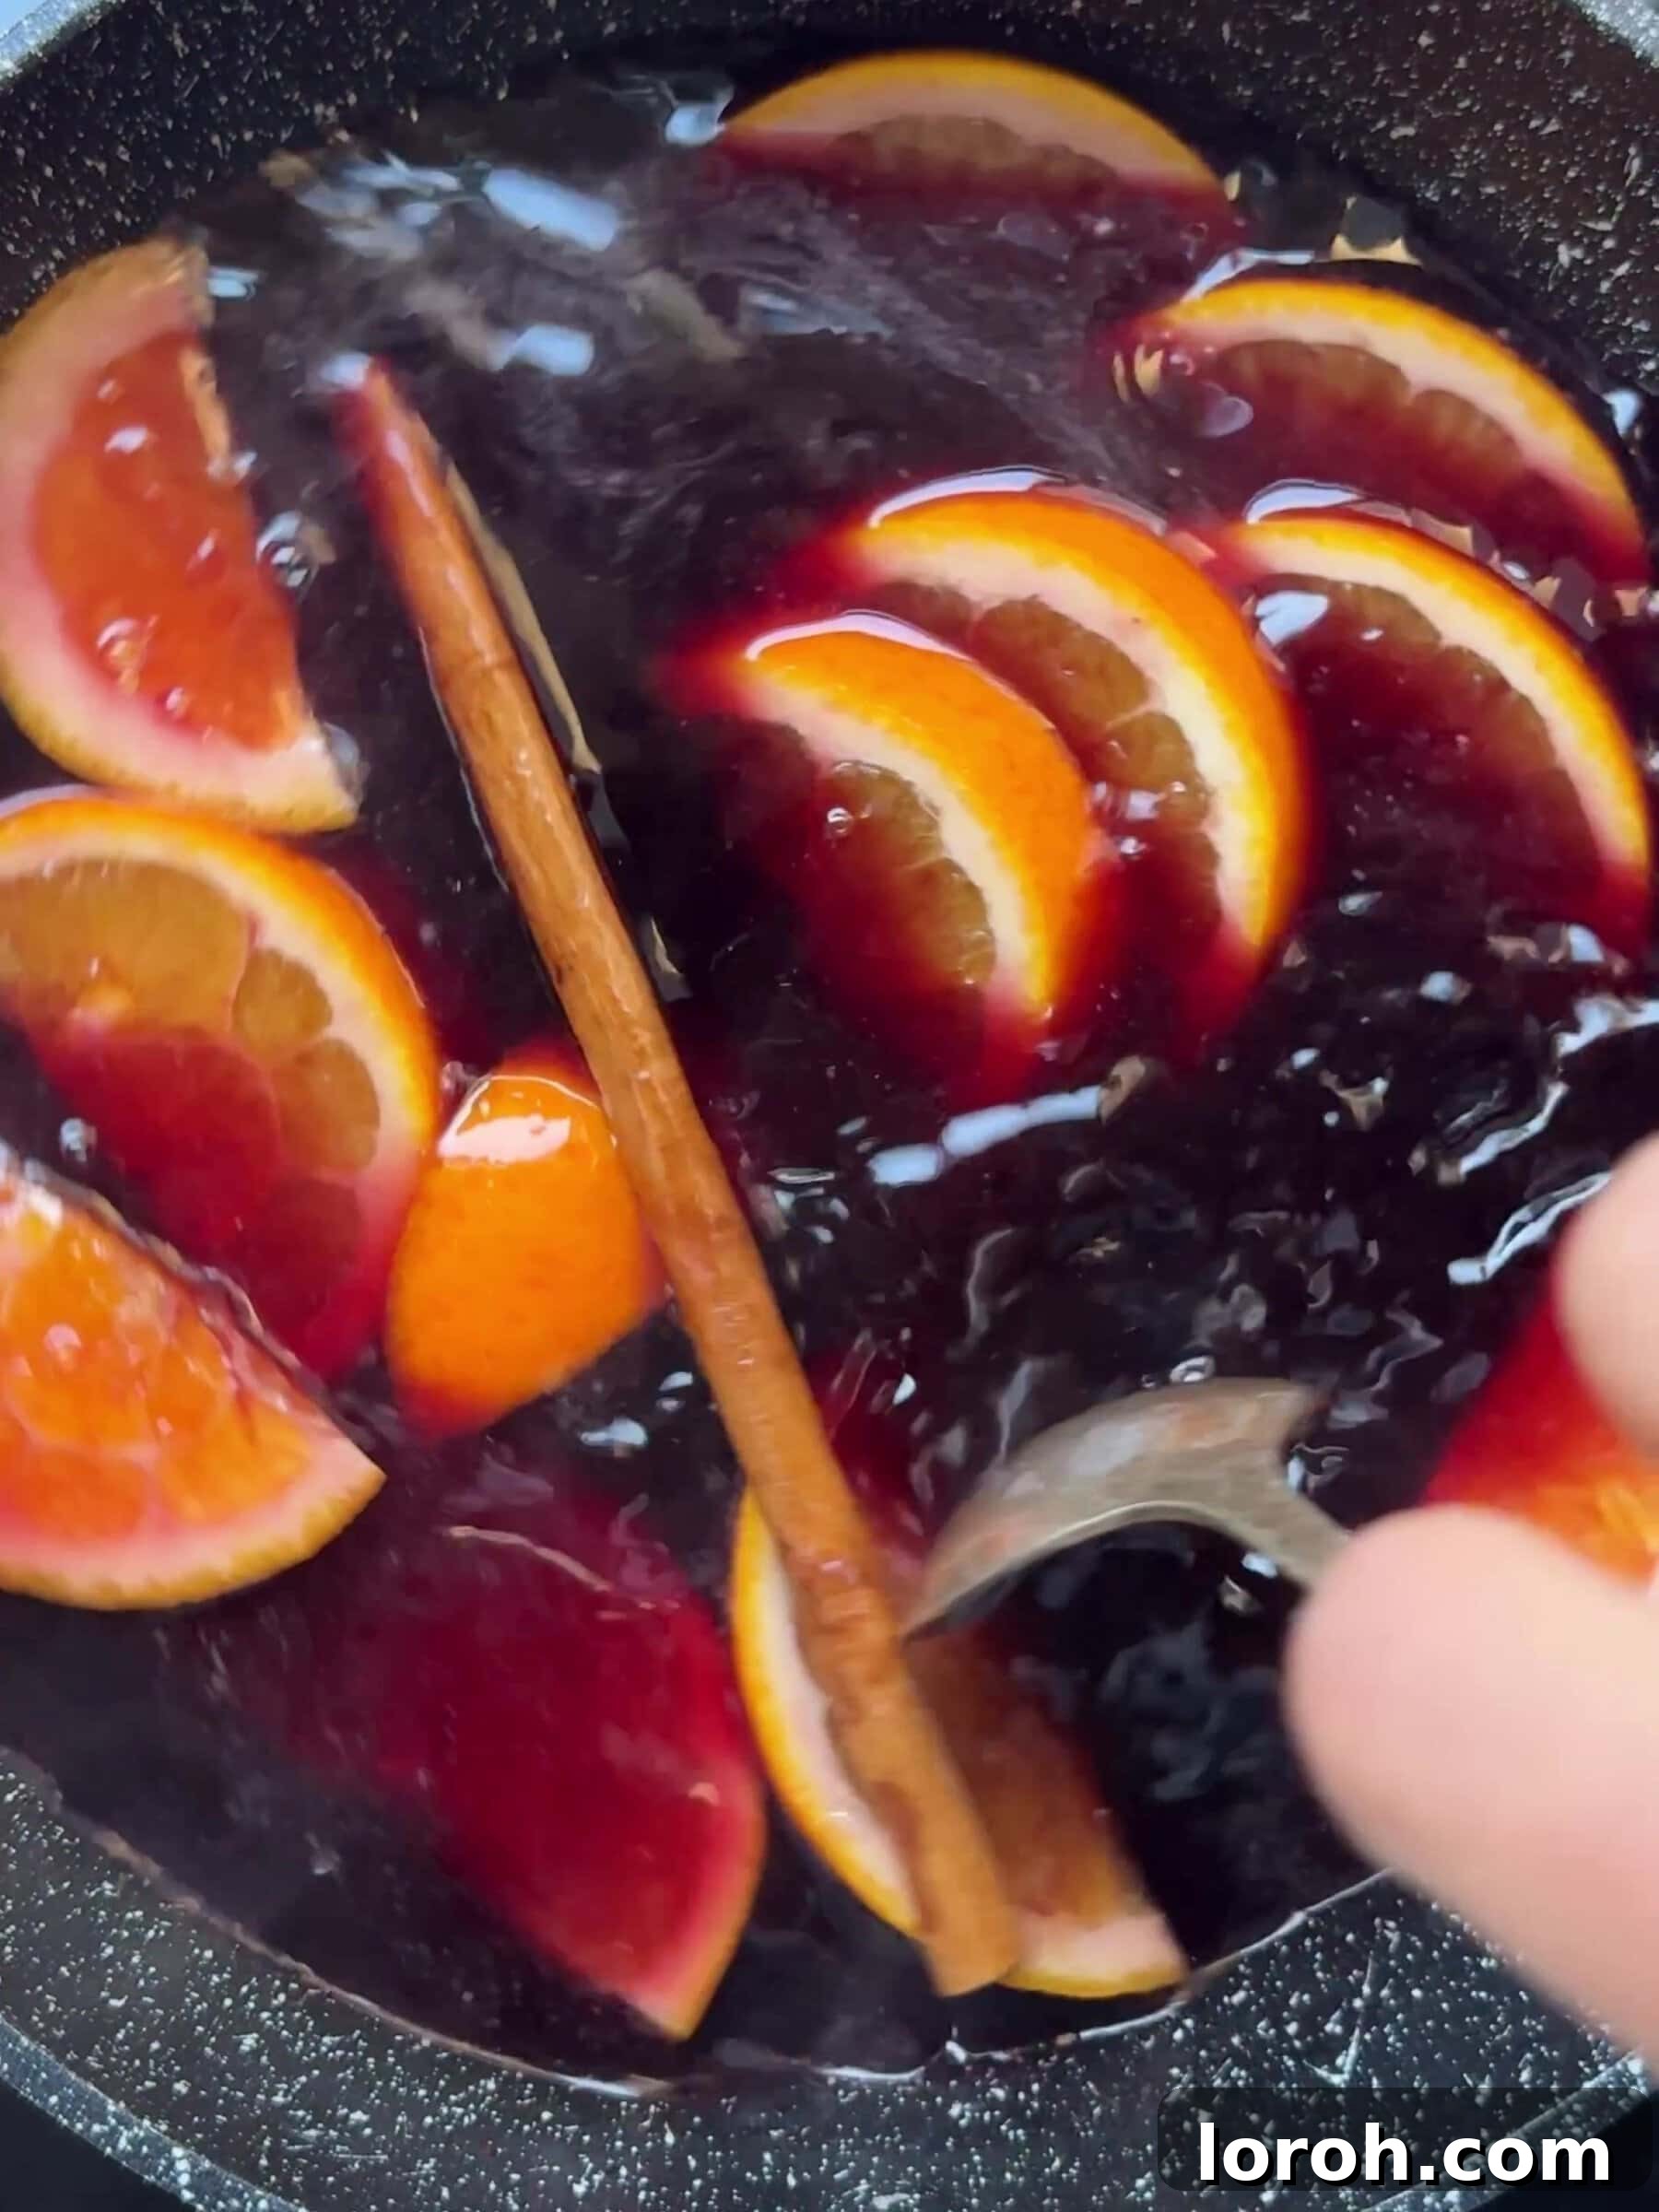
FOUR: Prepare the Poaching Liquid. In a large saucepan, combine the reserved orange slices, red wine, runny honey, caster sugar, a whole cinnamon stick, and ground cardamom. These ingredients will create a fragrant and flavorful bath for the pears.
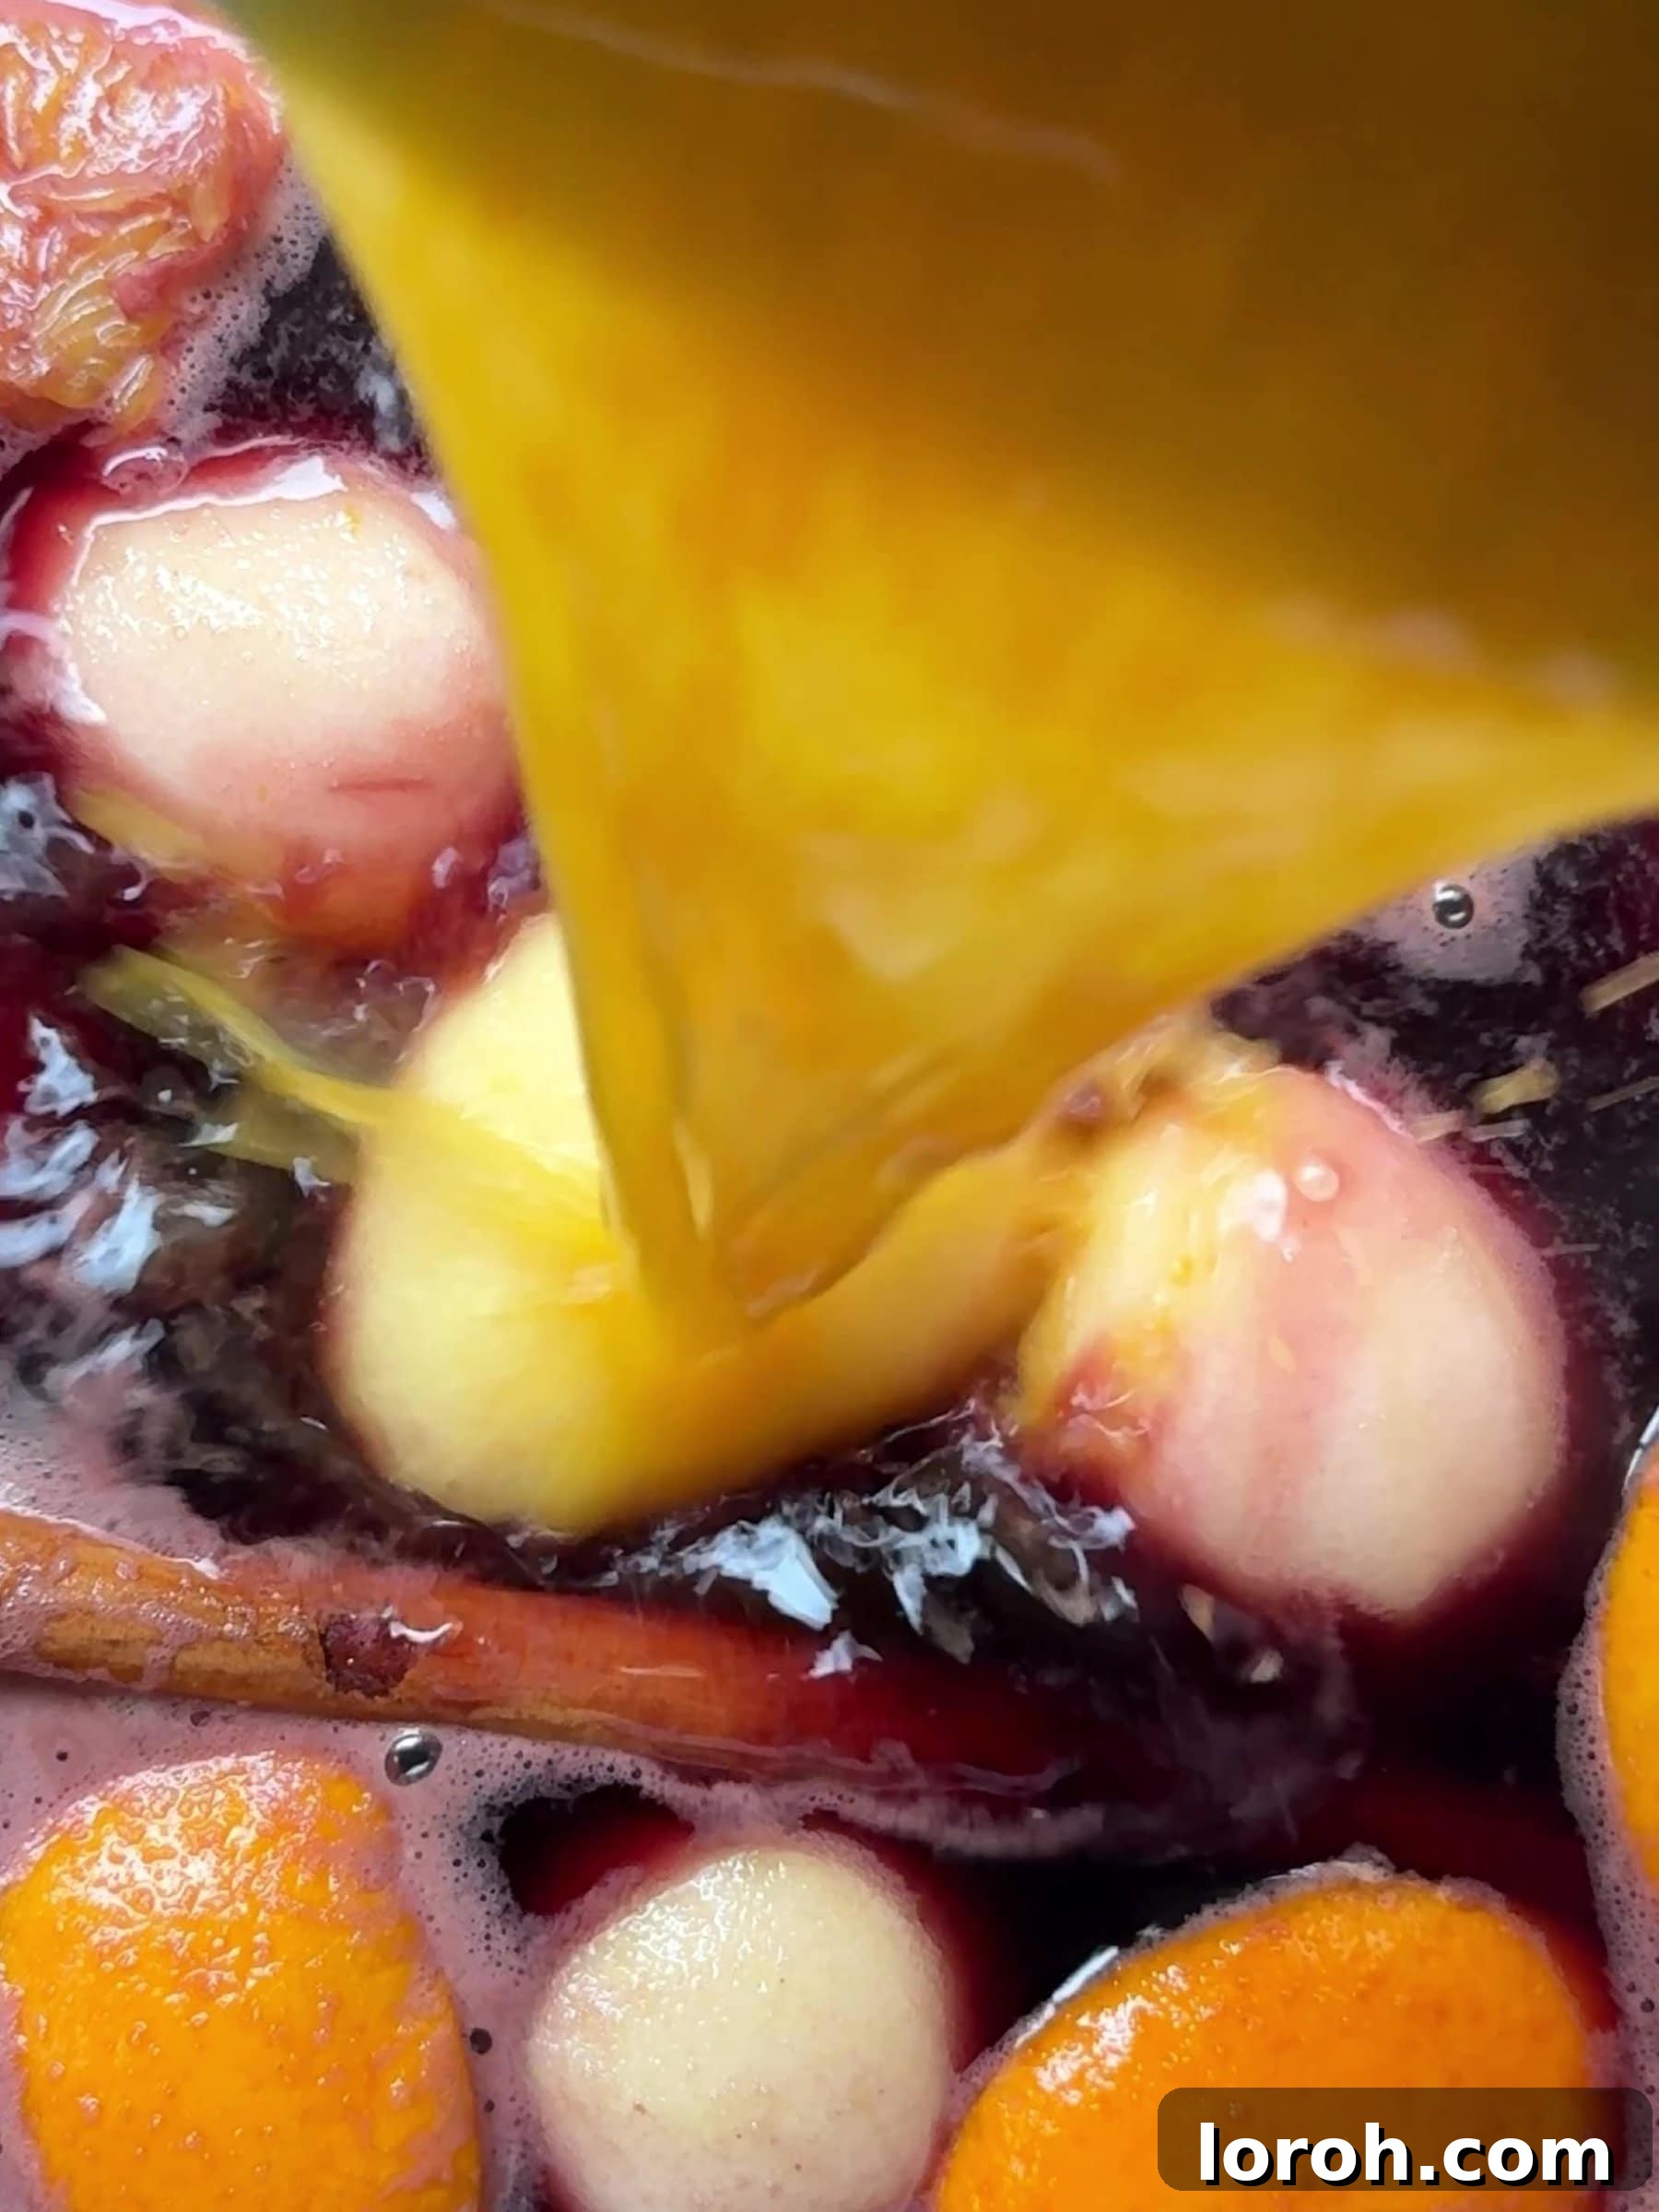
FIVE: Poach the Pears to Perfection. Place the saucepan over a medium-high heat and bring the liquid to a rolling boil. Once boiling, reduce the heat to a gentle simmer. Carefully add the prepared pears and the remaining orange juice from the bowl into the poaching liquid. Cover the saucepan and let the pears simmer gently for 20-30 minutes. During this time, occasionally rotate the pears using a wooden spoon to ensure even cooking and a beautiful uniform blush. The pears are perfectly cooked when a skewer inserted into their thickest part meets no resistance and feels butter-soft.
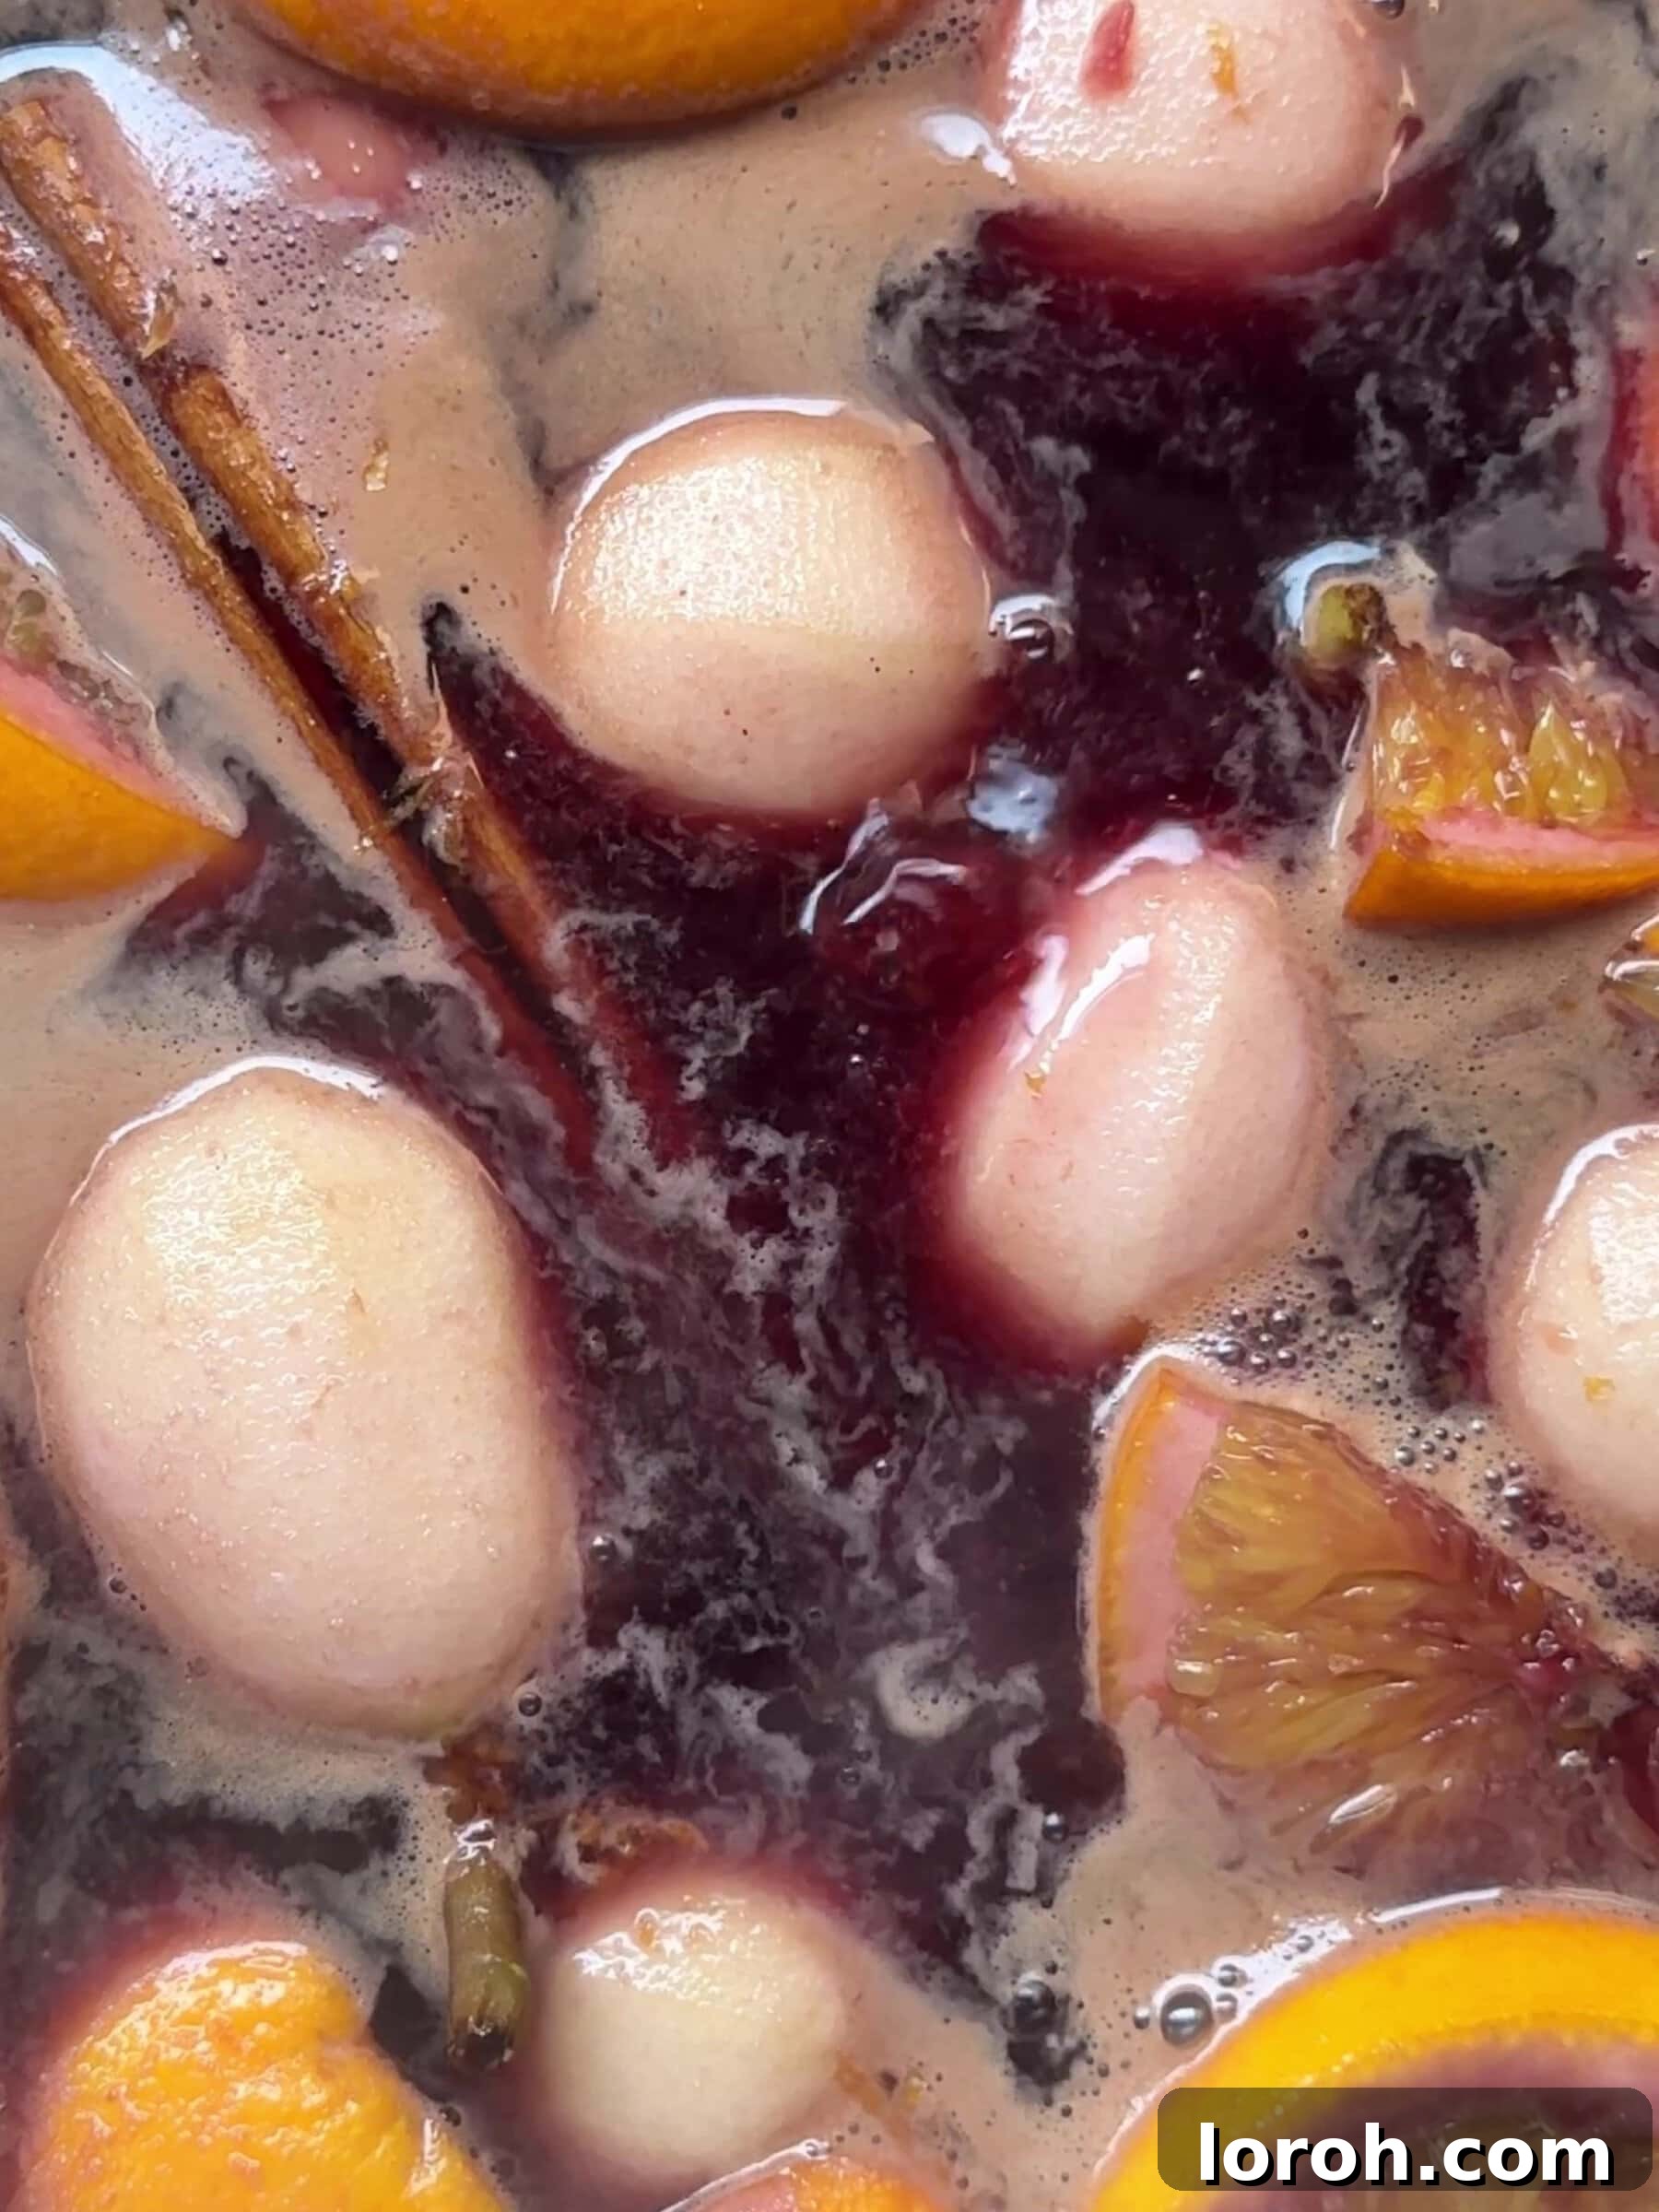
SIX: Cool the Pears. Once tender, carefully transfer the poached pears from the saucepan back into the same bowl where they were initially tossed with orange juice. Allow them to cool completely in the flavorful liquid. This slow cooling process allows them to absorb even more of the delicious red wine and spice flavors.
Part 2: Crafting the Perfect Meringue Base
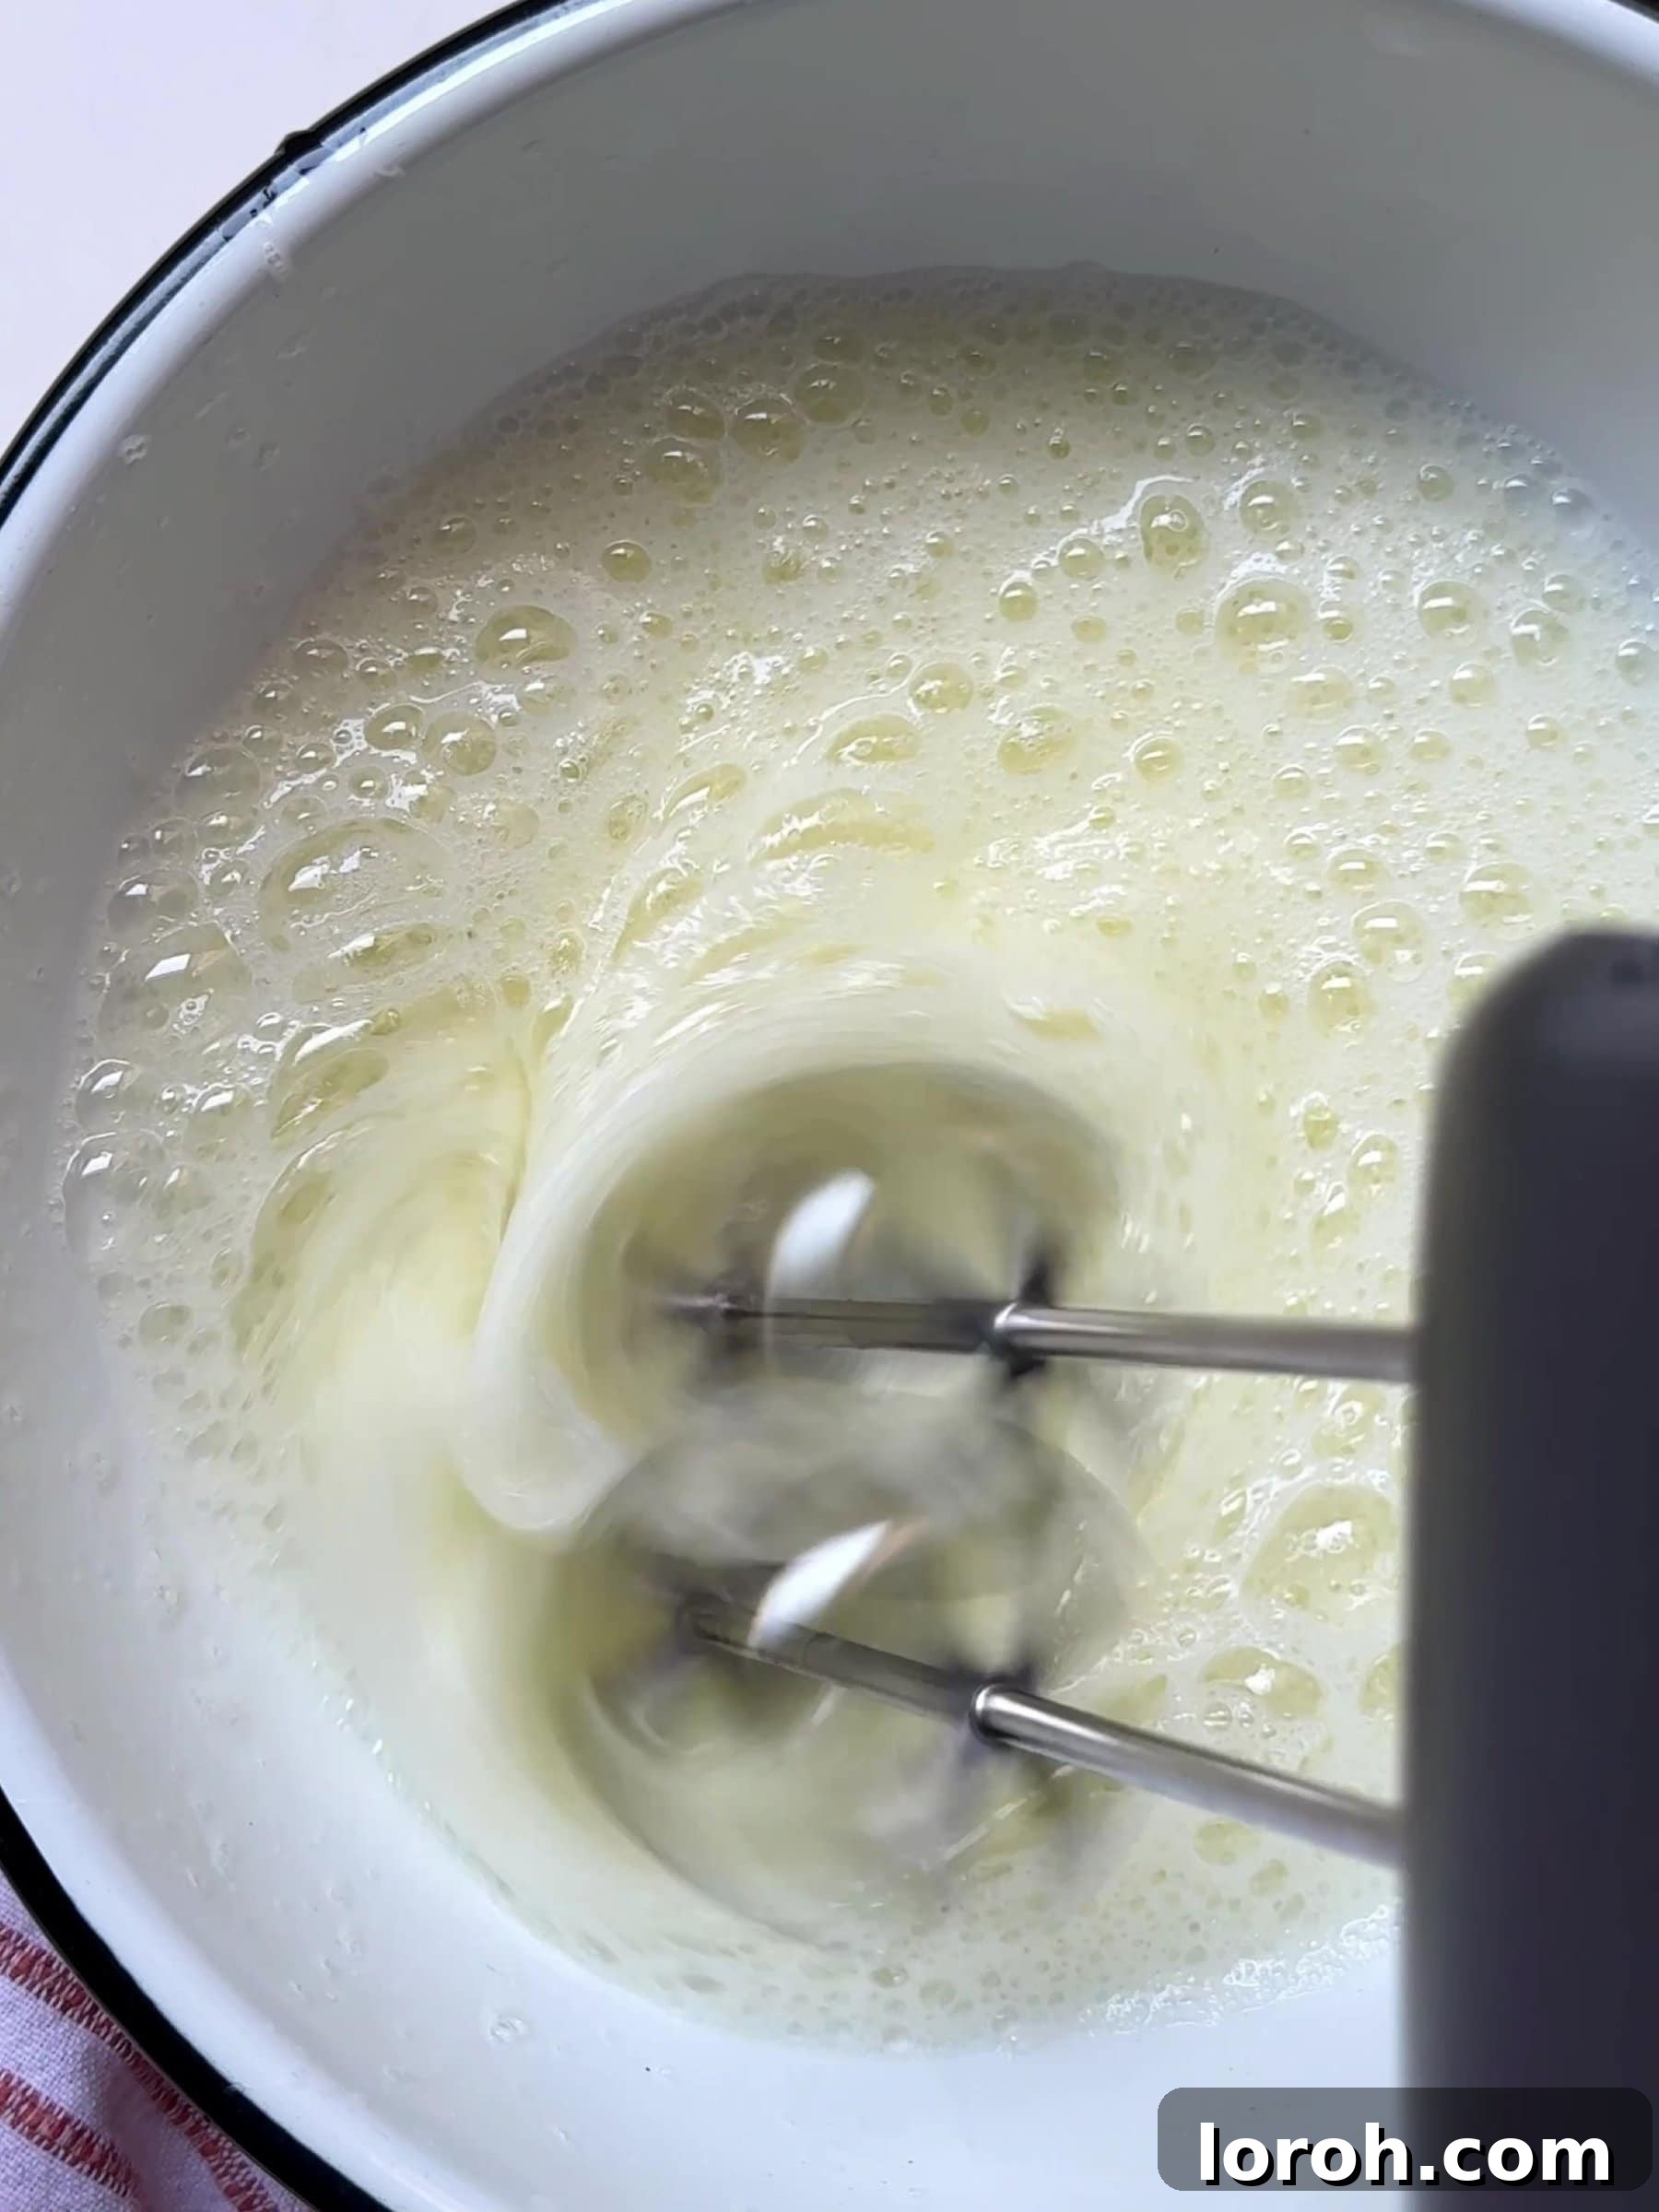
ONE: Prepare Egg Whites. Begin by preheating your oven to 120°C (100°C Fan). Ensure your mixing bowl and whisk attachments are immaculately clean and grease-free. Add the large egg whites to the bowl of a stand mixer fitted with a whisk attachment. Start whisking on low speed until the egg whites become foamy and bubbly, then increase the speed to medium until soft peaks begin to form – when you lift the whisk, the peaks should droop slightly.
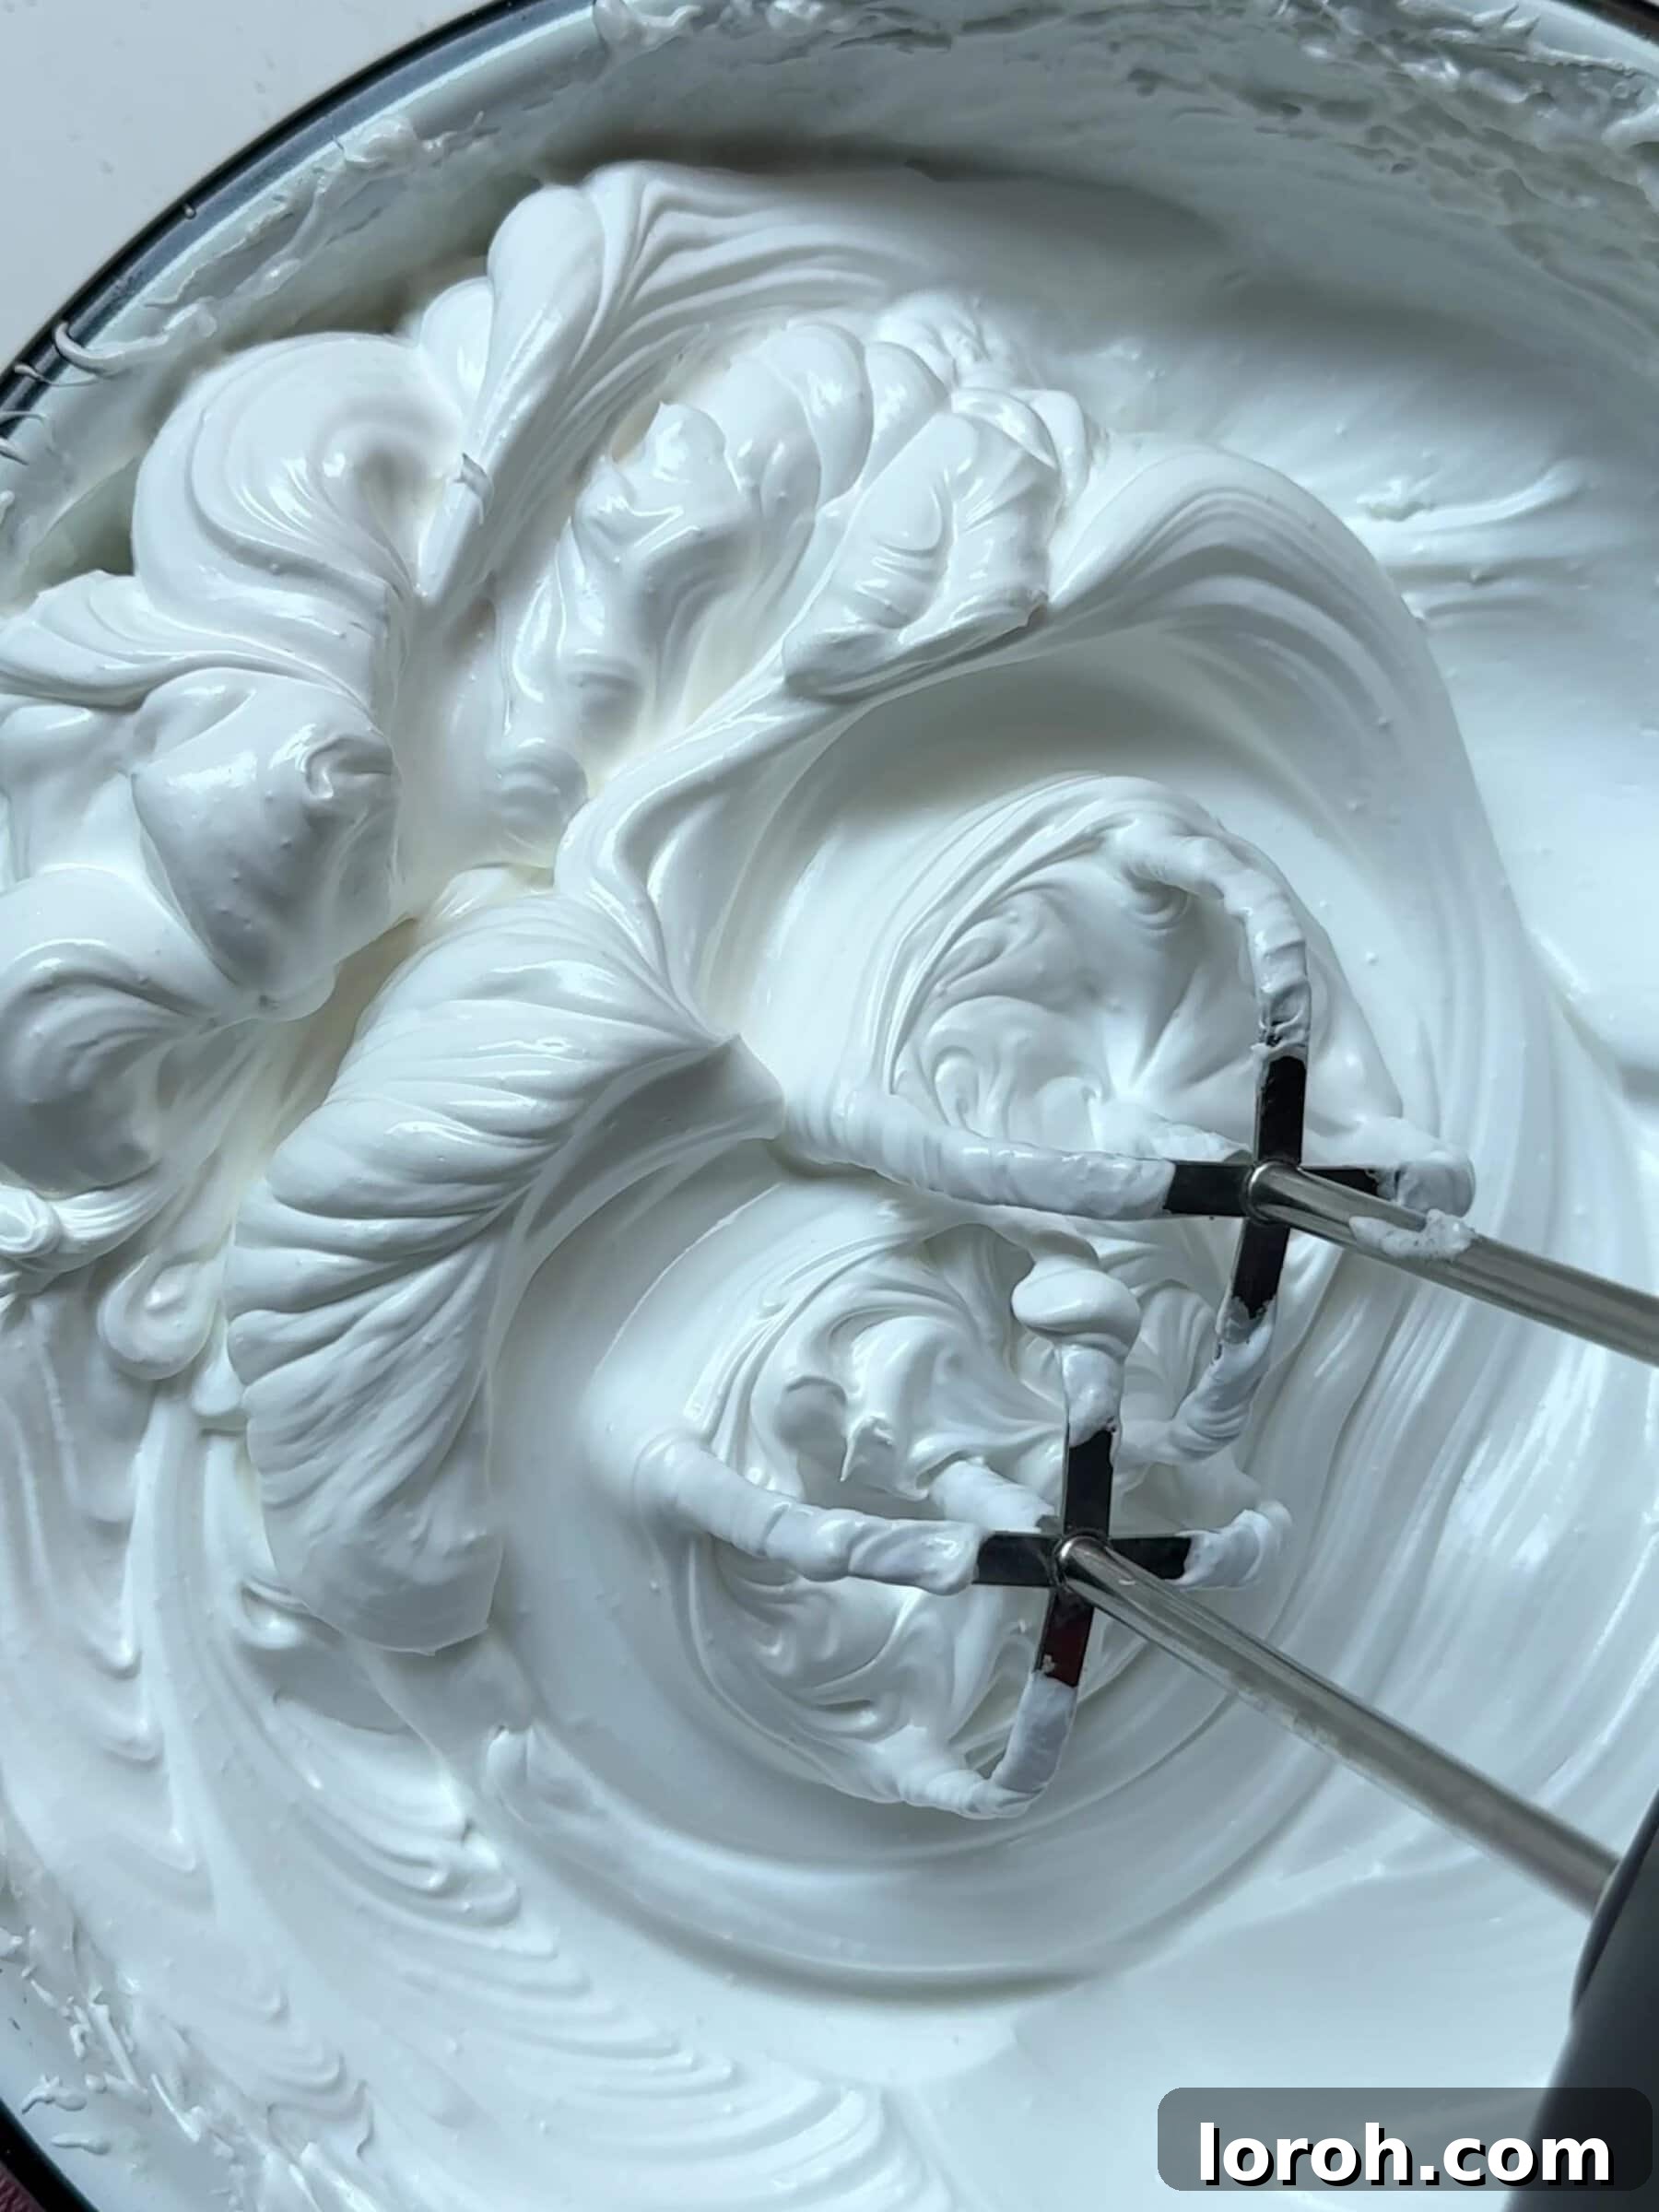
TWO: Incorporate Sugar and Stabilizers. With the mixer running, gradually add the caster sugar, one tablespoon at a time, allowing each addition to dissolve before adding the next. This slow incorporation is key to a stable meringue. Increase the speed to high and continue whisking for approximately 8 minutes, or until you achieve stiff, glossy peaks that hold their shape firmly. To test if the sugar is fully dissolved, rub a small amount of meringue between your thumb and index finger – it should feel smooth, not grainy. Finally, add the white wine vinegar and whisk for just another 10 seconds until it is thoroughly combined.
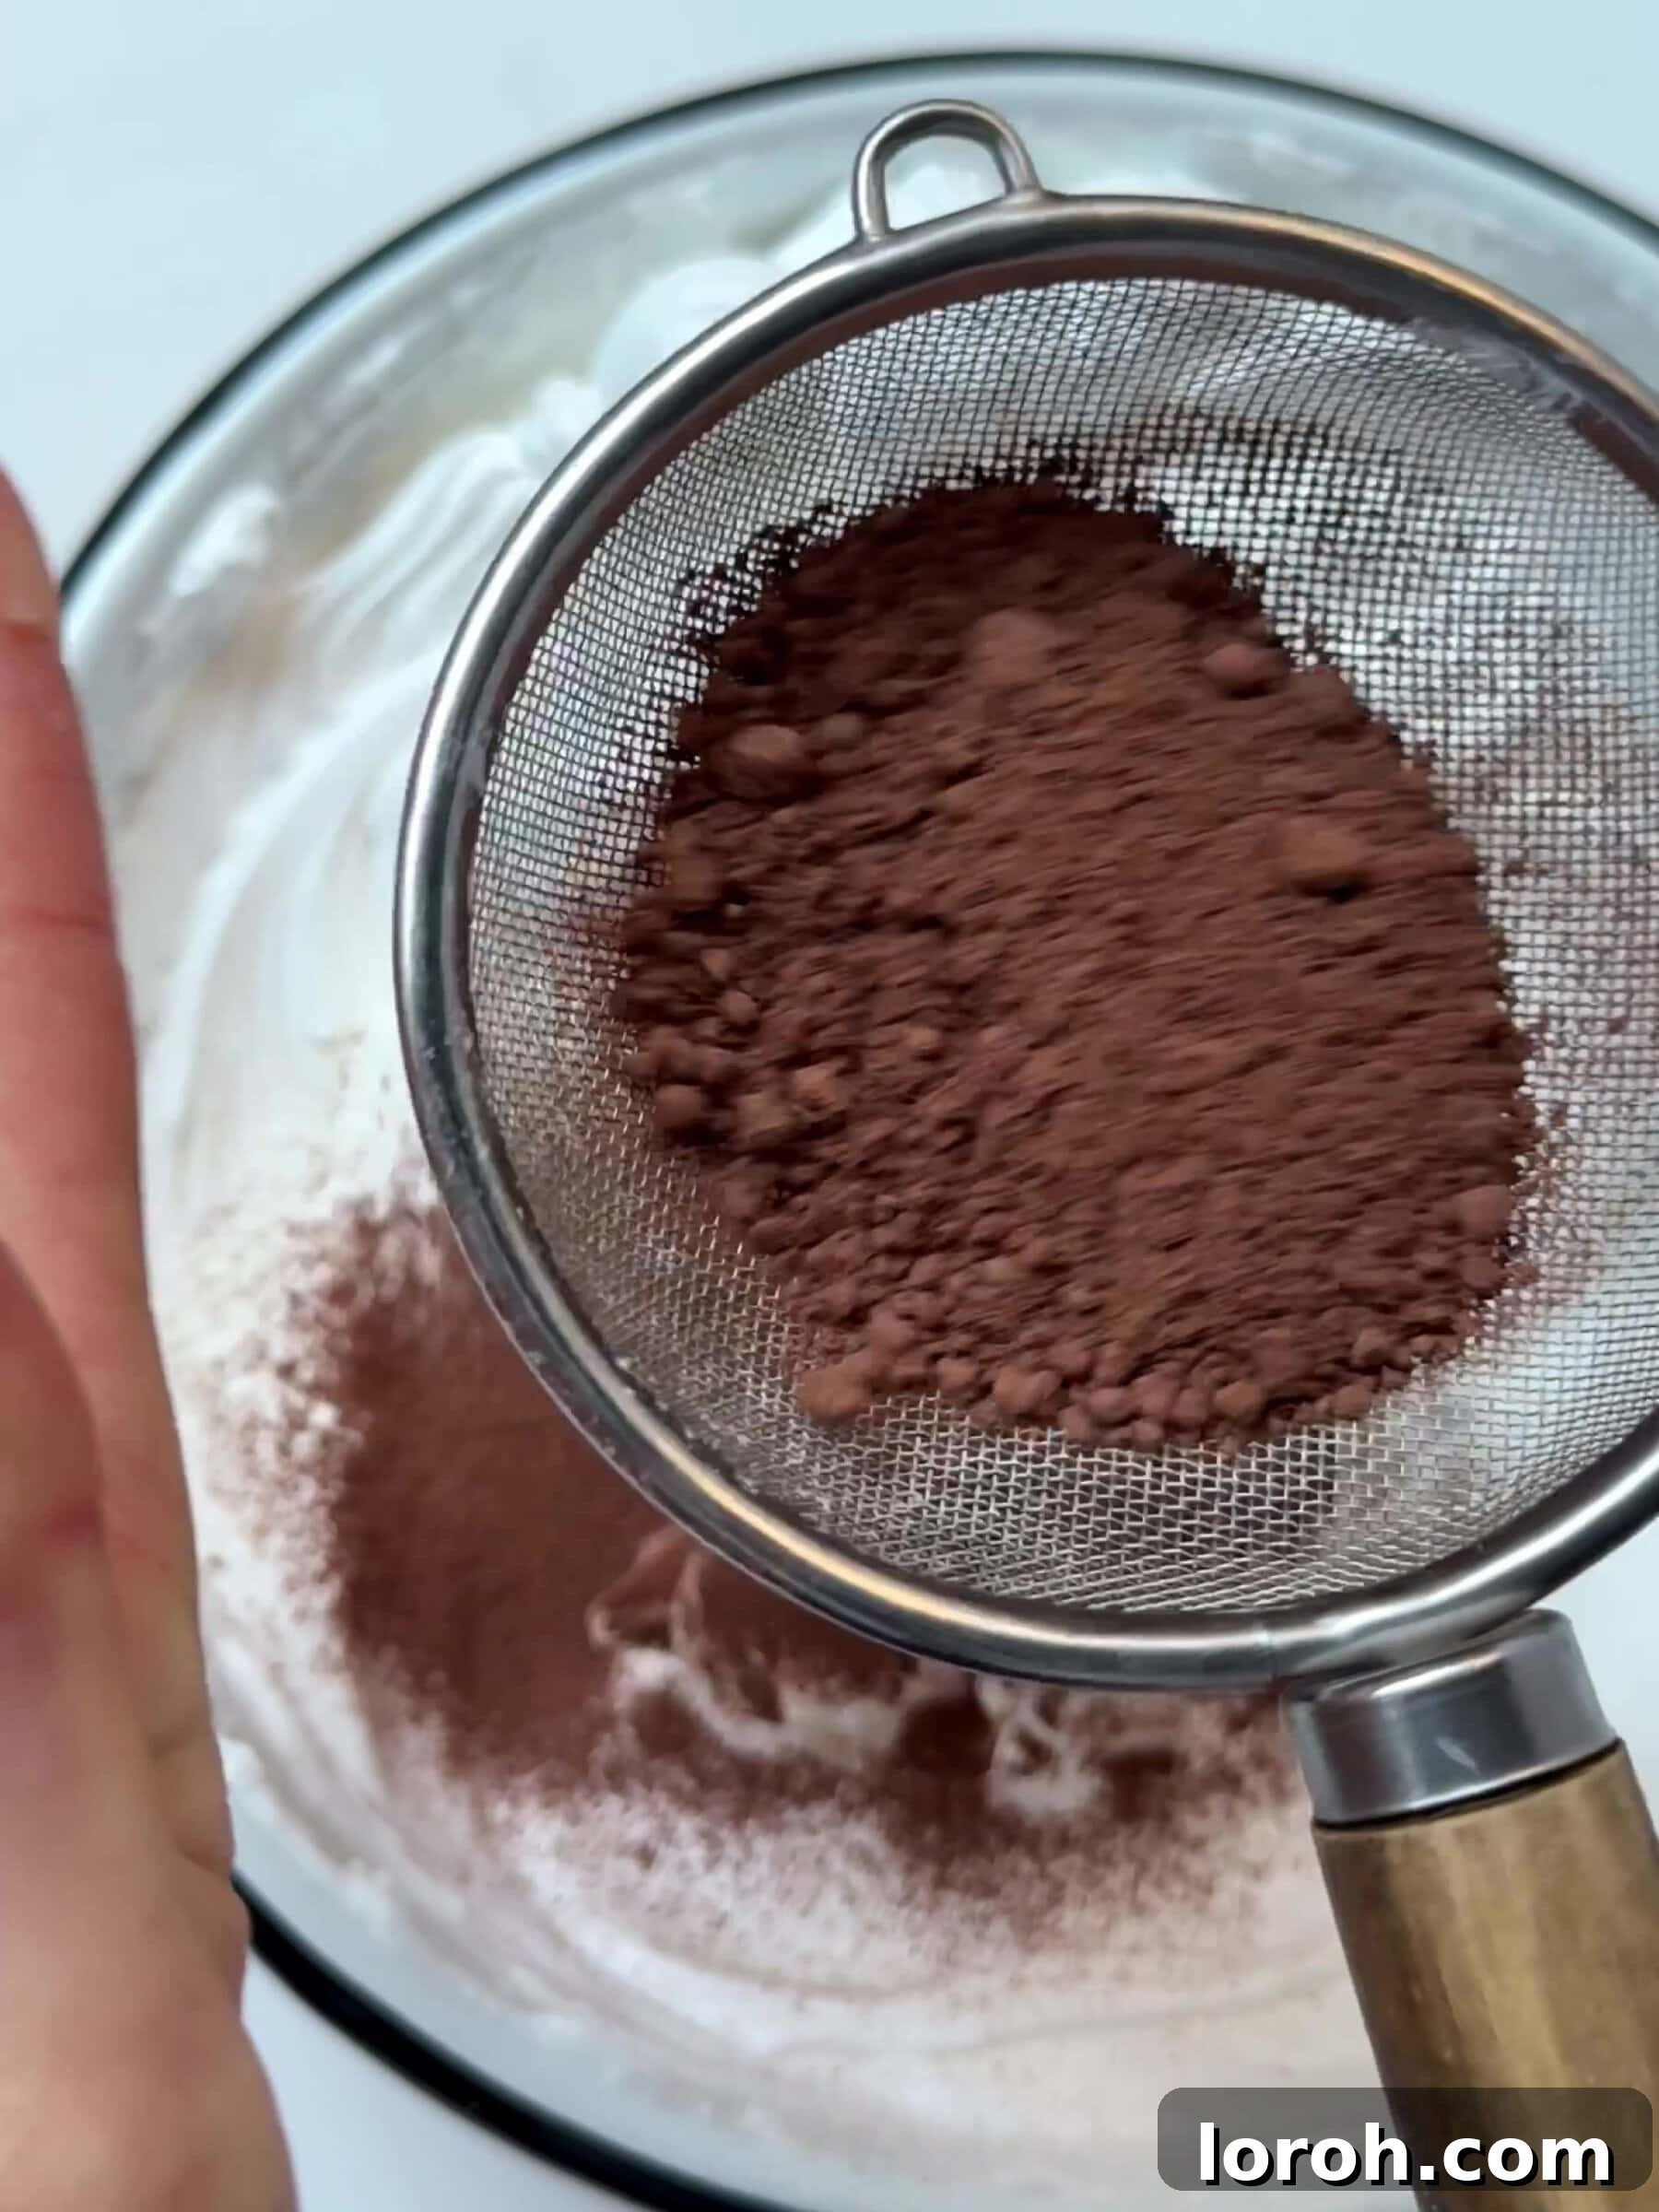
THREE: Gently Fold in Dry Ingredients. Sieve the cornflour and cocoa powder directly over the meringue mixture. Using a large metal spoon or spatula, very gently fold these dry ingredients into the meringue. The goal is to incorporate them without deflating the precious air you’ve whipped into the egg whites, preserving the light and airy texture.
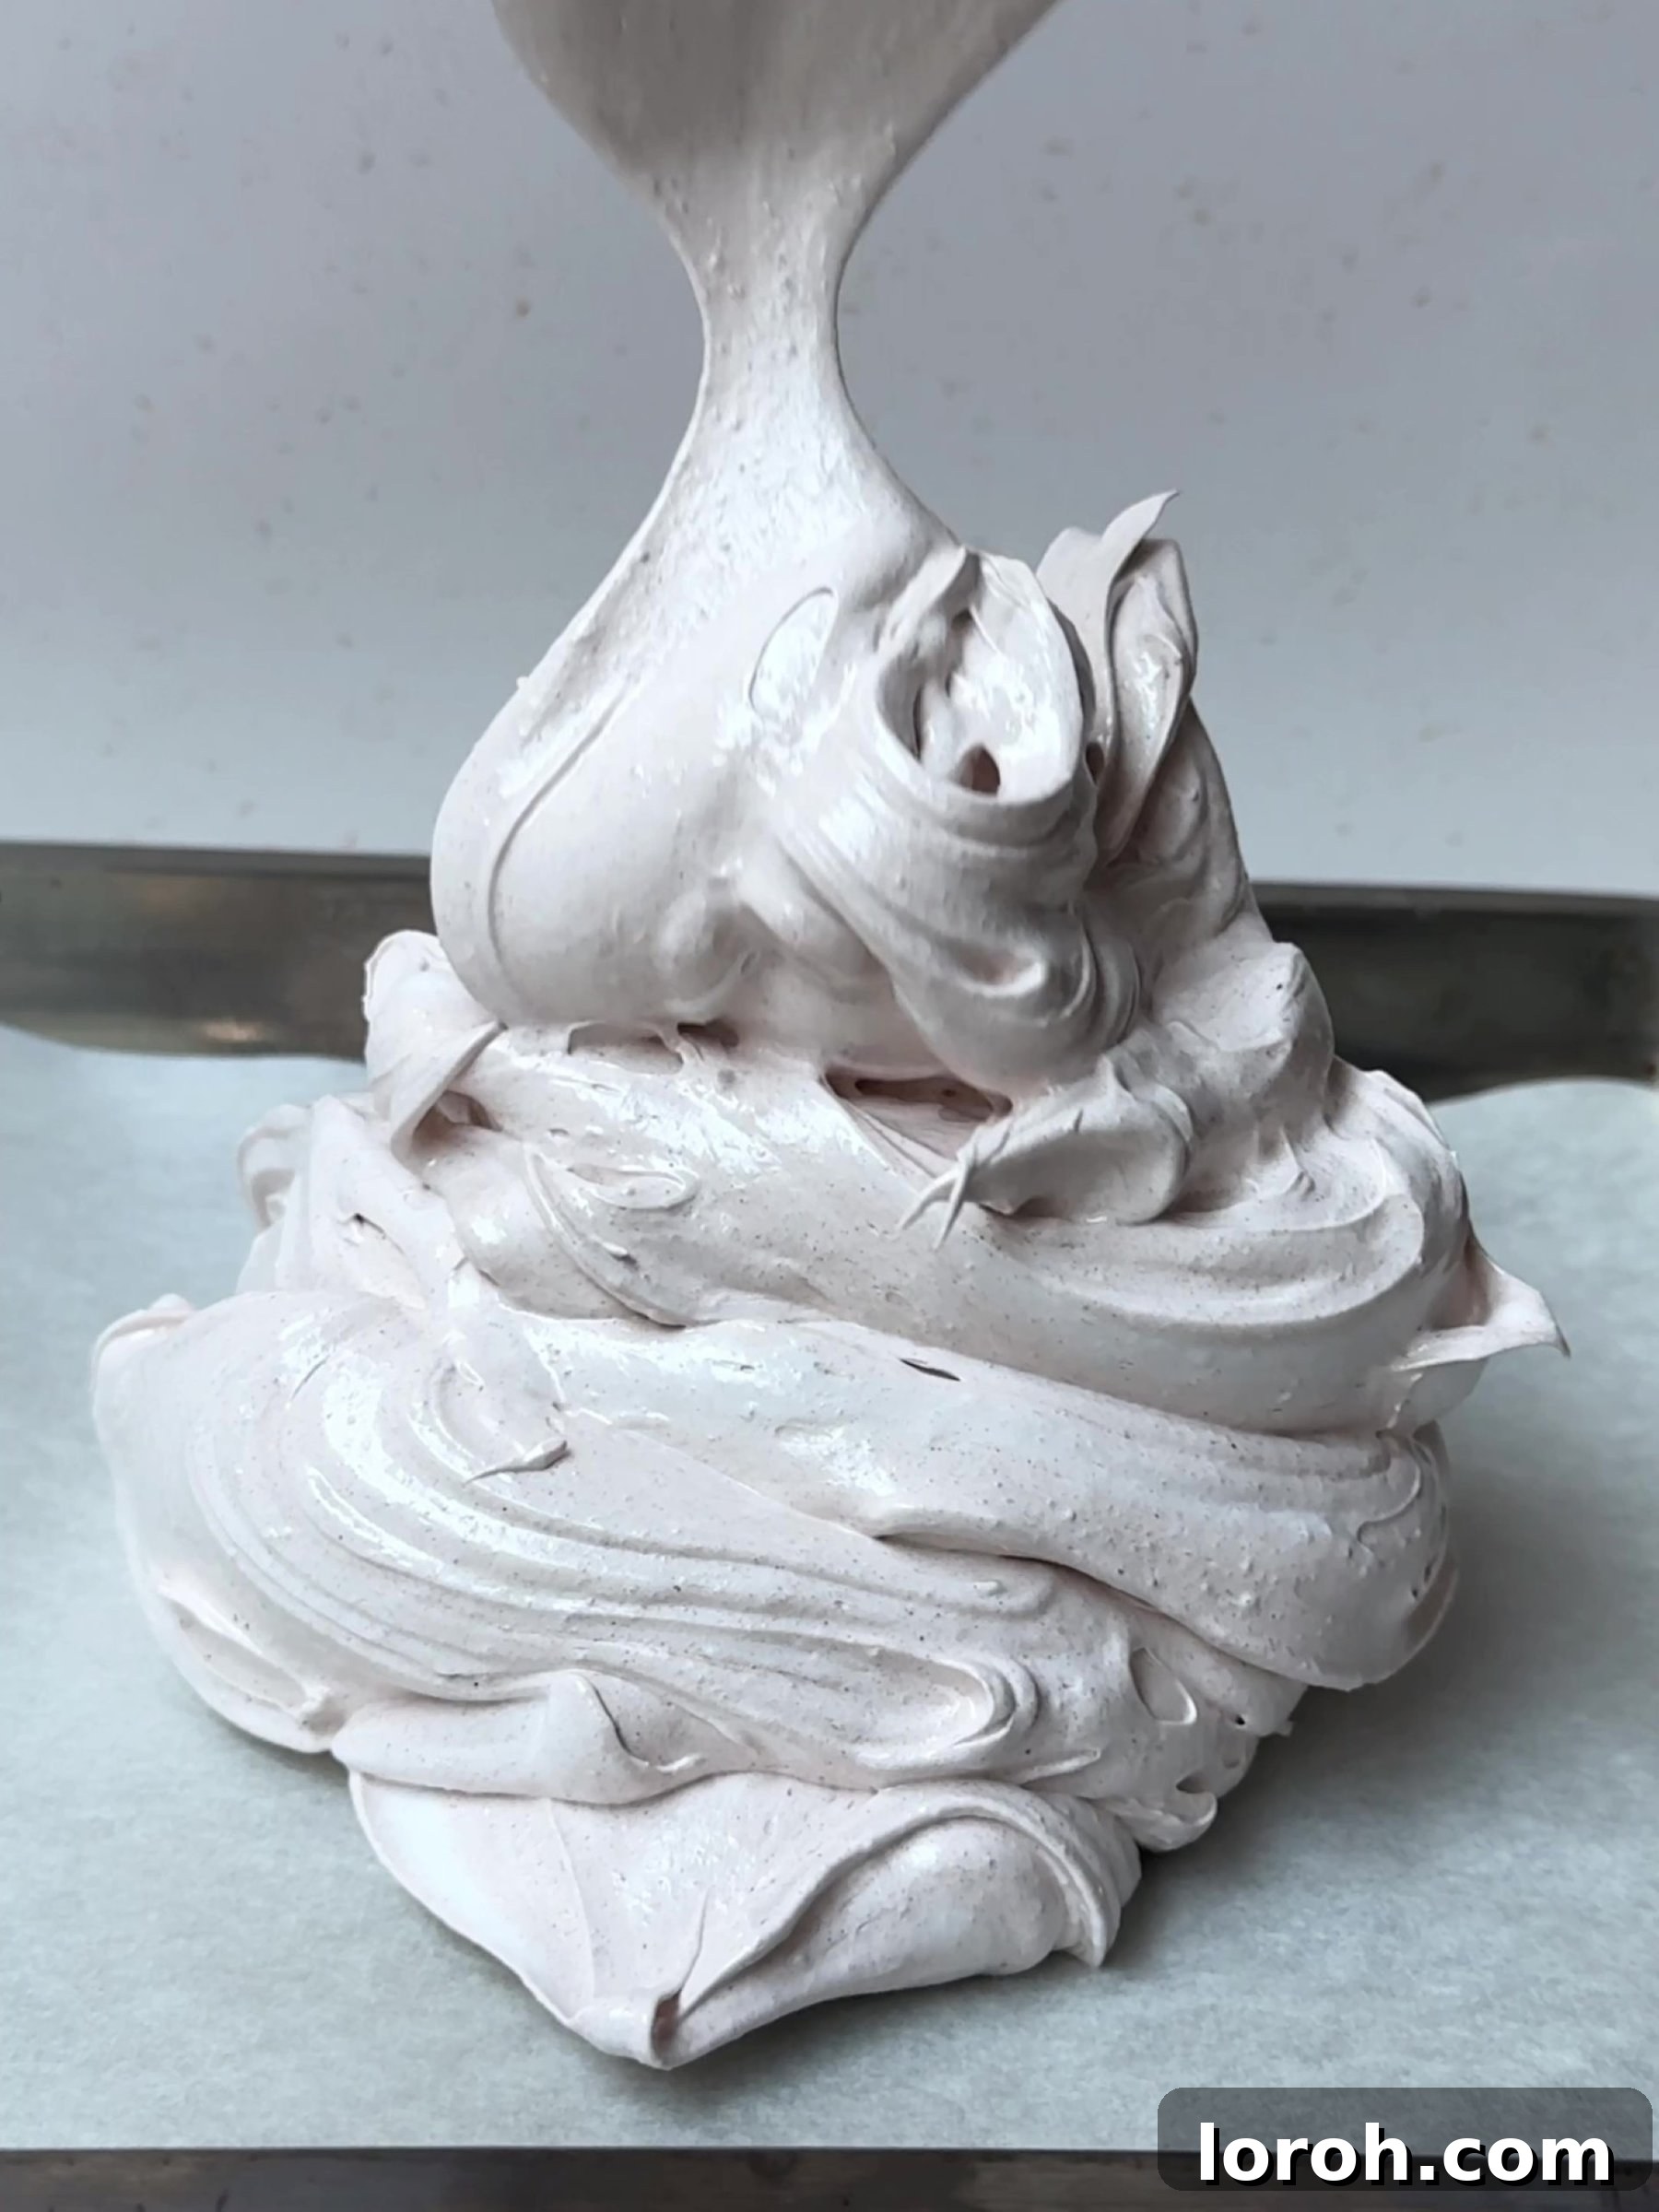
FOUR: Shape the Pavlova. Line a large baking tray with non-stick baking paper. Use a small dab of meringue as “glue” in each corner to secure the baking paper to the tray. Spoon the entire meringue mixture into the center of the prepared baking paper. Then, gently and evenly spread the meringue into a roughly 15 cm diameter dome. You can use the back of your spoon to smooth the sides.
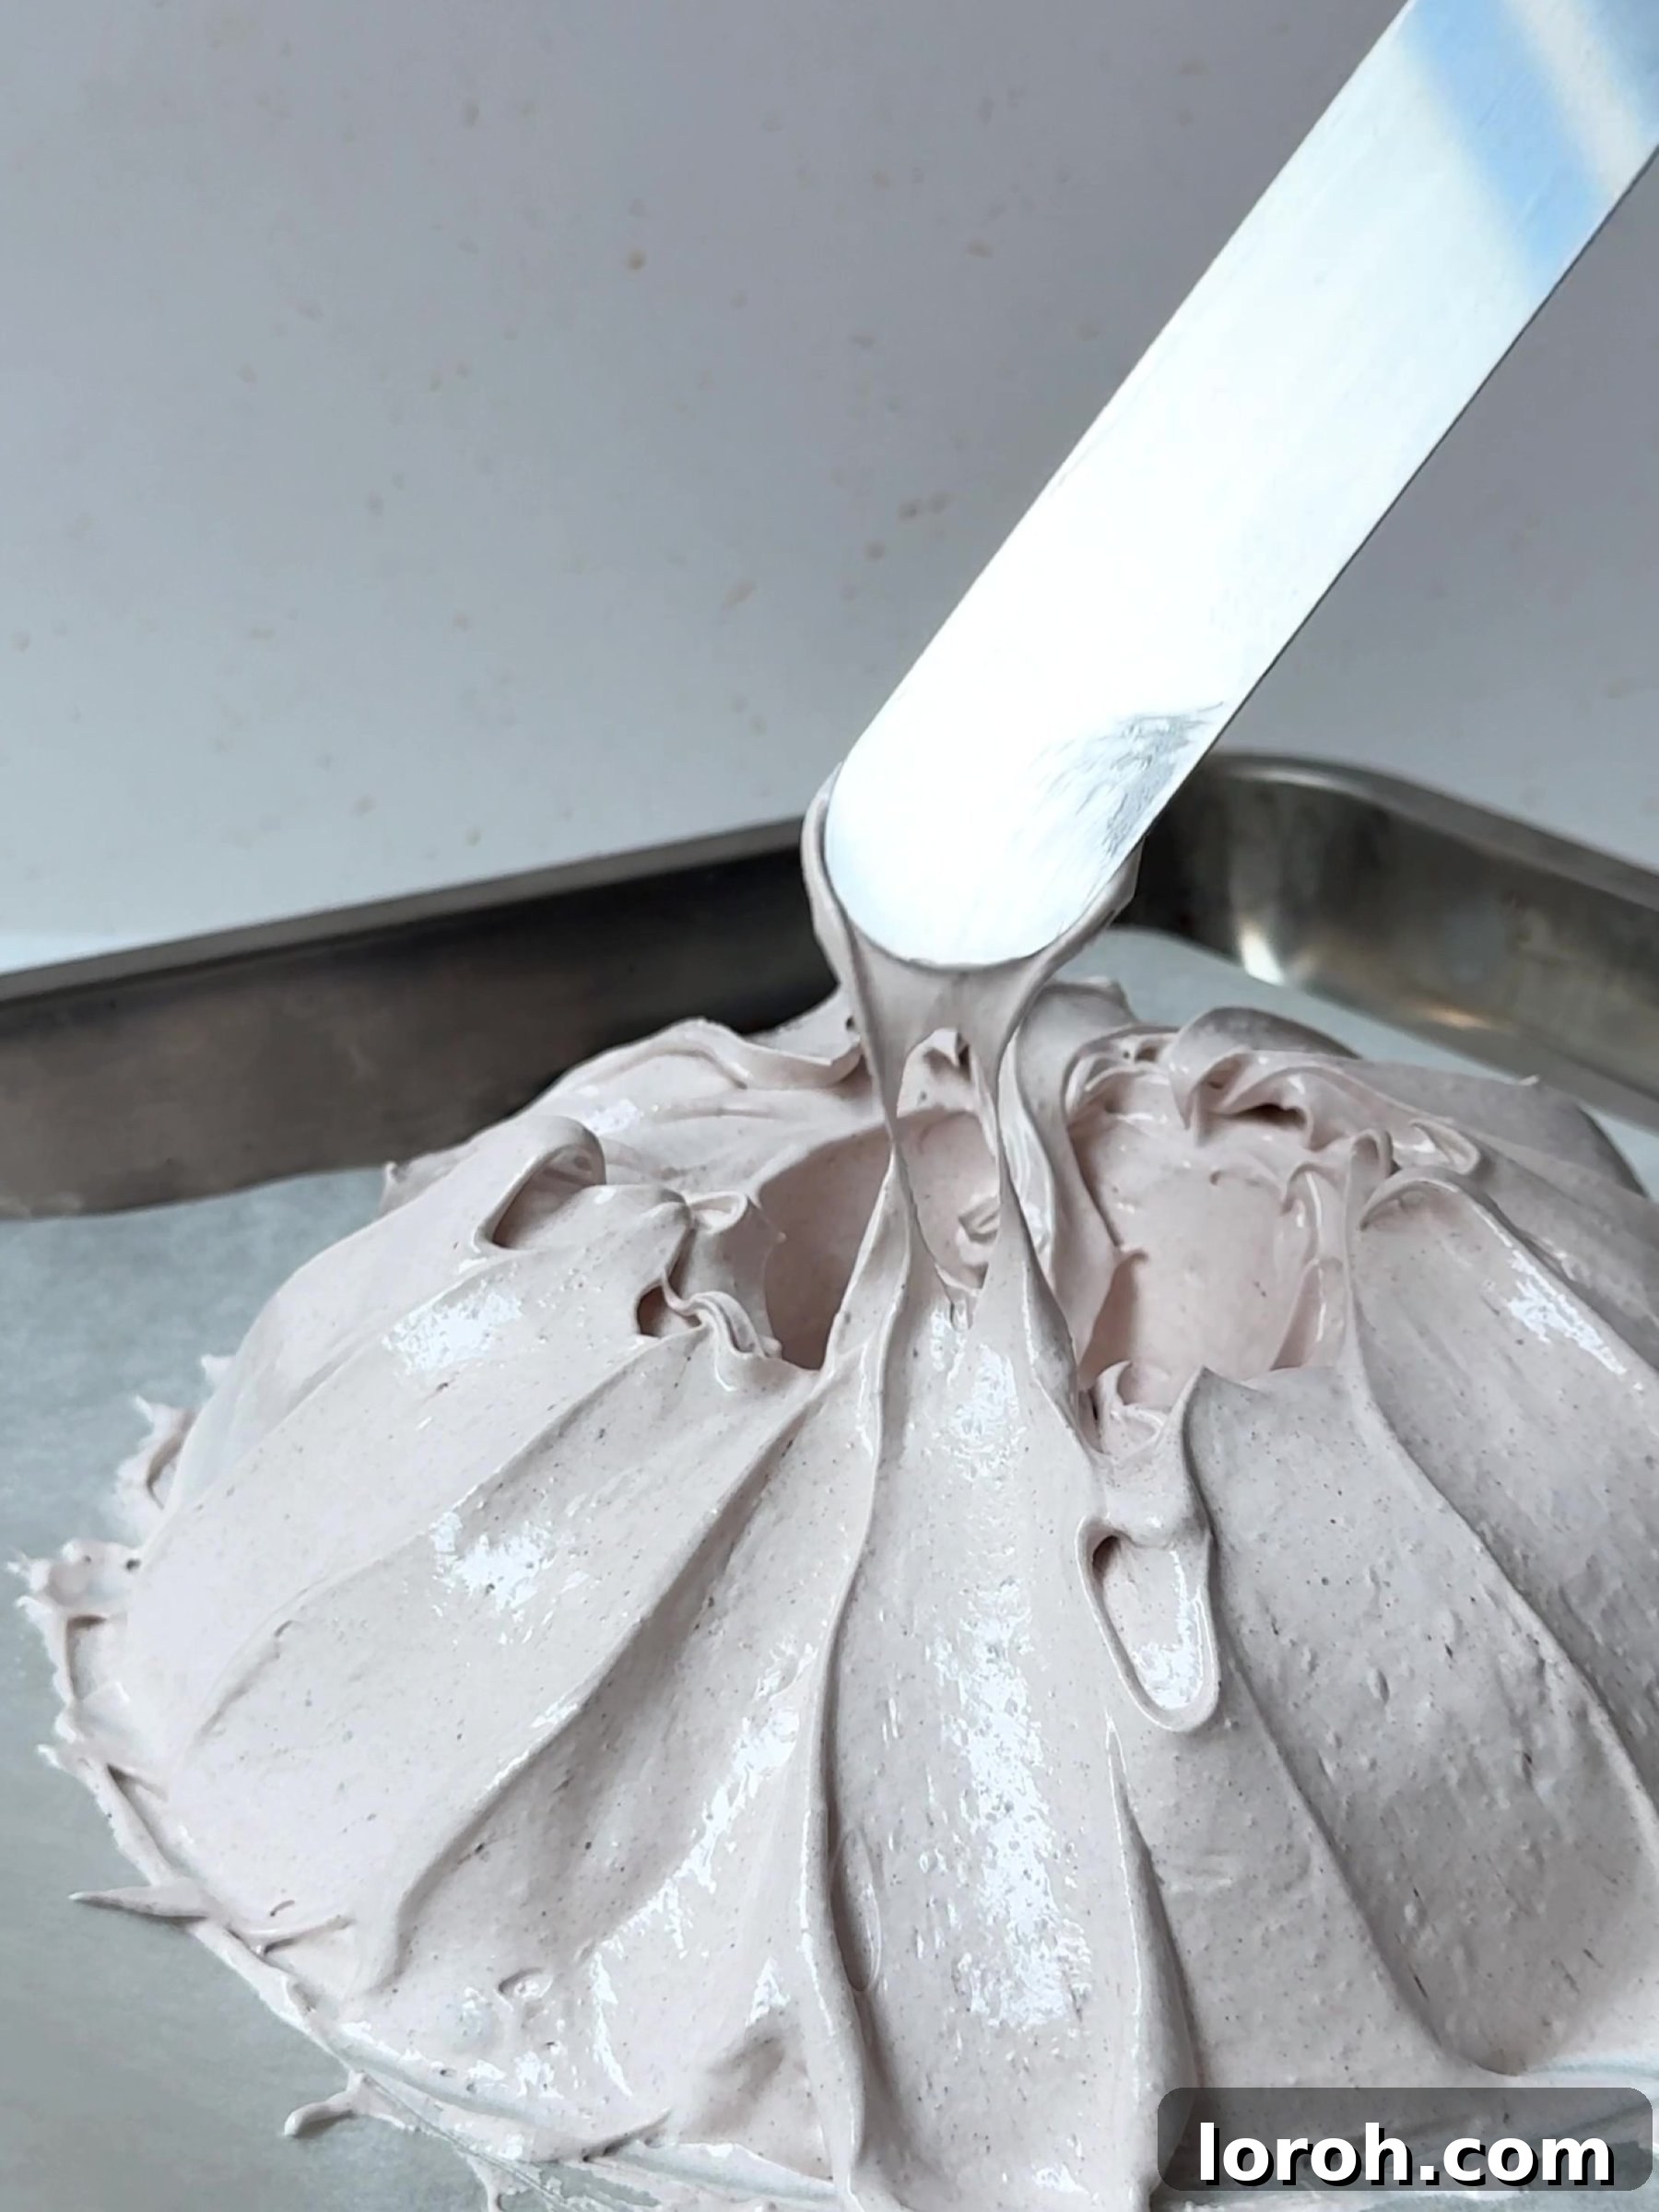
FIVE: Create the Cavity and Texture. Carefully scoop out a little meringue from the very center of the dome, creating a shallow, volcano-like cavity. Gently redistribute this scooped-out meringue to the sides, building up the edges slightly. Once the shape is smooth, take a butter knife or a small palette knife and glide it vertically up the surface and across the top of the pavlova at a slight angle. This creates an appealing striped pattern and adds texture to your meringue shell. Neatly clean up the central cavity if needed.
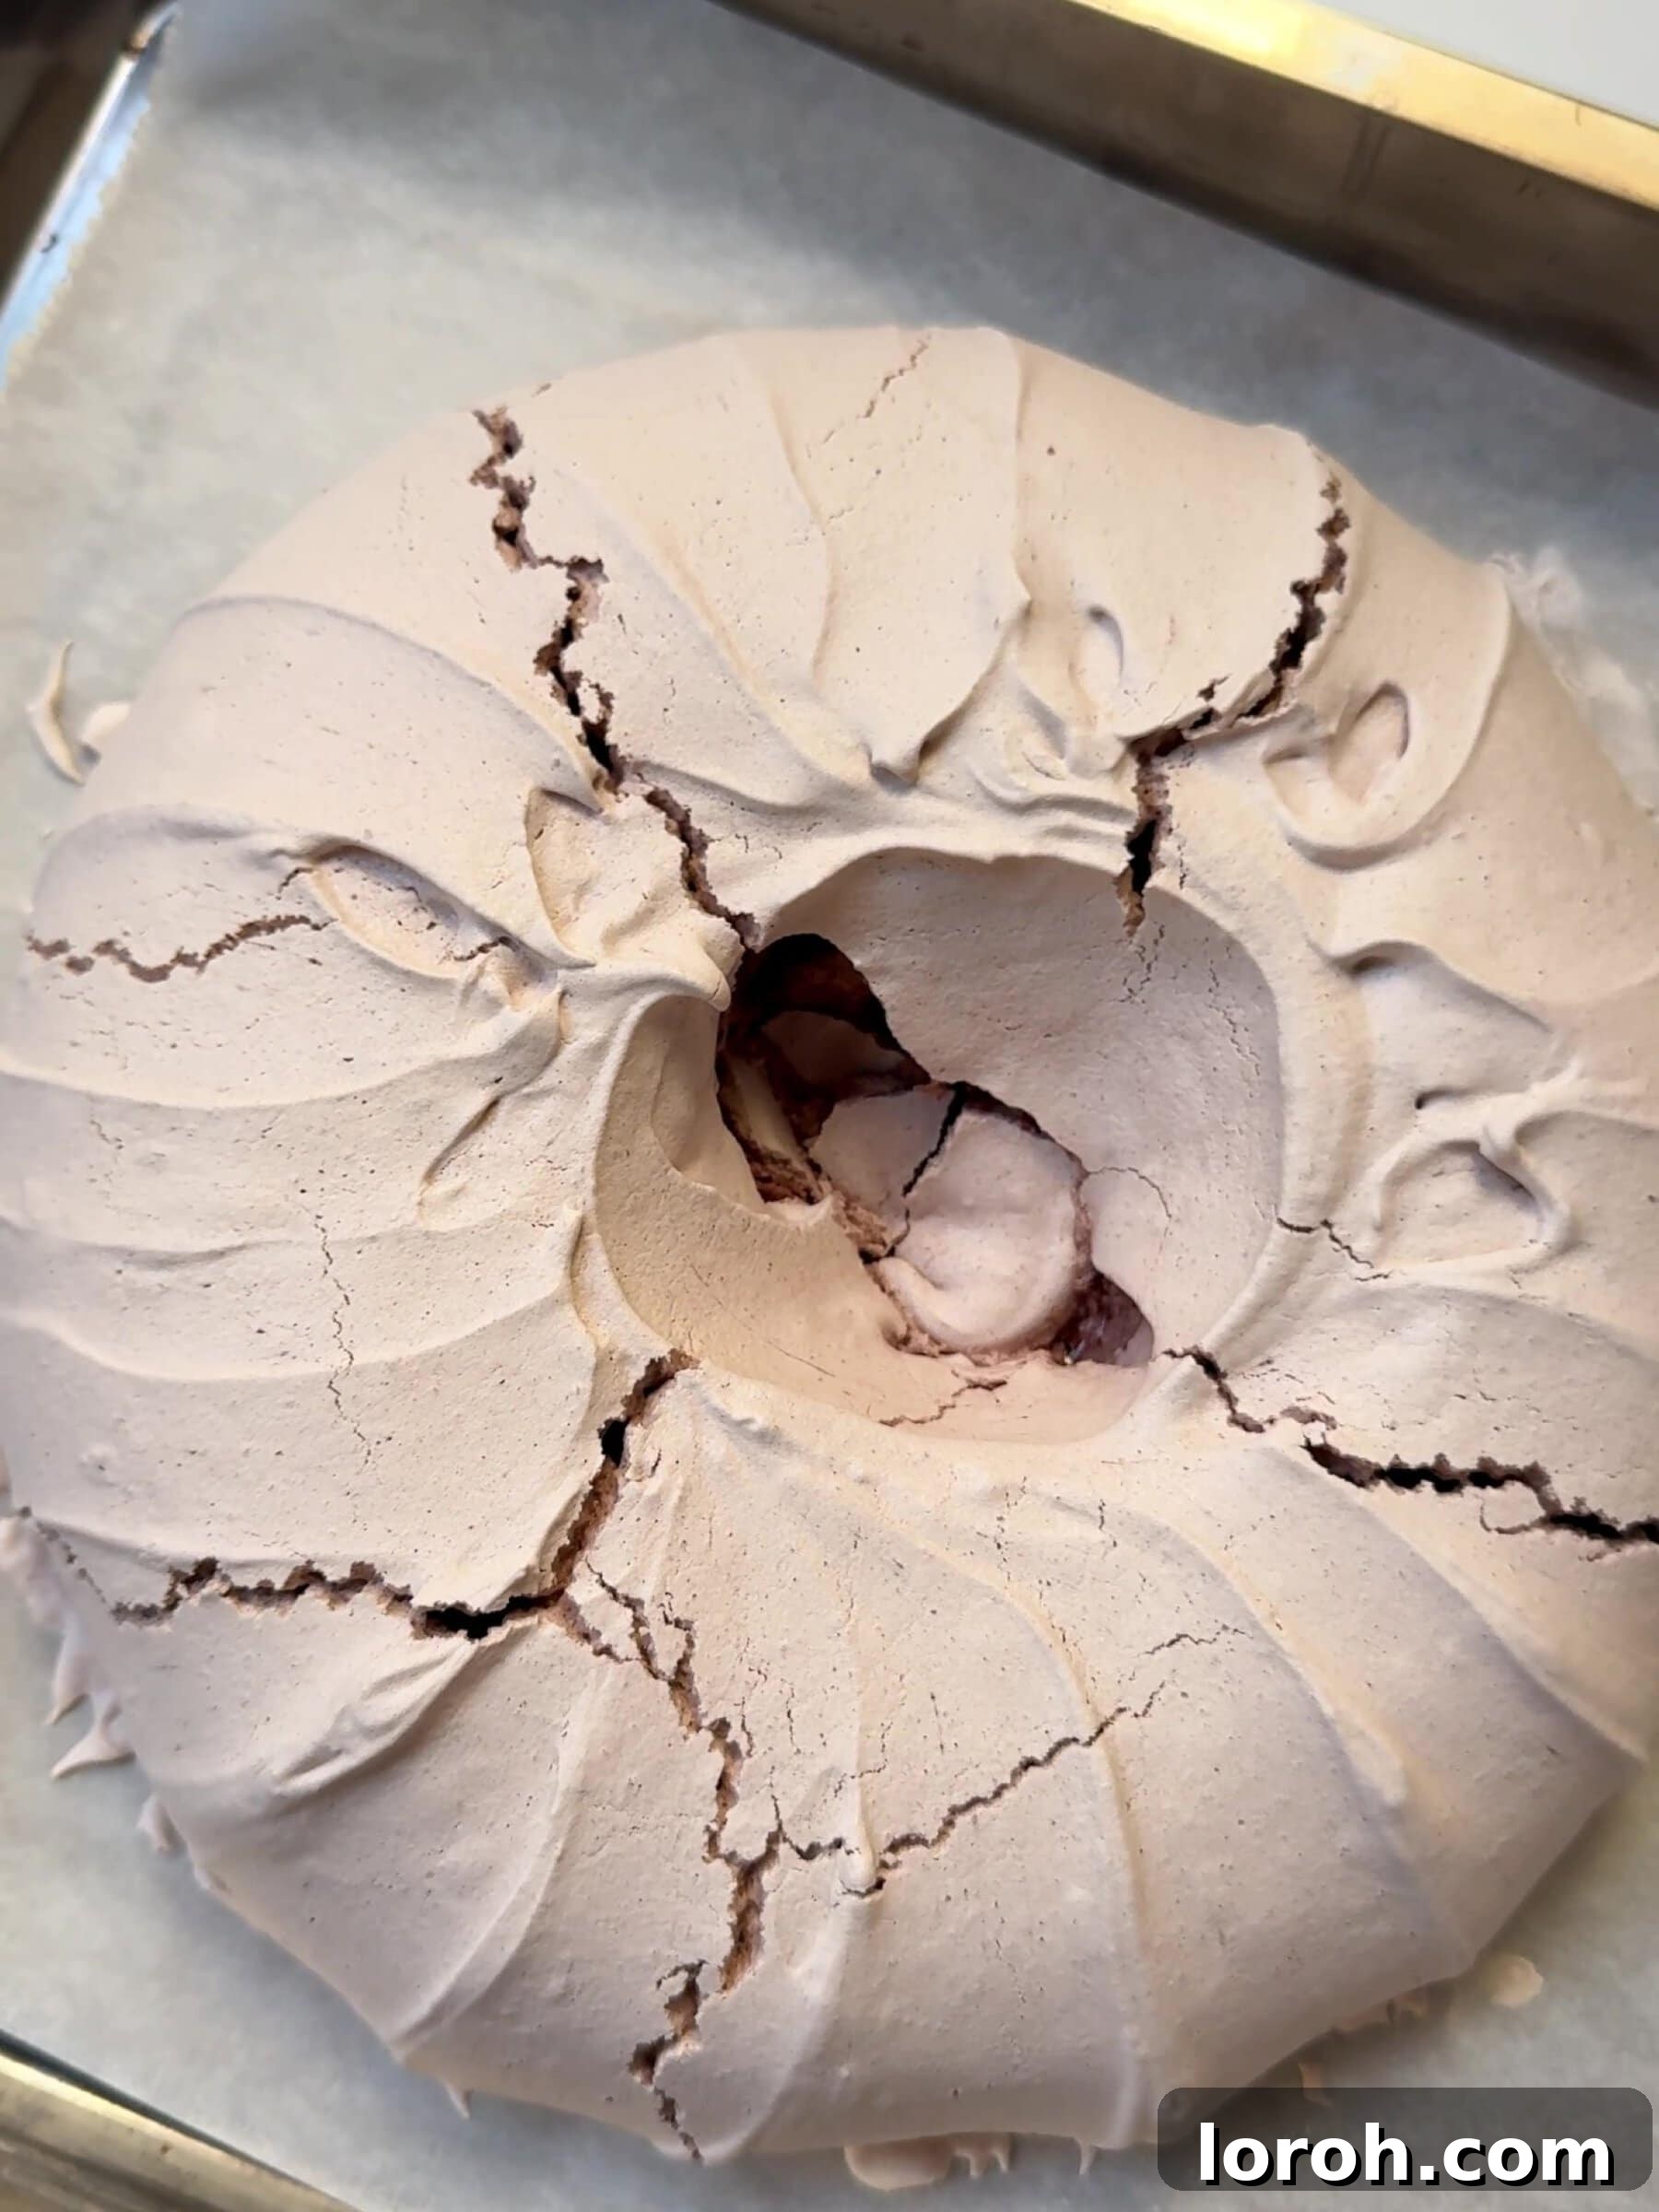
SIX: Bake and Cool Slowly. Place the shaped meringue into the preheated oven and bake for 1 hour and 45 minutes. Once the baking time is complete, **do not open the oven door**. Simply turn off the oven and allow the pavlova to cool completely inside for a minimum of 4 hours. Ideally, leave it overnight. This slow cooling process is crucial for preventing cracks and achieving that perfect crisp exterior and chewy interior.
Part 3: Making the Chocolate Sauce and Assembling Your Christmas Pavlova
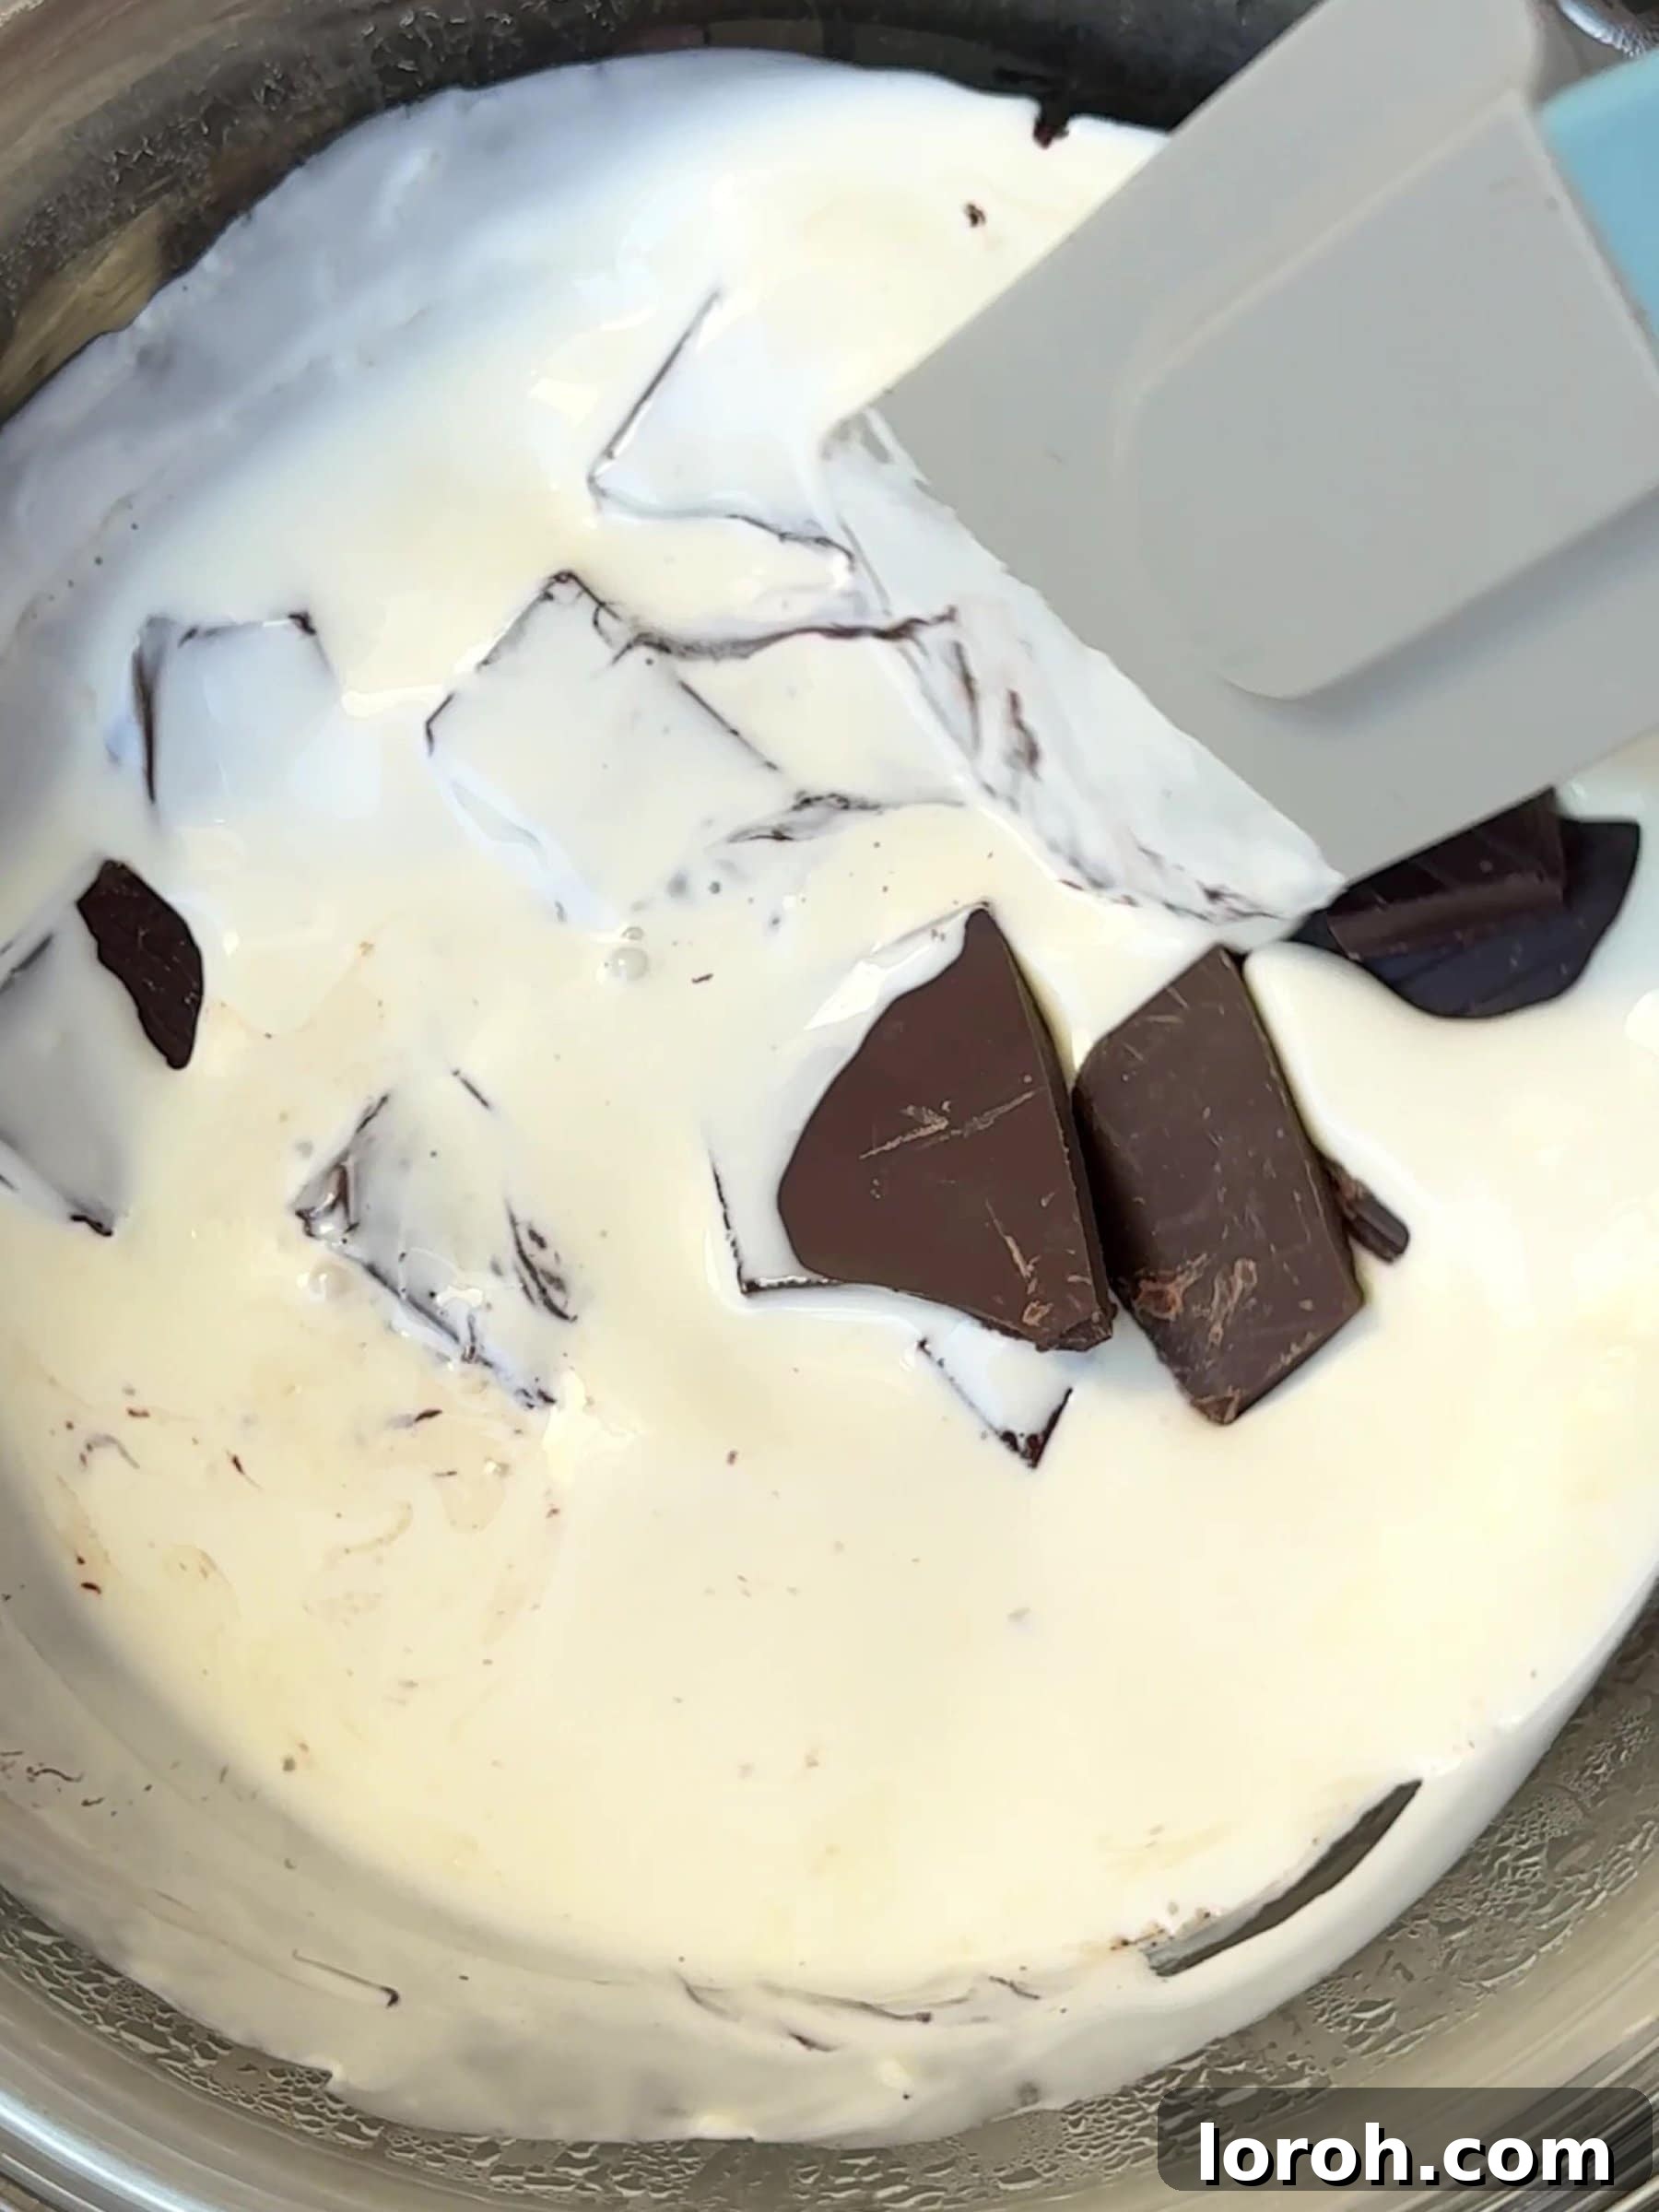
ONE: Prepare Chocolate for Sauce. Start by making your luxurious chocolate sauce. Place the finely chopped dark chocolate into a heatproof bowl and set it aside. In a small saucepan, pour the double cream and place it over a medium heat. Gently and slowly bring the cream to a simmering point, ensuring it doesn’t boil rapidly.
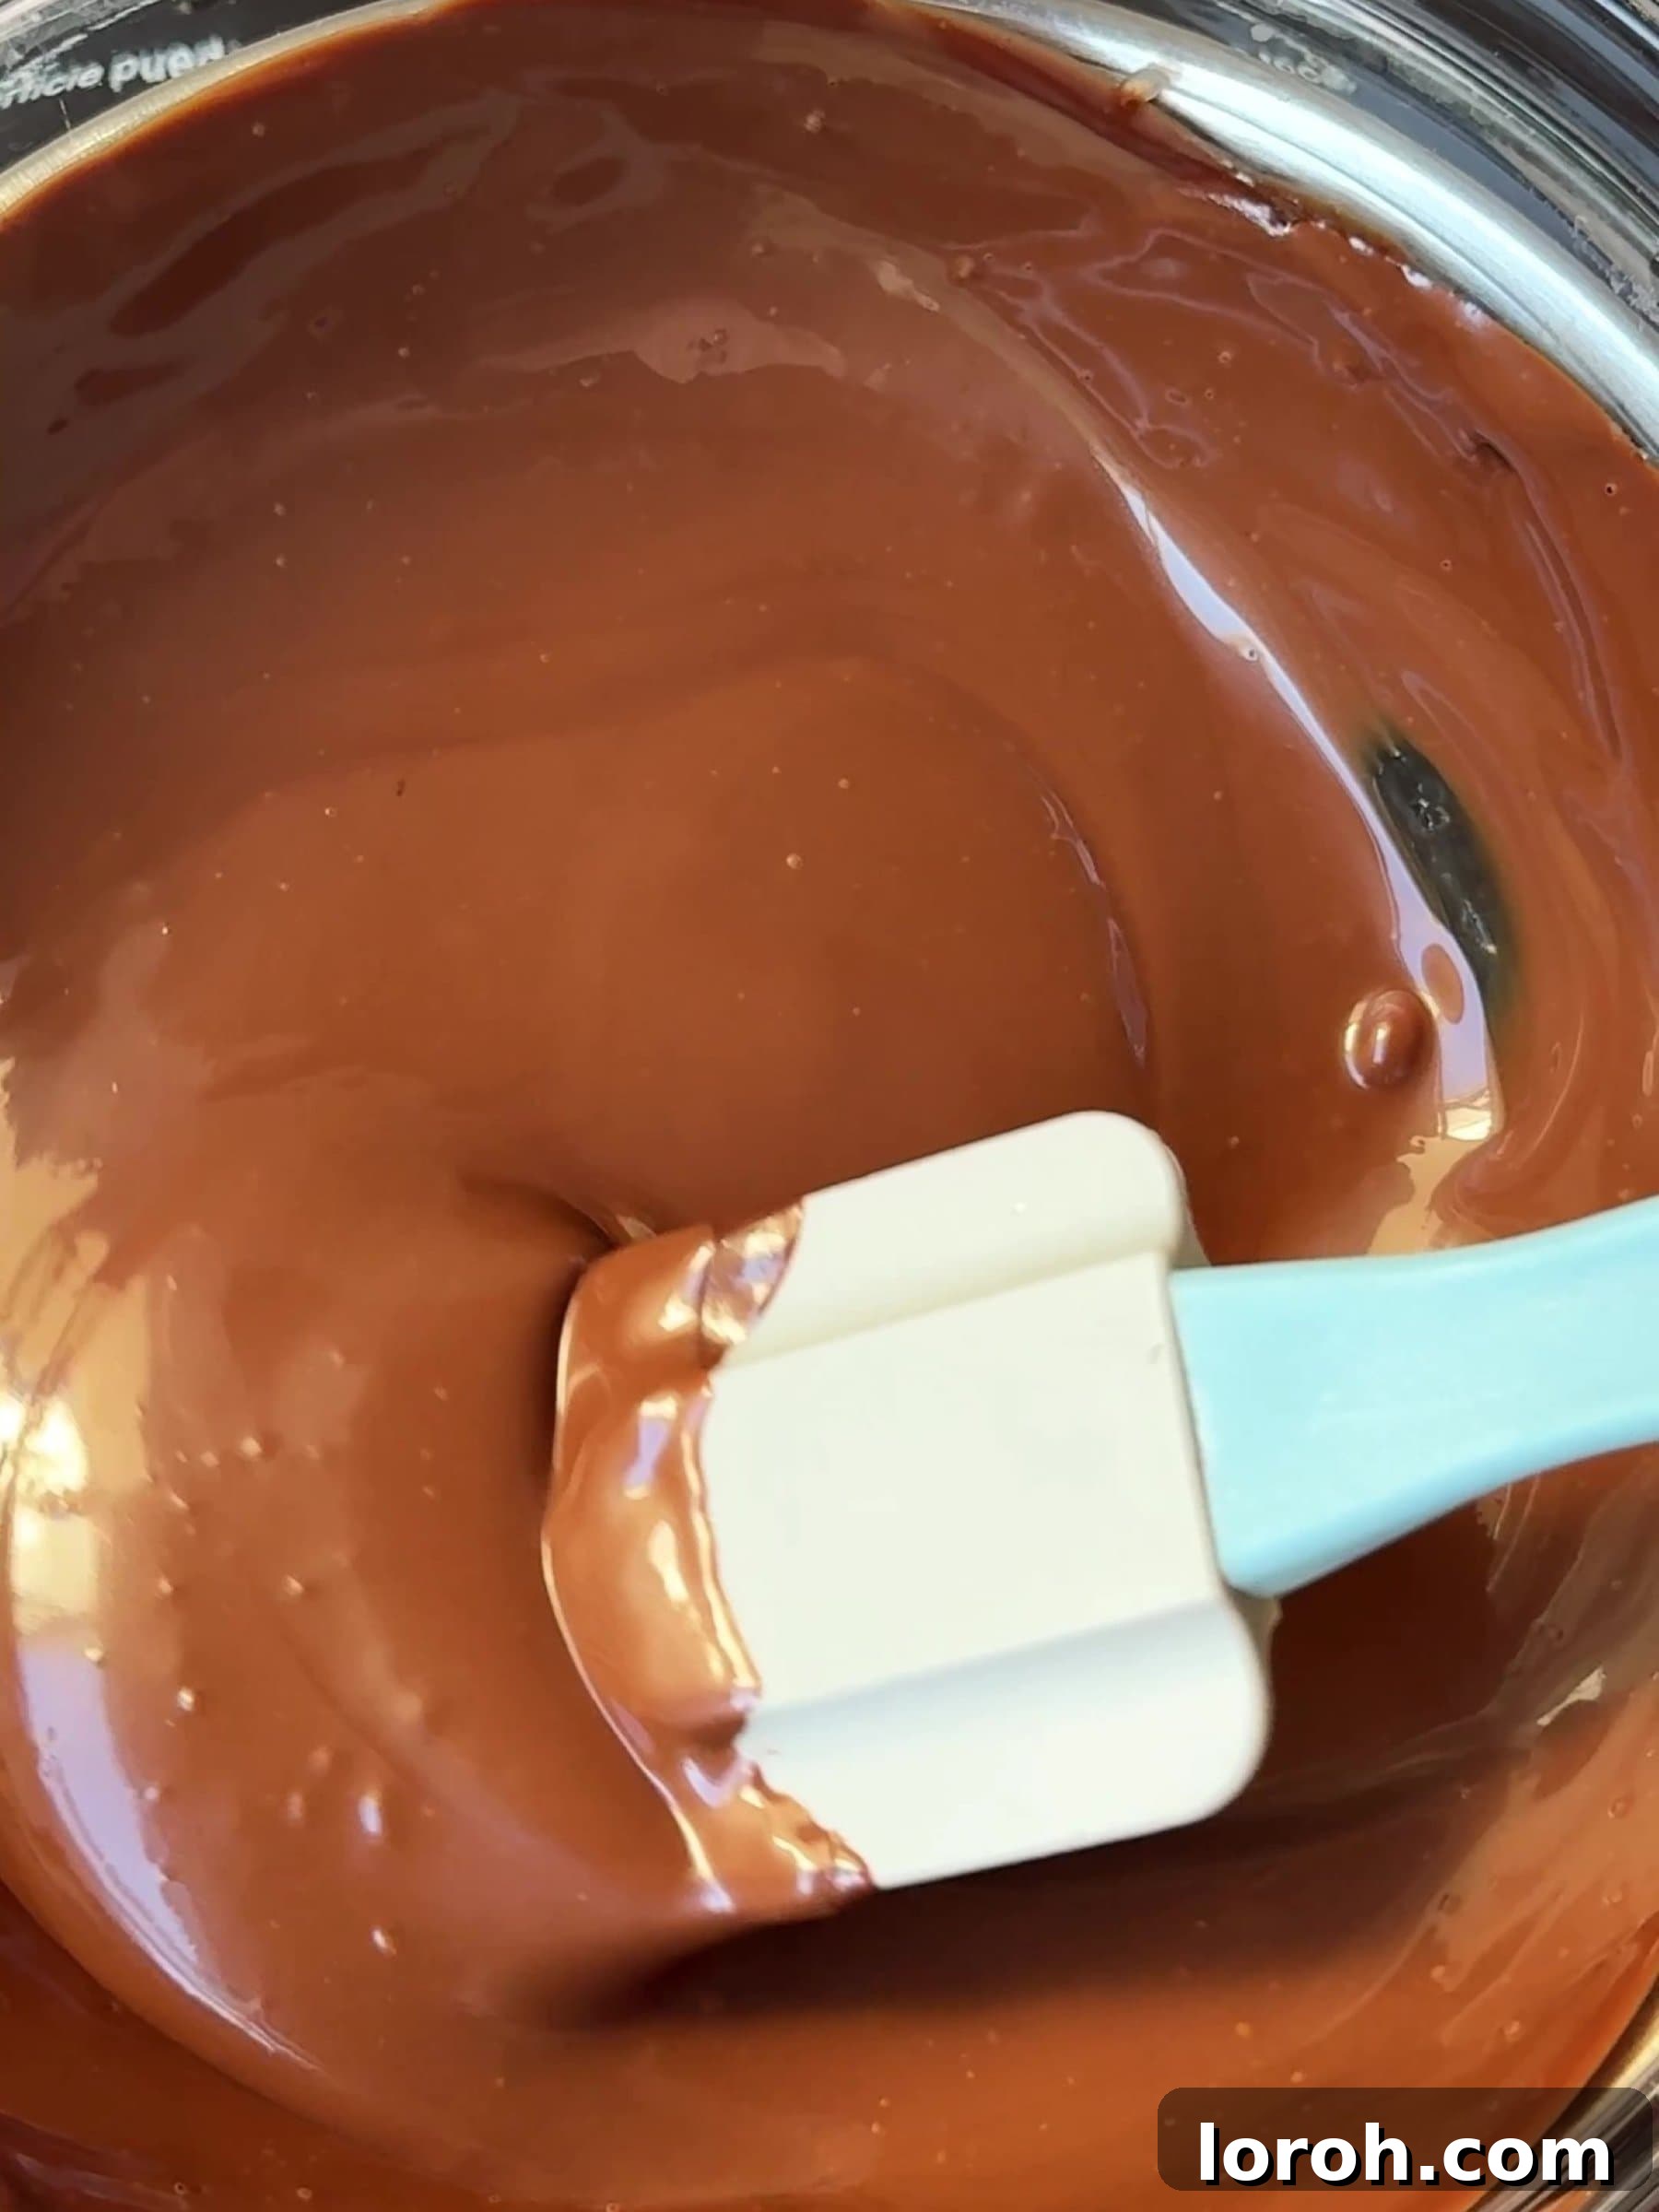
TWO: Create the Sauce. As soon as the cream begins to simmer, remove the saucepan from the heat. Pour the hot cream directly over the chopped chocolate in the heatproof bowl. Let it sit for a minute, then stir well with a spoon or whisk until the chocolate is completely melted and the mixture is smooth, glossy, and beautifully integrated.
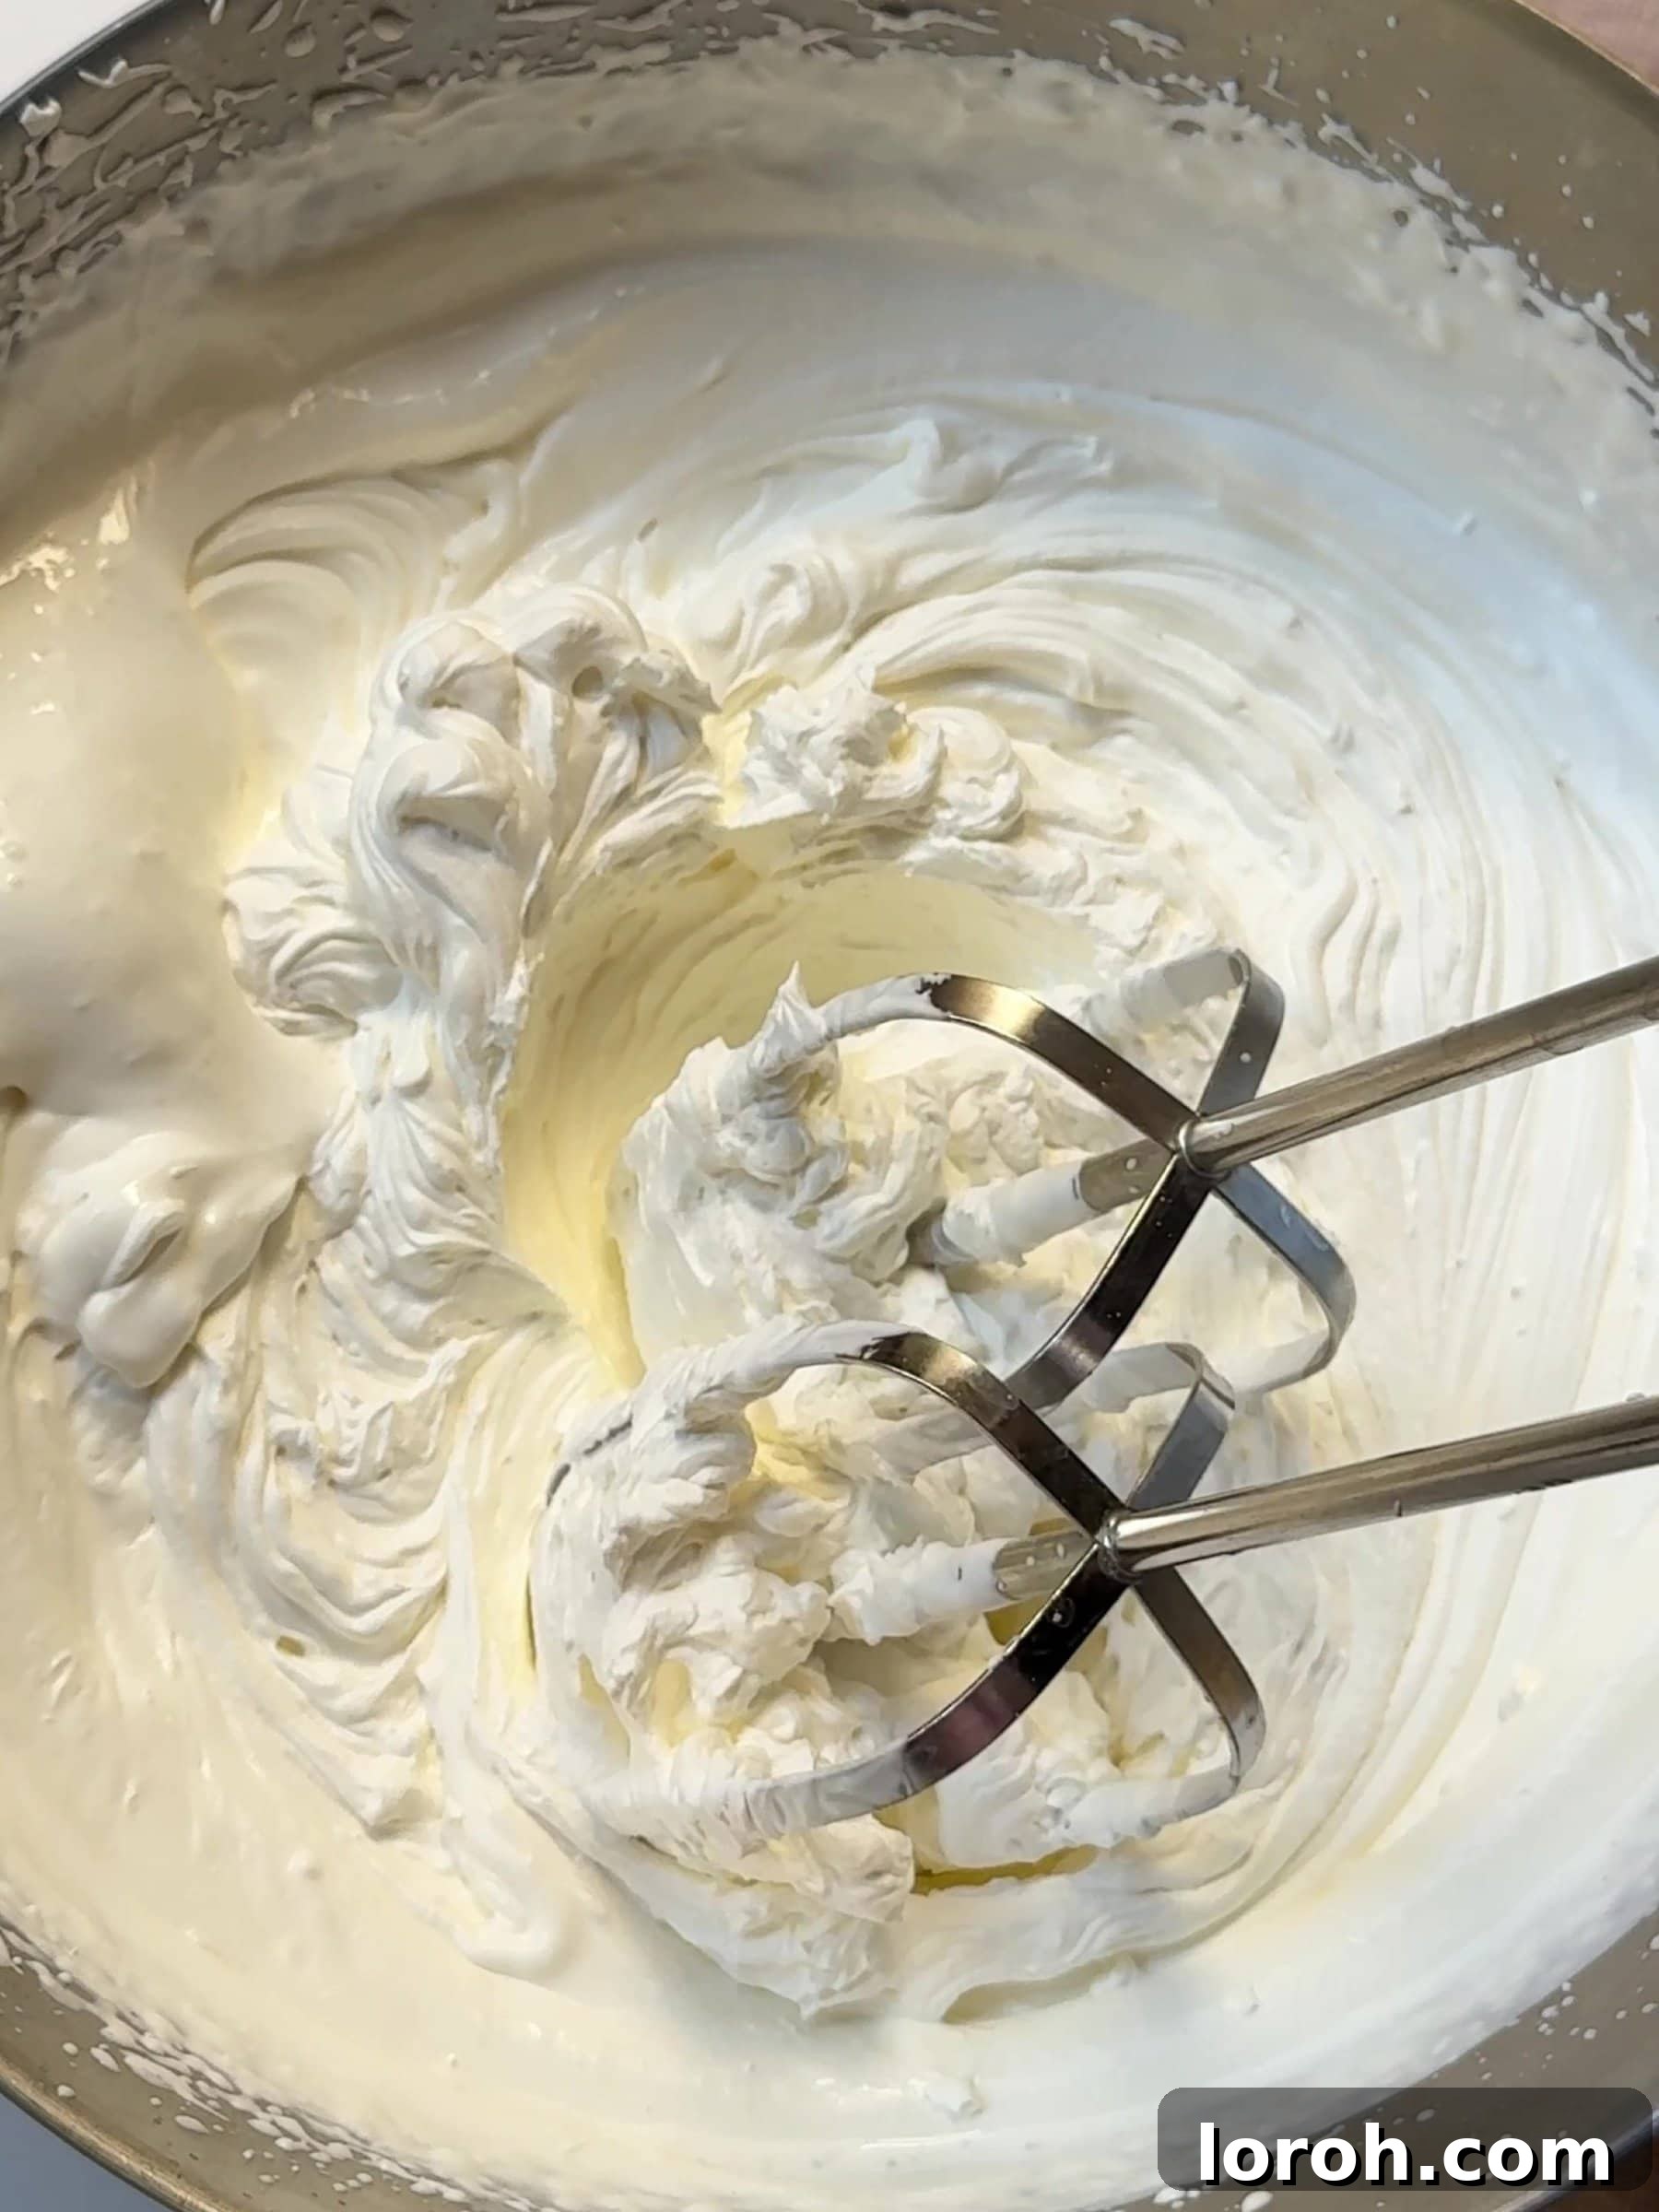
THREE: Whip the Cream. In a clean, chilled mixing bowl, whip the double cream until it reaches soft peaks. You want it to be thick and spoonable, but still light and airy, not stiff or curdled. Be careful not to over-whip.
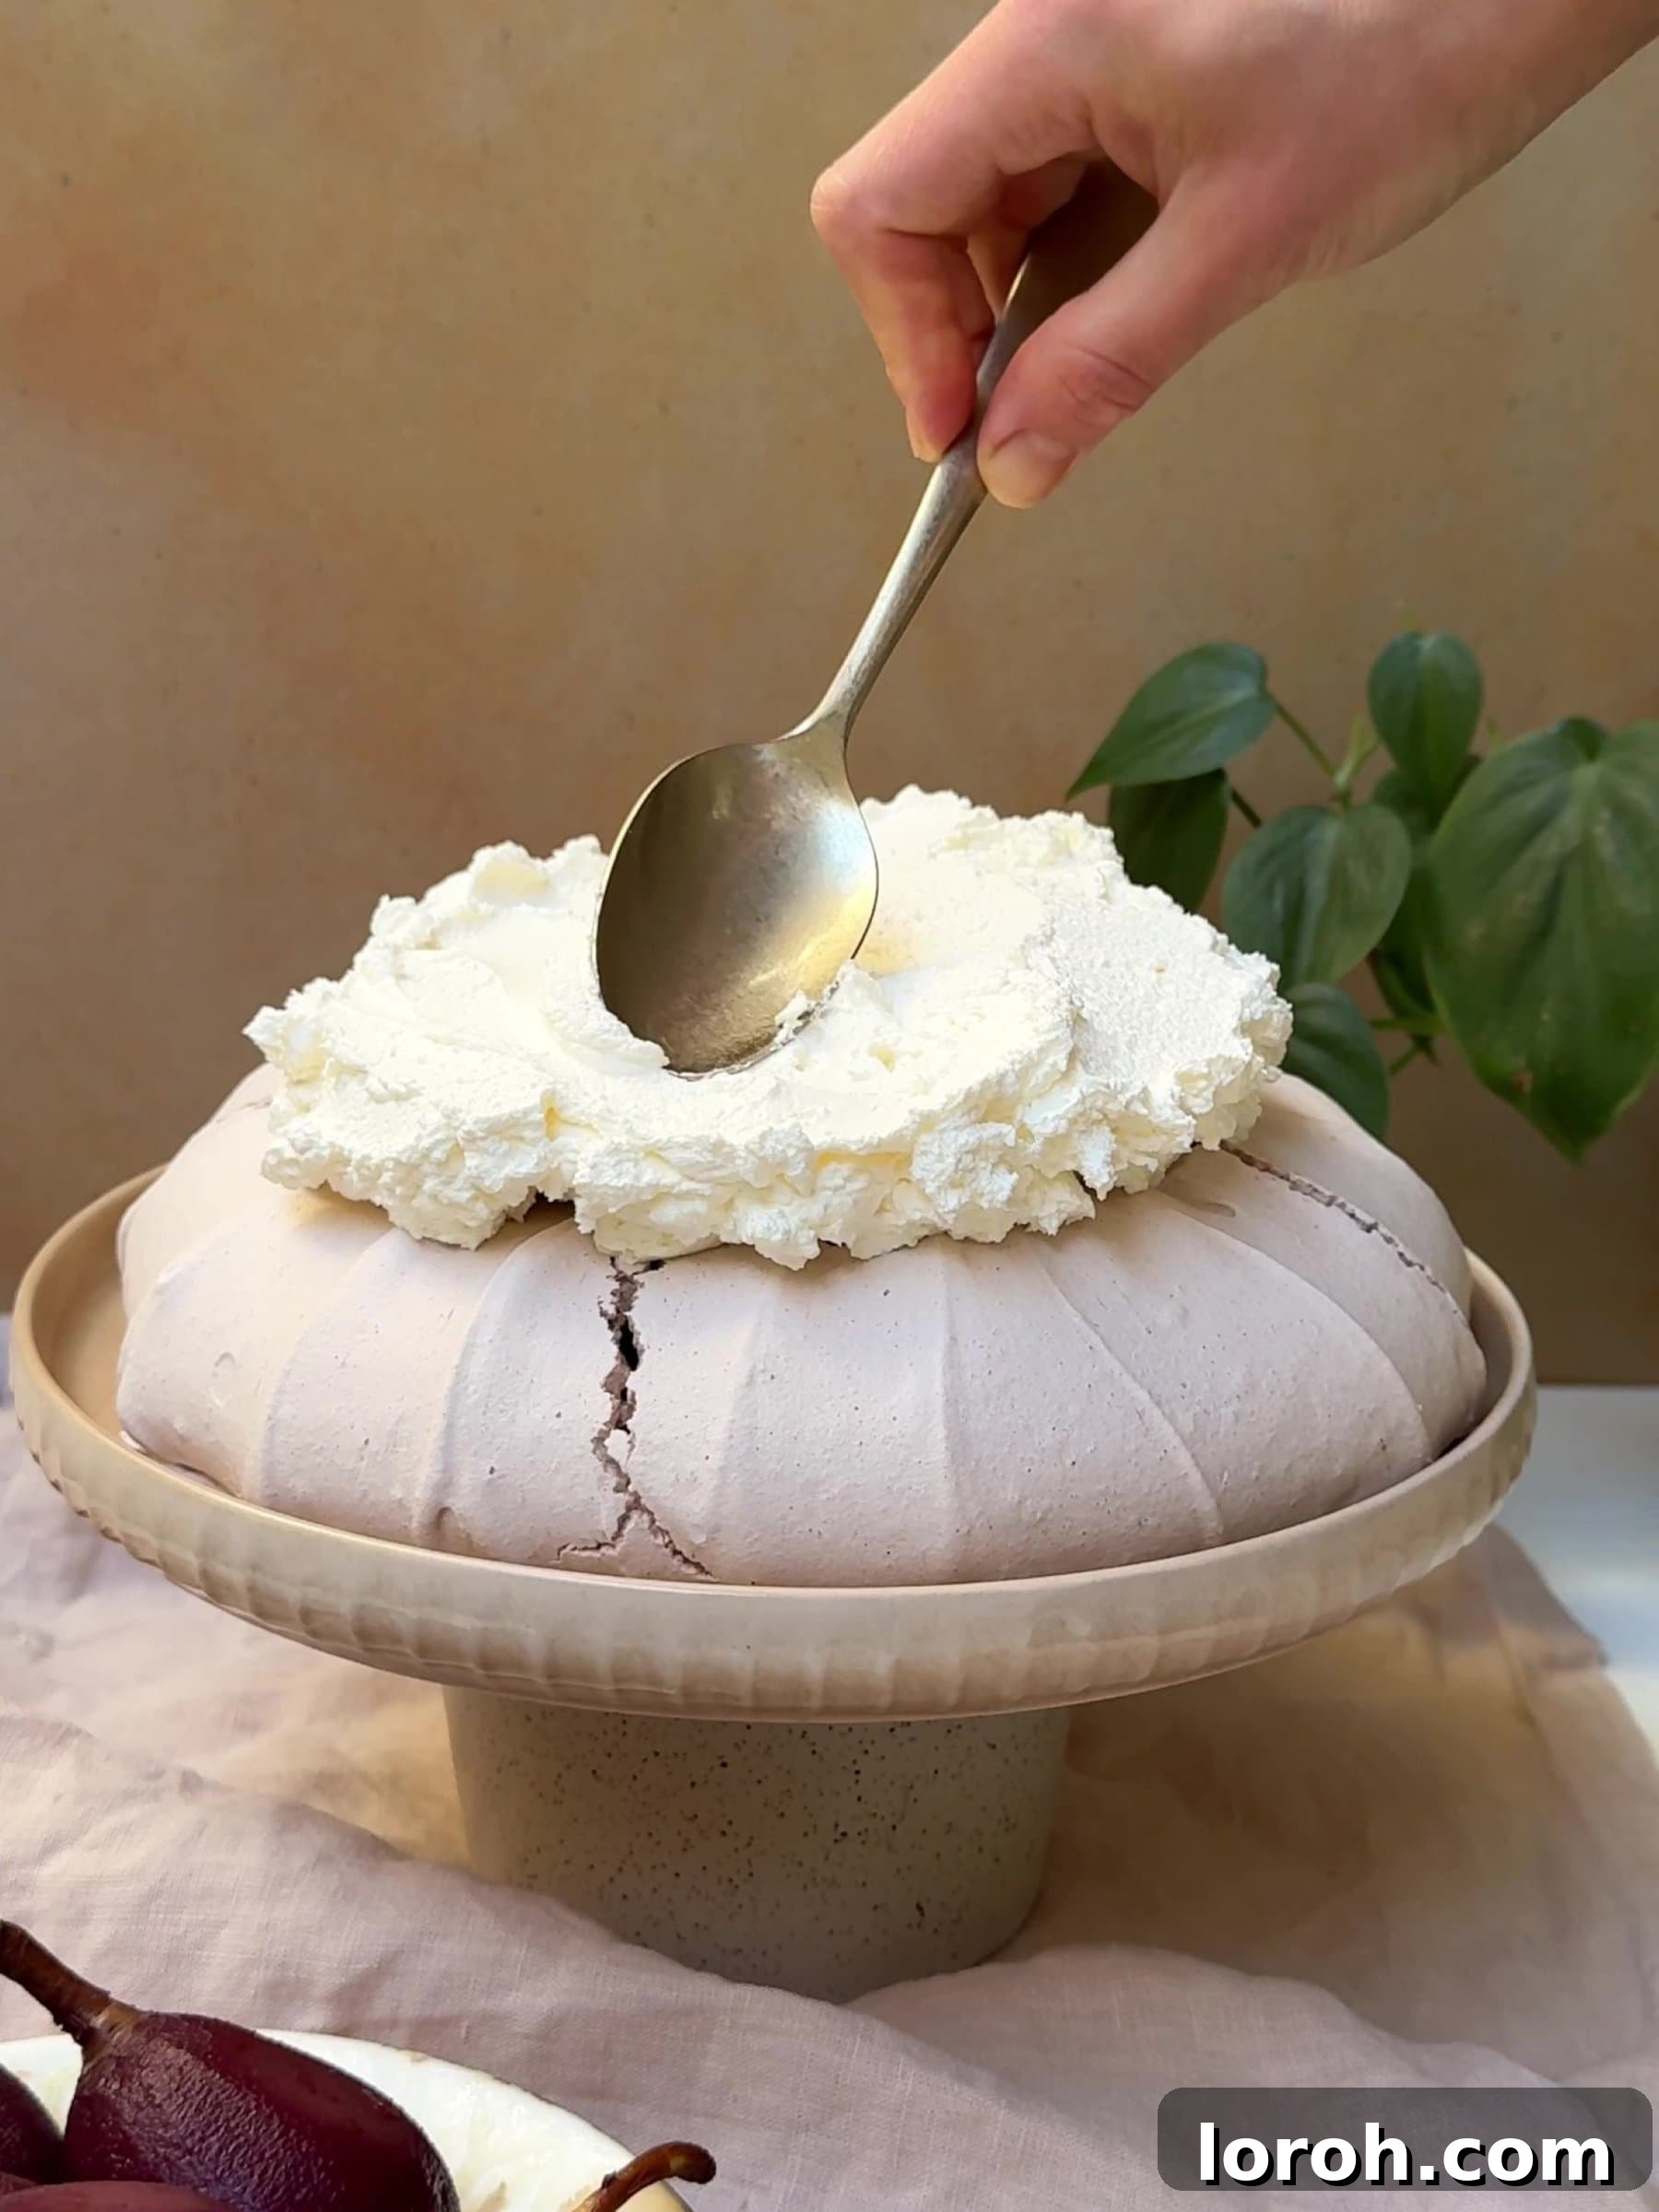
FOUR: Layer with Cream. Carefully transfer the completely cooled pavlova base to your chosen serving platter. Spoon a generous amount of the freshly whipped cream into the prepared cavity in the center of the meringue. Gently spread it out, creating a luscious bed for the pears.
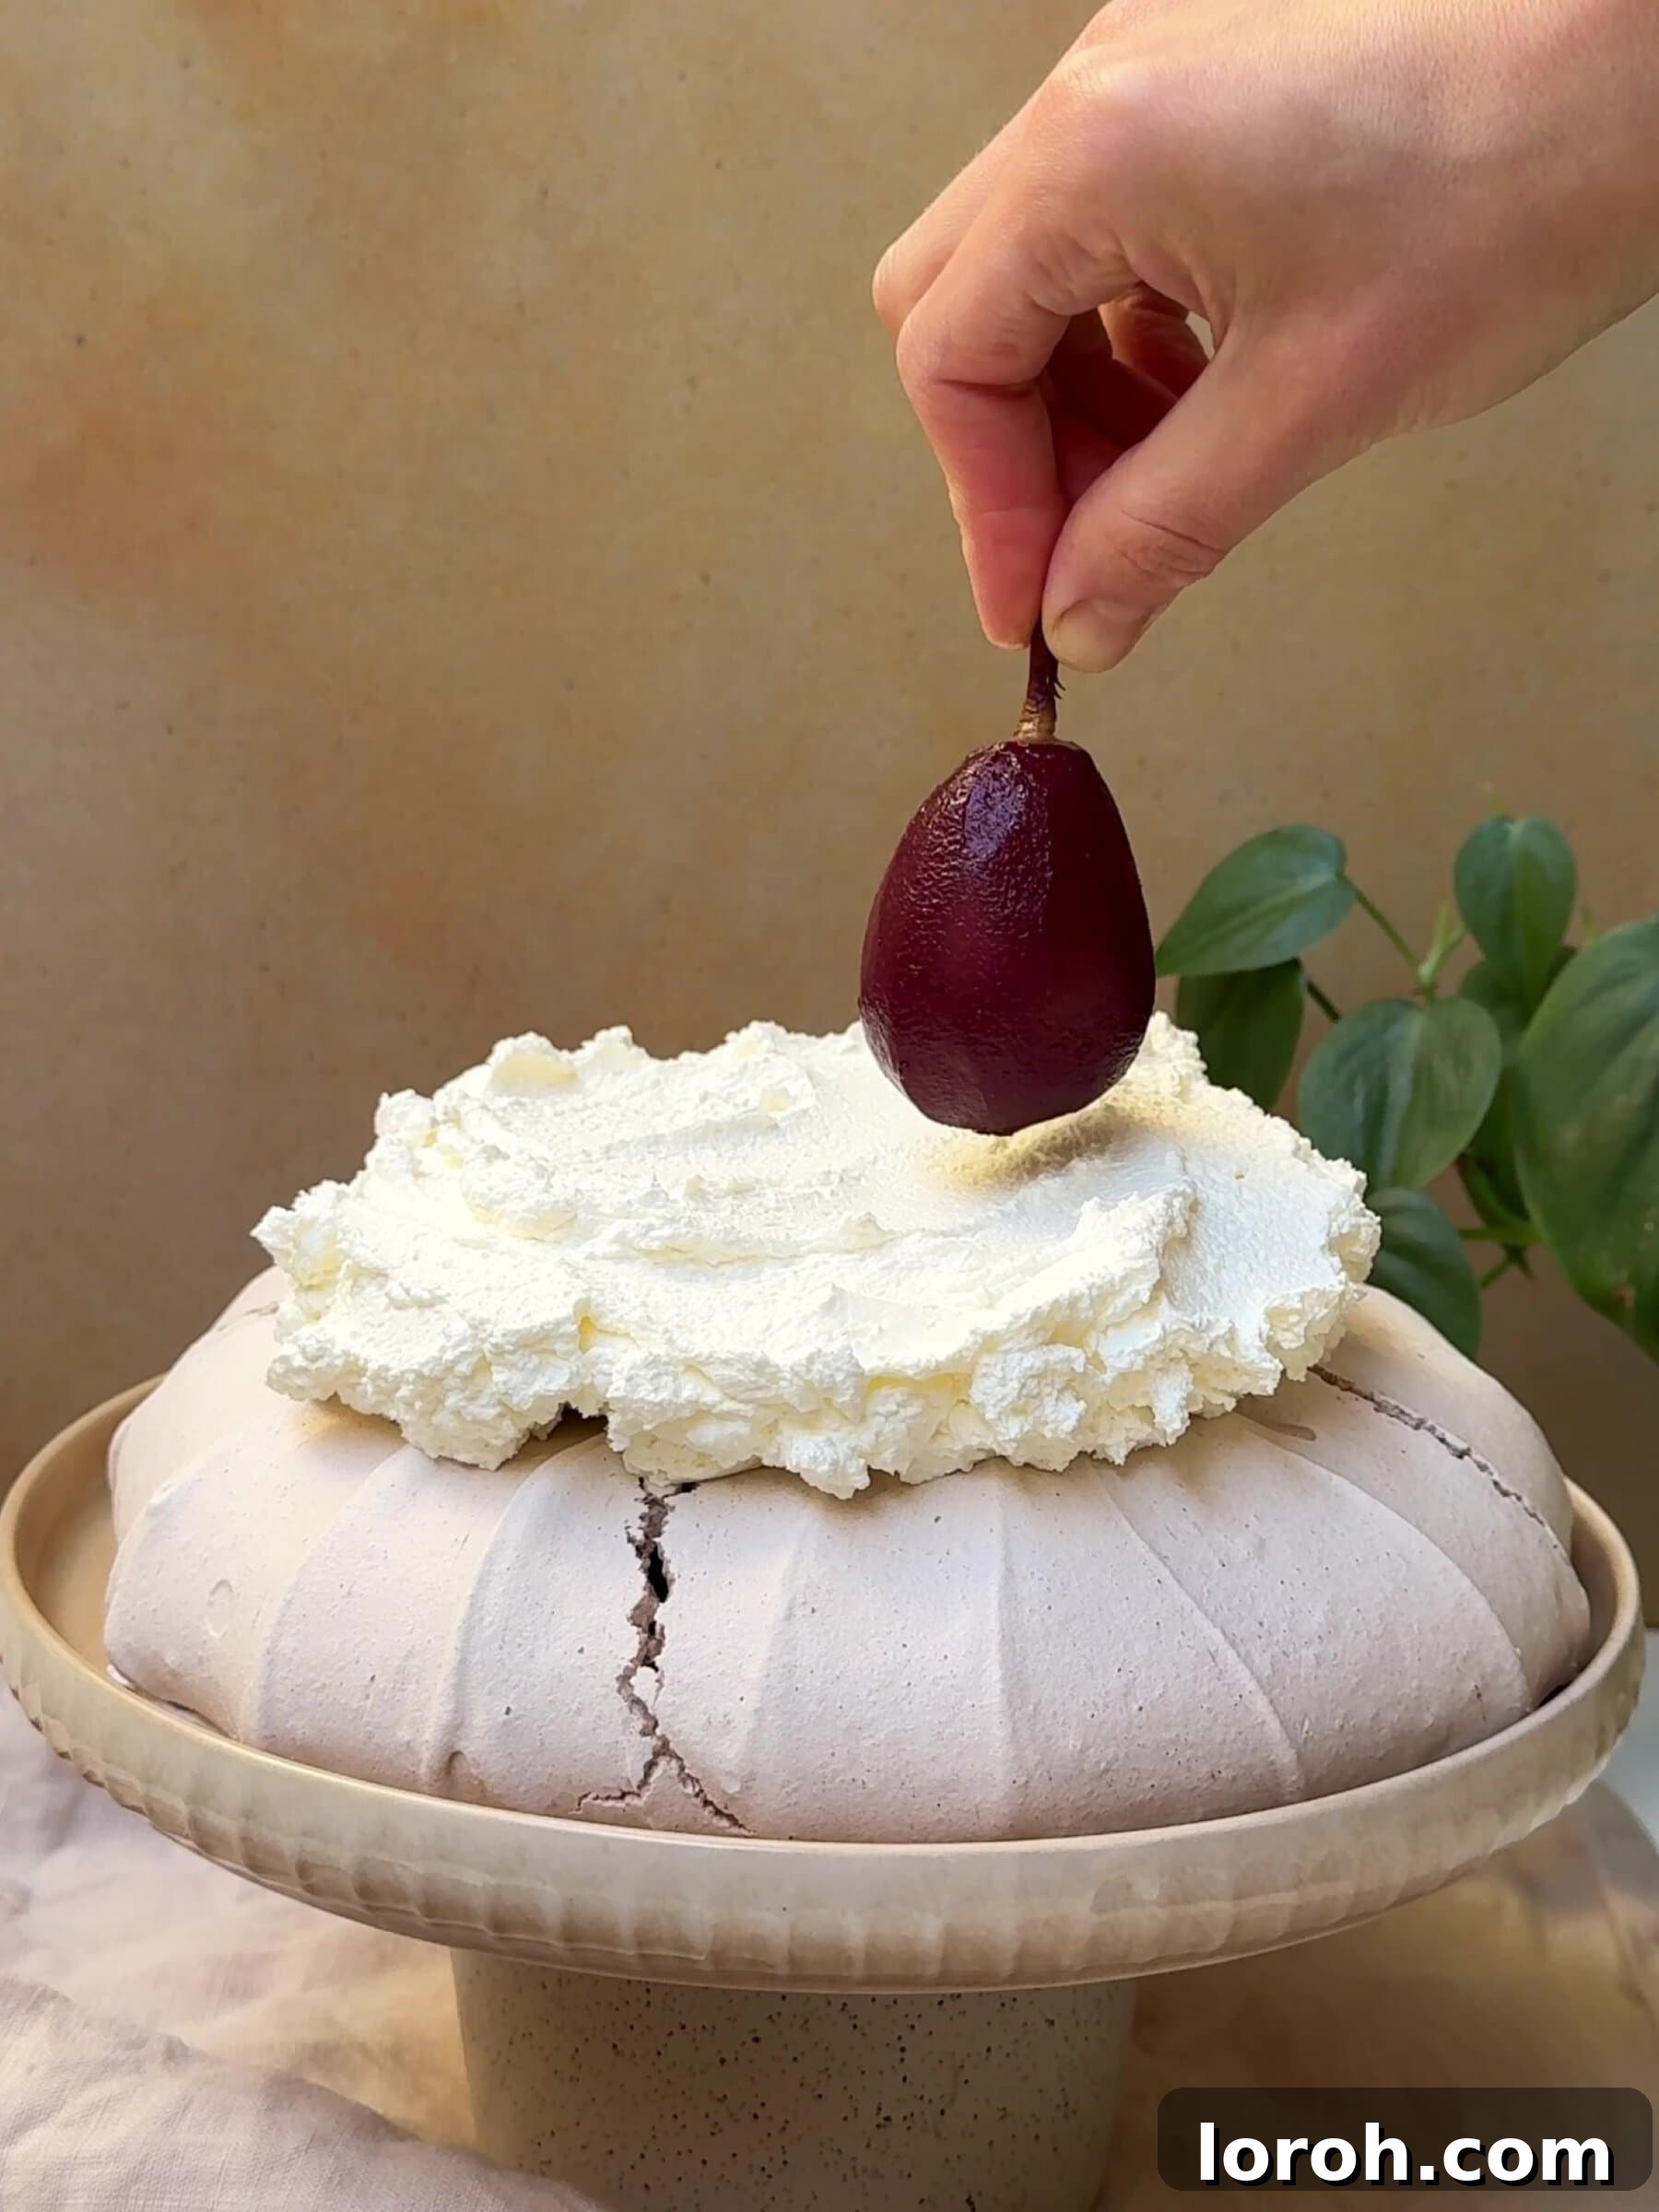
FIVE: Arrange the Pears. Artfully arrange the cooled red wine poached pears on top of the whipped cream. You can stand them upright or lay them down, ensuring they look appealing and festive. Let their beautiful crimson color shine through.
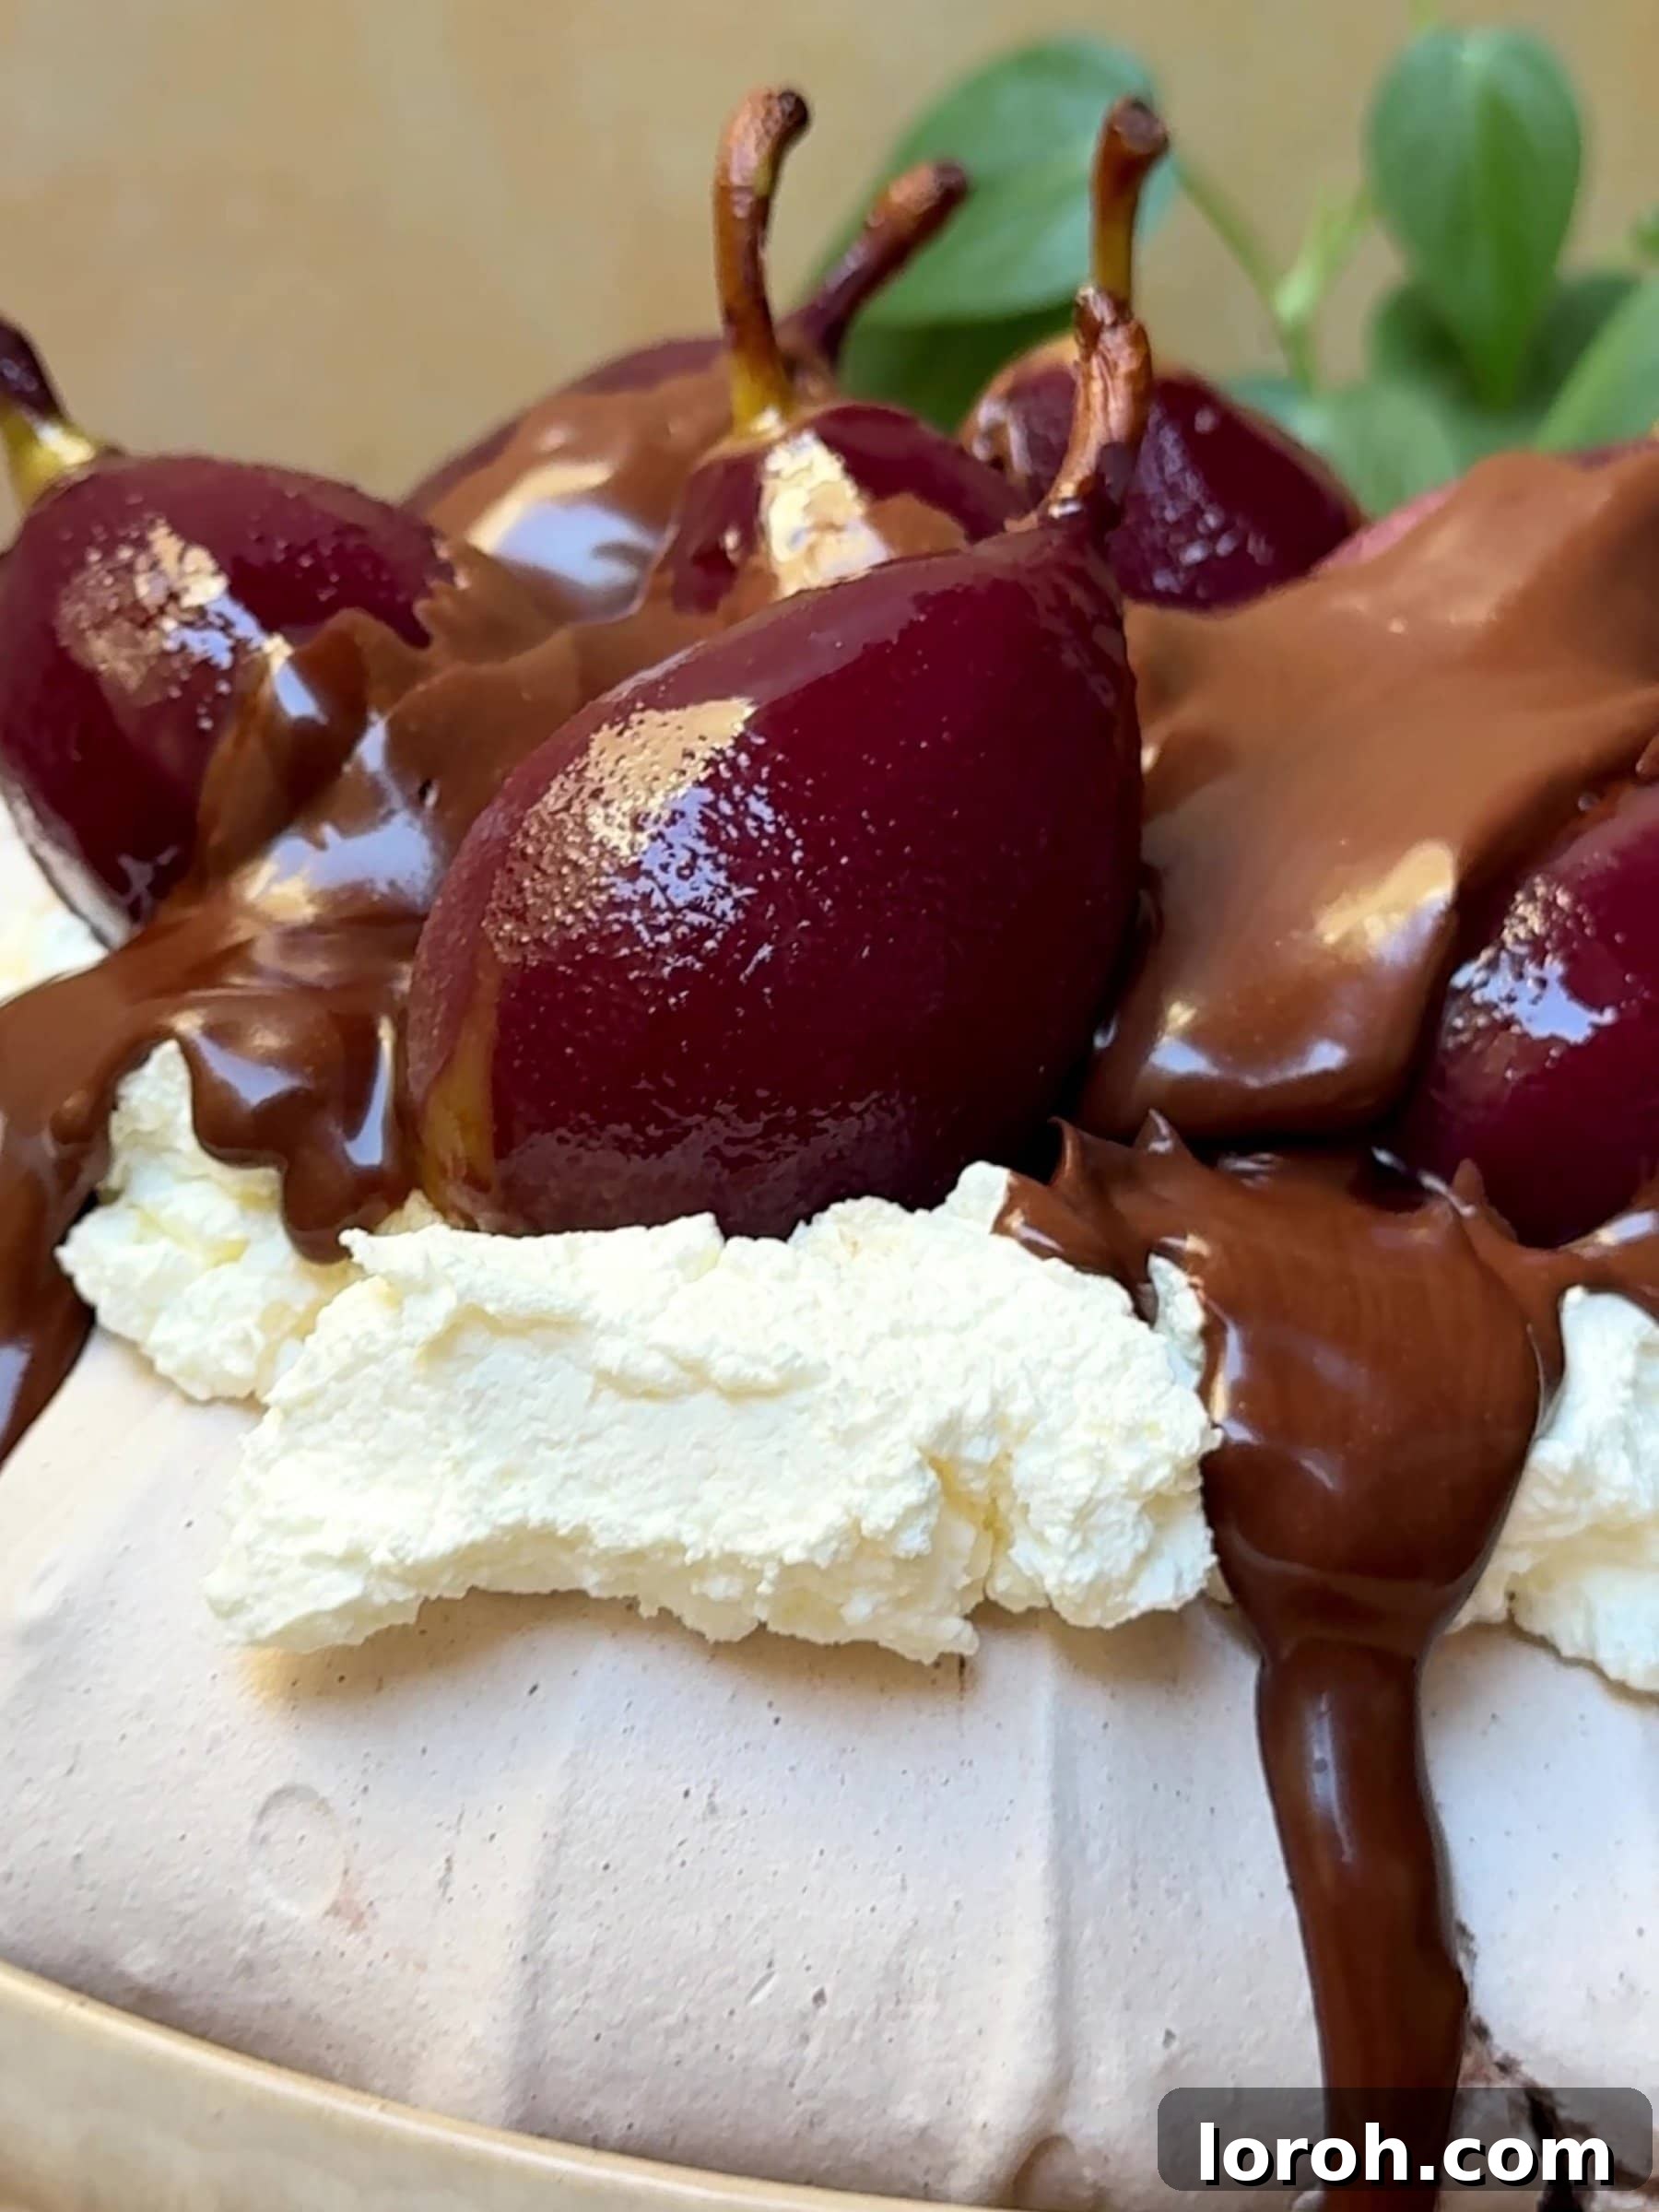
SIX: Drizzle and Serve! To finish, elegantly drizzle the decadent chocolate sauce over the pears and cream. You can be as neat or as artistic as you like! Serve your showstopping Christmas Pavlova immediately and enjoy the delightful reactions of your guests!
Expert Cooking Tips for a Perfect Pavlova
Achieving a beautiful pavlova with a crisp shell and soft, chewy center is easier than you think, especially with these tried-and-true tips:
- Meticulous Egg White Separation: This is paramount! Any trace of egg yolk or grease can prevent your egg whites from whipping up properly. I highly recommend cracking each egg into a separate small bowl first, then carefully transferring the whites one by one into your main mixing bowl. This way, if a yolk breaks in one egg, it won’t contaminate the entire batch.
- Gradual Sugar Addition: Patience is a virtue when adding sugar to egg whites. Slowly spoon in the caster sugar, one tablespoon at a time, allowing each addition to fully dissolve before incorporating the next. This ensures the meringue remains stable and develops its signature glossy, stiff peaks. To test for dissolved sugar, rub a tiny bit of meringue between your thumb and index finger; if it feels smooth, you’re good to go. Graininess means it needs a little more whisking.
- The Art of Slow Cooling: For the most beautiful, crack-free (or minimally cracked) pavlova, slow cooling is non-negotiable. After baking, turn off your oven and leave the pavlova inside with the door ajar (you can wedge it open with a wooden spoon) for at least 4 hours, or ideally, overnight. Removing it too early while it’s still warm will cause a drastic temperature change, leading to major cracks. Remember, a slightly cracked pavlova still tastes incredible, and whipped cream and poached pears are excellent at concealing any imperfections!
- Perfectly Whipped Cream: Keep a close eye on your cream as you whip it. Aim for soft peaks – it should be thick and hold its shape but still be light and spoonable. Over-whipping can quickly turn your beautiful cream into a curdled, grainy mess, or even butter! It’s better to under-whip and then give it a few more seconds than to go too far. If you accidentally over-whip, don’t despair! While it won’t be suitable for the pavlova, you can continue whipping to make homemade butter – just start again with fresh cream for your dessert.
- Embrace the Eton Mess: If, despite your best efforts, your pavlova cracks significantly or breaks when you try to move it, don’t panic! You have two excellent options: either carefully patch it together with extra whipped cream, or embrace the delightful chaos and transform it into a festive “Christmas Eton Mess.” Simply crumble the meringue, layer it with cream, poached pears, and chocolate sauce in individual glasses for a truly delicious, rustic dessert.
Frequently Asked Questions About Pavlova
As delightful as a cracked pavlova can be, if you’re aiming for perfection, there are a few key strategies. The absolute golden rule is slow cooling. After baking, turn off your oven but leave the pavlova inside to cool completely for at least 4 hours, or even overnight. A sudden temperature change is the biggest culprit for cracks. Wedging the oven door open slightly can help facilitate this gradual cooling. Using caster sugar (not granulated or icing sugar) is crucial, as its fine texture stabilizes the meringue perfectly. Lastly, adding cornflour and vinegar to your meringue mix significantly helps in creating a stable structure, further reducing the risk of cracking. Remember, a “broken” pavlova simply becomes a delicious Eton mess!
The hallmark of a truly great pavlova is its crisp exterior giving way to a wonderfully chewy, marshmallow-like interior. To achieve this desired texture, the key is to avoid overcooking the meringue. While it bakes for a considerable time (1 hour 45 minutes in this recipe), remember it continues to “cook” and dry out as it slowly cools in the turned-off oven. Overcooking leads to a dry, crumbly meringue that lacks that delightful chewiness. Trust the process of slow cooling in the oven to finish its transformation, ensuring a perfectly chewy result.
Don’t let those extra egg yolks go to waste! They are incredibly versatile. A classic choice is homemade custard, which pairs wonderfully with a fruit crumble or my peach cobbler with cake mix. Egg yolks are also my secret ingredient for unbelievably creamy pasta dishes, like my rich buttery lemon pasta, authentic carbonara with guanciale, or the unique udon carbonara. For quick and easy options, consider making homemade mayonnaise or a luxurious hollandaise sauce. You can also freeze egg yolks (whisked lightly with a pinch of salt or sugar, depending on intended use) for later use.
Make Ahead Instructions for Stress-Free Entertaining
One of the many reasons this Christmas Pavlova is perfect for festive entertaining is its make-ahead potential. However, it’s crucial not to assemble the entire dessert too far in advance, as the moisture from the cream and pears can soften the meringue.
You can prepare the individual components in stages to streamline your holiday baking:
- Meringue: Once completely cooled, the meringue base can be stored in an airtight container or tightly wrapped in clingfilm at room temperature for up to 2 days. This is an excellent component to prepare well in advance.
- Poached Pears: Store the cooled poached pears in their poaching liquid in an airtight container in the refrigerator for up to 5 days. Ensure they are not packed too tightly to prevent bruising, which can affect their beautiful appearance.
- Chocolate Sauce: The chocolate sauce can be made up to 1 day ahead. Pour it into an airtight container and refrigerate. The sauce will firm up considerably when chilled. On the day of serving, remove it from the fridge a few hours beforehand to allow it to come to room temperature. If it’s still too thick, gently warm it in short bursts in the microwave or over a double boiler, stirring frequently, until it reaches a pourable consistency again.
- Whipped Cream: For the freshest taste and best texture, I highly recommend whipping the cream on the day you plan to serve the pavlova. If you need to whip it a couple of hours in advance, cover the bowl tightly with cling film and keep it refrigerated until ready to use.
More Festive Recipes You Might Enjoy
Looking for more holiday inspiration? Explore these delightful Christmas recipes from our collection:
- My indulgent No-Bake Tiramisu Cake (made with panettone for a festive twist).
- A classic Panettone Tiramisu for a rich and creamy treat.
- The comforting flavors of my Apple Crumble Cheesecake.
- A decadent Chocolate Brownie Trifle, perfect for chocolate lovers.
- An elegant Chocolate Cake with Chocolate Mousse for pure indulgence.
- My charming Christmas Wreath Pavlova.
- And the impressive Bûche de Noël Yule Log.
Discover More Festive Delights
Christmas Recipes
Nutella Puff Pastry Christmas Tree
Christmas Recipes
Easy Christmas Cheesecakes
Christmas Recipes
Christmas Pretzel Crack
Christmas Recipes
The Best Shortbread Christmas Tree Cookies
We hope you thoroughly enjoy creating and sharing this spectacular Christmas Pavlova! If you tried this recipe or any other on our site, please consider leaving a rating or comment below and let us know how your festive dessert turned out. Your feedback means the world to us!
Christmas Pavlova with Red Wine Poached Pears
Rate Recipe
Print Recipe
Ingredients
For the poached pears:
- 2 large oranges
- 6 ripe but firm small pears, small pears are preferable; you can shave larger ones down and trim bottoms, leaving stalks on.
- 480 ml red wine, such as Pinot Noir
- 60 ml runny honey
- 3 tbsp caster sugar
- 1 cinnamon stick
- ¼ tsp ground cardamom
For the pavlova:
- 6 large egg whites
- 300 g caster sugar
- 2 tsp white wine vinegar
- 2 tsp cornflour
- 3 tbsp cocoa powder
For the chocolate sauce:
- 75 g good-quality dark chocolate, chopped
- 100 ml double cream
To serve:
- 600 ml double cream, lightly whipped until spoonable
Instructions
- Zest and juice one of the oranges and pour the juice into a large mixing bowl. Slice the remaining orange into ¼-inch rounds.
- With a vegetable peeler, peel the pears, leaving them whole. Add the pears to the bowl with the orange juice and toss to coat (this will help prevent them from turning brown too quickly).
- Add the orange slices, red wine, honey, sugar, cinnamon stick, and cardamom to a saucepan.
- Place the pan over a medium-high heat and bring the liquid to a rolling boil. Reduce the heat and carefully add the pears and orange juice. Cover and simmer gently for 20-30 minutes, occasionally rotating them using a wooden spoon, until the pears have softened enough for a skewer inserted in the middle of a pear at the thickest part to be met with no resistance.
- Transfer the pears back to the bowl that you tossed with orange juice. Set aside to cool.
- Next, make the pavlova: preheat the oven to 120C / 100C Fan. Add the egg whites to the bowl of a stand mixer. Whisk on low until foamy, then increase to medium until soft peaks form.
- Gradually add the caster sugar 1 tbsp at a time, whisking until dissolved. Increase the speed to high and whisk for 8 minutes, or until stiff peaks form and there are no grains of sugar dispersed in the mixture. Test this by rubbing some of the meringue between your thumb and index finger, it shouldn’t feel grainy.
- Add the vinegar and whisk for a further 10 seconds until just combined.
- Sieve in the cornflour and cocoa powder, then fold in with a large metal spoon. Take care to keep in as much air as possible.
- Line a large baking tray with non-stick baking paper – using some of the meringue as glue to stick down the base of the baking paper to the tray. Pile the meringue in the middle, then lightly and evenly distribute into a dome about 15 cm in diameter.
- Scoop out a little from the middle, to create a shallow volcano cavity, then add back to the sides and evenly distribute. Once smooth, using a butter knife or small palette knife, glide vertically up the surface and across the top of the pavlova on a slight angle to form a striped pattern. Clean up the cavity if necessary, then bake in the oven for 1 hour and 45 minutes.
- Next, turn the oven off but don’t open the oven door. Leave the pavlova inside to cool completely for at least 4 hours.
- Meanwhile, make the chocolate sauce: put the chopped chocolate into a heatproof bowl and set aside. Pour the cream into a small saucepan and place over a medium heat. Slowly bring to a simmer. Remove from the heat and pour over the chopped chocolate. Stir well until the chocolate is completely melted.
- To serve: set the cooled pavlova onto a plate. Top with the gently whipped cream and cooled poached pears. Drizzle with chocolate sauce and enjoy!
Notes
Whipped cream: Take care to whip the cream just to soft peaks for the decoration. If you over-whip, it will split. Although you don’t have to throw it away! Keep whipping and you will eventually get something akin to butter. However, you will need to start again with fresh whipped cream for this Christmas pavlova.
Chocolate: I love dark chocolate as it balances out the sweetness of the pavlova. A good quality milk chocolate also works well. I sometimes grate over chocolate curls too, they look so pretty.
Red wine: The pears can be poached without the red wine. I think the red wine makes it look more festive, but if you would like to omit it, there are alternatives. Either use an alcohol-free red wine or fruit juice. It would work well with orange juice or cranberry juice, even apple juice. If you want to, you can poach the pears in a sugar syrup. Substitute with 450ml water and add the honey and caster sugar as instructed. The final amount of sugar depends on the sweetness of the pears and your own tastes, so taste it as you go and add more sugar as needed. Go slowly as you can always add but can’t take away.
Red wine syrup: I have served it before without chocolate sauce. You could reduce the red wine poaching liquid into a thick syrup. It’s so delicious, and it complements the pears so well, of course. Remove the pears from the pan as instructed but don’t discard the poaching liquid. Then turn the heat to medium-high and bubble the poaching liquid until totally reduced, syrupy, and glossy. This will take anywhere from 15 to 30 minutes, it will depend on the pan used and how much it bubbles, so be patient with it.
Serve without meringue: You could serve poached pears with whipped cream and then either the chocolate sauce or the reduced red wine syrup, as detailed above. For the pavlova, I like to use small, delicate pears as they look daintier, but if you were to serve without the meringue, you could use larger, more pointy pears. Slice the bottom off so they stand tall. You could also core the pears if you’d like. This is optional, it’s definitely a fancier way of doing it and can be a little fiddly, but I would do it if serving for a dinner party. If I were just serving at home, I don’t mind keeping the stalks in.
Nuts: To add a bit of texture, sprinkle this Christmas pavlova with toasted chopped nuts. Hazelnuts and almonds are delicious. I also love pistachios as the green looks super festive. Alternatively, crushed amaretti biscuits are divine!
Make it vegan: Although I haven’t tried it personally, lots of people make vegan pavlova with aquafaba (chickpea water). You could give it a try and then top with vegan whipped cream. Oatly’s Whippable Creamy Oat is good. Then just make sure your dark chocolate is vegan-friendly and swap the honey for maple syrup.
Nutrition
Nutrition information is automatically calculated, so should only be used as an approximation.
Like this? Leave a comment below!