
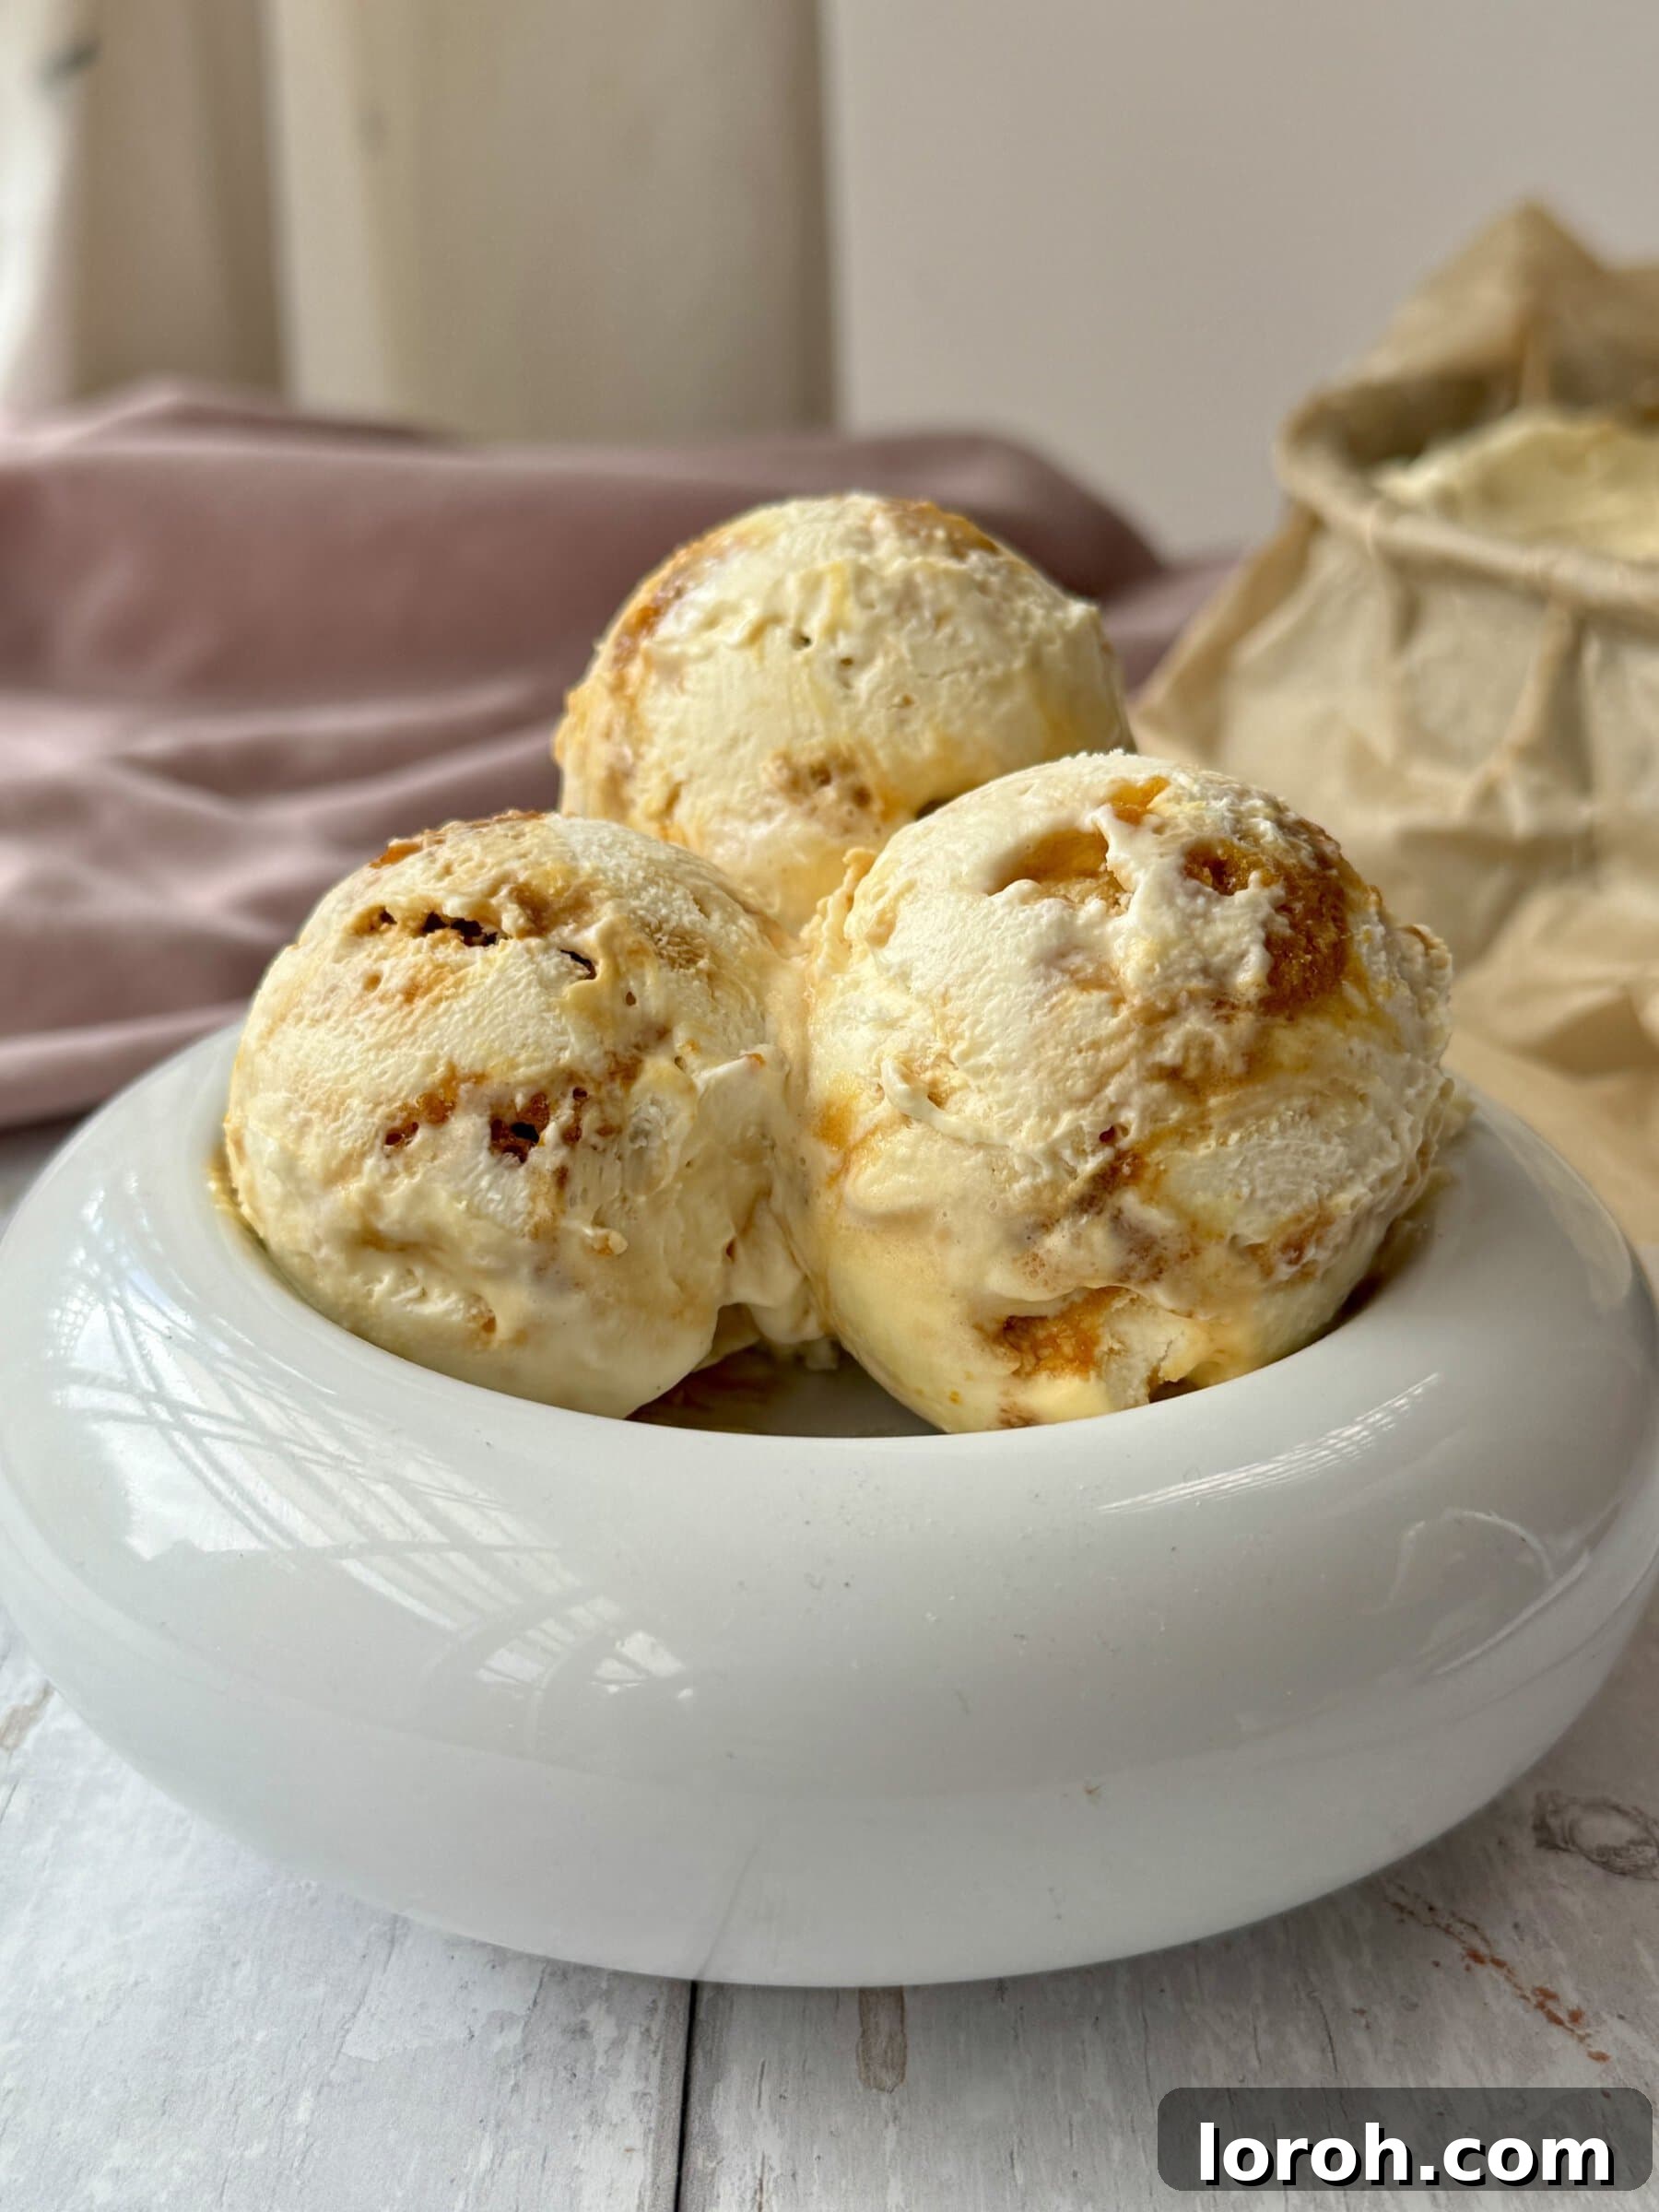
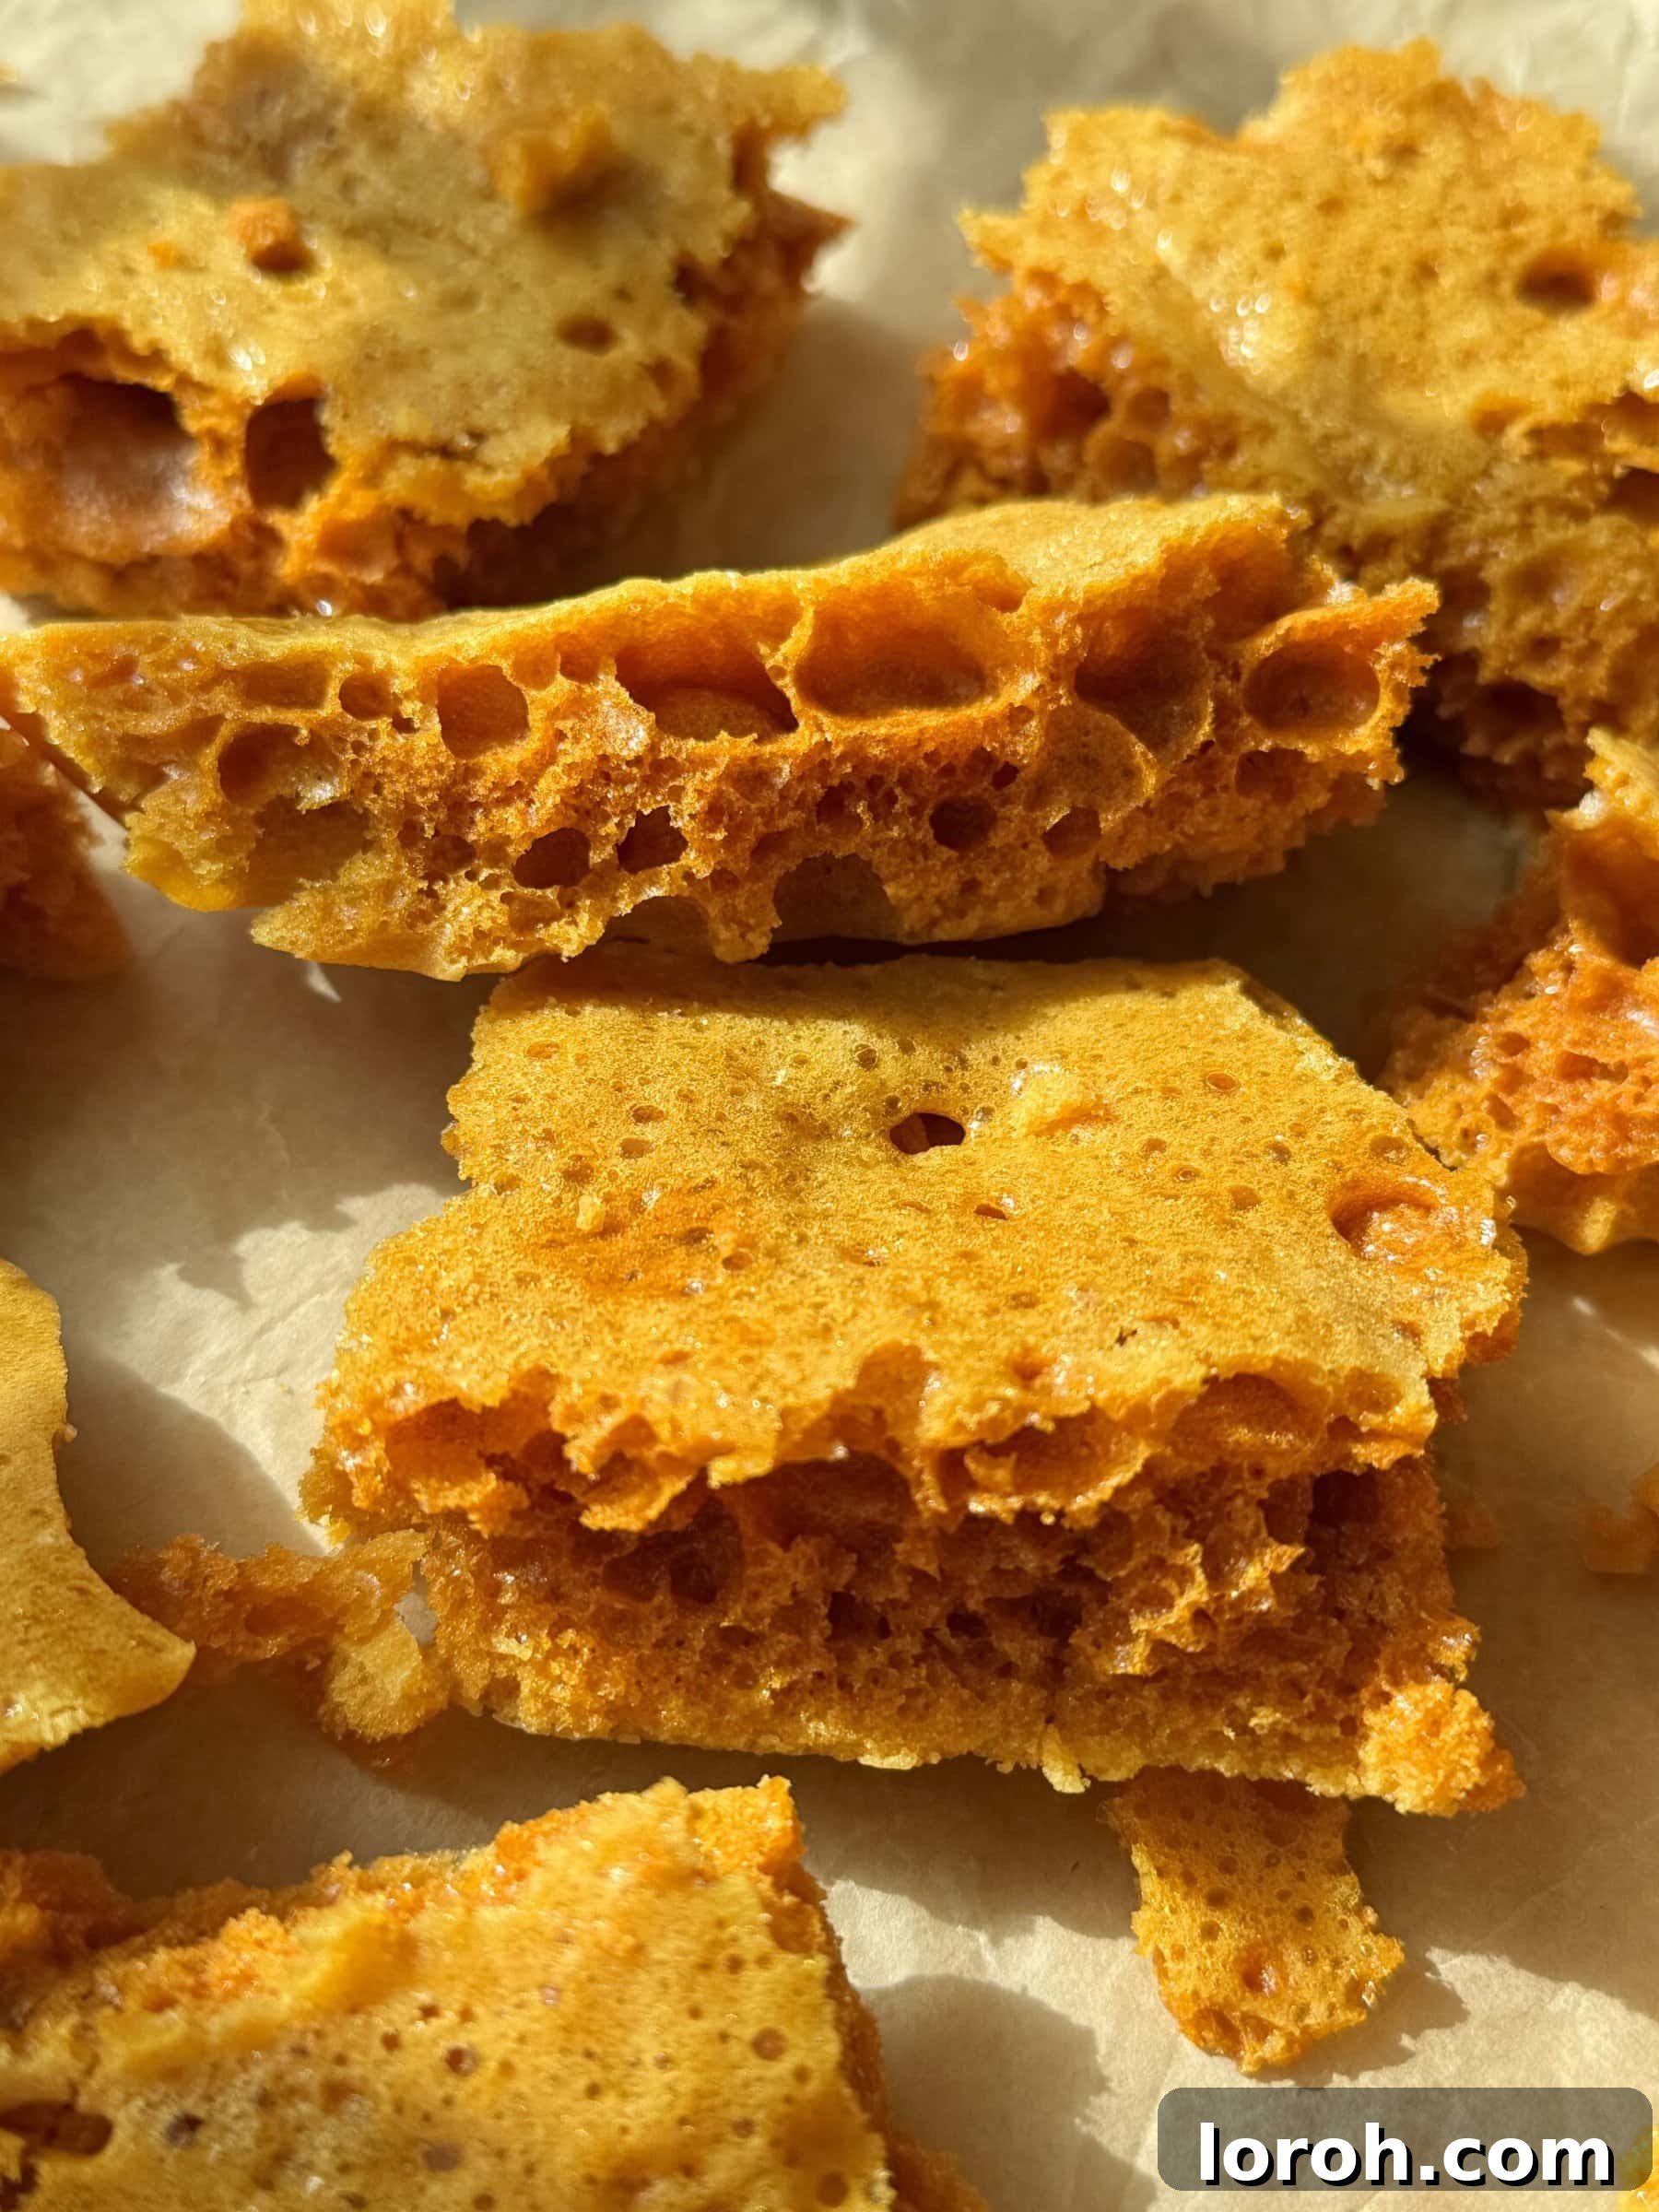
Prepare to fall in love with your new favorite dessert: this spectacular Homemade Honeycomb Ice Cream! Forget everything you thought you knew about making ice cream at home, because this super easy and utterly delicious recipe proves you don’t need a fancy machine to create an extraordinary frozen treat. Imagine a perfectly creamy, velvety ice cream base, generously studded with irresistibly sweet and crunchy pieces of homemade honeycomb. Each spoonful delivers a delightful textural contrast that melts in your mouth without ever turning icy.
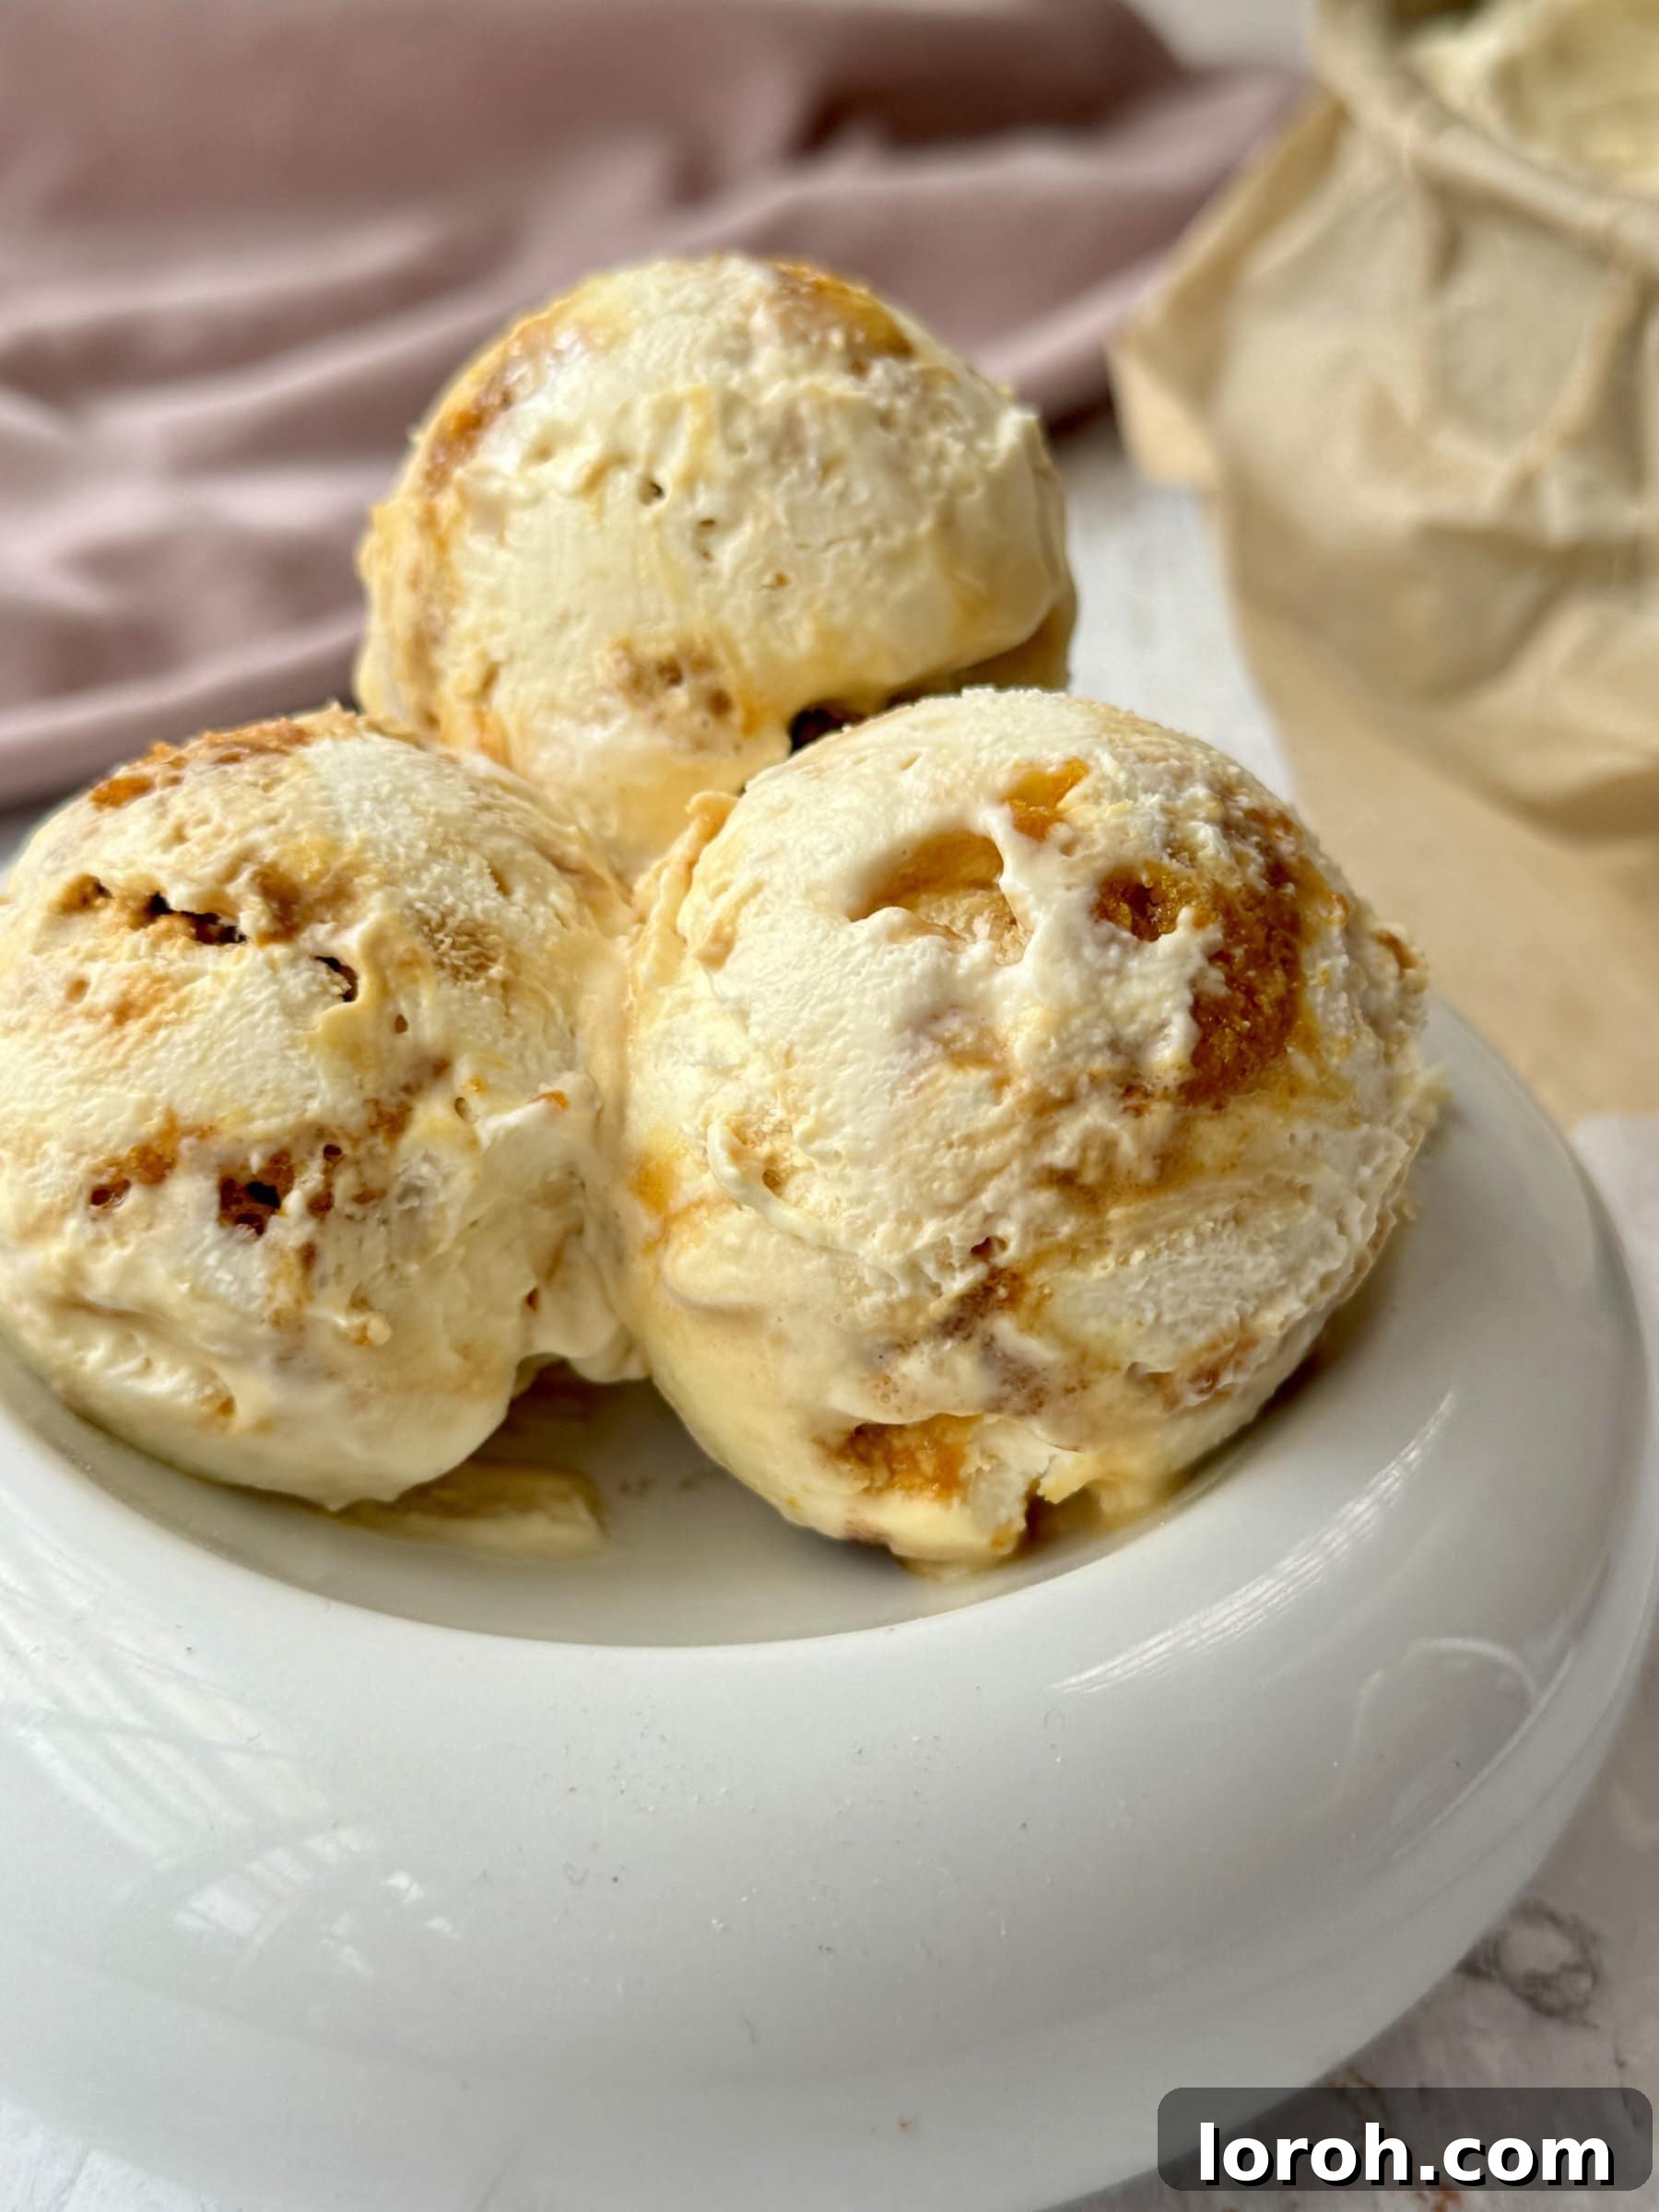
There’s a widespread belief that achieving homemade ice cream perfection requires specialized equipment and complex techniques. This recipe shatters that misconception entirely! Our secret lies in the magic of condensed milk, creating a lusciously smooth, no-churn ice cream base that requires minimal effort. While we’ll guide you through making your own incredibly satisfying honeycomb, the ice cream itself starts with just two core ingredients, making it an almost unbelievably simple process. This foundational ease allows for endless customization with your favorite mix-ins and flavors. Trust us, once you experience the joy and simplicity of crafting your own no-churn ice cream, you’ll wonder why you ever bought it from the store!
Table of Contents
- Why You’ll Adore This Easy No-Churn Honeycomb Ice Cream
- Essential Ingredients for Perfect Honeycomb Ice Cream
- Creative Substitutions & Delicious Variations
- Step-by-Step Guide: Crafting Your Honeycomb Ice Cream
- Expert Tips for Honeycomb Ice Cream Success
- Frequently Asked Questions About Honeycomb Ice Cream
- More Delicious Dessert Recipes to Explore
- Share Your Sweet Success!
- Homemade Honeycomb Ice Cream Recipe Card
Why You’ll Adore This Easy No-Churn Honeycomb Ice Cream
This recipe isn’t just about making ice cream; it’s about creating an unforgettable dessert experience with incredible ease. Here’s why this homemade honeycomb ice cream will become a staple in your kitchen:
- It is unbelievably simple to make, requiring no specialized ice cream maker. The entire process uses just 5 readily available ingredients that you likely already have stocked in your pantry and fridge.
- This dessert is perfectly suited for making ahead of time. Simply prepare it the day before your event, freeze, and then effortlessly serve a stunning dessert, making it an ideal choice for stress-free dinner parties and gatherings.
- Its delightful texture and rich flavor make it versatile. Enjoy it as a standalone treat for a lighter dessert, or serve it alongside your favorite warm puddings, pies, or crumbles for an elevated experience.
- Every spoonful is an explosion of flavor and texture. The sweet, rich condensed milk creates an incredibly creamy base, while the addition of crunchy honeycomb chunks provides a delightful contrast and a signature toffee-like sweetness that’s simply irresistible.
- This recipe is super versatile, allowing you to customize it to your heart’s content. While honeycomb is divine, you can easily swap it for chopped chocolate, various nuts, cookie pieces, or even swirl in different sauces like caramel or chocolate for endless variations.
- It’s an egg-free ice cream, which means you don’t have to worry about the complexities or concerns of raw or partially cooked eggs. This makes it a wonderfully inclusive dessert that everyone can safely enjoy, from friends to family members of all ages.
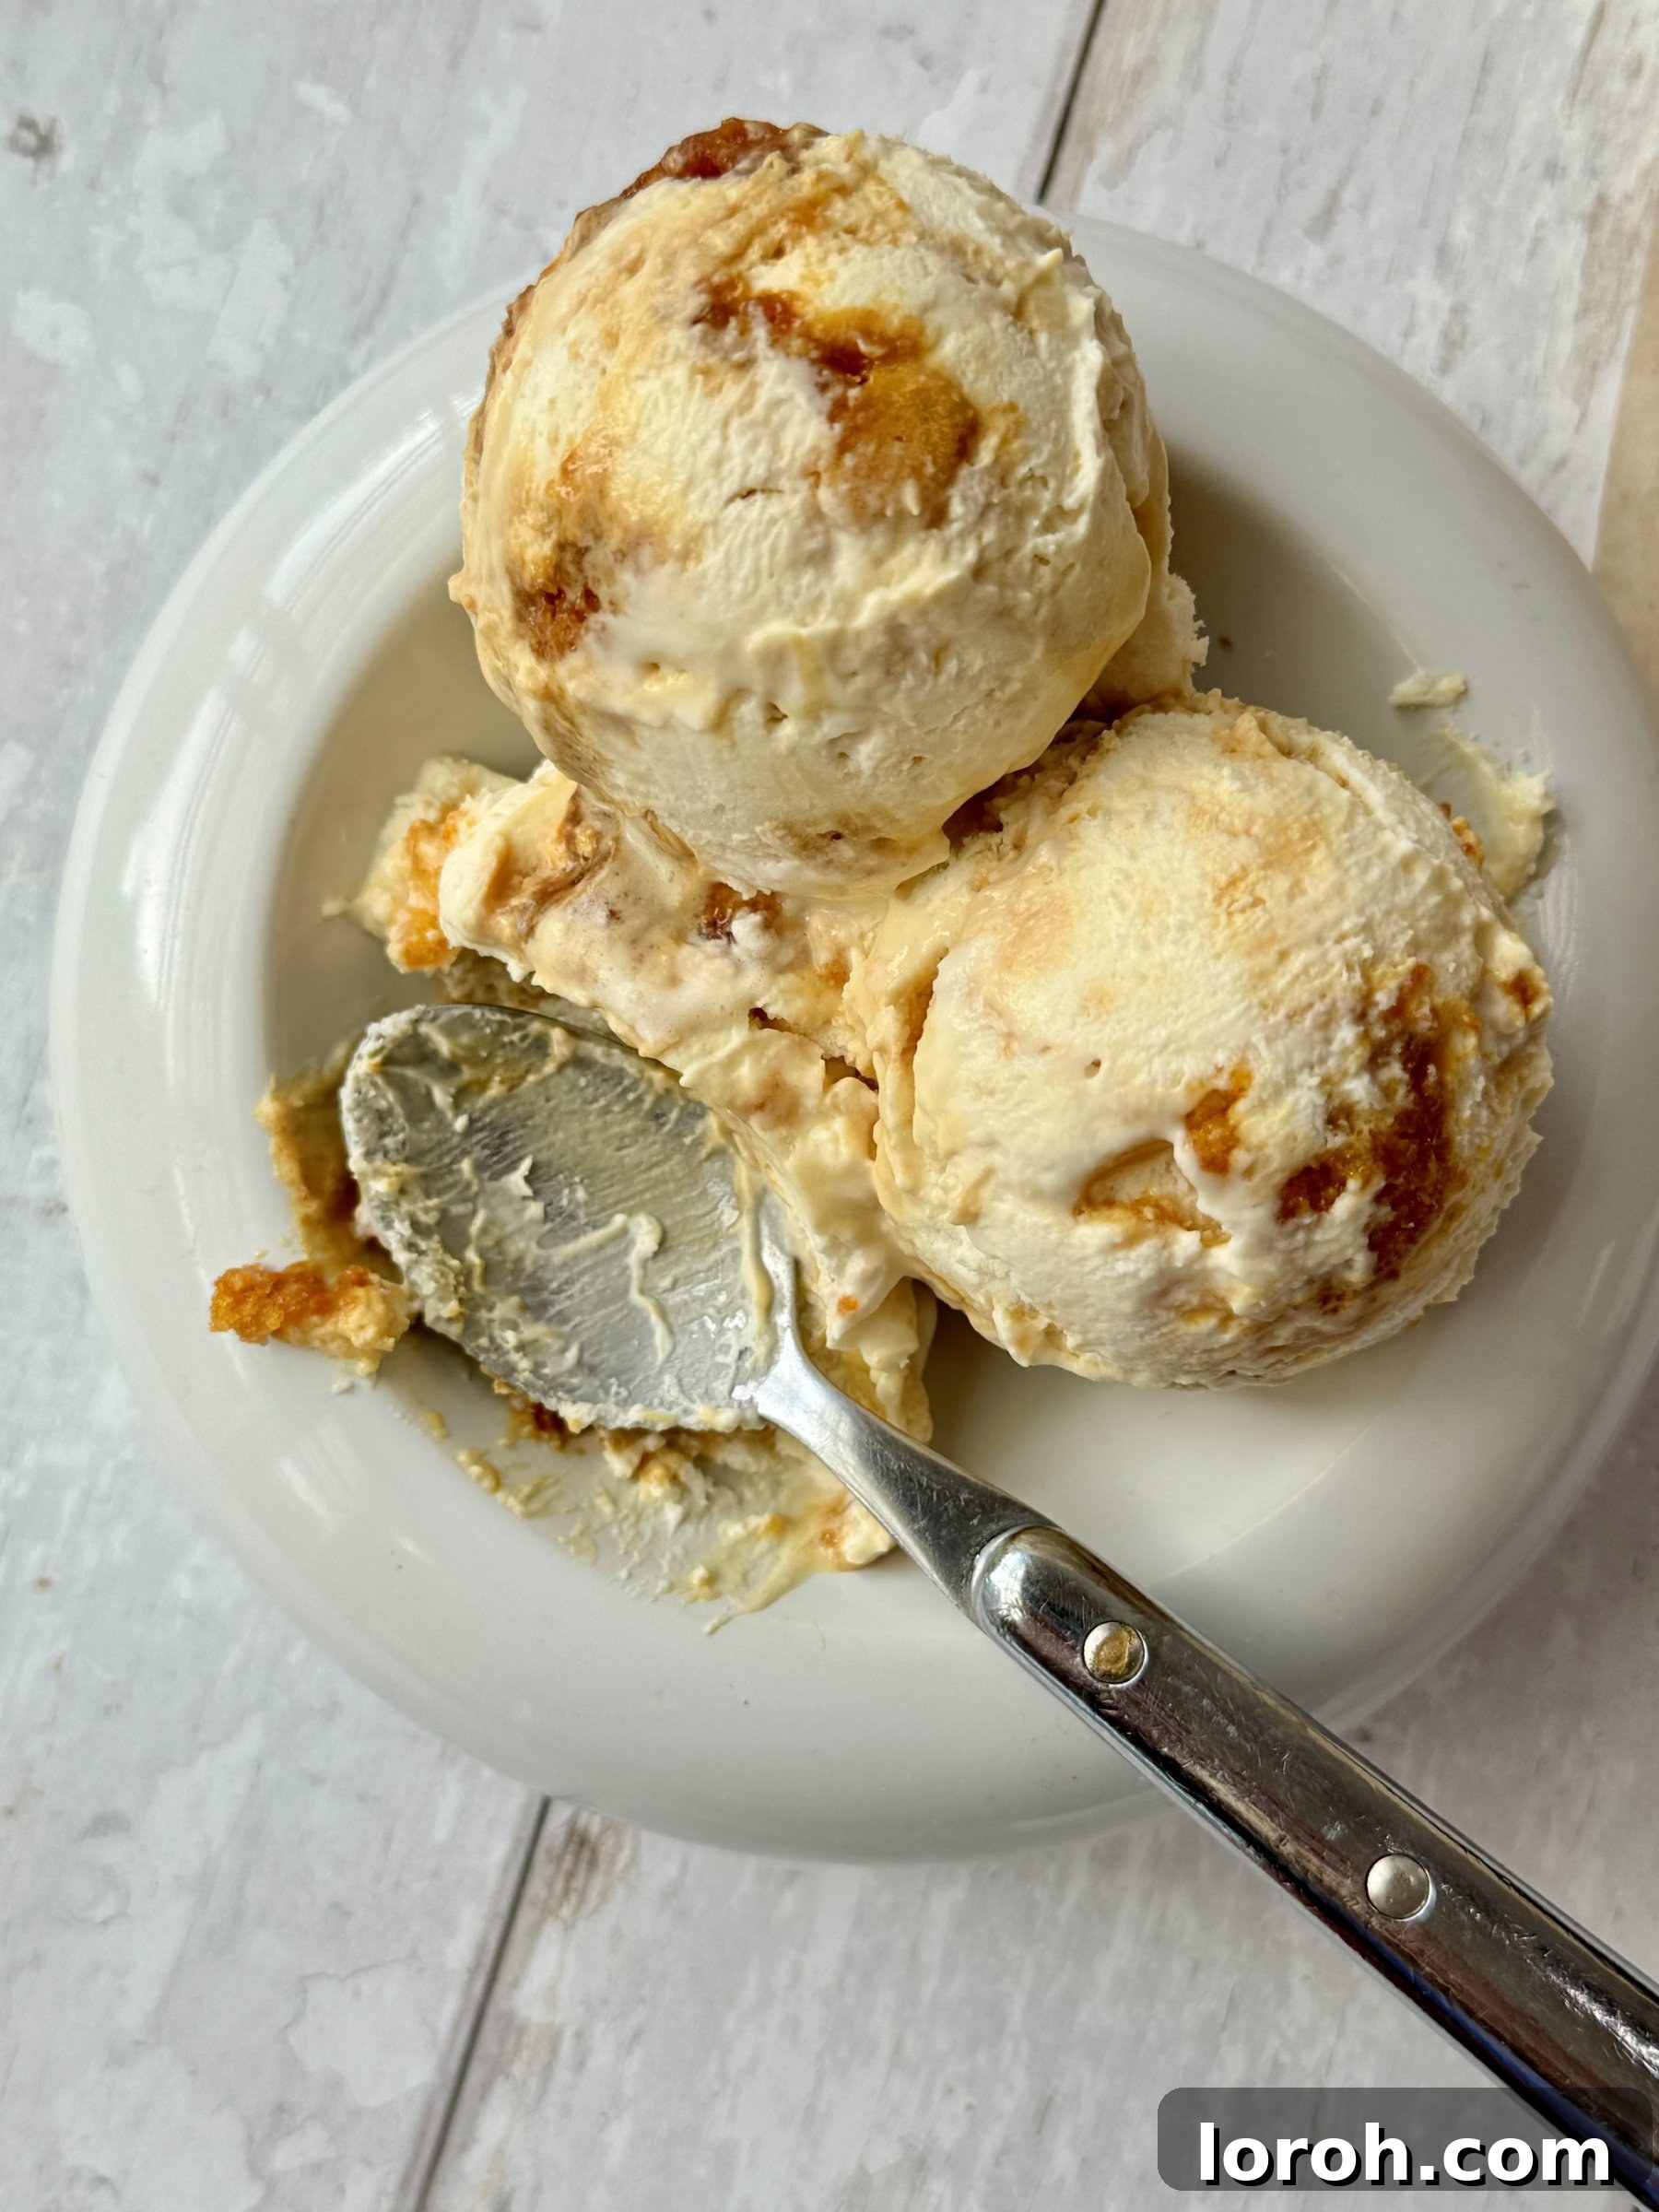
Essential Ingredients for Perfect Honeycomb Ice Cream
Crafting this delightful ice cream requires just a handful of straightforward ingredients. Each plays a crucial role in achieving that perfect creamy texture and distinctive honeycomb crunch. You’ll find the full, precise measurements in the printable recipe card located at the bottom of this article.
- Golden Syrup: This is a cornerstone for authentic homemade honeycomb. Golden syrup imparts a uniquely rich, buttery, and slightly caramelized flavor that sets our honeycomb apart. Its specific sugar composition also contributes to the honeycomb’s perfect texture.
- Caster Sugar: Essential for the honeycomb’s structural integrity and sweetness. Caster sugar, also known as superfine sugar, dissolves quickly and consistently, which is vital for achieving a smooth caramel base before the bicarbonate of soda is added. Avoid substituting with brown sugar, as its higher moisture content and molasses can negatively impact the honeycomb’s airy, crisp texture and ability to set properly.
- Bicarbonate of Soda: The magic ingredient that transforms a simple sugar syrup into bubbly, airy honeycomb! When added to the hot sugar mixture, it reacts rapidly, releasing carbon dioxide gas which creates the characteristic light and porous texture. This reaction is what gives honeycomb its unique “sponge-like” appearance and delightful crunch.
- Double Cream: For the ice cream base, only double cream (or heavy cream, if you’re in the US) will do. This high-fat cream is crucial because it whips up beautifully to create a stable, airy base that holds its volume when combined with condensed milk. Lighter creams won’t achieve the necessary thickness or richness, leading to a less creamy and potentially icy ice cream.
- Condensed Milk: This is the superstar ingredient for our no-churn ice cream. Sweetened condensed milk is precisely what allows us to create an incredibly smooth, scoopable, and creamy ice cream without an ice cream maker. It provides both sweetness and a thick, stable emulsion that prevents ice crystals from forming, ensuring that dreamy melt-in-your-mouth texture. It’s a true pantry hero, perfect for whipping up everything from easy fudge to this fantastic ice cream!
Creative Substitutions & Delicious Variations
While the classic honeycomb ice cream is a pure delight, this recipe offers a fantastic canvas for creativity. Feel free to experiment with these suggestions to make it your own unique frozen treat:
- Honeycomb Alternatives:
- Store-Bought Honeycomb: If you’re short on time or prefer not to make your own, many supermarkets offer pre-made honeycomb pieces. These are typically smaller, similar in size to chocolate chips, and work perfectly for scattering throughout the ice cream.
- Crunchie Bar: For a delightful chocolatey twist, roughly chop up a few Crunchie chocolate bars. This adds both the familiar honeycomb crunch and a layer of milk chocolate flavor.
- Fudge Pieces: Swap the honeycomb entirely for soft, chewy fudge pieces. This creates a different, yet equally delicious, texture and flavor profile.
- Maltesers or Whoppers: For a malted crunch, crush some Maltesers or Whoppers and fold them in. The light, airy malt balls add a wonderful texture.
- Golden Syrup Swaps for Honeycomb:
- Runny Honey: You can certainly make honeycomb using runny honey instead of golden syrup. As expected, this will impart a distinctively more floral and pronounced ‘honey’ flavor, creating a subtly different yet equally delicious honeycomb.
- Maple Syrup: High-quality maple syrup also works wonderfully as a base, providing a unique, earthy sweetness. Be aware that maple syrup tends to be a more expensive option, but it offers a sophisticated flavor twist.
- Chocolate Infusion:
- Chopped Chocolate Chunks: Elevate the “Crunchie bar” vibe by folding in generous chunks of dark, milk, or white chocolate. Dark chocolate, in particular, offers a delightful bitterness that beautifully complements the sweet honeycomb.
- Chocolate Swirl: For a visually stunning and intensely chocolatey experience, gently swirl glossy melted dark chocolate into the almost-frozen ice cream mixture just before its final freeze. The contrasting ribbon of chocolate adds richness and elegance.
- Cocoa Powder: For a chocolate ice cream base, whisk a few tablespoons of unsweetened cocoa powder into the condensed milk and cream mixture before folding in the honeycomb.
- Nutty Additions:
- If you adore a nutty crunch in your creamy ice cream, toss in a handful of finely chopped nuts. Almonds, hazelnuts, pecans, or walnuts all work exceptionally well.
- Pro Tip: Always toast your nuts lightly in a dry pan or oven before adding them. This simple step vastly enhances their flavor and aroma, adding depth to your ice cream.
- Fruit & Other Flavors:
- Berry Puree: Swirl in a vibrant raspberry or strawberry puree for a fresh, fruity counterpoint to the sweet honeycomb.
- Caramel Swirl: Drizzle in some store-bought or homemade caramel sauce.
- Coffee Extract: A teaspoon of coffee extract can add a subtle depth that pairs beautifully with the toffee notes of honeycomb.
- Coconut Flakes: Toasted coconut flakes can add an exotic, chewy texture and flavor.
Step-by-Step Guide: Crafting Your Honeycomb Ice Cream
Get ready to create a masterpiece! This comprehensive guide breaks down the process into easy-to-follow steps, ensuring perfect results every time. Remember, the full, detailed instructions, including precise measurements, are available in the recipe card at the end of this post.
Expert Tips for Honeycomb Ice Cream Success
Mastering this recipe is easy, but a few expert tips can elevate your homemade honeycomb ice cream from great to truly exceptional. Follow these pointers for perfect results every time:
- Patience is Key for Perfect Honeycomb: When making the honeycomb, precise cooking time is crucial. After adding the sugar and bringing it to a boil, you must continue to cook the mixture for exactly 3 minutes. I highly recommend setting a timer for this step, as undercooking will result in a soft, chewy honeycomb that lacks its characteristic crispness. If you have a candy thermometer, aim for 150°C (300°F). My experience confirms that a gentle, steady boil for three minutes consistently achieves this temperature and the desired texture.
- The Art of Whipped Cream: When whisking the double cream, aim for soft peaks initially. It’s important not to over-whisk at this stage, as the cream will be whisked again once the condensed milk is added. Over-whisking initially can lead to a grainy texture in the final ice cream. Soft peaks ensure enough aeration for a light, fluffy base without compromising creaminess.
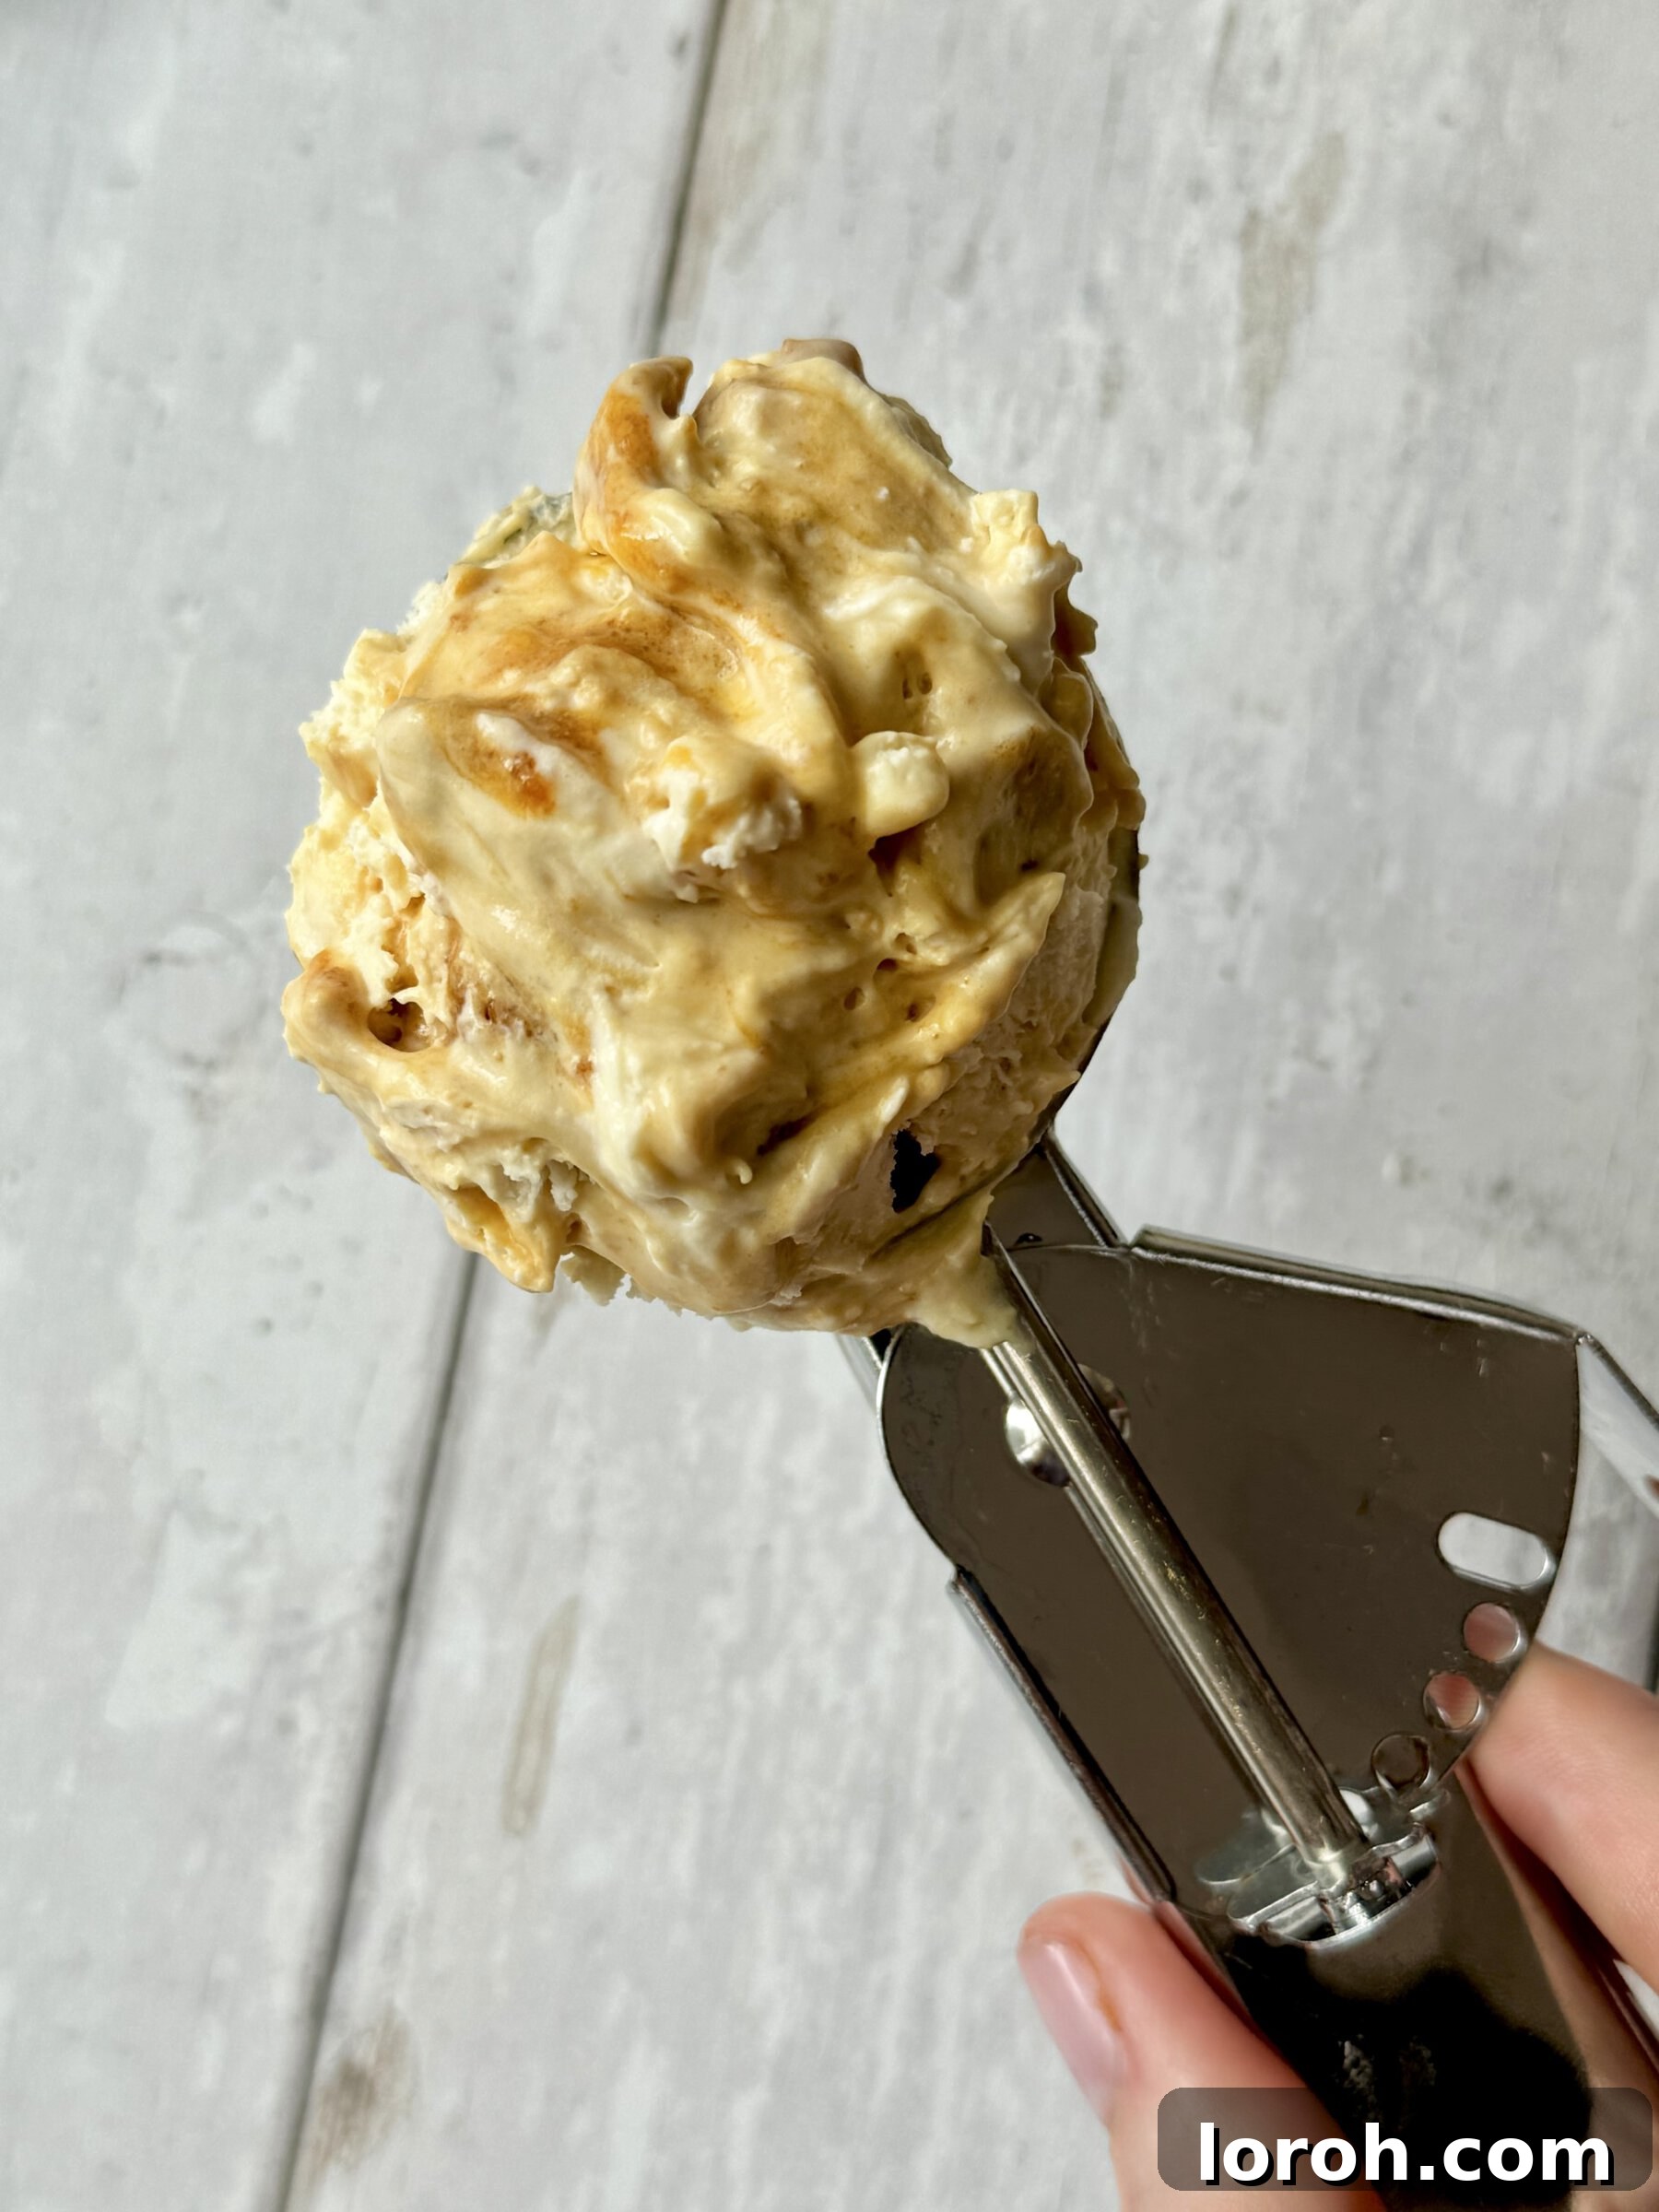
- Achieving the Perfect Scoop: For beautifully rounded, effortlessly creamy scoops of ice cream, here’s a professional trick: dip your ice cream scoop into a mug of hot water for a few seconds, then wipe it dry with a clean cloth before scooping. The warmed scoop will glide smoothly through the frozen dessert, giving you perfectly spherical portions every time.
- Elegant Slice-and-Serve Presentation: If you’re aiming for a more sophisticated, “cheffy” presentation, this method is ideal. Use the overhanging cling film to carefully lift the entire block of ice cream out of the loaf tin. Place it onto a clean cutting board. Then, using a hot, dry knife (warmed with hot water and wiped clean, similar to the scoop), slice the ice cream into neat portions. Arrange these slices on individual plates and add a drizzle of rich chocolate sauce or glossy melted chocolate. For a truly irresistible finish, sprinkle with extra honeycomb pieces, crushed Crunchie bar, or a scattering of toasted nuts.
- Pre-Serve Softening: To ensure optimal scoopability and a delightful texture, always remember to remove your homemade honeycomb ice cream from the freezer a few minutes (typically 5-10 minutes) before you plan to serve it. This brief softening period allows the ice cream to become slightly pliable, making it much easier to scoop and enhancing its creamy mouthfeel.
- Easy Pan Cleanup: The sticky residue from making honeycomb can be daunting, but cleanup is surprisingly simple if you act fast. Immediately after pouring out the honeycomb, place the hot pan in your sink, fill it with hot tap water, and add a generous squeeze of washing-up liquid. The hot water will dissolve the sugar residue quickly and effortlessly. Do NOT let the pan sit and cool with the hardened honeycomb inside, or you’ll be scrubbing for ages!
Frequently Asked Questions About Honeycomb Ice Cream
Absolutely, yes! This recipe is specifically designed to be made without an ice cream maker. The secret lies in the magical combination of whipped double cream and sweetened condensed milk. This creates an incredibly smooth, sweet, and wonderfully creamy ice cream base that’s completely free of ice crystals. The best part? There’s no need for constant stirring every few hours, making it one of the easiest ice cream recipes you’ll ever try. Just whisk, mix, freeze, and enjoy!
Honeycomb is a beloved sweet confection known for its unique light, airy, and crunchy texture, coupled with a delicious, rich toffee-like flavor. It goes by several names around the world, such as ‘cinder toffee’ in parts of the UK and ‘hokey pokey’ in Australia and New Zealand. Traditional recipes, especially in the UK, often use golden syrup as the primary sugar base. In contrast, American versions might frequently use honey, lending a more distinct floral honey flavor. If you haven’t made it yourself, you’ve likely encountered a chocolate-coated version, famously found in a Crunchie chocolate bar, which gives you a perfect idea of its delightful taste and texture.
When stored properly in an airtight container, your homemade honeycomb ice cream will maintain its optimal freshness and texture in the freezer for up to two months. Beyond this period, while still safe to eat, its quality and texture may start to degrade slightly.
This incredibly versatile ice cream pairs beautifully with a myriad of desserts, or shines perfectly on its own! Here are some of our favorite serving suggestions:
- Simply On Its Own: Honestly, it’s so good, it truly doesn’t need much else!
- With Toppings: Enhance it with a sprinkle of finely grated chocolate and some chopped, toasted nuts like almonds or hazelnuts for added texture and flavor.
- Ice Cream Sandwiches: Create decadent ice cream sandwiches by scooping it between two soft, chewy chocolate chunk cookies.
- Warm Desserts: Serve a generous scoop atop warm, fudgy chocolate brownies, gooey chocolate chip cookie bars, or even a comforting Apple and Blackberry Crumble.
- Ultimate Sundae: Build an epic ice cream sundae with chocolate sauce, whipped cream, and extra honeycomb pieces.
While I haven’t personally tested a vegan version yet, the principles of no-churn ice cream suggest it should be achievable. You could experiment by using a high-quality vegan whippable cream (ensure it whips to stiff peaks) and readily available vegan condensed milk alternatives, such as Carnation’s Vegan Condensed Milk. The homemade honeycomb would remain vegan, as it’s typically made from sugar, syrup, and bicarbonate of soda.
It’s crucial to use a large, heavy-bottomed saucepan for making honeycomb. The mixture will froth up significantly when the bicarbonate of soda is added, so you need plenty of headroom to prevent it from overflowing. A heavy bottom helps distribute heat evenly and prevents burning.
More Delicious Dessert Recipes to Explore
If you’ve fallen in love with the simplicity and irresistible taste of this Homemade Honeycomb Ice Cream, you’re in for a treat! Discover more delightful desserts from our collection:
- For another creamy frozen delight, try our decadent Baileys Ice Cream.
- If you appreciate quick, no-bake wonders, our No-Bake Biscoff Cheesecake is a must-try.
- For an elegant and simple pairing, our Frozen Berries with Hot White Chocolate Sauce offers a stunning contrast.
- Many of our warm puddings are incredible alongside honeycomb ice cream, including Melt-in-the-Middle Chocolate Puddings, the comforting Self Saucing Chocolate Pudding, and the communal favorite Chocolate Chip Skillet Cookie.
Discover More Sweet Creations
Easy Baking Recipes
Decadent Chocolate Chip Cookie Bars
Puddings
Exotic Banana Tiramisu
Puddings
Simple Homemade Pistachio Cream
Easy Baking Recipes
Moelleux au Chocolat (Melt in the Middle Chocolate Cake)
Share Your Sweet Success!
We absolutely adore hearing from you! If you’ve tried this Homemade Honeycomb Ice Cream recipe and loved it, please consider leaving a review in the comments section below. Your feedback, any creative changes you made, and the stories behind why you chose this recipe truly make our day. And if you share a photo of your delicious creation on Instagram, don’t forget to tag us @desertislanddishes – it’s always a joy to see our recipes brought to life in your kitchens!
Homemade Honeycomb Ice Cream
Margie
25 mins
6 hrs
6 hrs 25 mins
6 servings
Ingredients
For the Honeycomb:
- 2 tbsp golden syrup
- 140 g caster sugar
- 1 tsp bicarbonate of soda
For the Ice Cream:
- 600 ml double cream
- 1 x 397g tin condensed milk
Instructions
Making the Honeycomb:
- Line a 23cm square baking tin or a large baking tray with non-stick baking paper. Ensure it’s on a heat-proof surface, as the honeycomb mixture will be extremely hot.
- Take a large, heavy-bottomed saucepan (choose one larger than you think, as the mixture will froth up considerably). Add the golden syrup and place it over a gentle heat for about 1 minute, or until the syrup becomes very runny.
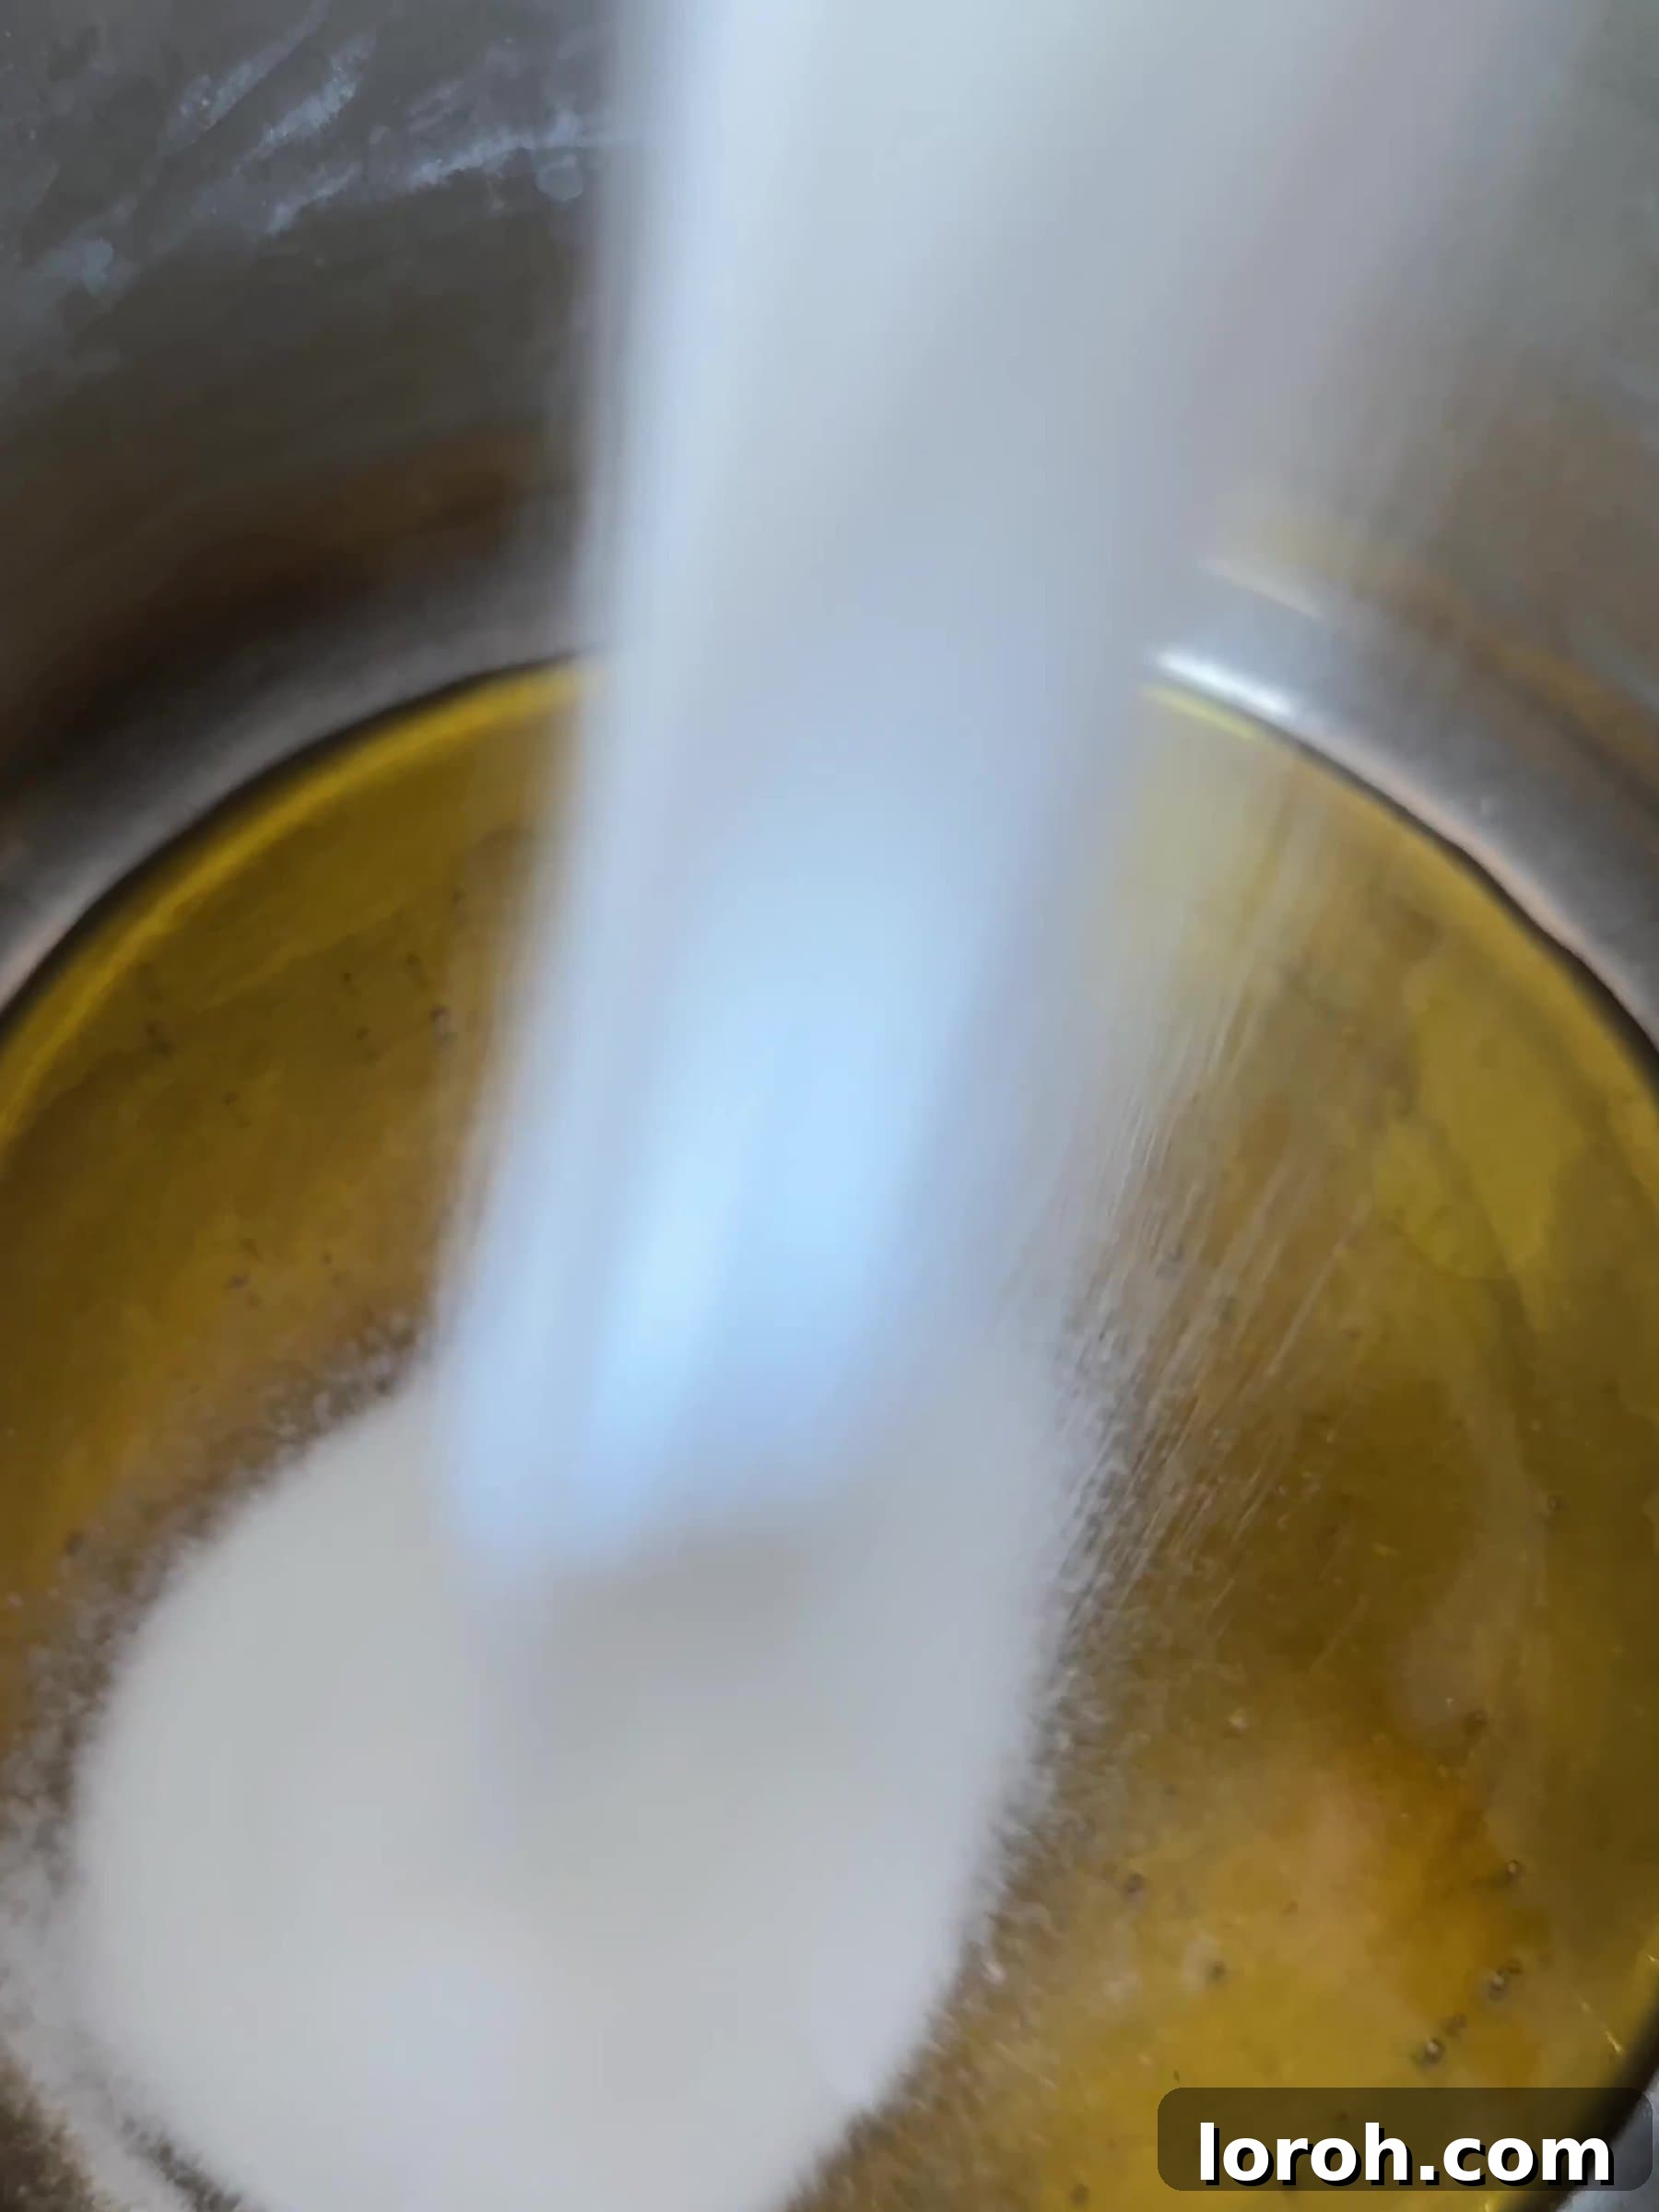
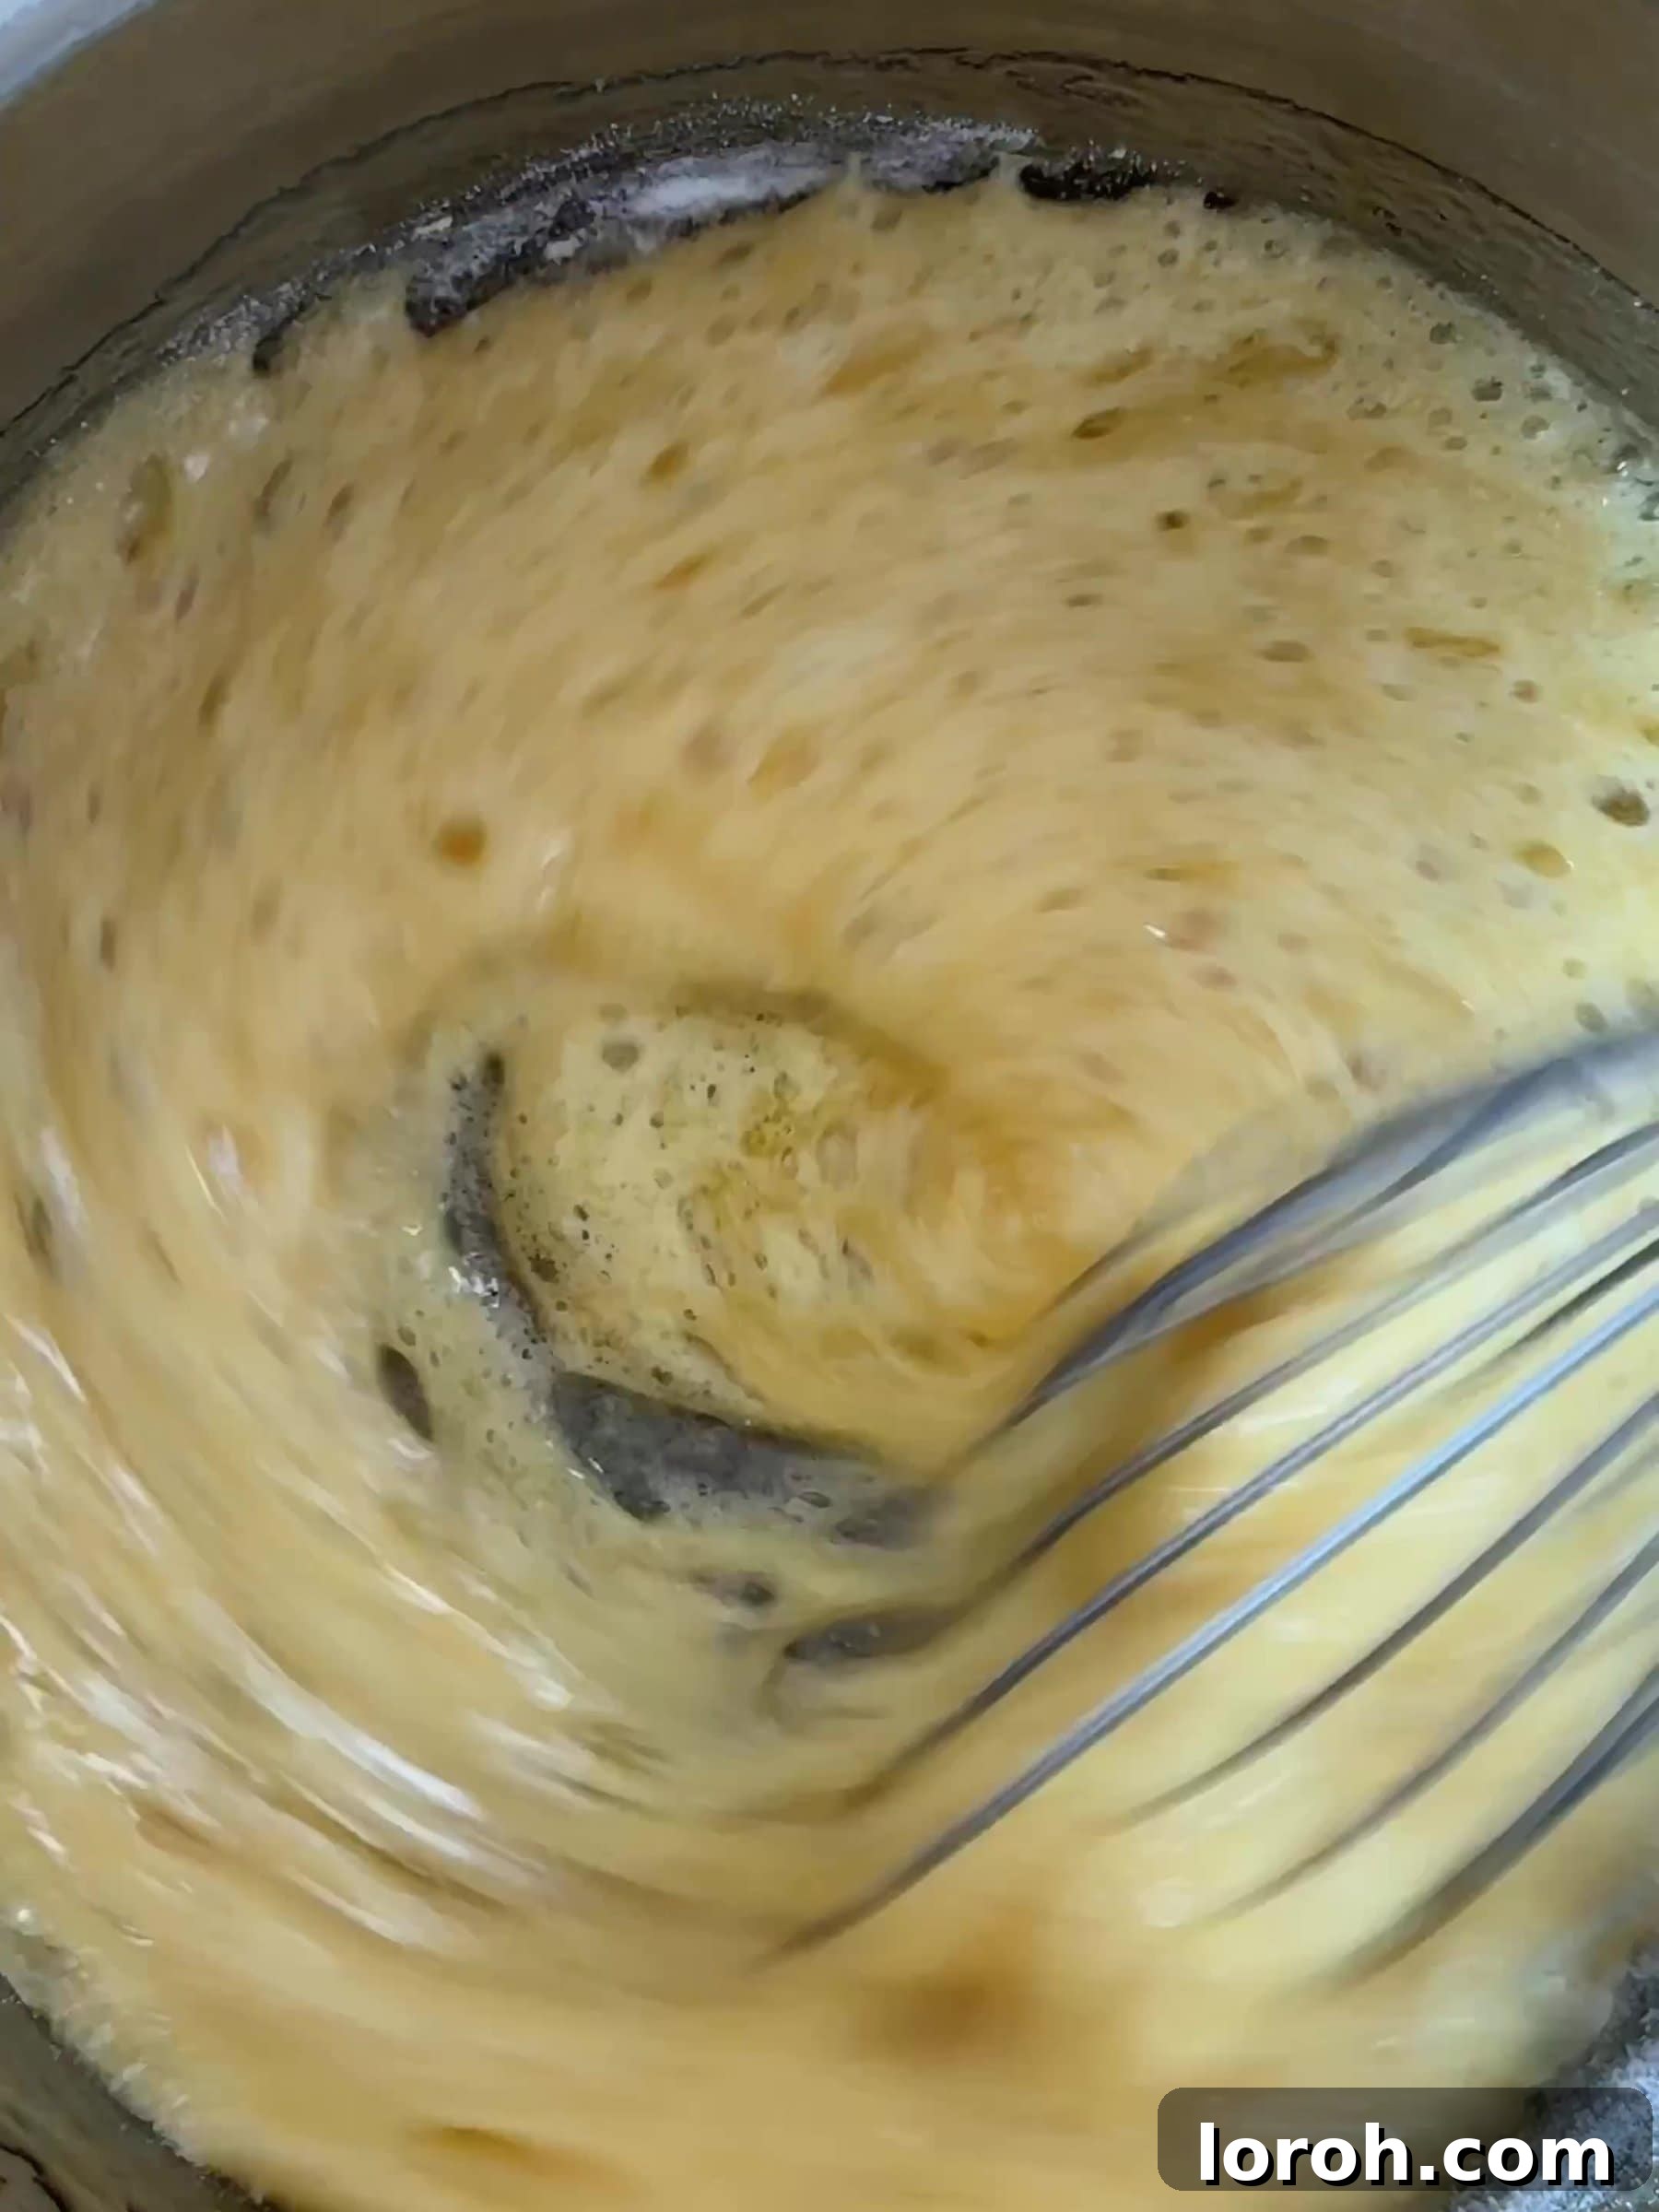
- Add the caster sugar to the pan. Bring the mixture to a boil, gently swirling the pan occasionally to prevent burning (do not stir with a spoon at this stage). Once it reaches a rolling boil, continue to cook for precisely 3 minutes, swirling often to ensure even cooking and prevent sugar crystals from forming. Use a timer for accuracy.
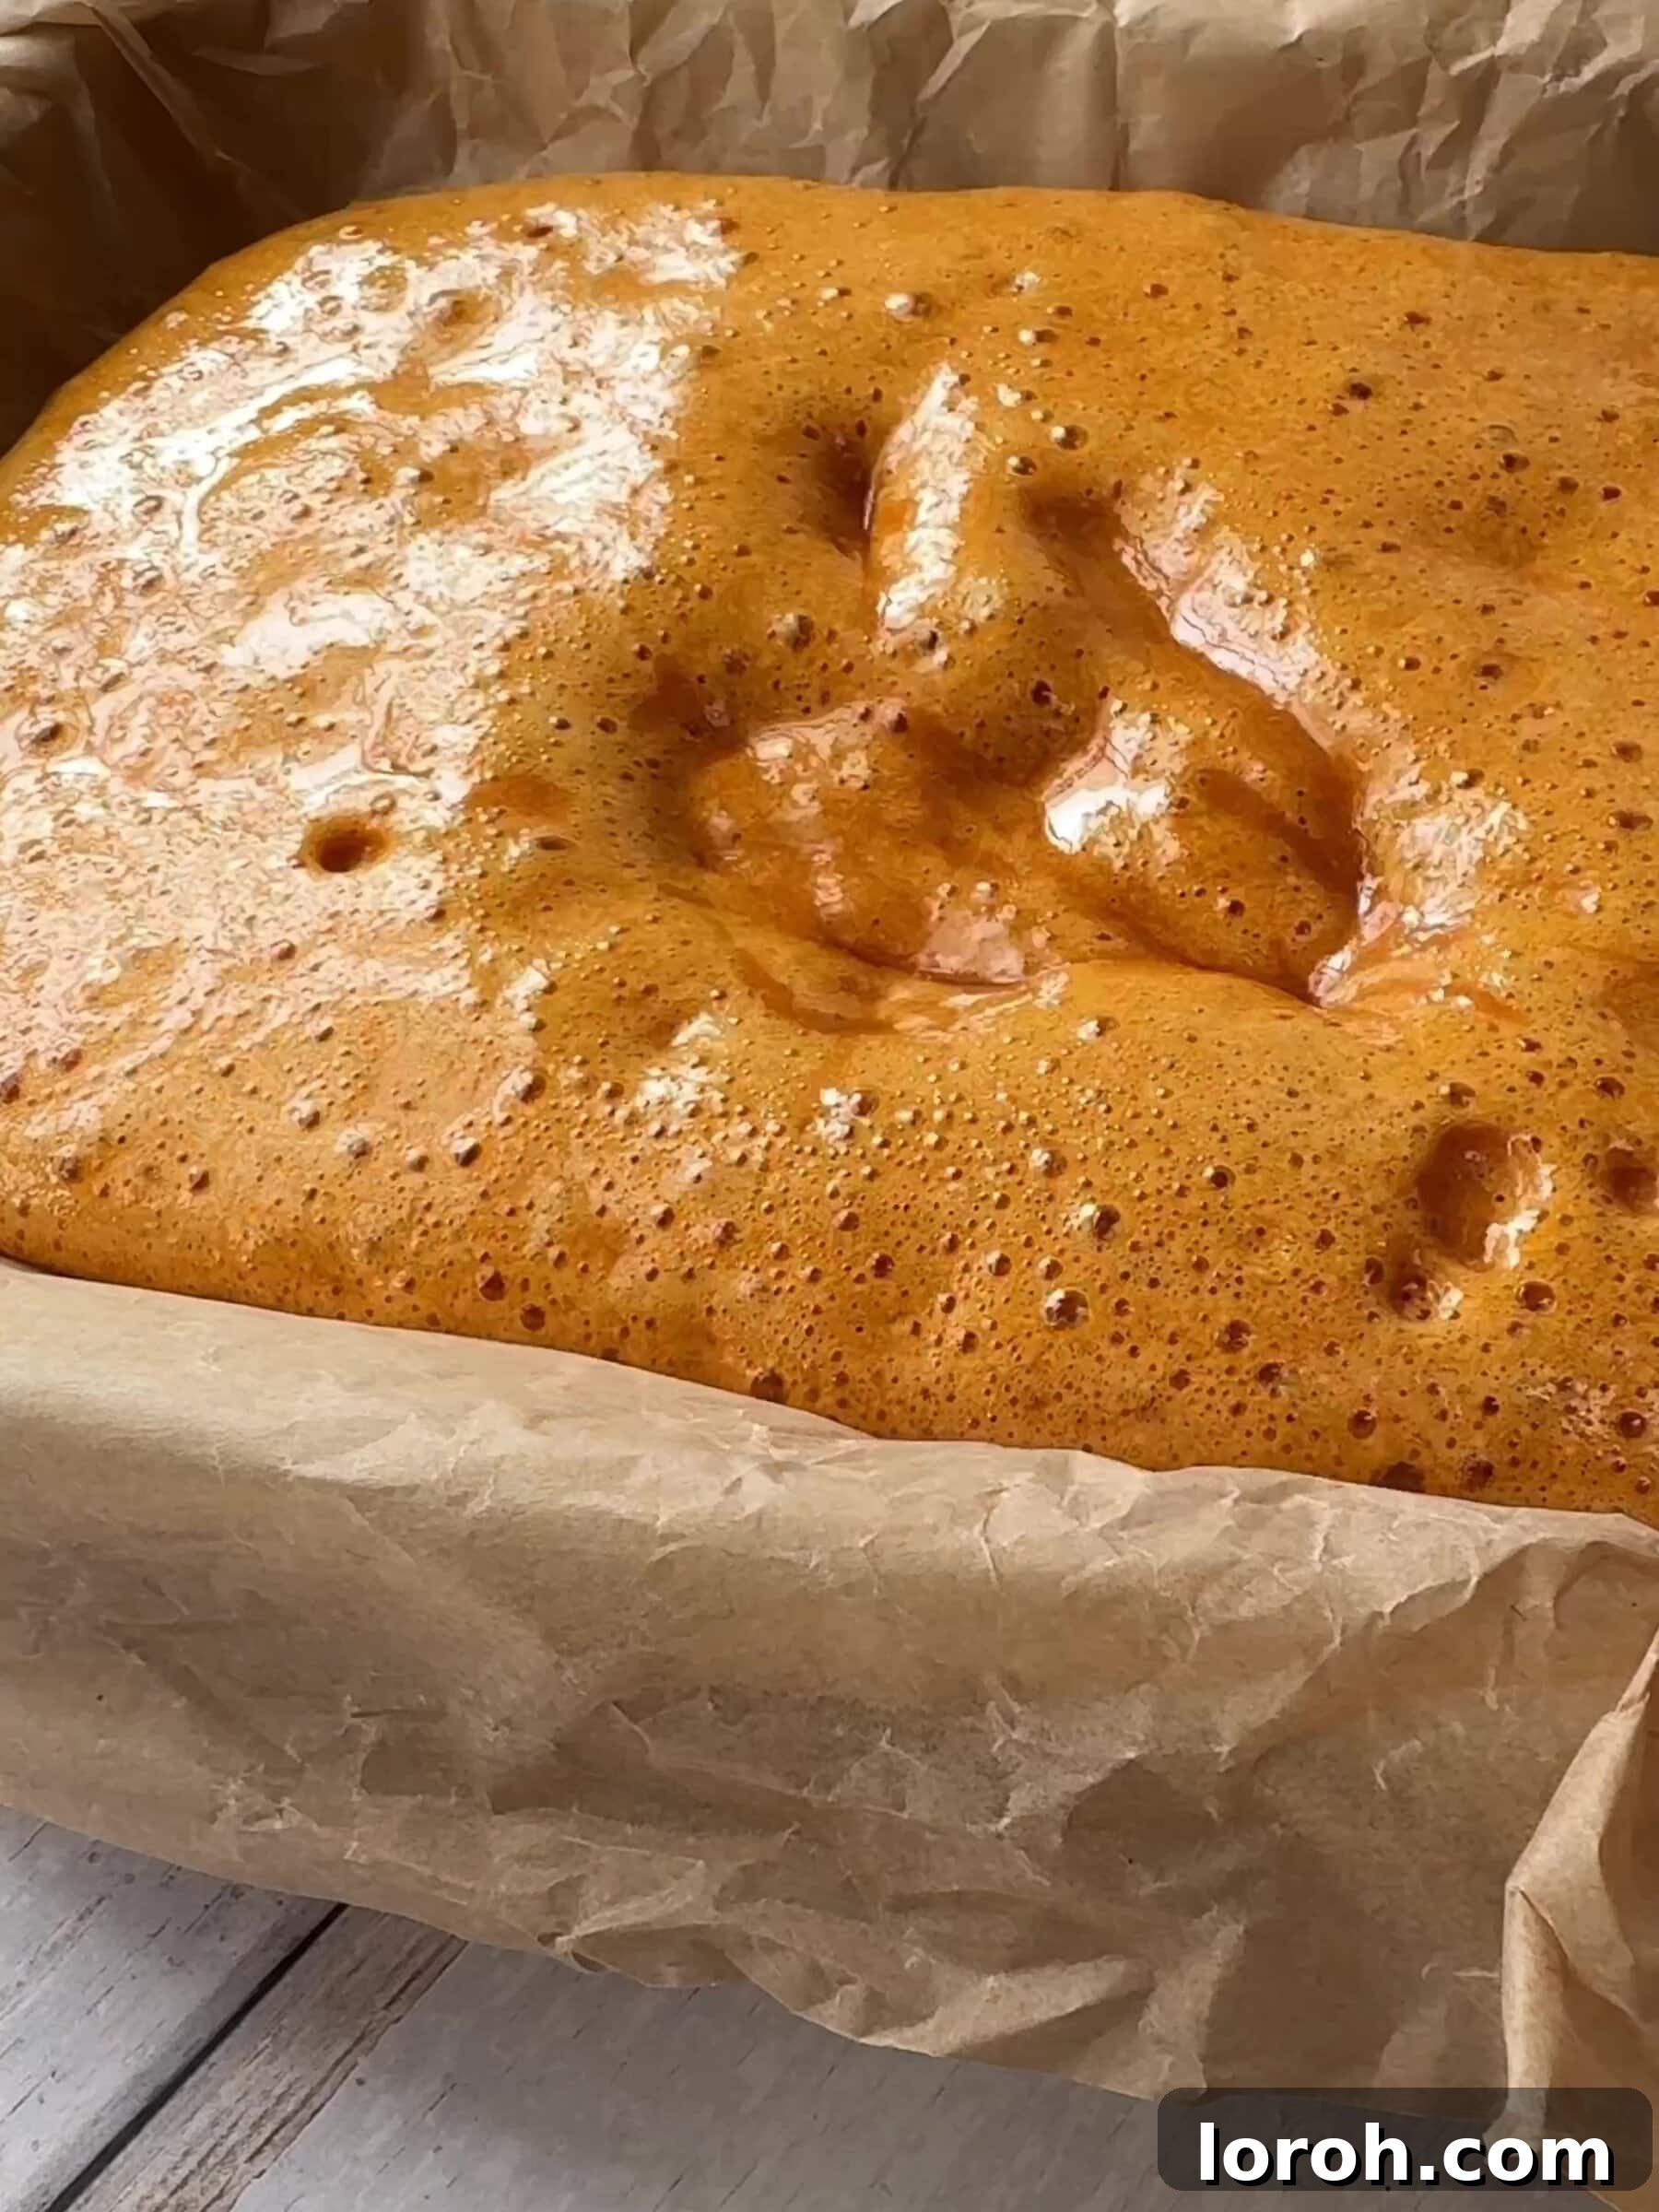
- Immediately remove the pan from the heat. Quickly add the bicarbonate of soda and stir it in swiftly and confidently until it’s completely dissolved. Be careful, as the mixture will froth up dramatically and expand in volume.
- Carefully pour the hot, aerated mixture into your prepared tin or onto the baking sheet. Leave it undisturbed for approximately 1 hour, or until it has completely set and hardened. It will be VERY hot, so do not touch it during this cooling period. (See tips for immediate pan cleaning!)
- Once the honeycomb has fully cooled and is hard, gently break or roughly chop it into small, manageable pieces.
Assembling the Ice Cream:
- Next, line a 900g / 2lb loaf tin with cling film, ensuring there’s enough cling film overhanging the sides to easily lift the ice cream out later. Set this prepared tin aside.
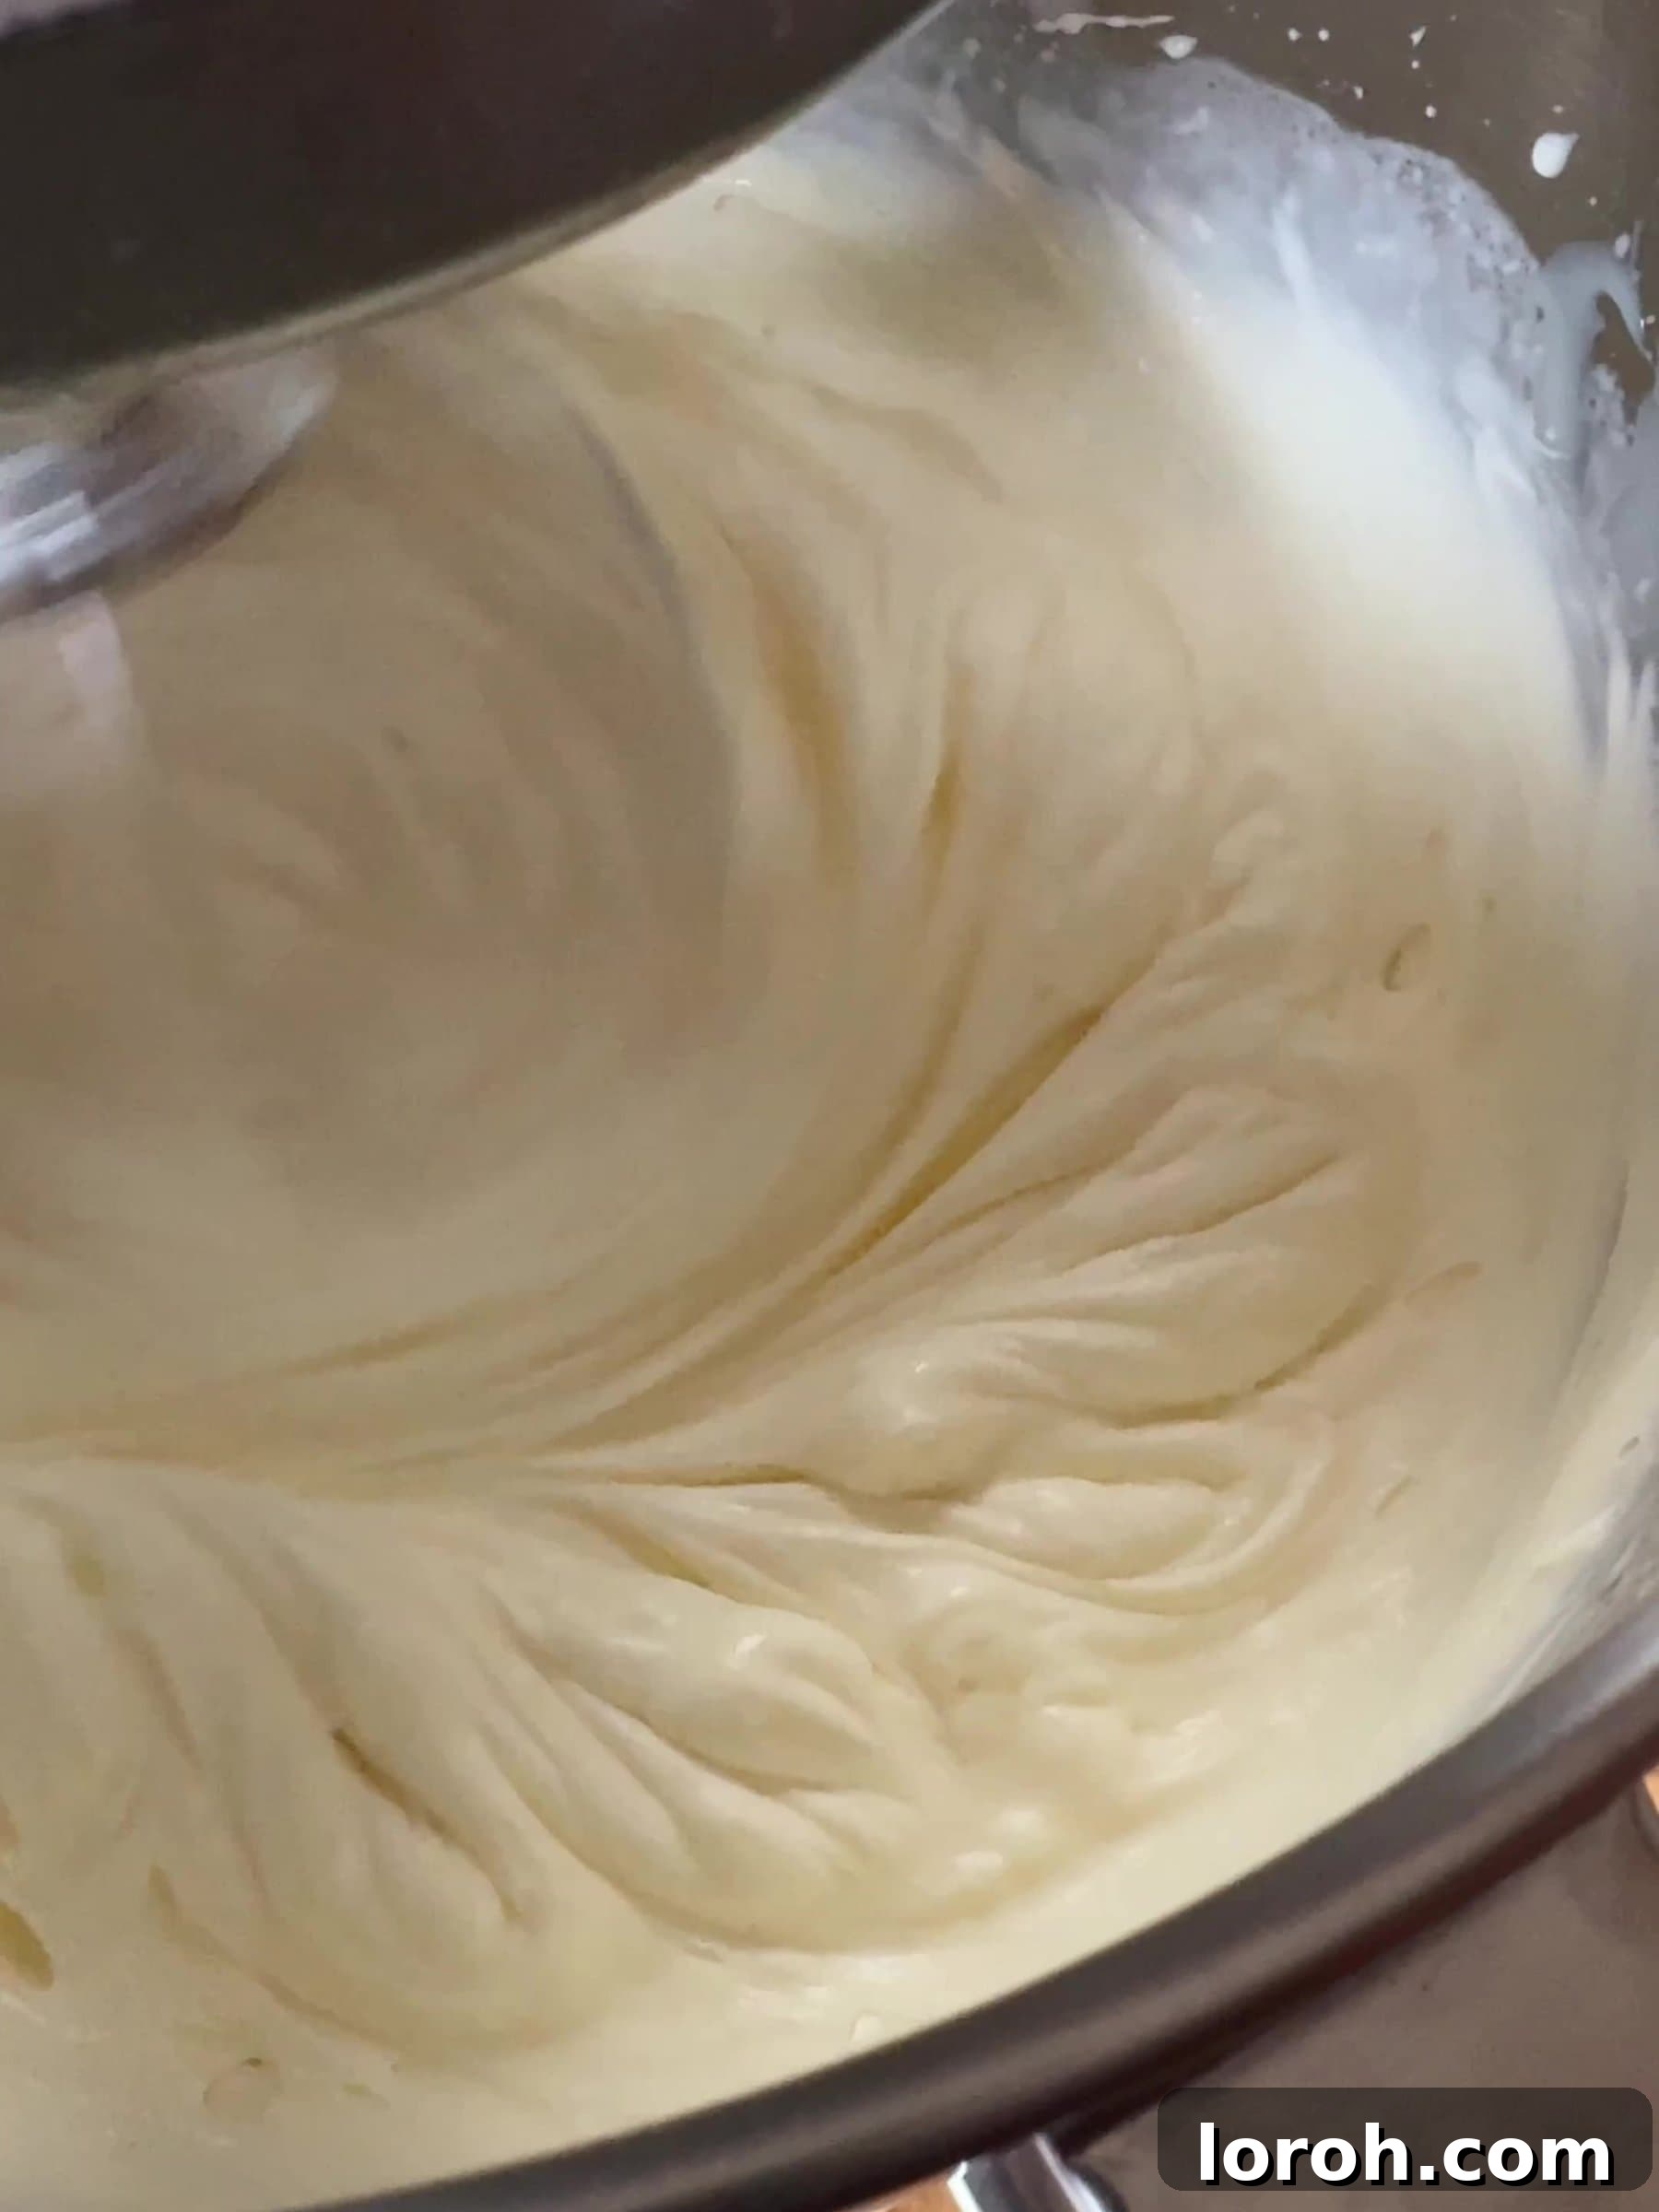
- Pour the double cream into a large mixing bowl. Using an electric whisk, whip the cream until it forms soft peaks.
- Add the entire tin of condensed milk to the whipped cream. Continue whisking with the electric whisk until the mixture thickens significantly and holds its shape, creating a luscious, creamy base.
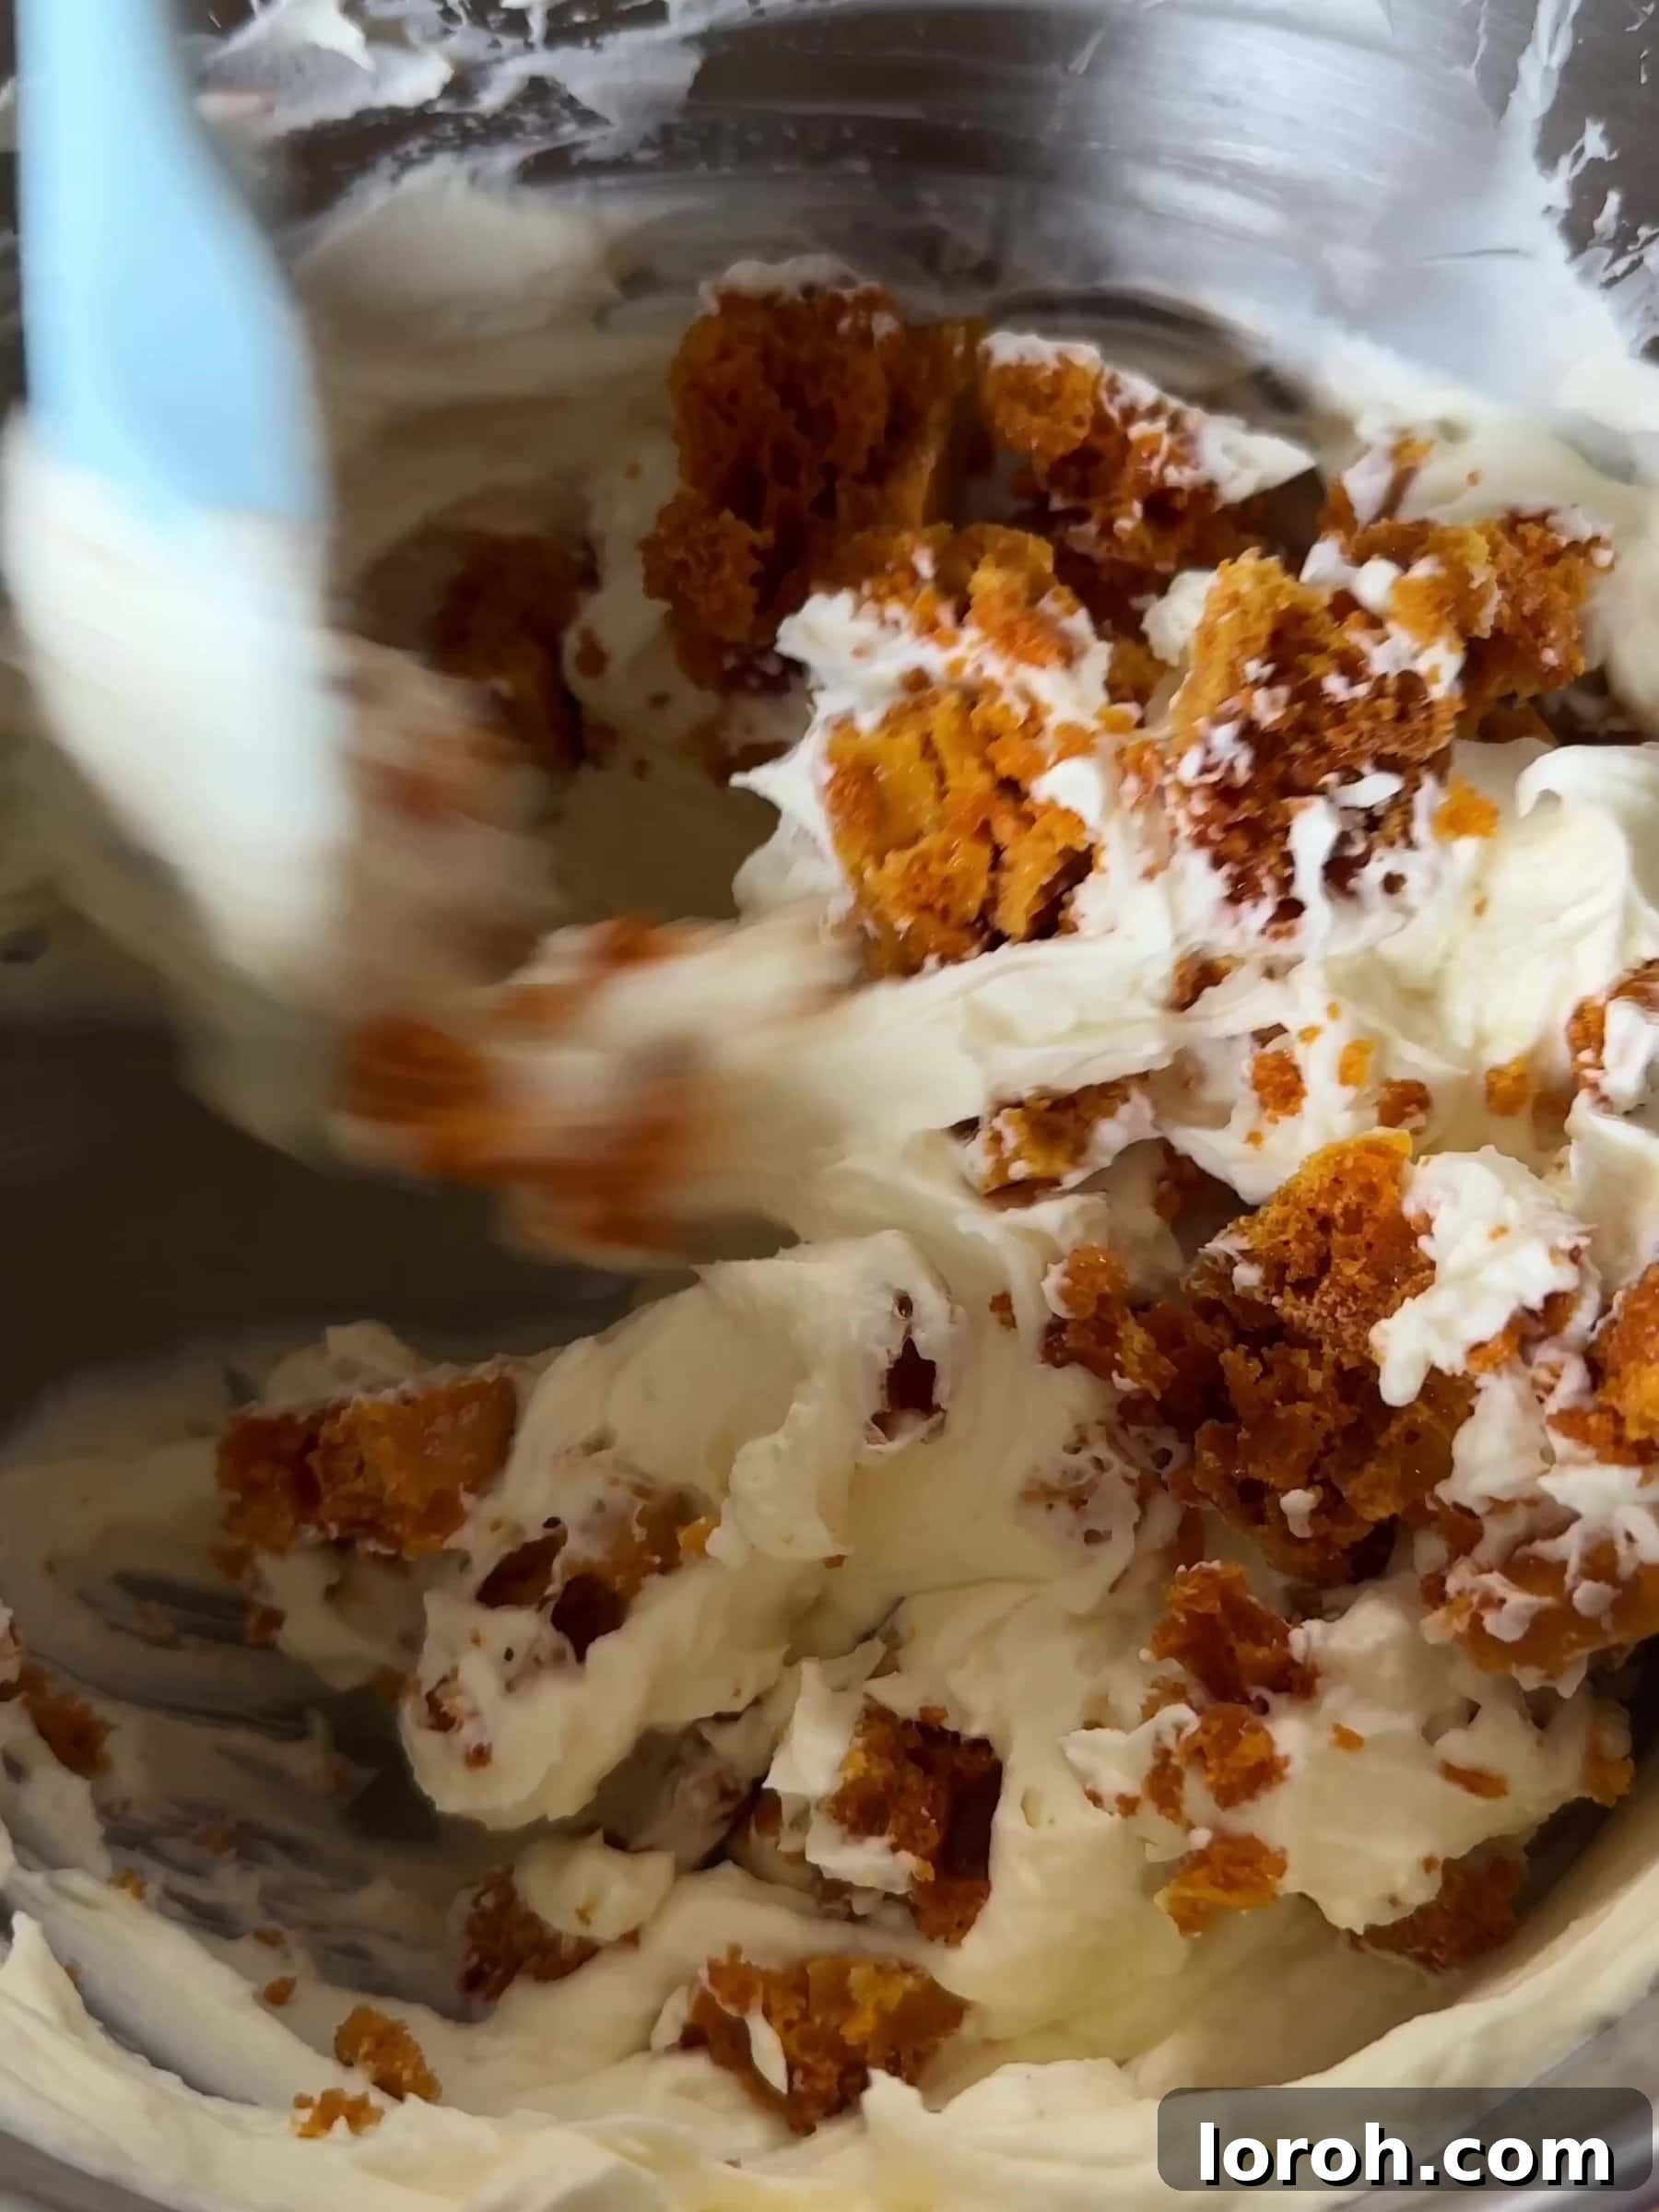
- Gently fold the chopped homemade honeycomb chunks into the ice cream base using a spatula, ensuring they are evenly distributed throughout the mixture.
- Pour the honeycomb ice cream mixture into your prepared loaf tin. Smooth the top with a spatula or the back of a spoon.
- Cover the tin tightly with the overhanging cling film or an additional piece. Place it in the freezer for a minimum of 6 hours, or ideally overnight, until it is completely firm.
- Before serving, remove the ice cream from the freezer and let it sit at room temperature for about 5-10 minutes to soften slightly, making it easier to scoop. Enjoy your homemade delight!
Notes
To store: Homemade honeycomb ice cream keeps beautifully in the freezer in an airtight container for up to 2 months, though it rarely lasts that long!
Be patient: For that perfect crisp honeycomb, ensure you gently boil the syrup mixture for exactly 3 minutes. Setting a timer is key. Undercooking will result in a soft and chewy texture instead of the desired light crunch. If using a thermometer, aim for 150°C (300°F).
Top tip for cleaning! As soon as you’ve finished with the pan after pouring out the honeycomb, immediately place it in the sink and fill it with hot water and a squirt of washing-up liquid. The residual honeycomb will dissolve easily. If you let it sit and harden, cleaning will be a significantly tougher task.
Cheat’s honeycomb: If you’re pressed for time or simply prefer not to make your own honeycomb, a few roughly chopped Crunchie chocolate bars make a delicious and convenient substitute.
Chocolate dipped honeycomb: The homemade honeycomb itself is a fantastic treat! Chop it into shards, dip one end in melted dark chocolate, and sprinkle with a pinch of sea salt for an exquisite snack or a thoughtful homemade gift.
Remove from the freezer before serving: It is important to remove the ice cream from the freezer a few minutes before serving. This allows it to soften slightly, ensuring it’s creamy and much easier to scoop.
Make it vegan-friendly: Although I haven’t personally tested this variation, you could attempt a vegan version by substituting the dairy cream with a vegan whippable cream and using a plant-based condensed milk (such as Carnation’s Vegan Condensed Milk).
Nutrition
Nutrition information is automatically calculated and should be considered an approximation.
Love this recipe? Leave a comment below!Your feedback helps us create more delicious content for you.
There you have it – a truly irresistible, easy-to-make, no-churn homemade honeycomb ice cream that will impress everyone. Whether you’re a seasoned baker or a kitchen novice, this recipe proves that exceptional desserts are within everyone’s reach. So go on, gather your ingredients, and whip up a batch of this creamy, crunchy delight. Your taste buds will thank you!