
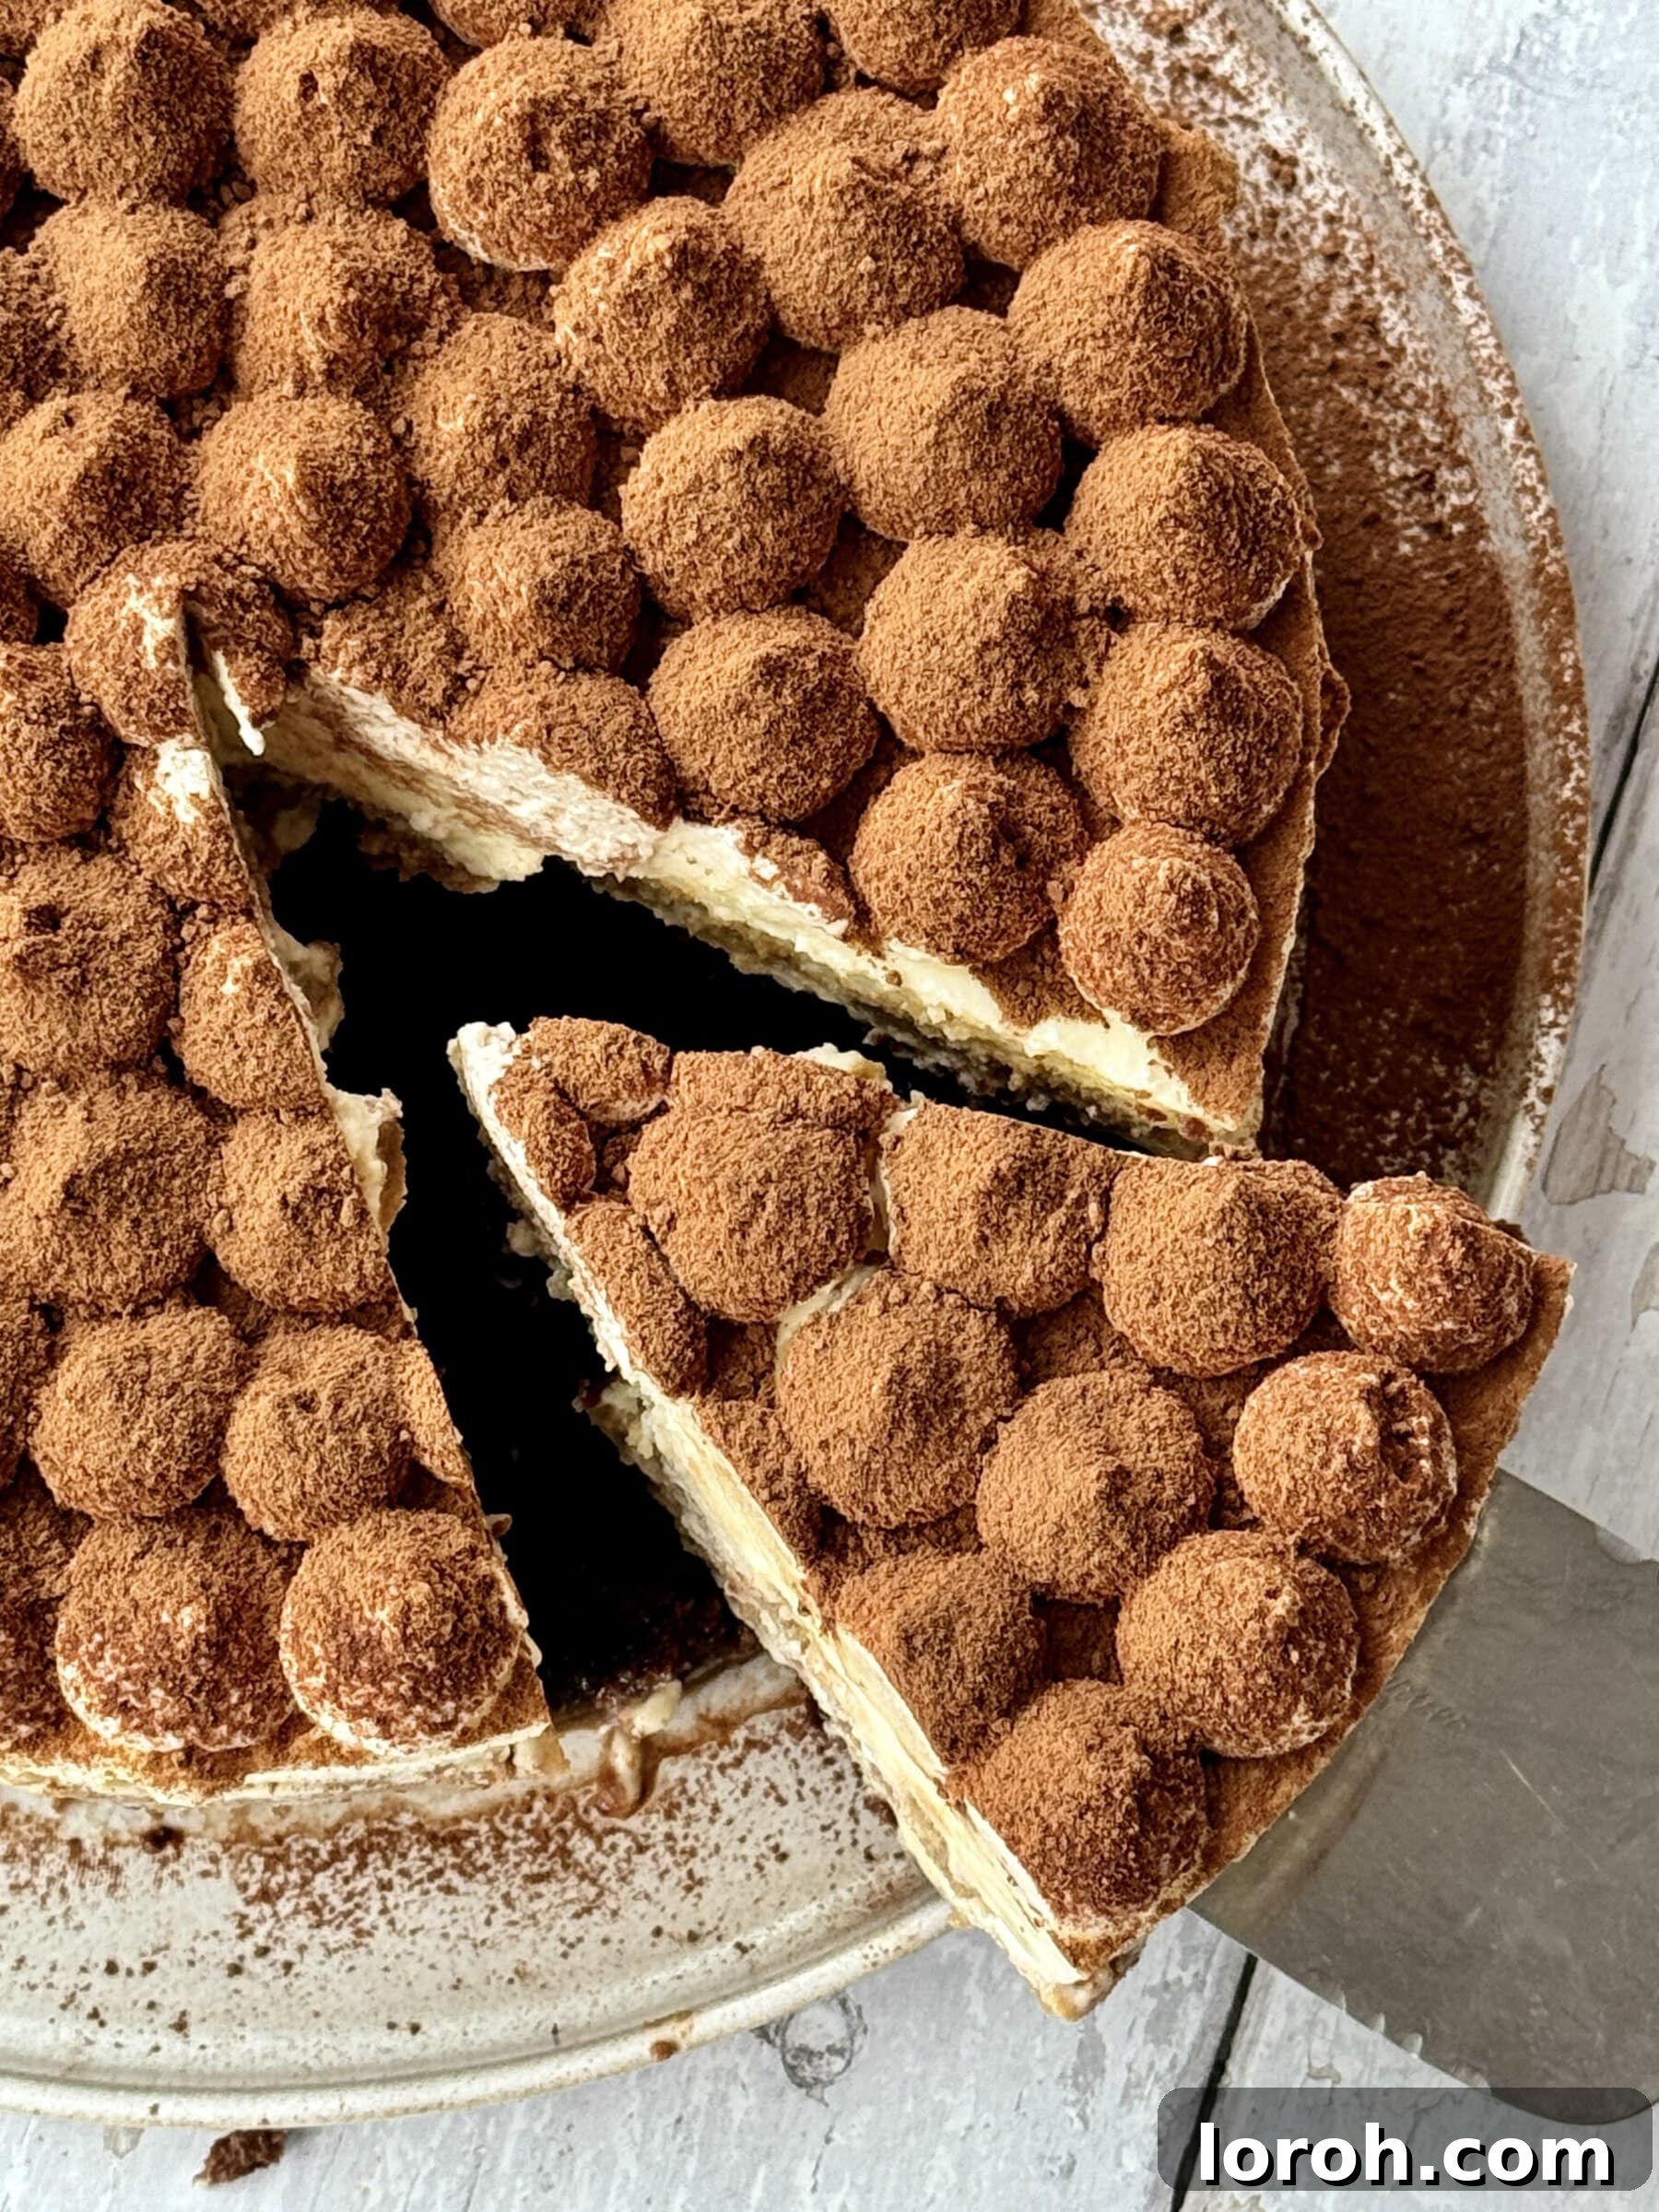
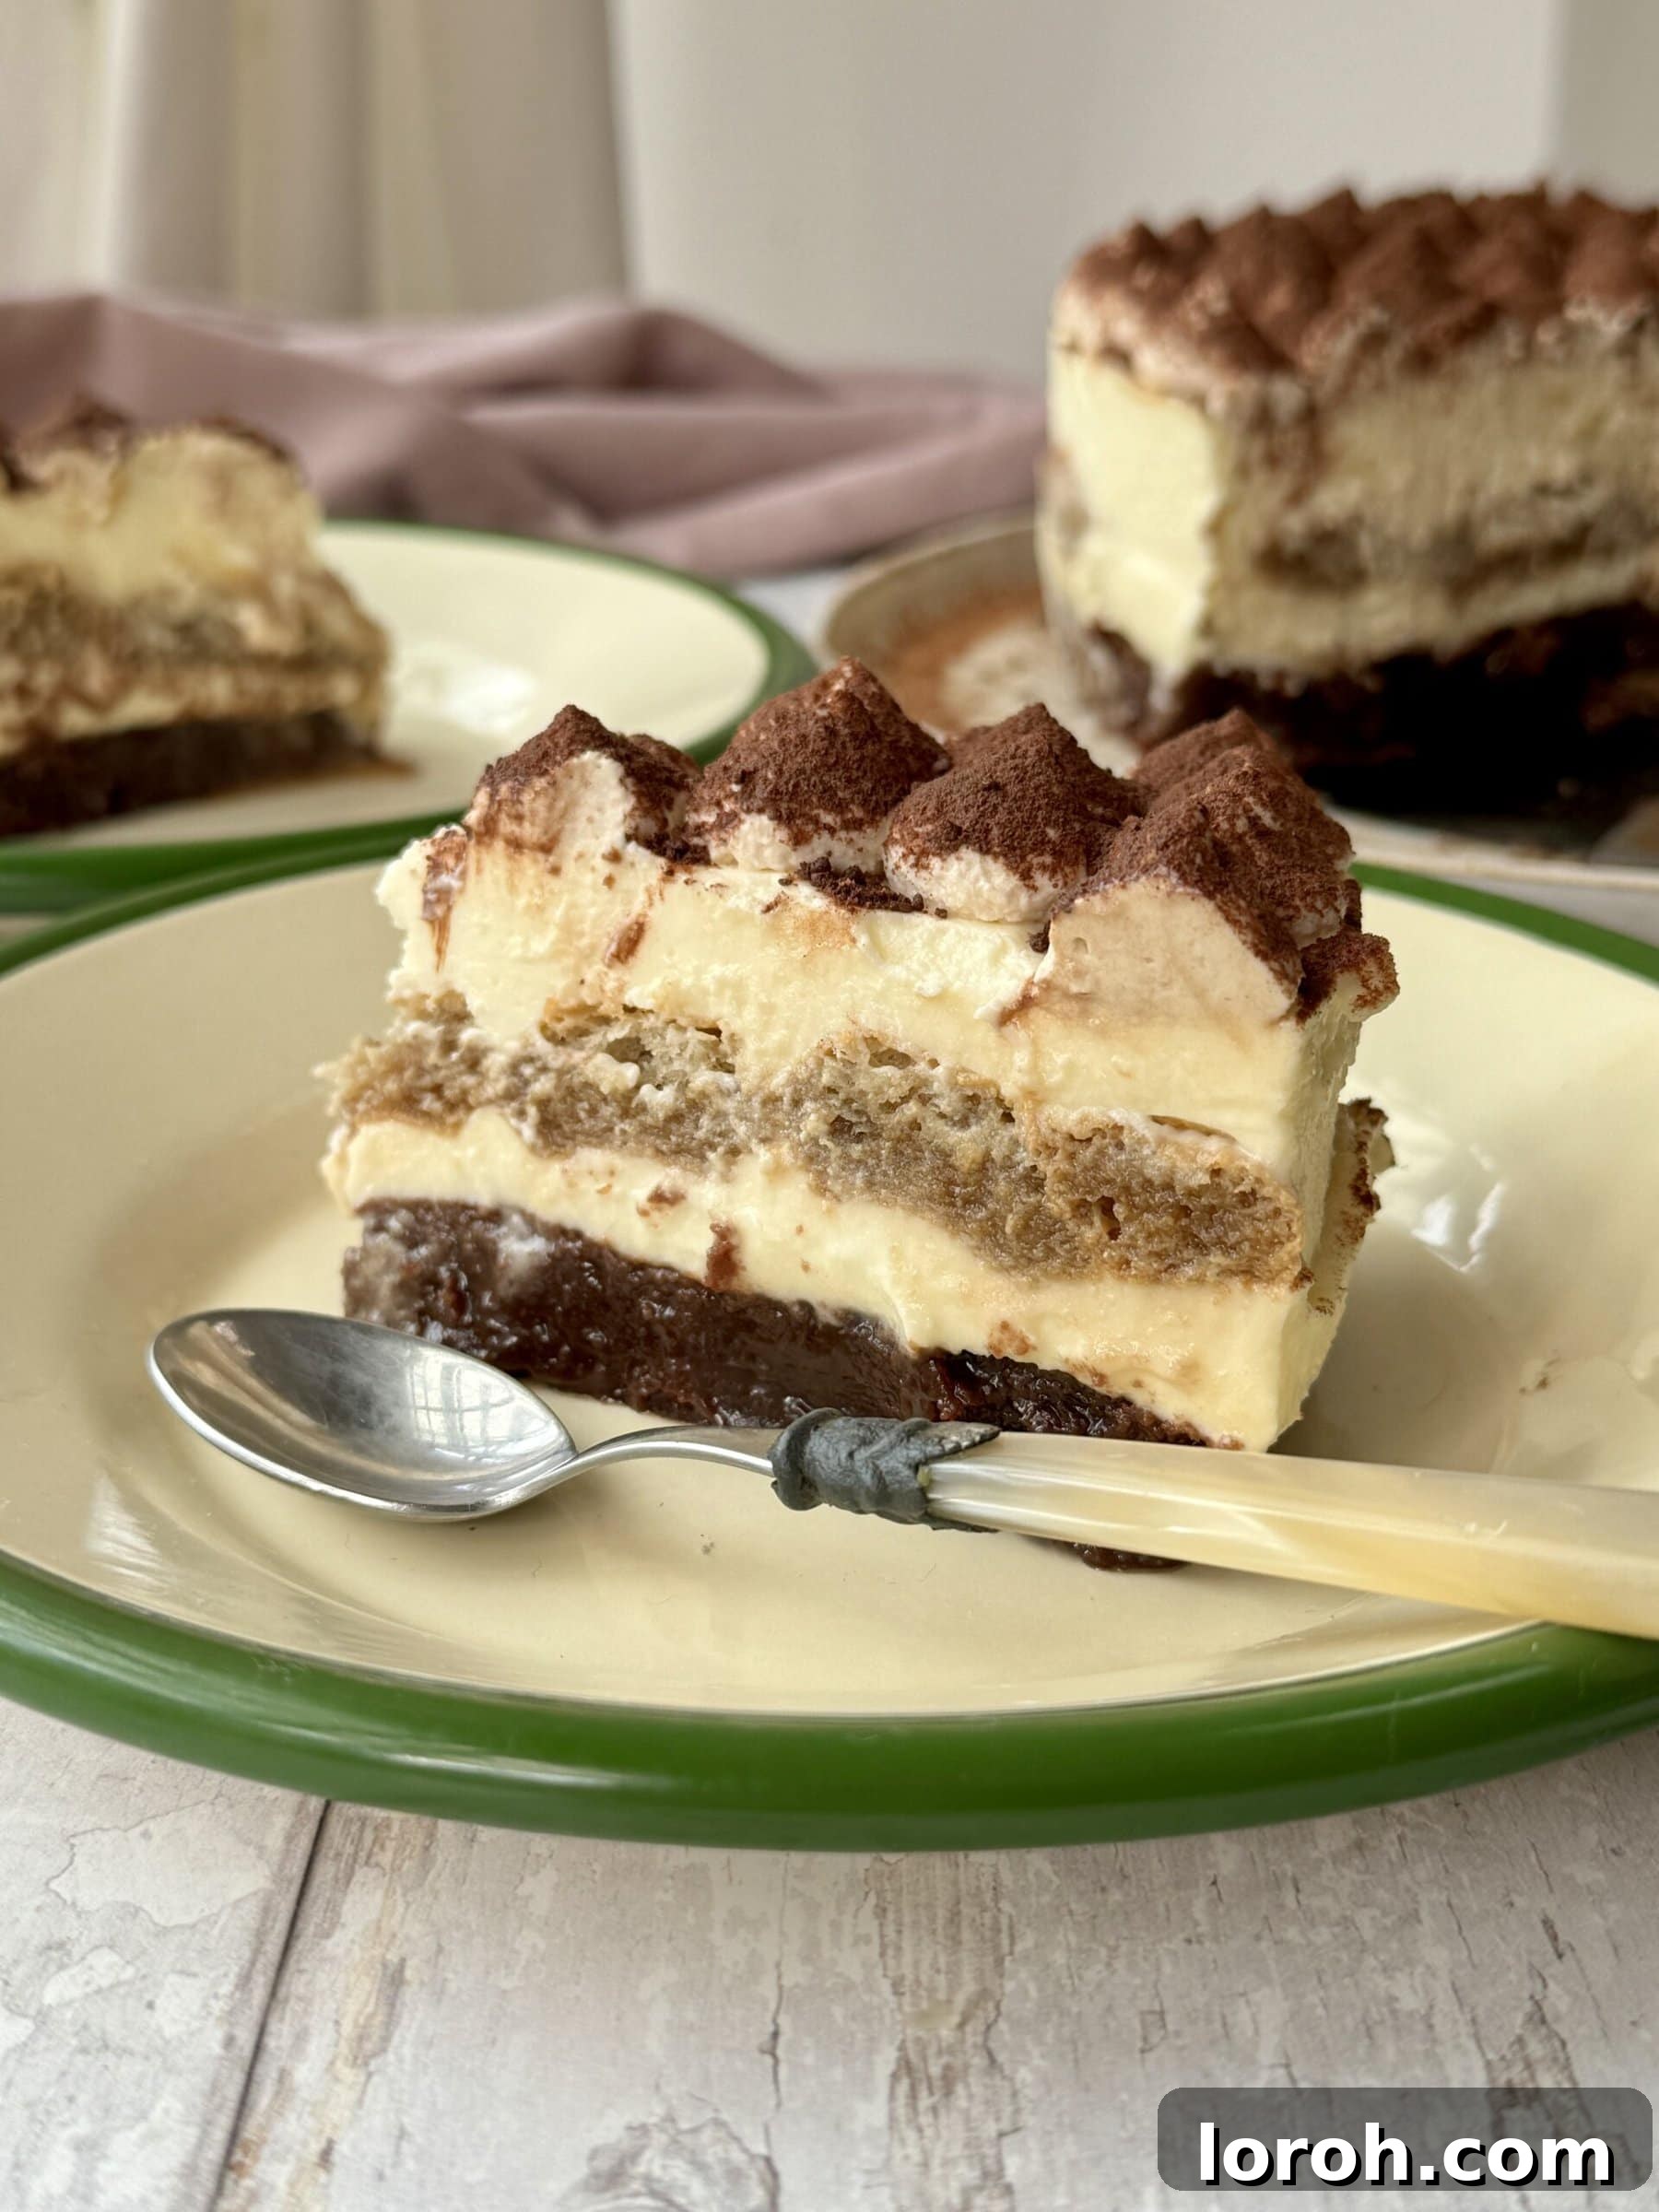
Prepare to fall in love with a dessert that brings together two of the world’s most beloved treats: tiramisu and cheesecake. This extraordinary Tiramisu Cheesecake is a true showstopper, meticulously crafted with layers of rich flavor and exquisite texture. It begins with a deeply fudgy brownie base, offering a delightful chocolatey foundation. This is crowned with a luxuriously smooth mascarpone cheesecake mixture, followed by delicate sponge fingers generously soaked in aromatic coffee. The grand finale is a cloud of malted whipped cream, delicately dusted with cocoa powder for that authentic tiramisu finish. Every single bite is a symphony of contrasting yet harmonious tastes – the intense coffee cuts through the creamy sweetness, while the brownie base adds an irresistible depth that elevates this dessert far beyond the ordinary. You simply must try it to believe it.
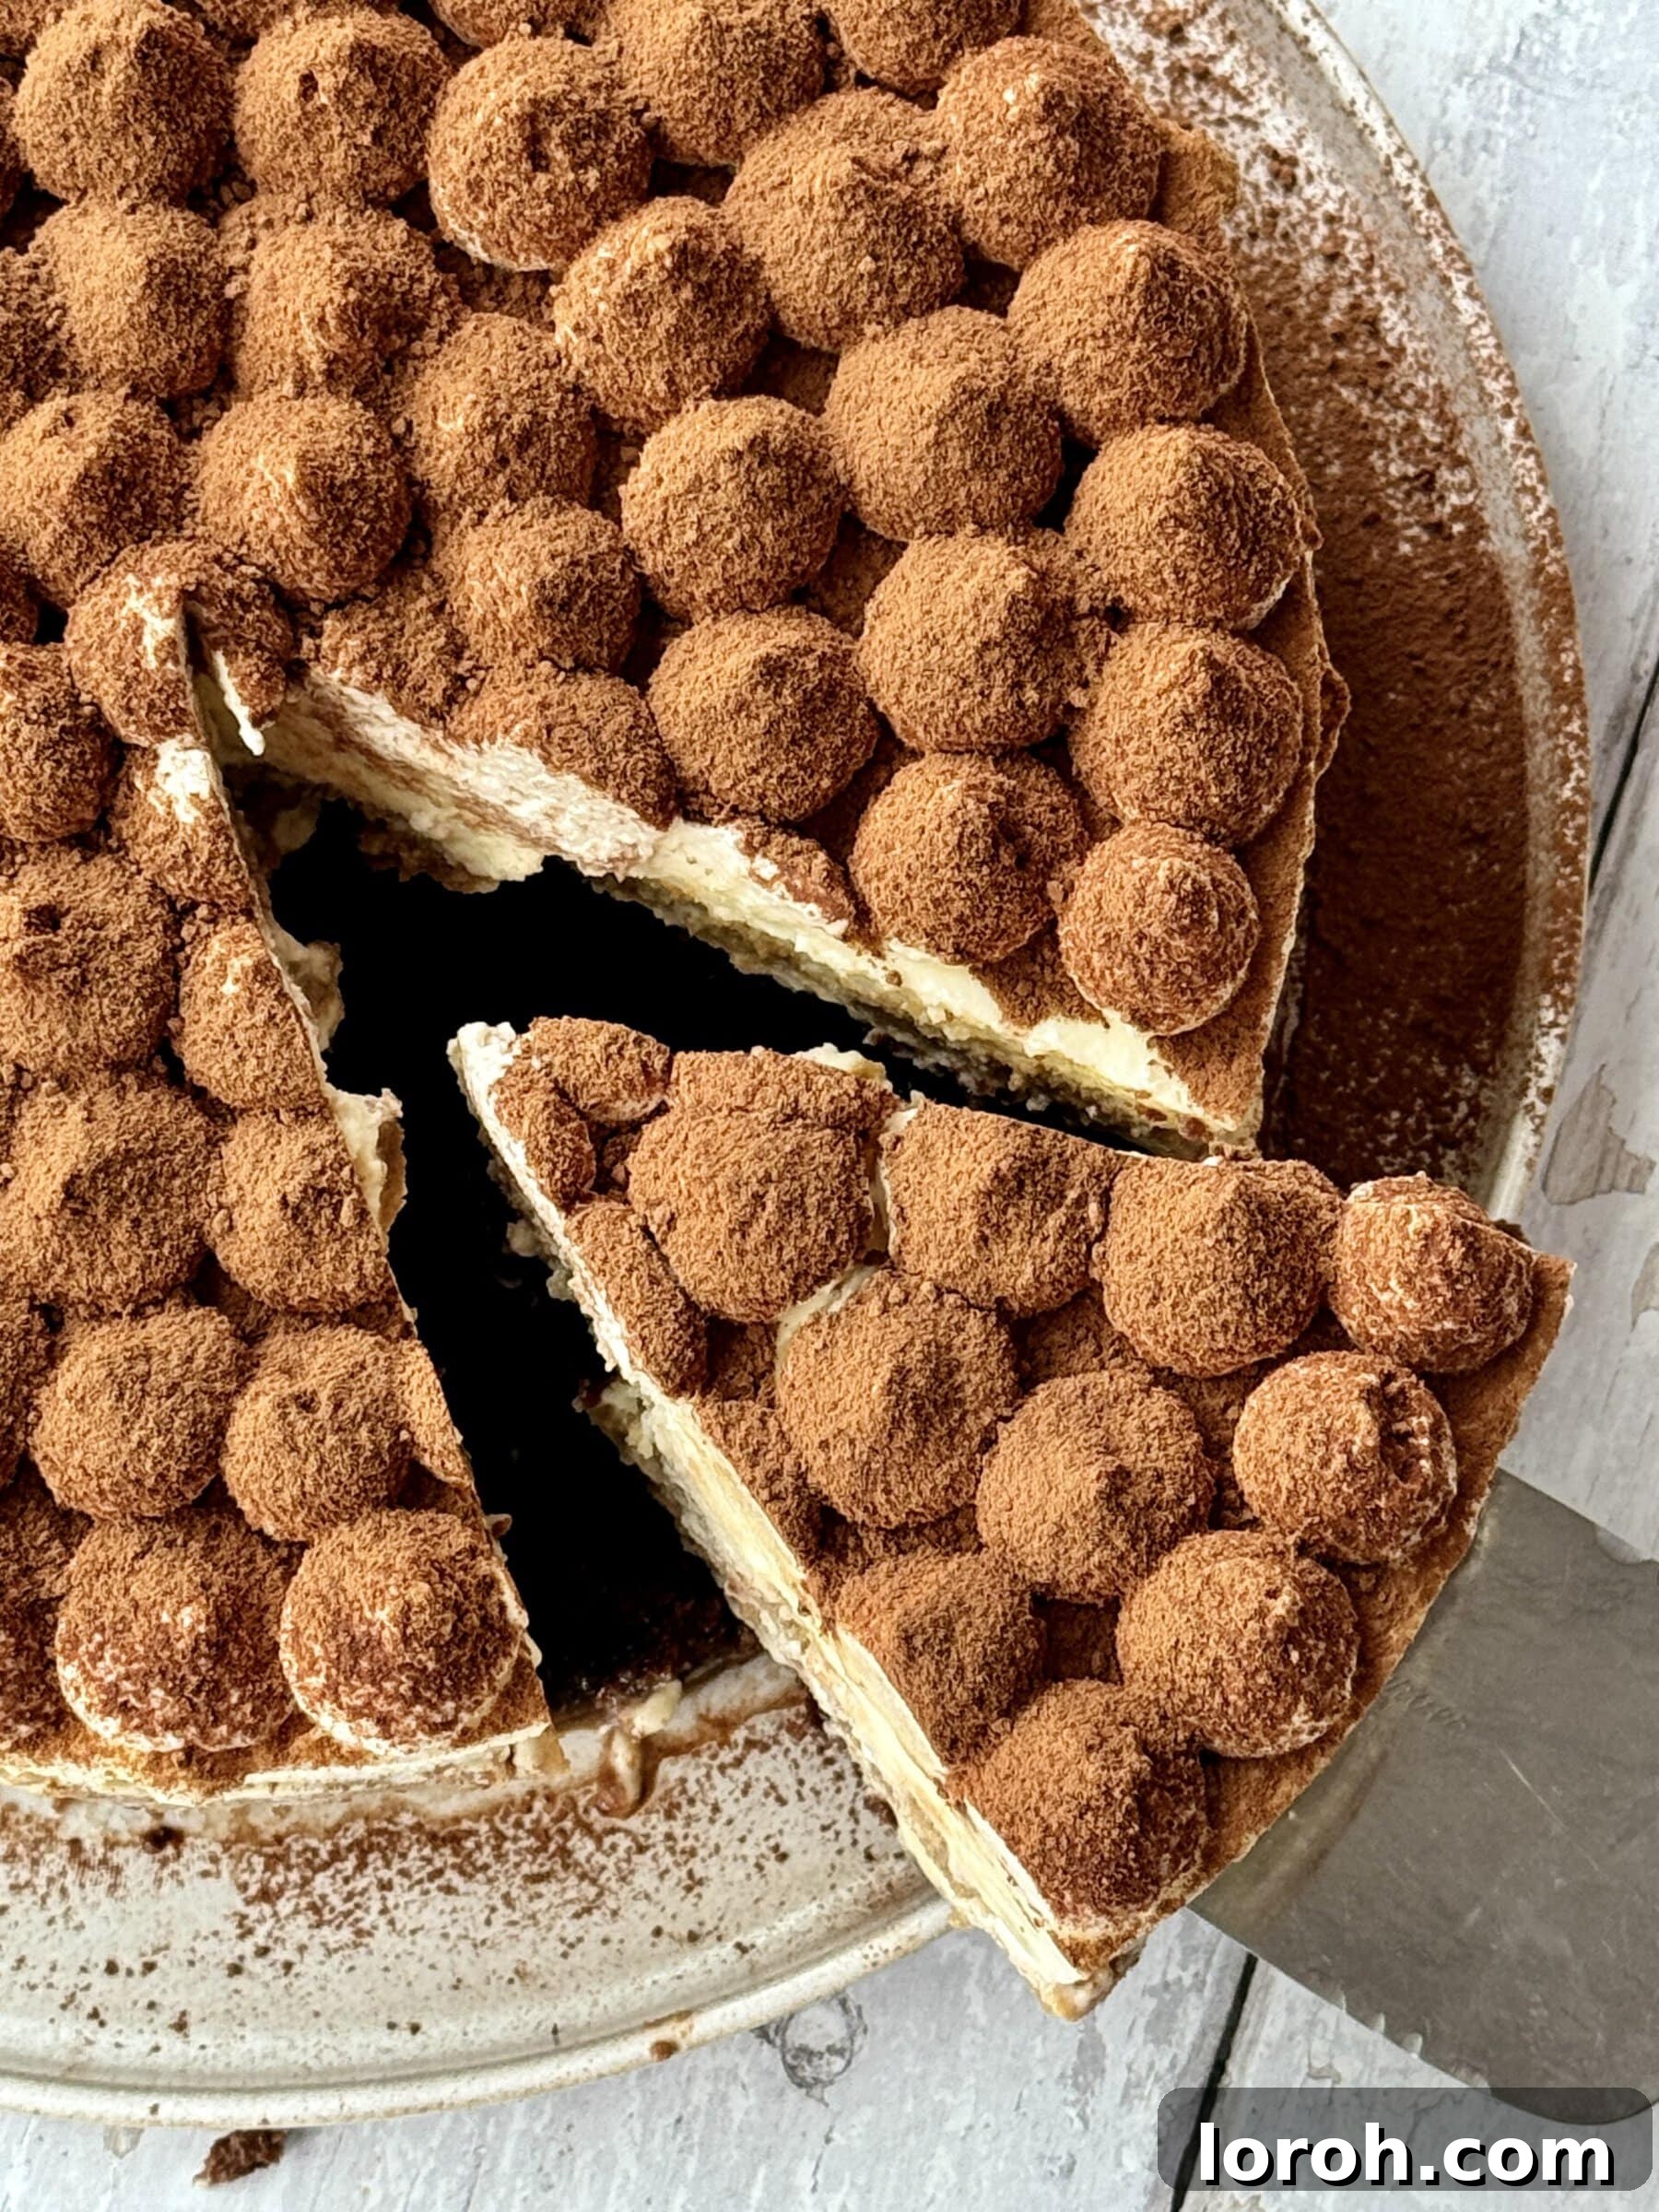
My passion for tiramisu is evident in the diverse collection of recipes I’ve shared, from Pistachio Tiramisu to Banana Tiramisu, and even delightful Tiramisu Cookies. Yet, this Brownie Tiramisu Cheesecake stands out as a true culinary triumph. The vibrant coffee notes perfectly complement the rich, creamy mascarpone and the dense, chocolatey brownie, creating an experience that is nothing short of heavenly. It’s a dessert that transcends expectations, promising an unforgettable indulgence for any occasion. Don’t just take my word for it; bake it, taste it, and discover your new favorite dessert.
Why This Tiramisu Cheesecake Will Become Your New Obsession:
- An Unforgettable Original Creation: This dessert masterfully marries the classic flavors of tiramisu with the beloved creaminess of cheesecake, all built upon a rich brownie foundation. It’s a truly unique combination that will surprise and delight your guests, making it a memorable centerpiece for any gathering.
- Achievable Layers of Perfection: While this tiramisu cheesecake boasts impressive layers, each component is surprisingly simple to prepare. The key to its success lies in allowing sufficient chilling time between each stage, ensuring every layer sets beautifully and contributes to the overall exquisite texture. Patience is rewarded with pure perfection!
- The Best of Three Dessert Worlds: Experience the ultimate trifecta of flavors and textures! Enjoy the intensely fudgy, chewy goodness of a classic brownie, the smooth, tangy, and rich delight of mascarpone cheesecake, and the aromatic, coffee-infused elegance of tiramisu. It’s a dessert designed to satisfy every craving in one harmonious bite.
Key Ingredients for Your Masterpiece:
For your convenience, the full, detailed recipe with precise measurements can be found in the printable recipe card at the very bottom of this post.
Unsalted Butter: The foundation of exceptional brownies begins with high-quality butter. Using unsalted butter allows you to control the salt content in your recipe, ensuring a balanced flavor. Its rich fat content contributes significantly to the fudgy texture and decadent flavor of our brownie base, making it moist and irresistible. Don’t underestimate the impact of good butter!
Dark Chocolate: The choice of chocolate is paramount for a truly outstanding brownie. Opt for good quality dark chocolate, preferably around 70% cocoa solids, though 54% also yields wonderful results. High-quality chocolate melts more smoothly and provides a deeper, more complex chocolate flavor that cheaper alternatives simply cannot match. Avoid milk chocolate as it tends to be too sweet for this recipe and may not achieve the desired melt and texture in the brownie batter.
Caster Sugar: This fine-grained sugar is essential for balancing the intensity of the dark chocolate, contributing to the perfect level of sweetness in the brownie. Its fine texture dissolves easily, ensuring a smooth batter. Golden caster sugar can be a lovely alternative for a subtle caramel note, or even standard granulated sugar if that’s what you have on hand – just ensure it’s fully dissolved for the best outcome.
Double Cream (Heavy Cream): For both the cheesecake filling and the whipped topping, double cream is indispensable. In North America, this is known as heavy cream. It boasts a high fat content that is crucial for achieving firm peaks when whipped, providing the light, airy, yet stable structure needed for our luscious cheesecake and creamy topping. Single cream or lighter alternatives simply won’t whip up correctly, resulting in a runny dessert.
Mascarpone Cheese: This Italian cream cheese is the heart of our tiramisu cheesecake. Its incredibly rich, buttery, and slightly sweet flavor, coupled with its exceptionally smooth texture, creates the signature luxuriousness of the cheesecake layer. Ensure it’s at room temperature before beating to prevent lumps and achieve a perfectly silky consistency.
Sponge Fingers (Ladyfingers): These delicate, dry, and airy biscuits are traditional for tiramisu. Their porous nature makes them ideal for soaking up the coffee mixture without becoming soggy too quickly. They provide a crucial textural contrast and a burst of coffee flavor within the creamy layers.
Strong Cooled Coffee: A robust, freshly brewed coffee is key to imparting that authentic tiramisu flavor. Ensure it’s cooled completely before dipping the sponge fingers to prevent them from disintegrating and to maintain the cheesecake’s temperature.
Creative Substitutions and Delicious Variations:
Coffee Alternatives: If coffee isn’t your preference or you’re serving children, a delicious alternative for soaking the sponge fingers is cooled hot chocolate. For an adult-friendly twist, consider adding a splash of coffee liqueur (like Kahlúa or Tia Maria) to the cooled coffee, or even a touch of rum or brandy for extra depth of flavor. Decaffeinated coffee works perfectly if you want to avoid caffeine without compromising on taste.
Sugar Choices for the Brownie: While the combination of caster sugar and soft light brown sugar yields the absolute best fudgy texture and depth of flavor in the brownie base, you can certainly use entirely caster sugar. However, be aware that the brown sugar adds a subtle molasses note and contributes to the chewiness that makes these brownies truly special. Granulated sugar can also be used in a pinch, just ensure it’s well incorporated.
Icing Sugar (Powdered Sugar): For the smoothest, most lump-free mascarpone mixture, icing sugar (known as powdered sugar in the US) is recommended as it dissolves effortlessly. If you don’t have any, fine caster sugar can be used, but ensure you beat it thoroughly into the mascarpone to avoid any grainy texture.
Malted Whipped Cream: The malt powder (such as Ovaltine or Horlicks) in the whipped cream is an optional but highly recommended addition. It imparts a delightful, subtle malty flavor reminiscent of Maltesers, adding another layer of complexity to the dessert. If you prefer to omit it, the whipped cream will still be delicious. Alternatively, infuse the cream with a tiny splash of vanilla extract for a classic touch, or a hint of coffee extract to intensify the tiramisu theme.
Brownie Base Alternatives: While the fudgy brownie base is a signature element that takes this dessert “to the next level,” you can absolutely opt for a more traditional cheesecake crust. A simple graham cracker or digestive biscuit crust, as seen in my Creme Brulee Cheesecake or Mini Biscoff Cheesecakes, would also work beautifully. Simply combine crushed biscuits with melted butter and press into the pan before chilling.
Crafting Your Perfect Brownie Tiramisu Cheesecake: A Step-by-Step Visual Guide
Follow this visual step-by-step guide to construct your magnificent Tiramisu Cheesecake. For comprehensive, detailed instructions and ingredient quantities, please scroll down to the full recipe card at the bottom of this page.
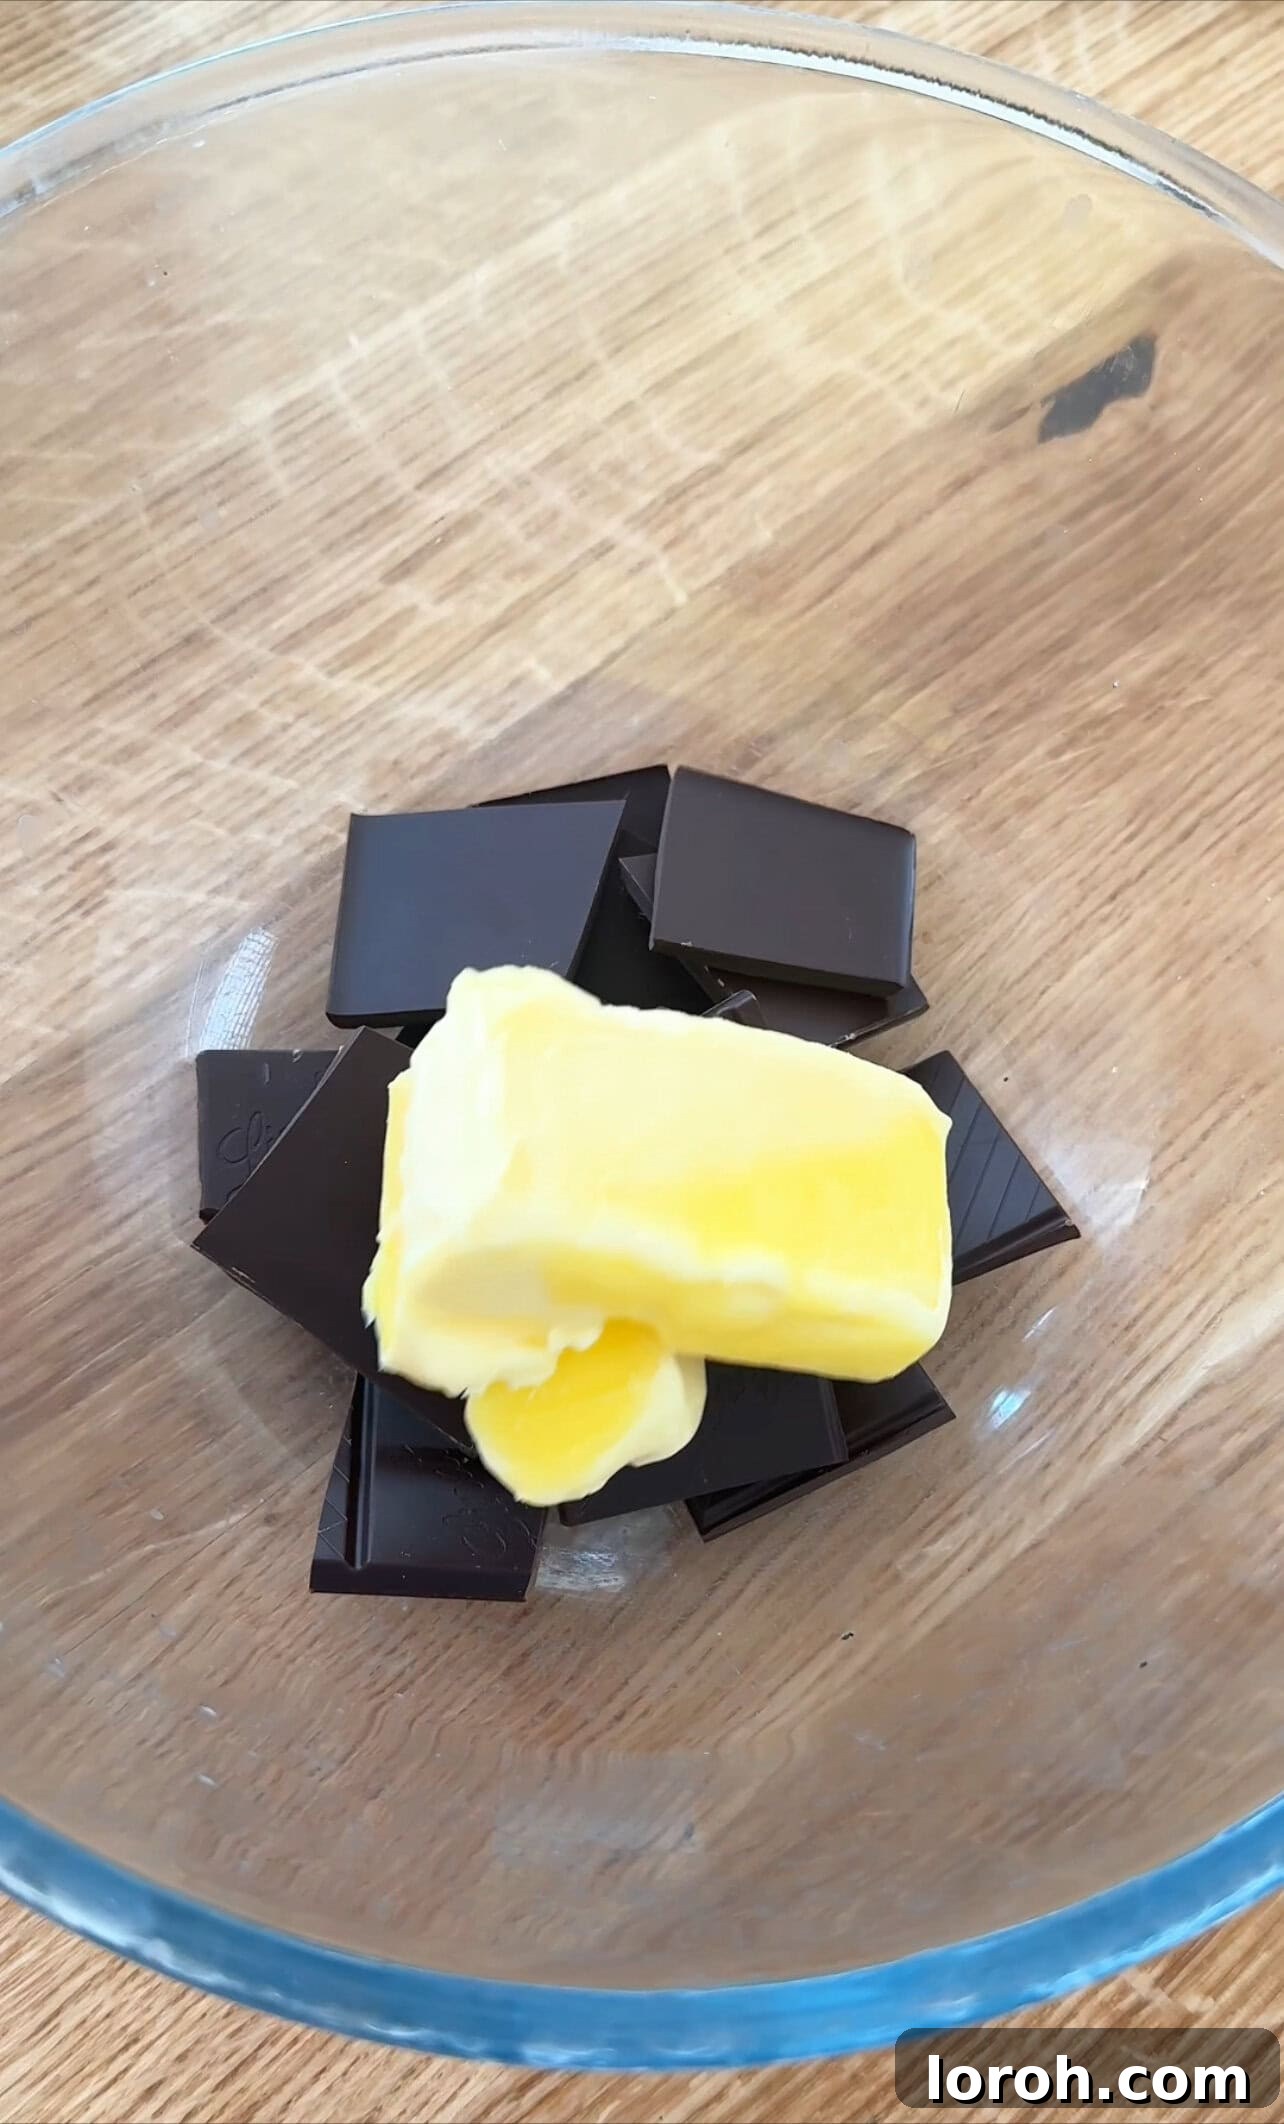
STEP ONE: Melt Chocolate and Butter. In a double boiler or using short bursts in the microwave, gently melt the unsalted butter and chopped dark chocolate until smooth and glossy. Ensure the mixture cools slightly before combining with other ingredients.
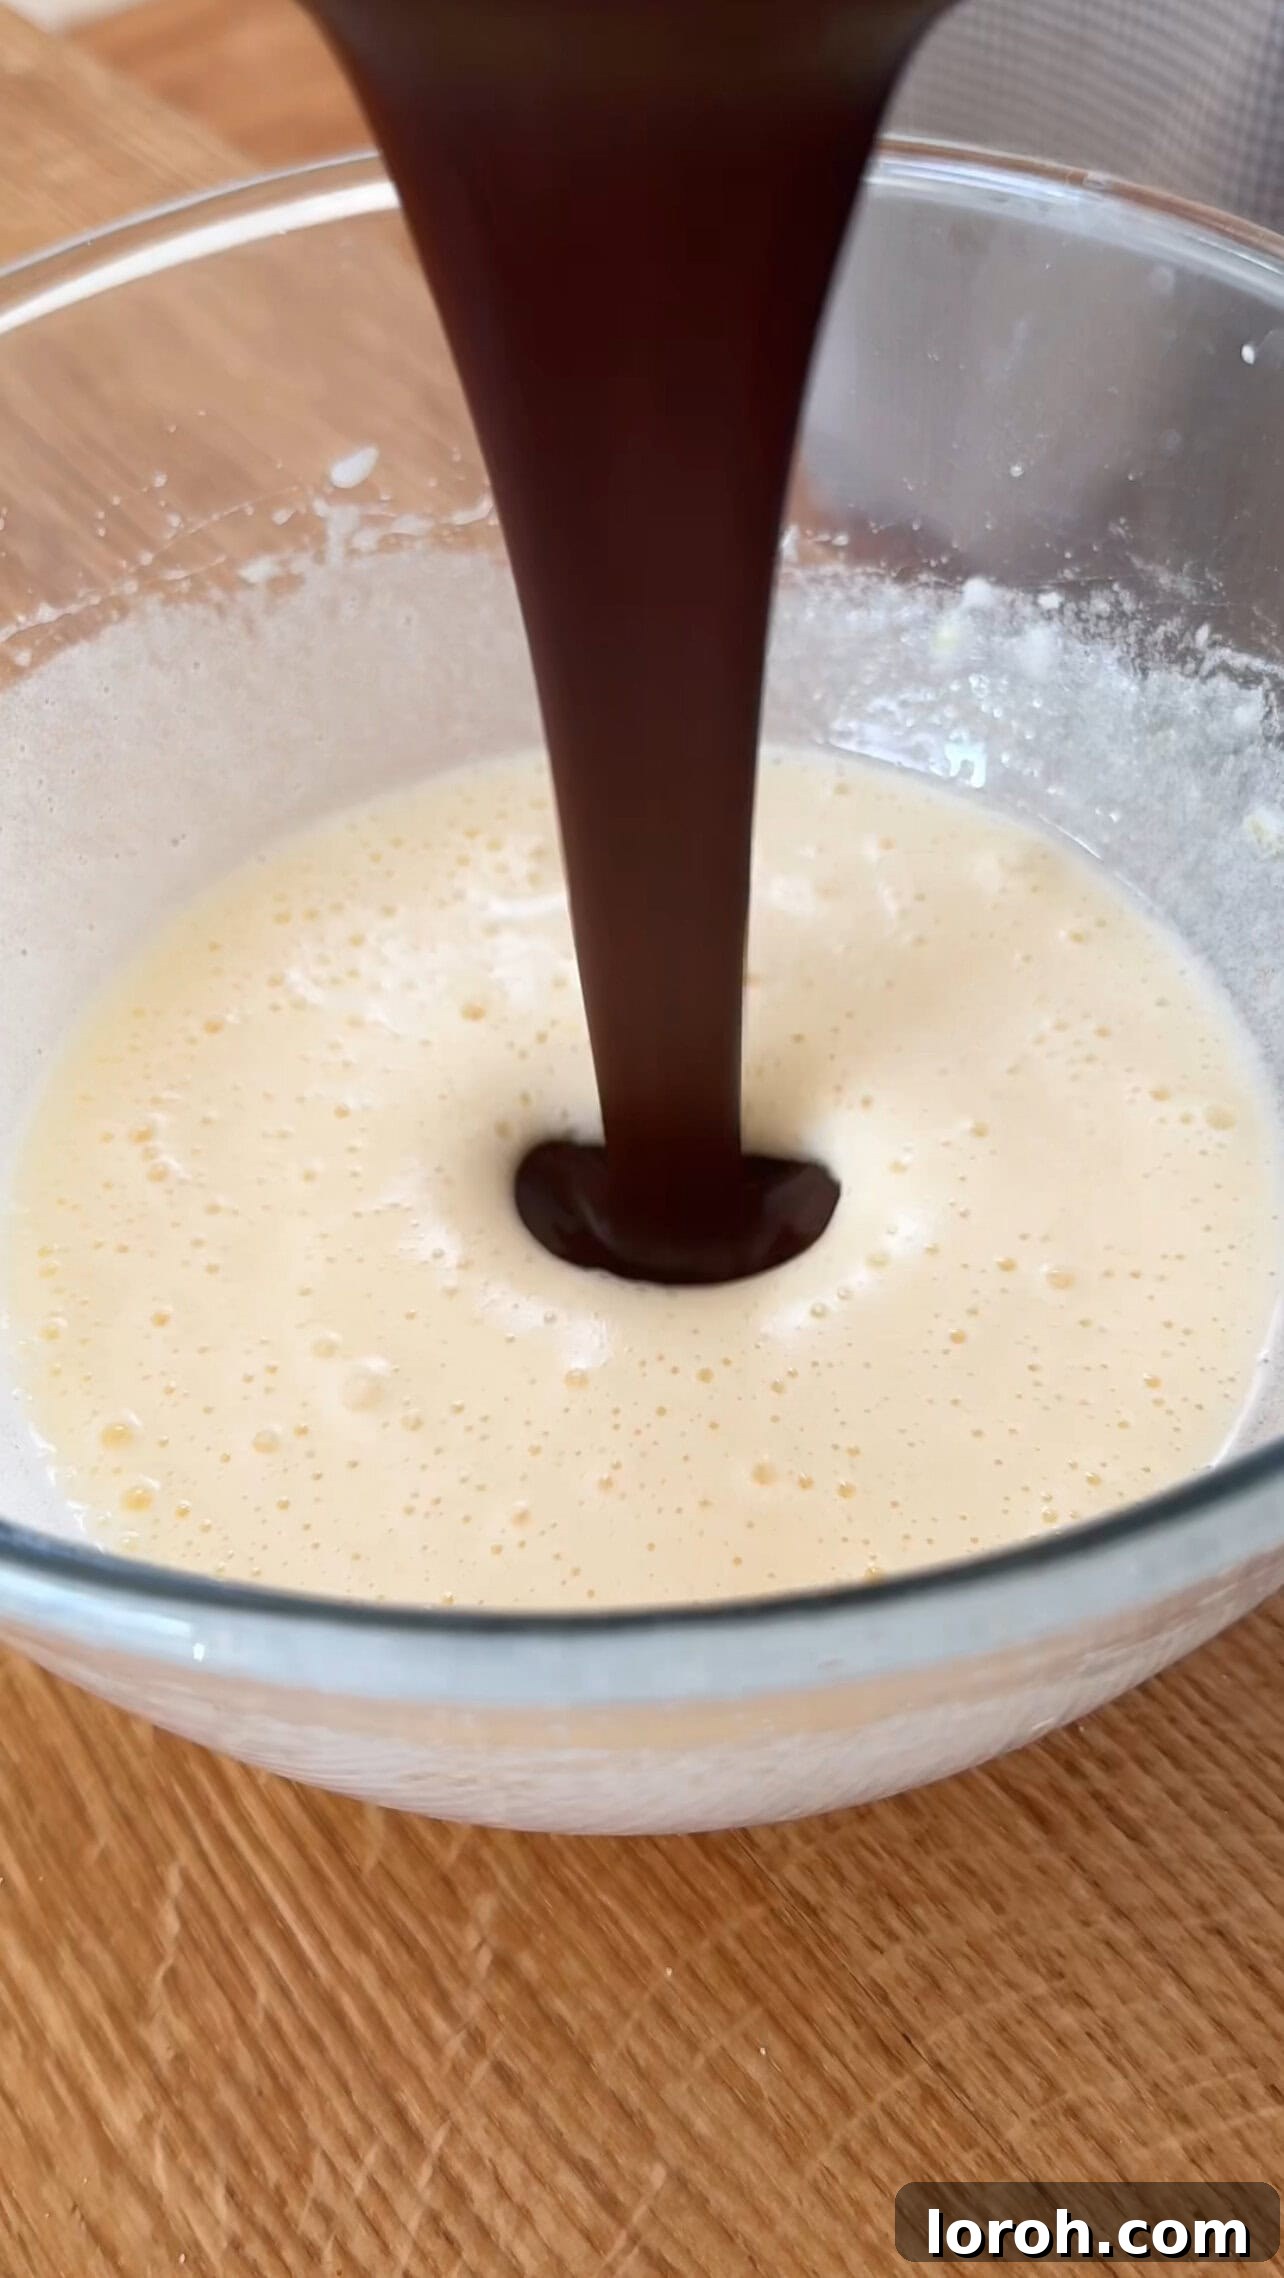
STEP TWO: Whip Eggs and Sugars. In a large mixing bowl, combine the eggs, caster sugar, and soft light brown sugar. Beat vigorously with an electric whisk on medium-high speed for about one minute until the mixture becomes pale, thick, and has roughly doubled in volume. This aeration is crucial for the brownie’s texture.
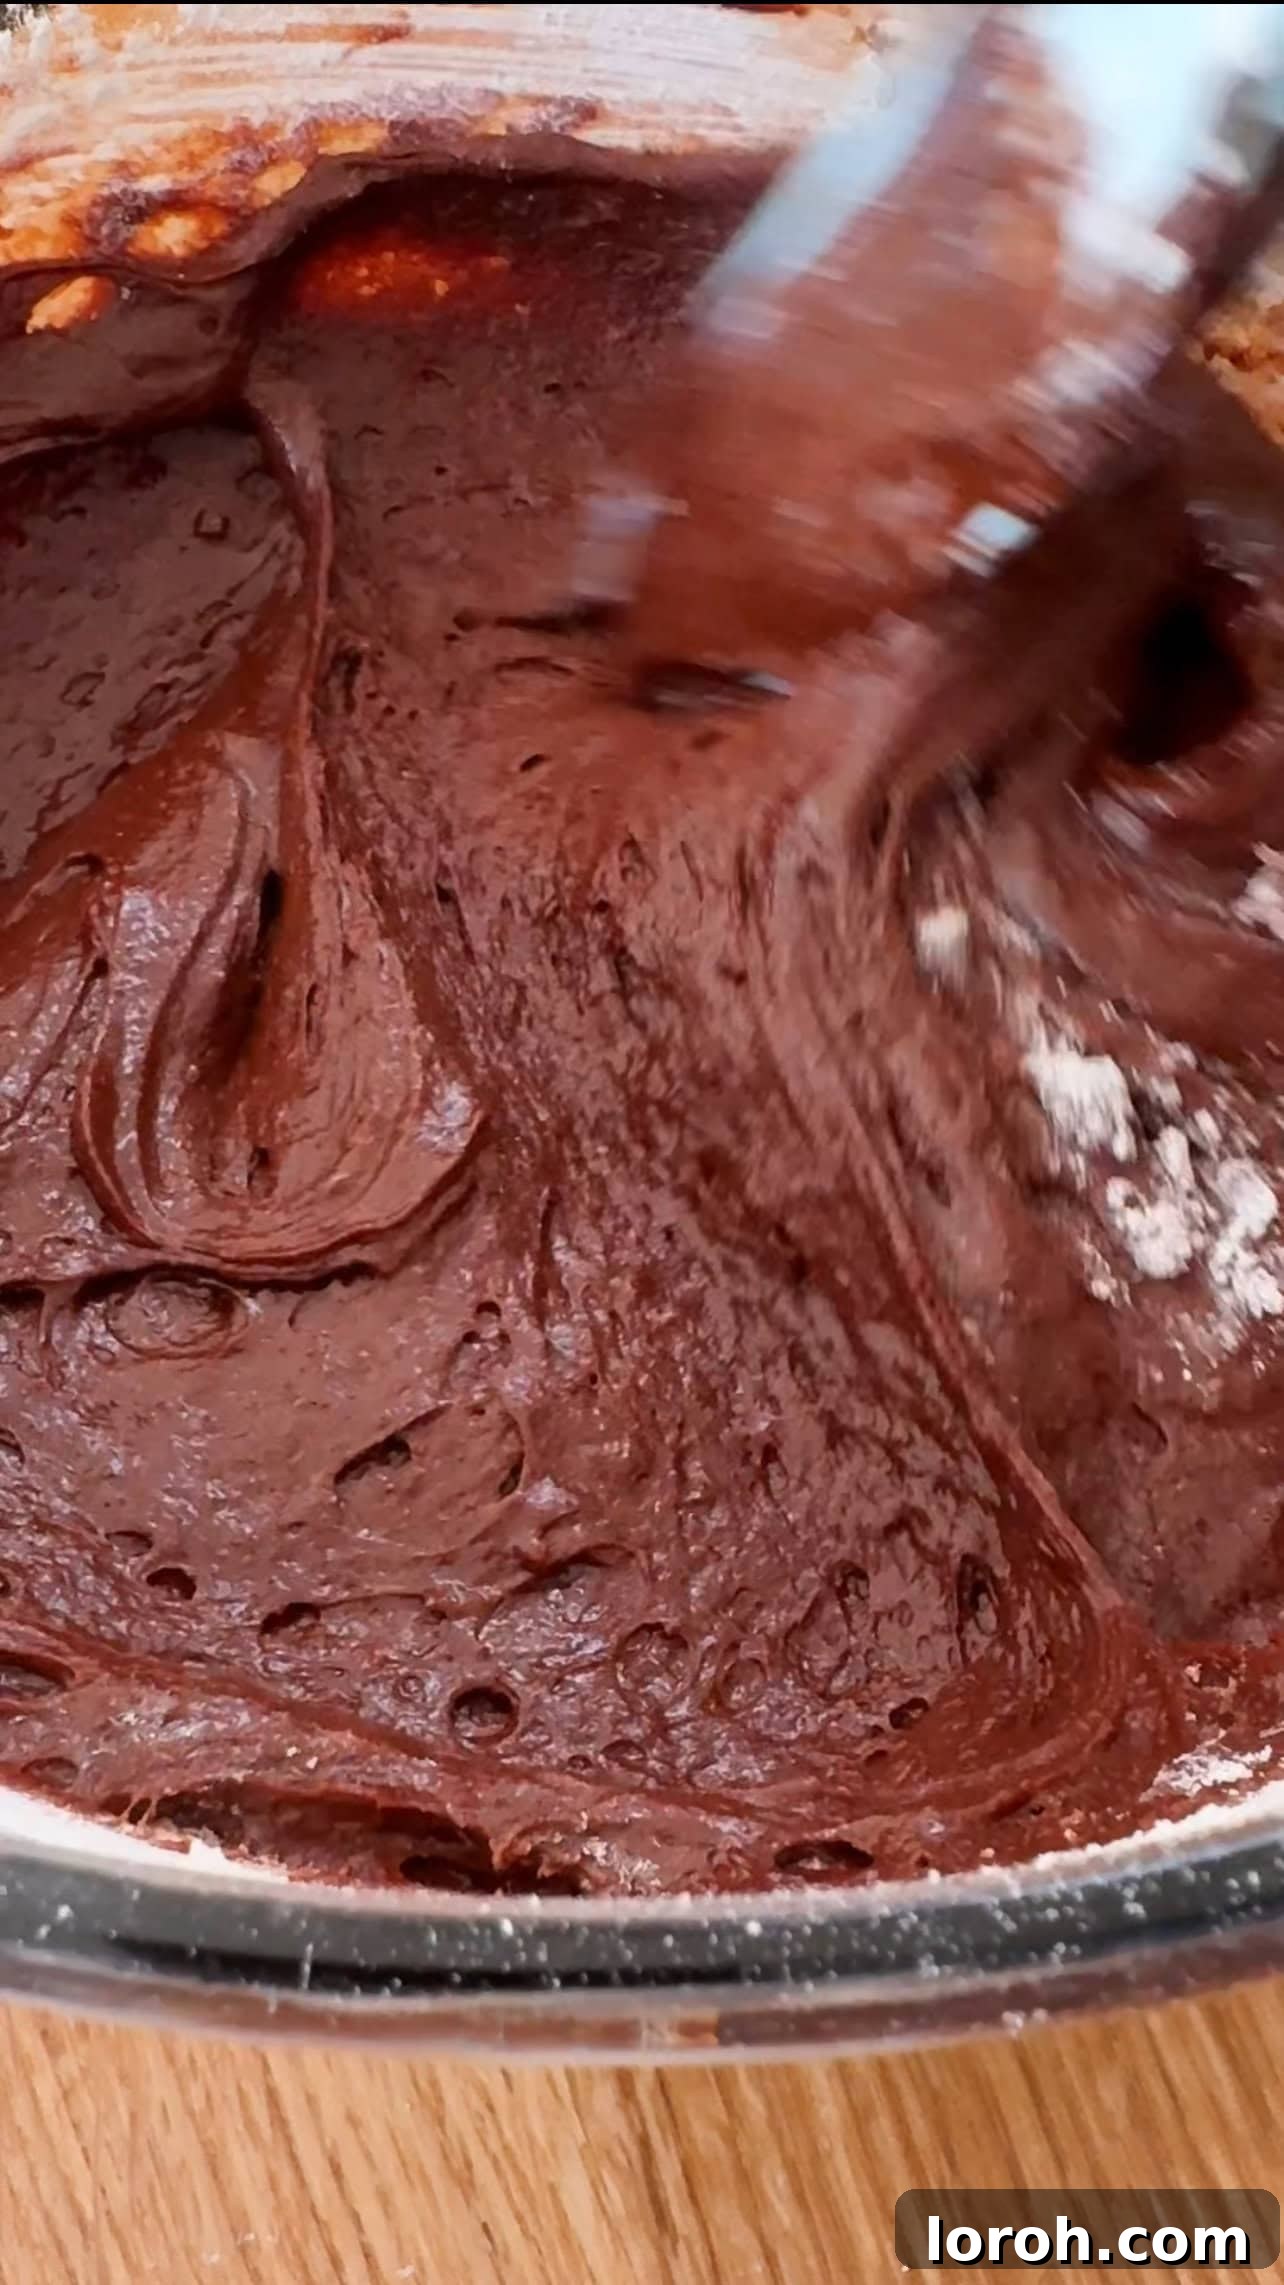
STEP THREE: Prepare and Bake Brownie. Fold the cooled chocolate-butter mixture and vanilla extract into the egg mixture until just combined. Sift in the plain flour and salt, then gently fold until a smooth batter forms. Pour this into your prepared cake tin and bake for approximately 15 minutes, or until the top is lightly puffed. The brownie will continue to set as it cools, so allow it to cool completely in the tin.

STEP FOUR: Prepare Mascarpone Cheesecake Filling. In one bowl, whisk the cold double cream until it forms firm peaks. In a separate bowl, beat the room-temperature mascarpone with a wooden spoon until it’s perfectly smooth and lump-free. Sieve in the icing sugar and stir to combine, then add the vanilla extract, ensuring a smooth and flavorful base for the cheesecake.
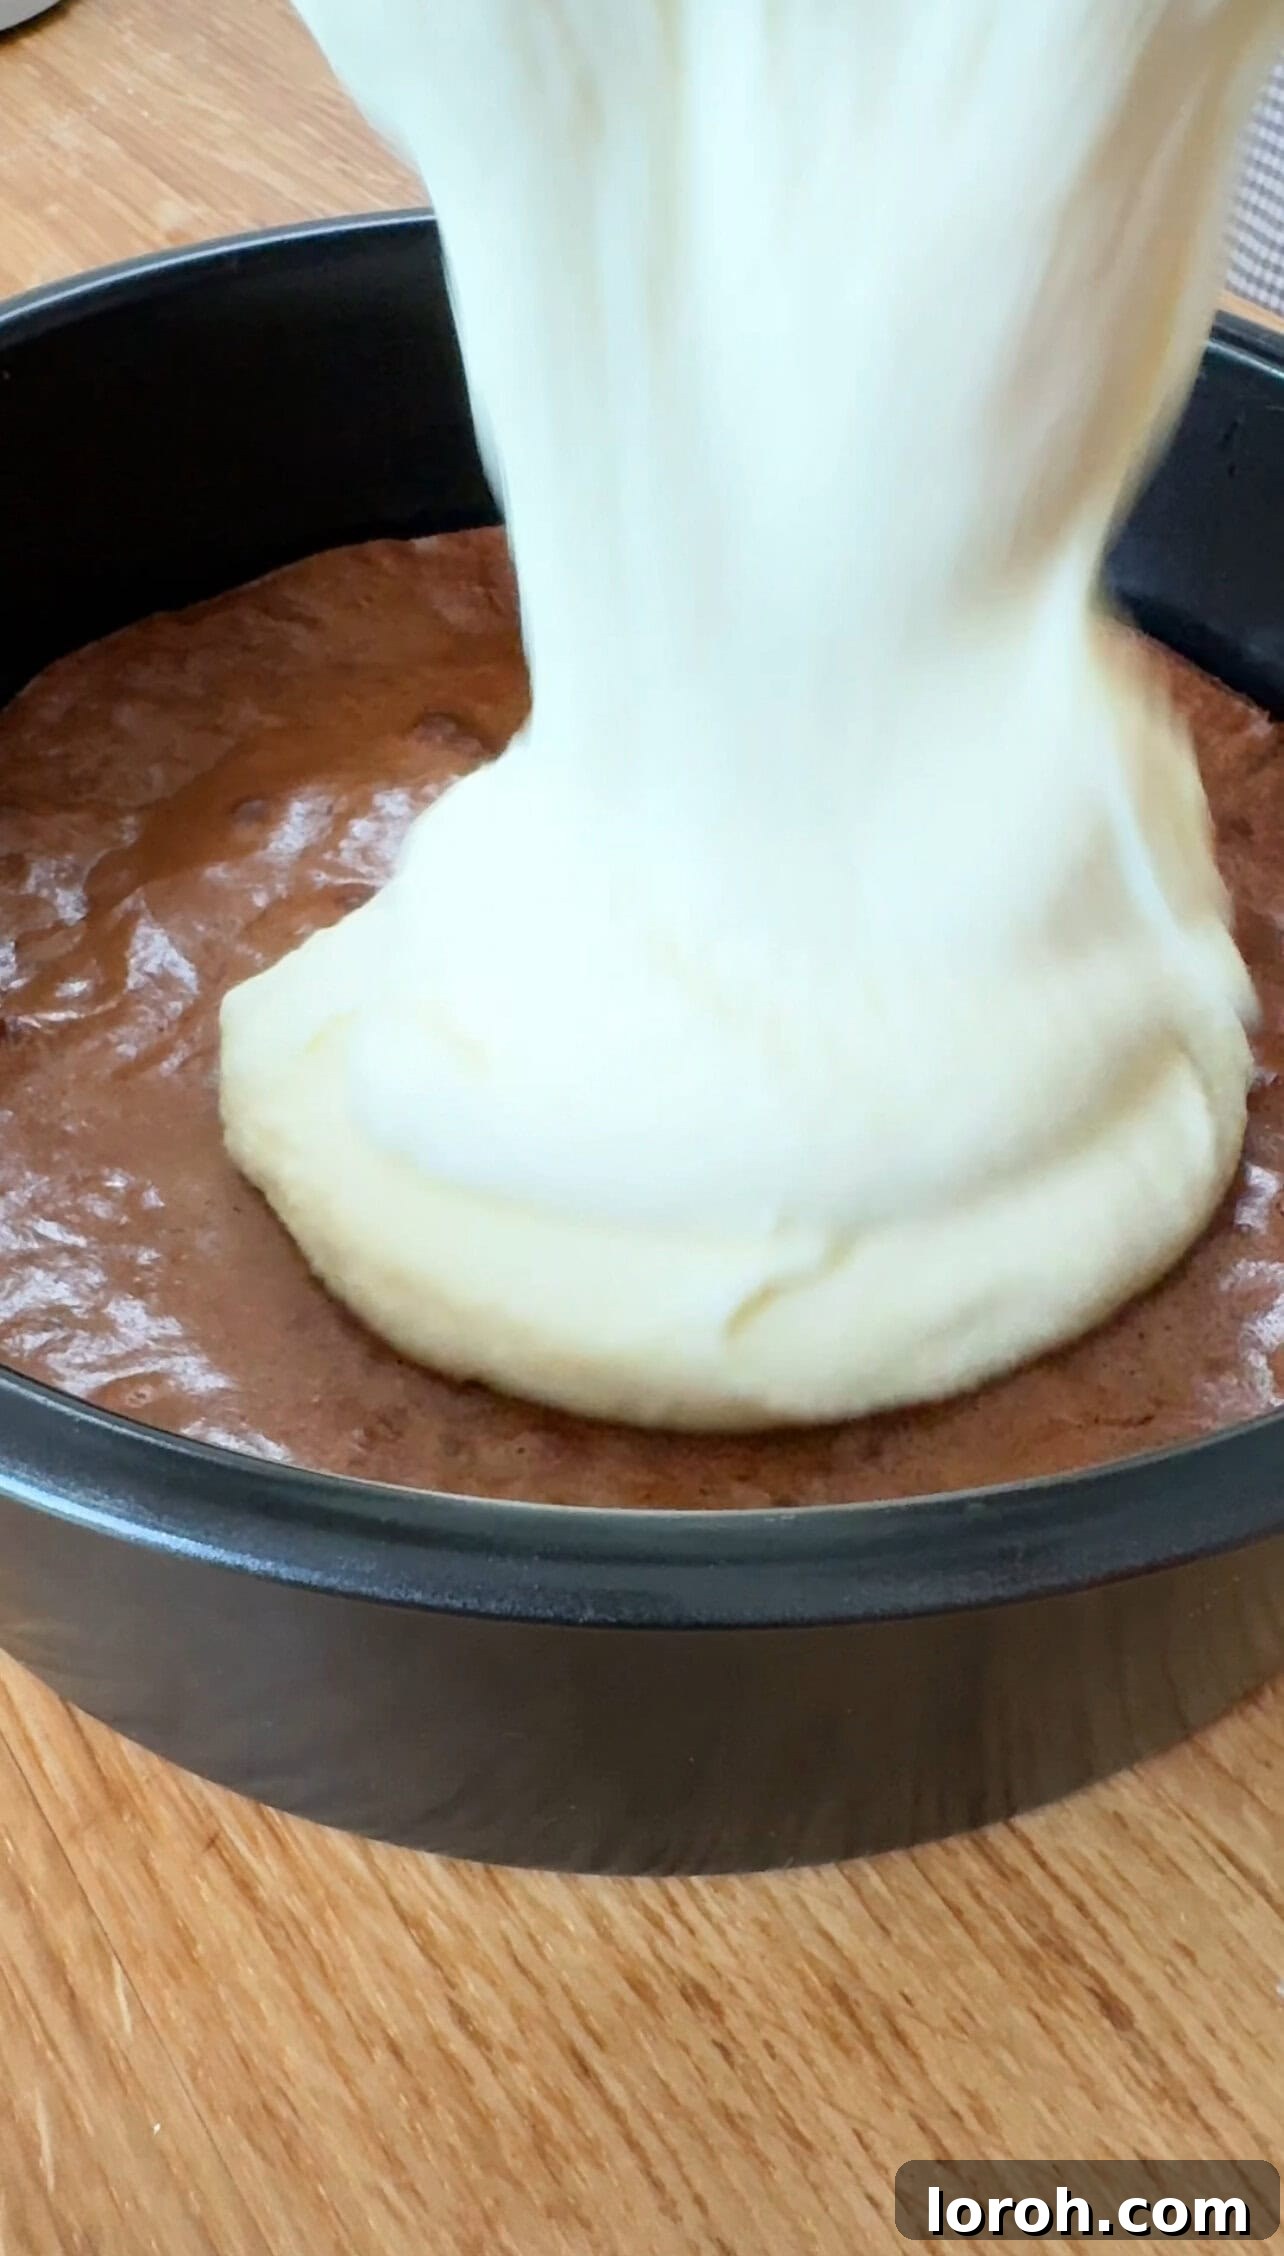
STEP FIVE: Combine and Layer. Gently fold the whipped cream into the mascarpone mixture, taking care not to lose the air. This ensures a light and airy cheesecake. Pour half of this luscious filling evenly over the cooled brownie base, spreading it out to create an even layer.
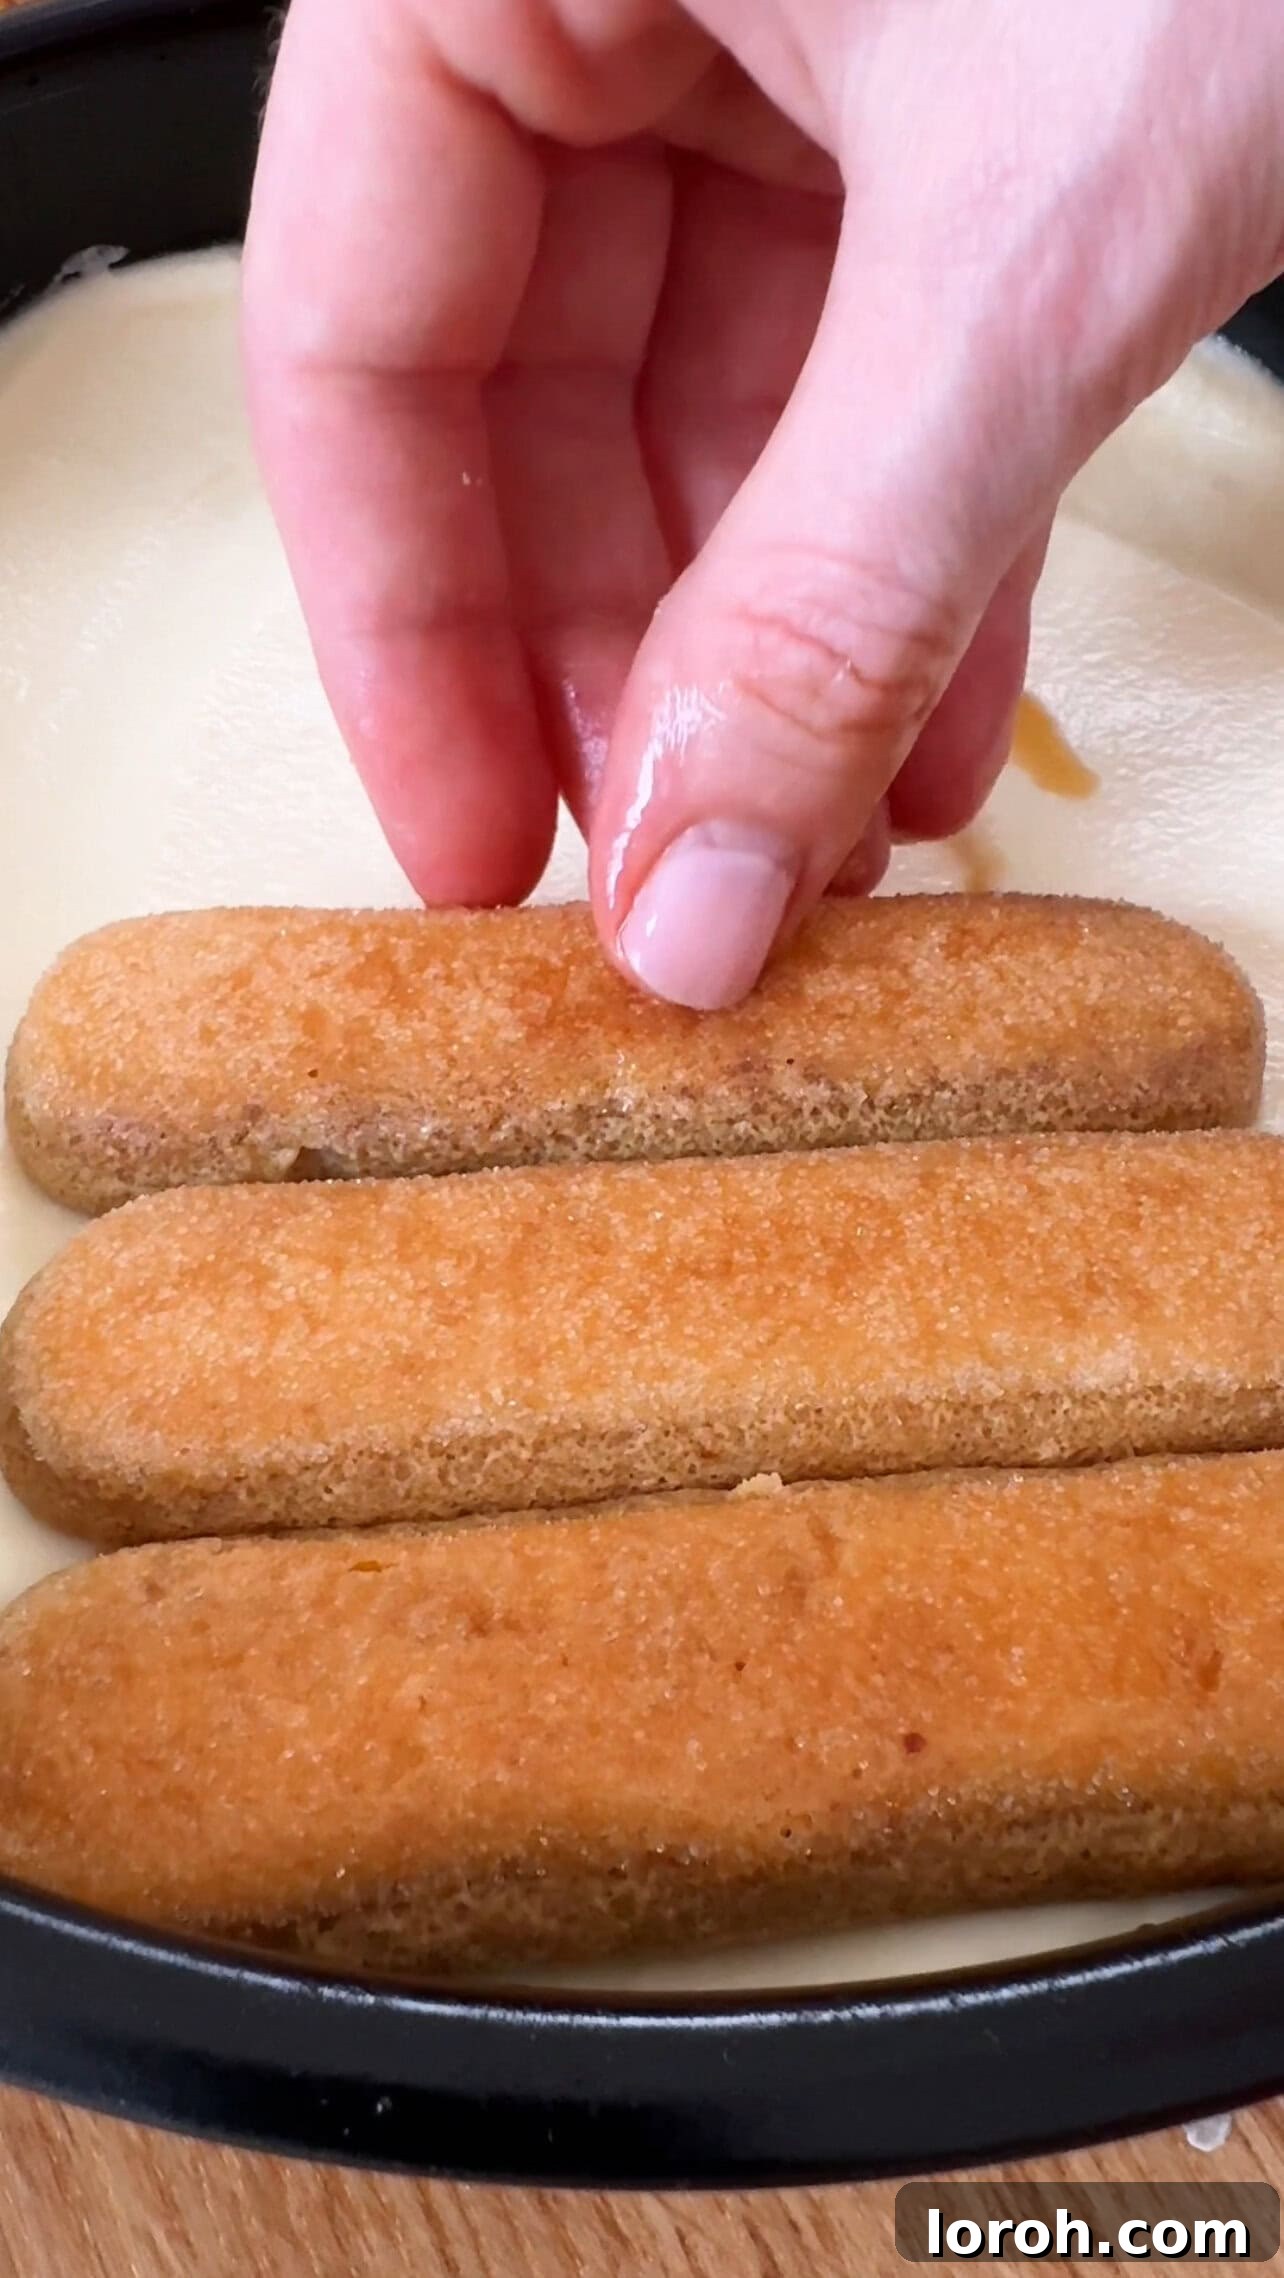
STEP SIX: Add Coffee-Soaked Ladyfingers and Chill. Quickly dip the sponge fingers into the cooled coffee, ensuring they are coated but not overly saturated. Arrange them in a single layer over the first cheesecake layer. Top with the remaining cheesecake mixture, smooth the surface, and then refrigerate the entire cake overnight (at least 12 hours) to allow it to firm up properly.
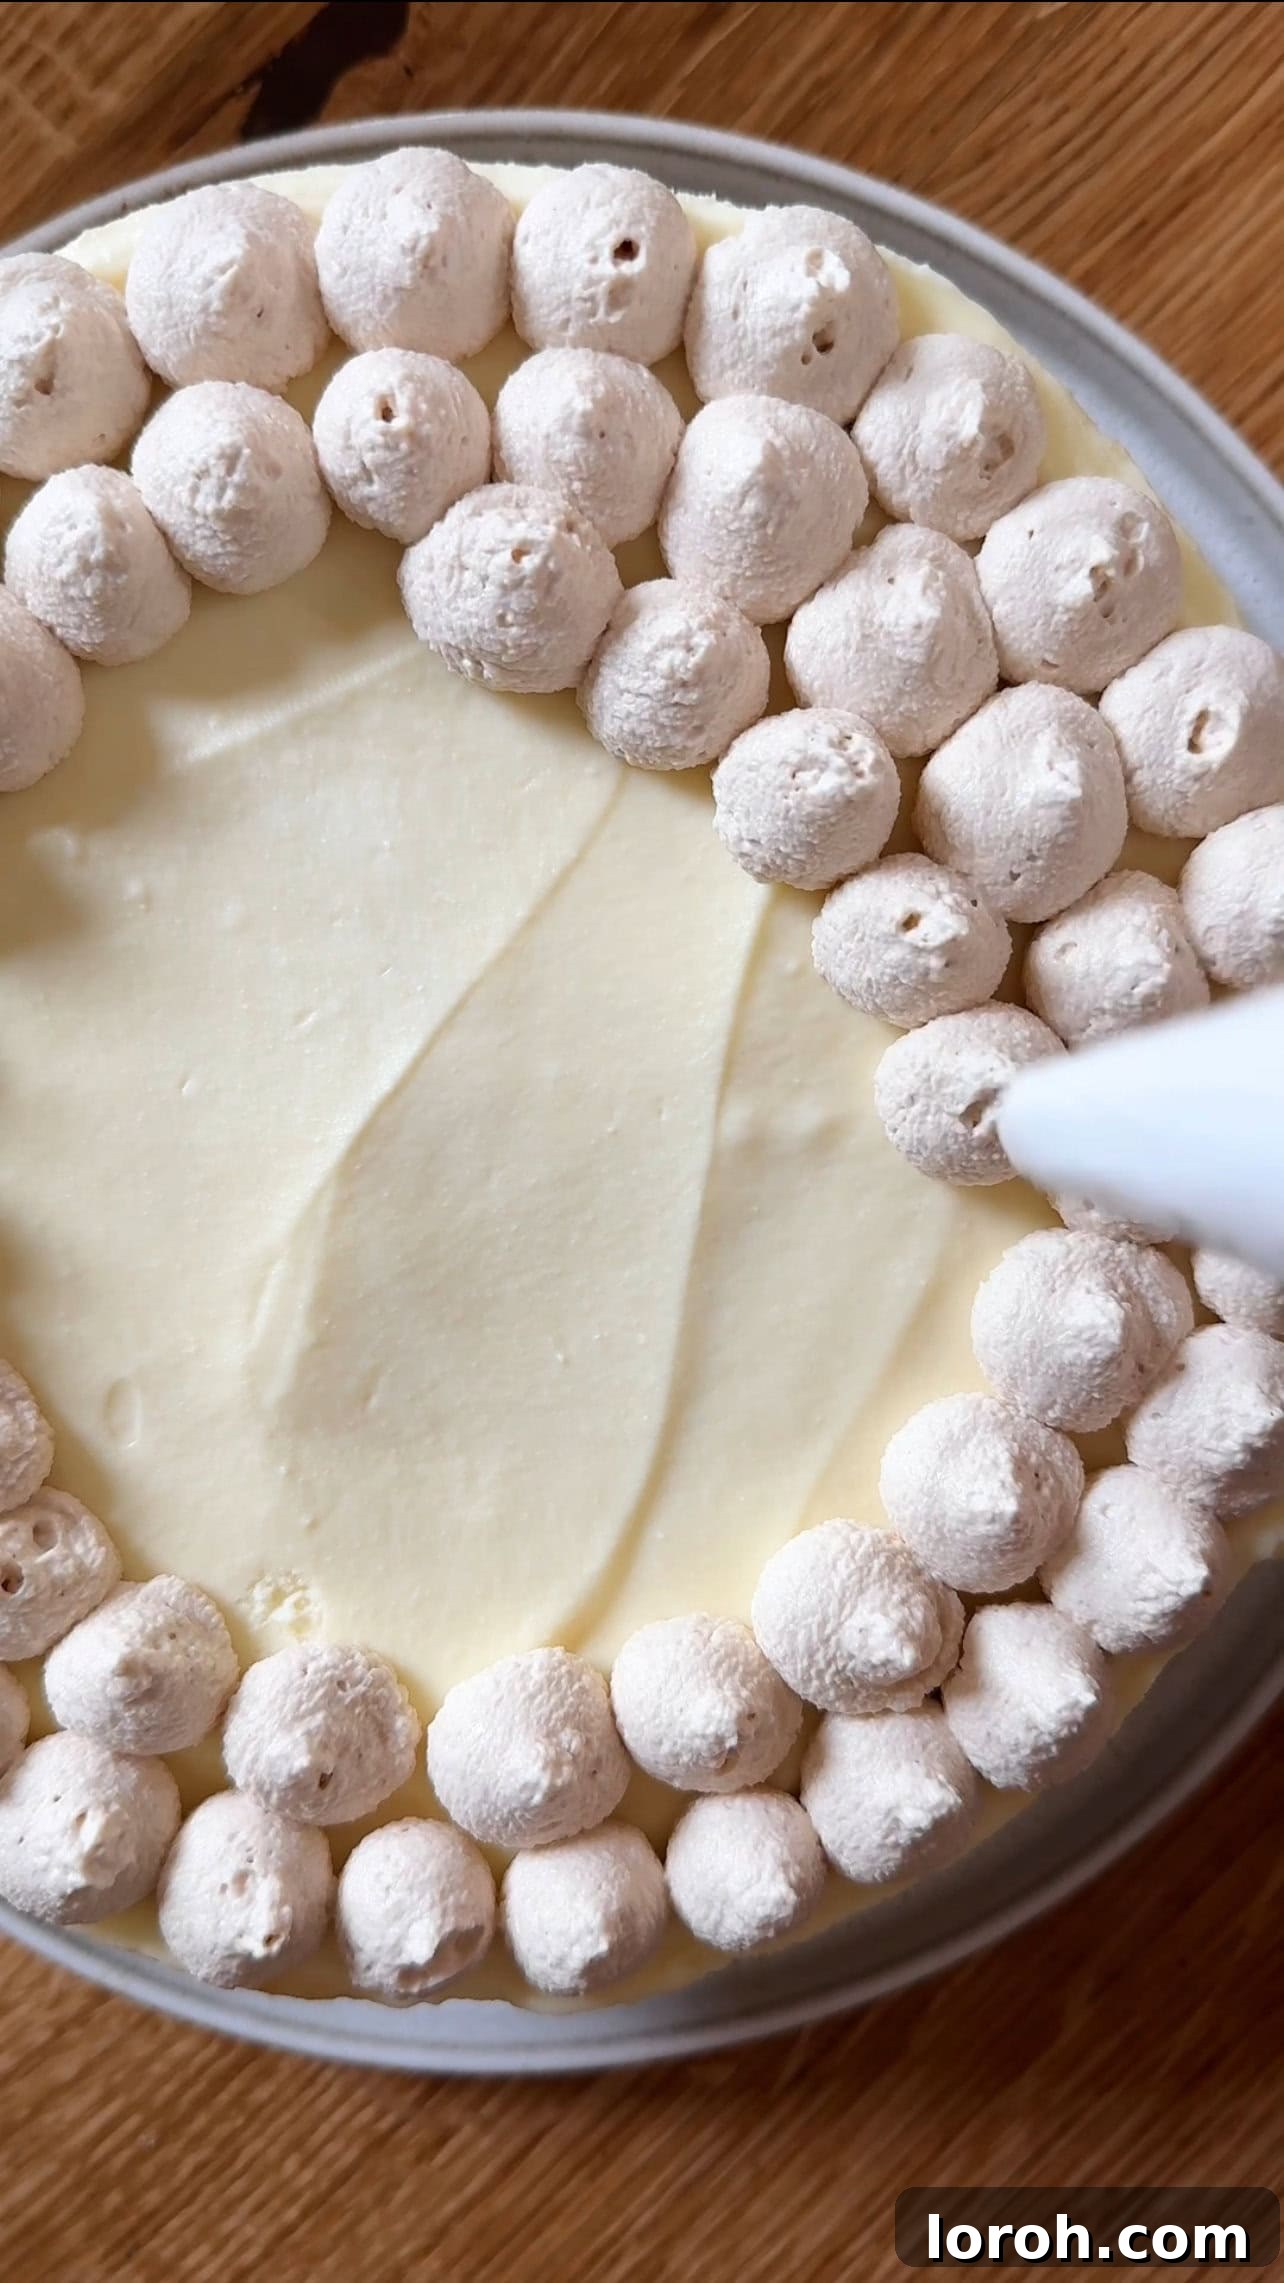
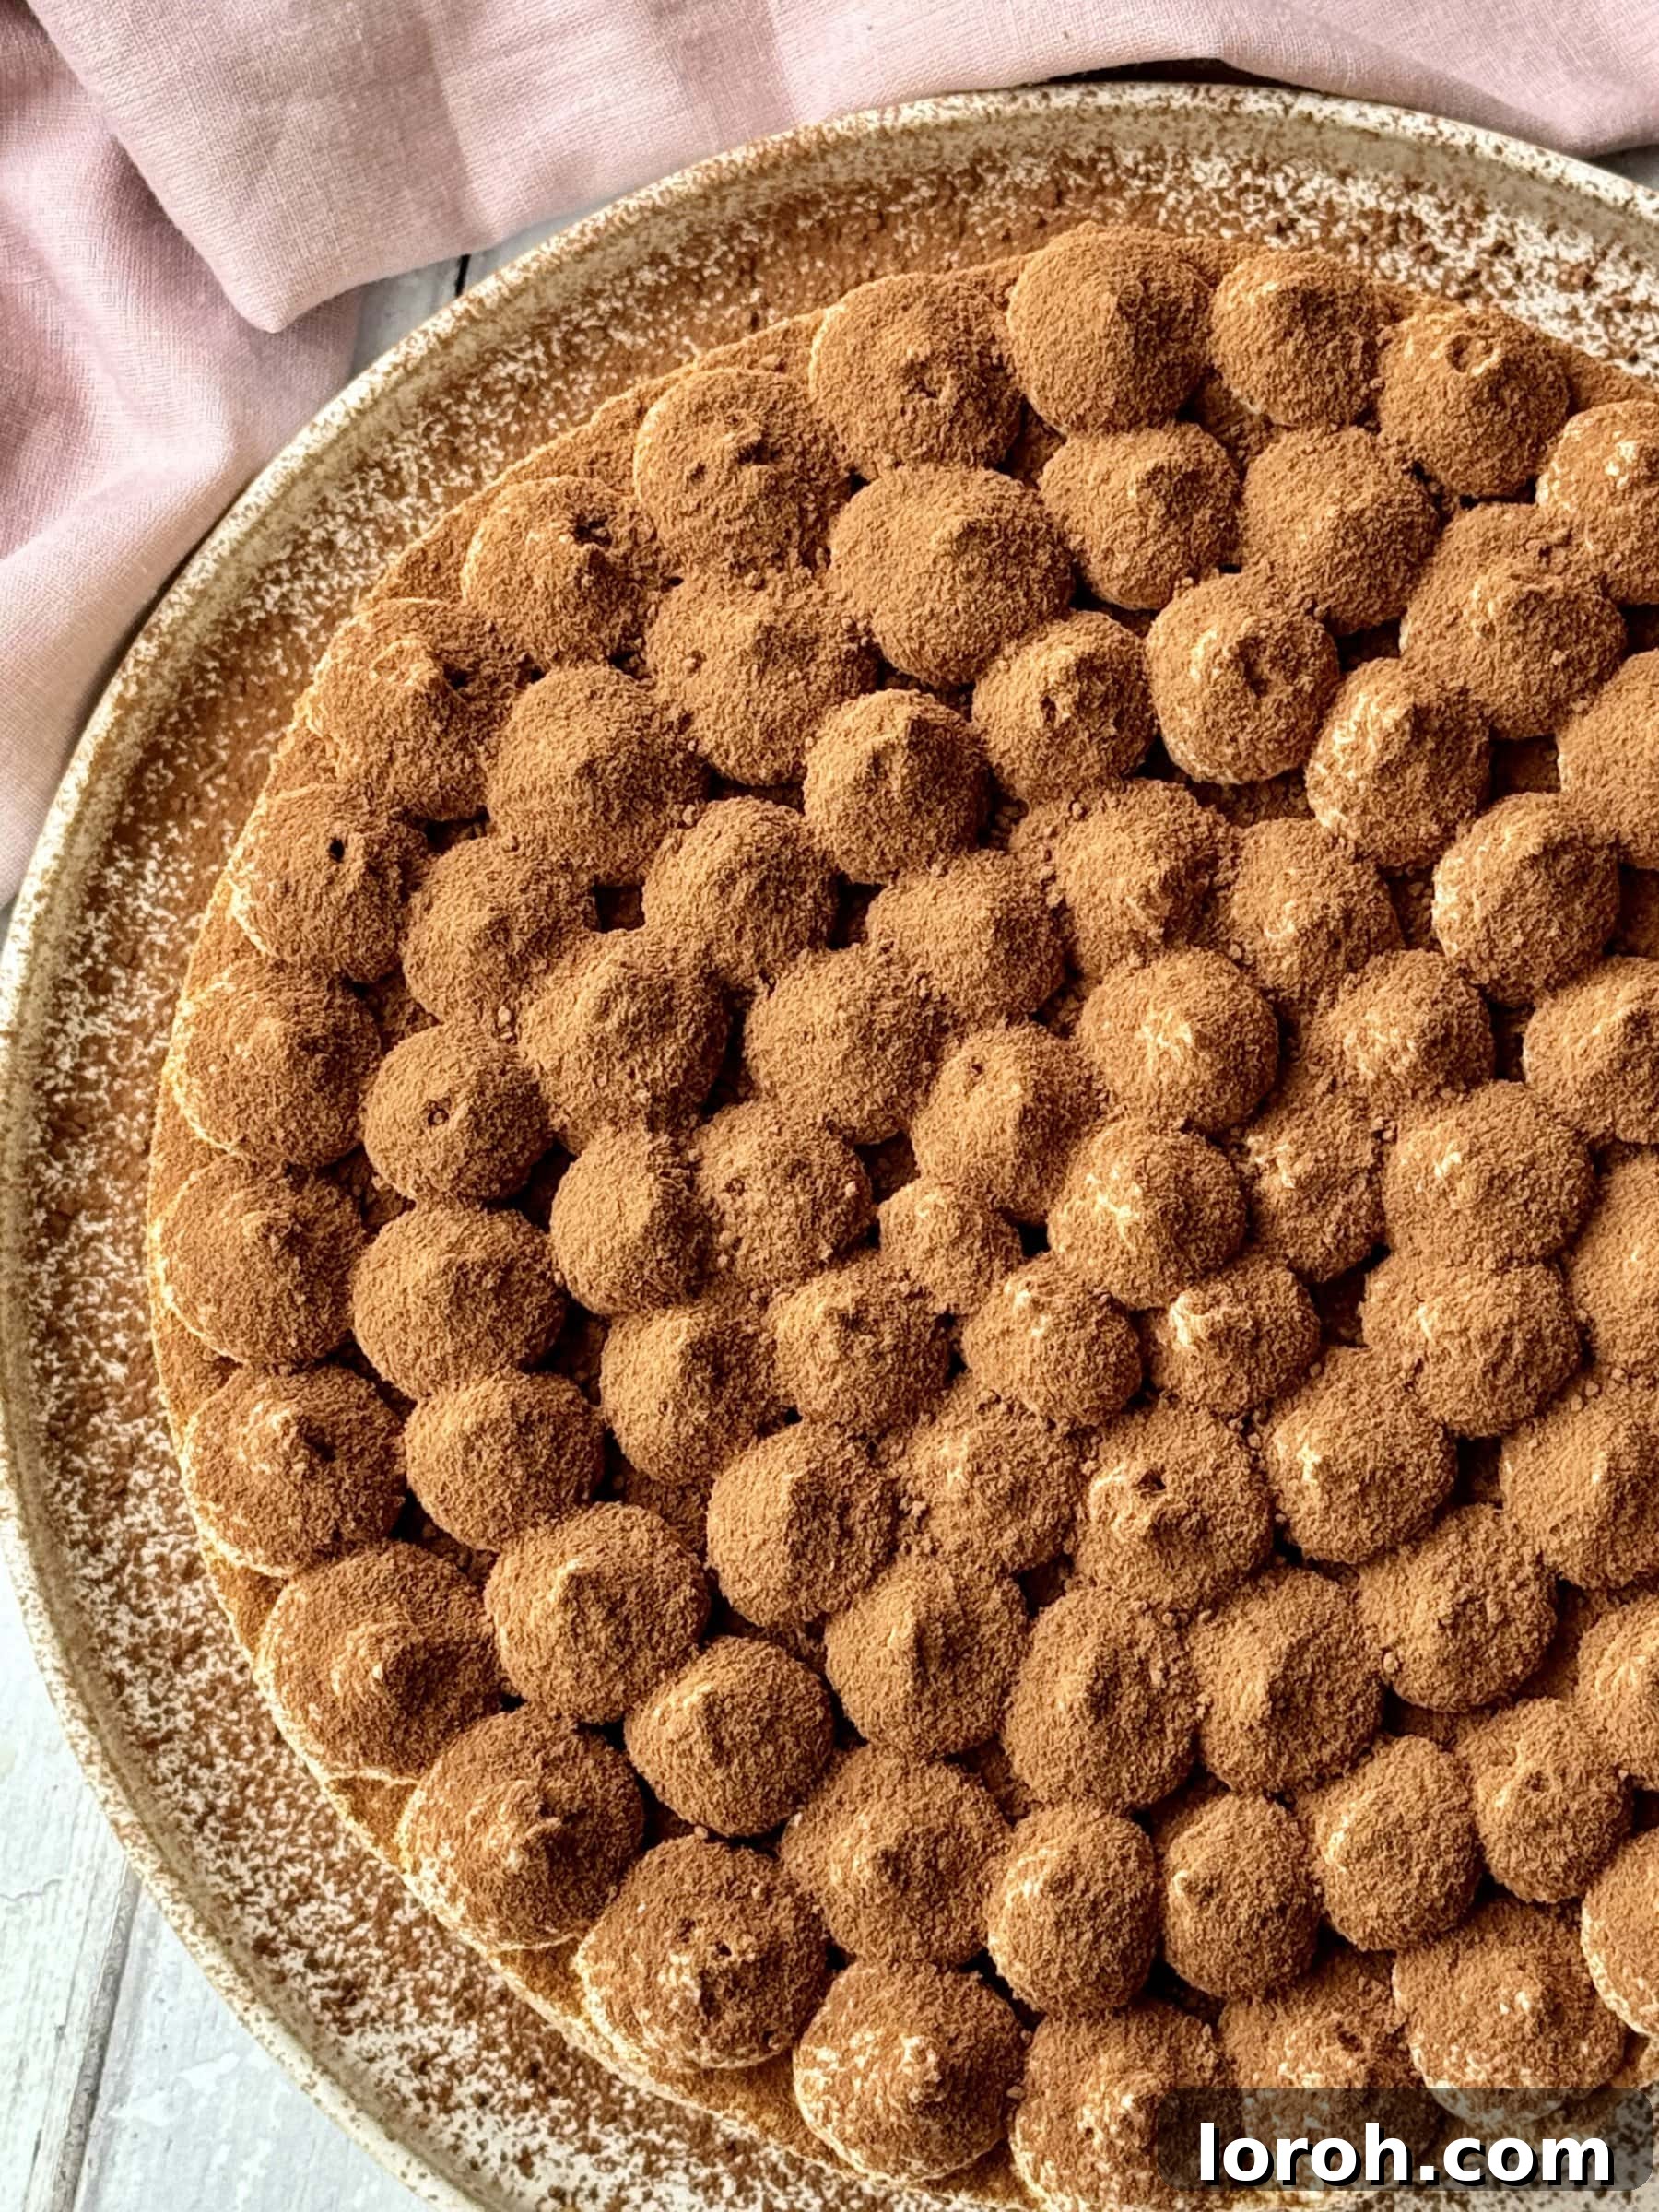
STEP SEVEN: Prepare Malted Whipped Cream. Just before serving, combine the additional double cream with the malt powder (if using) in a bowl. Whisk until stiff peaks form, being careful not to overwhisk and turn it grainy. Transfer the cream to a piping bag and pipe decorative peaks over the chilled cheesecake.
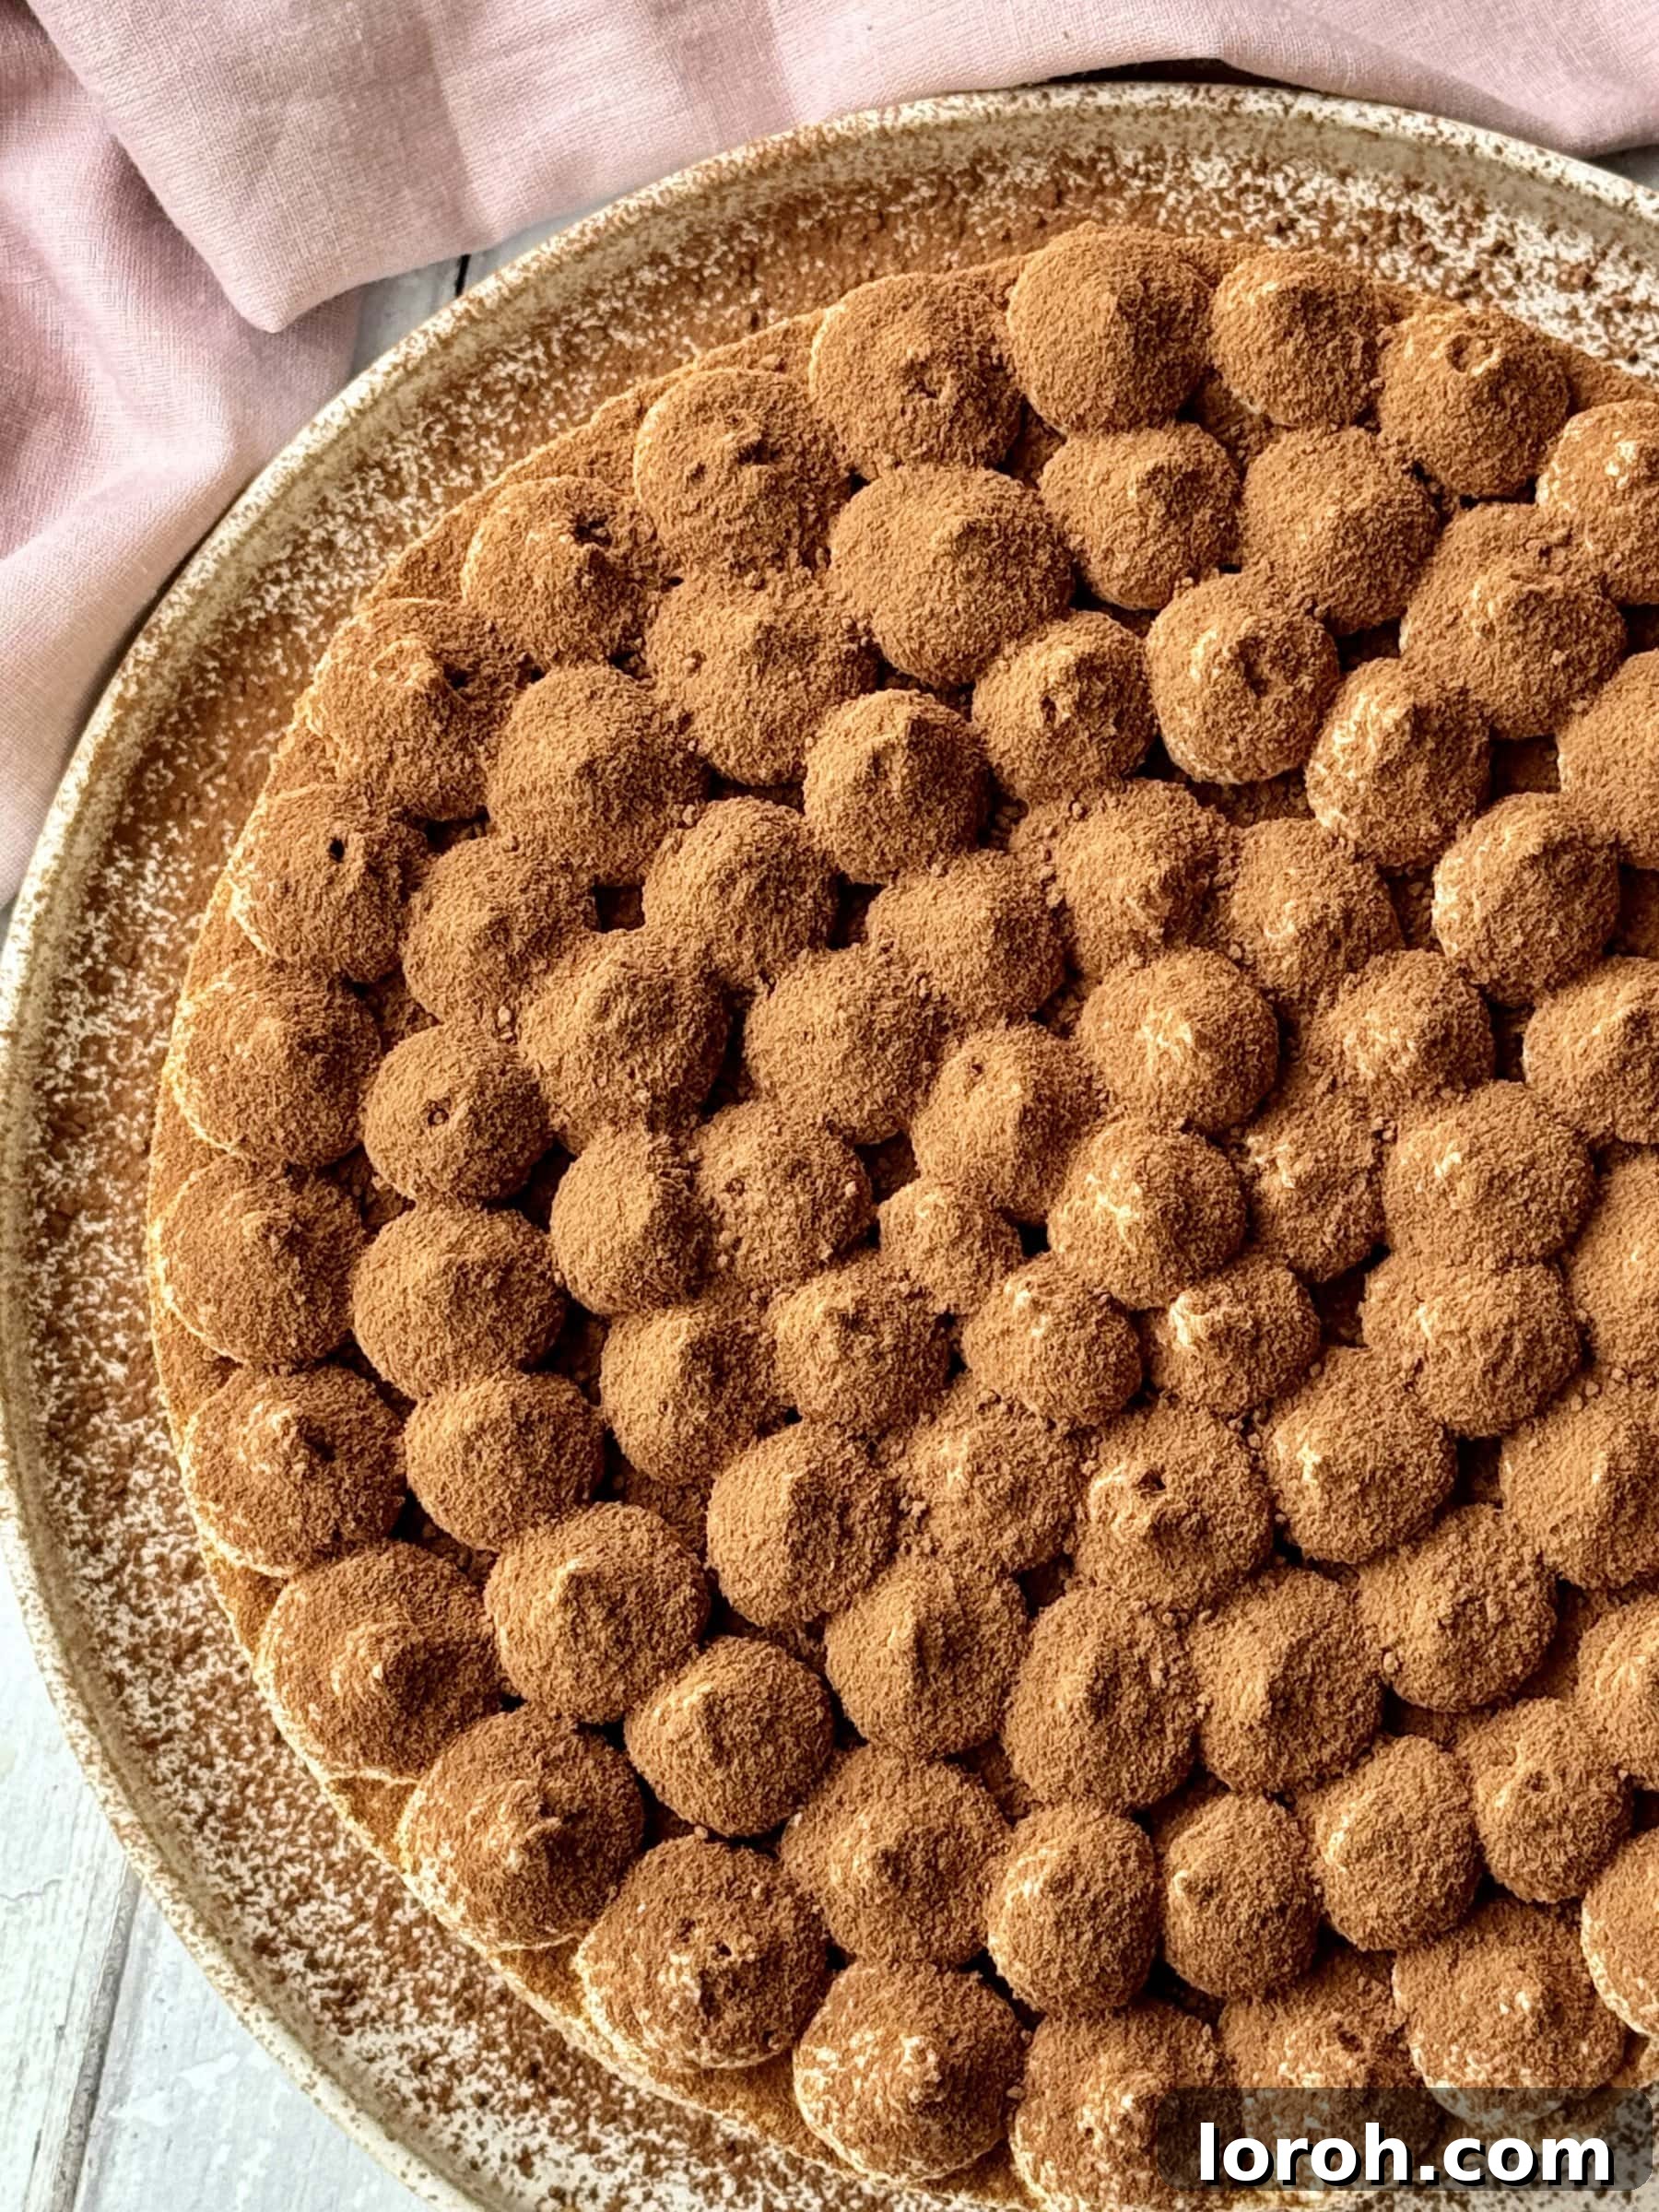
STEP EIGHT: Dust and Serve. You can serve the cheesecake immediately after piping the cream, or return it to the fridge for a final firm-up. Just before presenting, generously dust the entire top with a fine layer of cocoa powder. Slice and enjoy your magnificent creation!
Expert Cooking Tips for a Flawless Tiramisu Cheesecake:
The Golden Rule of Setting Time: This is arguably the most crucial tip for any no-bake or layered cheesecake. Your Tiramisu Cheesecake absolutely *must* have a minimum of 12 hours to set in the refrigerator. Resist the urge to cut corners here! Rushing the chilling process will result in a soft, potentially runny mess that won’t hold its shape. Planning ahead, like with my creamy Italian budino, ensures firm, distinct layers and a picture-perfect slice every time. Ideally, prepare it the day before you plan to serve it.
Mastering the Whisk: An electric whisk is your best friend for this recipe. You’ll need to achieve a light, airy consistency for both the egg and sugar mixture (for the brownie) and the double cream (for the cheesecake and topping). Manually whisking these components to the correct consistency is incredibly tiring and can lead to arm cramps! An electric whisk will ensure your eggs are pale and fluffy, and your cream reaches stiff peaks without over-whipping, which can quickly turn it grainy. This affordable electric whisk has been a staple in my kitchen for years and does the job perfectly.
Ingredient Temperatures Matter: For the cheesecake layer, ensure your mascarpone cheese is at room temperature. Cold mascarpone is much harder to beat smooth and can result in a lumpy filling. Conversely, your double cream should be thoroughly chilled, straight from the fridge, to achieve the best volume and stability when whipped.
Perfect Pan Preparation: Properly lining your cake pan is essential for easy removal and a clean-edged cheesecake. Use baking parchment to line the bottom and also create a collar around the sides that extends above the rim of the pan. This makes it simple to lift the set cheesecake out without damaging its delicate structure.
Gentle Folding for Airiness: When combining the whipped cream with the mascarpone mixture, use a gentle folding technique rather than vigorous stirring. This preserves the air incorporated into the whipped cream, ensuring your cheesecake layer remains light and airy, rather than dense.
Frequently Asked Questions About Tiramisu Cheesecake
What exactly is Tiramisu?
Tiramisu, which charmingly translates to “pick me up” or “cheer me up” in Italian, is one of Italy’s most cherished and famous desserts. Traditionally, it comprises alternating layers of savoiardi (ladyfinger biscuits) that have been soaked in strong coffee and often a liqueur (like Marsala wine or rum), and a rich, creamy mixture made from eggs, sugar, and mascarpone cheese. The entire dessert is then typically finished with a generous dusting of cocoa powder. Our Tiramisu Cheesecake ingeniously adapts these classic elements, featuring coffee-soaked sponge fingers, the essential cocoa dusting, and a distinctively tangy, luxurious mascarpone layer, all within the comforting structure of a cheesecake.
Do I have to use the brownie base?
No, while the brownie base is a signature feature that truly elevates this dessert, you are welcome to use a more traditional cheesecake crust. A simple crust made from crushed graham crackers, digestive biscuits, or even Biscoff cookies mixed with melted butter would work beautifully, similar to the bases found in my Creme Brulee Cheesecake or Biscoff Mini Cheesecakes. However, I highly recommend the brownie base for its exceptional fudginess and the incredible textural and flavor contrast it provides – it genuinely takes the Tiramisu Cheesecake to an unparalleled level of deliciousness.
Can I prepare this Tiramisu Cheesecake in advance?
Absolutely, making this Tiramisu Cheesecake in advance is not only possible but highly recommended! The cheesecake layer requires a minimum of 12 hours of refrigeration to properly set and achieve its firm, sliceable texture. You can confidently prepare the entire cake, up to the point of adding the final whipped cream topping, one to two days ahead of time. This makes it a perfect dessert for entertaining, as it reduces stress on the day of your event. For the best presentation, only add the malted whipped cream topping and cocoa powder dusting on the day you plan to serve the cheesecake.
Other Decadent Recipes You Might Enjoy:
If your heart beats for creamy cheesecake flavors, you’ll adore my mini Biscoff cheesecakes or the sophisticated Creme Brulee Cheesecake, complete with its captivating caramelised sugar topping. The fudgy brownie recipe that forms the base of this tiramisu cheesecake is inspired by these irresistible Brownie Bites, which are both incredibly simple to make and utterly delicious. For those seeking festive dessert inspiration, don’t miss my unique Panettone Tiramisu or the wonderfully easy no-bake Tiramisu Cake.
Puddings
Banana Tiramisu
Recipes
Dark Chocolate And Malt Tiramisu
Easy Dessert Recipes
Pistachio Tiramisu
Easy Baking Recipes
Dark Chocolate and White Chocolate Brownies
If you’ve tried this delightful Tiramisu Cheesecake or any other recipe from our site, please take a moment to leave a comment below and share your experience! Your feedback is invaluable.
Brownie Tiramisu Cheesecake with Malted Whipped Cream
By: Margie Nomura
Tiramisu cheesecake is my new favorite pudding. It’s a brownie base, topped with a mascarpone cheesecake mixture, then layered with coffee-soaked sponge fingers, then topped with malted whipped cream and a dusting of cocoa powder. So good.
Prep Time: 1 hr
Cook Time: 15 mins
Chilling Time: 12 hrs
Total Time: 13 hrs 15 mins
Servings: 10 servings
Rate Recipe
Print Recipe
Ingredients
For the brownie base:
- 80 g unsalted butter, plus extra for greasing
- 140 g good-quality dark chocolate, roughly chopped
- 2 large eggs
- 100 g caster sugar
- 100 g soft light brown sugar
- 1 teaspoon vanilla extract
- 70 g plain flour
- ½ teaspoon salt
For the cheesecake:
- 480 ml double cream, cold from the fridge (heavy cream in US)
- 450 g mascarpone, room temp
- 1 tsp vanilla extract
- 110 g icing sugar, sieved
For the tiramisu layer:
- 150 ml cooled coffee (strong brew)
- 8-10 sponge fingers, enough to cover the cake in a single layer
For the cream topping:
- 300 ml double cream
- 1 tbsp malt powder, like Ovaltine (optional)
- Cocoa powder, for dusting
Instructions
- Line a 9-inch cake pan with baking parchment, ensuring some parchment extends above the rim to help with removal.
- Preheat the oven to 180°C Fan (350°F / Gas Mark 4).
- Put the butter and 140g chopped dark chocolate into a medium heat-proof bowl. Set it over a pan of barely simmering water (a double boiler), ensuring the bottom of the bowl does not touch the water. Allow the mixture to slowly melt, stirring often until smooth. Alternatively, melt in a microwave-safe bowl in 20-second bursts, stirring well between each, until smooth. Set aside to cool slightly.
- Meanwhile, place the eggs, caster sugar, and soft light brown sugar in a large mixing bowl. Beat with an electric whisk on medium-high speed for about 1 minute, or until the mixture is pale, thick, and roughly doubled in size.
- Add the cooled chocolate-butter mixture and vanilla extract to the egg mixture and mix until just combined.
- Sift in the plain flour and salt, then gently fold until you have a smooth batter with no streaks of flour. Pour the batter into your lined cake tin and bake for 15 minutes, or until the top is puffed up. The brownie will continue to set as it cools. Remove from the oven and allow it to cool completely in the tin.
- For the cheesecake layer, whisk the 480ml cold double cream in a clean bowl until it forms stiff peaks. An electric whisk makes this much easier and quicker (about 3 minutes). Be careful not to overwhisk, or it can become grainy.
- In a separate bowl, beat the room-temperature mascarpone with a wooden spoon until it’s lovely and smooth and completely lump-free. Place a sieve over the bowl and sieve in the icing sugar. Stir to combine, then add the vanilla extract, mixing until smooth.
- Add the whipped cream to the mascarpone mixture and gently fold it all together using a spatula. Be gentle to avoid deflating the air in the whipped cream.
- Pour half of this cheesecake filling on top of the cooled brownie base, spreading it evenly.
- Quickly dip the sponge fingers one by one into the cooled coffee mixture, ensuring they are coated but not completely soaked (to prevent sogginess). Arrange these coffee-soaked sponge fingers in a single layer over the first cheesecake layer. Top with the remaining cheesecake mixture and smooth it out.
- Place the cake in the fridge to chill and set overnight (at least 12 hours). This setting time is crucial for the cheesecake to firm up and hold its shape.
- Just before serving, prepare the cream topping. Add the 300ml double cream and the optional malt powder (like Ovaltine) to a bowl and whisk to stiff peaks, again taking care not to overwhisk. Use a piping bag fitted with a star nozzle to pipe decorative peaks of cream on top of the cheesecake.
- You can serve the cheesecake straight away or pop it back in the fridge for a short while to firm up further.
- Before serving, dust the top generously with sieved cocoa powder. Slice and enjoy!
- A video tutorial might be available to help visualize these steps.
Video
A video tutorial demonstrating the steps for this recipe would typically be embedded here.
Notes
- Scroll up for a step-by-step visual guide on how to assemble this tiramisu cheesecake.
- To store: Keep the Tiramisu Cheesecake covered in the fridge for up to 3 days.
- Make ahead: This cheesecake must have at least 12 hours to set in the fridge. Do not try to shorten this time, as it will not set properly and risks collapsing. Chilling for up to 24 hours before serving is perfectly fine and often preferred.
- Double cream: If you are in the US, use heavy cream for this recipe.
- Brownie Base: While highly recommended, you could substitute a traditional cheesecake crust. For a recipe for a standard biscuit base, see my Creme Brulee Cheesecake.
Nutrition
Calories: 805kcal, Carbohydrates: 51g, Protein: 9g, Fat: 63g, Saturated Fat: 39g, Polyunsaturated Fat: 2g, Monounsaturated Fat: 11g, Trans Fat: 0.3g, Cholesterol: 204mg, Sodium: 197mg, Potassium: 233mg, Fiber: 2g, Sugar: 37g, Vitamin A: 2087IU, Vitamin C: 0.5mg, Calcium: 148mg, Iron: 3mg
Nutrition information is automatically calculated and should only be used as an approximation.
Like this? Leave a comment below!