
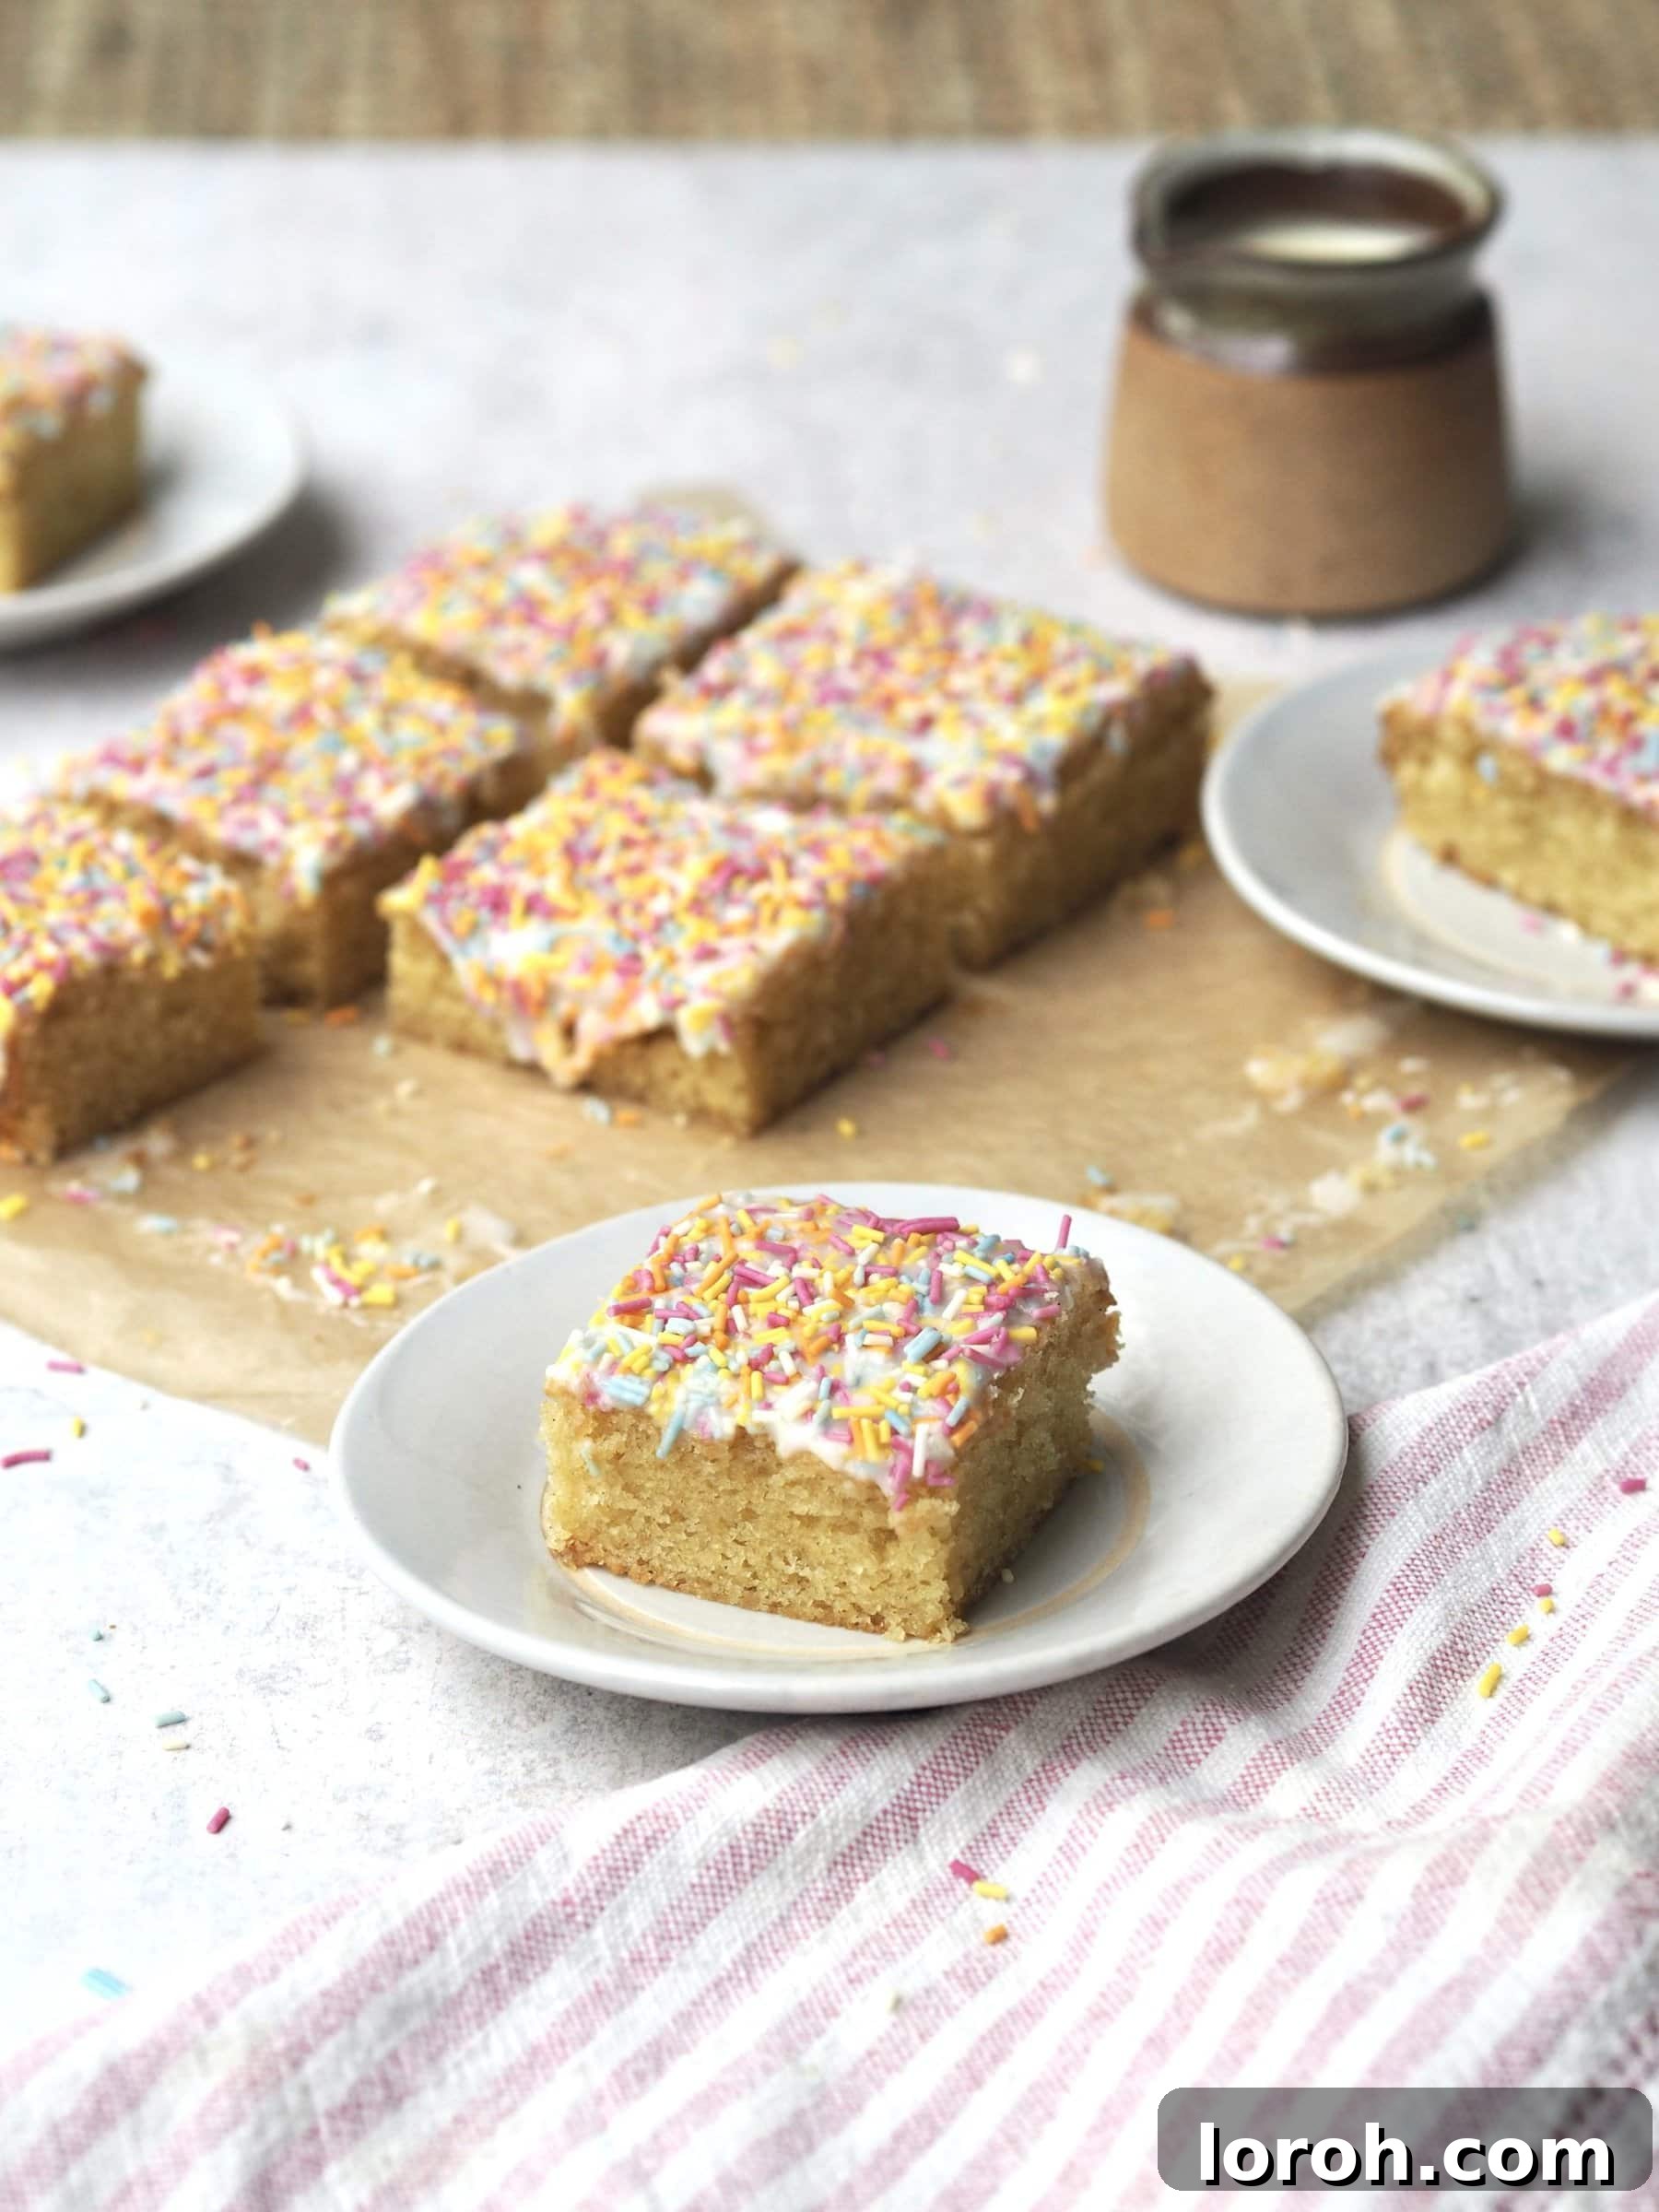
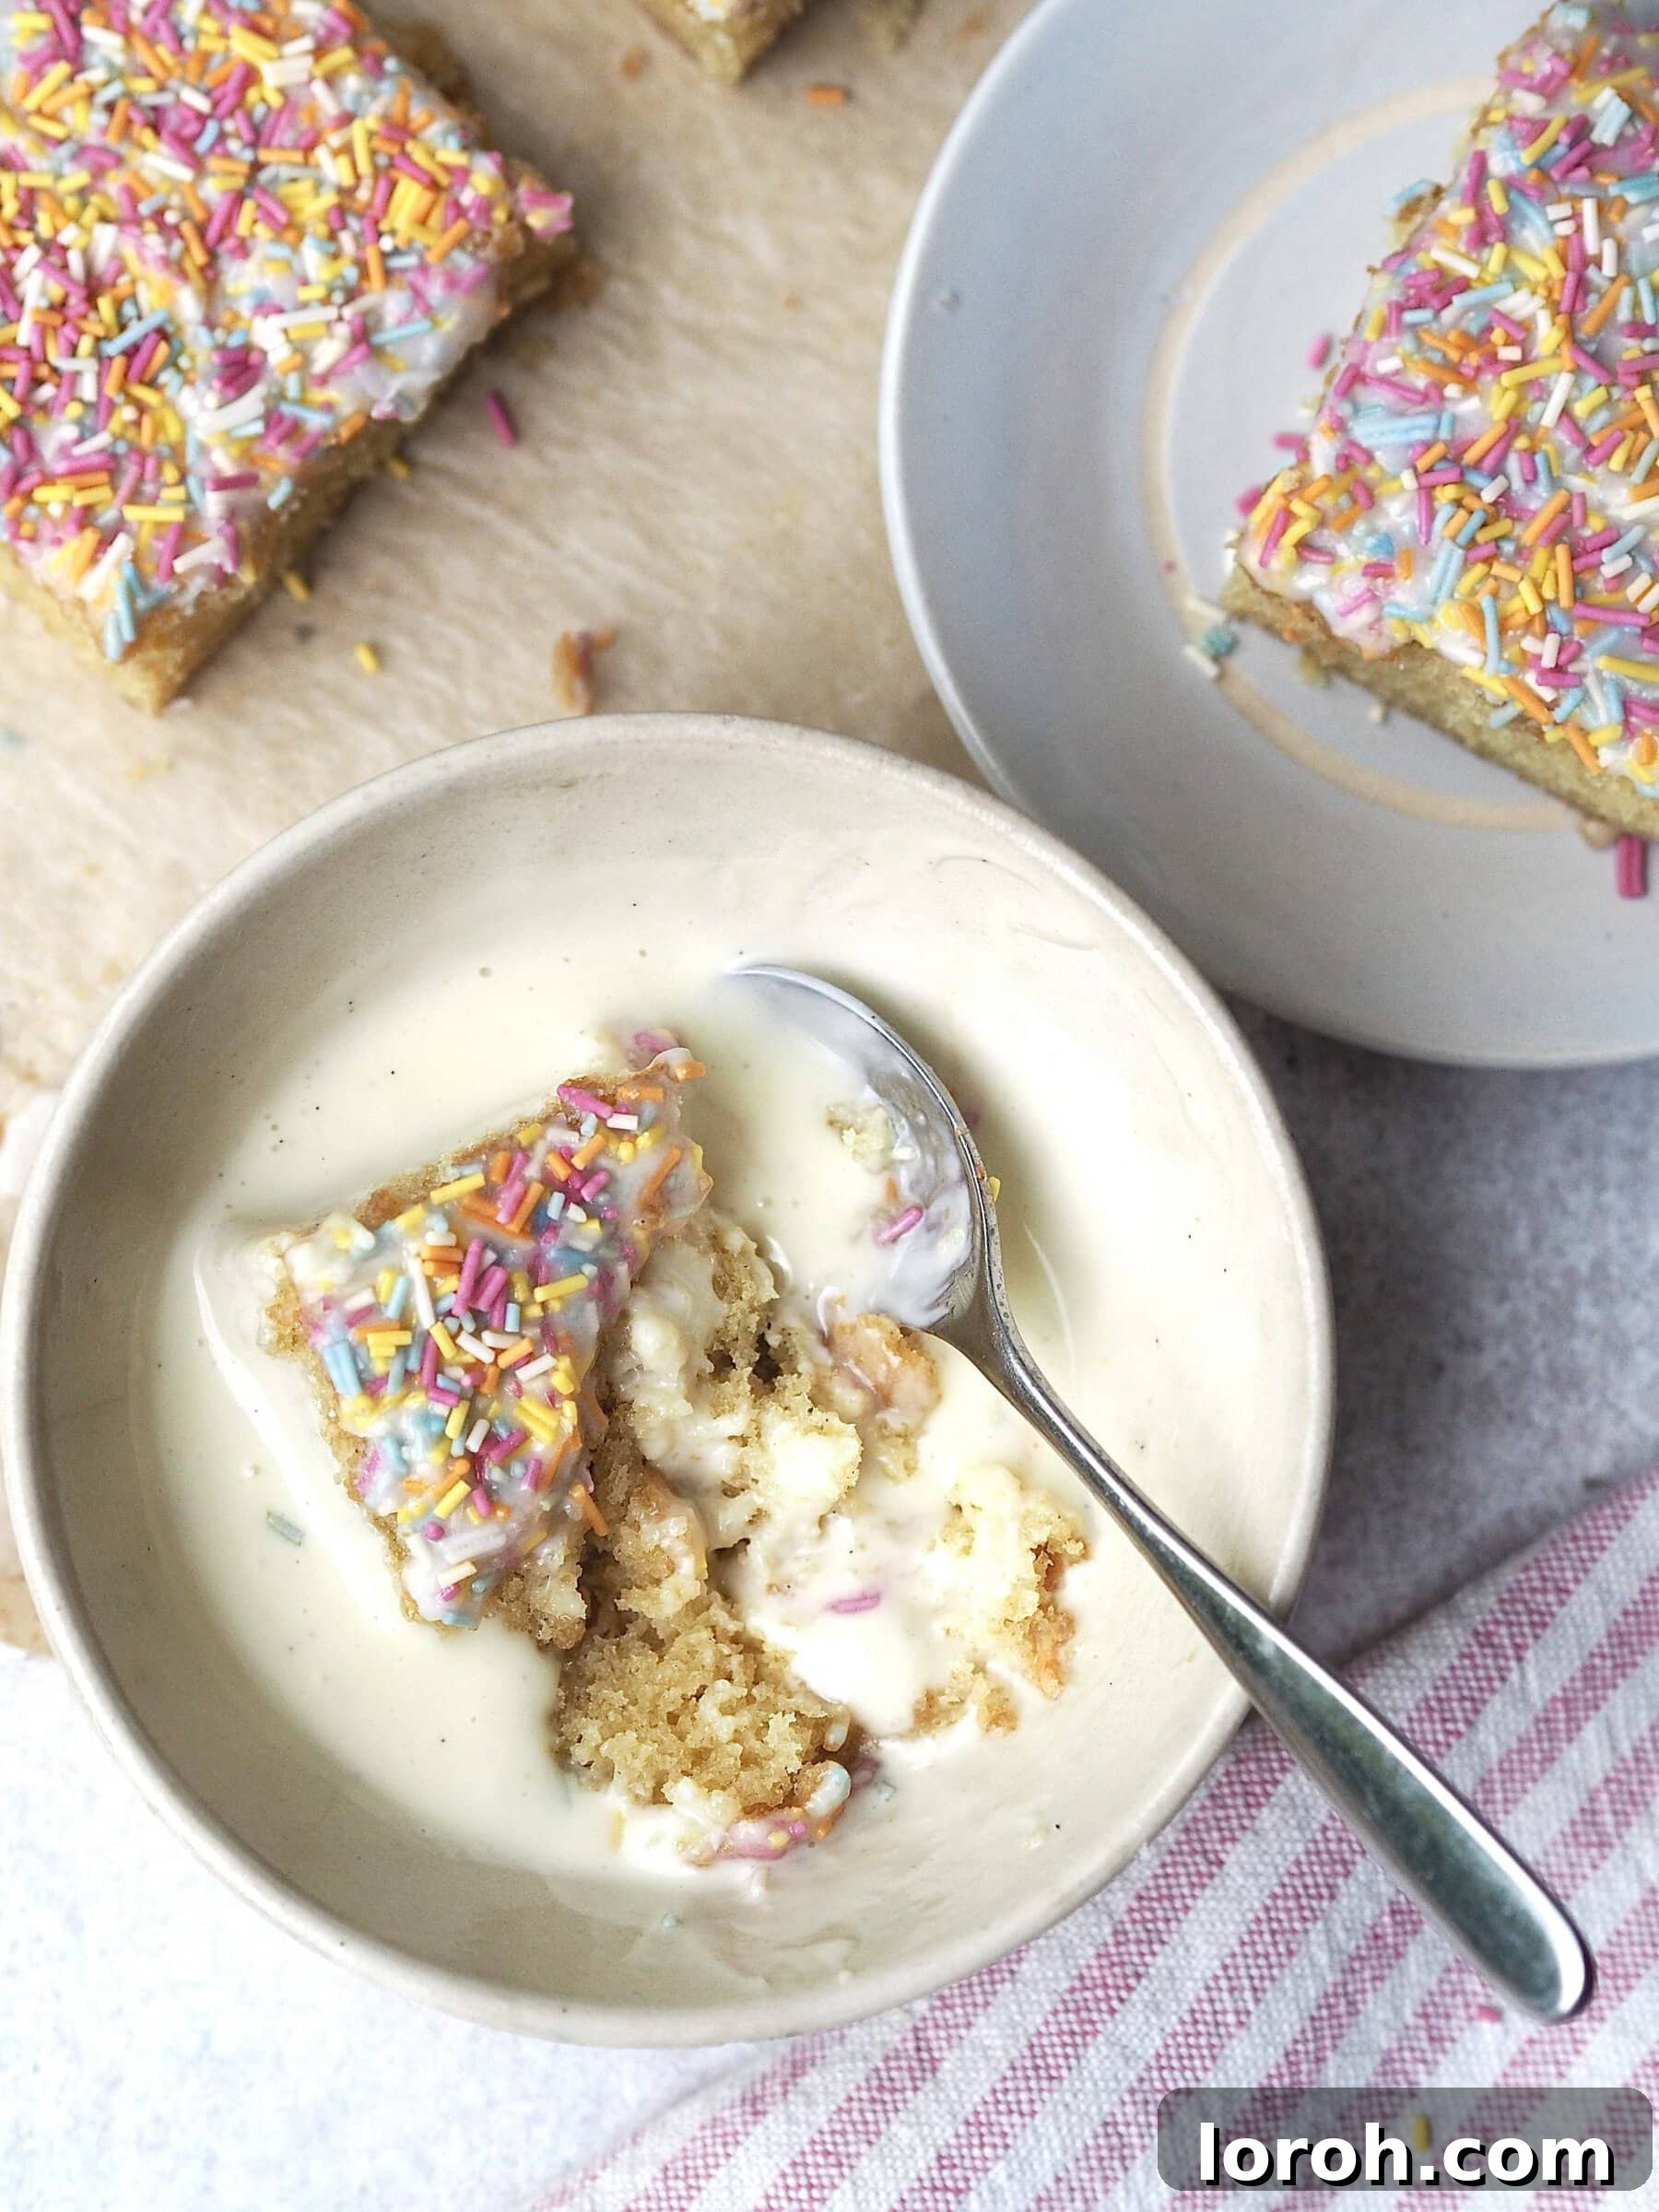
Get ready to embark on a delicious journey back to your school days with our ultimate recipe for the **Classic School Cake Sprinkle Sponge** served alongside a luxurious, homemade vanilla custard! This isn’t just any cake; it’s a fluffy, old-fashioned delight, incredibly easy to make, and crowned with a vibrant explosion of rainbow sprinkles. It’s the quintessential retro pudding, guaranteed to bring back the very best memories of lunch break treats and heartwarming school dinners.
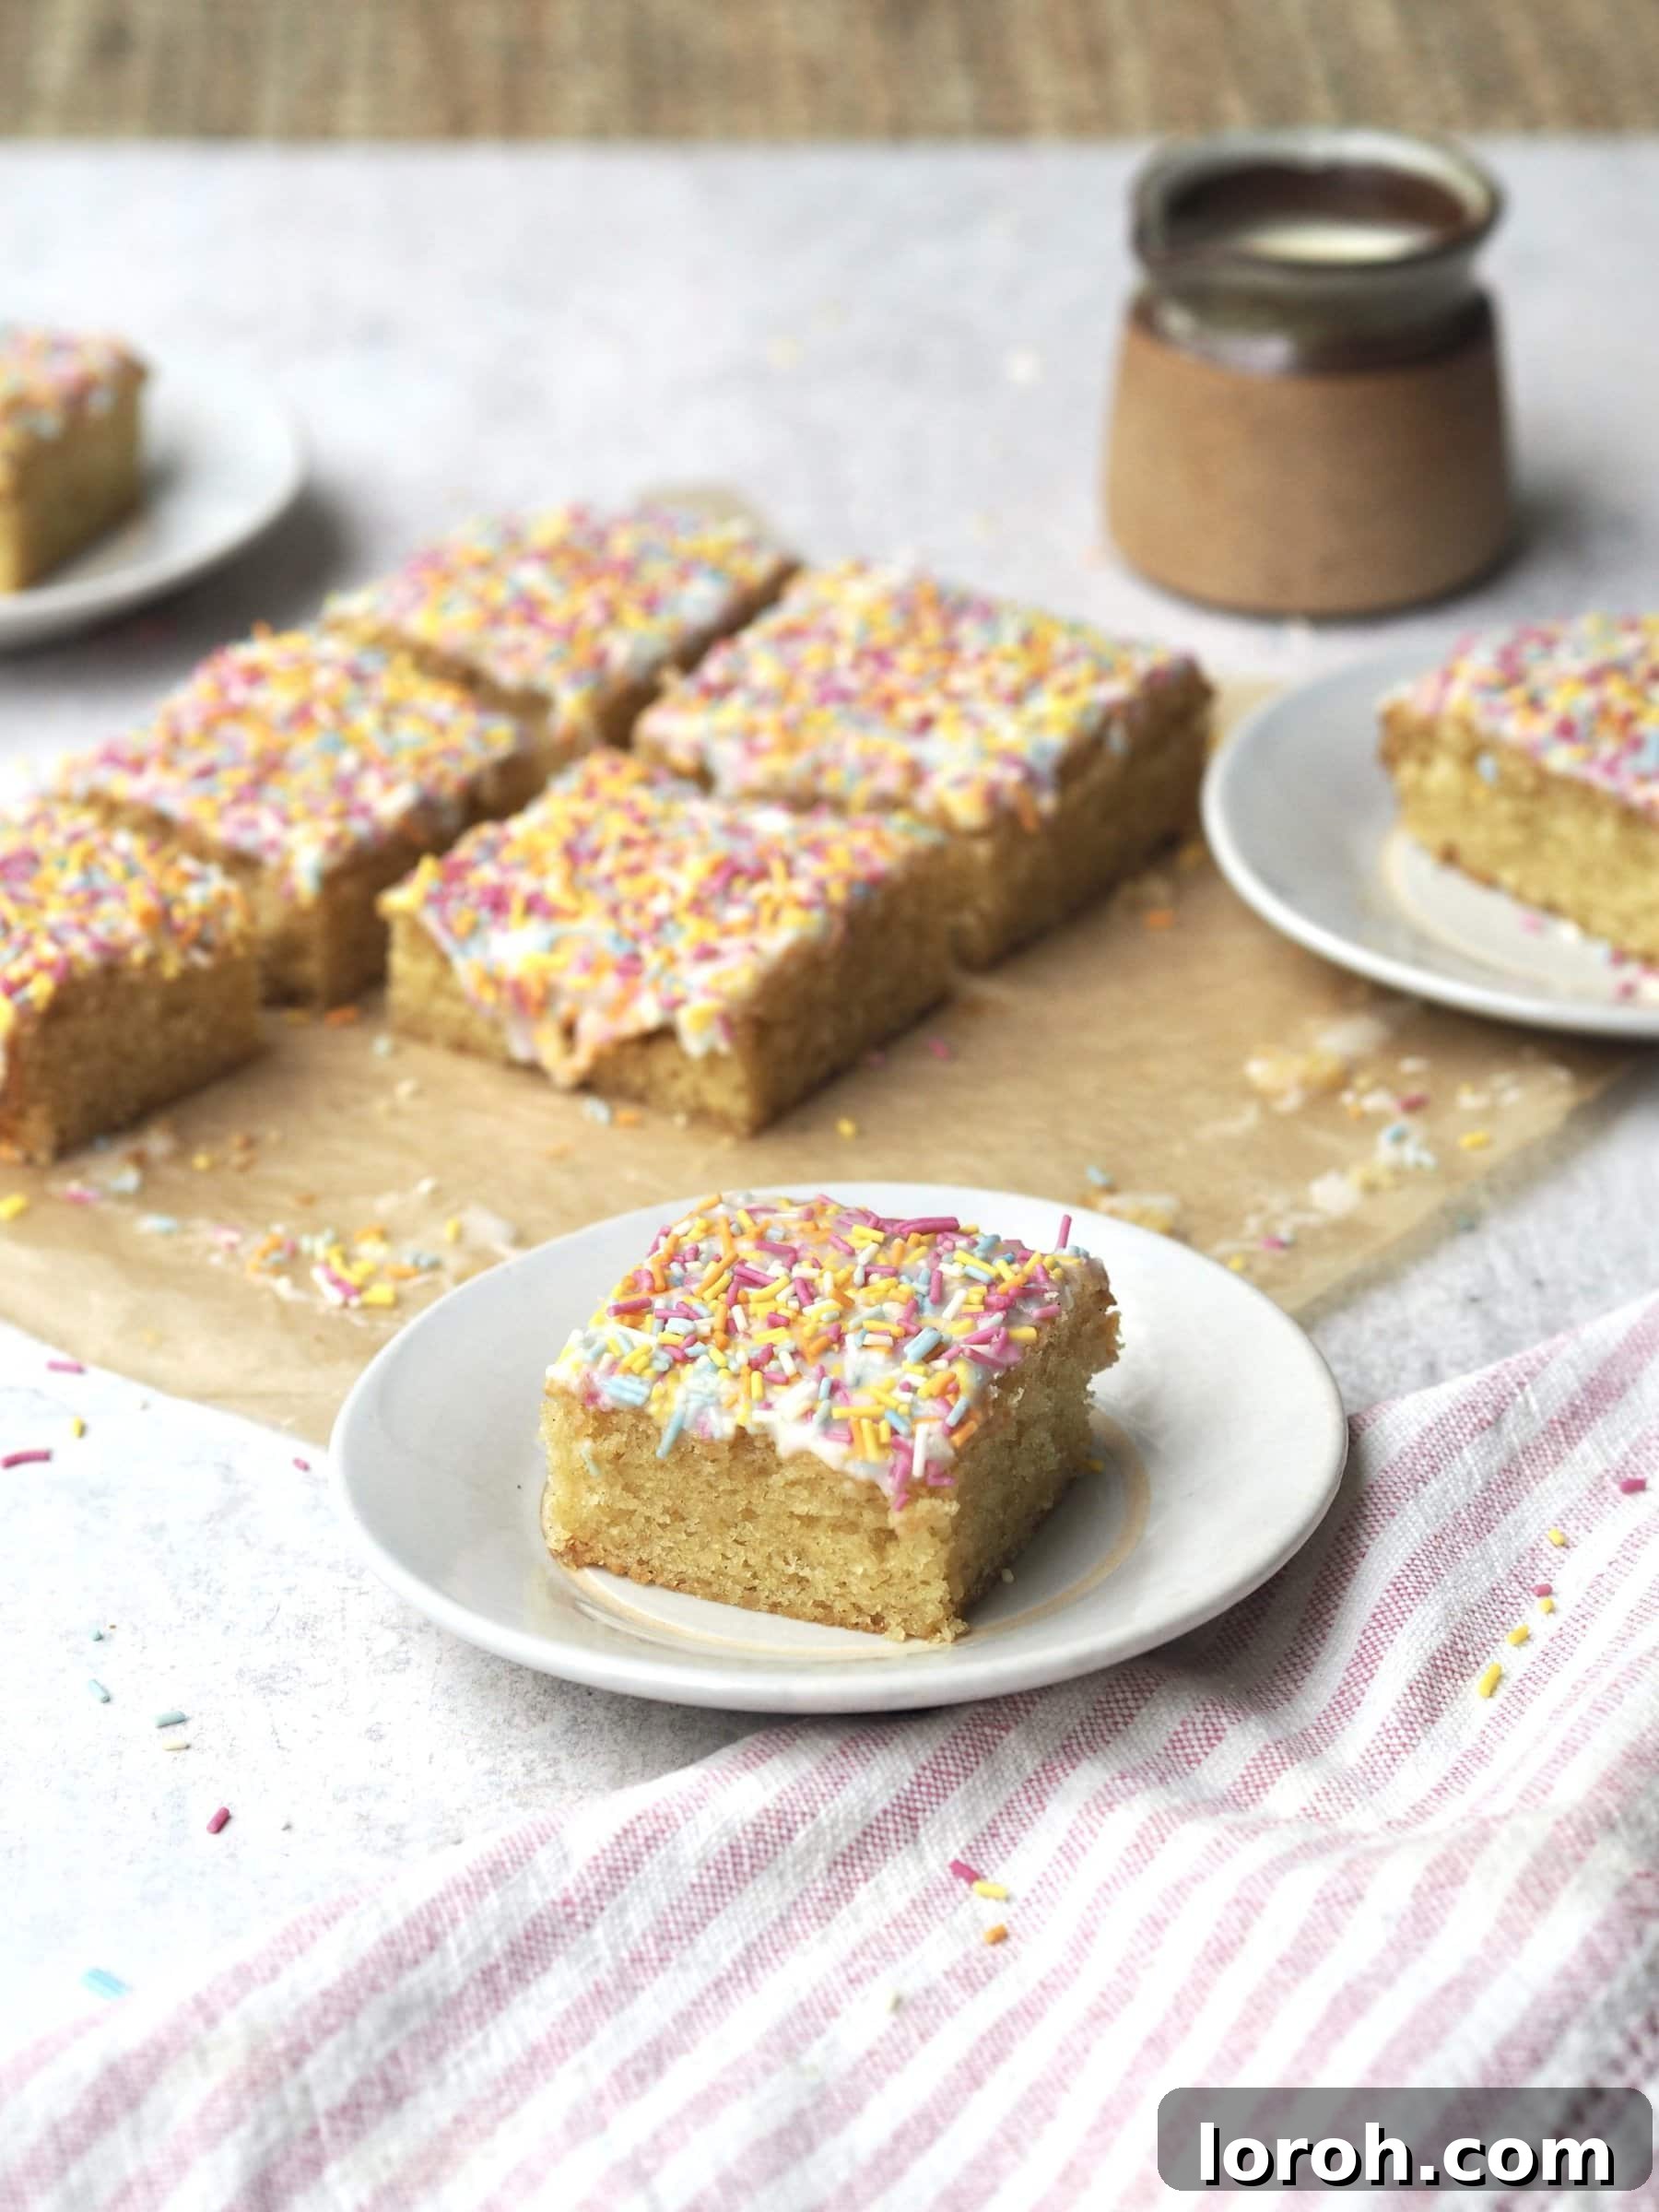
While some elements of school dinners are best forgotten, the puddings hold a special place in our hearts. Who could ever say no to the joy of choc ices, the simple pleasure of iced buns, or, most importantly, everyone’s beloved sprinkle sponge, generously served with warm, velvety custard? This iconic dessert transcends generations, offering a comforting taste that evokes pure happiness and simplicity.
The wonderful news is that recreating this cherished classic at home is surprisingly simple, and our recipe ensures a foolproof experience, even for the homemade vanilla custard. Forget store-bought versions; our creamy, rich custard is designed to be effortlessly perfect every time. And for those feeling adventurous, you can even explore fun variations like pink custard to add an extra pop of color! Once baked and cooled, all that’s left is a smooth slick of sweet icing and a generous scatter of your favorite sprinkles – we love to alternate between classic rainbow sprinkles and a delightful shower of hundreds and thousands, making each slice a feast for the eyes and the palate.
So, clear your kitchen counters, preheat your oven, and let’s dive into the delightful world of nostalgic baking. Prepare to create a dessert that will not only satisfy your sweet tooth but also transport you back to simpler, happier times, one fluffy, sprinkle-covered bite at a time.
Why This School Cake is a Must-Try
There’s something uniquely comforting about a school cake, and our version takes that feeling to a new level. Here’s why this recipe will become a treasured favorite in your household:
- Unforgettable Nostalgia: Each bite is a direct portal to childhood, reminiscent of carefree days and simple pleasures. It’s more than just a dessert; it’s a memory on a plate.
- Incredibly Easy to Make: With straightforward instructions and common ingredients, even novice bakers can achieve a perfectly fluffy sponge and creamy custard.
- Perfectly Fluffy Texture: Our carefully balanced recipe ensures a light, airy sponge that melts in your mouth, providing the ideal canvas for the sweet icing and crunchy sprinkles.
- Rich Homemade Custard: Skip the packet mixes! Our vanilla custard recipe is velvety smooth, bursting with authentic vanilla flavor, and surprisingly simple to prepare. It’s the perfect warm companion to the cake.
- Crowd-Pleaser: From family gatherings to children’s parties, this sprinkle sponge cake is universally loved by all ages. It’s a guaranteed hit that will have everyone asking for seconds.
- Customizable Fun: Experiment with different sprinkle types, add a touch of food coloring to your icing, or even try a hint of almond extract for a twist on the classic.
Essential Ingredients for Your Nostalgic Bake
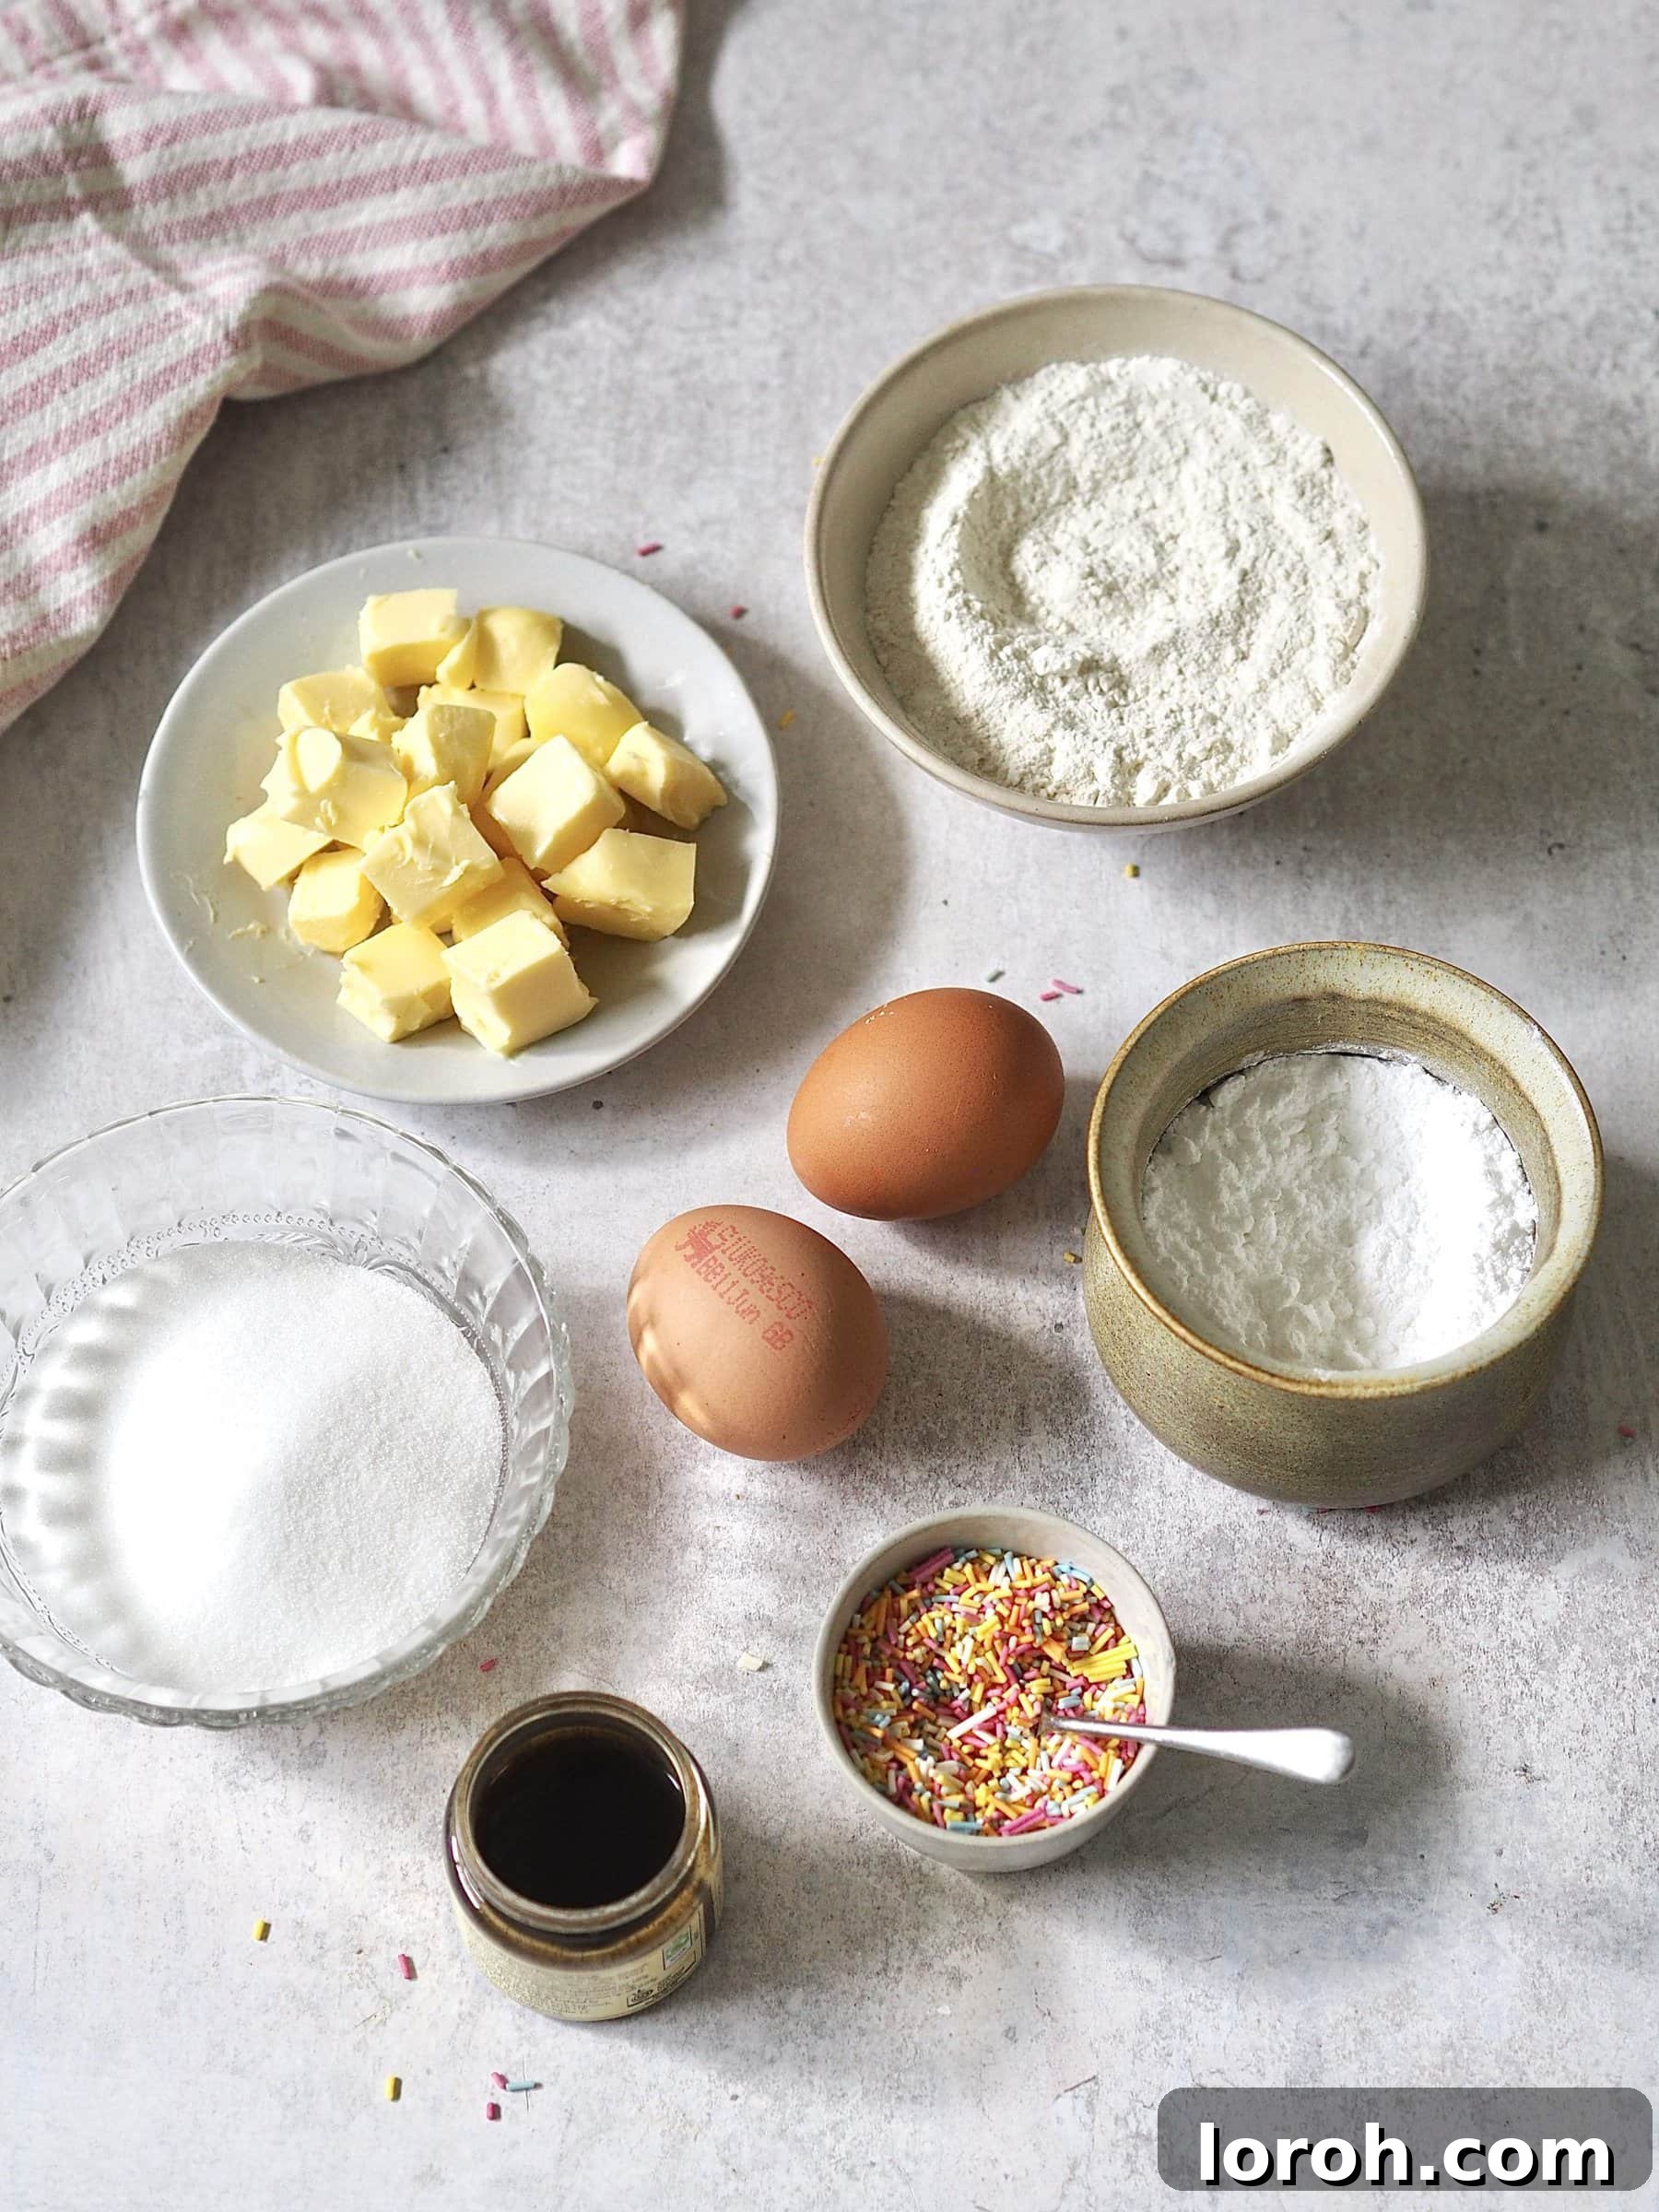
Crafting the perfect school cake and custard requires a few key ingredients. Quality matters, but simplicity is key. Here’s a closer look at what you’ll need and why:
- Butter: Whether you choose salted or unsalted butter for the sponge is entirely up to your preference. Unsalted butter gives you more control over the salt content in your baking, while salted butter can add a subtle depth. Ensure it’s softened to room temperature for easier creaming.
- Caster Sugar: This fine granulated sugar dissolves beautifully into the butter, creating that light and fluffy base for your sponge. It contributes to both sweetness and texture.
- Vanilla Extract and Vanilla Paste: For the ultimate vanilla experience, we recommend using vanilla extract for the sponge and vanilla paste for the custard. The extract provides a pure vanilla flavor in the cake, while the paste, with its visible vanilla specks, adds a more intense, gourmet vanilla aroma and visual appeal to the custard. However, in a pinch, either can be used interchangeably. If you must choose one versatile option, opt for vanilla paste as it enhances both components wonderfully.
- Eggs: Essential for structure, richness, and binding the ingredients together, creating that classic cake texture.
- Self-Raising Flour: The secret to a light and airy sponge! This flour already contains a leavening agent (baking powder), simplifying the baking process.
- Baking Powder: While self-raising flour has some leavening, an additional teaspoon of baking powder ensures maximum lift and fluffiness, guaranteeing a truly soft cake.
- Icing Sugar (Powdered Sugar): The base for your simple, sweet icing. It mixes smoothly with water to create a pourable glaze that sets beautifully.
- Rainbow Sprinkles: The iconic decorative touch! These vibrant sprinkles don’t just add color; they also provide a delightful slight crunch that complements the soft cake. Feel free to use classic rainbow, hundreds and thousands, or any sprinkles that spark joy.
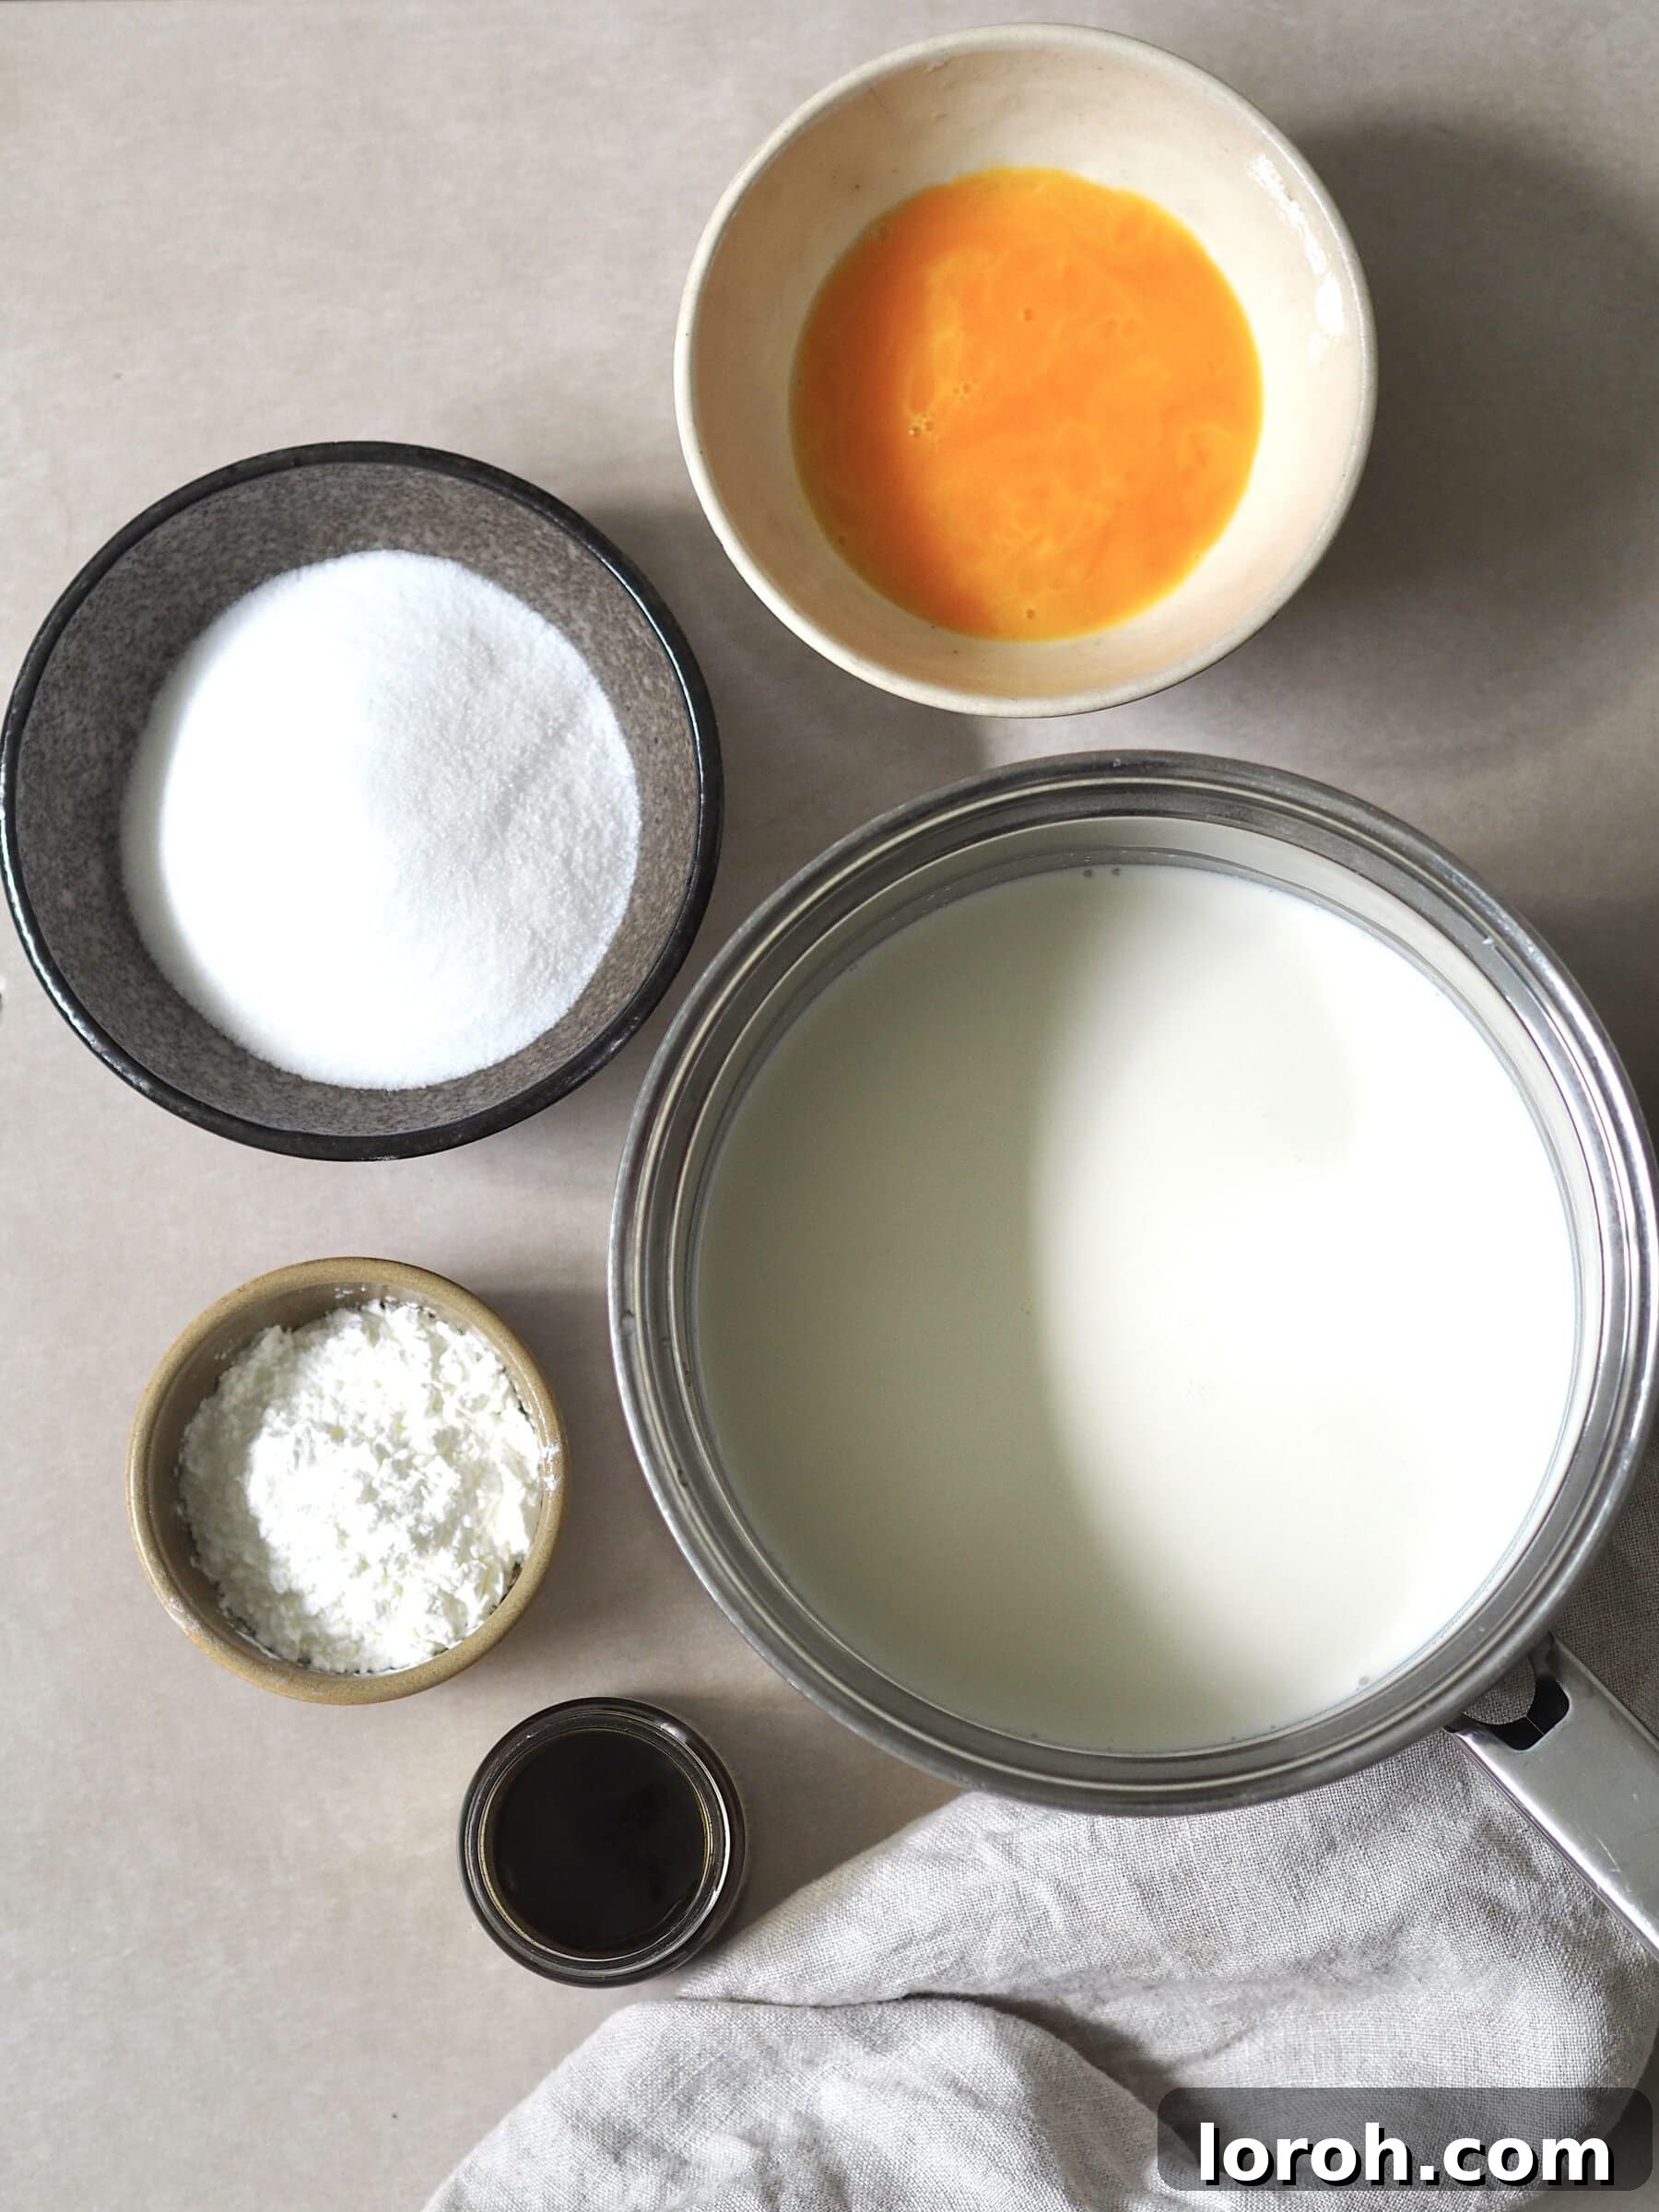
- Double Cream (Heavy Cream): For the custard, double cream adds unparalleled richness and a luxurious mouthfeel, making your homemade custard truly indulgent.
- Whole Milk: Combining with double cream, whole milk forms the creamy liquid base of the custard, ensuring a smooth and perfectly pourable consistency.
- Cornflour (Cornstarch): The key thickening agent for our custard. It creates that wonderfully smooth, thick texture without any lumps, making it foolproof.
Frequently Asked Questions
At room temperature, the sprinkle sponge cake, once cooled and loosely wrapped in food wrap or stored in an airtight container, should remain deliciously soft and moist for up to 3 days. For the homemade custard, it’s truly at its best when served fresh and warm. However, if you have leftovers, you can store it in the fridge for an additional day or so. To prevent a “skin” from forming on the surface, lay a piece of food wrap directly onto the surface of the custard before refrigerating. Gently reheat it on the stove over low heat, stirring constantly, until warmed through.
Absolutely! For a lighter alternative or if you simply prefer it, Stork Margarine works exceptionally well in this recipe and will yield a lovely, fluffy sponge with a similar texture to using butter. It’s a fantastic substitute that often produces a wonderfully moist cake.
While this specific recipe is not formulated for gluten-free or dairy-free ingredients, it is often possible to adapt it. For gluten-free, substitute the self-raising flour with a good quality gluten-free self-raising flour blend (often includes xanthan gum) and ensure your baking powder is also gluten-free. For dairy-free, use a plant-based butter alternative and a dairy-free milk alternative (like almond or soy milk) for the sponge. For the custard, you would need to use plant-based cream and milk alternatives, being mindful that the consistency might vary slightly.
A square cake tin, approximately 8-inch (20cm) by 8-inch, is ideal for achieving that classic school cake shape. You can also use a rectangular tin of a similar volume. Make sure to grease and line it properly with baking paper to prevent sticking and ensure easy removal.
Step 1: Prepare the Oven and Cream the Base
Begin by preheating your oven to 160°C (325°F / Gas Mark 3). Grease and meticulously line a square cake tin (approximately 8×8 inches or 20×20 cm) with baking paper, ensuring the paper slightly overhangs the sides for easy removal later. This crucial step prevents sticking and ensures a perfect finish.
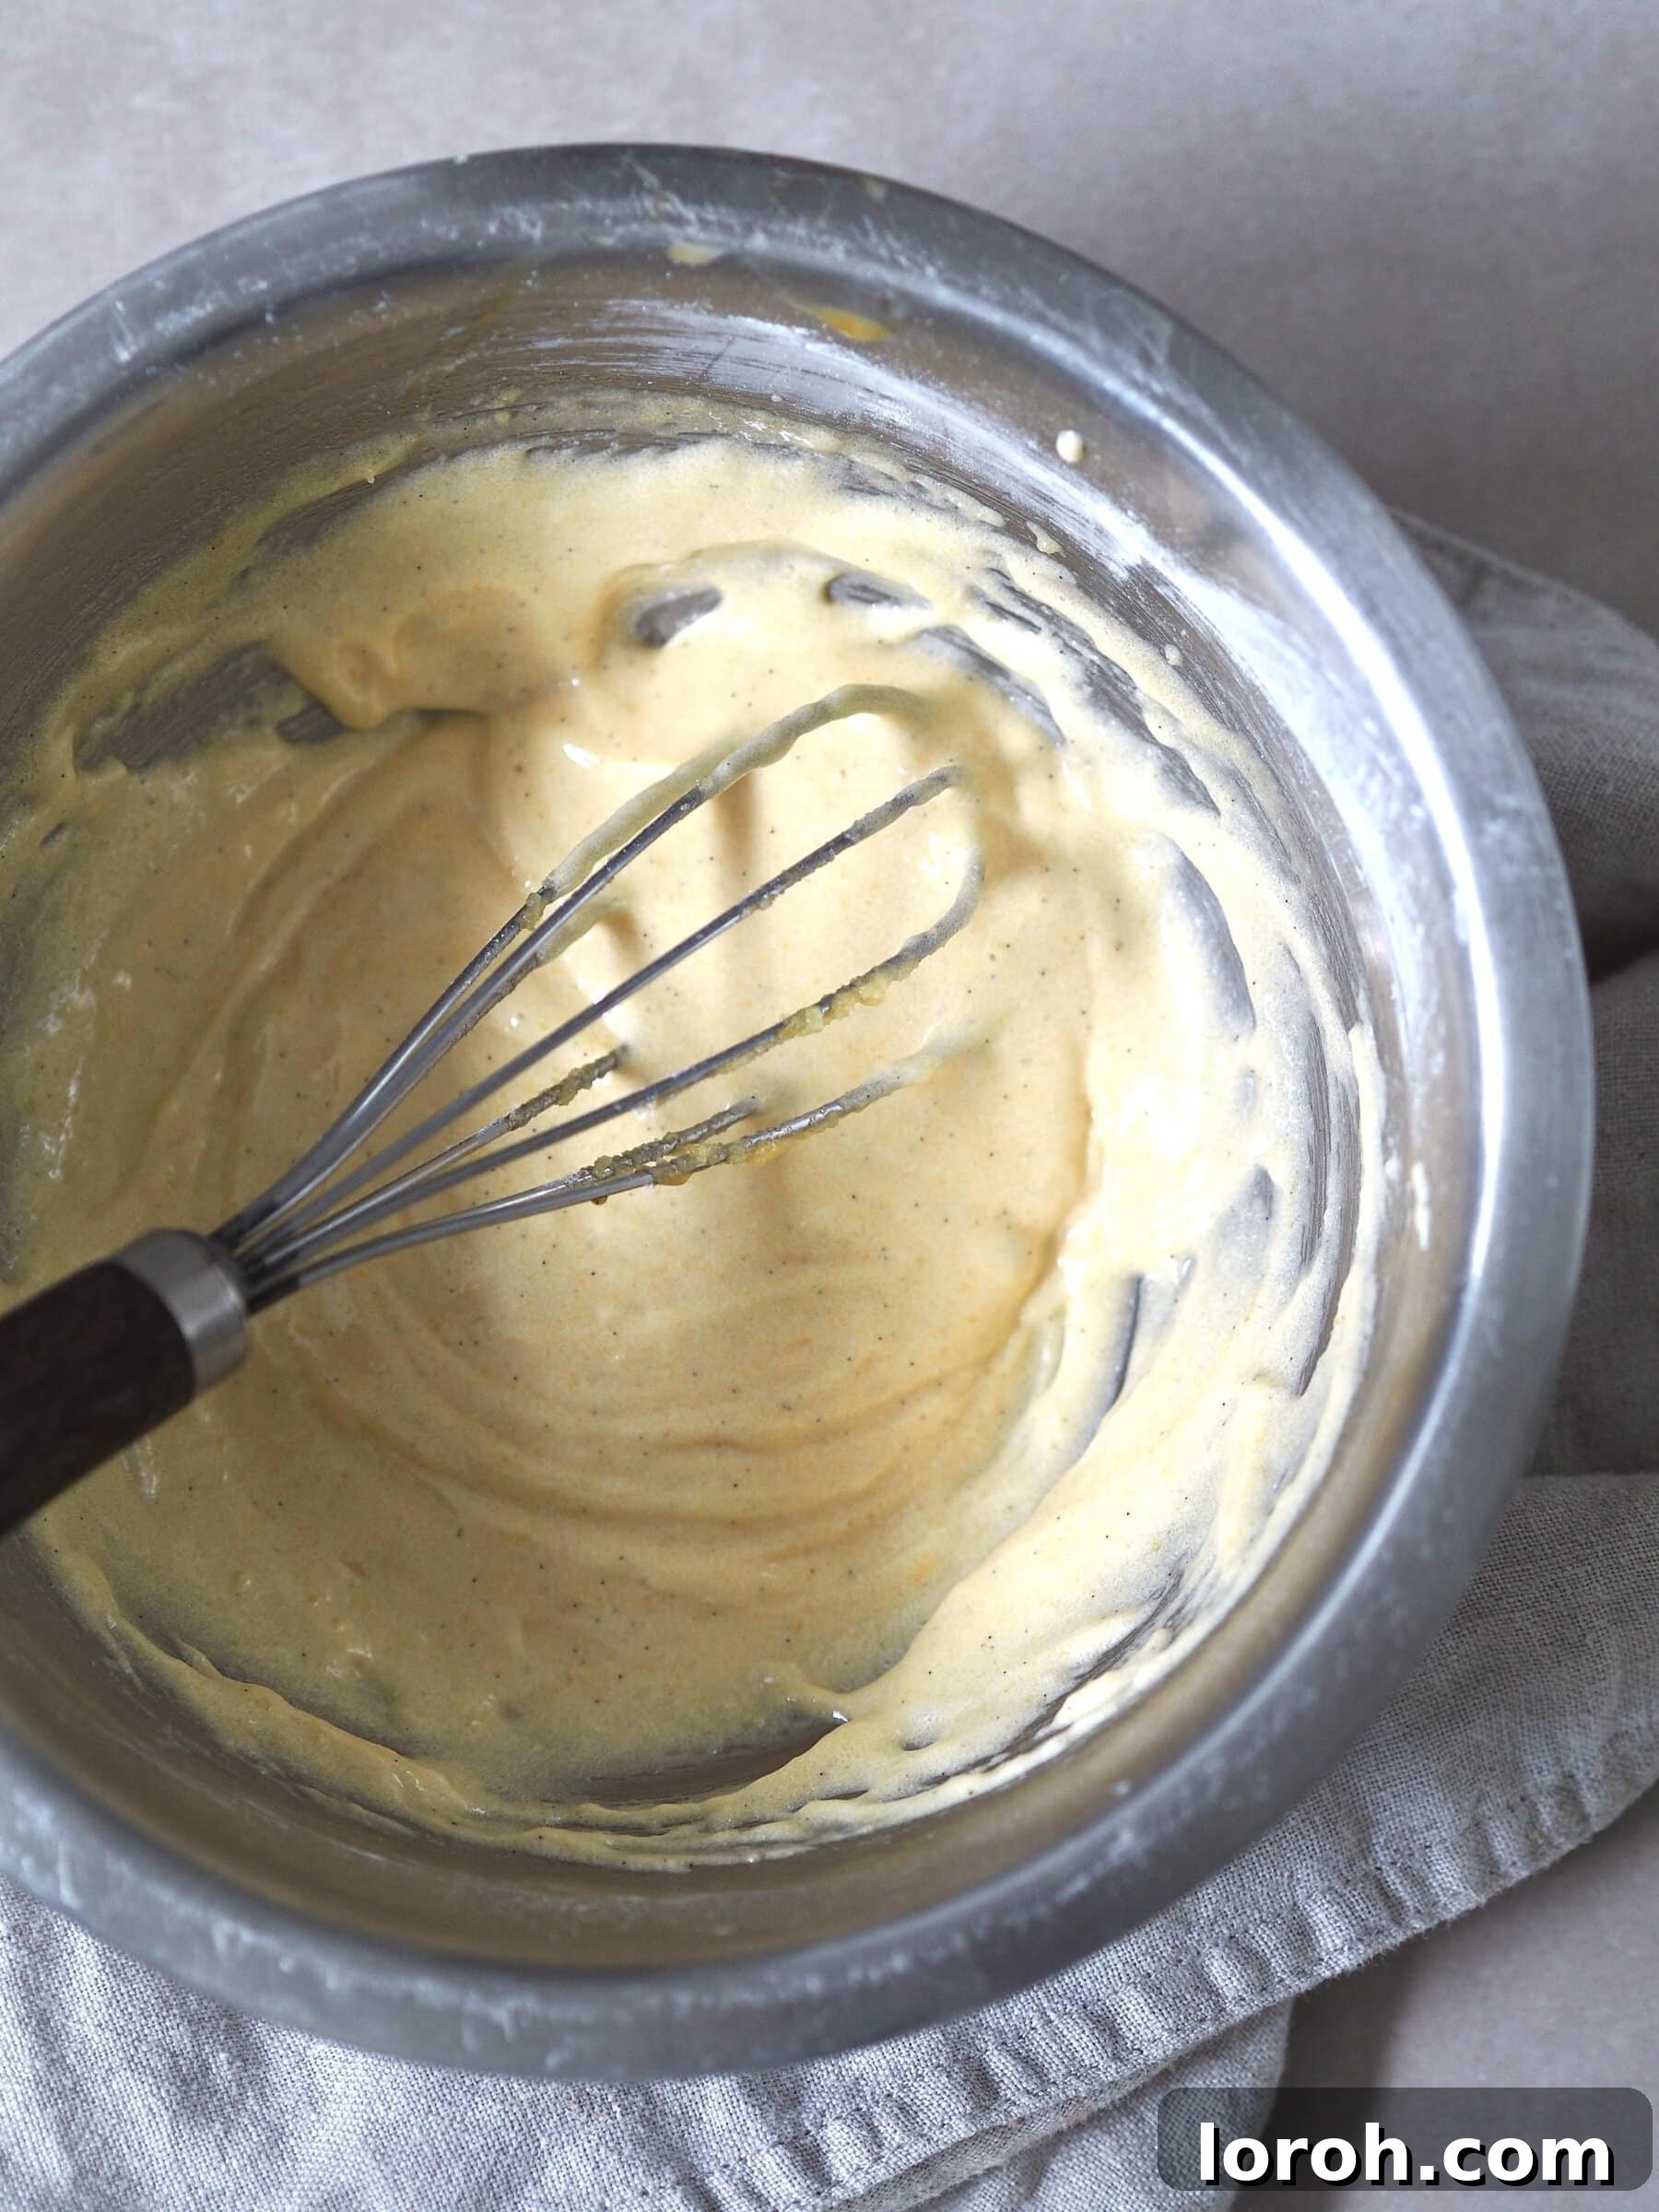
In a large mixing bowl, combine the softened butter, caster sugar, and vanilla extract. Using an electric whisk (or a stand mixer with a paddle attachment), beat these ingredients together for 1-2 minutes until the mixture transforms into a light, fluffy, and pale cream. This aeration is vital for a tender sponge.
Step 2: Combine Wet and Dry Ingredients
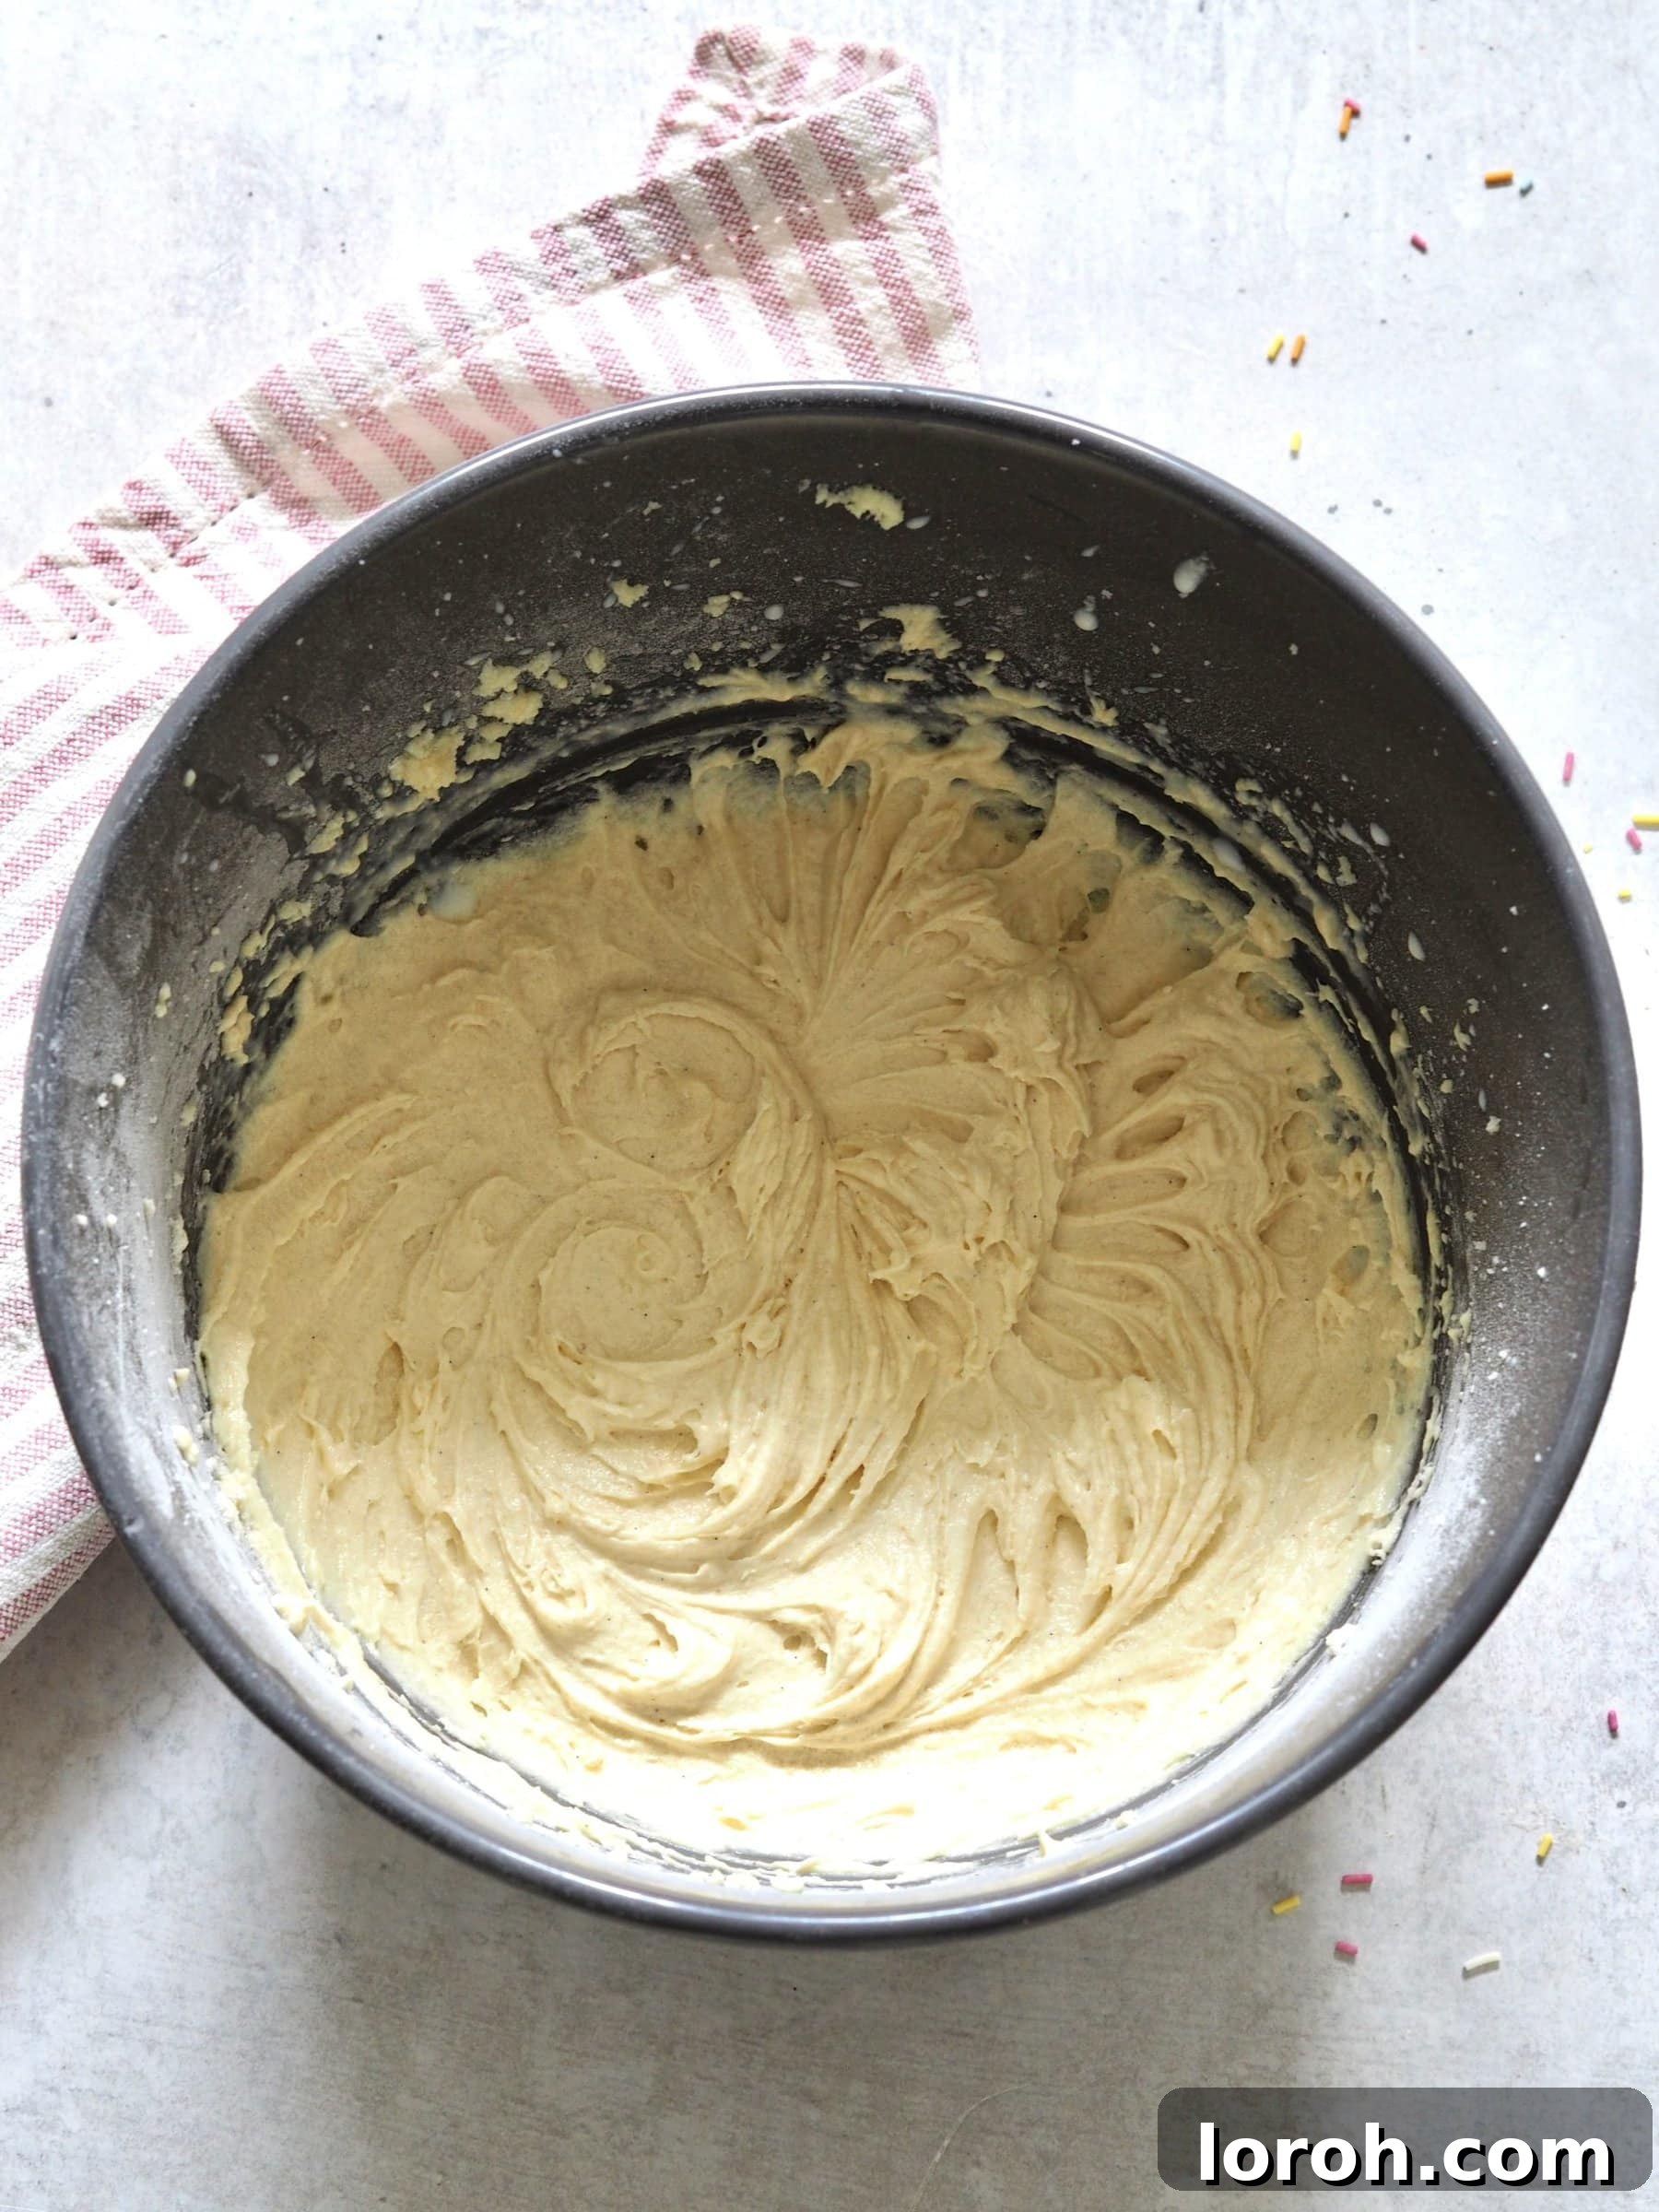
Once your butter and sugar are perfectly creamed, gently whisk in the eggs, followed by the self-raising flour and milk. Be careful not to overmix at this stage; whisk just until all the ingredients are well combined and you have a smooth batter. Overmixing can lead to a tough cake, so stop as soon as no dry streaks of flour remain.
Step 3: Bake and Cool the Sponge
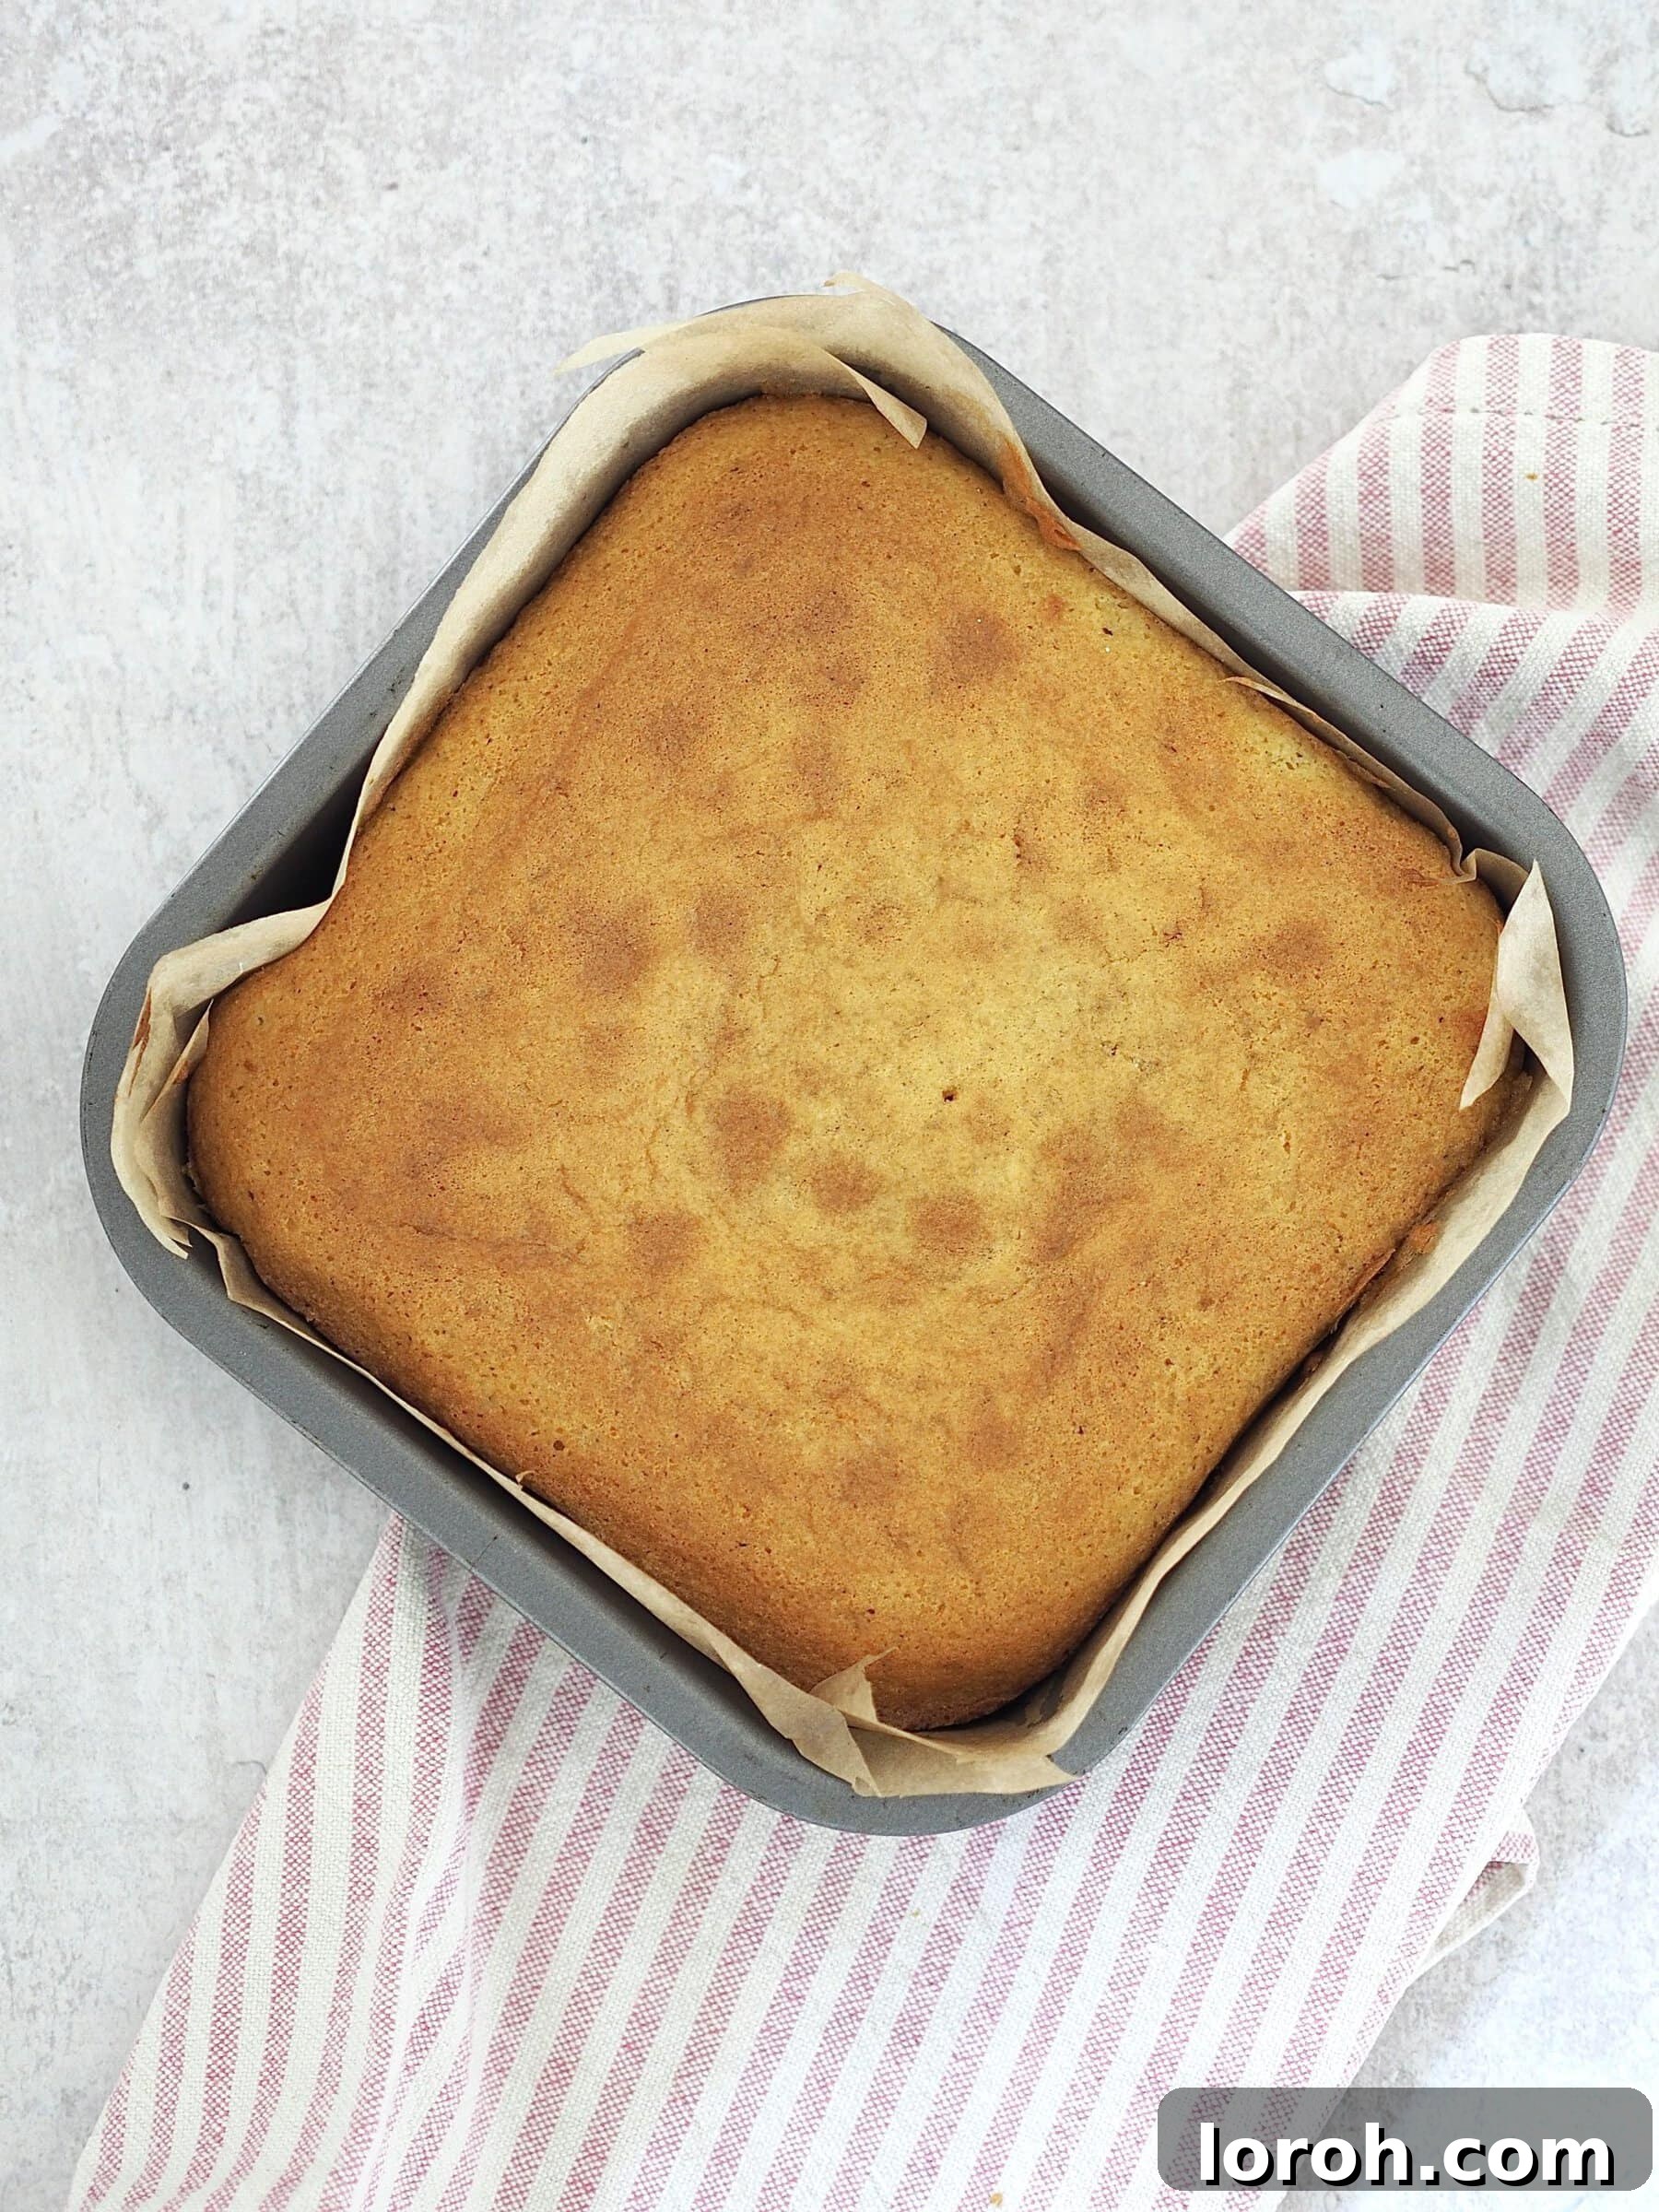
Carefully pour the prepared cake batter into your lined cake tin, spreading it evenly with a spatula. Bake in the preheated oven for approximately 20-25 minutes. The cake is done when it’s golden brown, springs back lightly when touched, and a skewer inserted into the center comes out clean. Avoid opening the oven door too early, as this can cause the cake to sink.
Once baked, remove the tin from the oven and let the cake cool in the tin for 10 minutes. This allows the cake to firm up slightly before you attempt to move it. After 10 minutes, carefully transfer the cake, still on its baking paper, to a wire rack to cool completely. Cooling completely is important before icing to prevent the icing from melting.
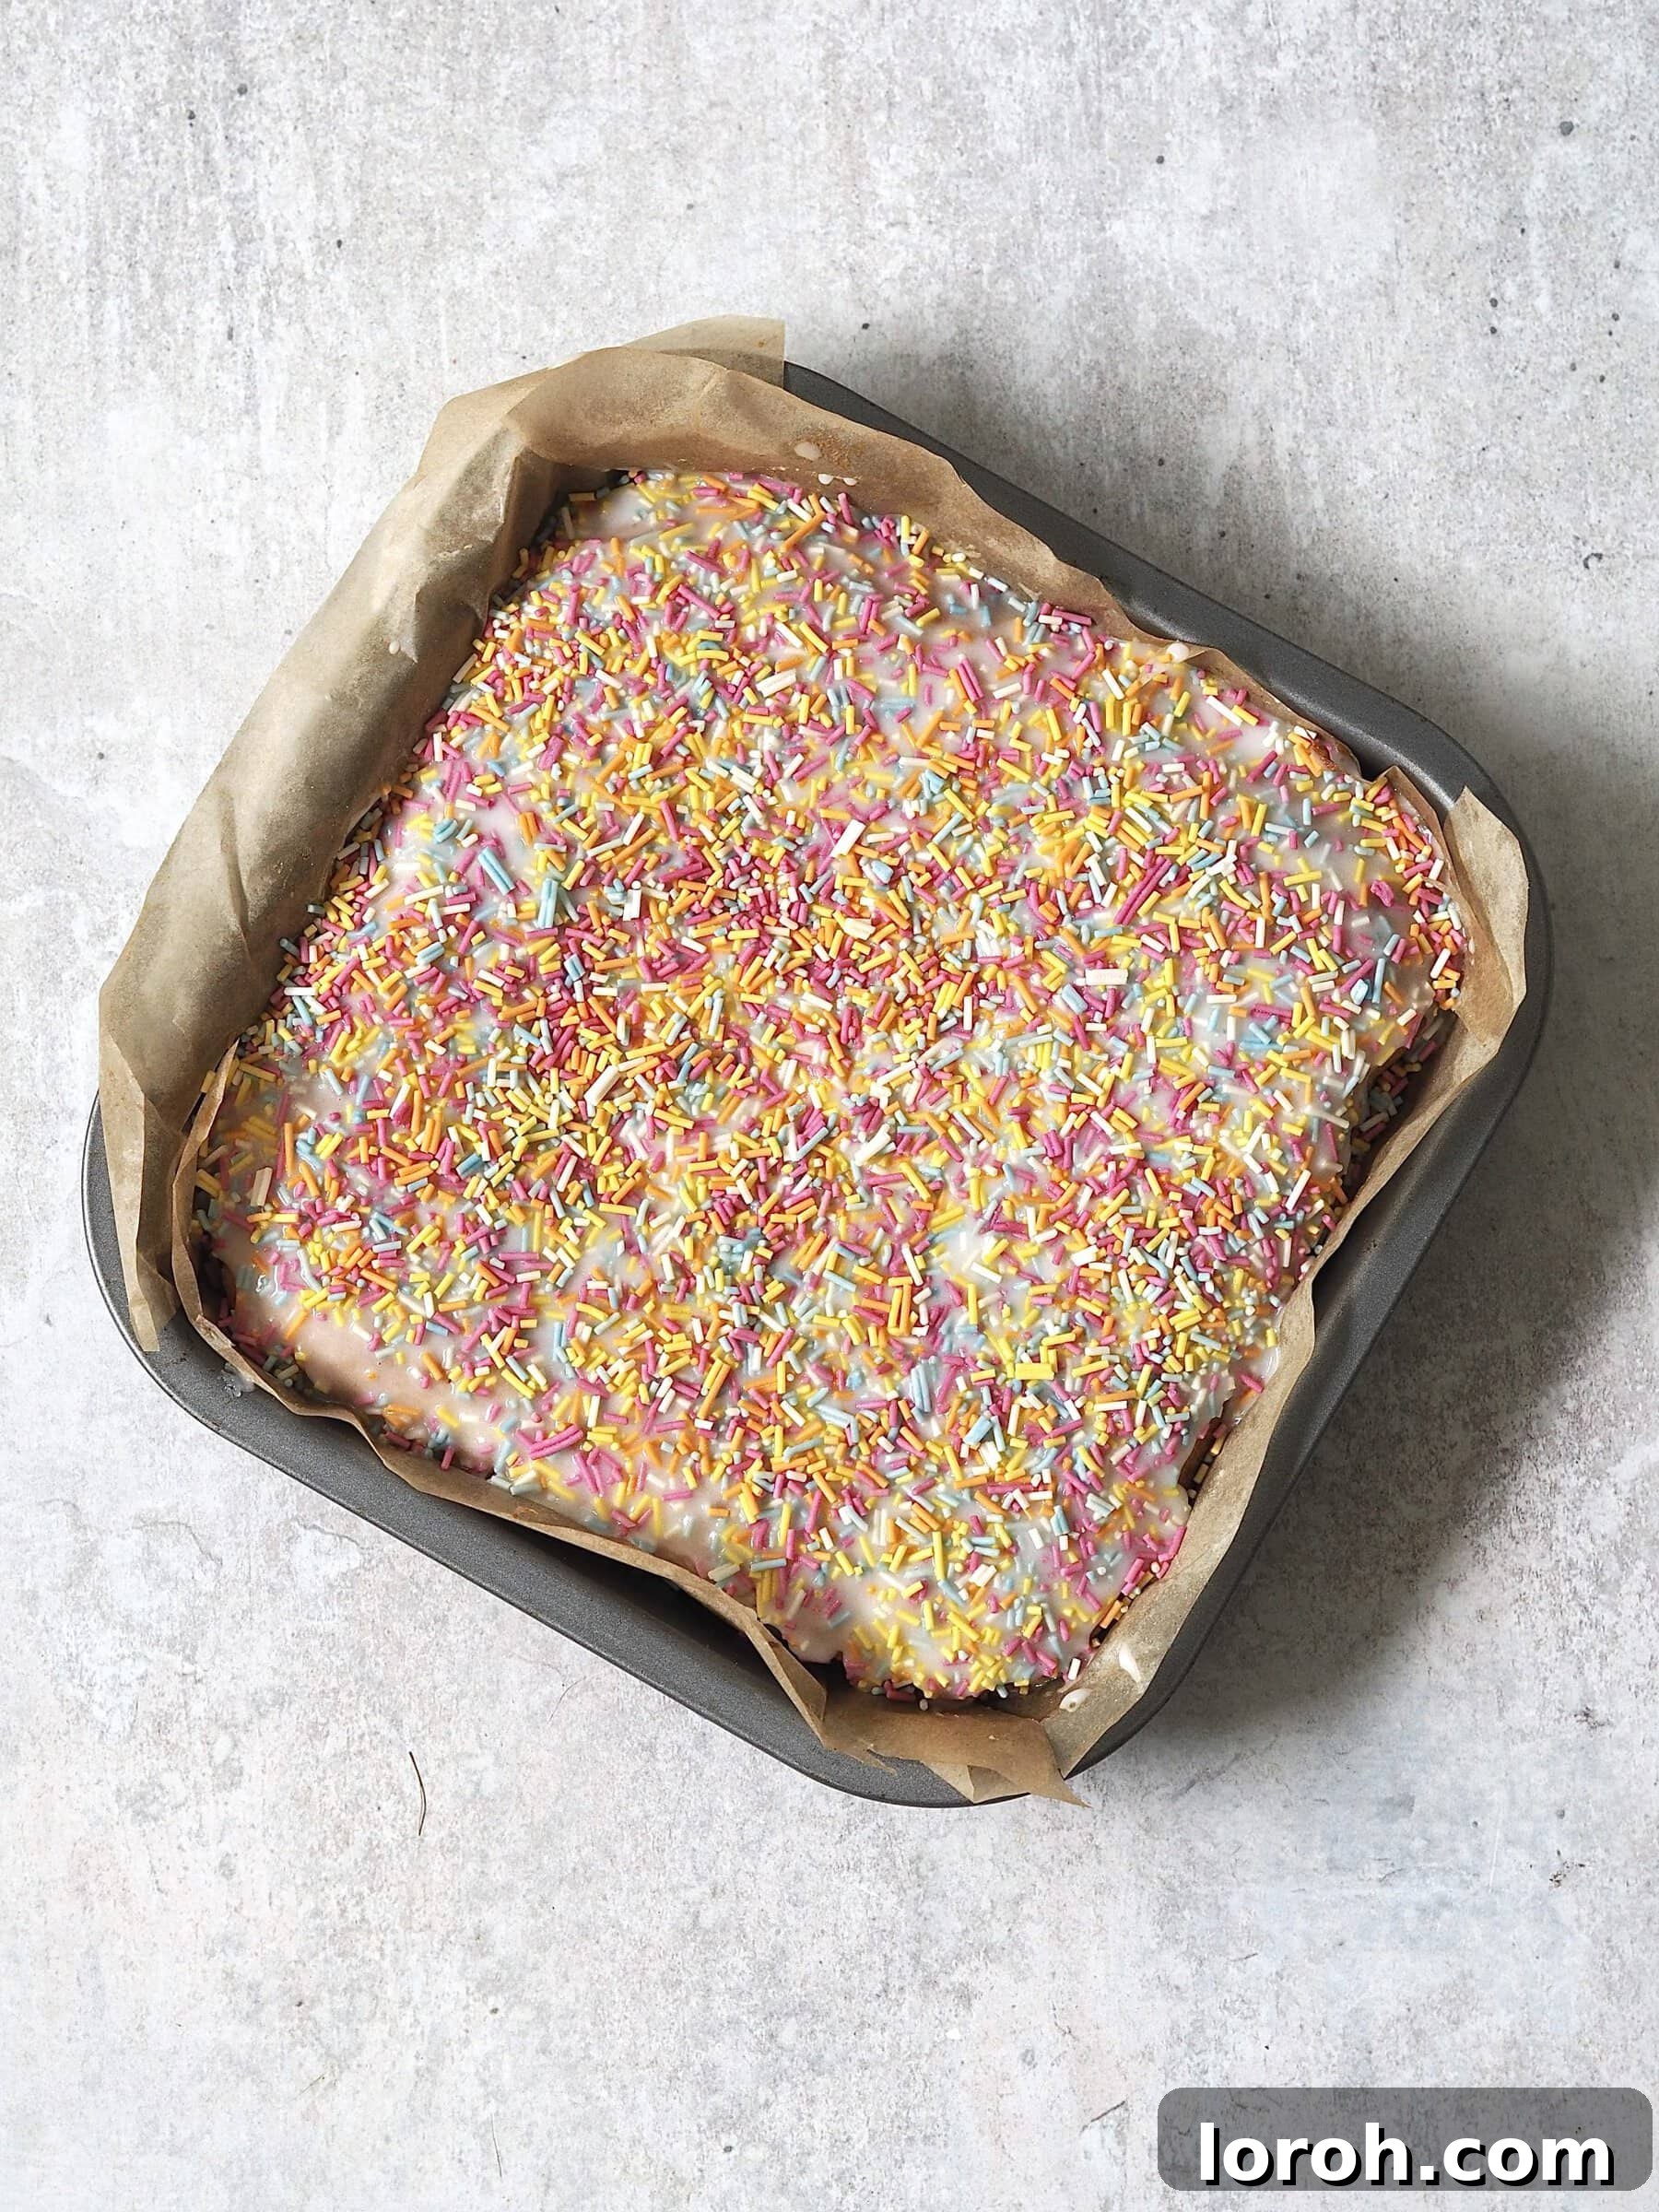
Step 4: Decorate Your Nostalgic Masterpiece
Once the sponge cake has cooled completely, it’s time for the fun part: decorating! In a small bowl, whisk together the icing sugar with 1-2 tablespoons of water. Start with 1 tablespoon and add more water gradually, a tiny bit at a time, until you achieve a thick, yet pourable icing consistency. You want it to be thick enough to cling to the cake but still spreadable.
Spoon the glossy icing over the top of the cooled cake. Use the back of the spoon or a small offset spatula to gently smooth the icing right to the edges, creating an even, inviting layer. Immediately, while the icing is still wet, liberally scatter your rainbow sprinkles over the entire surface. The sprinkles will adhere beautifully to the fresh icing, creating that iconic, joyful look.
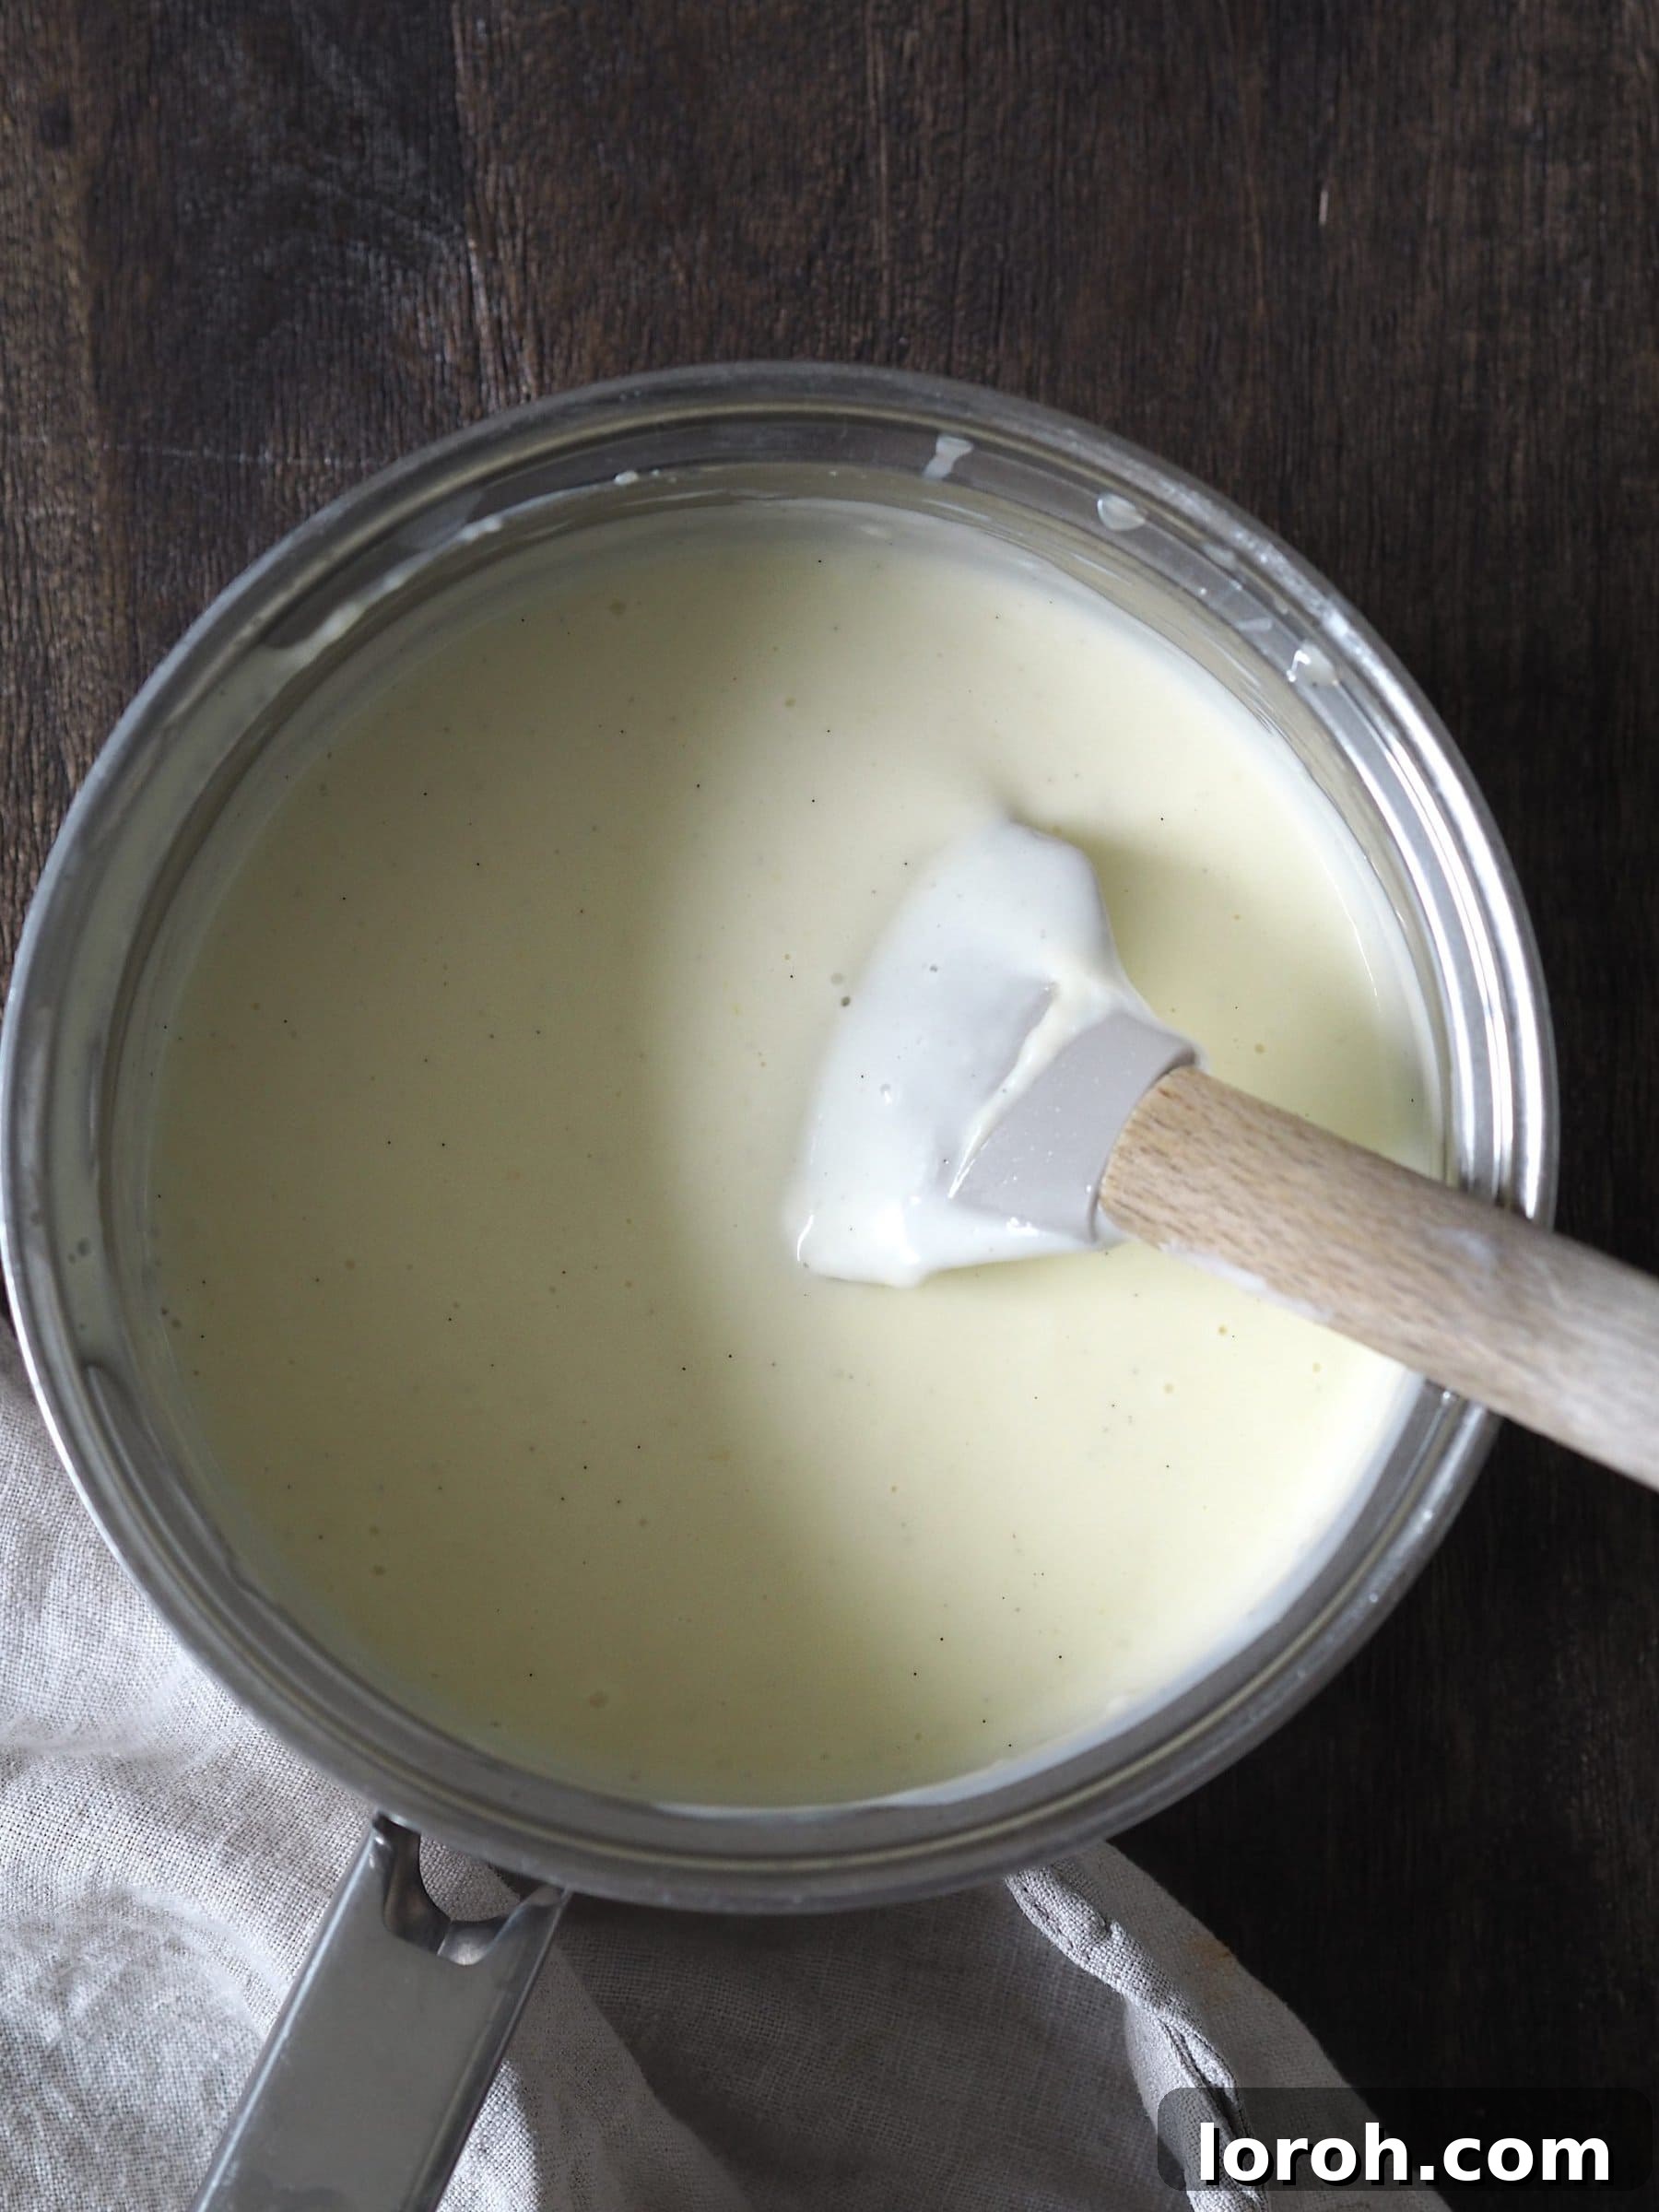
Step 5: Prepare the Creamy Vanilla Custard
Now, for the ultimate accompaniment! In a medium saucepan, combine the double cream and whole milk. Gently heat this mixture over a medium-low flame until it is just below boiling point – you’ll see small bubbles forming around the edges, but don’t let it come to a rolling boil. Remove from heat.
In a separate heatproof bowl, whisk together the egg yolks, cornflour, caster sugar, and vanilla paste (or extract) until smooth and pale. This creates a “slurry” that will thicken your custard.
While whisking continuously, gradually pour a small amount of the hot milk mixture into the egg yolk mixture. This process, called “tempering,” prevents the eggs from scrambling. Once tempered, pour the entire egg yolk mixture back into the saucepan with the remaining hot milk.
Return the saucepan to low heat, stirring constantly with a wooden spoon or a heatproof spatula. Continue to stir gently but thoroughly, scraping the bottom and sides of the pan, until the custard visibly thickens to your desired consistency – it should coat the back of the spoon. Be patient and keep the heat low to prevent burning. Remove from heat immediately once thickened.
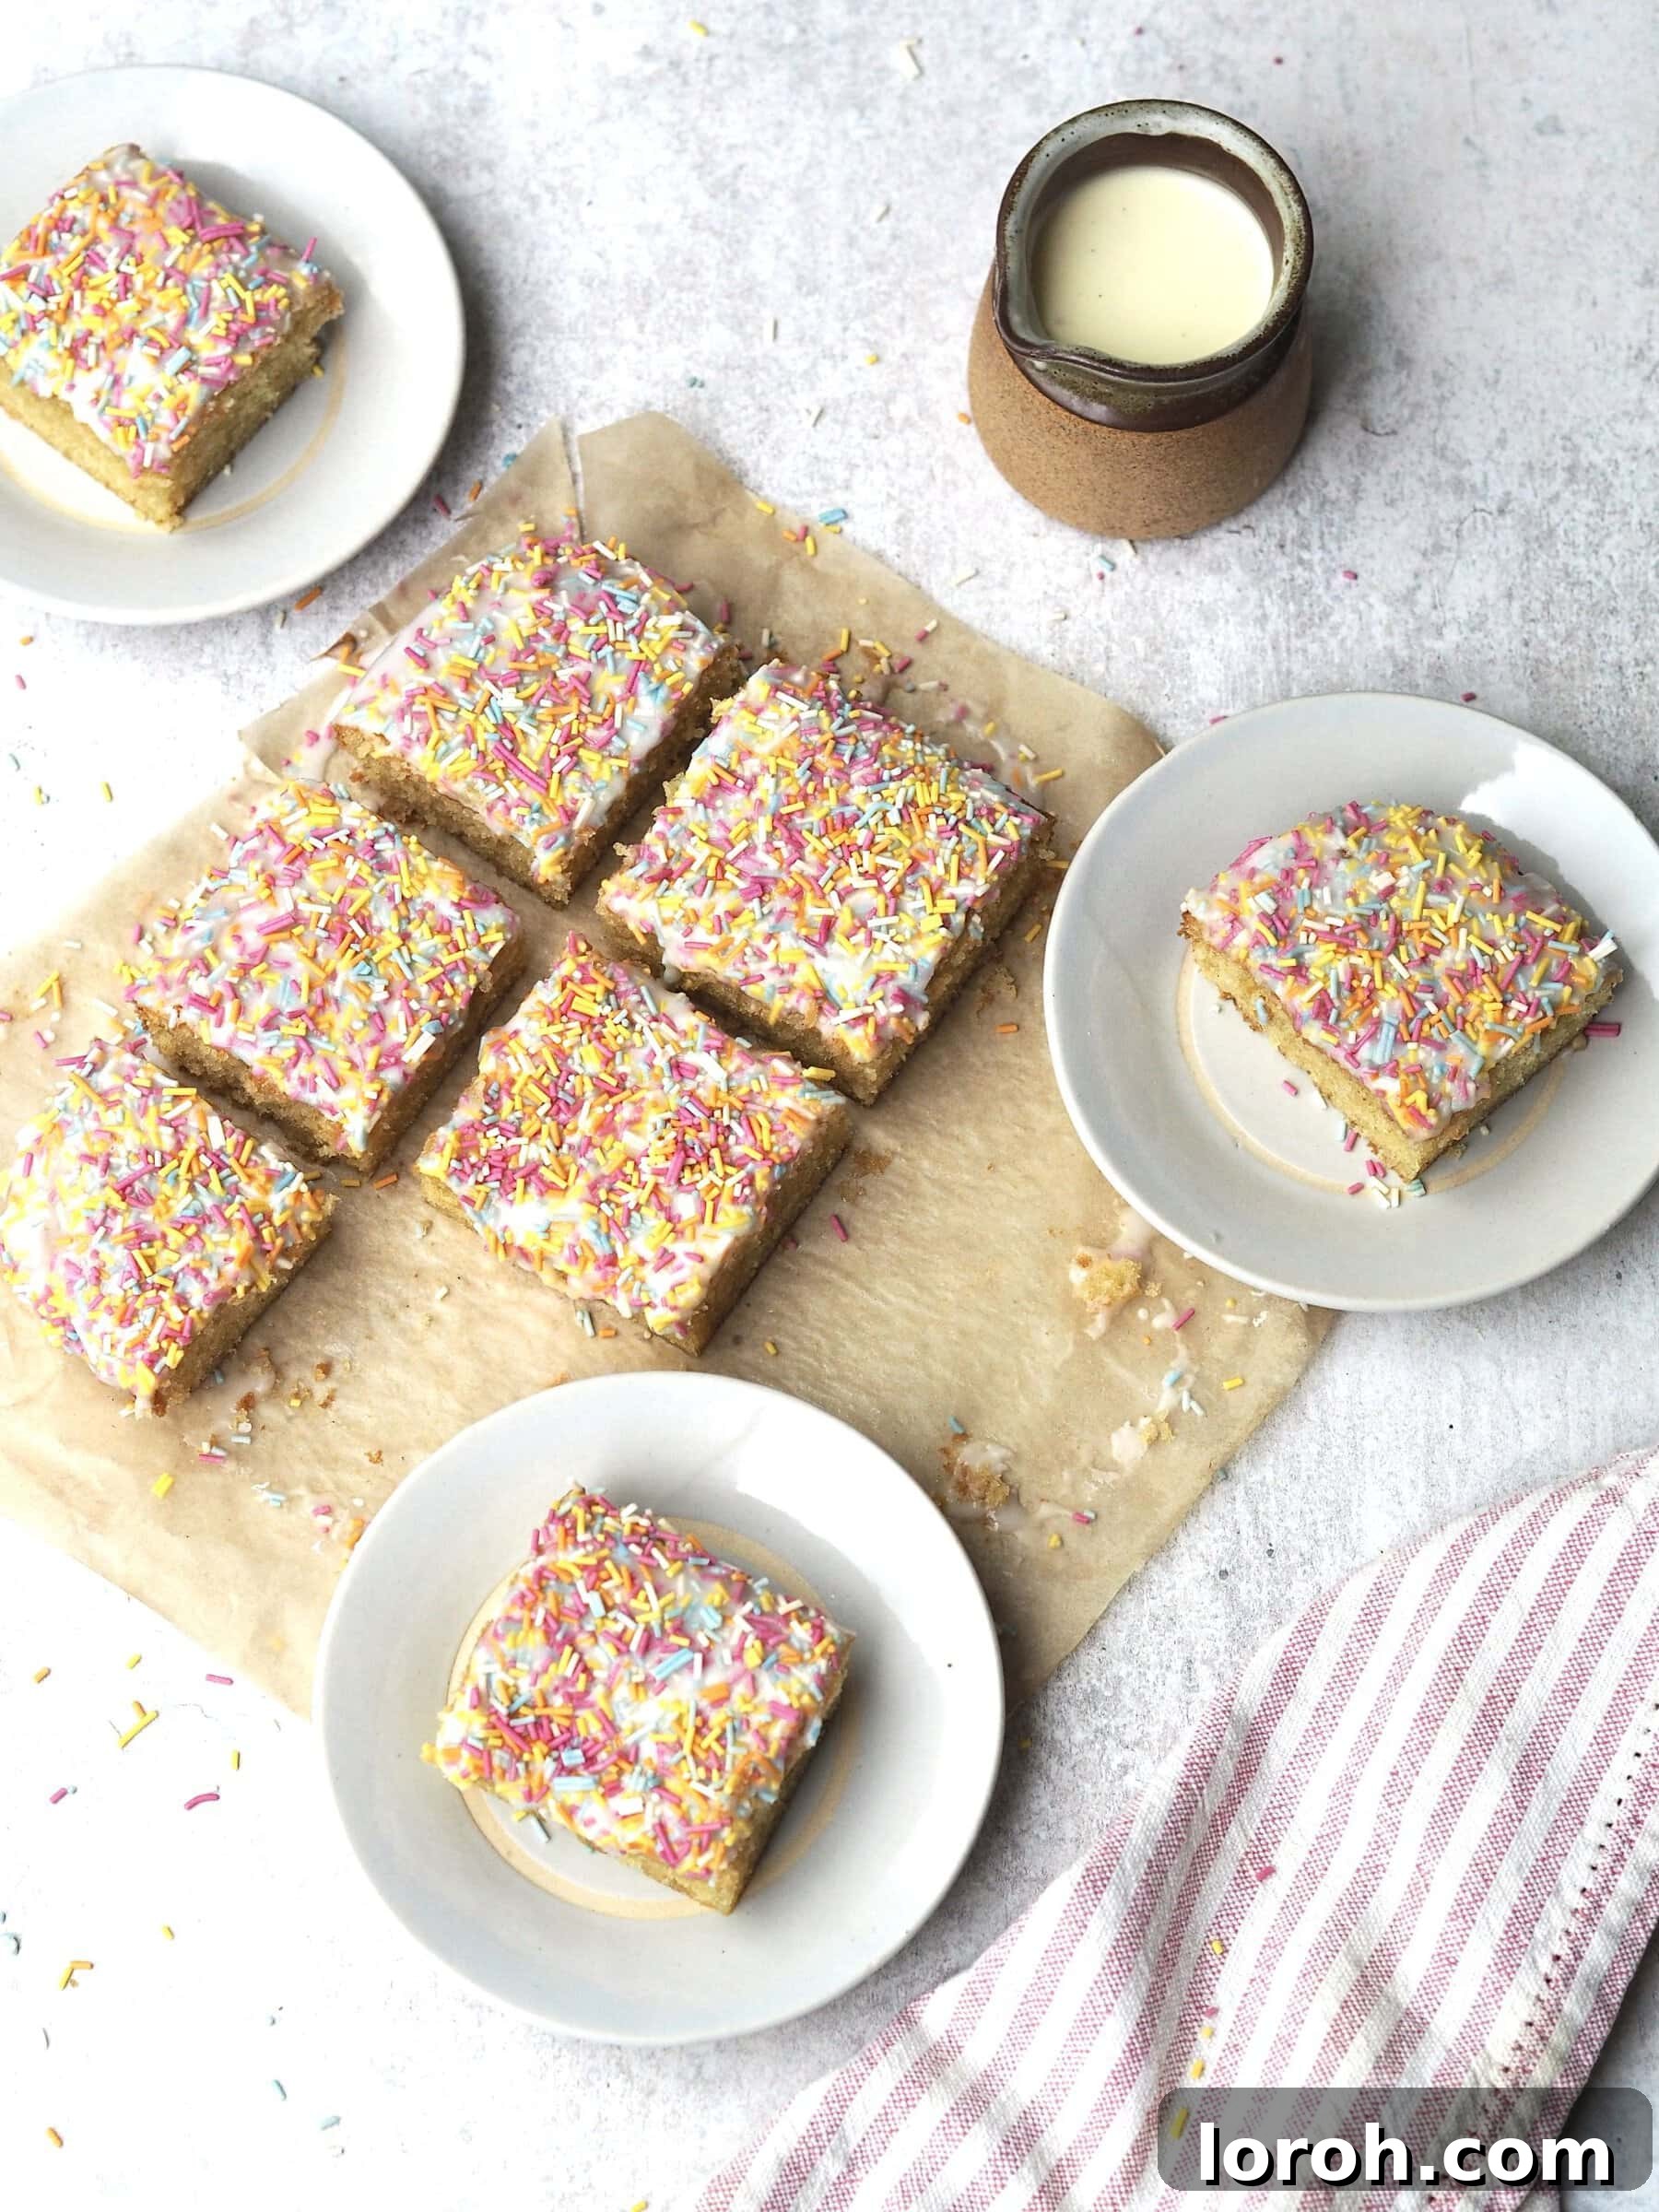
Step 6: Serve and Enjoy Your Childhood Dream
Once your sprinkle sponge cake is beautifully iced and the custard is thick and warm, it’s time to enjoy the fruits of your labor. Carefully slice the cooled cake into individual squares. Serve each delicious square with a generous ladle of your warm, homemade vanilla custard. The contrast between the soft cake, the sweet icing, the crunchy sprinkles, and the creamy custard is pure perfection. Prepare for a wave of nostalgia and delighted smiles!
Tips for a Perfect School Cake Every Time
- Room Temperature Ingredients: Ensure butter and eggs are at room temperature. This helps them cream together smoothly and creates a lighter batter, resulting in a finer cake crumb.
- Don’t Overmix: After adding the flour, mix only until just combined. Overmixing develops the gluten in the flour, which can lead to a dense, tough cake.
- Accurate Oven Temperature: An oven thermometer can be a great investment to ensure your oven is at the precise temperature specified. This prevents uneven baking or a sunken cake.
- Test for Doneness: The skewer test is reliable. If it comes out clean, your cake is ready. A few moist crumbs are okay, but wet batter means it needs more time.
- Cool Completely: Resist the urge to ice a warm cake! The icing will melt and run off, creating a messy finish. Patience during the cooling stage is key for crisp icing.
- Custard Consistency: When making custard, constant stirring over low heat is crucial to prevent lumps and scorching. Don’t rush it. It will thicken as it heats.
Variations and Serving Suggestions
While the classic school cake and custard are perfect as they are, don’t hesitate to get creative:
- Flavored Sprinkles: Use chocolate sprinkles for a richer twist, or themed sprinkles for holidays.
- Lemon Drizzle: For a zesty alternative, substitute the vanilla extract in the icing with lemon juice and add some lemon zest.
- Pink Custard: Add a drop or two of red food coloring to your custard during the last few minutes of cooking for that vibrant, retro pink look.
- Jam Layer: Spread a thin layer of raspberry or strawberry jam on top of the cooled cake before applying the icing for an extra burst of fruitiness.
- Fruit Topping: Serve with a side of fresh berries or sliced bananas for a complementary fresh element.
You Might Also Enjoy These Delicious Recipes
- Easy Tiramisu Tres Leches Cake
- Old Fashioned Self Saucing Chocolate Pudding
- Moist Chocolate Courgette Loaf Cake
- Best Tunisian Orange Cake
- Moist Chocolate Chip Banana Bread with Brown Butter
School Cake Sprinkle Sponge with Custard
Margie
This simple, nostalgic School Cake Sprinkle Sponge is the ultimate comfort food dessert, served with lashings of homemade vanilla custard. Perfect for reliving childhood memories.
25 mins
30 mins
55 mins
9 squares
Rate Recipe
Print Recipe
Ingredients
For the Sponge:
- 100 g butter, softened
- 100 g caster sugar
- 1 tsp vanilla extract
- 2 eggs
- 100 g self-raising flour
- 1 tsp baking powder
For the Icing & Decoration:
- 100 g icing sugar
- 1-2 tbsp water
- 25 g rainbow sprinkles
For the Homemade Vanilla Custard:
- 200 ml double cream
- 200 ml whole milk
- 3 egg yolks
- 2 tbsp caster sugar
- 1 tbsp cornflour (cornstarch)
- 1 tsp vanilla paste (or extract)
Instructions
For the School Cake Sponge:
- Preheat your oven to 160°C (325°F / Gas Mark 3). Grease and line an 8-inch (20cm) square cake tin with baking paper.
- In a large bowl, use an electric whisk to cream together the softened butter, caster sugar, and vanilla extract for 1-2 minutes until the mixture is light, pale, and fluffy.
- Next, gently whisk in the eggs, followed by the self-raising flour and milk. Continue to whisk until just combined and you have a smooth batter, being careful not to overmix.
- Pour the batter evenly into the prepared cake tin. Bake for approximately 20-25 minutes, or until the cake is golden, springs back when lightly touched, and a skewer inserted into the center comes out clean.
- Allow the cake to cool in the tin for 10 minutes before carefully transferring it to a wire rack to cool completely. This is crucial before icing.
To Decorate the Cake:
- Once the cake is completely cool, prepare the icing. In a small bowl, mix the icing sugar with 1-2 tablespoons of water, adding water gradually until you achieve a thick, pourable consistency.
- Spoon the icing over the cooled cake and use the back of the spoon to gently smooth it out to the edges. Immediately scatter a generous amount of rainbow sprinkles over the wet icing to ensure they stick.
For the Homemade Vanilla Custard:
- In a saucepan, combine the double cream and whole milk. Gently heat the mixture until it is just below boiling point (small bubbles around the edges). Remove from heat.
- In a separate bowl, whisk together the egg yolks, cornflour, sugar, and vanilla paste until smooth.
- Gradually pour a small amount of the hot milk mixture into the egg yolk mixture while whisking constantly (this tempers the eggs). Once tempered, pour the entire mixture back into the saucepan.
- Return the pan to low heat and stir continuously with a wooden spoon or spatula until the custard thickens to your desired consistency. Do not boil. Remove from heat.
To Serve:
- Slice the decorated cake into squares and serve warm with generous lashings of your freshly made vanilla custard. Enjoy!
Notes
At room temperature, leftover sponge should be good for up to 3 days, loosely wrapped in food wrap or stored in an airtight container to keep things soft and moist. We believe custard is best eaten just when it’s made, but you can keep it in the fridge for another day or so, laying a piece of food wrap directly on the surface to prevent a skin from forming. Reheat gently on the stove.
Like this recipe? Leave a comment below and share your nostalgic memories!