
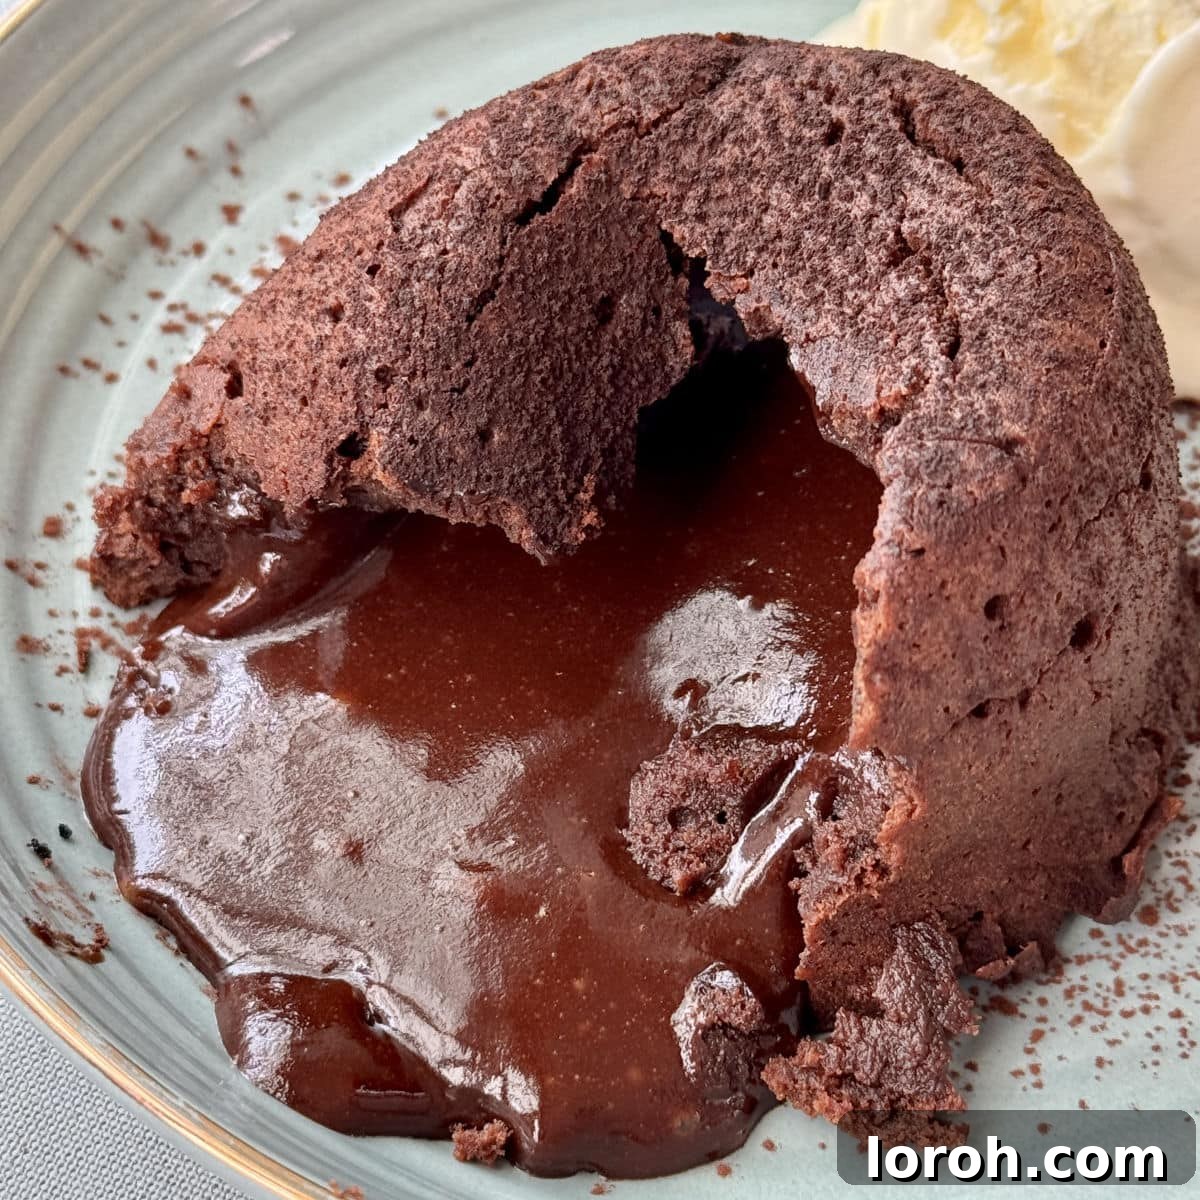
Prepare for an extraordinary dessert experience with the ultimate melt-in-the-middle chocolate pudding. Imagine cracking open a delicate, perfectly baked chocolate sponge to reveal a glorious cascade of warm, gooey, molten chocolate – rich, glossy, and intensely satisfying. Often hailed as molten chocolate cake, lava cake, or chocolate fondant, this indulgent treat embodies restaurant-quality sophistication yet is surprisingly straightforward to create in your own kitchen, especially once you’ve mastered a few key timings and techniques.
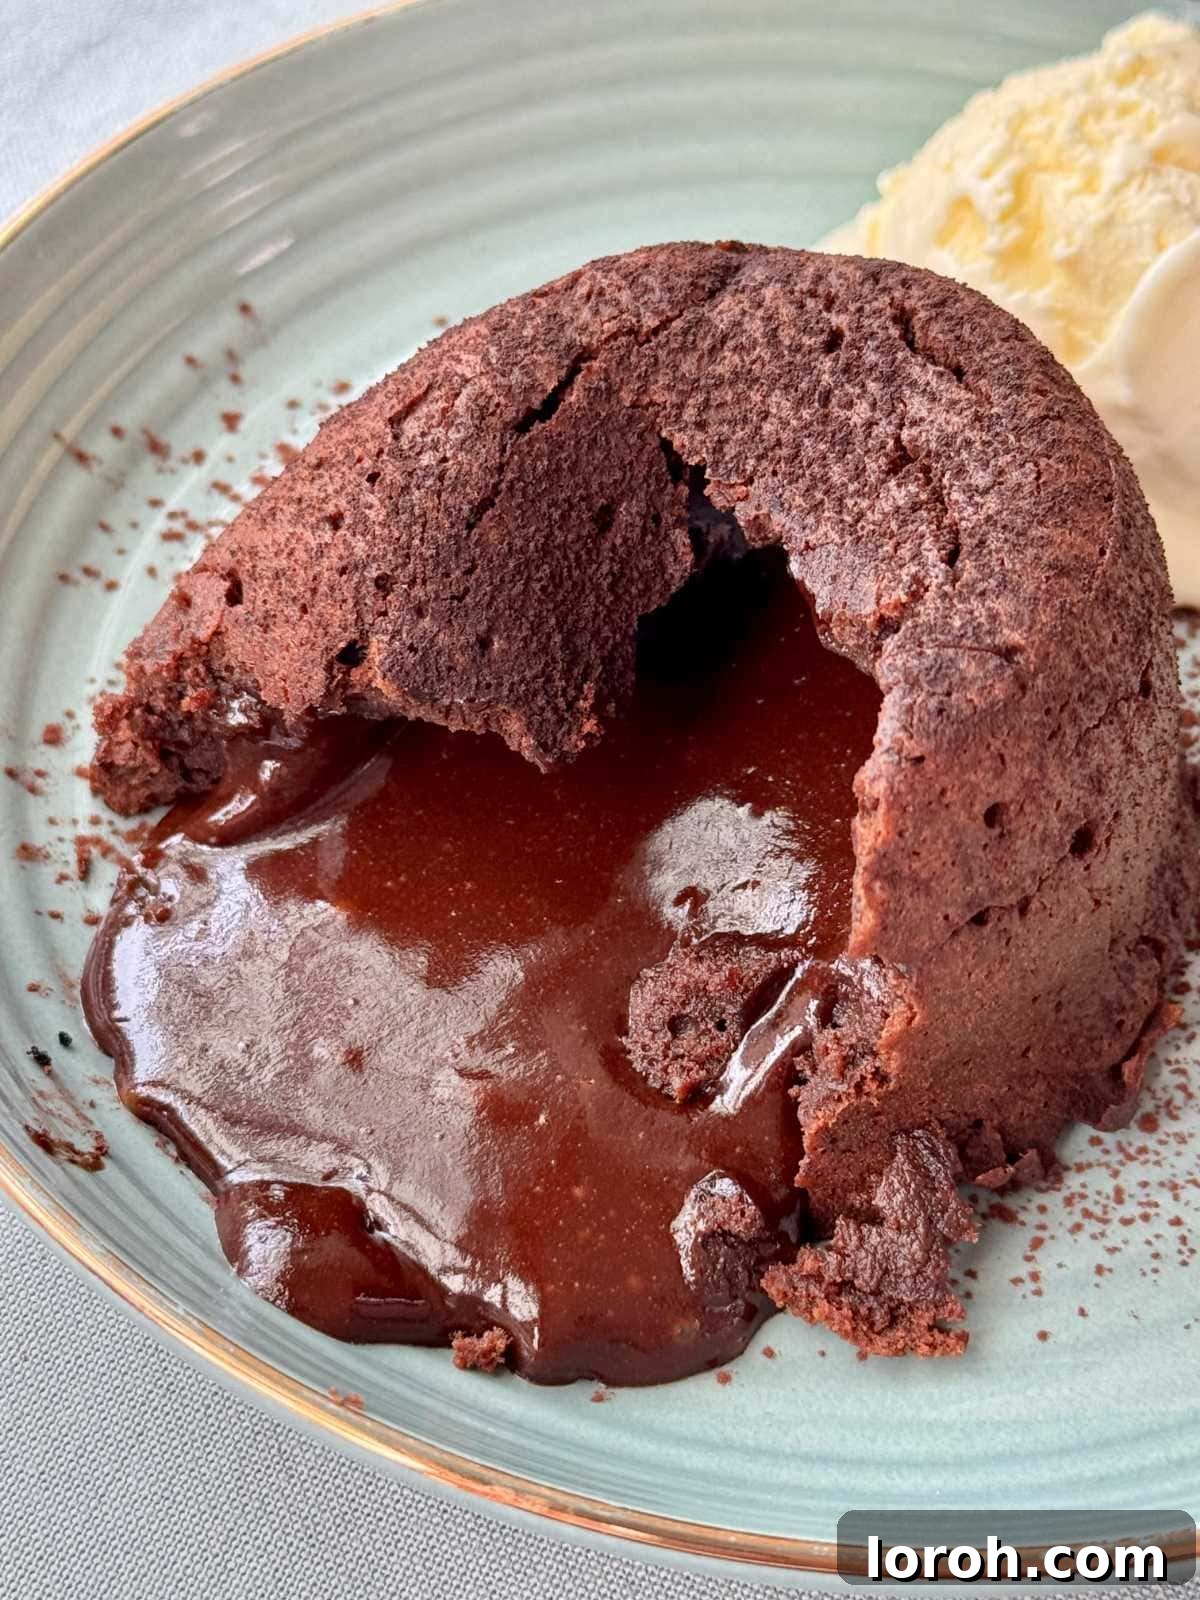
Gone are the days when such a decadent dessert was reserved solely for fancy restaurant menus. With this perfected recipe, mastering these gorgeous melt-in-the-middle chocolate puddings becomes so incredibly simple that you’ll wonder why you didn’t attempt it sooner. These individual chocolate masterpieces are guaranteed to impress at any dinner party or special occasion, making you the undisputed dessert hero!
One of the true marvels of this particular molten chocolate cake recipe lies in its fantastic flexibility. You can effortlessly prepare the batter a day in advance, storing the unbaked puddings in the refrigerator until you’re ready to bake. This make-ahead capability makes them an absolute dream for dinner parties, allowing you to focus on your main course without last-minute dessert stress. Simply pop them into the oven straight from the fridge, adding just an extra two minutes to the baking time to achieve that perfect molten core.
This comprehensive guide has been meticulously crafted and tested to ensure your success. It features precise bake times tailored for the perfect molten center, clever make-ahead tips for effortless entertaining, and insightful troubleshooting advice to help you avoid common pitfalls. Say goodbye to overbaked, dry chocolate cakes and hello to consistently perfect, gooey-centered delights every single time. Get ready to bake your new favorite dessert!
Table of Contents
- Why You’ll Love This Recipe
- Essential Ingredients for Molten Chocolate Puddings
- Substitutions and Creative Variations
- How to Make Melt-in-the-Middle Chocolate Puddings: Step-by-Step
- Expert Cooking Tips and Troubleshooting
- Frequently Asked Questions About Molten Lava Cakes
- Other Chocolate Recipes You Might Enjoy
- Melt In The Middle Chocolate Pudding Recipe Card
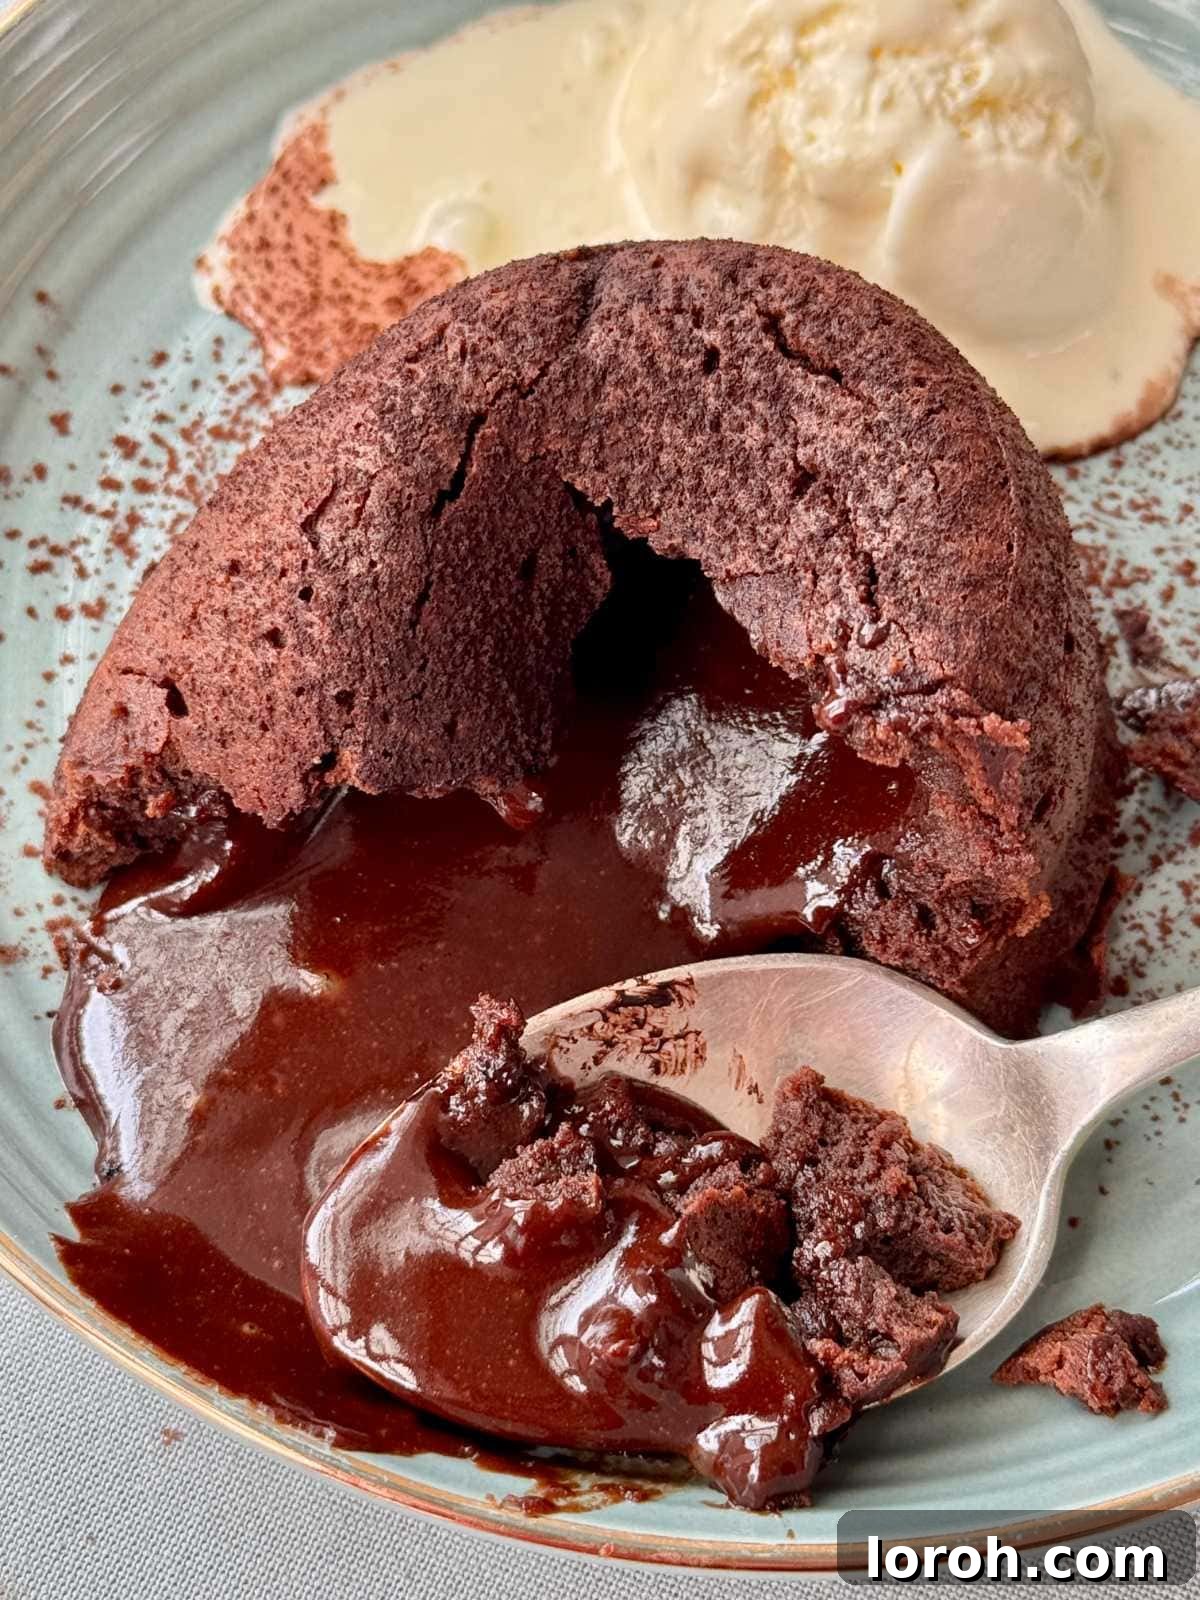
Why You’ll Absolutely Love This Melt-in-the-Middle Chocolate Pudding Recipe
This melt-in-the-middle chocolate pudding isn’t just a dessert; it’s an experience that delivers pure joy with minimal effort. Here’s why this particular recipe will quickly become a cherished favorite in your culinary repertoire:
- Effortless Molten Perfection Every Time: The magic of these puddings lies in a clever baking technique: a hot oven quickly sets the outer layer, forming a delicate yet firm sponge, while miraculously leaving the interior warm, luxuriously gooey, and utterly molten. Our precise timings and clear instructions make achieving this perfect balance simpler than you might ever imagine. Get ready for that satisfying cascade of chocolate!
- Minimal Ingredients, Maximum Flavor Impact: You only need just 7 common ingredients to create these show-stopping chocolate fondants. Most of these are likely staples you already have in your pantry, meaning less time spent grocery shopping and more time indulging in baking. Despite the short ingredient list, the depth of chocolate flavor is truly exceptional, rivaling desserts from the finest patisseries.
- Impressive Results That Look Professional: This dessert boasts an incredibly sophisticated appearance, making it seem like you’ve spent hours laboring in the kitchen. In reality, it’s remarkably forgiving and hard to get wrong. Its elegant presentation, featuring that dramatic molten center, makes it the quintessential dinner party dessert, guaranteed to elicit gasps of delight and impress even the most discerning guests.
- Ultimate Make-Ahead Convenience: Planning a special meal or simply want to prepare dessert in advance? This recipe is your best friend. You can easily prepare the individual puddings up to a day ahead and store them safely in the fridge until you’re ready to bake. This incredible flexibility allows you to streamline your cooking process, leaving you more time to relax and enjoy your company rather than scrambling for last-minute dessert preparations. Imagine serving freshly baked, warm puddings just minutes after your main course – pure genius and entirely stress-free!
- Foolproof Instructions for All Skill Levels: Our step-by-step guide is meticulously designed to be accessible for bakers of all experience levels. From precise measurements to visual cues for doneness, we’ve anticipated every question and provided clear, actionable advice to ensure your success. No more guessing games, just consistently perfect, melt-in-the-middle chocolate puddings every single time.
Essential Ingredients for Perfect Molten Chocolate Puddings
The full, detailed recipe card with exact measurements can be found at the very bottom of this post. Simply scroll down to print or save!
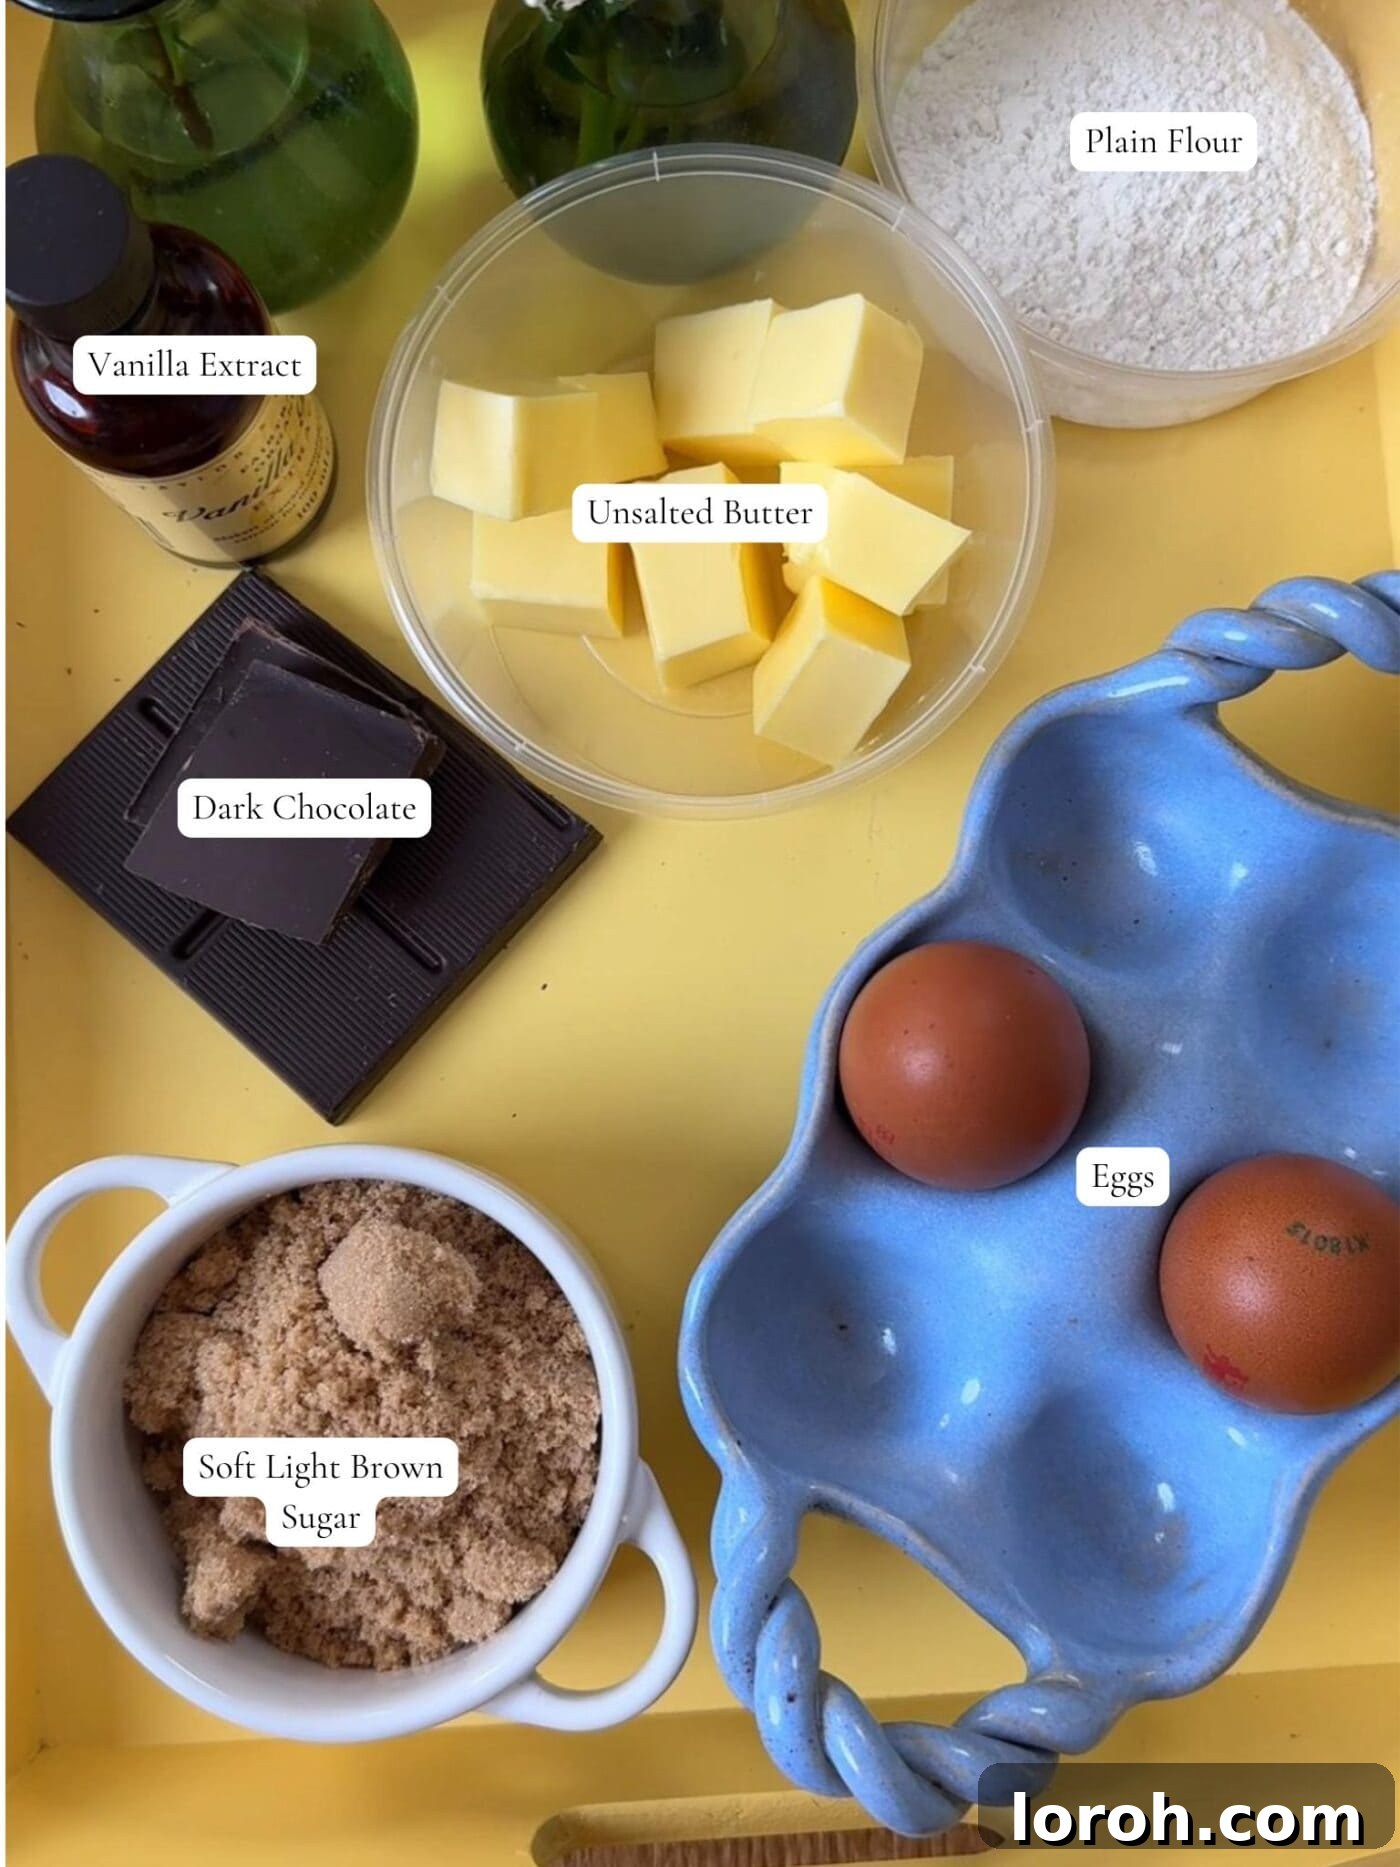
Crafting these irresistible molten lava cakes requires a selection of high-quality yet readily available ingredients. Each plays a crucial role in achieving that perfect balance of rich flavor and ideal texture, ensuring your puddings are nothing short of spectacular:
- Dark Chocolate (70% Cocoa Recommended): This is undeniably the star of the show, so do not compromise on quality! We highly recommend opting for the best dark chocolate you can find, ideally with a cocoa content of around 70%. A higher cocoa percentage delivers a more profound, intense chocolate flavor that truly shines through, creating a decadent, not-too-sweet molten center. Good quality dark chocolate melts smoothly, contributes significantly to the pudding’s luxurious texture, and prevents it from being overly sugary.
- Unsalted Butter: Essential for imparting incredible richness and moisture to the pudding. Using unsalted butter allows you precise control over the overall saltiness of your dessert. Ensure your butter is fresh and of good quality for the best flavor foundation.
- Light Soft Brown Sugar: While caster sugar (superfine sugar) is an acceptable alternative, light soft brown sugar is our preferred choice for these melt-in-the-middle chocolate puddings. Its fine texture dissolves beautifully into the batter, and it imparts a subtle, delightful caramel-like flavor that perfectly complements the deep notes of dark chocolate. This adds an extra layer of complexity and warmth to the taste profile, enhancing the overall indulgence.
- Large Eggs: Eggs are crucial for both structure and texture. They provide the necessary binding for the sponge, preventing it from collapsing entirely, and contribute to the rich, custardy consistency of the molten center. For optimal incorporation into the batter, ensure your eggs are at room temperature before you begin.
- Plain Flour (All-Purpose Flour): Only a small amount of plain flour is used in this recipe, just enough to give the pudding structure without making it dense or overly cake-like. It acts as a binder, helping to hold the ingredients together while ensuring the center remains gloriously gooey and liquid.
- Instant Coffee Powder: This might seem surprising, but don’t worry – these puddings will not taste like coffee! The instant coffee powder serves a magical purpose: it acts as a flavor enhancer, intensifying and deepening the natural richness of the chocolate. Just a small amount makes the chocolate “more chocolatey” and brings out its nuanced notes without imparting any distinct coffee flavor.
- Vanilla Extract: A touch of pure vanilla extract is a must. It elevates the overall flavor profile, adding warmth, complexity, and a subtle aromatic sweetness. Vanilla is a classic pairing with chocolate and helps to round out the richness and sweetness of the dessert beautifully.
- Pinch of Salt: A tiny pinch of fine sea salt is vital for balancing the sweetness and truly bringing out the full depth of the chocolate flavor. It prevents the pudding from tasting flat and enhances all the other ingredients. Do not skip this essential ingredient!
Substitutions and Creative Variations for Your Molten Chocolate Cakes
This molten chocolate pudding recipe is wonderfully adaptable, allowing you to tailor it to your dietary needs, personal preferences, or to explore exciting new flavor combinations. Don’t be afraid to get creative!
Ingredient Swaps:
- Brown Sugar Alternative: If you don’t have light soft brown sugar on hand, caster sugar (also known as superfine sugar) can be used as a direct swap. The puddings will still be delicious and achieve the desired molten texture, though the subtle caramel notes from the brown sugar will be less pronounced.
- Making it Dairy-Free: For a delicious dairy-free version of this decadent dessert, simply substitute the unsalted butter with a high-quality plant-based butter alternative. Brands like Flora Plant Butter blocks (or similar dairy-free stick margarines) work exceptionally well and provide the necessary fat content and richness without compromising on flavor or the perfect molten texture. Ensure your chosen chocolate is also dairy-free if following a strict dairy-free diet.
Serving Suggestions to Enhance Your Experience:
While incredible on their own, these molten chocolate puddings truly shine when paired with the right accompaniments. The contrast in temperature and flavor can elevate the entire dessert:
- Classic Creamy Toppings: A generous dollop of cold sour cream, crème fraîche, or double cream (heavy cream) offers a delightful textural and flavor contrast to the warm, rich chocolate. The slight tanginess of sour cream or crème fraîche beautifully cuts through the pudding’s intensity, preventing it from being overly sweet and creating a perfectly balanced and luxurious bite.
- Fresh Fruit for Brightness: To introduce a refreshing and vibrant counterpoint to the deep dark chocolate, serve your puddings with a generous sprinkling of fresh berries. Raspberries are a particularly excellent choice, as their tartness brightens the dessert and adds a burst of vibrant color and flavor. Fresh strawberries, cherries, or even sliced bananas also work wonderfully.
- Ice Cream Indulgence: A scoop of good quality vanilla bean ice cream, coffee ice cream, or even salted caramel ice cream melting gently over the warm pudding is pure bliss. The classic hot and cold contrast is always a winner and adds another layer of creaminess.
- Dusting of Cocoa or Powdered Sugar: For a simple yet elegant finish, lightly dust the unmolded puddings with a touch of cocoa powder or powdered (confectioners’) sugar just before serving.
Exciting Flavor Twists for Your Chocolate Fondants:
Elevate your melt-in-the-middle chocolate puddings with these creative additions and flavor infusions, turning them into unique culinary masterpieces:
- Salted Caramel Center: For an irresistible surprise within, fill your pudding basins halfway with the chocolate batter. Then, add a generous teaspoon of high-quality salted caramel sauce (either homemade or your favorite store-bought brand) into the center of each. Cover with the remaining batter before baking. The molten caramel will mingle with the chocolate for an extra layer of decadence.
- Peanut Butter Twist: Peanut butter and chocolate are a timeless and beloved combination! Just like with the caramel variation, drop a teaspoon of creamy peanut butter into the center of each partially filled pudding basin before topping with more batter and baking.
- Zesty Orange & Chocolate: Introduce a bright, invigorating citrus note by stirring finely grated orange zest (from about half a medium orange) directly into the batter. Serve the baked puddings with fresh orange segments or a delicate orange coulis for a classic and elegant pairing that truly awakens the palate.
- Spicy Chili Chocolate: For those who love a subtle kick and enhanced depth, add a tiny pinch (about ⅛ teaspoon) of chili powder or cayenne pepper to the batter alongside the instant coffee. It won’t make the pudding overtly spicy, but it will subtly enhance the chocolate’s complexity and provide a delightful warming aftertaste.
- Liqueur Infusion: For an adult twist, add a splash (about 1-2 teaspoons per batch) of your favorite complementary liqueur to the melted chocolate mixture. Grand Marnier (for an orange note), Kahlúa (for a coffee enhancement), or a dark rum would be exquisite choices, adding sophisticated depth.
How to Make Melt-in-the-Middle Chocolate Puddings: A Step-by-Step Guide
Creating these heavenly molten chocolate cakes is simpler than you might imagine. Follow these detailed steps to achieve perfect, restaurant-quality results every time. Remember, the full recipe card with precise quantities is available at the end of this post!
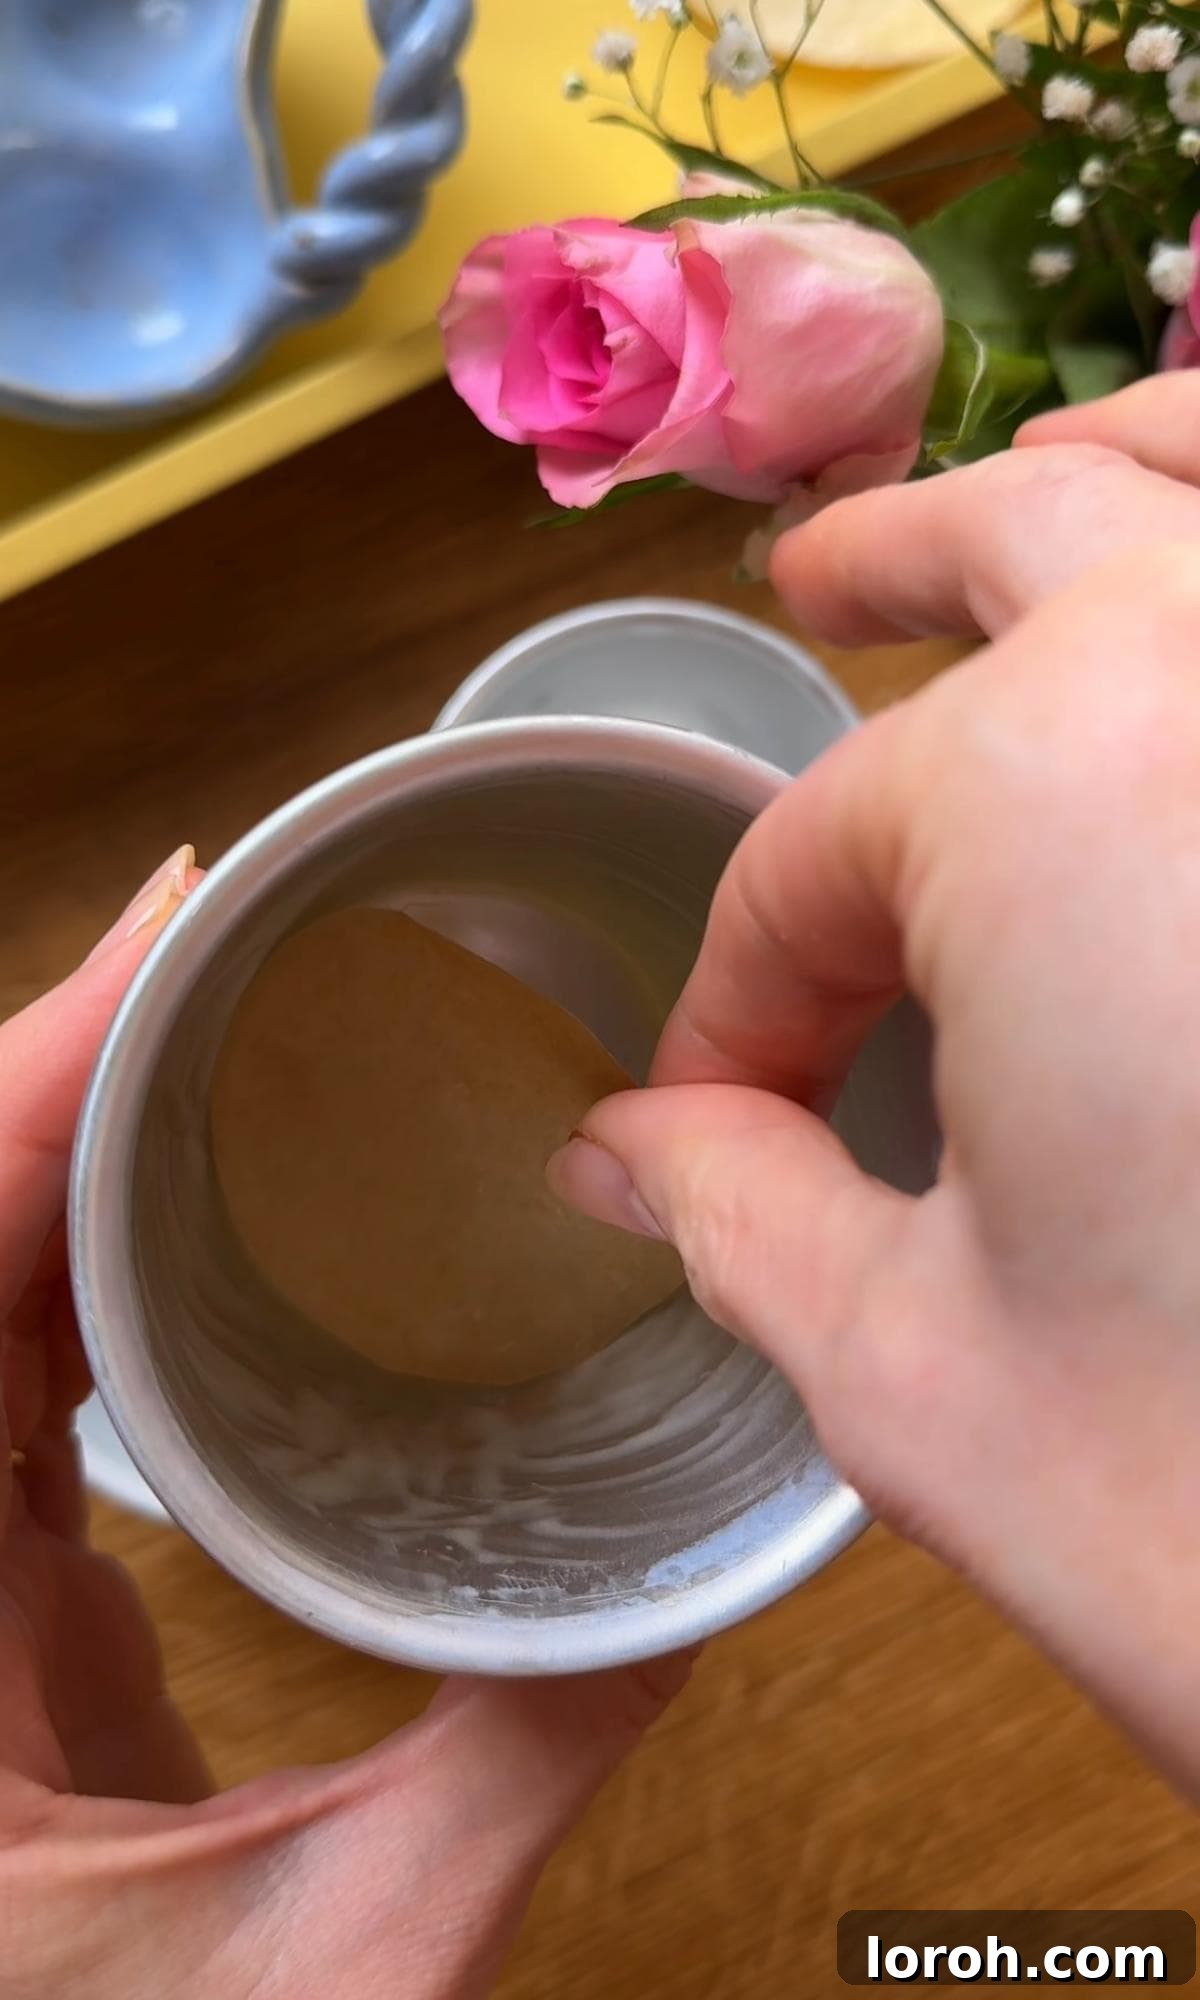
STEP ONE: Prepare Your Molds and Oven
Begin by preheating your oven to a blazing 200°C (180°C fan/400°F). The high heat is absolutely key to quickly setting the outside of the pudding while miraculously leaving the center molten and gooey. Next, generously grease four individual pudding basins or ramekins with butter. This is a crucial step for ensuring easy release after baking. For extra insurance against any sticking, cut out four small circles of greaseproof (parchment) paper to fit the bottom of each basin and place them inside. This small effort guarantees your beautiful puddings will slide out effortlessly, maintaining their perfect shape.
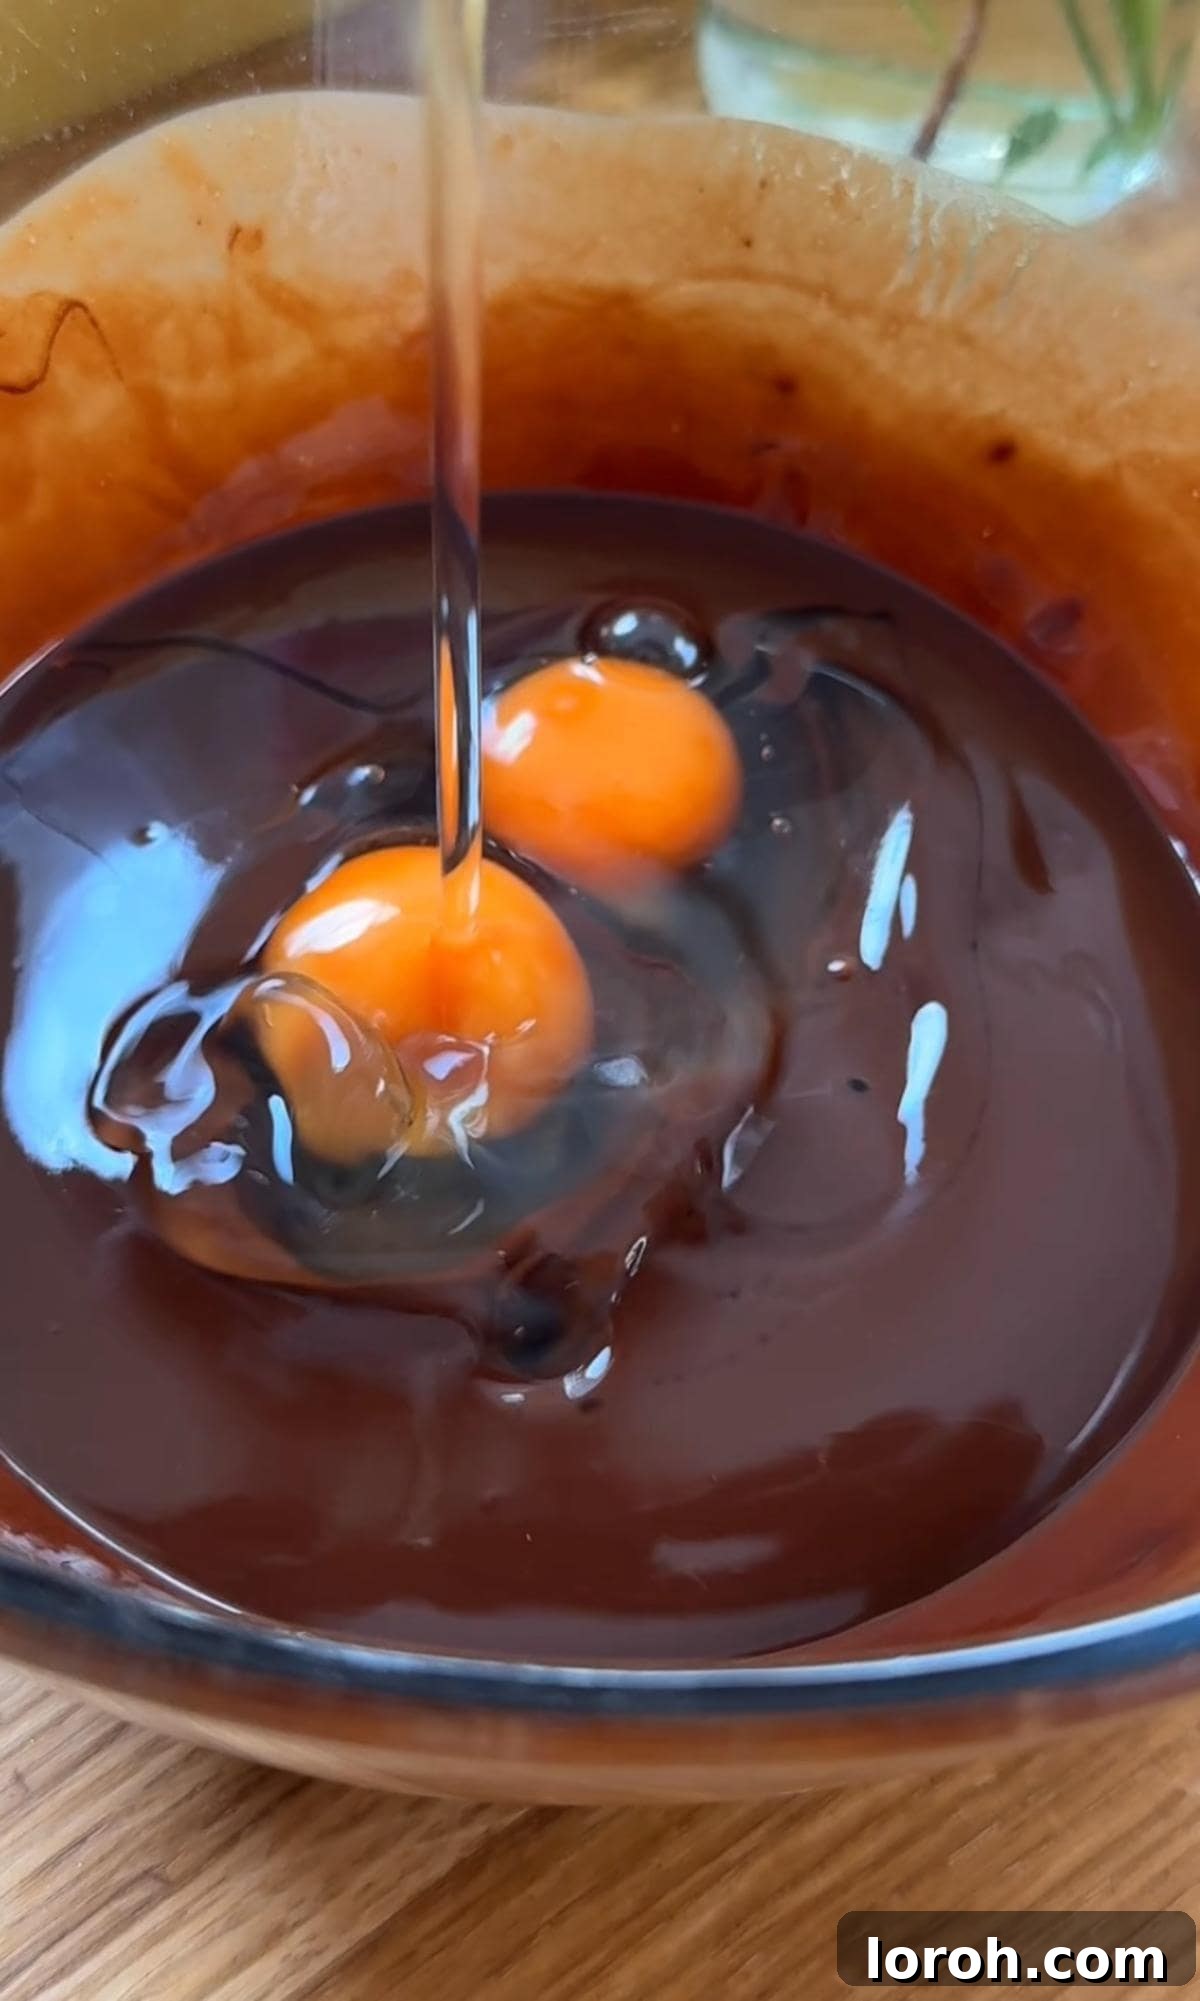
STEP TWO: Melt Chocolate and Butter Together
In a heatproof bowl, combine the chopped dark chocolate and the unsalted butter. You have a couple of options for melting: either use a microwave (heating in short 30-second bursts, stirring thoroughly in between each interval, until the mixture is smooth and fully melted) or employ a bain-marie (setting the bowl over a saucepan of simmering water, ensuring the bottom of the bowl does not touch the water). Whichever method you choose, melt gently and stir until the mixture is completely smooth and glossy. Once melted, set the bowl aside to cool slightly for a few minutes; you want it warm, but not so hot that it might scramble the eggs in the next step.
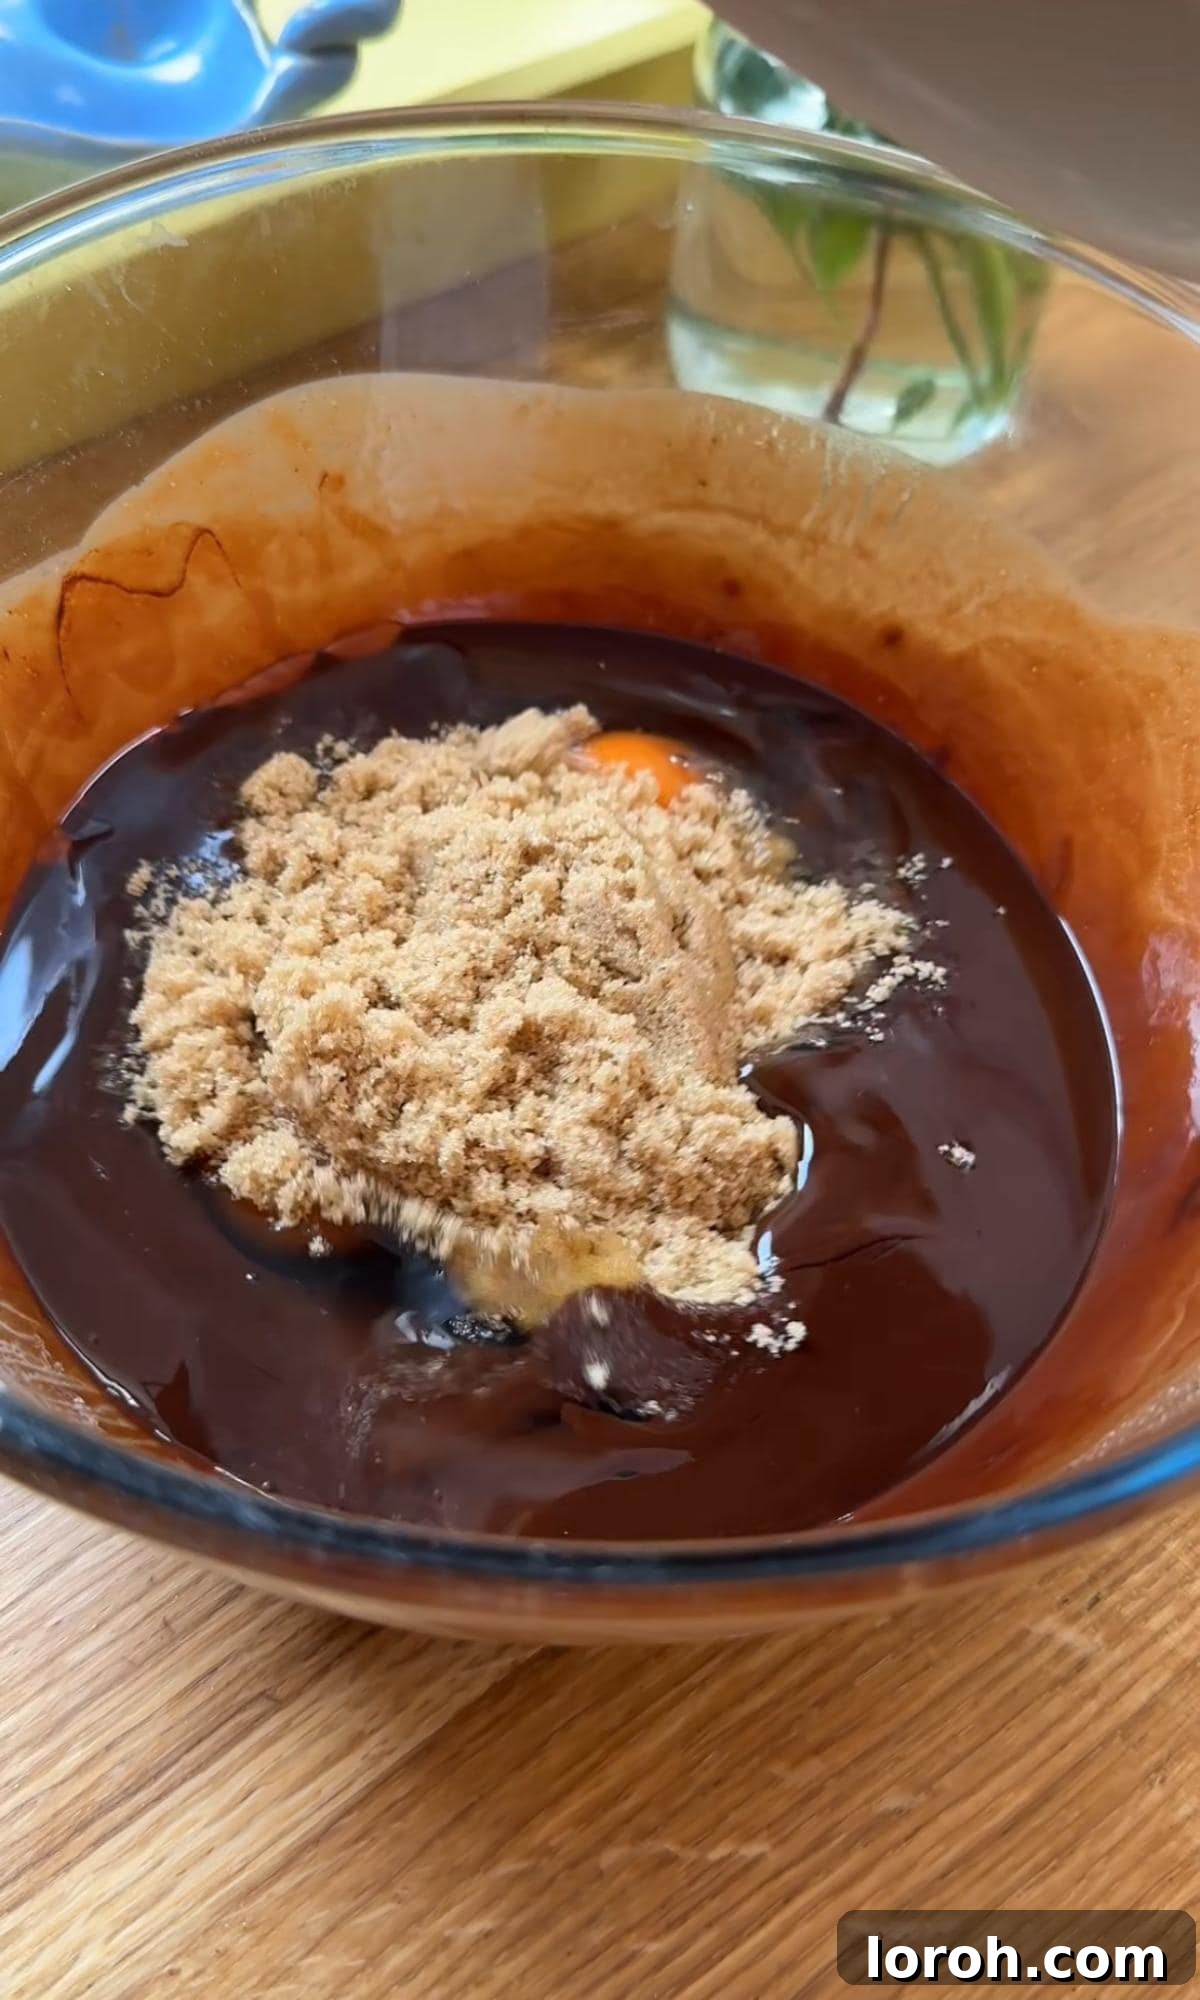
STEP THREE: Whisk in Eggs and Sugar
Once your melted chocolate and butter mixture has cooled slightly to a warm temperature, crack the three large eggs directly into the bowl. Add the light soft brown sugar. Whisk or stir vigorously using a balloon whisk or a strong spoon until all the ingredients are thoroughly combined and the mixture is smooth and uniform in consistency. This step ensures an even distribution of sweetness throughout the batter and helps to emulsify the mixture, preventing any separation and contributing to the pudding’s rich texture.
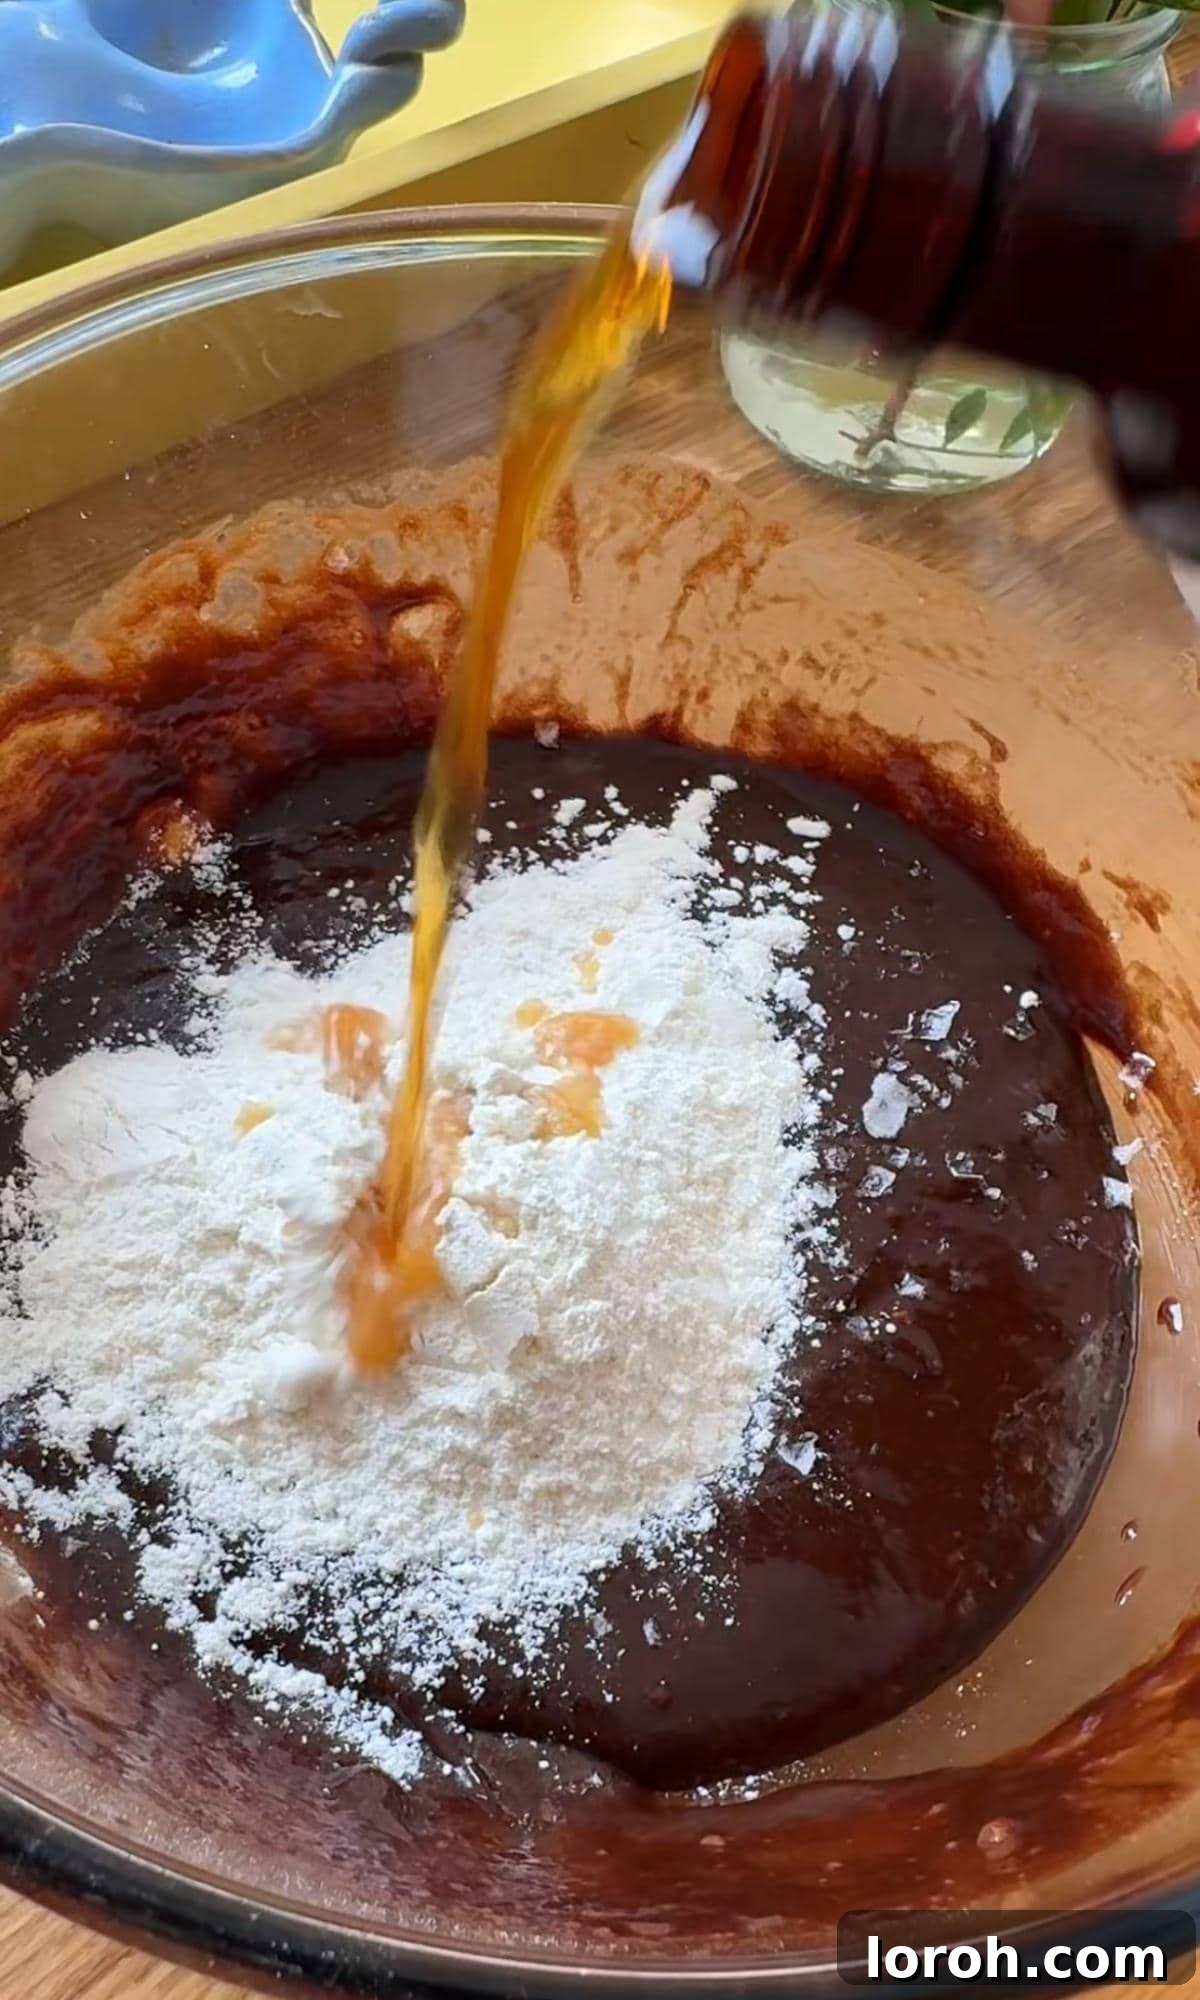
STEP FOUR: Gently Fold in Dry Ingredients
To the luscious chocolate-egg mixture, add the plain flour, the instant coffee powder (remember, this is purely for intensifying chocolate flavor, not adding a coffee taste!), the vanilla extract, and the essential pinch of salt. Gently fold these dry ingredients into the wet mixture using a spatula or a wooden spoon until they are just combined. It’s important to be careful not to overmix at this stage, as overmixing can develop the gluten in the flour and lead to a tougher, less tender sponge. Mix only until no streaks of dry flour remain visible in the batter.
STEP FIVE: Bake to Molten Perfection
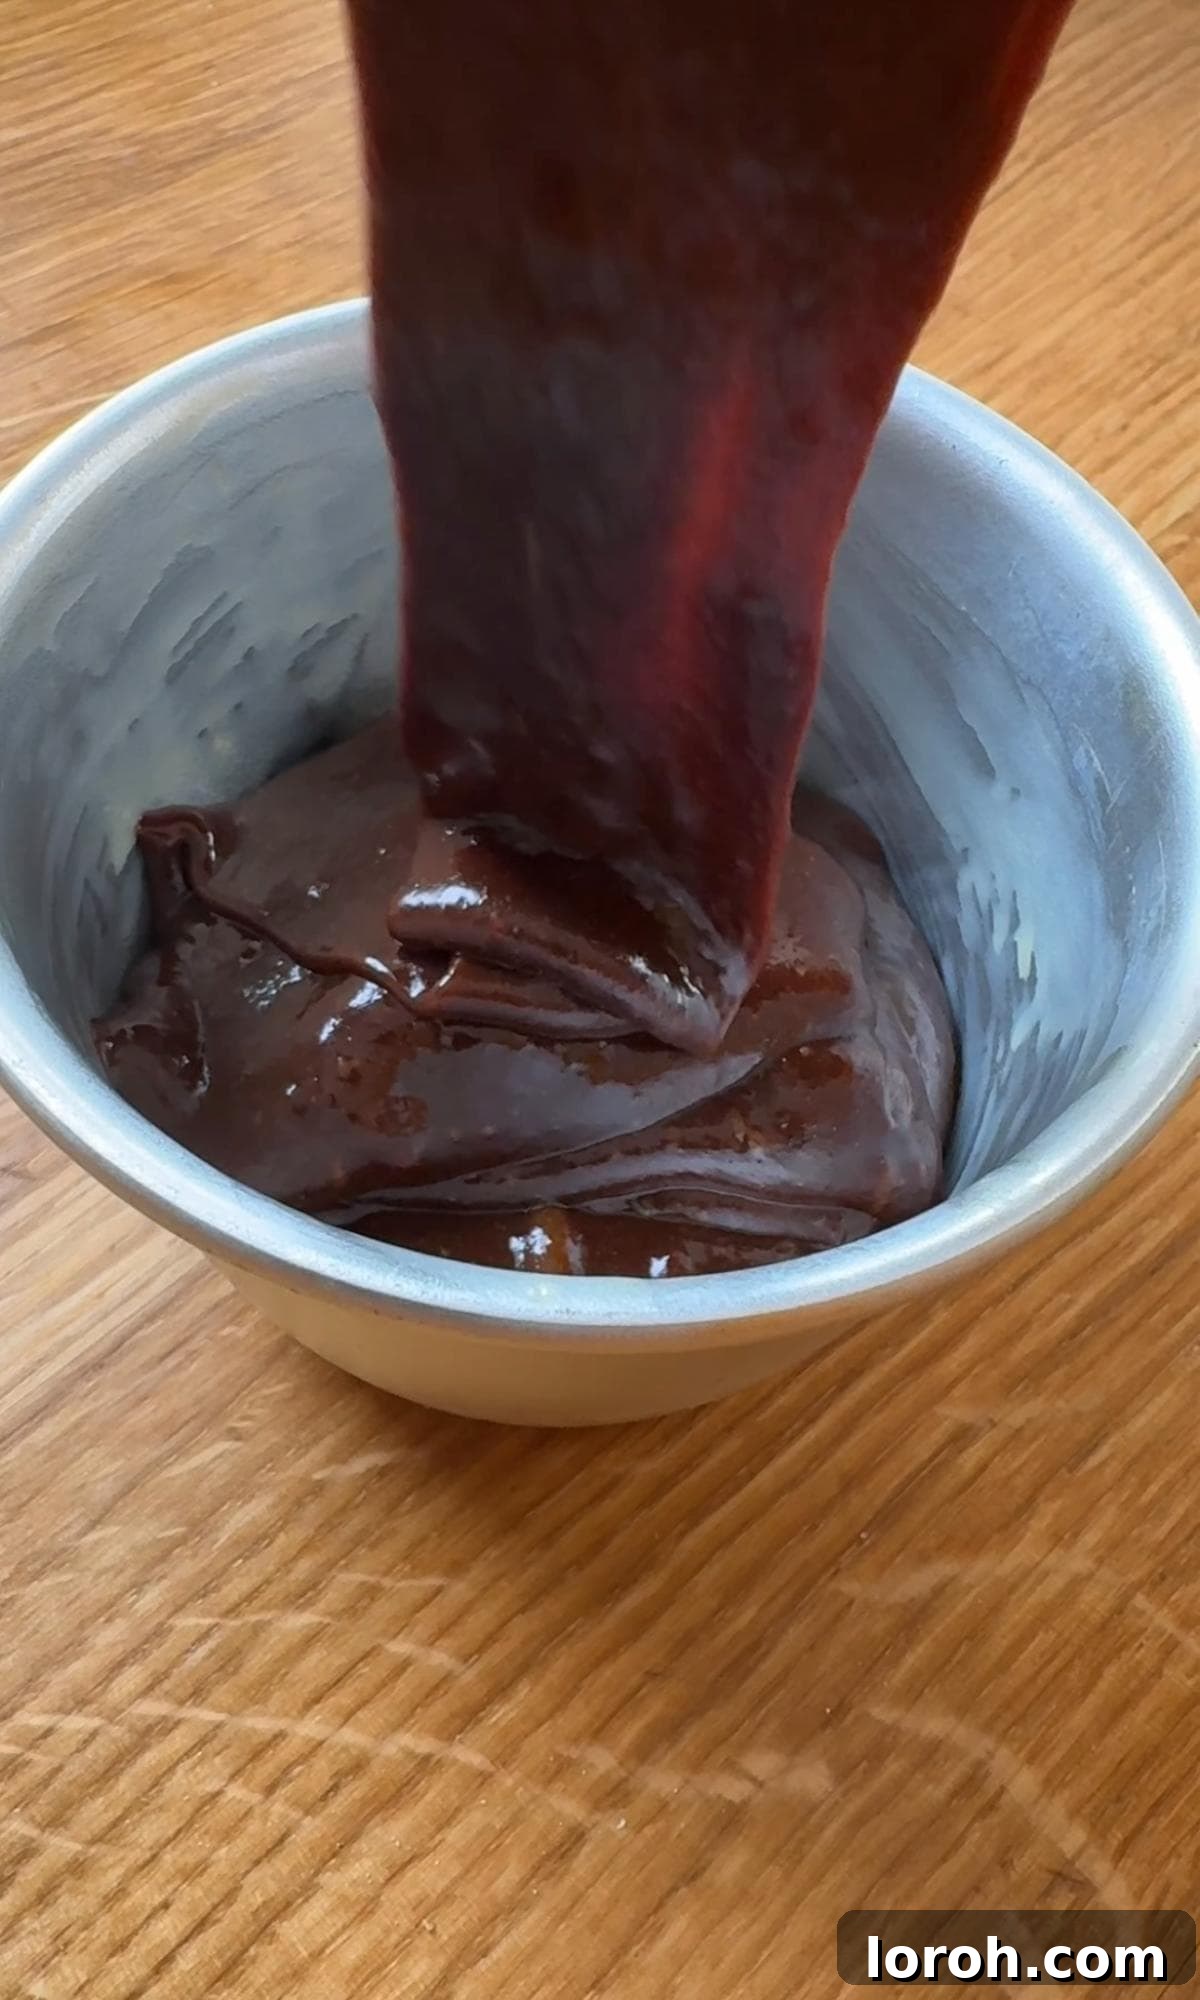
Carefully divide the rich chocolate batter evenly among your four prepared pudding basins or ramekins. Place the basins on a sturdy baking tray (this makes them easier to transfer in and out of the oven) and transfer them to your preheated oven. Bake for approximately 10-15 minutes. This is the most critical stage, as oven temperatures can vary significantly. It is absolutely essential to start checking your puddings at the 10-minute mark, and then every single minute thereafter. They are perfectly done when the edges appear visibly set and are gently pulling away from the sides of the mold, but the very center still has a distinct, alluring wobble when lightly shaken. The internal temperature will continue to rise slightly after removal, ensuring a fully molten, yet not raw, core.
STEP SIX: Release and Serve Immediately
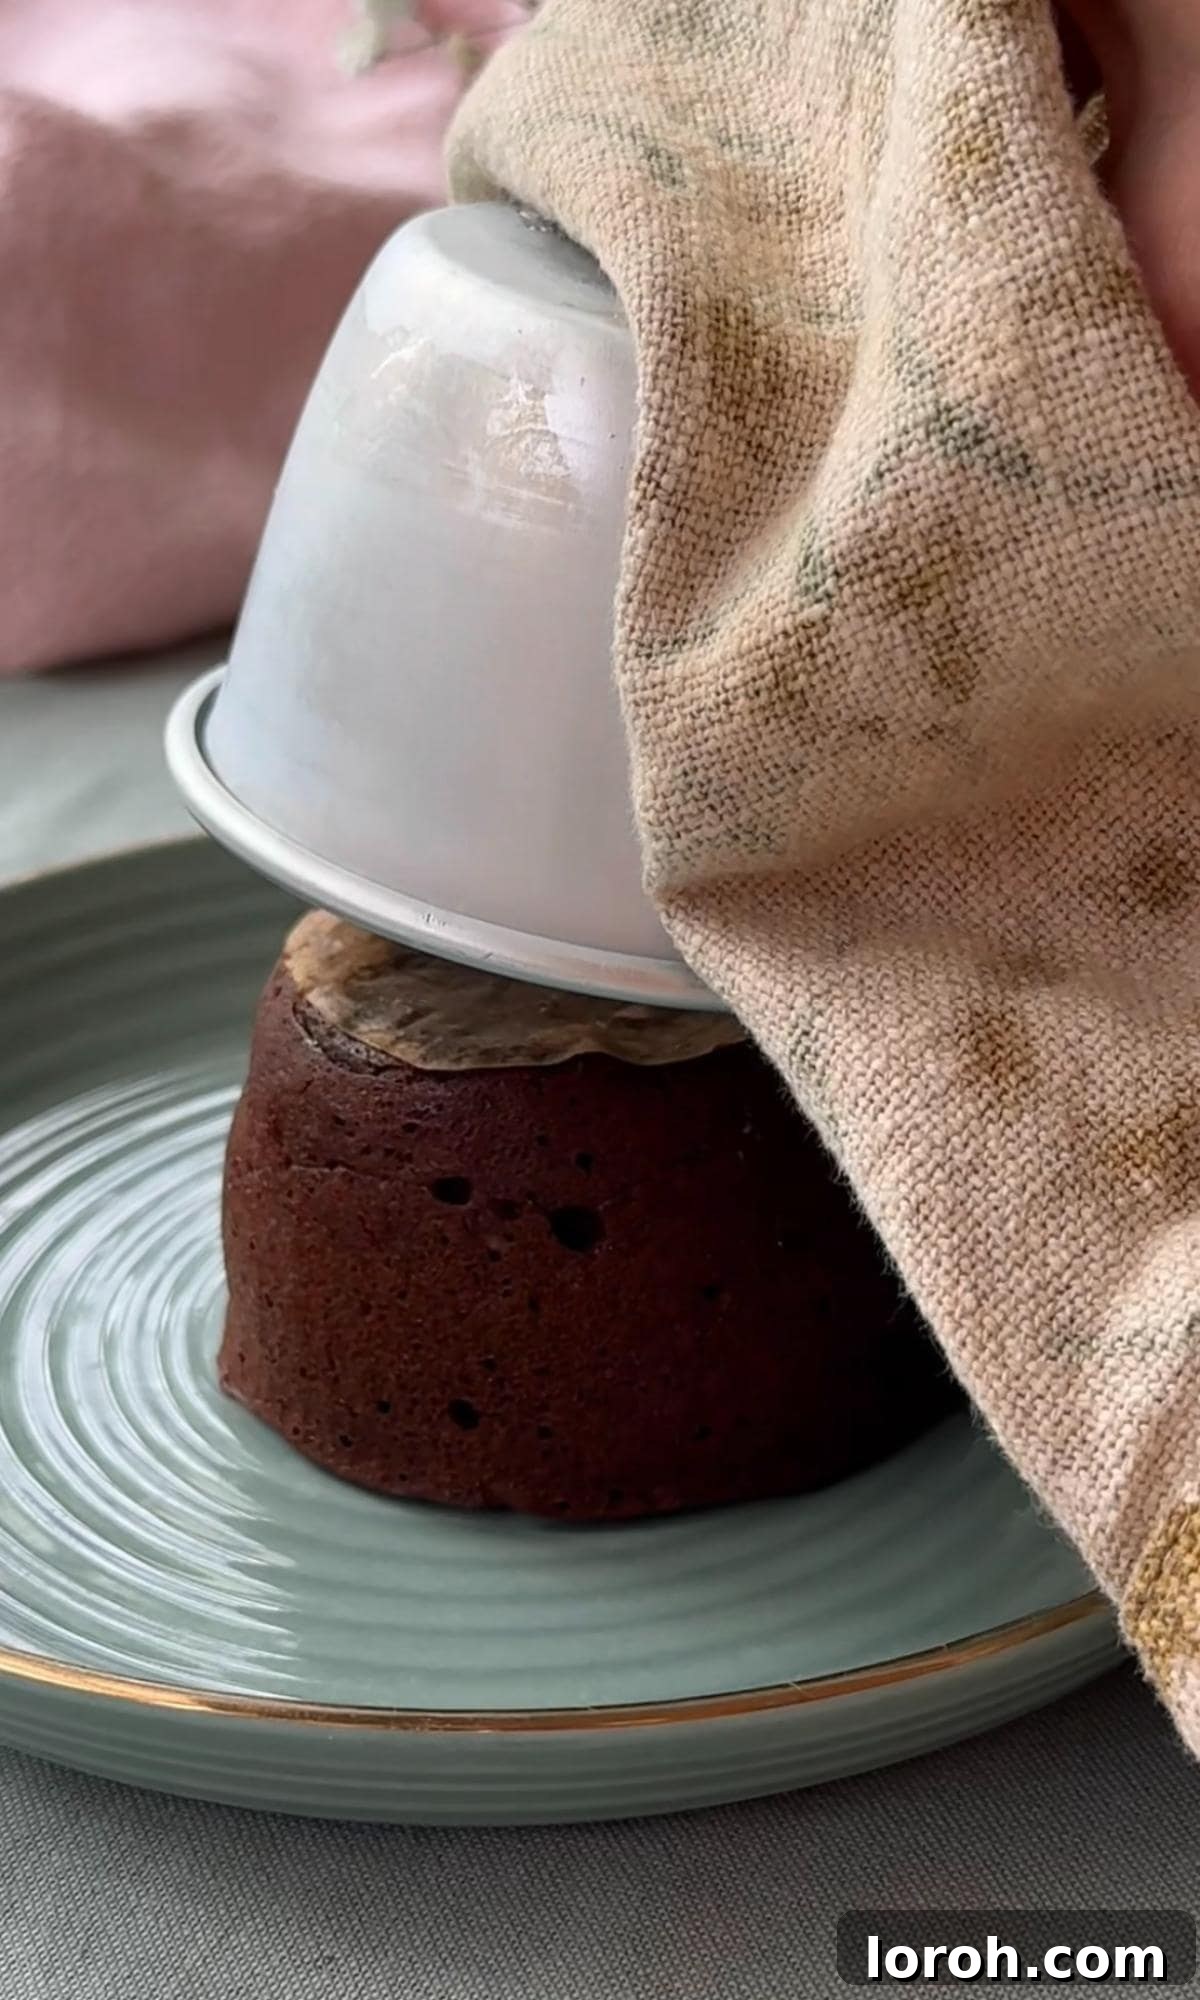
Once baked to perfection, carefully remove the puddings from the oven. Allow them to stand in their molds for just 1-2 minutes – this crucial resting period allows the delicate outer structure to set slightly and makes them significantly easier to release. Then, run a thin palette knife or a small, sharp knife gently around the inner edge of each pudding mold to loosen it. Place a small serving plate upside down directly over the top of the pudding basin. Using oven mitts or a clean tea towel (as the basin will be hot!), carefully flip the pudding and plate together. Gently lift the basin to reveal your perfectly inverted, melt-in-the-middle chocolate pudding. Serve immediately with your preferred accompaniments and savor every rich, gooey, unforgettable bite!
Expert Cooking Tips and Troubleshooting for Molten Chocolate Cakes
Achieving the perfect melt-in-the-middle chocolate pudding is a delightful culinary pursuit that gets easier with practice. Here are some seasoned tips to guarantee success and address any common challenges you might encounter, ensuring your molten lava cakes are always a triumph:
Troubleshooting Guide for Common Issues:
- The Center Isn’t Molten Enough: This is the most common concern and is almost always a sign of slight overbaking. Remember, every oven is different, and even a minute or two can make a significant difference in a delicate recipe like this. Next time, reduce the baking time by 1-2 minutes. Crucially, keep a very close eye on them during the last few minutes; remember, you’re looking for set edges and a distinct, enticing wobble in the center. Even if not perfectly runny, they are still utterly delicious – just more of a soft-centered chocolate cake, which is still a fantastic dessert!
- Puddings Are Stuck in the Mold: Did you skip the parchment paper circle at the base? That small disc of greaseproof paper truly is your best friend for effortless release. Beyond that, ensure you generously butter and flour (or dust with cocoa powder for a deeper chocolate look) the entire interior surface of your ramekins or pudding basins, paying attention to all curves and corners. If they’re still a bit stubborn after baking, a thin, flexible knife run gently around the rim before inverting usually does the trick.
- The Sponge is Dry or Too Cakey: This is a classic symptom of overbaking. The goal for this dessert is a delicate, barely-set sponge on the outside, not a fully baked, firm cake. For your next attempt, try baking for 2 minutes less than you did this time. If you suspect your oven tends to run hot, consider lowering the temperature by 10°C (25°F) as well. An oven thermometer can be invaluable here.
- Pudding Collapses or Sinks Significantly: A very slight dip or gentle settling in the center after baking is perfectly normal and even desirable, as it often indicates a lovely, soft interior. Don’t fret over this minor aesthetic! However, if your pudding collapses quite significantly, it’s a stronger indication of being underbaked. The outer structure didn’t have enough time to set sufficiently to provide adequate support for the luscious interior. If this happens and they turn out too soft to invert, don’t despair! Simply embrace it: serve them elegantly directly in their original pudding basin with a spoon. They become a wonderful, decadent “chocolate pot” dessert, still incredibly delicious and satisfying.
Essential Preparation & Storage Tips:
- Room Temperature Ingredients: For the smoothest, most homogenous batter and the best emulsification, ensure your eggs and butter are at room temperature before you start mixing. This helps them combine more evenly and thoroughly with the melted chocolate, leading to a superior final texture.
- Don’t Overmix the Batter: Once you add the flour and other dry ingredients, mix only until they are just combined and no streaks of dry flour remain. Overmixing develops gluten in the flour, which can lead to a tougher, less tender, and less delicate sponge in your puddings.
- Make-Ahead Mastery (Unbaked): As highlighted, these puddings are perfect for preparing in advance. Assemble the puddings in their greased basins, then cover each tightly with plastic wrap and refrigerate for up to 2 days. When you are ready to bake, place them directly into the preheated oven from the fridge and simply add an extra 2 minutes to the standard cooking time (aim for 12-17 minutes total, depending on your oven).
- Freezing for Future Indulgence (Unbaked): These molten chocolate puddings freeze exceptionally well at the unbaked stage! After assembling them in their individual molds, wrap each tightly in several layers of plastic wrap, then an additional layer of aluminum foil to prevent freezer burn. They can be frozen for up to 3 months. When you’re craving a decadent treat, bake them straight from frozen. They will typically need an extra 8-10 minutes in the oven, on top of the regular 10-15 minute baking time (totaling 18-25 minutes). Always err on the side of slightly underbaked for that perfect molten center.
- Reheating Baked Puddings (Not Recommended for Molten Center): While you can technically reheat a fully baked pudding, it’s generally not recommended if your primary goal is to achieve that iconic, runny molten center. Reheating will almost certainly cause the center to set further, turning it into a delicious but uniform chocolate cake. For the true melt-in-the-middle experience, it’s best to bake them fresh, or from chilled/frozen as per the make-ahead instructions.
- Pudding Basins vs. Ramekins: You can successfully use either individual pudding basins or ramekins for this recipe. Pudding basins tend to be slightly larger and deeper, resulting in a more substantial and indulgent dessert. Ramekins are typically smaller, meaning you might yield more than four puddings from this recipe – a fantastic opportunity to freeze the extras for another day! For consistent results, we recommend sturdy pudding basins.
Frequently Asked Questions About Molten Lava Cakes
How long can I keep these melt-in-the-middle puddings in the fridge before baking?
You can confidently store the unbaked puddings in their molds, covered tightly with plastic wrap, in the refrigerator for up to 2 days. This makes them an ideal make-ahead dessert for entertaining, as it significantly reduces stress on the day of your event. When you’re ready to bake, simply take them straight from the fridge and add an extra 2 minutes to the standard cooking time to account for their chilled state.
My molten center didn’t melt, even though I followed the suggested baking time. What went wrong?
Ovens are notorious for varying in temperature! Even if set to the correct temperature, many ovens run slightly hotter or cooler than indicated by their dials. It’s an excellent idea to invest in an oven thermometer to verify your oven’s true internal temperature. Additionally, for this recipe, rely heavily on visual cues rather than just the clock. Look for the edges of the pudding to be visibly set and gently pulling away from the sides of the mold, while the very center still has a distinct, enticing wobble when lightly shaken. This wobble is your best indicator of a perfectly molten core. If it didn’t melt as expected, it means it was in the oven slightly too long for your specific oven’s characteristics.
Why does my melt-in-the-middle chocolate pudding collapse or sink after baking?
A slight, gentle sinking in the center after baking is actually quite normal and often indicates a lovely, soft interior. Don’t fret over this minor aesthetic detail, as it’s part of their charm! However, if your pudding collapses quite significantly, it’s a stronger indication of being underbaked. In such cases, the outer structure didn’t have enough time to set sufficiently to provide adequate support for the luscious, still very liquid interior. If they turn out completely underbaked and too soft to invert and hold their shape, don’t despair! Simply embrace the deliciousness: serve them elegantly directly in their original pudding basins with a spoon. They become a wonderful, decadent “chocolate pot” dessert, still incredibly delicious and satisfying, just enjoyed in a slightly different style.
How can I easily release a melt-in-the-middle pudding from its ramekin without it sticking?
The key to a perfect, effortless release is thorough preparation of your molds. First, generously grease the entire interior surface of your ramekin or pudding basin with butter, ensuring every crevice and curve is completely coated. Second, and crucially, always place a small round of parchment paper (also known as greaseproof paper), cut to precisely fit the base of the mold, before adding the batter. This creates an essential non-stick barrier at the very bottom, allowing the pudding to slide out cleanly and beautifully when inverted. After baking and a brief 1-2 minute resting period, a quick run of a thin, flexible knife around the inner edge of the pudding also helps immensely to loosen it before flipping.
Can I use milk chocolate instead of dark chocolate for this recipe?
While it is technically possible to use milk chocolate, we highly recommend sticking to dark chocolate (around 70% cocoa content) for the best results and the most authentic molten lava cake experience. Milk chocolate has a significantly higher sugar content and typically more milk solids, which can affect the texture of the molten center, making it less rich, potentially too sweet, and sometimes less fluid. If you genuinely prefer a sweeter pudding, you could experiment with a high-quality semi-sweet chocolate (around 50-60% cocoa), but be prepared for a slightly different flavor profile and you might want to adjust the amount of added sugar in the recipe if it tastes too sweet for your preference.
What if I don’t have individual pudding basins or ramekins? Can I still make this recipe?
Absolutely, no problem at all! While individual molds are ideal for their classic presentation and consistent results, you can definitely improvise. Small, oven-safe coffee mugs, heatproof teacups, or even ceramic custard cups can work wonderfully as alternatives. Silicone muffin molds or larger ramekins (you might get fewer but larger puddings) are also options. Ensure whatever you choose is explicitly labeled as heatproof and can withstand high oven temperatures (200°C/400°F). You might need to adjust baking times slightly depending on the exact size, depth, and material of your chosen alternative molds, so keep a closer eye on them in the oven and rely on the visual cues for doneness (set edges, wobbly center).
Other Decadent Chocolate Recipes You Might Enjoy
If you’ve fallen in love with the rich indulgence of this melt-in-the-middle chocolate pudding, you’re in for a treat! Explore more of our beloved chocolate creations that are sure to satisfy your sweet cravings and expand your repertoire of impressive desserts:
- For a classic, airy indulgence that’s surprisingly easy, try our Classic French Chocolate Mousse, a timeless elegant dessert.
- If you adore minimal effort with maximum, saucy reward, our Self-Saucing Chocolate Pudding creates its own rich, gooey sauce as it bakes – pure comfort food!
- Looking for a truly show-stopping dessert for a crowd or a grand occasion? Our impressive Giant Melt in the Middle Chocolate Cake is guaranteed to be a magnificent centerpiece.
- And for a truly dense, intensely rich, and moist treat that satisfies the deepest chocolate cravings, don’t miss our indulgent Chocolate Fudge Cake.
Here are a few more chocolate delights to add to your baking list – perfect for any occasion:
Easy Baking Recipes
Chocolate Chunk Muffins
Easy Baking Recipes
The Best Cheesecake Brownies
Easy Baking Recipes
Matilda’s Chocolate Cake
Easy Baking Recipes
Dark Chocolate and White Chocolate Brownies
If you tried this glorious Melt-in-the-Middle Chocolate Pudding or any other delectable recipe on our site, we would be absolutely thrilled to hear from you! Please take a moment to leave a comment below and share your experience and how it went. Your feedback is invaluable and helps other bakers in our community!
Melt In The Middle Chocolate Pudding Recipe
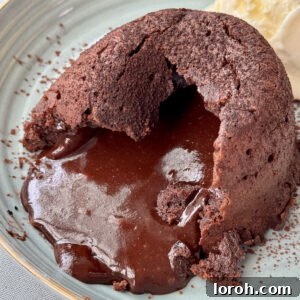
A Melt in the Middle Chocolate Pudding is a show-stopping dessert that promises a luxurious molten chocolate center with every spoonful. Despite its impressive appearance, this recipe is surprisingly simple to make, perfect for any occasion and guaranteed to impress.
By: Margie
Prep time:
Cook time:
Total time:
Yields: 4 servings
Cuisine: Dessert
Course: Dessert
Rating: 5 from 1 vote
Rate Recipe |
Print Recipe
Ingredients
- 150 g dark chocolate (70% cocoa recommended)
- 150 g unsalted butter
- 150 g light soft brown sugar
- 3 large eggs (at room temperature)
- 55 g plain flour (all-purpose flour)
- ¾ tsp instant coffee powder
- 1 tsp vanilla extract
- Pinch of salt
Instructions
- Preheat Oven & Prepare Molds: Preheat your oven to 200°C (180°C fan/400°F). Generously grease four individual pudding basins or ramekins with butter. For easy release, cut four circles of greaseproof (parchment) paper to fit the bottom of each basin and place them inside.
- Melt Chocolate & Butter: In a heatproof bowl, combine the chopped dark chocolate and unsalted butter. Melt gently either in a microwave (in 30-second intervals, stirring) or over a bain-marie until smooth and glossy. Let it cool slightly for a few minutes.
- Combine Wet Ingredients: Once the chocolate mixture has cooled slightly, add the eggs and light soft brown sugar to the bowl. Whisk or stir vigorously until all ingredients are thoroughly combined and smooth.
- Fold in Dry Ingredients: Add the plain flour, instant coffee powder, vanilla extract, and a pinch of salt to the chocolate mixture. Gently fold with a spatula or wooden spoon until just combined, ensuring no dry streaks of flour remain. Be careful not to overmix.
- Bake: Divide the batter evenly among the prepared basins. Place them on a baking tray and bake in the preheated oven for 10-15 minutes. Crucially, start checking at 10 minutes. Puddings are done when the edges are set and pulling away from the sides, but the center still has a distinct wobble. Oven temperatures vary, so visual cues are key.
- Release & Serve: Remove from the oven and let stand for 1-2 minutes. Run a thin knife around the edge of each pudding. Place a small serving plate on top of a basin, then carefully invert them together (use a tea towel for heat protection). Gently lift the basin to release the pudding. Serve immediately with your chosen accompaniments.
- Serving Suggestion: Serve with a dollop of sour cream, crème fraîche, or double cream. A handful of fresh raspberries also provides a lovely tart contrast to the rich chocolate.
Video Guide
Notes for Success:
- Storage (Unbaked): Store uncooked puddings, covered tightly with plastic wrap, in the fridge for up to 2 days. For the best molten center experience, we do not recommend storing them once cooked, as the center will set.
- Reheating (Unbaked from Chilled): If cooking from chilled (after being stored in the fridge), bake directly from the fridge, adding an extra 2 minutes to the standard baking time.
- Freezing (Unbaked): These puddings freeze exceptionally well at the unbaked stage. Wrap individual uncooked puddings tightly in plastic wrap and then foil to prevent freezer burn, and freeze for up to 3 months. Bake from frozen; they will typically need an extra 8-10 minutes in the oven, on top of the regular 10-15 minute baking time (totaling 18-25 minutes). Always slightly underbake rather than overbake for that perfect molten core.
- Make Ahead Tip: Doing a practice batch before guests arrive is always a good idea – and you get to enjoy the extra puddings yourself! Making these ahead and storing them in the fridge allows for a suitable, relaxed break between your main course and dessert, minimizing stress during entertaining.
- Dairy-Free Option: Easily adapt this recipe to be dairy-free by using a reliable plant-based butter substitute, such as Flora Plant Butter blocks or another high-quality dairy-free stick margarine.
- Batch Baking: Even if you are only serving two people, consider making the full batch of four puddings. You can then simply freeze the uncooked extras for future quick, indulgent desserts whenever the craving strikes!
Nutrition Information (per serving)
The following nutrition information is an approximation calculated automatically and should be used as a general guide only:
- Calories: 736 kcal
- Carbohydrates: 65 g
- Protein: 9 g
- Fat: 50 g
- Saturated Fat: 30 g
- Polyunsaturated Fat: 2 g
- Monounsaturated Fat: 14 g
- Trans Fat: 1 g
- Cholesterol: 205 mg
- Sodium: 306 mg
- Potassium: 395 mg
- Fiber: 4 g
- Sugar: 46 g
- Vitamin A: 1130 IU
- Calcium: 88 mg
- Iron: 6 mg
Like this recipe? We’d love to hear your thoughts! Leave a comment below and share your success!